
How to Make a Summer Concert Bag - Free Project Tutorial
 Misty Doan
- Fabric by Yard
- Modern
- Totes, Bag, Purses
- Beginner
- Quilt size 7" × 5"
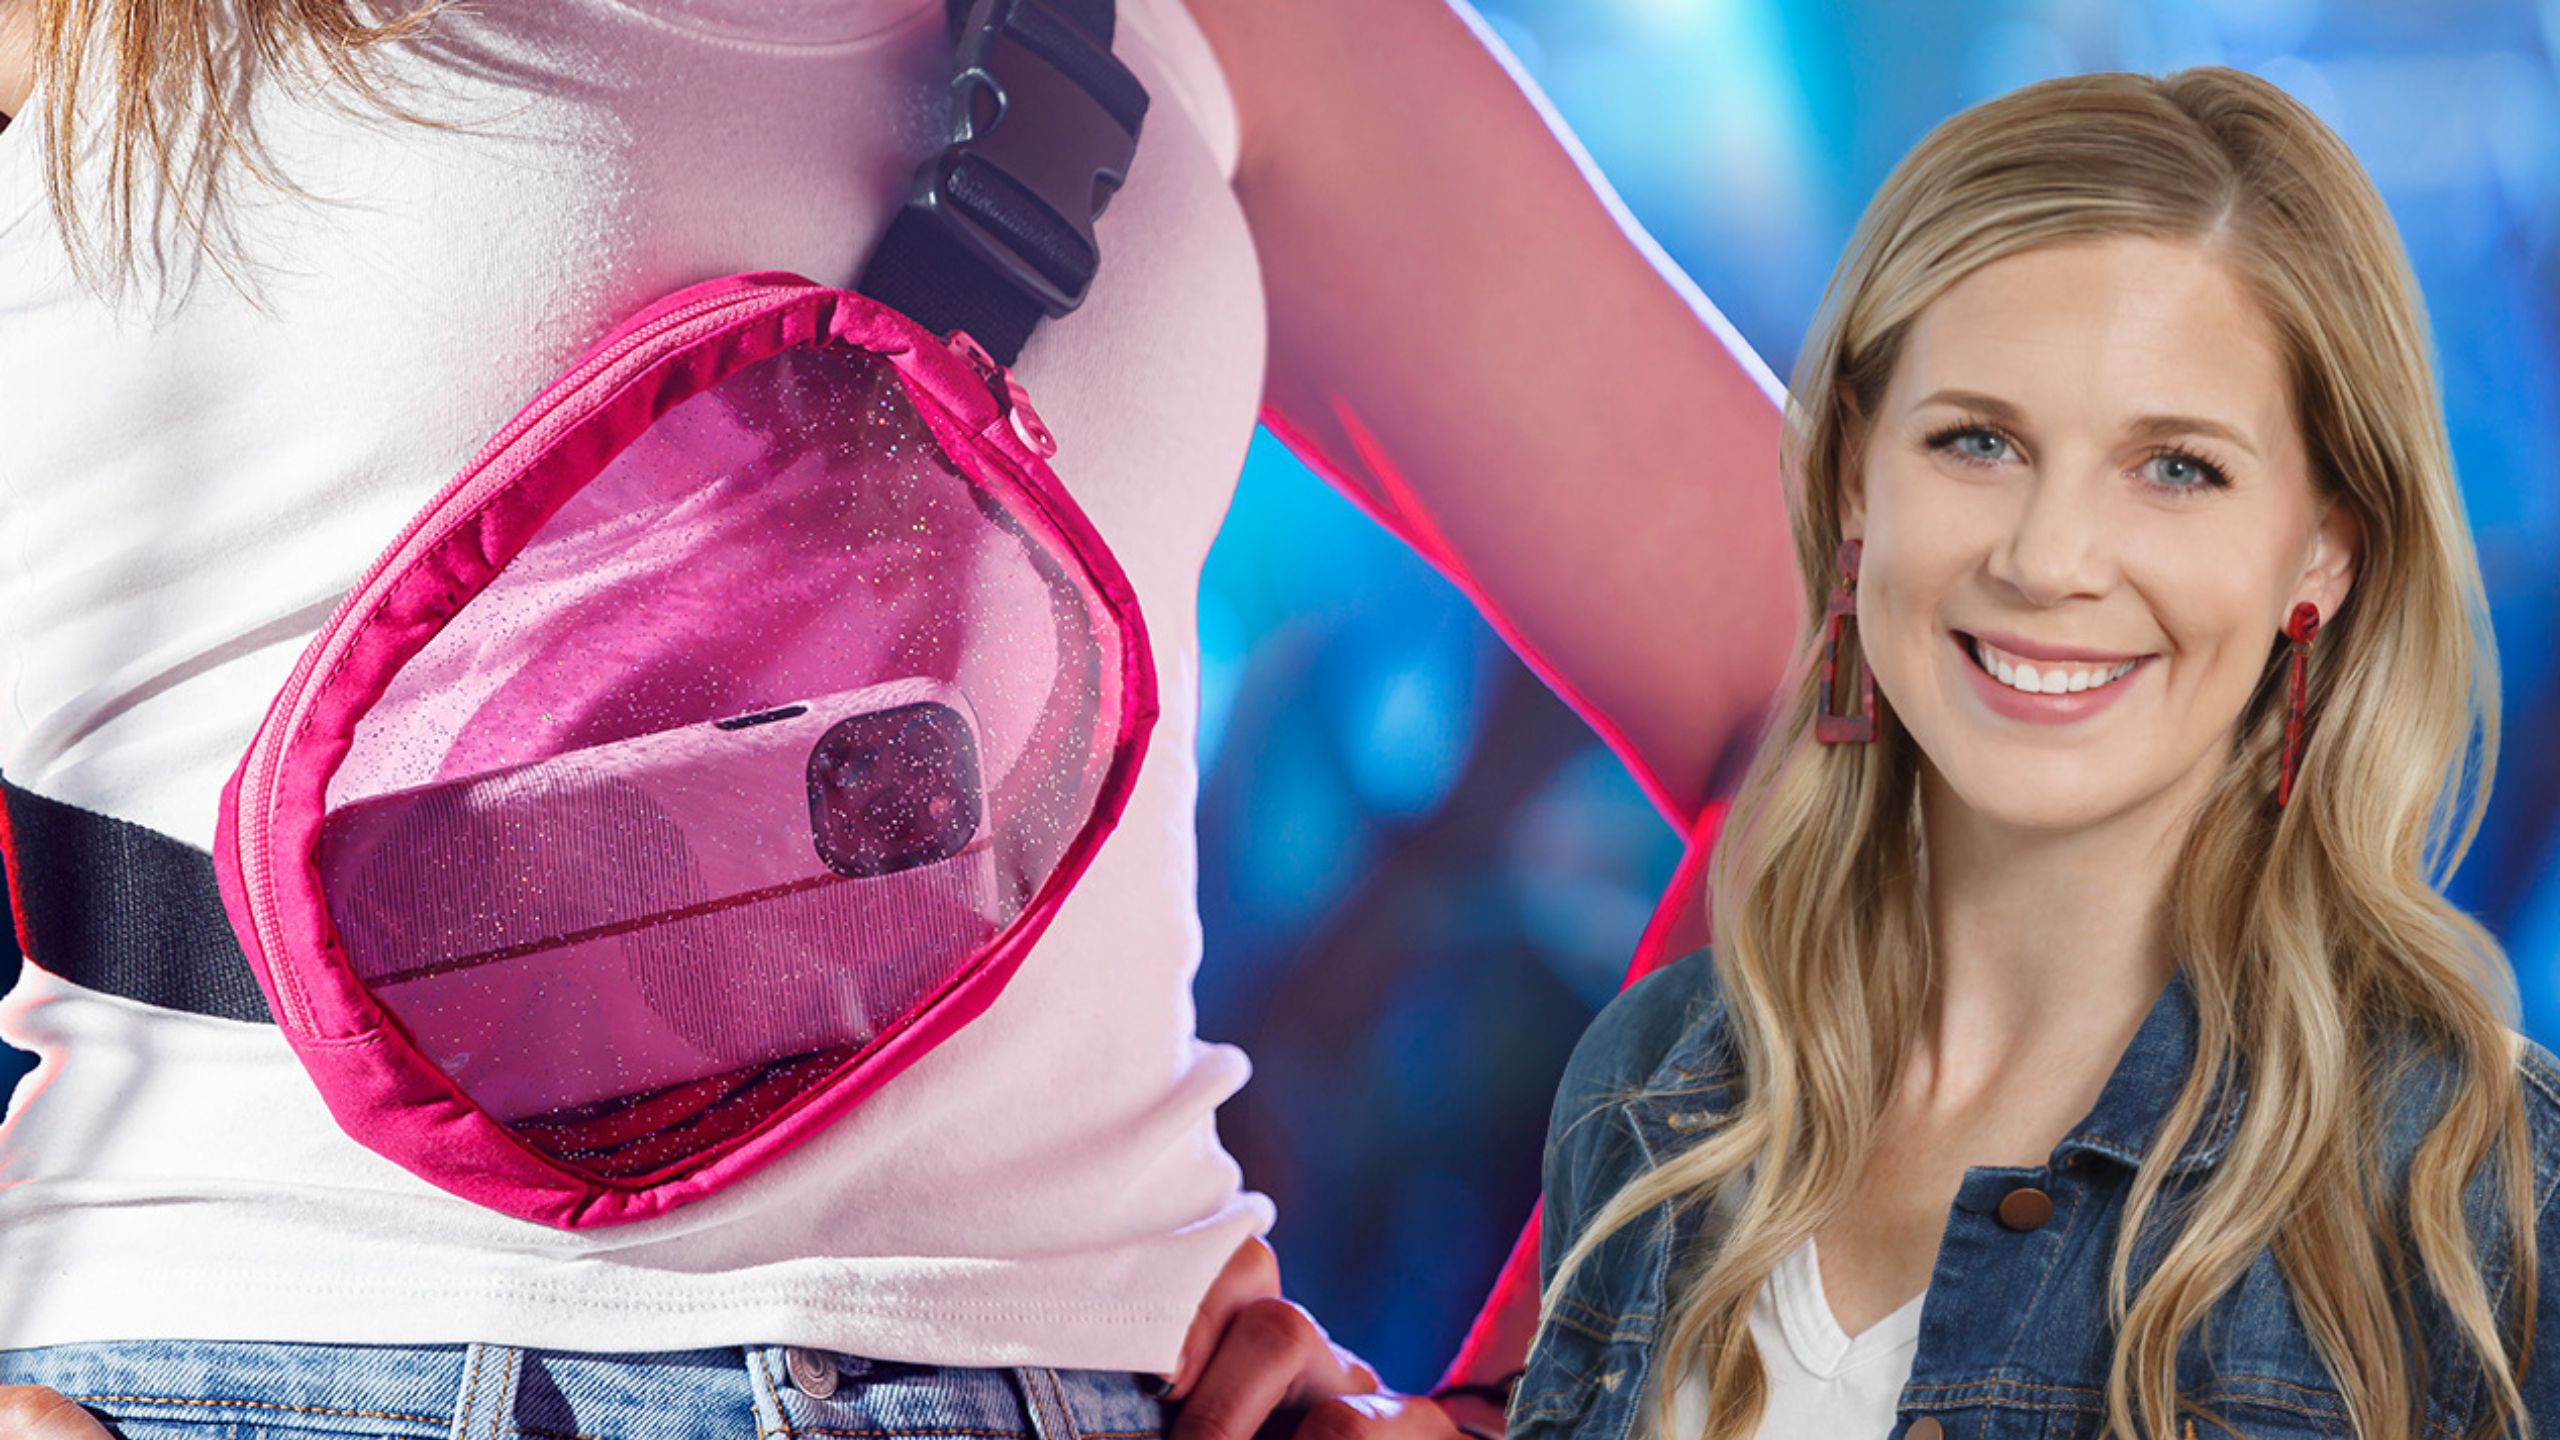
Concert season is here! Create the perfect bag to take to see all your favorite artists. Follow along with Misty as she stitches the Summer Concert Bag. The bag uses fancy vinyl and purse strapping so the bag is see through and safe for concerts and festivals. Keep your wallet, sunscreen, keys, ear protection, and anything else you may need in this handy bag for a fun day full of music!
Instructor
Misty Doan
Misty Doan grew up surrounded by sewing and quilting. She loves spending time sharing tutorials each week each week, and when she’s not stitching up one of her fun sewing projects for home decor, most likely you’ll find her hanging out with her husband and three awesome kids or working on a house project.
Shop this tutorial
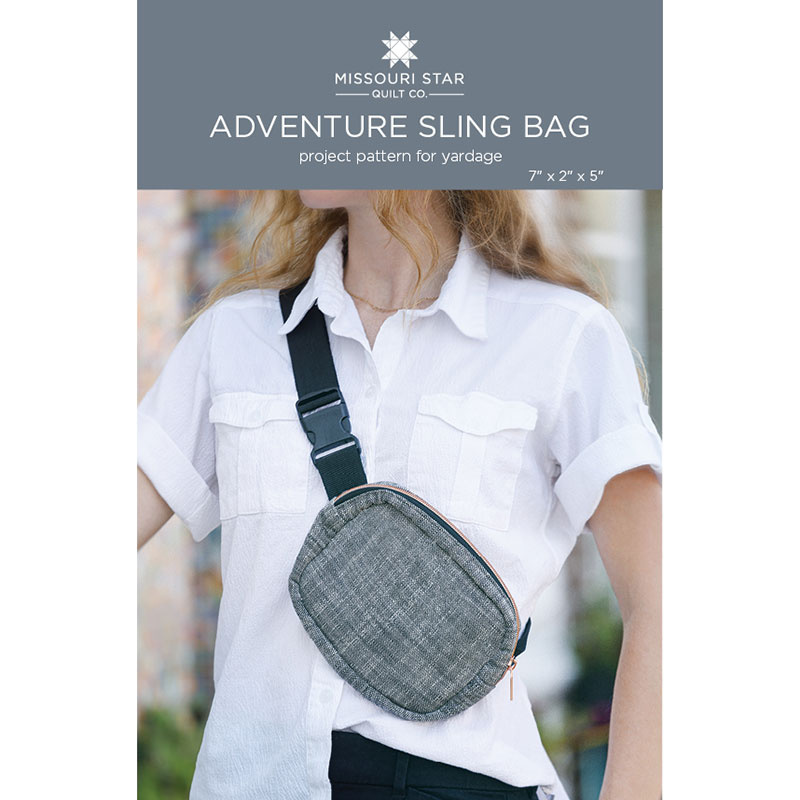 Adventure Sling Bag Pattern by Missouri Star$6.95Shop →
 Digital Download - Adventure Sling Bag Pattern by Missouri Star$4.95Shop →
 Bella Solids - Sangria Yardage$8.24Shop →
 Missouri Star Fancy Vinyl - Transparent Glitter Pink$14.45Shop →
 Missouri Star Fancy Vinyl: Clear$14.45Shop →
 Missouri Star Fancy Vinyl - Transparent Gray$14.45Shop →
 Missouri Star Fancy Vinyl - Transparent Teal$14.45Shop →
 Missouri Star Fancy Vinyl - Transparent Sewing Icons Clear$14.45Shop →
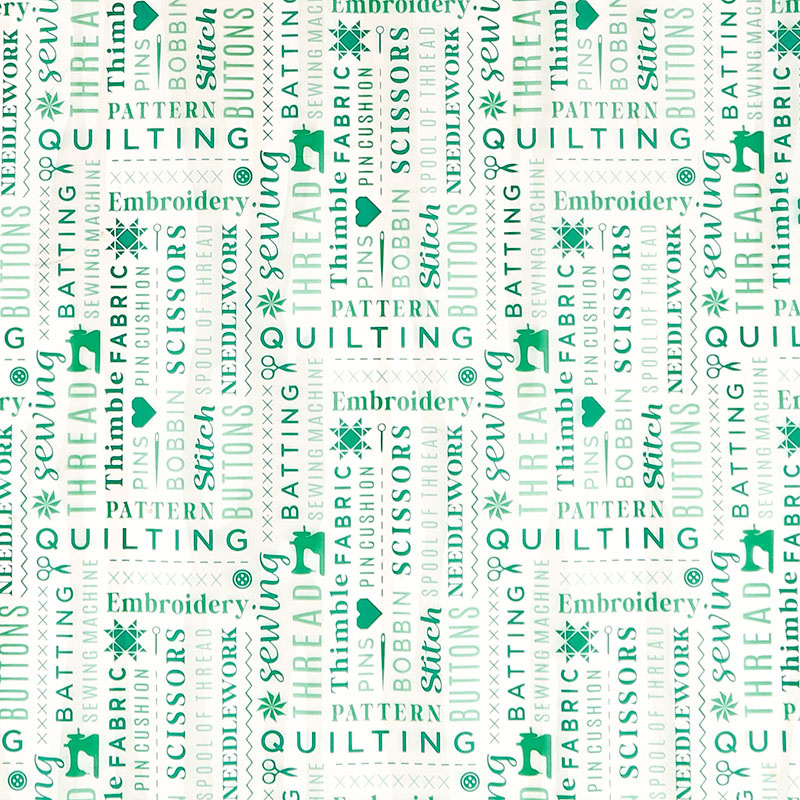 Missouri Star Fancy Vinyl - Transparent Sewing Words Clear$14.45Shop →
 Missouri Star Fancy Vinyl - Transparent Glitter Clear$14.45Shop →
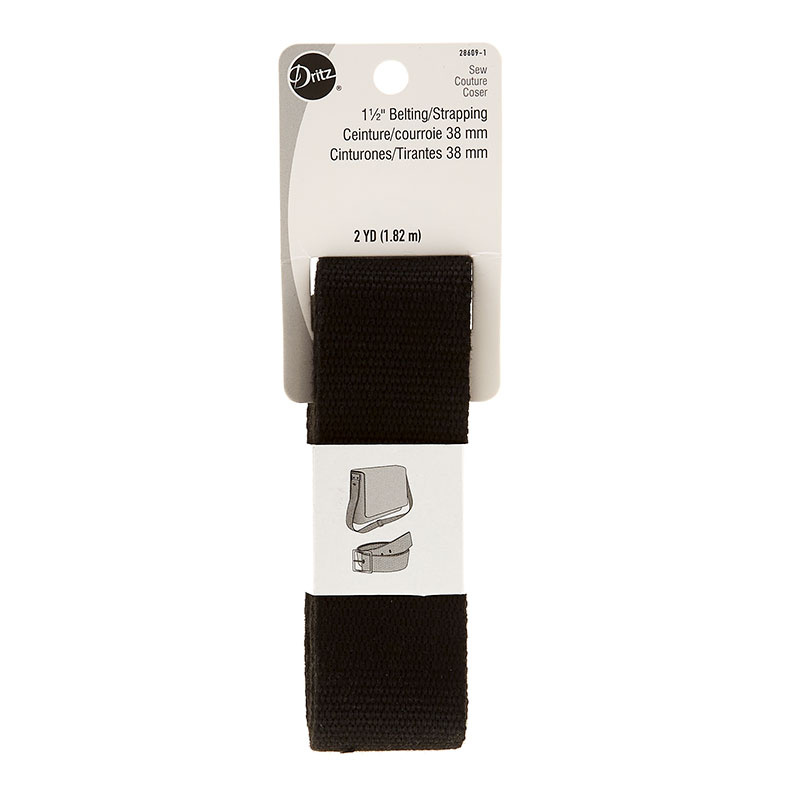 1-1/2" Polypro Purse Strapping - Black$8.45Shop →
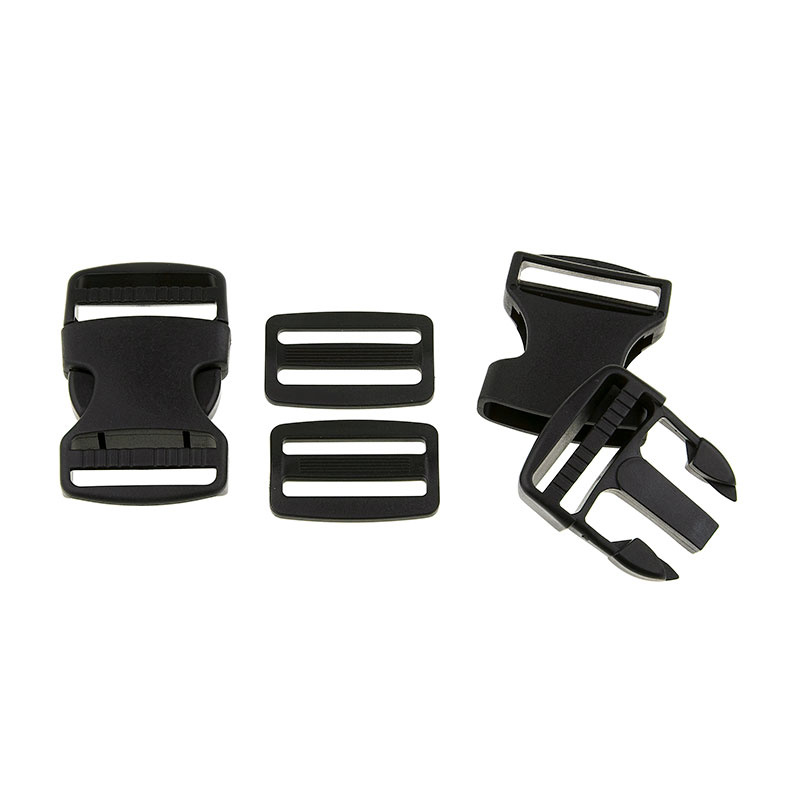 Buckle and Slide Set - Black$3.95Shop →
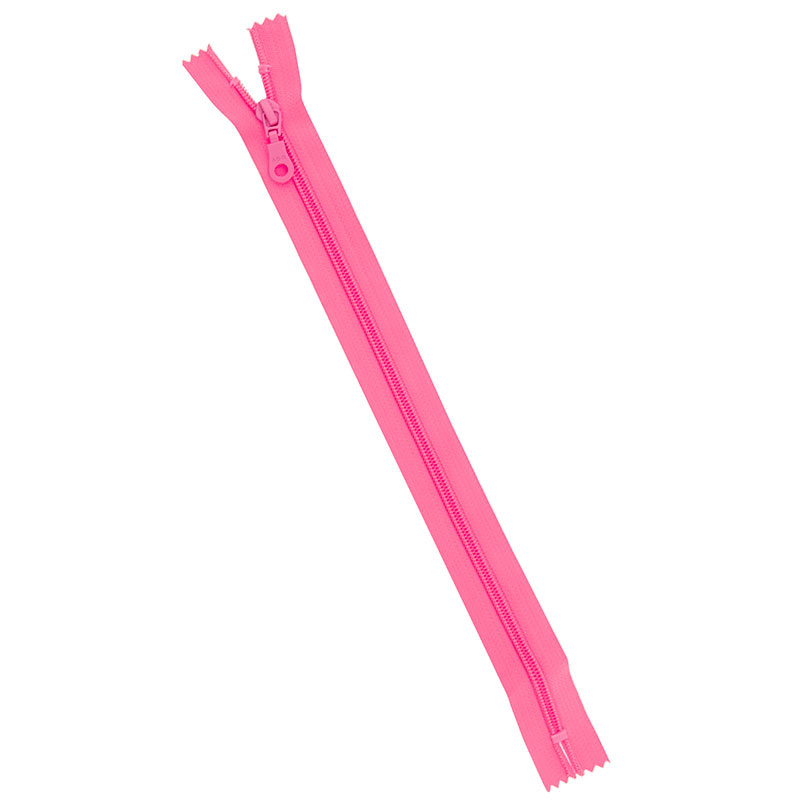 Bag Zipper 14" - Fandango Pink$4.15Shop →
 Pellon One-Sided Fusible Fleece White Yardage$9.45Shop →
 Missouri Star 2.5" x 8" Ruler$10.95Shop →
 Missouri Star 2.5" X 15" Ruler$13.95Shop →
 Missouri Star 50 WT Cotton Thread Bright Azalea$6.95Shop →
 Olfa Splash Aqua 45mm Rotary Cutter$18.75Shop →
 Exclusive Missouri Star Jenny TG1600 ProPlus Oliso Smart Iron$199.99Shop →
 Missouri Star Wooly Betty Board - 17.25" x 25.5" Orange Border$98.95Shop →
 Missouri Star Colorful Quilting Clips - Pack of 12$5.95Shop →
 Elan 8" Dressmaker Scissors$20.95Shop →
 Baby Lock Accomplish - 1500 SPM Straight Stitch Machine$999.00Shop →
Common Questions
What is covered in How to Make a Summer Concert Bag - Free Project Tutorial?
Concert season is here! Create the perfect bag to take to see all your favorite artists. Follow along with Misty as she stitches the Summer Concert Bag. The bag uses fancy vinyl and purse strapping so the bag is see through and safe for concerts and festivals. Keep your wallet...
How long is the tutorial video?
The tutorial video is 00:11:32.
Are supplies listed for this tutorial?
Yes. The tutorial page includes the supplies and materials connected to this project.
Is a transcript available?
Yes. A written transcript is available on the tutorial page.
Video Transcript
A while back we did this Adventure Sling bag on the show. So I want you to go back and watch that full tutorial if this is your first time, because what we're doing today is really just a twist on this original pattern.
So all of the step by steps are going to be in that original video and I'm just going to show you how to change this up so that we can take it to concerts or sporting events by adding a vinyl panel to the front and the back and eliminating this back pocket. So this is really just a simplified version of
this project.
Like I said, if you haven't made this already go back watch that original tutorial because we are going to dive right in.
So for the supplies you're going to need a quarter yard of fusible fleece, a half yard of your lining and exterior fabric (and this is also going to make your bias binding). Then you'll need a 14 inch zipper, a one and a half inch quick release buckle, a package of your one and a half inch webbing, and of course your Missouri Star vinyl.
So like I said I'm going to leave that original video to handle most of the construction. I've gone ahead and already made the gusset portion of the
bag and the only thing I did differently from that original video is the interfacing I used in place of what we recommended there is the fusible fleece. Because the vinyl is really rigid, we needed a little bit more stability in the gusset and the fusible fleece provides that.
So I have this ready to go and then the next steps is you want to go ahead and mark the center and the sides of your gusset. So you can see I have done that and then we are going to cut our side panels out of our vinyl and so this is what that looks like when it's all done. This starts as an eight inch by six inch rectangle and then there's the little template in the pattern to just cut those nice gentle curves. And then I also have marked on here with a little chalk marker the centers of the sides and the top and the bottom.
So we are going to turn this wrong sides out and we are going to match those center marks here up with the sides. I like to use clips when I'm working with vinyl so we don't leave any holes. And we're just going to begin by lining up those four marks that we made all the way around
and the last one on the side, and then we can go back and pin in between so that everything will be held together.
All right once we have this clipped we can go ahead and stitch all the way
around. So let's take this to the machine and do that. So this was designed to use a half inch seam allowance, so keep that in mind when you start sewing. I like to have my vinyl up towards me; I find that to be the easiest. And I don't like to start on the curve so I'm in a little bit on the straight edge. I also have switched out my thread to pink so that it matches and now we can just start sewing. You just want to take your time, especially as you approach the curve. I'm just kind of pinching and making sure that the edge of my vinyl stays lined up with my gusset.
All right once we have made it all the way around it's going to look kind of
like this and then we can go back and trim down our seam so that it only
leaves a quarter inch left. So let's go ahead and do that. So you just kind of have to fold it out of your way and use your ruler to trim off that excess. You can also cut this with scissors if you want, but a rotary cutter is so
convenient. But I will come back and clip those corners with my scissors.
So now I'll grab my scissors and I'll come back and I'm just going to trim
those curves to match those sides and then we're also going to snip
these curves so that it will help everything lay nicely. So again we're going to trim off this bulk, and clip that curve. Just be careful not to cut through your stitches.
All right so now that we have our front panel on and we've clipped all of our curves and trimmed our seam allowance down to a quarter inch, we're going to want to unzip our zipper. Now we can take our back panel and so in this case this is different than the last one because it does not have the pocket like we had on the original. This is just clear vinyl but I have gone ahead and tacked on the straps and the webbing just like we did on that original version. And then we are going to tuck those inside and use our marks that we made to line up our centers, and our sides and clip those. So I will meet you back here when that's done and then we'll sew this down.
All right we have that back panel all clipped in place. So just like before
I'm going to sew this with a half inch seam allowance and we will trim it down after the fact. So I'm just going to slide this under. When you're sewing you do want to watch out and make sure that you don't get any
chunk of that webbing stuck under the needle, which it's actually really easy when you're working with the vinyl because you can see it through there. All right. I am putting my hand kind of inside the bag just to help make sure everything stays lined up the way I want it to and I can guide and keep everything out of the way of the needle as well.
So I'm now stitching over that webbing. You want to slow down you're going through a lot of thickness there so just take your time. There we go we made it through and now we can continue around this curve and all the way around the bag. All right so now this is trimmed up and ready to go all that's left to do is to finish off these inside edges with our bias binding.
If you've never made bias binding before, be sure to go check out
Natalie's video on Final Stitch that will walk you through exactly how to do
that. And then I just attached the binding by machine. So I you know sewed it on by machine and finish it off by machine. I didn't want to hand stitch through vinyl and I don't really recommend that you do either, especially since it's inside of the bag and still sewing it on machine gives it some extra stability and strength.
So you can see how that finishes off and then we're just going to turn this right sides out and our bag is complete! Do you can fill it with all your goodies and take it to your favorite concert or sporting events and you'll be ready for all the fun!


