
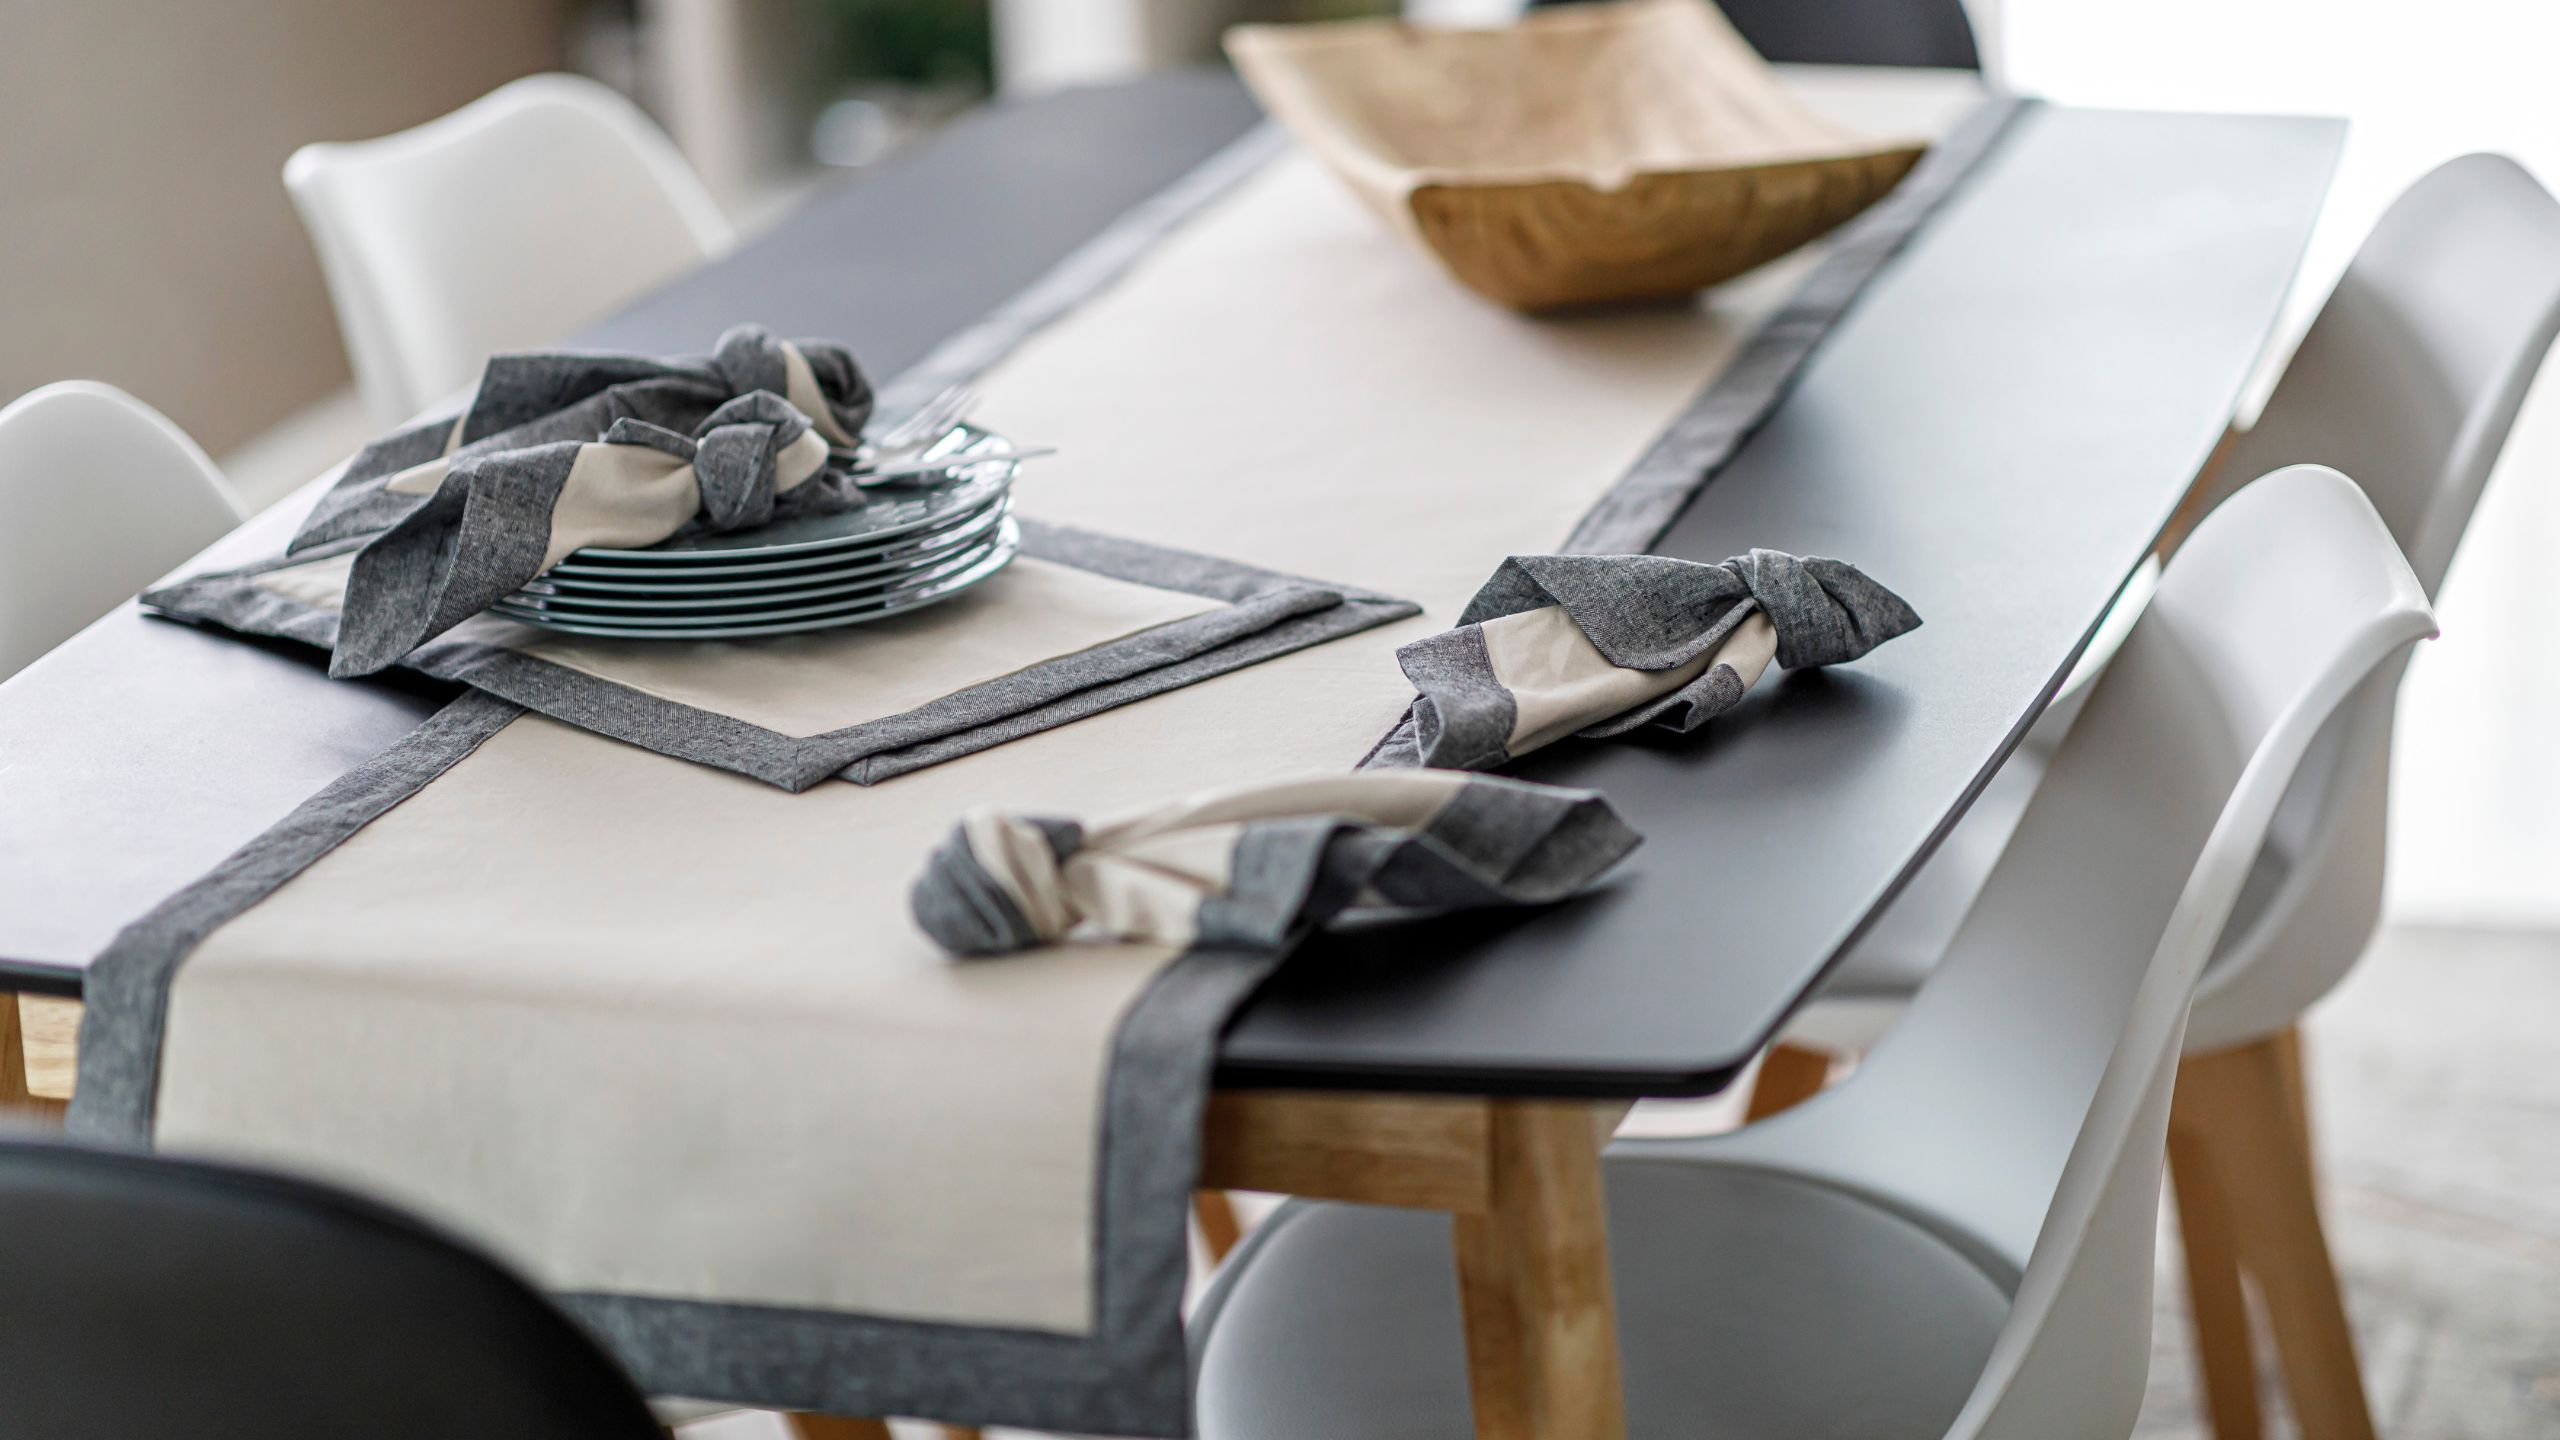
How to Make a Table Top Set - Free Project Tutorial
 Misty Doan
- Fabric by Yard
- Modern
- Table Runner
- Beginner
- Quilt size 18" × 82"
Get ready to create a linen table setting that will leave everyone spellbound! Join Misty as she teaches you to sew the Missouri Star Table Top Set pattern. This step-by-step tutorial will guide you through making lovely placemats, elegant dinner napkins, cute cocktail napkins, and a stunning table runner.
Instructor
Misty Doan
Misty Doan grew up surrounded by sewing and quilting. She loves spending time sharing tutorials each week each week, and when she’s not stitching up one of her fun sewing projects for home decor, most likely you’ll find her hanging out with her husband and three awesome kids or working on a house project.
Shop this tutorial
 Digital Download - Table Top Set Pattern by Missouri Star$4.95Shop →
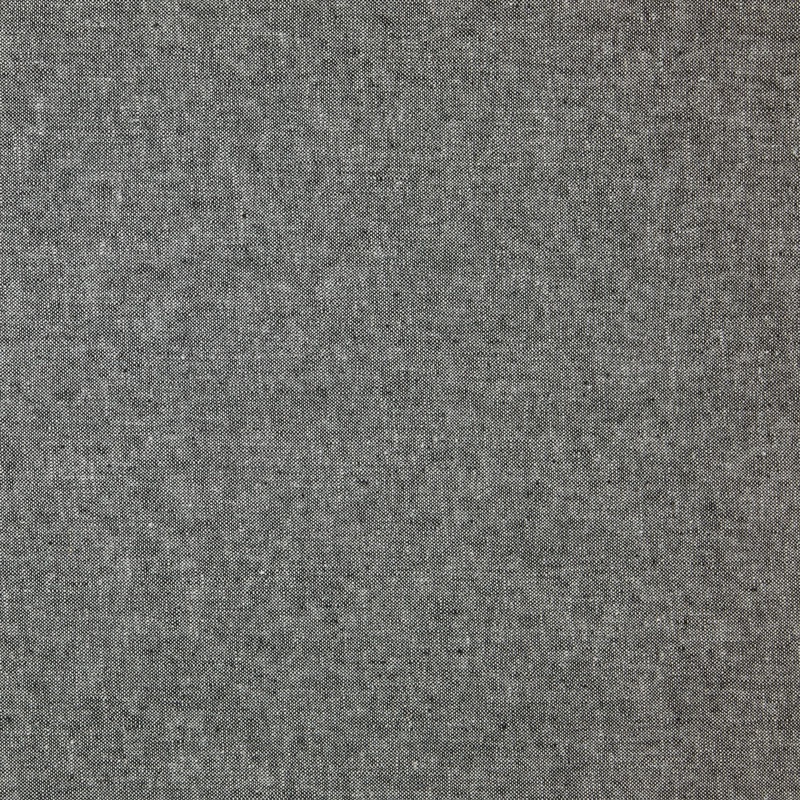 Essex Yarn Dyed Linen - Black Yardage$11.24Shop →
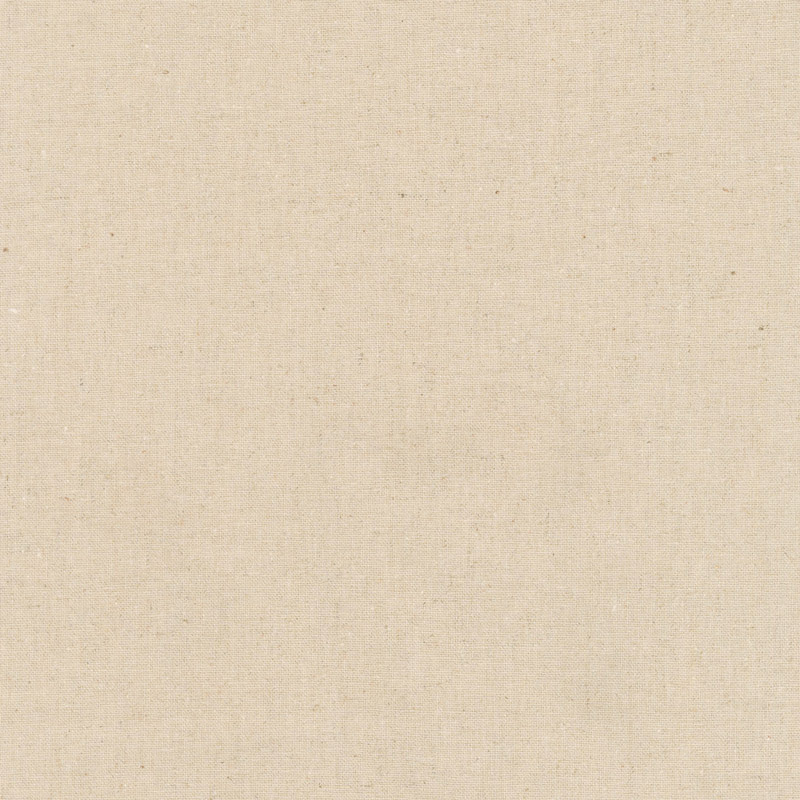 Essex Linen - Natural Yardage$10.96Shop →
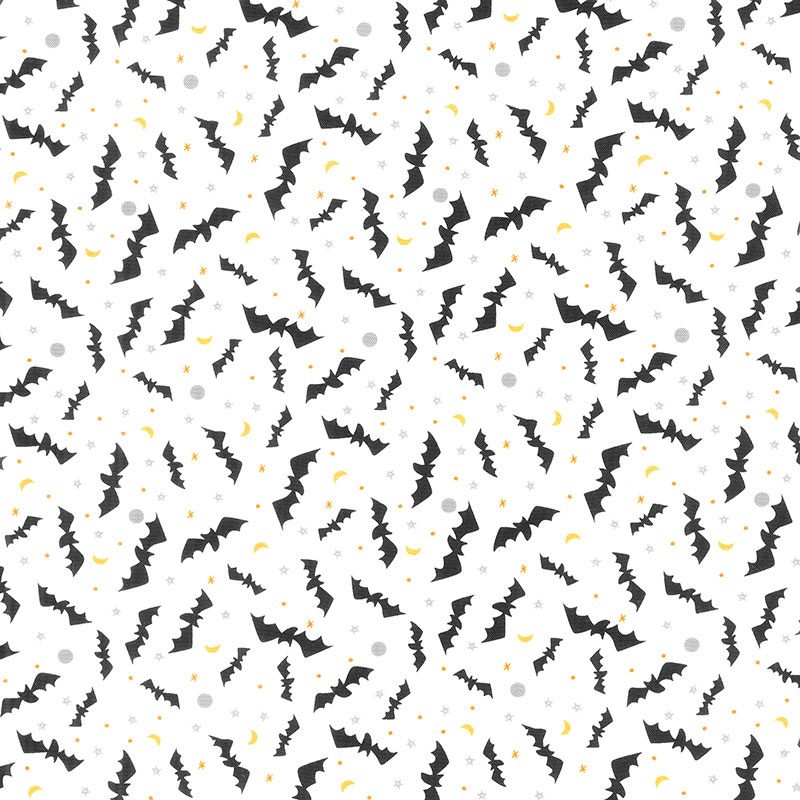 Holiday Essentials - Halloween Bats Ghost Yardage$11.24Shop →
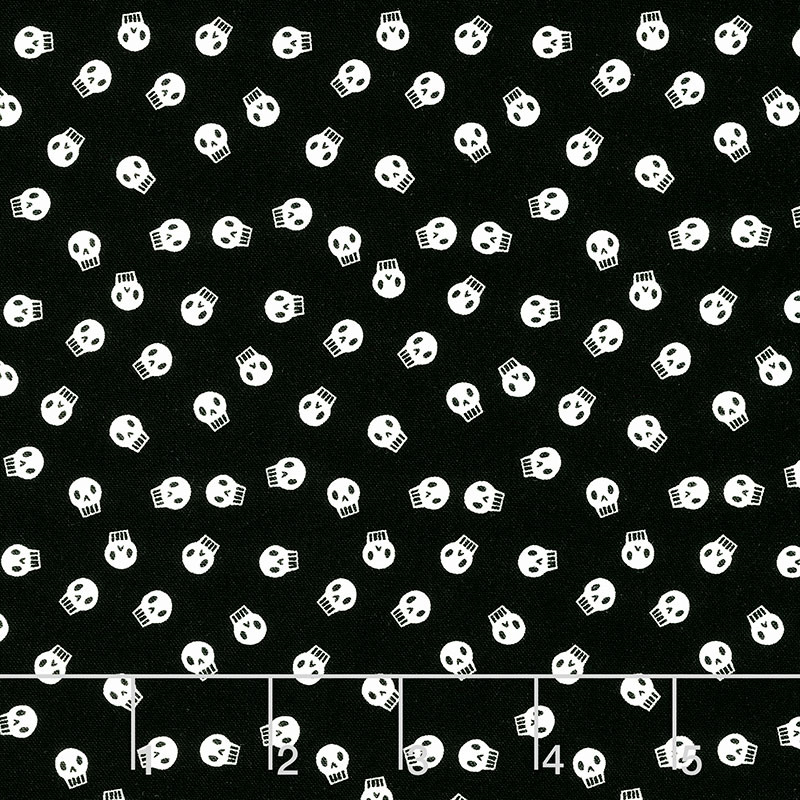 Holiday Essentials - Halloween Skullzzz Midnight Yardage$11.24Shop →
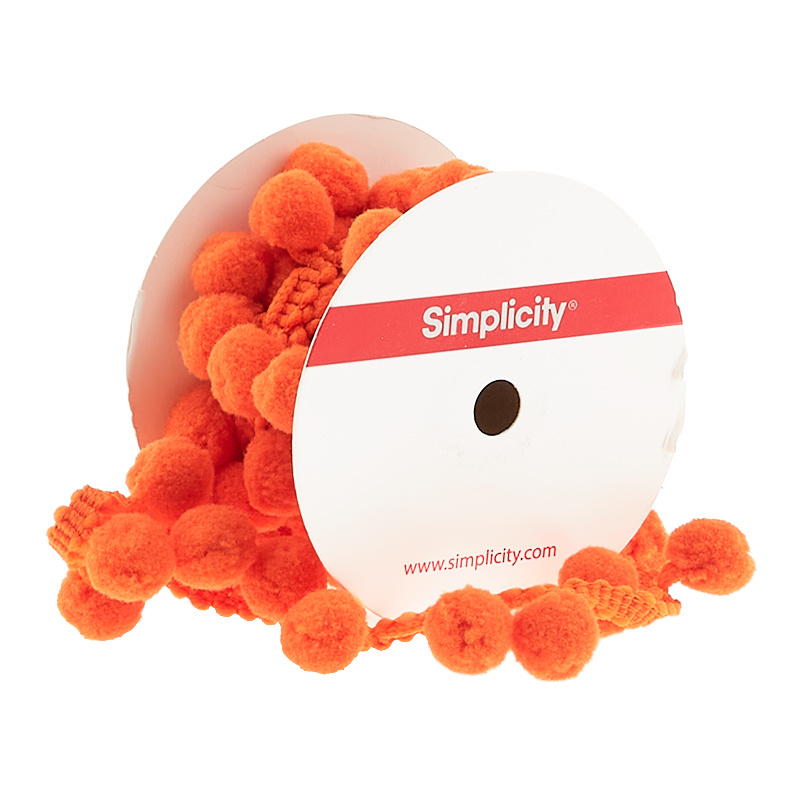 PomPom Fringe 4 Feet - 3/4" Orange$3.45Shop →
 Missouri Star Quilter's Best Blend Bed/Table Runner Batting$14.95Shop →
 Missouri Star 5" x 15" Ruler$15.95Shop →
 Elan 8" Dressmaker Scissors$20.95Shop →
 Olfa Splash Aqua 45mm Rotary Cutter$18.75Shop →
 Missouri Star 50 WT Cotton Thread Black$6.95Shop →
 Exclusive Missouri Star Jenny TG1600 ProPlus Oliso Smart Iron$199.99Shop →
 Missouri Star Wooly Betty Board - 17.5" x 17.5" Aqua Border$88.95Shop →
 Baby Lock Accomplish - 1500 SPM Straight Stitch Machine$999.00Shop →
Common Questions
What is covered in How to Make a Table Top Set - Free Project Tutorial?
Get ready to create a linen table setting that will leave everyone spellbound! Join Misty as she teaches you to sew the Missouri Star Table Top Set pattern. This step-by-step tutorial will guide you through making lovely placemats, elegant dinner napkins, cute cocktail napkins...
How long is the tutorial video?
The tutorial video is 00:12:18.
Are supplies listed for this tutorial?
Yes. The tutorial page includes the supplies and materials connected to this project.
Is a transcript available?
Yes. A written transcript is available on the tutorial page.
Video Transcript
So like I said, we are going to dive into the MSQC Basics tabletop pattern today. So when you pick up this pattern, it's going to have all the
instructions for you to make a simple table runner, four placemats and four napkins using this mitered technique that I'm going to show you today. So first up pick out both your main fabric, that's actually going to be
the one that is on the back and wraps around to the front of your project. For that you're going to need three and a quarter yards and then for your accent fabric the center here you'll need two and a half yards. And that will be the same you know back and front on all your placemats, napkins and the runner. Or you can mix it up and make it however you want. Really the idea behind this is we're giving you a simple pattern to start and you can then embellish this.
Any way you want, so also for the placemats and the runner specifically
you're going to need some batting to put behind there. So make sure you have some batting handy as well. So let me show you how to make this
starting with the placemats. So for this project I chose this beautiful Essex Linen in two different colors. For the main fabric you are going to need to cut your rectangles for your placemats at 17 by 22, so I've gone ahead and done that for this one here. It's ready to go I'm just going to set it aside for now and then you'll also need to cut a 12 and a half by 17 and a half inch
rectangle and a piece of batting of that exact same size for each of your
placemats and have those ready to go.
So let's set this aside. We're going to come back to this larger rectangle and we're going to make some marks to get this ready to go for the miters. So I've got my ruler handy here so I'm going to measure a half inch in on all four sides. So I'll start by just laying my ruler along this edge and
watching that half inch mark and you can use whatever marking tool you'd like. You could use tailor's chalk. I'm just going to use a pen so hopefully
you guys can see this. This will be inside the project so it's pretty forgiving.
So we're just gonna again line this up and mark all the way down that edge. And then once you've done that, we're also going to measure in two inches and make a mark all the way across. I'm going to continue this
and finish up marking all four sides of my project.
Okay so I have marked all four sides. You can see a half inch and then two inches, and you can you'll notice how it overlaps in these corners and this is all ready to go. And so now we are going to take this to the pressing mat. I'm actually going to bring my pressing mat over here to make sure you guys get a good shot of this. And we are going to start by folding
so that our marked sides are still you know outside towards us. And I'm just going to line this up on the 45. I'm actually going to flip this over so I have this shorter side and I can make sure it stays lined up. So I'm just ensuring that that edge and the corner is all straight.
To start with I'm going to press just this corner here. And then now I'm going to fold this up right along this first half inch line that we drew, again making sure we don't have any shifting. This one kind of slid on me.
So just oh I'd say five or six inches down we are going to turn this up and we are going to press this. We don't have to go the full distance yet.
And then now you'll notice here where these two lines are intersecting I'm
going to fold this and because I've marked both sides that straight line is going to line up exactly all the way through there and I'm going to press this again, because I'm going to crease that angle that we're creating. That's what I'm trying to do now. And so this might be hard for you to see
but I have a press line that's running right here so I'm going to take my ruler again, and I'm going to lay it right on that crease and I'm going to mark again with my pen and that mark right there is my stitch line.
So now let's go ahead and move this out of the way and we'll take this to the machine and I'll show you how it works. Okay so we have that line that we marked remember we're going to sew right on that line, not next to it. And I just want to make sure that my fabric down here is all nestled because this is where that miter is going to take place. So we don't want to have it shifting. The closer it is, the more accurate that that miter is going to be and so let's go ahead and put this under the machine. You do want to back stitch at the beginning and the end. I'm just going to sew straight down that line and back stitch again. There we go and now we can trim our threads.
So you can see here I have used white thread so you can see this stitching and we sewed right on that. So I recommend before you trim or do
anything, we're going to go ahead and flip this corner just to test it out and
see how it's looking. And would you look at that? That looks pretty nice. I'm very happy with that.
And so now that we know it's all going to turn exactly like we need it to we can flip this back out and trim off this bulk. So I'm just going to lay my ruler right along this edge and trim it off using our leaving excuse me a quarter inch seam allowance. So you could use your rotary cutter if you want
or you can just use scissors and just eyeball that just like so.
And so now we're going to repeat that on all four corners. All right so you can see here I finished up all four of those corners. I also went ahead and pressed these long runs under that half an inch that we marked so all of my pressing is done. Now we're ready to turn this right sides out so we
can just flip those corners, and if you have a turning tool it's a great opportunity to make sure they get really sharp. I'm just going to use my
fingernails, just push those out. And you can see how nicely it's already laying.
So now all we need to do is grab that piece of batting and our accent fabric and these are going to tuck right inside here and they should fill almost all the way to the edge. They're just leaving a little bit of room around and so you might need to kind of adjust and shift this to make sure it's centered up in there, just like so. You just don't want it to be too bulky on any of the edges. So there's the batting. If you wanted to you could use some basting spray or the free fuse basting powder would be great here. And then we will add our accent fabric so just in the same way
this is going to tuck inside. So I'm just going to tuck this until it's laying nice and flat and I'm actually going to bring this over here and give it just a little
press because I've got a wrinkle there in the center.
All right that looks much better. So now I'm going to go around and I'm going to put some pins because I don't want any of this to shift. So let me work on that and I'll meet you back here when it's done. All right I have lots of pins all the way around this. So now we are ready to take this to the machine and we are just going to do a nice stitch really close to that edge because we just want a really beautiful finish. So again I'm using white thread. On our finished product here we used a black or a gray to blend in a little bit better. So keep that in mind you could also do a
decorative stitch all the way around. Here the fun thing about this pattern is there are really so many possibilities. And I honestly should mention before we stitch this down you could add embroidery or applique to this inner piece. You could add fun little trim, so just kind of let your heart decide how you want to make these and don't be afraid to play.
So let's go ahead and stitch this down now. So I'm going to start in this corner here. I'm going to go ahead and pull out that first pin and just make sure to take your pins out as you go you don't ever want to stitch over those. Here we go. So as I get to the corner I'm going to leave my needle down and I'm just going to pivot and then we can continue stitching all
the way around and we'll finish up there at the other end. All right we have finished stitching all the way around. I'm just going to pull out these last two pins and there you go that is our mitered placemat! Doesn't that turn out so great? It's so fun!
So like I said in the pattern, it'll tell you exactly how to make this exact same style in both a runner and a napkin. Here's the napkin. And you will get enough to do four placemats, four napkins, and of course your runner .
There is also a bonus option in the pattern, so let me show you that. That is just a simple turn and flip style and so this will actually use even a little bit less fabric. So here's just one and I did this in really cute Halloween fabric. So it's got the bats on one side and these skulls on the other and on this one I couldn't resist adding some pom-poms on either end.
So like I said, I just want you to play with this really use your imagination because you can use this basic pattern to make these completely your own and customizable to your home or for gifts that you're making. So I hope you enjoyed this and I'll see you next time on At Home.


