

How To Make A Time Flies Quilt - Free Quilting Tutorial
 Jenny Doan
- Layer Cake
- Traditional
- Lap / Throw
- Beginner
- Quilt size 64" × 64"
Time flies - so you know we're having fun! This week Jenny is stitching up a summery combo of hourglass blocks and half-square triangles. She's using 10-inch squares of precut fabric and the Easy-8 method to make those HSTs in a flash. Her fabric, Fruit Cocktail Layer Cake by Fig Tree & Co. (Joanna Figueroa) for Moda Fabric, has a beautiful range of lights and darks, so no background fabric is needed.
Instructor
Jenny Doan
Jenny Doan is an American quilter, author, and YouTube personality. Jenny started Missouri Star Quilt Company in 2008 and today it is the largest quilting supply vendor in the United States.
Shop this tutorial
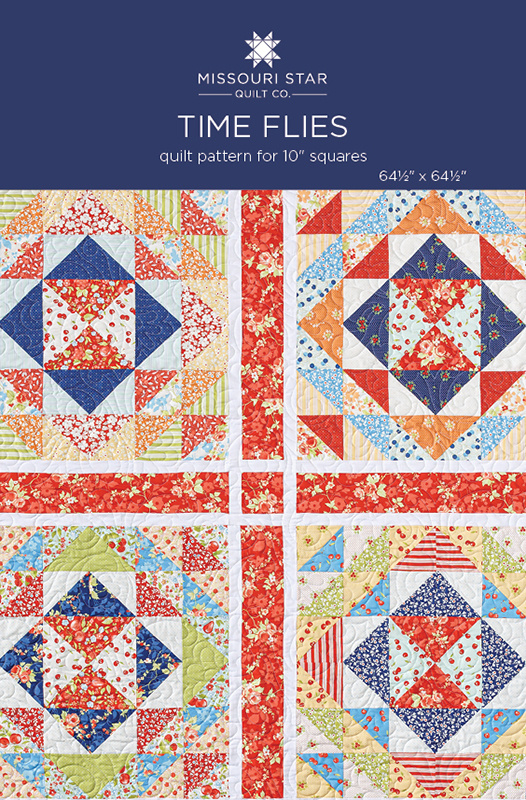 Time Flies Quilt Pattern by Missouri Star$6.95Shop →
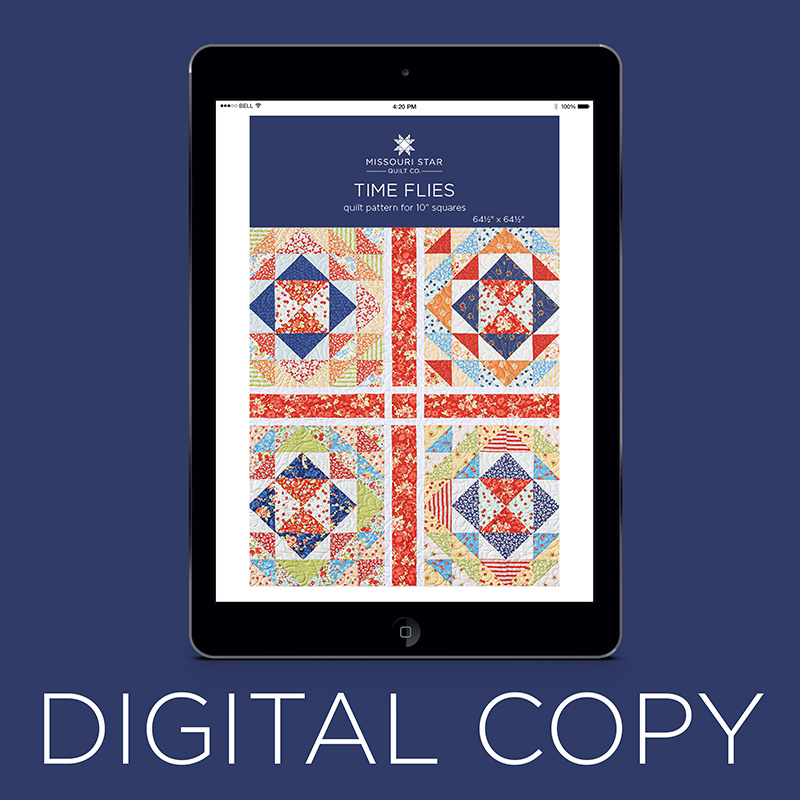 Digital Download - Time Flies Quilt Pattern by Missouri Star$4.95Shop →
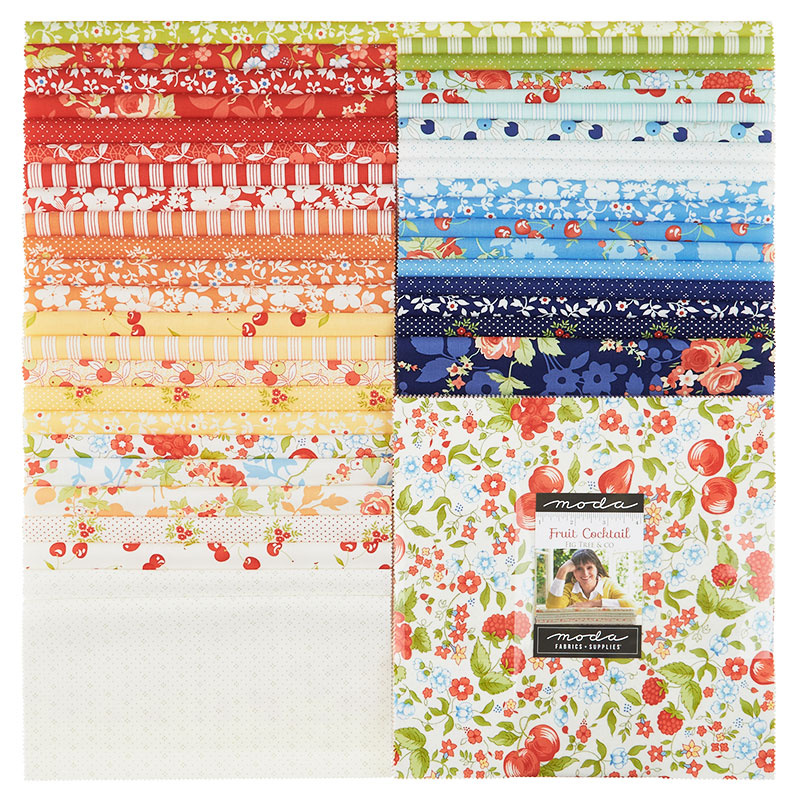 Fruit Cocktail Layer Cake$45.95Shop →
 Bella Solids - White Bleached Yardage$8.24Shop →
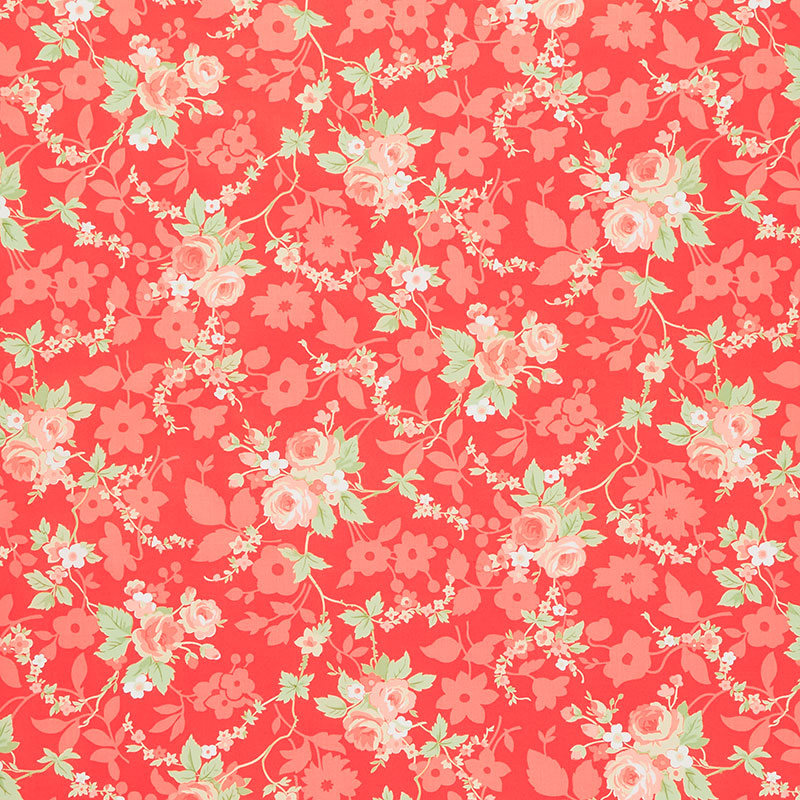 Fruit Cocktail - Summer Floral Cherry Yardage$11.96Shop →
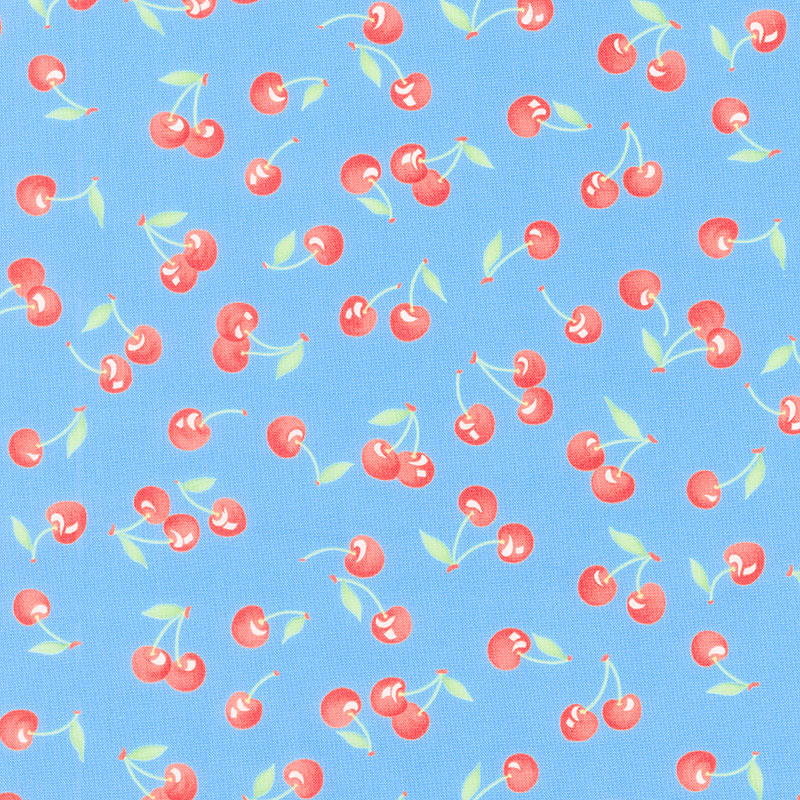 Fruit Cocktail - Cherry Orchard Blueberry Yardage$11.96Shop →
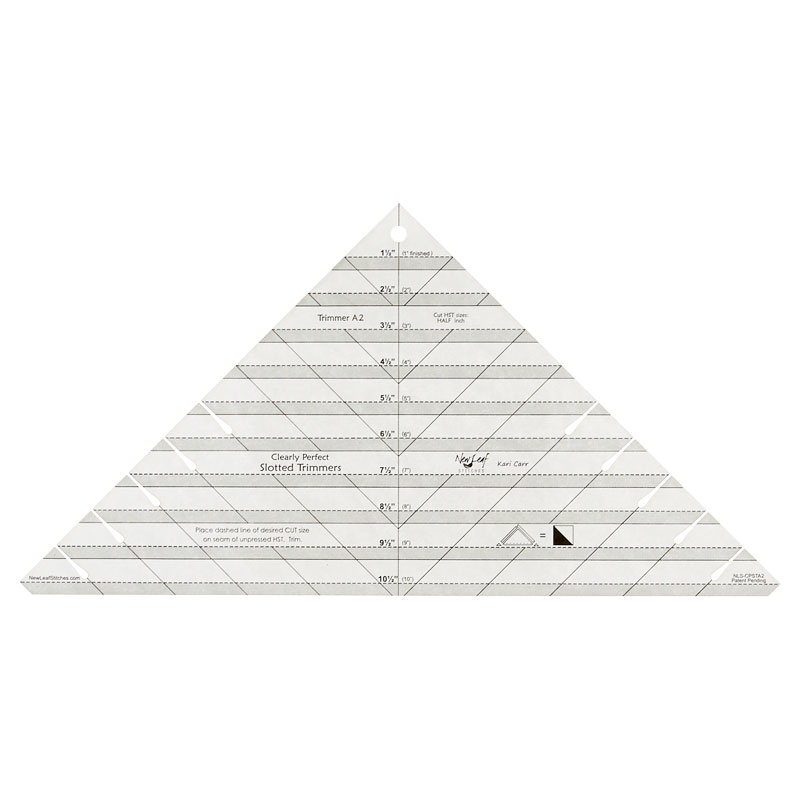 Clearly Perfect Slotted Trimmer A2$26.95Shop →
Common Questions
What is covered in How To Make A Time Flies Quilt - Free Quilting Tutorial?
Time flies - so you know we're having fun! This week Jenny is stitching up a summery combo of hourglass blocks and half-square triangles. She's using 10-inch squares of precut fabric and the Easy-8 method to make those HSTs in a flash. Her fabric, Fruit Cocktail Layer Cake by...
How long is the tutorial video?
The tutorial video is 00:14:52.
Are supplies listed for this tutorial?
Yes. The tutorial page includes the supplies and materials connected to this project.
Is a transcript available?
Yes. A written transcript is available on the tutorial page.
Video Transcript
Hi everybody, it's Jenny from the Missouri Star Quilt Company and I've got a fun project for you. Take a look at this quilt behind me. Isn't this great? I love these big medallion type of blocks that just build out from the center and it's super quick and easy and I can't wait to show you how to do it.
So to make this quilt, you're going to need one packet of 10 inch squares and we have used fruit cocktail by Figtree and Company for motor fabrics. You're going to need some border, your border, you're going to need one and a half yards, and that will take care of this inner border as well as the outer. You're going to need some sashing, and that is three quarters of a yard, and that's these little strips right here. And for your backing, you're going to need four and a quarter yards. And we use this line with the cherries. We just thought it was so adorable. Really cute. The quilt pattern that's on here is called Variety and the quilt ends up being 64 by 64. So it's just a great lap size or a really fun picnic quilt. And of course if you want it bigger, you just add more to it, it can get bigger, fast. All right, so let me show you how to make this.
All right. So this is a super easy block, but it's made up of two other blocks. The first is the hourglass here in the center of our block, and the rest of these are all half square triangles. So let's start with the hourglass block. You're going to choose two squares from your pack. Now, I did not use any background fabric for this quilt. I used all the different contrasting colors in the pack, and so I do want my hourglass to stand out. So I chose this white cherry fabric. So what I'm going to do now is I'm going to draw a line, one diagonal line across it, just like this. This will actually give you two centers.
And so what we're going to do now is we're going to put these on top right sides together and we're going to sew a quarter of an inch on both sides of this line. So we're just going to come here and sew a quarter of an inch on both sides, and then we're going to flip this around and do the other side. And then we're just going to come over here and we are just going to cut this in half, like this and then press it back. I'm going to cut off my extra threads right there and then we are just going to press this back and we're going to keep it to the dark side. Our seam is going to go to the dark side like that, and then this one as well.
So now what we're going to do is we're going to put these right sides together, opposite sides. So you want your light to go with the dark and the dark to go with the light, and then we're going to feel right here to make sure they're nice and tight. We're going to take our pen and we're going to draw a line across this way diagonally. So then we're going to take our ruler in opposite of the seam way, we're going to draw a line across and we're going to sew a quarter of an inch on both sides of that line as well. Now, make sure that your squares are lined up and that there's no space in between these two seams in the middle if they just match up nice and tight.
All right, so now what we're going to do is we're going to cut this in half again like this, and then this is going to give you this great looking hour glass. Isn't that great? Now what we want to do is we want to square this to eight and a half, and so we're going to use our clearly perfect slotted trimmer. We're going to put it on the eight and a half line like this, and we're going to use this center line to line up the stitch line there. Now if you want to use a regular ruler you can. Just press it open and square it to eight and a half, but here's our hour glass and we can go ahead and get the other one ready as well.
Again, I'm lining my eight and a half up line, my seam line on their seam line and this seam line right up the middle, just like that. And we're going to trim and trim and if you want to cut off your little corners, you can just come in here and use that little slot and cut off those little corners. And this makes the center of your block. So you've now made the center for two blocks, which if you look closely at my quilt, you can see that two of them, this one and this one are matching and this one and this one are matching. So you can mix those up or do whatever you want, but you're going to get two from your block. All right, so the next thing we need to do is we need to make four sets of easy eight half square triangles.
So what we're going to do here is we're going to choose four fabrics and four contrasting fabrics from the pack. And so I've got some already done over here, but we'll walk through one together so you can see they all have a light and a dark, and we're just going to keep those together. These are done squared ready to go, and you and I are going to do these together. We're going to draw the X and we're going to sew on both sides of both of these lines. We're putting our two squares right sides together, and we're going to go ahead and sew on both sides and then on this other side as well. And this works on any size square, so this is just a great hack. If you want eight half square triangles, it works perfectly.
All right, so now what we want to do is we want to cut this in half, lay our ruler right along the edge and cut it in half vertically and horizontally before we cut on the lines. And the reason I do that is because the lines are still going to be there and you're going to be able to find those if your squares get scooted around, but this way it's already done and you don't have to worry about it. It makes it much easier.
All right, so now what we're going to do is we're going to square all these little half square triangles, and again, I'm going to use the clearly perfect slotted trimmer and so you don't have to iron them open first. So we're going to lay our square or our stitch line on their stitch line, and we're trimming these to four and a half, and this guy is just nearly perfect. That's our Mary Poppins block right there, practically perfect in every way. All right, here's the next, and here's another one, and we're just going to go ahead and do all of these and only three more. It just takes a minute. Squaring has actually become something that I really enjoy. I didn't for a long time, but now it makes everything so easy, and I guess I should tell you that if you want to cut off your little corners, you can do that on this small ruler as well. I always forget, people are like, why don't you cut your corners? I'm like, I just forget and I get in a hurry. All right, so here's that.
Now we will press them open. Look, I'm doing it without the ruler even. There we go. All right, so let's come on over here and we'll press these open and we're just going to press to the dark side, and so we'll just lift up the darker piece and get all, you need four sets of these four sets of 8, 32 half square triangles. It sounds like a lot, but it went pretty fast, I promise.
All right, so now what we're going to do is we're going to start with our middle. And you can see I did several of these blocks where things were different, and then I decided that I wanted a uniform effect. So what I did was I had my hourglass in the center, and I loved the look of the dark blue surrounding it. There were four luckily pieces of navy in the pack. There were four pieces of navy in the pack. So it worked out great for me. And then I loved the red coming off the corners, and this one I did a little bit differently, but I was just trying different things. I wanted it to have that effect of growing larger and you seeing it.
So what I did then was we put these down, I put my navies right around it, and these all get sewn into flying geese like this. So we've got our hourglass and our flying geese blocks, and this whole packet is going to go into flying geese. And that's why we called it Time Flies because time flies when you're having fun and time is the hourglass and the flying geese are what's flying. We're putting these together color to color and just sewing, you can sew from the bottom of the top. And we are going to be making several sets of flying geese and then a little four patch that we put up in the corner. Actually, it's not a four patch, it's half square triangles that form a corner block. I didn't want to confuse you.
All right, so we're going to cut these apart and we'll press these open. And I'm just going to sew some of these because this is a very repetitious block, and once you get the gist of it, you'll be just fine. All right, so this one goes right around it. We're going to clear our area here so that we can build this block out. We're putting all of our flying geese color to the middle like this, and we'll move it up a little bit so you can see it better. This way. And then we're going to do another set of flying geese.
Now let's do this orangey one. And again, we're going to sew it together just like we did the other one. So let's set this out here, like this. Like that. Two more out here. And this is a brain thing, so this is the way it works for me to put this together. If you want to do it all in rows, that works as well. So this is as big as our block is going to get. And then we're going to put these little ones in the corner. So I'm going to start with my reds because I like placing them, it makes more sense for my brain to place them. So the dark red goes in the corner like this all the way around once, and then the next time it goes right on the point of it like that.
And again, this is a brain thing. This is how my brain works, so I can put these together and it keeps me, because I'm so angulary challenged, it keeps me from getting mixed up. Then I'm going to fill these in, and how I'm going to fill those in is I'm just going to put my blues to the pointing in this way, and it just sandwiches those little half square triangles in. So cute. Oh, nope. Ooh. I saw right away that one was off. That was a good catch. It's still off. Wait. There we go. Blue in, blue in. I got to have a mantra. All right, so this is your big block. So basically these were a block I sewed together, and then I sewed all my flying geese together and it just went together so nicely and so easily, and you make four of those.
Now let's talk for a minute about this sashing. Because the quilt wasn't giant and I didn't want to bring in another layer cake, I decided to do a wide sashing. So I took a four-inch piece of the border fabric and sewed a one and a half inch strip right along the side and just sewed it in between the blocks right here, you can see this is one unit, so I sewed my strips together, then I sewed my strips on the sides to it, and then I made a little square here in the center to just break it up a little bit and it helps me line these other ones up out here too.
I'm not very good at this matching top to bottom, side to side, and this helped me line that up. And then I went ahead and put a little one and a half inch sashing all the way around the outside edge and a four-inch border. I stuck with the same size that was in here out here, and I just think it came together so nicely. So I hope you enjoyed this tutorial on the Time Flies Quilt from the Missouri Star Quilt Company.
Hi everybody, it's Jenny from the Missouri Star Quilt Company. We hope you enjoyed watching this video. If you aren't already part of the Missouri Star Quil Company family, be sure to subscribe so you won't miss a thing. And if you click that bell, it'll notify you every time a new tutorial comes out. See you next Friday.



