

How to Make a Trailing Squares Quilt - Free Quilting Tutorial
 Jenny Doan
- Layer Cake
- Modern
- Double
- Beginner
- Quilt size 68" × 77"
Trailing Squares is sew easy—just one little seam in the whole block. But the fun doesn’t stop there! Jenny uses the scraps to make a stunning pieced border, whips up a bonus baby quilt, backs it with snuggly-soft Cuddle®, and adds an elegant flange binding. From start to finish, this week’s tutorial is packed with enough goodness to keep you sewing all spring!
Instructor
Jenny Doan
Jenny Doan is an American quilter, author, and YouTube personality. Jenny started Missouri Star Quilt Company in 2008 and today it is the largest quilting supply vendor in the United States.
Shop this tutorial
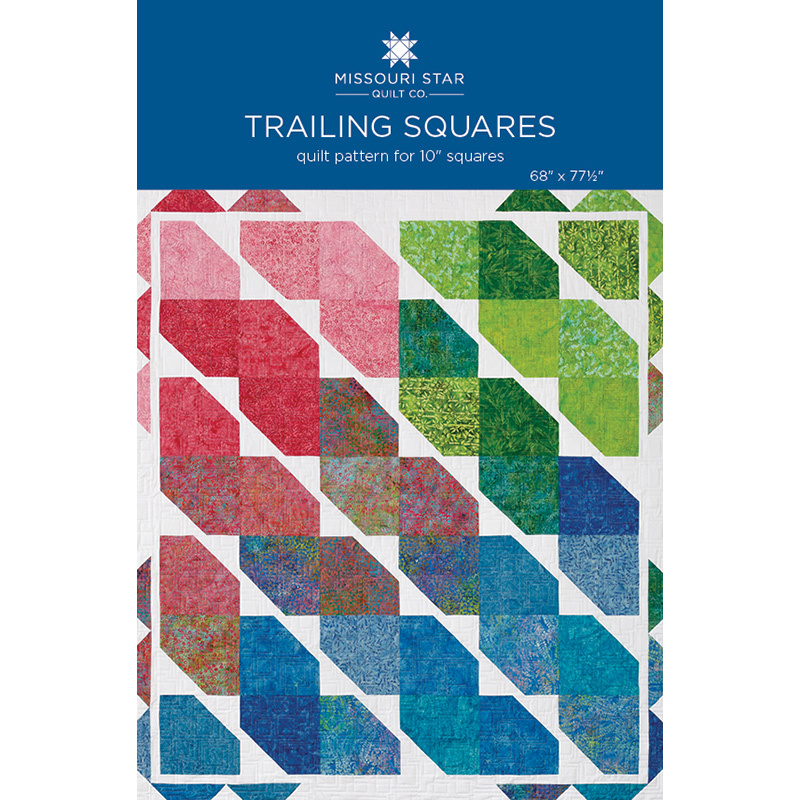 Trailing Squares Quilt Pattern by Missouri Star$6.95Shop →
 Digital Download - Trailing Squares Quilt Pattern by Missouri Star$4.95Shop →
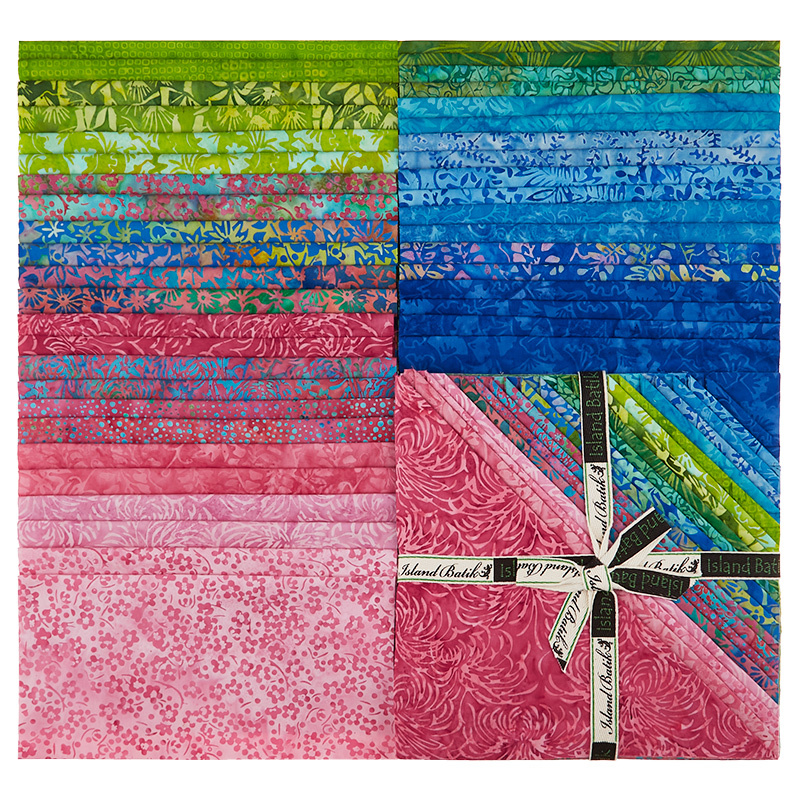 Blossoms and Blooms Batiks Stacks$39.95Shop →
 Simply White Batiks - Solid White Yardage$11.96Shop →
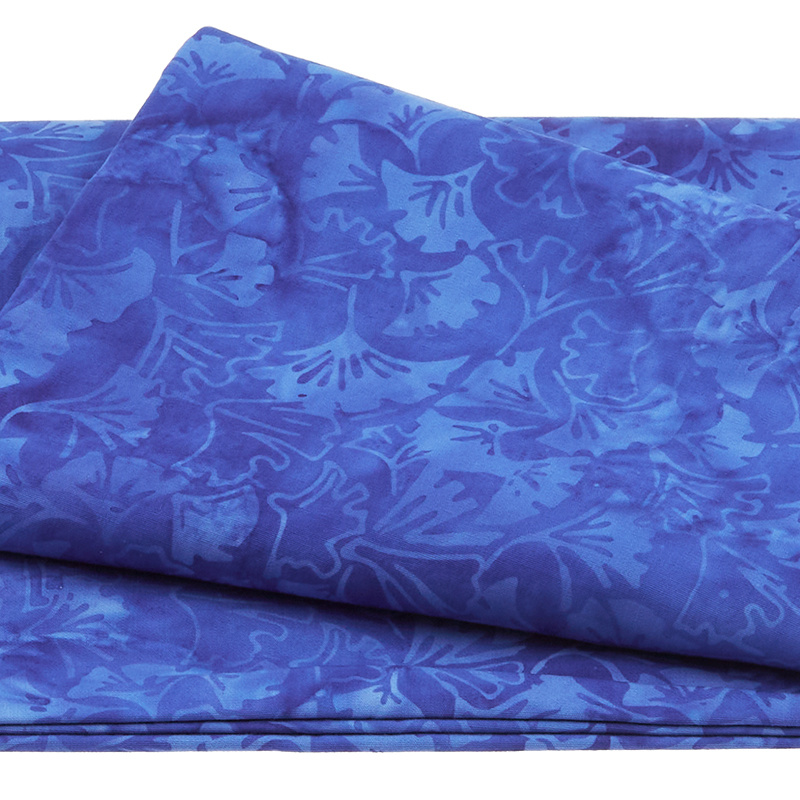 Blossoms and Blooms Batiks - Ginkgo Leaves Blue Marine 2 Yard Cut$23.92Shop →
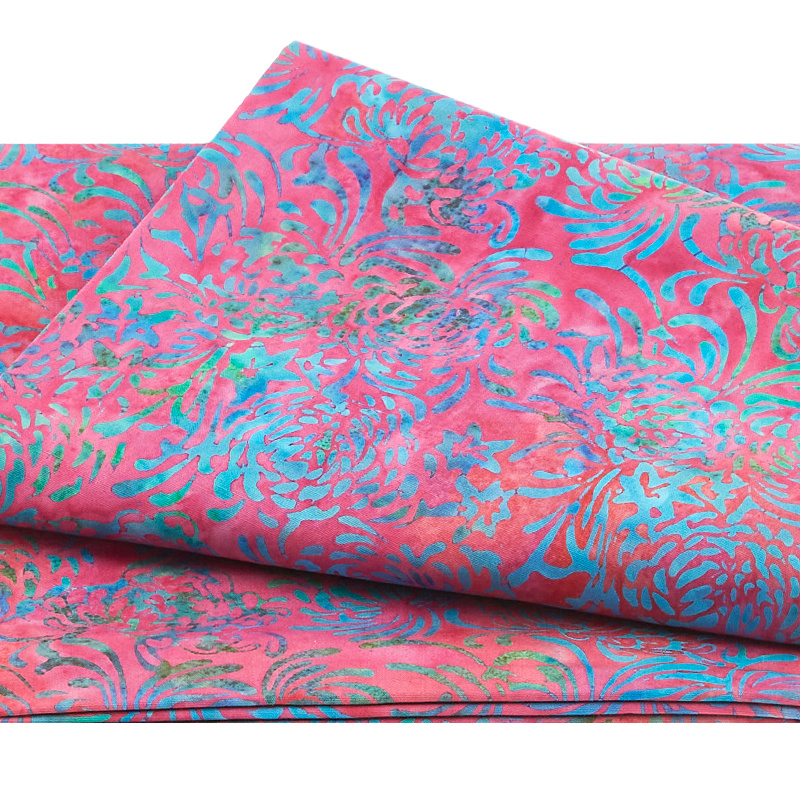 Blossoms and Blooms Batiks - Large Mum Pink Punch 2 Yard Cut$23.92Shop →
 Clearly Perfect Slotted Trimmers$31.95Shop →
Common Questions
What is covered in How to Make a Trailing Squares Quilt - Free Quilting Tutorial?
Trailing Squares is sew easy—just one little seam in the whole block. But the fun doesn’t stop there! Jenny uses the scraps to make a stunning pieced border, whips up a bonus baby quilt, backs it with snuggly-soft Cuddle®, and adds an elegant flange binding. From start to fini...
How long is the tutorial video?
The tutorial video is 00:15:31.
Are supplies listed for this tutorial?
Yes. The tutorial page includes the supplies and materials connected to this project.
Is a transcript available?
Yes. A written transcript is available on the tutorial page.
Video Transcript
So to make this quilt, you're going to need one packet of 10-inch squares, and I have used Blossoms and Blooms by Kathy Engle for Island Boutique, and this is an exclusive Missouri star pack, so I'm super excited about that. Your background, you're going to need 1 3/4 yards, and that also includes that little 1 1/2 inch inner border that you can see on the quilt behind me. Your backing is 4 3/4 yards of backing, or if you're going to use a 108, you only need 2 1/2. And our binding is 3/4 of a yard.
So let me show you how to make this. So to make this quilt, the first thing you're going to do is, you're going to take your background fabric, and you're going to cut it into six-inch strips and then sub cut those into six-inch squares. You're then going to draw line corner to corner on here like this, and then you're going to come out 1/2 an inch, and you're going to draw another line. So once you get your two lines drawn, we're going to place those on a corner of our 10-inch squares, and you're going to do this to all the squares. Make sure that your secondary line is to the outside of your block out here. So this is the line we're going to sew on for our block, and then this is the secondary line that we're going to sew on. And then cut in between those, and save that triangle. That triangle is what's going to help us make this outer border that's so beautiful out here.
All right, so we're going to sew right on this line. We've laid it right in the corner, and then we're going to flip this around, and we're going to sew down the other line. Then what we're going to do is, we are going to take this right here and trim it off. We're going to press this corner back right here, and that, my friends, is your entire block right there. You're going to make 42 of those.
Now, this little piece out here is what I used for the outer border. So all these pieces I cut off are what made this outer border out here. So you're going to take this little piece right here, and you're going to square it to five, and you can use any squaring tool. I'm using the Clearly Perfect slotted trimmer, and I'm squaring this to five inches like this, and then you're just going to press this open. And as you do each block, just leave these in a stack and your other ones in a stack, and that really is your whole quilt right there.
So I did this years ago. It's a quilt called Pecking Order, and I was really fascinated by what happened with just this one block, how many things you can do with just this one block. Let me show you how this one goes together up here. So let's go back to the quilt. So when we put these together, basically what I did was I put corner up, corner down corner, up corner, down all the way across. The next row, I started with corner down. Then I went corner up, corner down and up. So you're just alternating row by row, and it gives this gorgeous trailing look that happens across here, which I think is really fascinating that you can get that from this block, but there's so much more it can do.
So once you get your quilt top all together, we're ready to start on this border. Now, the border are the leftover half square triangles out here, and I kept my colors with the colorways. And so you're just going to look through your colors, and you're going to find your two pinks because there will only really be one, maybe two of each color, but then you're going to sew these together like a flying geese, just like this, and sew color together. And then we're just going to sew 1/4 inch. And remember, these have been squared to five, and then you are going to press them open. And then what we're going to do is we put across the top, because it's a narrower this way, we put two of these across the top, and then we put three down the sides.
Now this measurement in between here, because these are five inches, it's going to be five inches by 15 here, and across the top up here because there's only two, there's this piece here is going to be five by 23 1/2. Now, it may be a little different because of your seam allowance. So what I did was, I sewed my two sets together on both sides, and then I sewed a piece in there that was 23 1/2, and if it fit, great, if it didn't, I took it in a little bit or let it out a little bit. Make it work to fit your quilt because all of our seam allowances are different.
So once you get your borders on, it makes a quilt that is 68" x 77". Now, I chose not to add another border out here because I thought this border was so cute. I bound it 3/4 of a yard binding, and then this back here is so cool. I love the look of it. Boutiques are lovely to work with, and the quilting pattern on this one is called Meandering Squares, and it's just a beautiful pattern, a very fun and easy quilt, but it just looks stunning. And so it's so interesting to me that this one block can do so many things.
So years ago, I did a quilt called Pecking Order, and if you'd like to see some what if factors, stay tuned because I have some What If coming after this video, and we hope you enjoyed this tutorial on the Trailing Squares quilt from the Missouri Star Quilt Company.
So years ago I made a quilt called Pecking Order, and I wanted to show that for you. Cherry, will you come help me hold this up here? So this is how Pecking Order looks. This is the same block. It's a square with one little corner in it right here, and it just makes a really fun quilt. It was about the time the eclipse happened in Missouri, and so I made a little eclipse quilt. Look how cute this is with that black background. Again, it's the same block, just one little corner. And I got thinking what would happen if I did this block in the big squares? I was having all kinds of what if moments. And so I made this little baby quilt. This is 16 blocks, and just by turning this same block that I just taught you, look, it makes this beautiful star.
But one of the things I thought was really fun is that I put Cuddle on the back of this, and not everybody loves to bind through Cuddle because it gets big. And so I thought that I would put on a flange binding. Now, I know I've shown you how to do this before, but I thought I would show you again because it's so easy. So basically you're cutting two strips. One is 1 3/4, and one is 1 1/2. And what we're going to do is, you're going to sew these together just like you'd normally sew your binding together. Make two long strips, and then you're going to sew your two strips together like this. So you can see this one has been sewn together, just like the normal binding, and we're just going to sew these together.
So I'm going to come over to the sewing machine and just sew these two together like this. And I have half of my quilt done because I wanted to show you how to go around a corner and all those things with this flange because it's way easier than you think it is, and it gives such a great look to a simple quilt. It just dresses it up and makes it fancy. So we're going to sew these two together. And this is probably way more than I need, but I just wanted to be able to show you how to do this.
All right, so now what we're going to do is, we are going to press this open, and we're going to press the seam to the small side. So I like to press my seam to the shorter side. So this time it's the green, and we're going to go right here, and just open this up, and make sure that seam is laying toward the green like that. And when you're sewing with batiks, pressing batiks is just lovely. I mean, they're so rewarding because they just lay down so nice and just do it just right. You're going to flip this over now, and we're going to make sure that there's no creases in this; that it's nice and no folds, no creases because you're dealing with two little strips.
Now what we're going to do is, we're going to fold this in half and just like we would normally iron our binding, we're going to do that. And so you can see here, you can see that tiny bit of pink peeking out right there. That's what you want to make sure you see. So when you go to press this together, you're just going to line up your edges, and if you line up your edges, that pink, that little bit of pink should peek out. And you just go along and make sure that little bit of pink peeks out, just like that.
All right, then you're ready to put it on your quilt. Now, I've got mine already started here, and so I just lay mine on here, and you put it on the back. And you're going to go ahead and lay this down here and line it up. Now, you should see nothing peeking out because when we pull this around to the front, that's when we want to see the green with the little peeking out. So we're putting this on just like normal. So lay it right along the edge on the back, and we're going to bring this around to the front when we're done.
Let me get this around here.
With Cuddle, you might have to go a little slower. It is a little heavier for sure. Now we're here to a corner, and that corner, we're going to treat like all the other corners every time we put binding on. I go to the 1/4 inch and sew off the end. Then I'm going to flip it, and I'm going to put my thumb in there, make sure it's folded straight along the top, and then just sew down the other side like this. And I'm coming up to where I'm going to connect my two pieces.
All right, so I have this piece here. This is where I started, and I'm going to show you how to add this on. So I'm going to lay this over just like this. This is a little trick you can do. So I'm cutting this off. I know that I need 2 1/2 inches because my binding is 2 1/2 inches wide, so they have to overlap 2 1/2 inches. So I'm going to cut a little piece off of here like this. All right, so I'm going to take this little piece, and I'm going to lay it over here, and I'm going to make sure that I have 2 1/2 inches overlapping just like this. And if I have too much, I'm going to trim it, but mine is just about perfect.
So what I'm going to do is I'm going to take this out and I'm going to open this up. You do this just like you do your normal binding. You put the side that's coming down, you put it across, and then this side goes up and down. So it'll be just like this. And you lay it over the top just like this and sew corner to corner. So I'm sewing from this left corner down to the right, right here. Oops, mine scooted a little bit, so I'm going to make sure it's on there just right. And if you want, you can put a pin in there. All right, couple little anchoring stitches, and then I'm going to make sure this is laying on here and this is nice and flat. And I'm just going to sew from this corner to this corner right here. Now, before I trim anything, I'm going to open it, and pull it, and see if it's pretty good. And I think that's going to be fine. So now, I can trim this, and sew it down just like that.
All right, so once you get your binding on, we are ready to turn it over and stitch it down on the top. Now, when you stitch it down, you want to choose a thread that's going to blend with your pink. And I have a couple of pinks over here because you really want this stitch to disappear. And so what you want to do is you just want to take your pink thread, and you want to lay it across your fabric, and see which one disappears. Sometimes a lighter pink, see how this one reads really white, where this pink over here is really going to disappear. So I'm going to choose the darker pink.
So now what we're going to do is, we flip this toward the front, and we lay it down. And I like to just come along and sew right in this little seam right here. And so I'm just going to line up my needle and take a few stitches, and sew right in that seam. So I'm just stitching along the top. I'm stitching in the ditch, and I'm getting ready to come to the up to the corner. And what I'm going to do on this corner is the corner that I'm coming around, I want to fold that underneath. I want it to be underneath. So I fold that one up. So I'm ready to go. And then I pull the top one over until my two little seams match up on my little 45 angle. And so I just fold that over there. Let me make sure this is coming over here here. And you just have to fuss with it a little bit. And that looks like it's going to be just about perfect.
And so I'm going to go in, leave my needle down, and then rotate my quilt around so we can see that corner. And then I'm just going to come straight down the other side. And you can see how nicely that corner laid into itself right there.
And just like that, we are done with our flange binding. I'm going to clip that thread, and take a look at this. How cute is that? Makes a little star, but this flange binding just adds so much to the finishing of this, and I just thought it was fun. So I thought it was fun for you to see what if happens with the big squares. You saw the two quilts. What happens with the small squares? It's the same square, and it's just fun to play with a square that's so simple and yet add such a punch. So we hope you enjoyed this little what if moment from the Missouri Star Quilt Company.
Hi everybody, it's Jenny from the Missouri Star Quilt Company. We hope you enjoyed watching this video. If you aren't already part of the Missouri Star Quilt Company family, be sure to subscribe so you won't miss a thing. And if you click that bell, it'll notify you every time a new tutorial comes out. See you next Friday.



