How to Make a Vintage Hearts Quilt - Free Quilting Tutorial
 Natalie Doan
- Layer Cake
- Heirloom
- Double
- Beginner
- Quilt size 79" × 89"
To know Jenny…is to love Natalie. Same smile. Same warmth. Same clever, easy quilts. And this week, Natalie is taking the spotlight with a pattern of her own creation. Vintage Hearts is all-nostalgia with big, patchwork hearts and fabric reproductions of antique valentines. (Fun fact: Those valentines once belonged to the grandmother-in-law of our retreat manager, Susan Brown!)
Instructor
Natalie Doan
Natalie is the host of Quilting 101, Embroidery 101 and the Creative Strategist and Editor of Block Magazine at Missouri Star Quilt Company. She was taught how to sew by her mom, of course, and began quilting when she grew up.
Shop this tutorial
 Vintage Hearts Quilt Pattern by Missouri Star$6.95Shop →
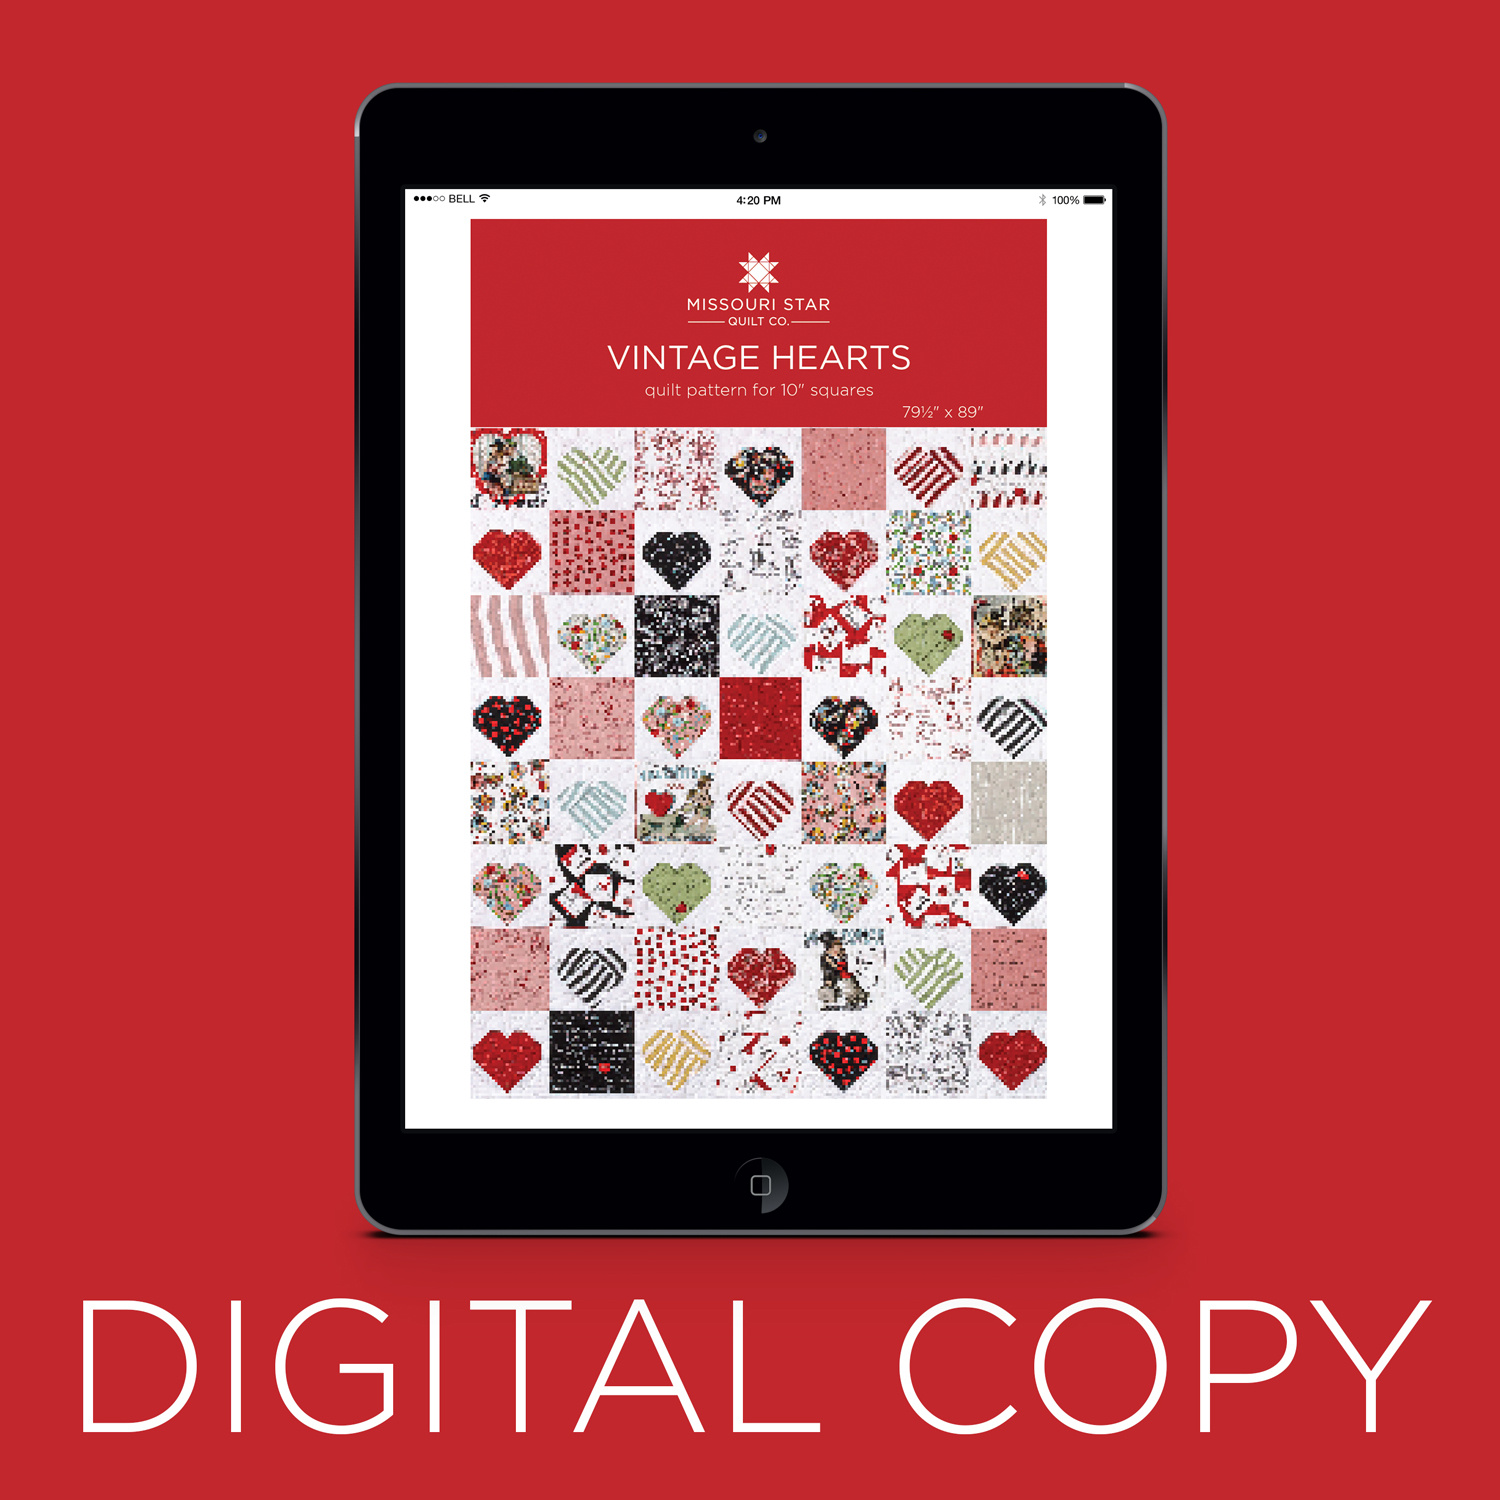 Digital Download - Vintage Hearts Quilt Pattern by Missouri Star$4.95Shop →
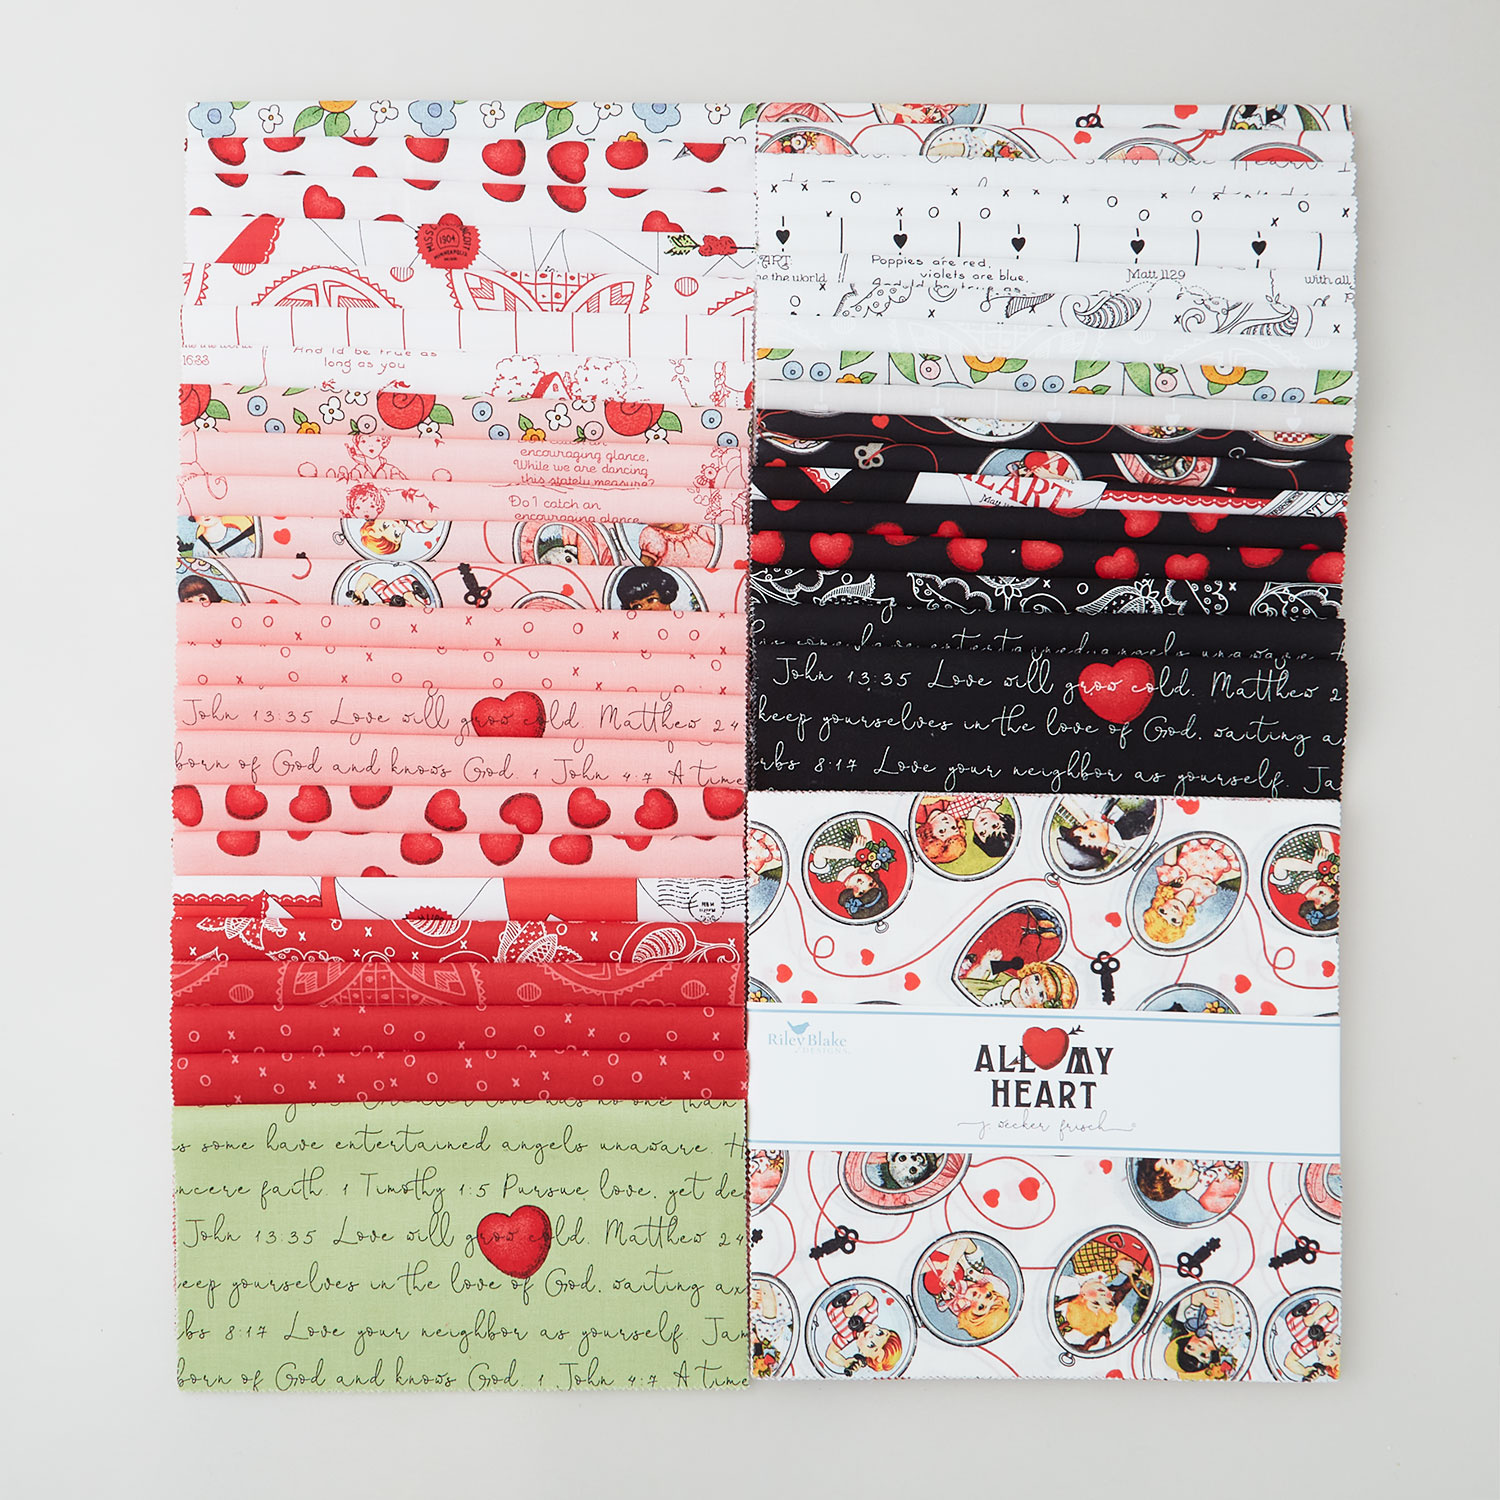 All My Heart 10" Stackers$39.95Shop →
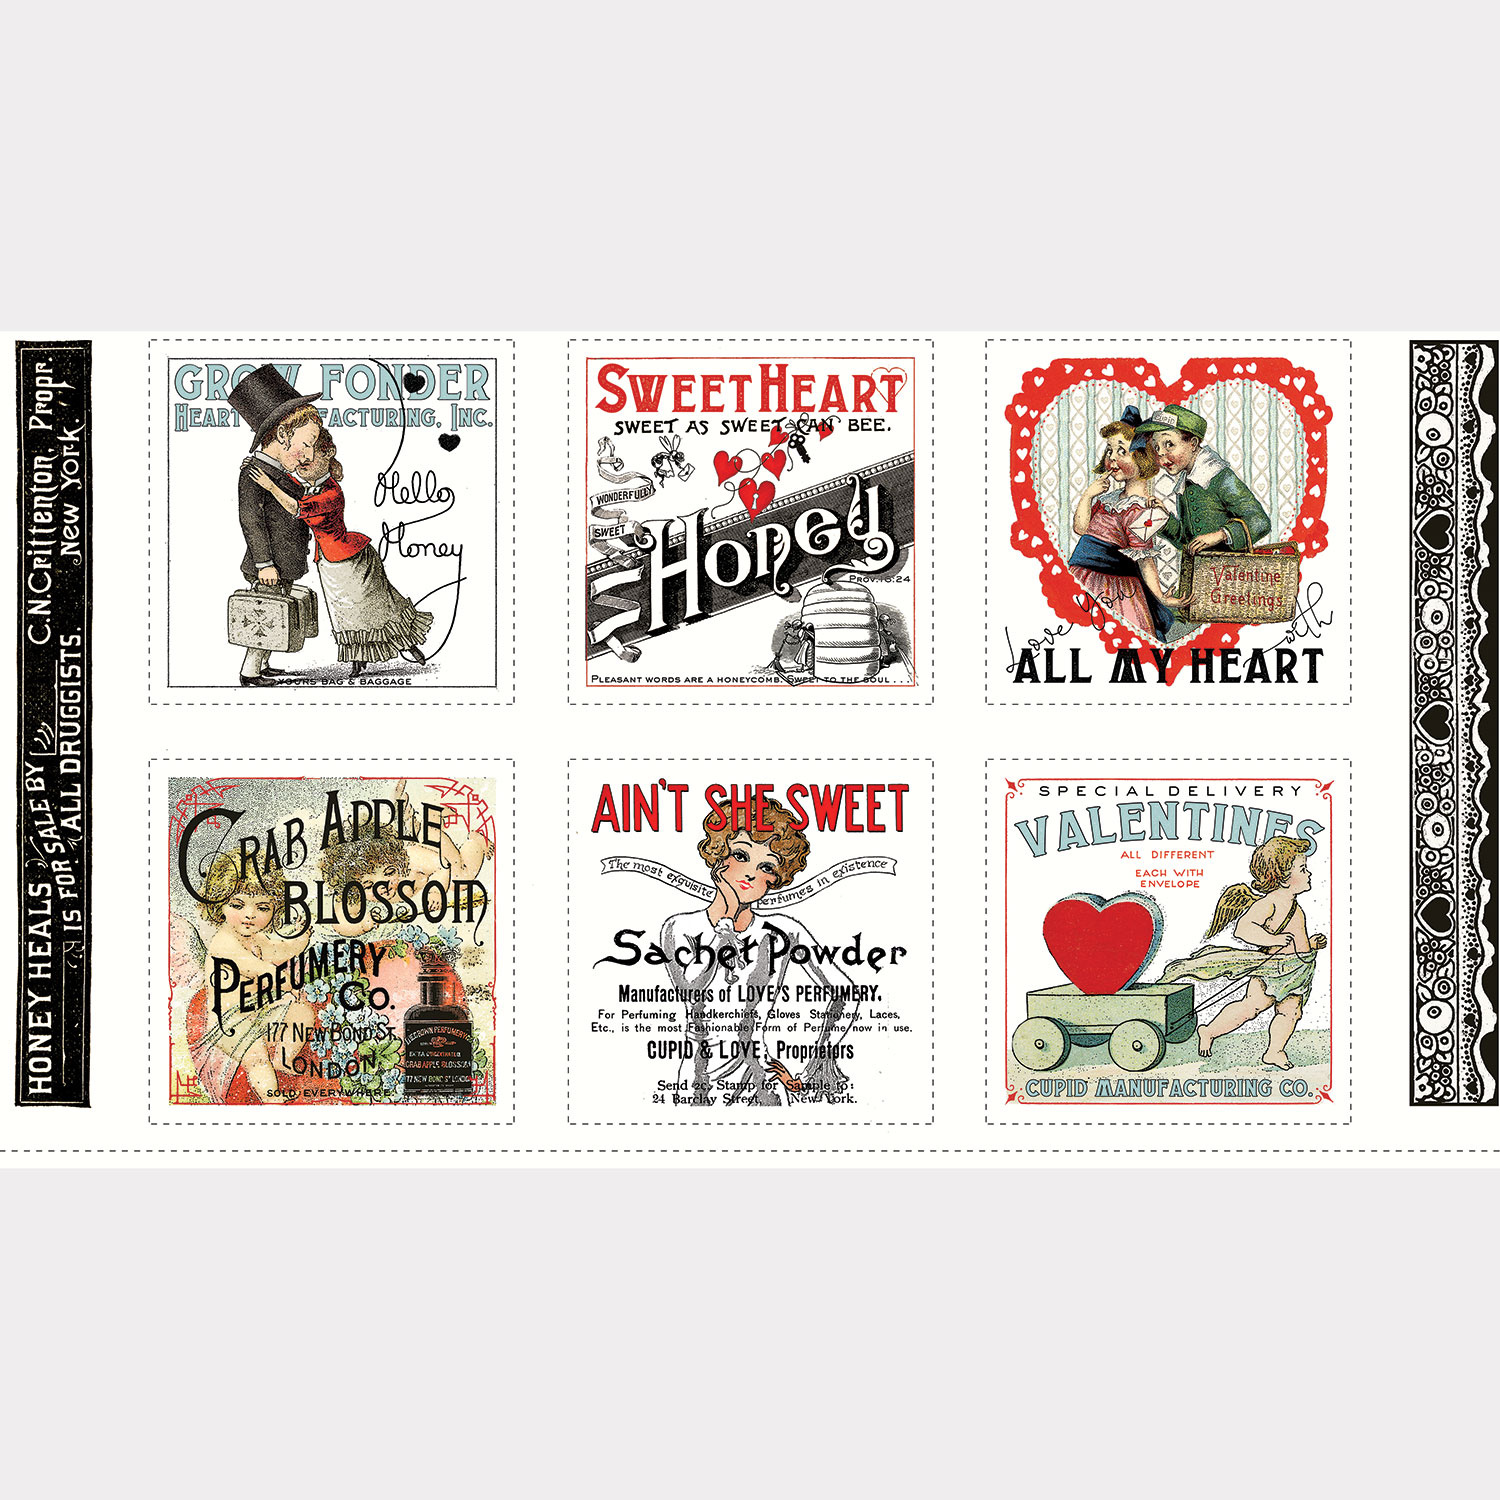 All My Heart - Valentine Ads Patch Multi Panel$6.15Shop →
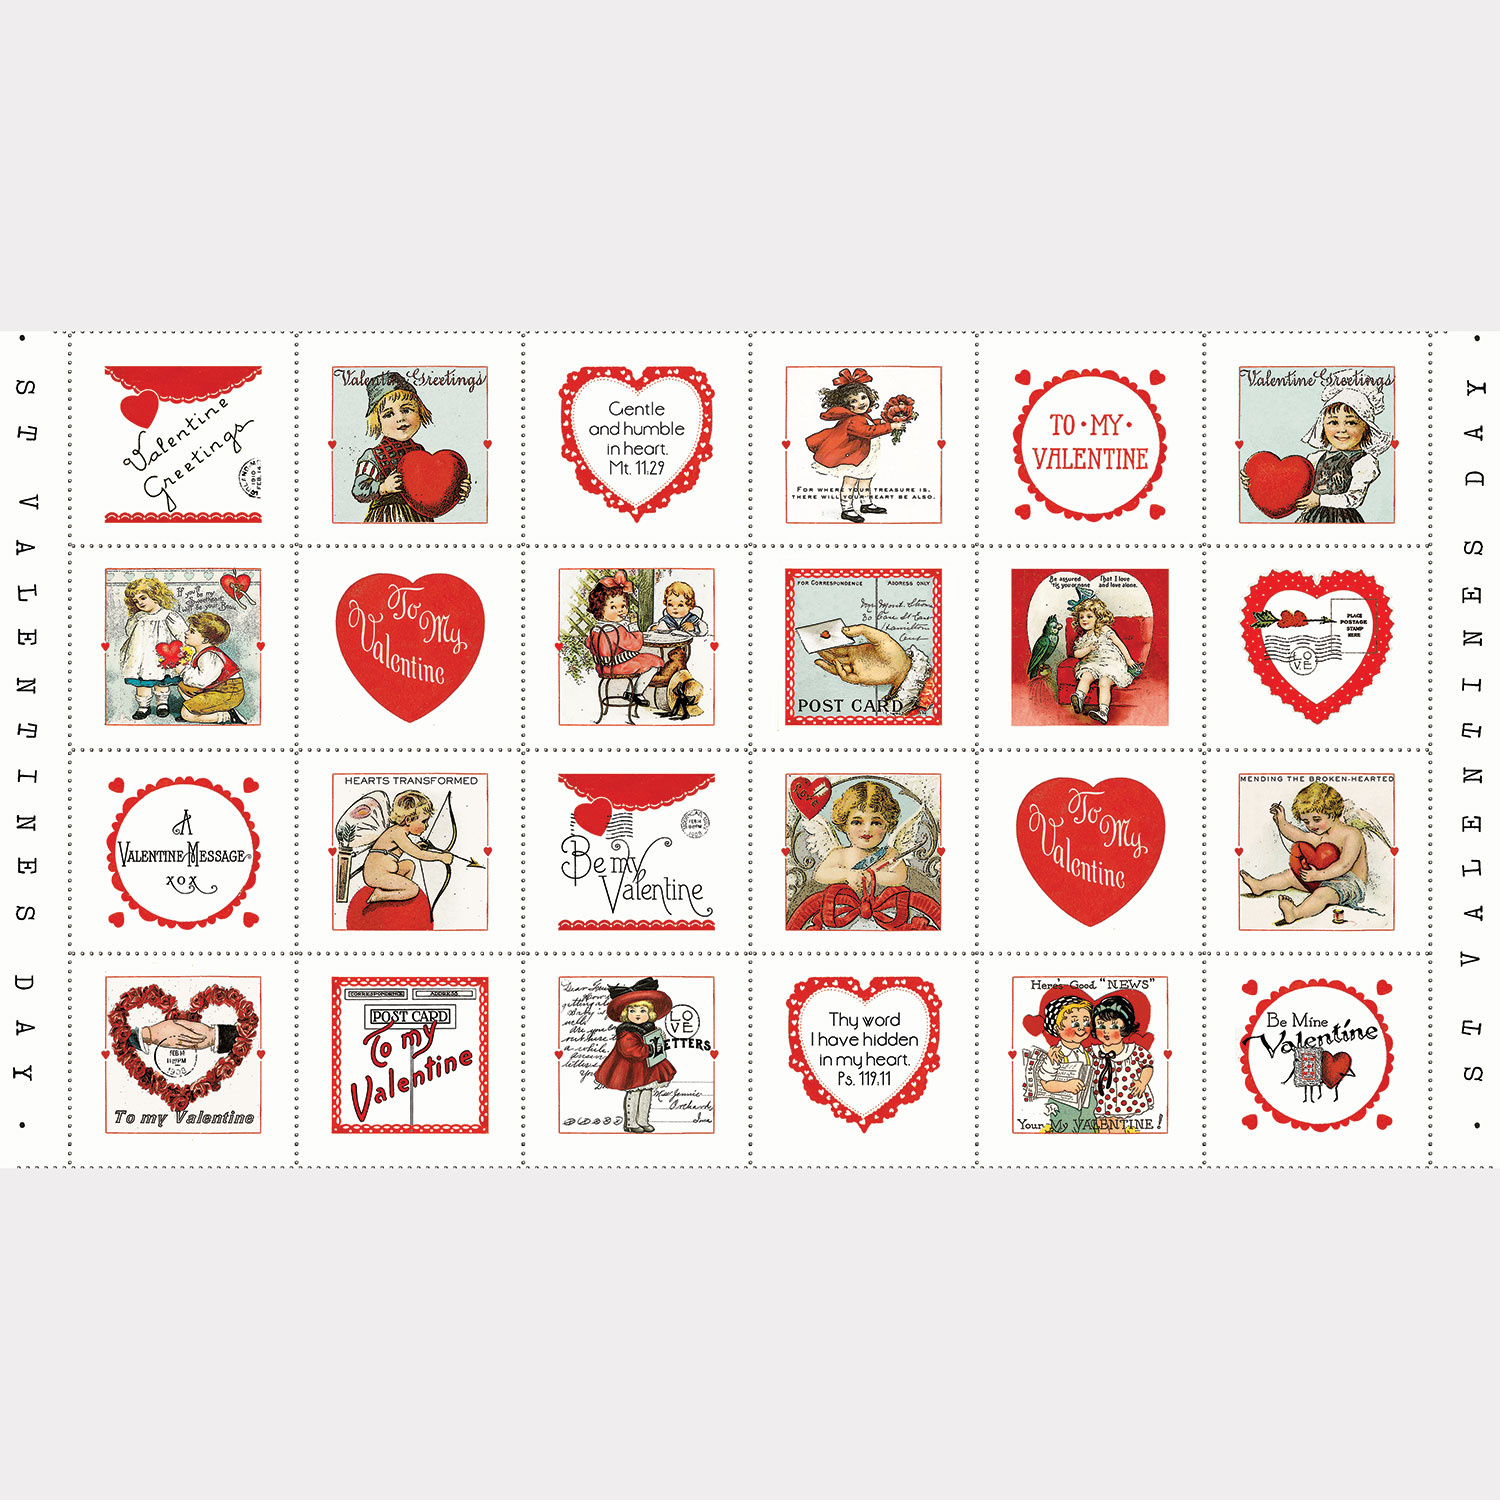 All My Heart - Vintage Valentine Greetings Patch Multi Panel$6.15Shop →
 All My Heart - XO Red Yardage$11.96Shop →
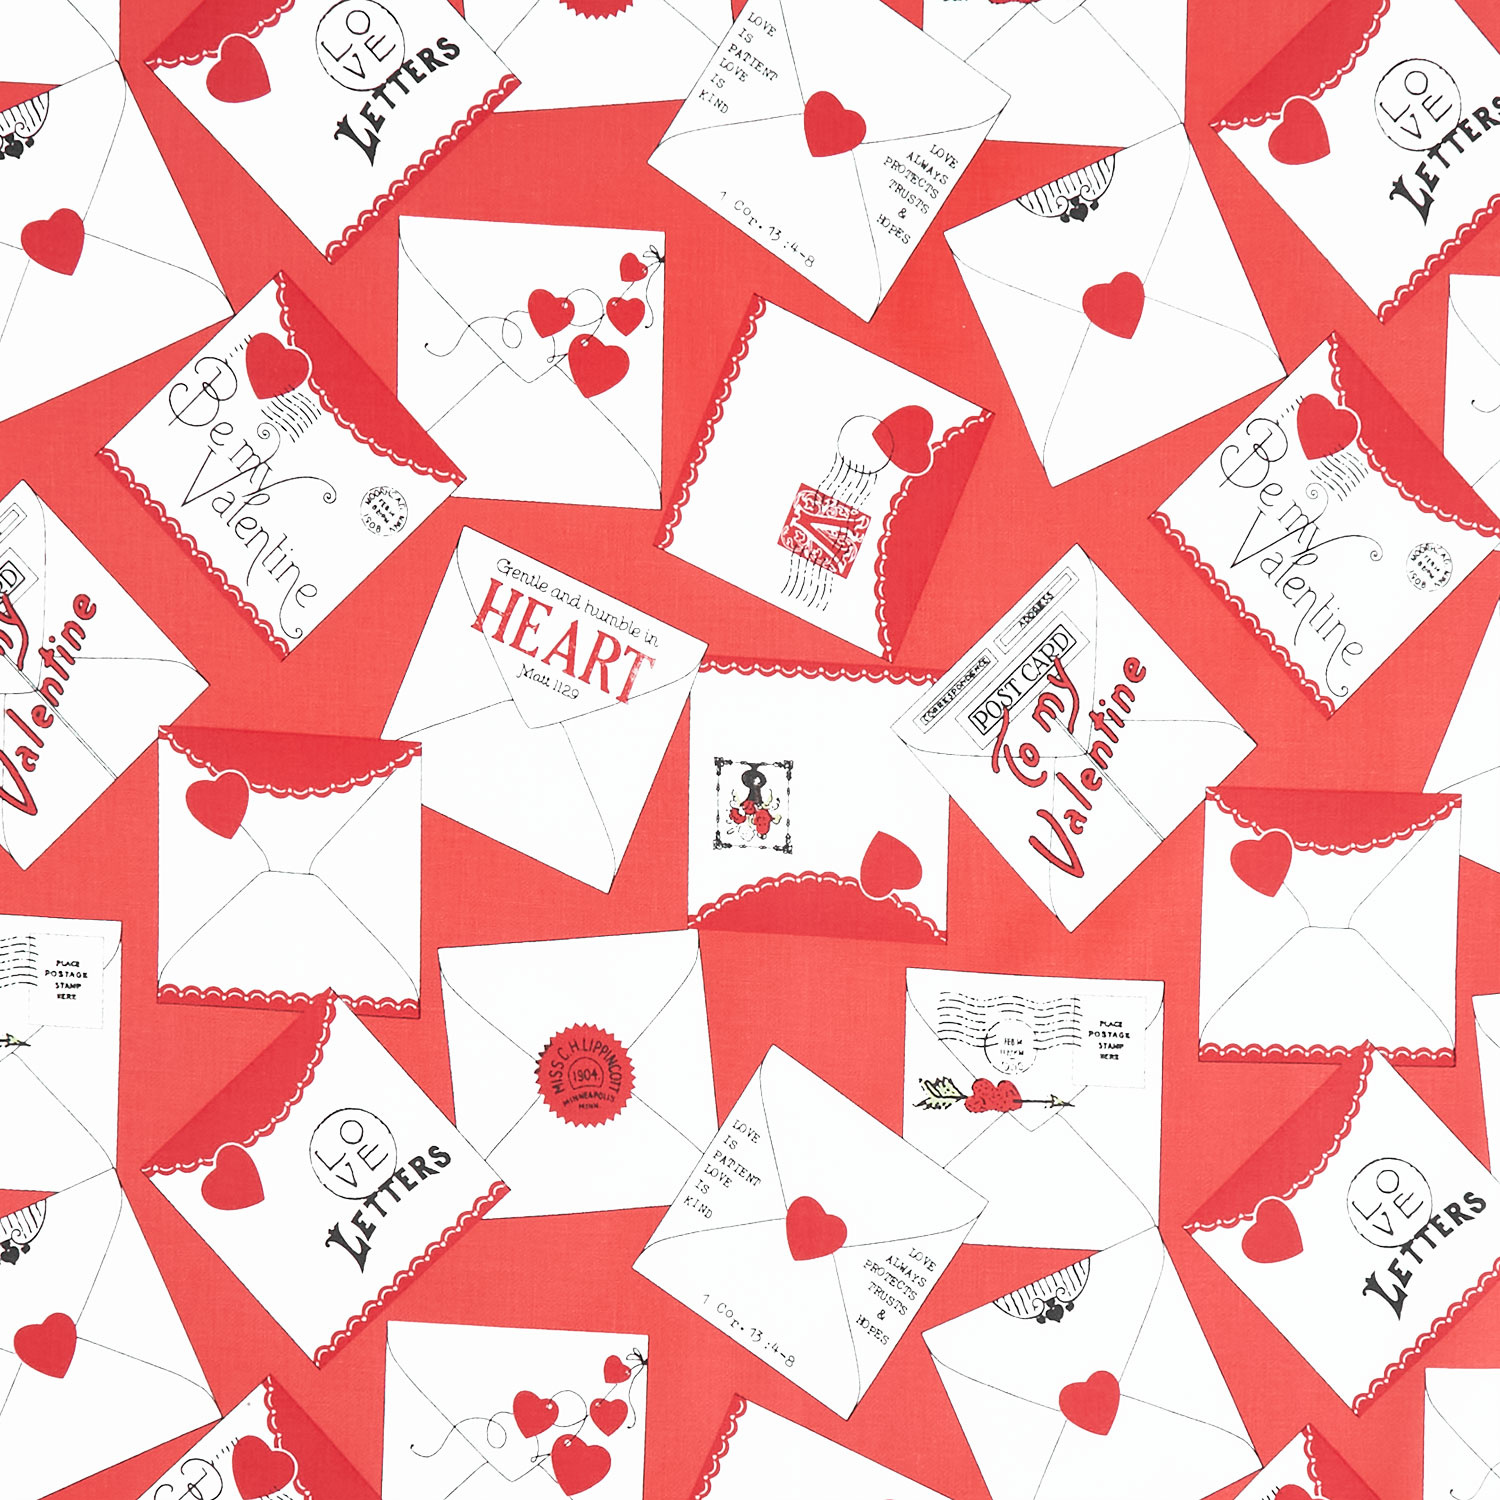 All My Heart - Valentine Greeting Red Yardage$11.96Shop →
 Kona Cotton - White Yardage$7.28Shop →
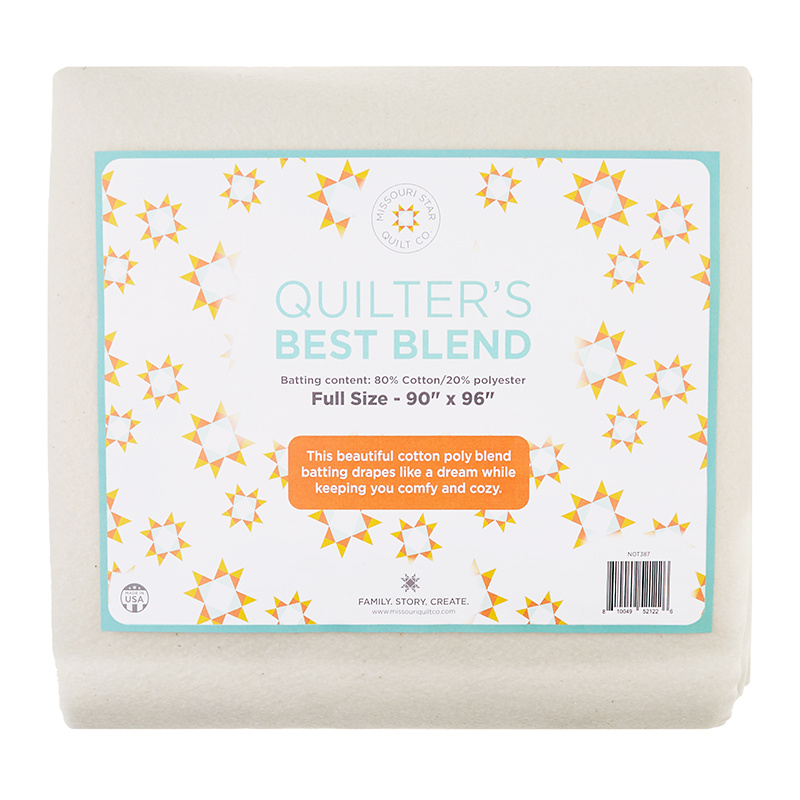 Missouri Star Quilter’s Best Blend Full Batting$32.95Shop →
Common Questions
What is covered in How to Make a Vintage Hearts Quilt - Free Quilting Tutorial?
To know Jenny…is to love Natalie. Same smile. Same warmth. Same clever, easy quilts. And this week, Natalie is taking the spotlight with a pattern of her own creation. Vintage Hearts is all-nostalgia with big, patchwork hearts and fabric reproductions of antique valentines. (F...
How long is the tutorial video?
The tutorial video is 00:12:52.
Are supplies listed for this tutorial?
Yes. The tutorial page includes the supplies and materials connected to this project.
Is a transcript available?
Yes. A written transcript is available on the tutorial page.
Video Transcript
Hi, everybody. I'm Natalie with Missouri Star Quilt Company and today I have a fun project for you. This quilt is called Vintage Hearts and it's made using really beautiful fabric called All My Heart by J. Wecker Frisch for Riley Blake Designs. This fabric is fun because it's based on vintage valentines that were shared with her by our good friend Susan Brown. This is their second iteration of the line and it's just beautiful. It's full of really fun images and colors and I just love it. So I think you're going to like it too.
So to make this quilt, you're going to need a package of 10 inch print squares and we've used All My Heart by J. Wecker Frisch for Riley Blake Designs. You'll need some background fabric that's two and three quarter yards and that includes your inner border. For the outer border, you need a yard and a quarter. That's a nice five inch border. For your backing, you'll need eight and a half yards if you're using a 45 or two and a half if you use a 108.
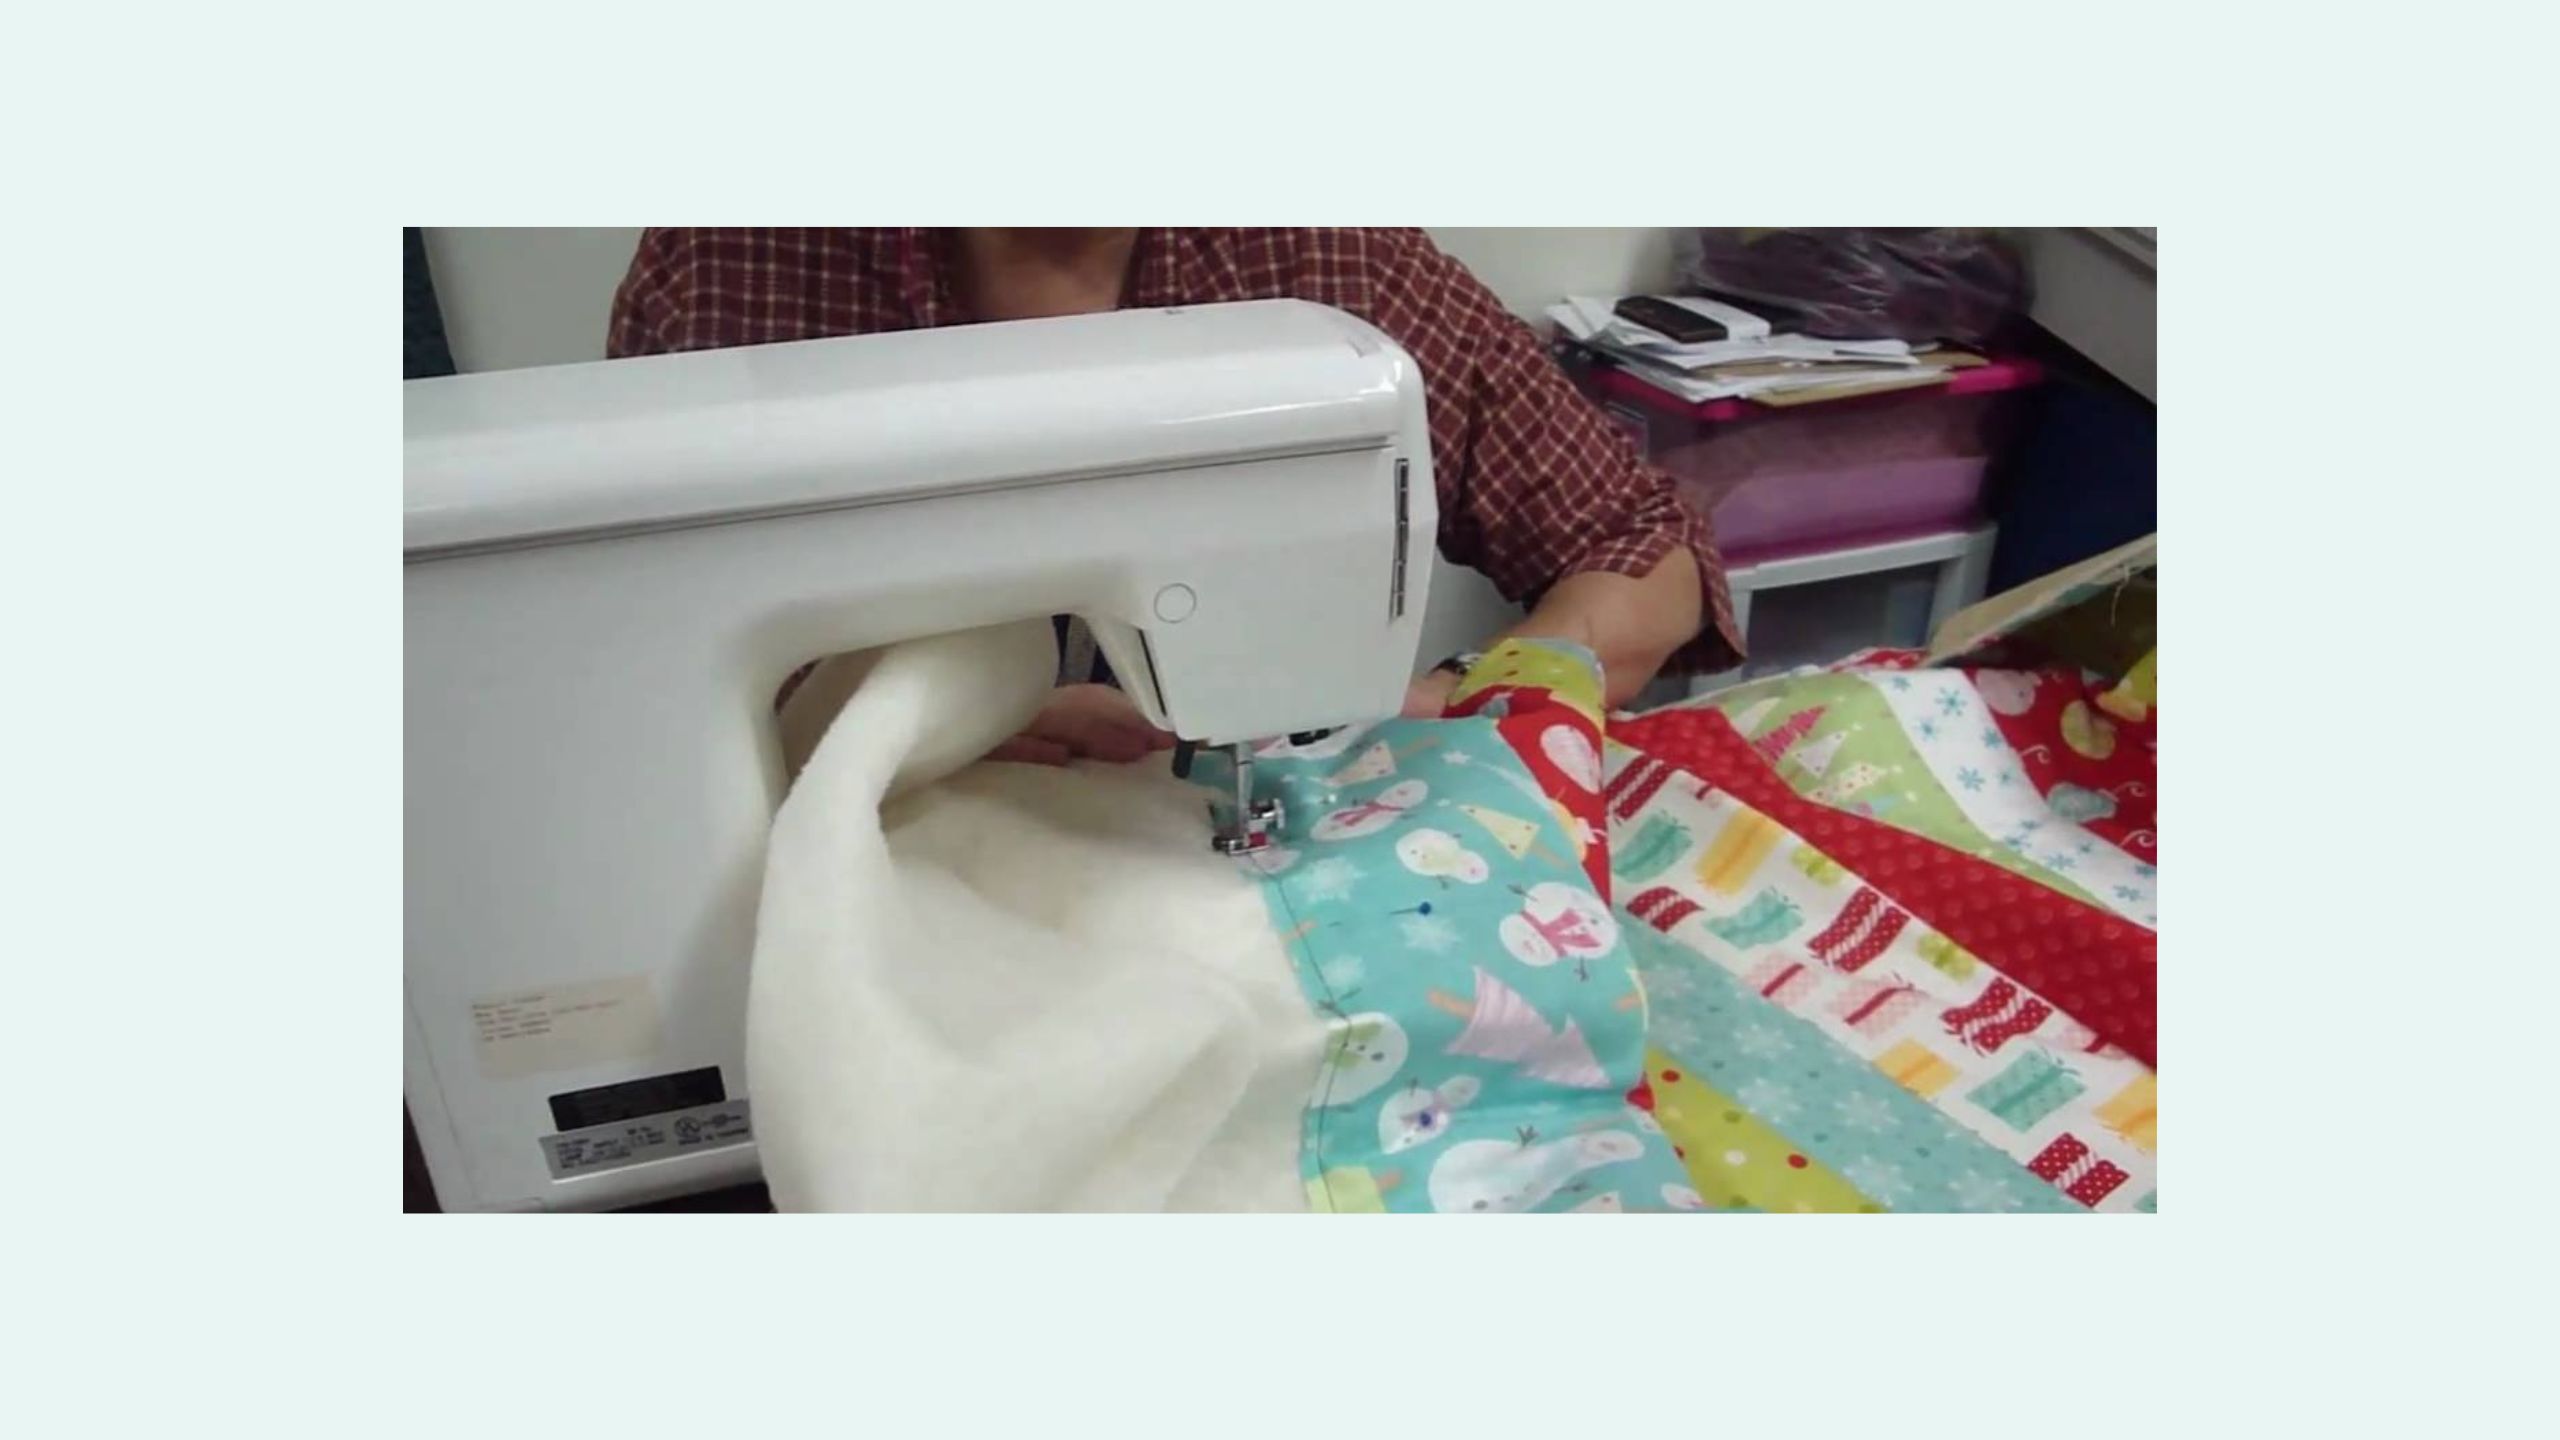
I went ahead and used this beautiful 45. I just love all the little envelopes of the valentines. I think it's so pretty. It's machine quilted with the Easy Hearts or the Hearts large pattern I think it's called online and I love it. I just think it's so great. So this quilt ends up being 79 by 89.
All right, so this quilt is pretty simple to make. I think you'll enjoy it. We used a lot of the 10 inch squares whole, and you'll notice in here that some of them, we used one of her panels that accompanies the line. I think they're really cool. She has one that uses 10 inch squares or that's sized for 10 inch squares. So super easy to cut and interspersed with your layer cake squares. And then she also has a version of this panel for five inch squares as well, which is really cool. So you guys can go check that out.
So I just substituted, I think there's three or four in here, one here that I think is really cute. Here's one and here's one. And then there's one down in the bottom. They're just adorable. They're versions of those really cute vintage valentines and I just thought they were super fun to include. But every other square in this quilt is a solid 10 inch square. So easy peasy sewing on that. You really just don't have to worry about it. But let me show you how to make the hearts.
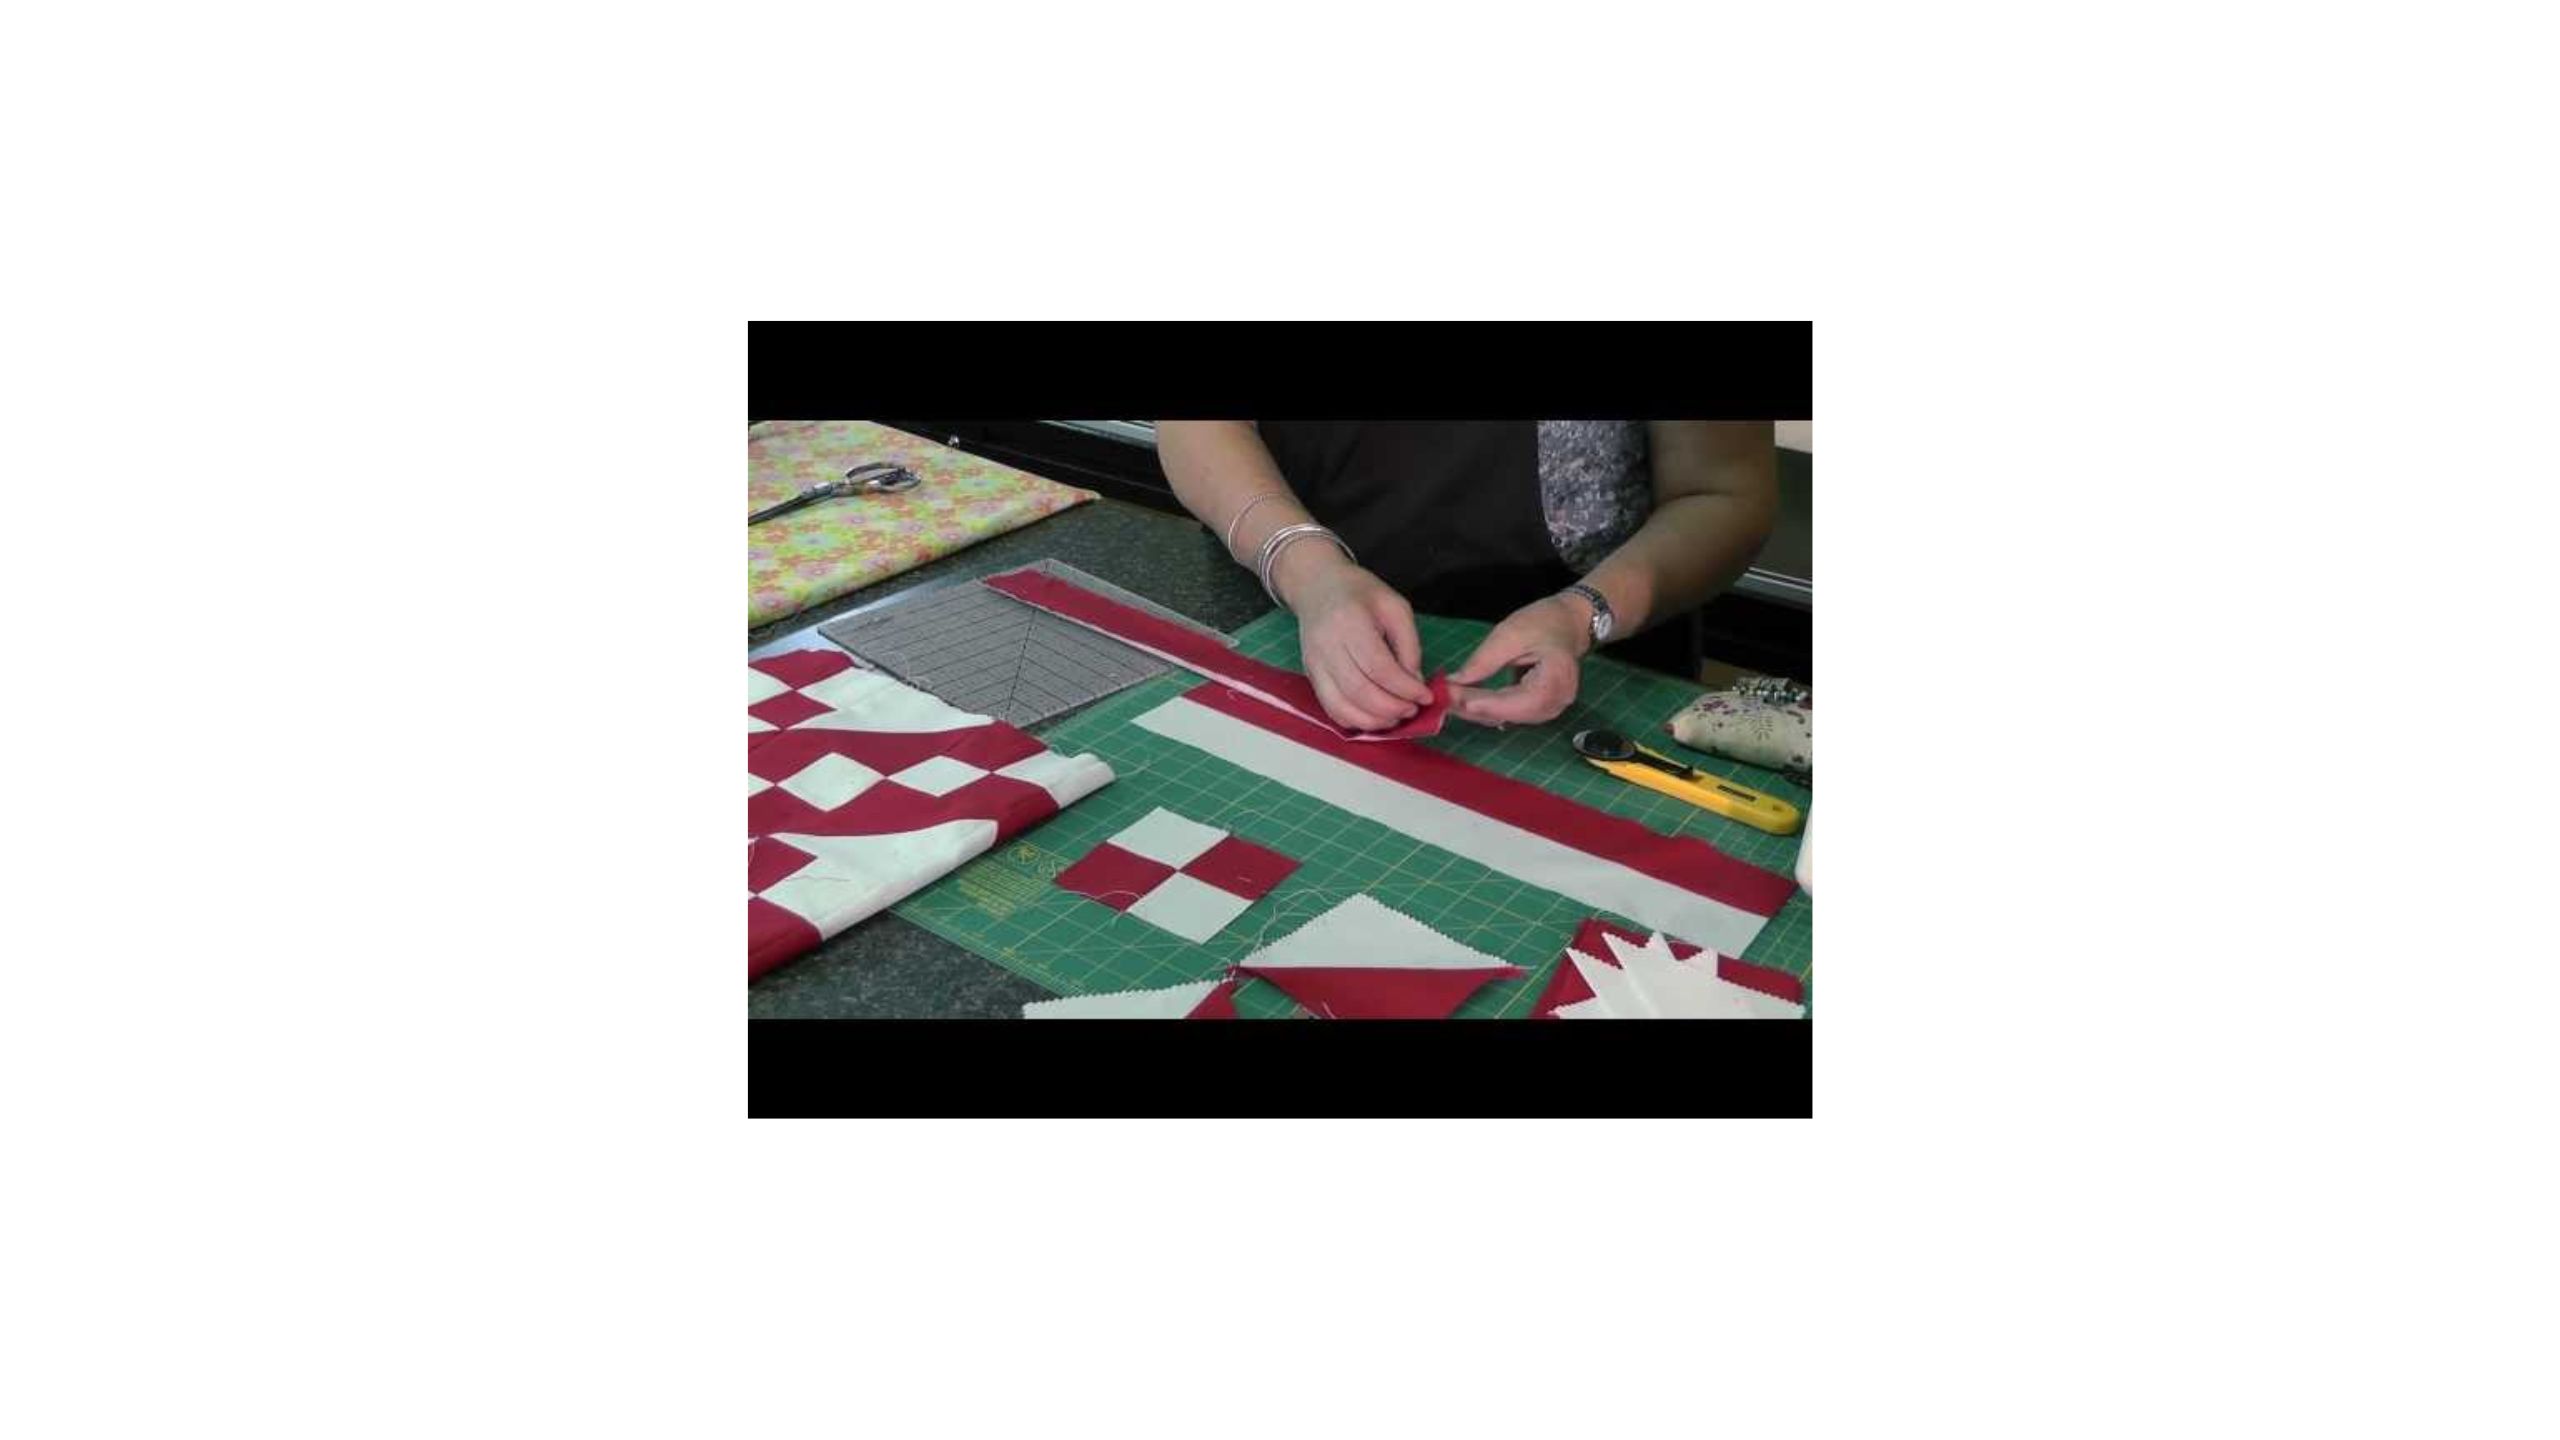
The hearts are super easy to make and fun. We're going to start by cutting our layer cake square in half to get a couple of five inch squares. You'll be able to make two hearts from each square. We'll cut it in half again. And then two of these we'll cut in half one more time to get two, two and a half by five inch strips. So these are your little sets and you'll just set one aside because we're just going to make one for now.
These go together like so. So from your background fabric, you're going to need some little squares. One and a half squares, you'll need four one and a halfs and one, two and a half to set right here in the middle to make the hearts. So first thing we're going to do is snowball the top two corners of these rectangles. You can draw the line or you can do diagonal seam tape. We're just going to go straight across. Oops, not that direction. We're going to go straight across this way to curve those corners. All right, so I will do that.
All right, we'll do the other set real quick. As you're going along, you can chain piece these and get them all done at once. They don't need any kind of secondary stitching or pressing to continue so you can get them all done. Okay. So now we're just going to trim these off. We'll press them back. So now we're going to go ahead and stitch this, our corner square, to the two and a half inch rectangle. And then we'll also stitch this rectangle to our five inch square.
We will do these together. We are going to press them back. And then we'll combine these two, these seam right here to make our heart. All right, and that is it. That is how simple and easy that little heart is. All right, so that is our little heart. It's the middle. This is a five inch square in the center, but you could make it any size or you could put a pinwheel or all kinds of other fun things in the middle. I think it would be great.
So the next thing we're going to do is set this block on point and we're going to use a square that's nine inches. So I've got one of those cut. That comes from your background. And what we'll do with this is cut it diagonally both directions. This gives us some setting triangles. Setting blocks on point is a lot easier I think than I originally thought it was and I kind of enjoy doing it.
It puts that block right in the middle and kind of makes it float and then you don't have to worry too much about your points if there's things like that that cause you any stress. It's kind of a good way to make those blocks stand out on their own and not have to worry too much about putting points together.
So what we're going to do is we're going to fold it and find our middle and we're going to do the same thing with our little triangles. And then we're going to place this middle to middle and stitch across this line right here. We'll do the same thing on the other side. I like to do my two sides and then my top and bottom. So they're just always opposite. It doesn't matter which side you do first.
All right, finding a middle there. Another thing you can look at when you're setting blocks on point as you're trying to find your middles, you can kind of eyeball it, but as these points cross right here in the center, your two triangle points should make a square. And that is something that you can look at to know that you've got your triangles lined up. It just helps it to be a little bit more even and it makes squaring it up after it even easier.
All right, so we are going to stitch quarter of an inch, just a consistent quarter inch seam on both sides and then we will press and do the other sides. All right, press these back real quick. We will find our centers again just by pressing it this way. A little finger press is all you need. If you wanted to pin you absolutely could. I would just stick one right in the middle and you can look for that little square in the center. Mine's just a tiny bit off, so I'm going to scoot that. There you go. And we're ready to sew the other sides and just like that this block will be done.
All right, I do like to just trim these off. I think it's a little bit less bulky. It's not super big deal if you don't want to. I'm going to press it. All right, so that is your block. Now, it's probably a little bit bigger than 10 inches, so I'm going to square it up. I like to use this 10 inch ruler because it has this diamond, which is really just a 45 degree angle line running through it, but it helps me to center it on my block that I am putting on point.
So I pretty much just eyeball it. I'm not looking for any specific measurement, just something that looks good to me. But if you wanted to do a specific measurement, you could. It's roughly a half an inch. And then I'm just going to trim around all four sides so that it looks nice. I'm going to go around as many ways as feels comfortable. You can use a spinning mat if you wanted to, or you could turn the whole thing. I just kind of move around a little bit with the cutting table. And that's it.
Okay, so what I did is I put a 10 inch square or a panel piece and then a heart. So the hearts fit in just like that. So it's 10 inch, heart, 10 inch, heart, 10 inch, heart, and it goes together in seven by eight layout. It's super fun and simple, and I hope you enjoy this tutorial on the Vintage Hearts Quilt from the Missouri Star Quilt Company.
Jenny:
Hi everybody, it's Jenny from the Missouri Star Quilt Company. We hope you enjoyed watching this video. If you aren't already part of the Missouri Star Quilt Company family, be sure to subscribe so you won't miss a thing. And if you click that bell, it'll notify you every time a new tutorial comes out. See you next Friday.