

How to Make a Wandering Quilt - Free Quilt Tutorial with Misty Doan
 Misty Doan
- Layer Cake
- Traditional
- Lap / Throw
- Beginner
- Quilt size 48" × 60"
Today, Misty teaches you how to make your very own Wandering Quilt by Stephanie Organes. Watch how Misty uses the Wandering 10" squares to create one of the gorgeous patchwork stars that make up this amazing quilt!
Instructor
Misty Doan
Misty Doan grew up surrounded by sewing and quilting. She loves spending time sharing tutorials each week each week, and when she’s not stitching up one of her fun sewing projects for home decor, most likely you’ll find her hanging out with her husband and three awesome kids or working on a house project.
Shop this tutorial
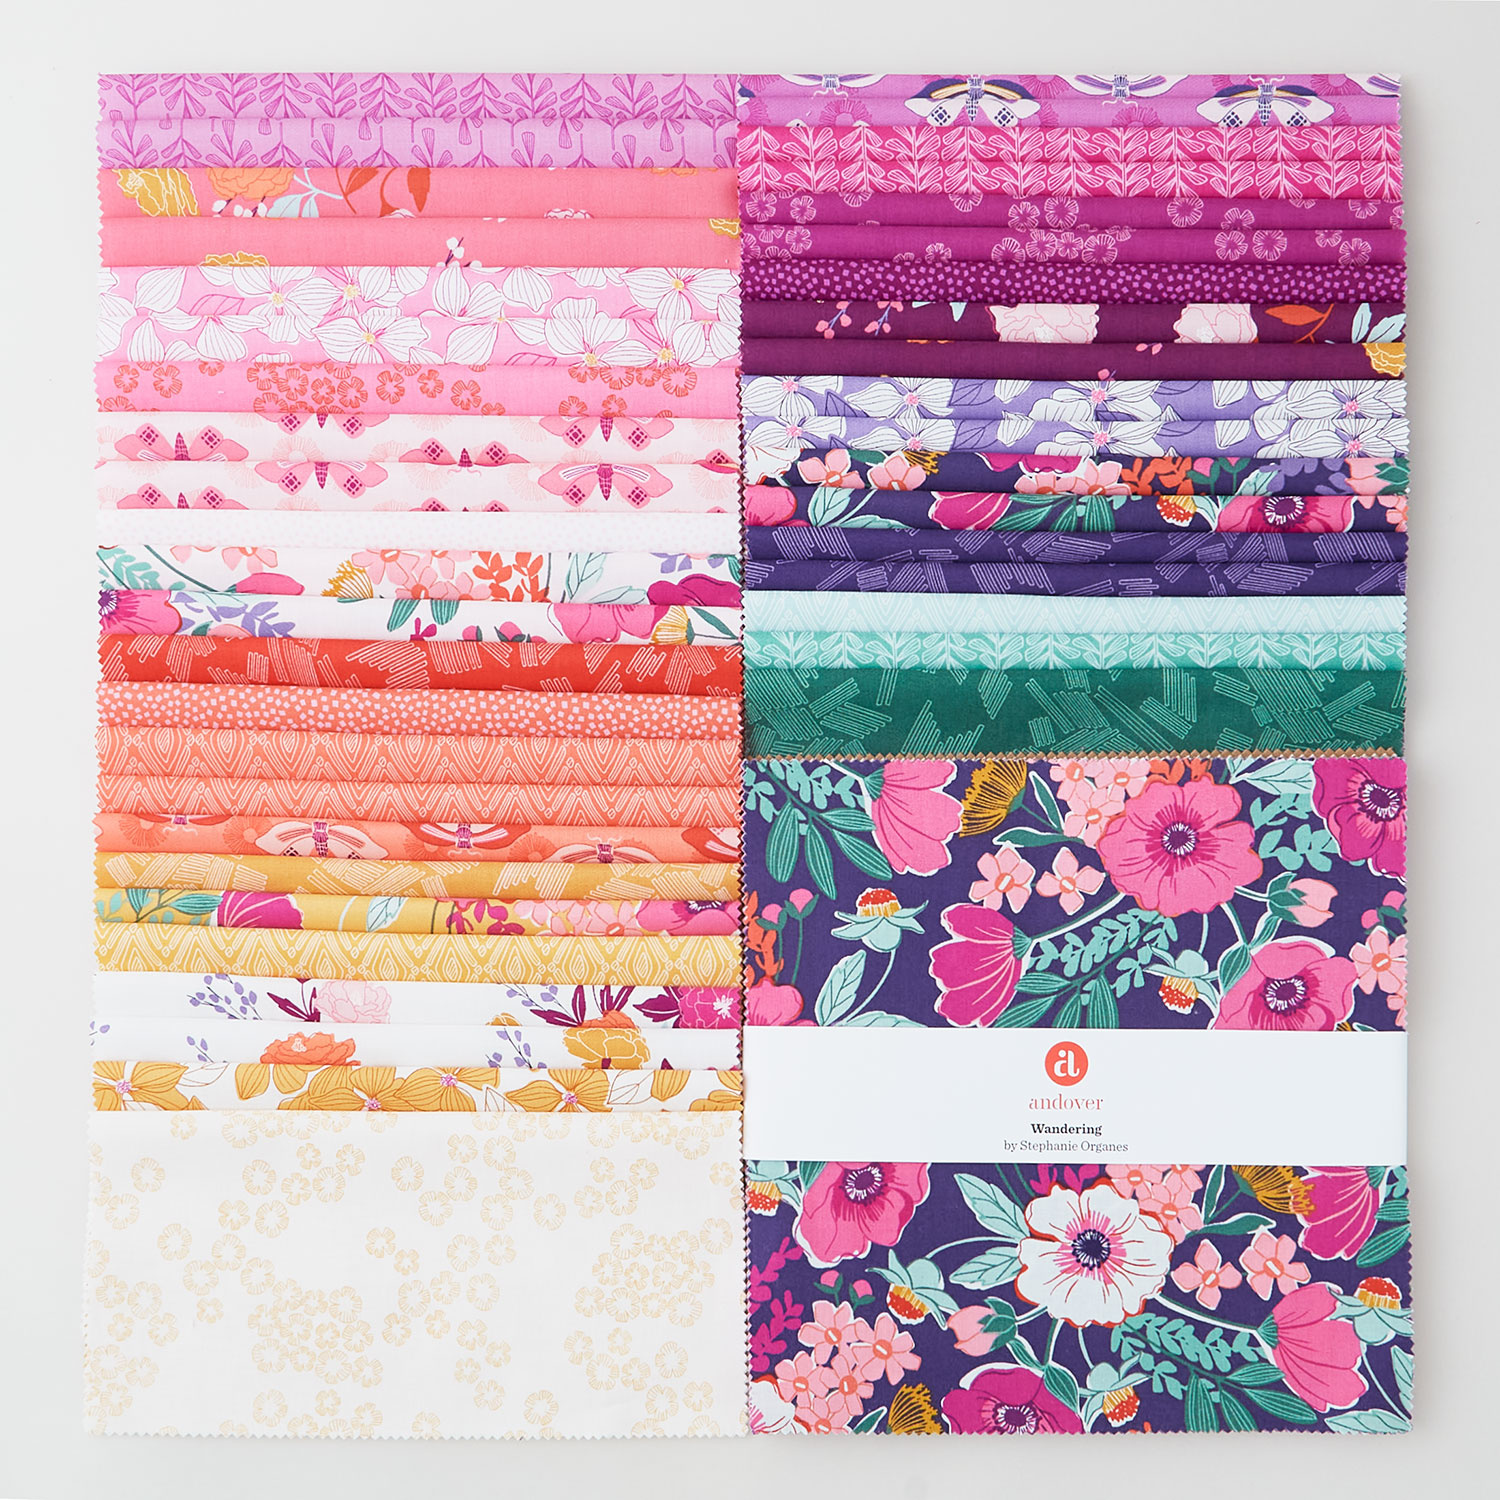 Wandering Sundaes$37.95Shop →
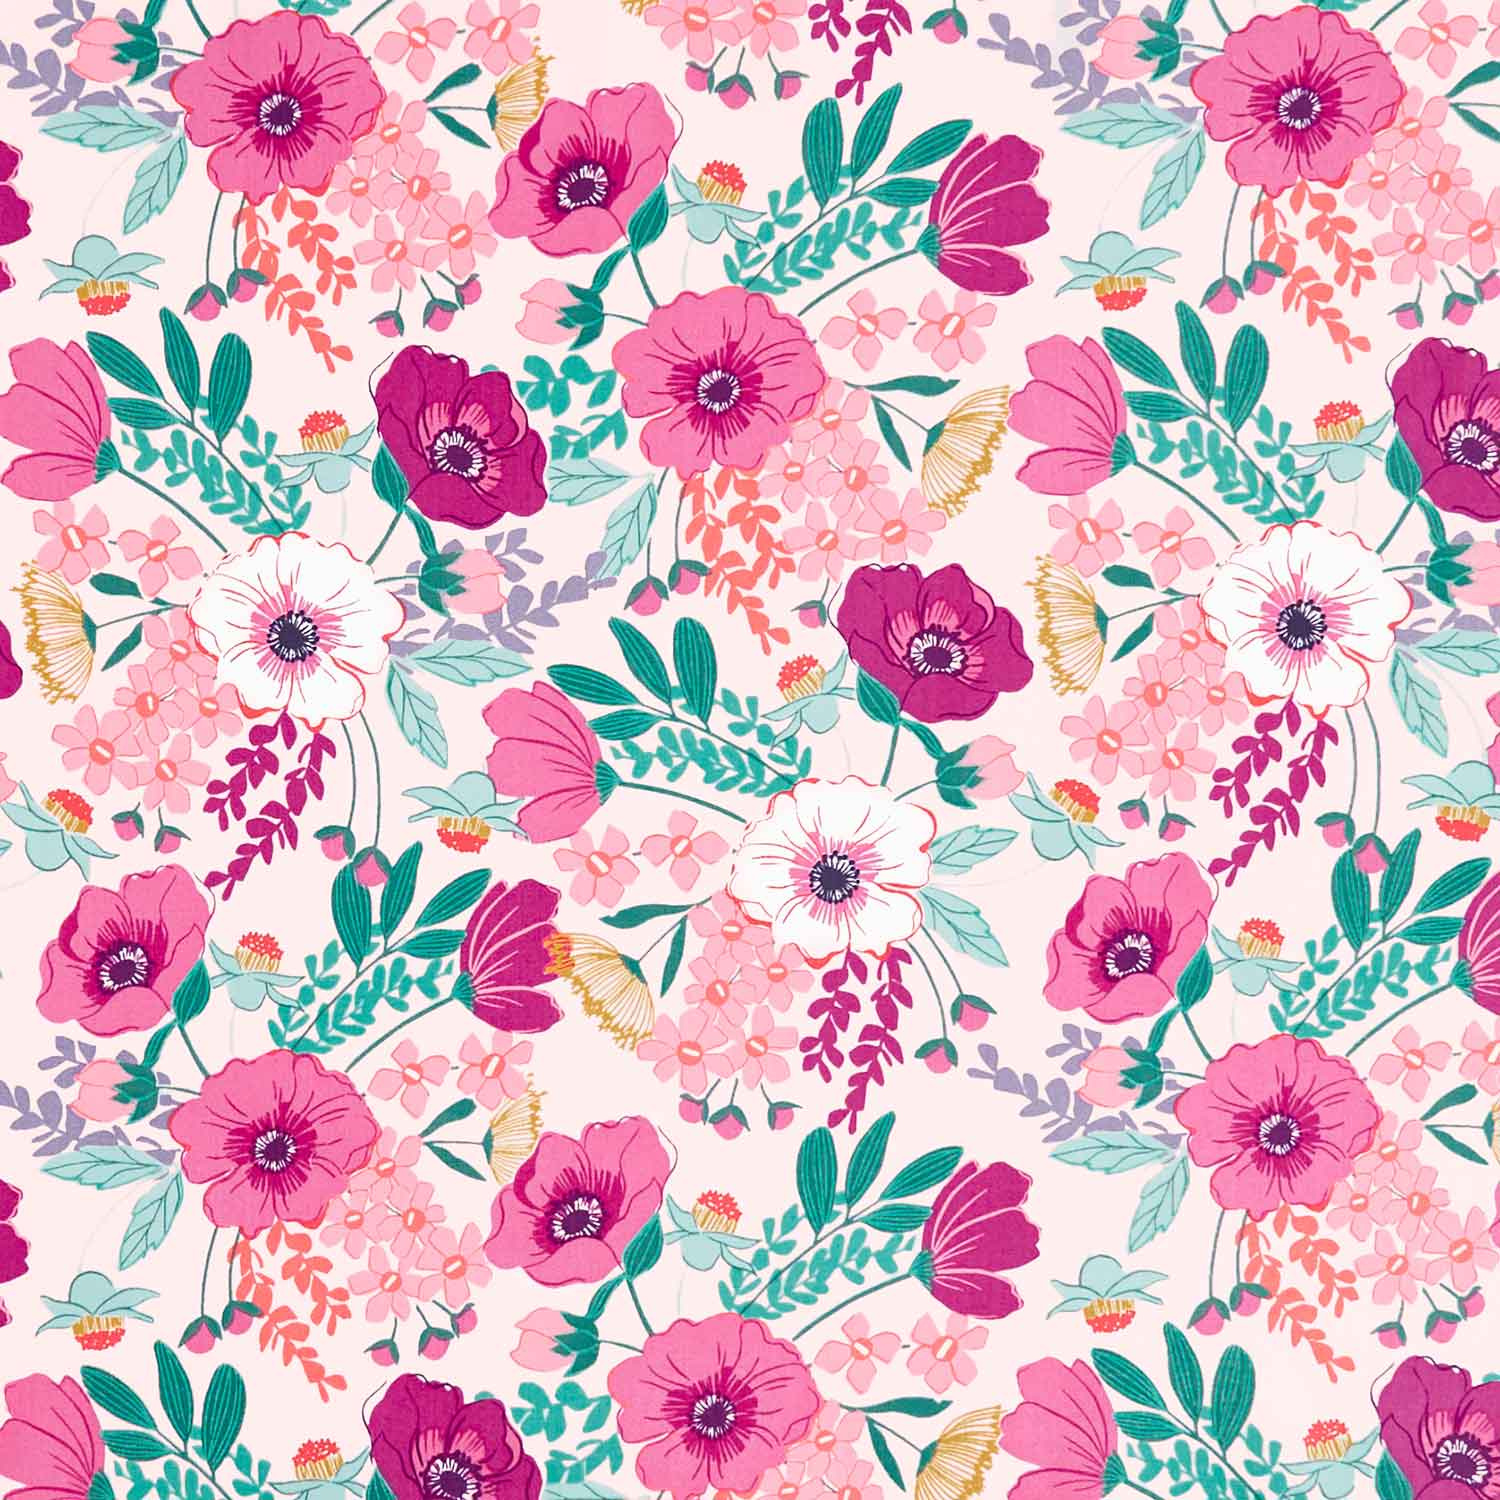 Wandering - Felicity Blush Yardage$11.96Shop →
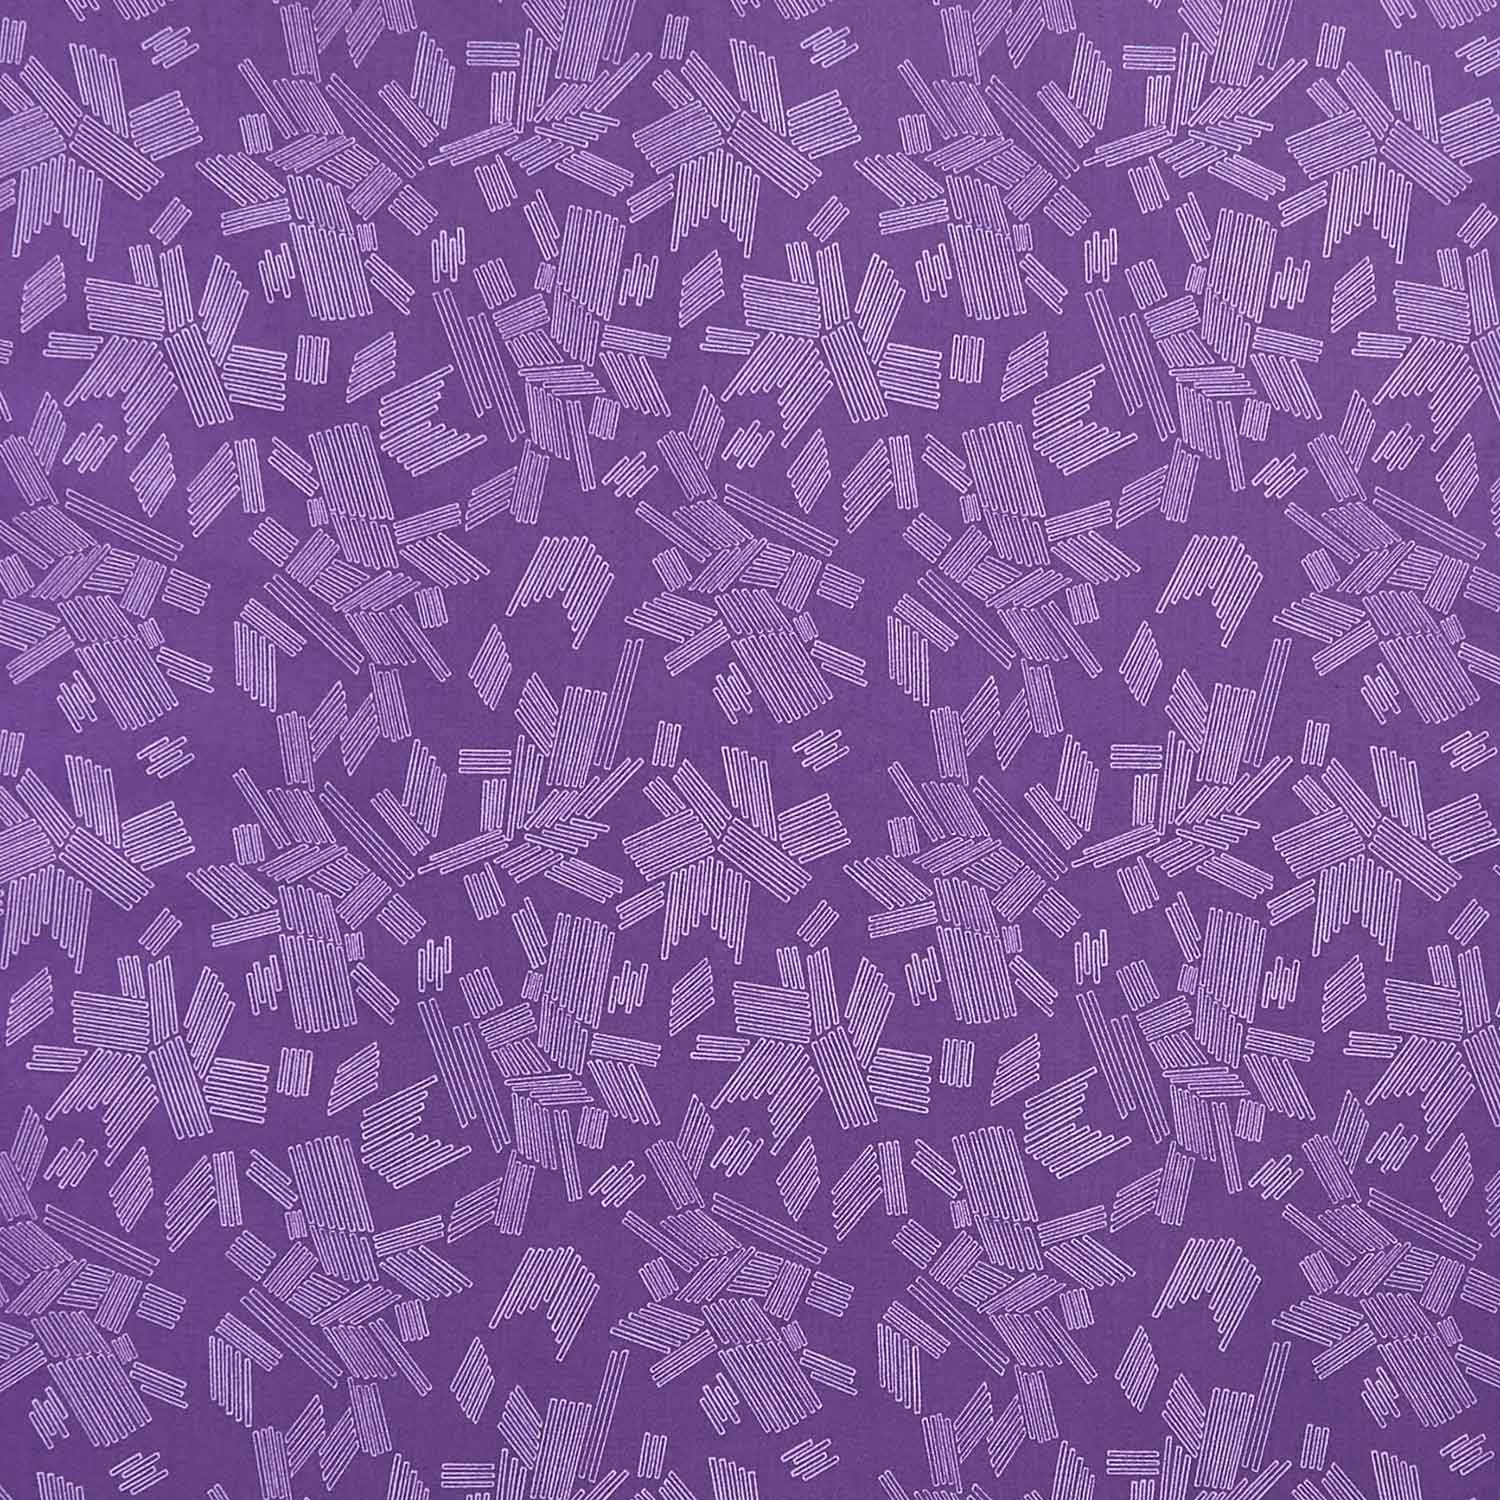 Wandering - Wandering Fig Yardage$11.96Shop →
 Missouri Star Quilter's Best Blend Throw Batting$20.95Shop →
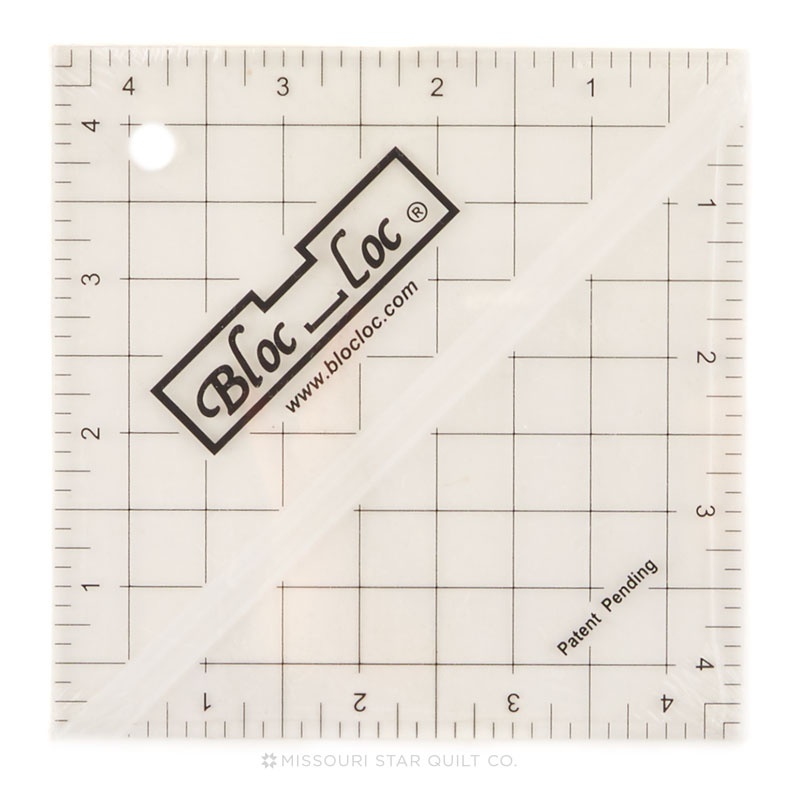 Bloc Loc 4 1/2" Square Up Ruler$25.00Shop →
 Missouri Star 5" x 15" Ruler$15.95Shop →
 Olfa Splash Aqua 45mm Rotary Cutter$18.75Shop →
 Exclusive Missouri Star Jenny TG1600 ProPlus Oliso Smart Iron$199.99Shop →
 Missouri Star Wooly Betty Board - 17.25" x 25.5" Orange Border$98.95Shop →
 Missouri Star 50 WT Cotton Thread White$6.95Shop →
 Baby Lock Accomplish - 1500 SPM Straight Stitch Machine$999.00Shop →
 Missouri Star Colorful Quilting Clips - Pack of 12$5.95Shop →
Common Questions
What is covered in How to Make a Wandering Quilt - Free Quilt Tutorial with Misty Doan?
Today, Misty teaches you how to make your very own Wandering Quilt by Stephanie Organes. Watch how Misty uses the Wandering 10" squares to create one of the gorgeous patchwork stars that make up this amazing quilt!
How long is the tutorial video?
The tutorial video is 00:21:59.
Are supplies listed for this tutorial?
Yes. The tutorial page includes the supplies and materials connected to this project.
Is a transcript available?
Yes. A written transcript is available on the tutorial page.
Video Transcript
Misty: So like I said I have the pleasure of having Stephanie here with me. Stephanie tell everyone a little bit about yourself!
Stephanie: Oh hi Misty! I'm so happy to be here thank you so much for having me.
Misty: Oh I'm just so glad you could make it.
Stephanie: This is such a dream, thank you so much. I'm excited to be here.
Misty: Yeah absolutely. So how did you get started quilting and designing fabric? You want to tell everybody a little bit of your backstory?
Stephanie: Sure! I started sewing when my first daughter was born, okay well a couple of months later. I needed to to get a creative outlet again. I'm a graphic designer and I felt the need to to learn something new. I always like to create things and to make things by hand and handmade. I love
all the crafts like scrapbooking and knitting, but I always felt like a little bit nervous about the sewing machine.
Misty: It's a big piece of machinery.
Stephanie: Like real intimidated. So I found a beautiful quilt shop that is near my home in Mexico City and from there I decided to to learn that. It is
beautiful you have to come.
Misty: I wonder. I will visit it one day soon.
Stephanie: So they teach me everything. They teach me how to sew and that I started like a small project with a little quilted bear. And from there I was hooked. Like I I started learning on my own, watch all your videos, well Jenny's videos, and I started sewing. I started my my own like a small
brand that's how it started, A Pretty Please. And I started doing
like small quilted pouches and things for the diaper bag. And mostly too
organized my kids stuff like for when you go to the class.
Misty: I was going to say we know kids have so many things, so you just have to keep it all organized!
Stephanie: Exactly. So I started doing that and I personalized like the small bags and the pouches and everything. And from there I started doing well selling selling them online and then doing small bazaars...like how you call them here - like smalls markets? Yes and then I realized that boy I really love the fabric! Like I started, I traveled here to the US. I went to Quilt Con a couple of times and I started buying all these beautiful fabric and then I realized that well with my background that I'm a graphic designer that there's someone behind these fabrics. And I was like no - I want to start doing and creating my own and designing. So I started drawing and doing I like all the samples for myself. Like printing them at Spoonflower and making samples and and then it just happened. I joined Andover and I'm so happy that it really became.
Misty: I'm so happy too! This collection is absolutely beautiful. So this is your first official line with Andover?
Stephanie: Yeah it's called Wandering and...
Misty: I think you guys are just gonna fall in love with all of these prints. And she's designed this great beginner friendly pattern to go along with it! So we're gonna walk you through that. Stephanie, tell me about this beautiful collection.
Stephanie: Well for Wandering I wanted like a really fresh collection, with beautiful colors. I'm all about pinks so I really went from light pinks to hot pinks to teals. Those are like all my colors. I have a lot of jewel tones and
purples as well. And well you're gonna see different florals around the
collection. This is the main print.
Misty: So pretty!
Stephanie: It has some poppies and then these are marigolds. This is the other one and well you have butterflies...
Misty: So pretty.
Stephanie: We have tiny flowers. I went from tiny flowers also all the
way to the big ones and also dogwoods. This is like a secondary print, but I
love it well.
Misty: It's just so fun how all of the textures work together to create
such a beautiful palette and the colors that you chose I just think are are
really stunning. I especially love the little bit of reds and greens that you've thrown in there. It just really ties it together so beautifully.
Stephanie: Yes. I wanted something to be like very organic but also it has like a geometric like this one yeah over here that like it makes contrast. And then you have the organic and also for the backgrounds, well this is the ones that we are going to use for the for a quilt. But we have to like
light backgrounds. But I I really wanted like to to make it like very like a happy collection, like very joyful to people to to have fun with it and to make heirlooms for for them and I don't know enjoy sewing with it!
Misty: Well I know I have enjoyed it. It's just truly beautiful and sometimes when you work with fabrics it just kind of makes your heart sing, which I think this one really does.
Stephanie: Exactly and yeah I want people to want to use all of the prints
like the blenders.
Misty: I think the blenders work great and they do.
Stephanie: Yeah that's why also like them. The Wandering quill has all the prints in the collection. I want people to use all of them and see how great they work well together. There are a lot of projects that you can make with it and like for this ones the flowers I want to like to embroider and you can do bags we have some examples over there. I don't know if you see it but a friend, she helped me sew it and
Misty: Yeah I think the possibilities are are endless and I really hope people enjoy it!
Stephanie: This collection comes from my heart. It's a dream come true to to be a fabric designer for this industry especially. So yeah I want to just be that joy in my collections.
Misty: So you've done it. You've done a great job.
Stephanie: Okay so to make the quilt we're gonna need ... you can make it with a fat quarter bundle. We're gonna use for the background we have two backgrounds, two light backgrounds - this one has a little bit of mustard and light pink. Then you need one yard of each okay because we're gonna alternate between blocks uh each of them some variety in
the background, which is really fun. And you can get this free pattern that walks you through the fat quarter friendly version of this. it's just called
Wandering it's available. Thanks to Andover and we will link to it for you so that you can print that off.
Misty: But when I was given your fabric, I didn't get a fat quarter bundle I got a layer cake and so, I was like well I love this quilt that Stephanie's designed and I would love to make it and so I decided to challenge myself and figure out how to make it with a layer cake. So you can see you can still make this block, it's just a little bit smaller.
Stephanie: The original one is 12 inches
Misty: And so this one is 11. So I think unfinished this one measures 12 and a half and unfinished this one measures 11. So you can see it's just going to alter the size slightly, but the construction is exactly the same. So let's walk you through how to make it with the layer cake since that's what I have here. Just remember, you'll follow these exact same methods if you're using the Fat Quarter version. Okay so now for each block we have selected two prints and two background 10 inch squares. And so I
have those ready to go here. I'm using this red to make the half square
triangle portions of the block, so we're going to start those are the ones that are in this one over here yep in the corners and then we'll have a solid center square as well. So let's begin with that and so I just started by
cutting this in half so I'm making a
Stephanie: So we get a five inch square.
Misty: Exactly. So we'll cut both of those and then we can pull it apart and cut it the other way. There we go okay perfect and so two of those just like that is what we're going to use to make the half square triangles. And so we'll just flip this over so our fabrics are right sides together. And we have to draw a line in the middle, a diagonal line okay, so if you want to do that? So she's just marking that diagonal line and then we're going to sew a quarter inch away on both sides of that line so I'll go ahead and start doing that. And I can just chain piece these one after the other so I'll slide this next one in behind. Snd then we'll flip this around and go down the other side.
Misty: So now if we want to trim right on that same line that we drew
you can cut those apart. And this is going to give us our half square triangles.
Stephanie: Yeah and almost our block is almost finished right? it's so simple yeah. I really wanted this quilt to be beginner friendly I mean it looked that that it has like a lot of work yeah but it's um I mean the contrast is what make it like more intricate but at the end it's it's made up of simple blocks exactly yeah it's just the half square triangles the hourglass. so exactly yeah,
Misty: So then I use the Bloc Loc to square. I don't know if you if that's what you use. So then we'll press these to the dark side so the seam goes to the dark and then we'll square these up. So for this smaller version we're going to be squaring the half square triangles to four inches and so as soon as you get one pressed I can start doing that. There we go perfect and so with the Bloc Loc the writing typically goes to the light side. Well depending on where you've pressed your seam but I try to press to
the dark side so then the writing is always going to be on my light fabric.
And then I just start by nesting this up against that seam and you can see it just sits right again in the middle and so then we'll just trim two sides to
begin with there we go and then I like to spin this around. And now that I have this side nice and square I can slide that down to the four inch mark
and then cut the other two sides. And so for each block we'll need to square four of these.
Stephanie: I love that ruler.
Misty: It's great, isn't it? it's so nice do you want to try this one?
Stephanie: Yeah sure!
Misty: Okay awesome. I have two more already squared so we'll just square that one and we'll be ready to go. Okay so we have those four done so now we can move on to the hourglass. Okay so let's just set
these aside for now. Oh actually one more thing I almost forgot. We do need that center square from that same fabric. And so I just trimmed one of those five inch squares down to four and so that's what this is
here. And so there's one in the middle, so I've just added that to my
stack and now we can move on to the hourglass portion of the block.
Misty: So same idea, we're going to start by cutting this in half both directions and one cool thing I figured out by making this out of a layer cake is you actually get enough to do two sets of your star legs. So this one set will make two two blocks of the the hourglass. So you can use it for another block. So if we want to cut these in half both directions, here's the ruler back.
Stephanie: Thank you.
Misty: And we'll keep keep moving.
Stephanie: I love making half square triangles. This is my go-to block.
Misty: I know me too. There's so much you can do with it which I think is super fun and so the first step of this is exactly like we showed you before and so you can see here we've drawn the line and sewn a quarter inch on both sides. And so just like before we can go ahead and cut this one in half okay? And then we're just gonna stack like one. We'll press it and we'll stack them up.
Stephanie: Okay all right so here's just well it's not a tricky part but well you just have to check that it doesn't. Well we have to square them first.
Misty: No you can square them at the end.
Stephanie: Ah it's true.
Misty: So then we just have to look when we fold it oops so we'll want to rotate that this way just like that and then totally opposite and then we'll draw the line this direction. And so if you want to do that. Since we're going to square it at the end we might as well say this a step here in between and it'll be okay.
Stephanie: Just to make sure that this matches exactly.
Misty: And if you want to put a pin or something in there you can which I've got some pins here so we can just kind of make sure that the seams match. And when you press them when you press your block the same way then it'll kind of nest and lock there in between. And so just watch for that. And then same idea we're going to sew a quarter inch on both sides and flip this around and go down the other way. And if you want to trim that I have the other one already ready to cut as well.
Misty: Perfect. See when you open these up look at that beautiful little hourglasses! exactly what we're looking for!
Stephanie: When you're looking for when putting together like all the fabrics for your quilt, you can follow the pattern. But it could be also
scrappy. Like you can choose whatever you like. Just make sure you always have contrast and we have our light backgrounds and everything but try to choose between two fabrics that also pops.
Misty: Yeah because when you're going to all this trouble you want them to stand out you want to be able to see the work that you've done.
Stephanie: Exactly.
Misty: So if we want to press these, then we'll square these up to four inches as well. And then we can put our block together. So then much the same as when you're trimming half square triangles, when you're using the Bloc Loc on an hourglass block like this, we're looking for that four inch number and so we need to make sure that it's intersecting the seams
so that we're not trimming it crooked. Does that make sense? Because we always want these seams to be going to the corners. And so that's what you need to watch for if you use this when trimming an hourglass. The Clearly Perfect Slotted Trimmer works great for hourglass blocks as well.
You can see I've cut that first side and then again I can slide this down looking for that four and it's matching right in those corners and then we can trim again. There we go. And so we'll just trim up these last few and we'll meet you back here when that's done.
Stephanie: Okay so now we're gonna put our block together. All right so we start well I usually start with this one in the middle. That's my guide. Okay and then she just arranged like all the hourglasses on there well that's how I like to like start visualizing the the star. And then we have our
corners, our half square triangles we put them in the corners. And the print the dark always goes to the exact side because that's that's going to help us make the other design like like the diamonds. Also as you see when you have the different diamonds they're all different. That's like all the prints are never together like you have the four different prints
Misty: Embracing the scrappiness of it, I love that! Okay so now we can sew this together right? So I really like to to chain piece my blocks and so I just start picking them up like this and we still have that diagonal seam that's running and so it kind of nests up really nicely in that corner which is a great way to make sure that your seam allowance is not going to lose a point. Because that's what we want to keep our star points.
Stephanie: I mean you can always pin, but it works the lines help you yeah.
Misty: So then I'll take these two and we'll just make our way down the block.
Stephanie: So there is a block. Here's a block, this is how the block fits in the fits in the quilt. The quilt is made of it's four blocks by five. And well your this one is 12 inches each block exactly. So what I wanted to do with the quilt is I want it to be kind of like a gradient. You go from from pinks to a little bit darker. And then the purple, the purples and I wanted here to have like the concentration of the light in the middle. So when you make your own quilt I mean if you make it scrappy and you don't follow it it's fine. Just my recommendation is to try to make it to have a little bit of light here you know.
Misty: It kind of makes it glow.
Stephanie: Exactly and you're on your eye goes right there to the middle and from here was telling early about about the half square triangles
to make them always to be different so that so they have contrast in each other. So here you have like a secondary block if you want and the diamond in the middle
Misty: So it's beautiful and you use this great curve quilting which I love when you have those angles of the block.
Stephanie: Because all the blocks were well there are Ohio stars and they're like very sharp and yeah and geometric. So I wanted a friend of mine who did the quilt and I asked her to to do like something very organic and to have a little bit more of movement.
Misty: I love that you've bound it with this beautiful dark purple from
your collection and I do want to show you - you've pieced the back so unless.
Stephanie: You have to see it.
Misty: Yeah it's just so fun.
Misty: Yeah it's the same fabric of well and of the collection and it's just kind of free and fun and pieced together to make that beautiful back.
Misty: So thank you so much again Stephanie for being here and sharing your beautiful fabric and your quilt pattern with us.
Stephanie: I know thank you Misty for having me. This is so much fun!
Misty: I really appreciate it and I hope you guys enjoy making this beautiful
quilt whether you make it with fat quarters or 10 inch squares!



