
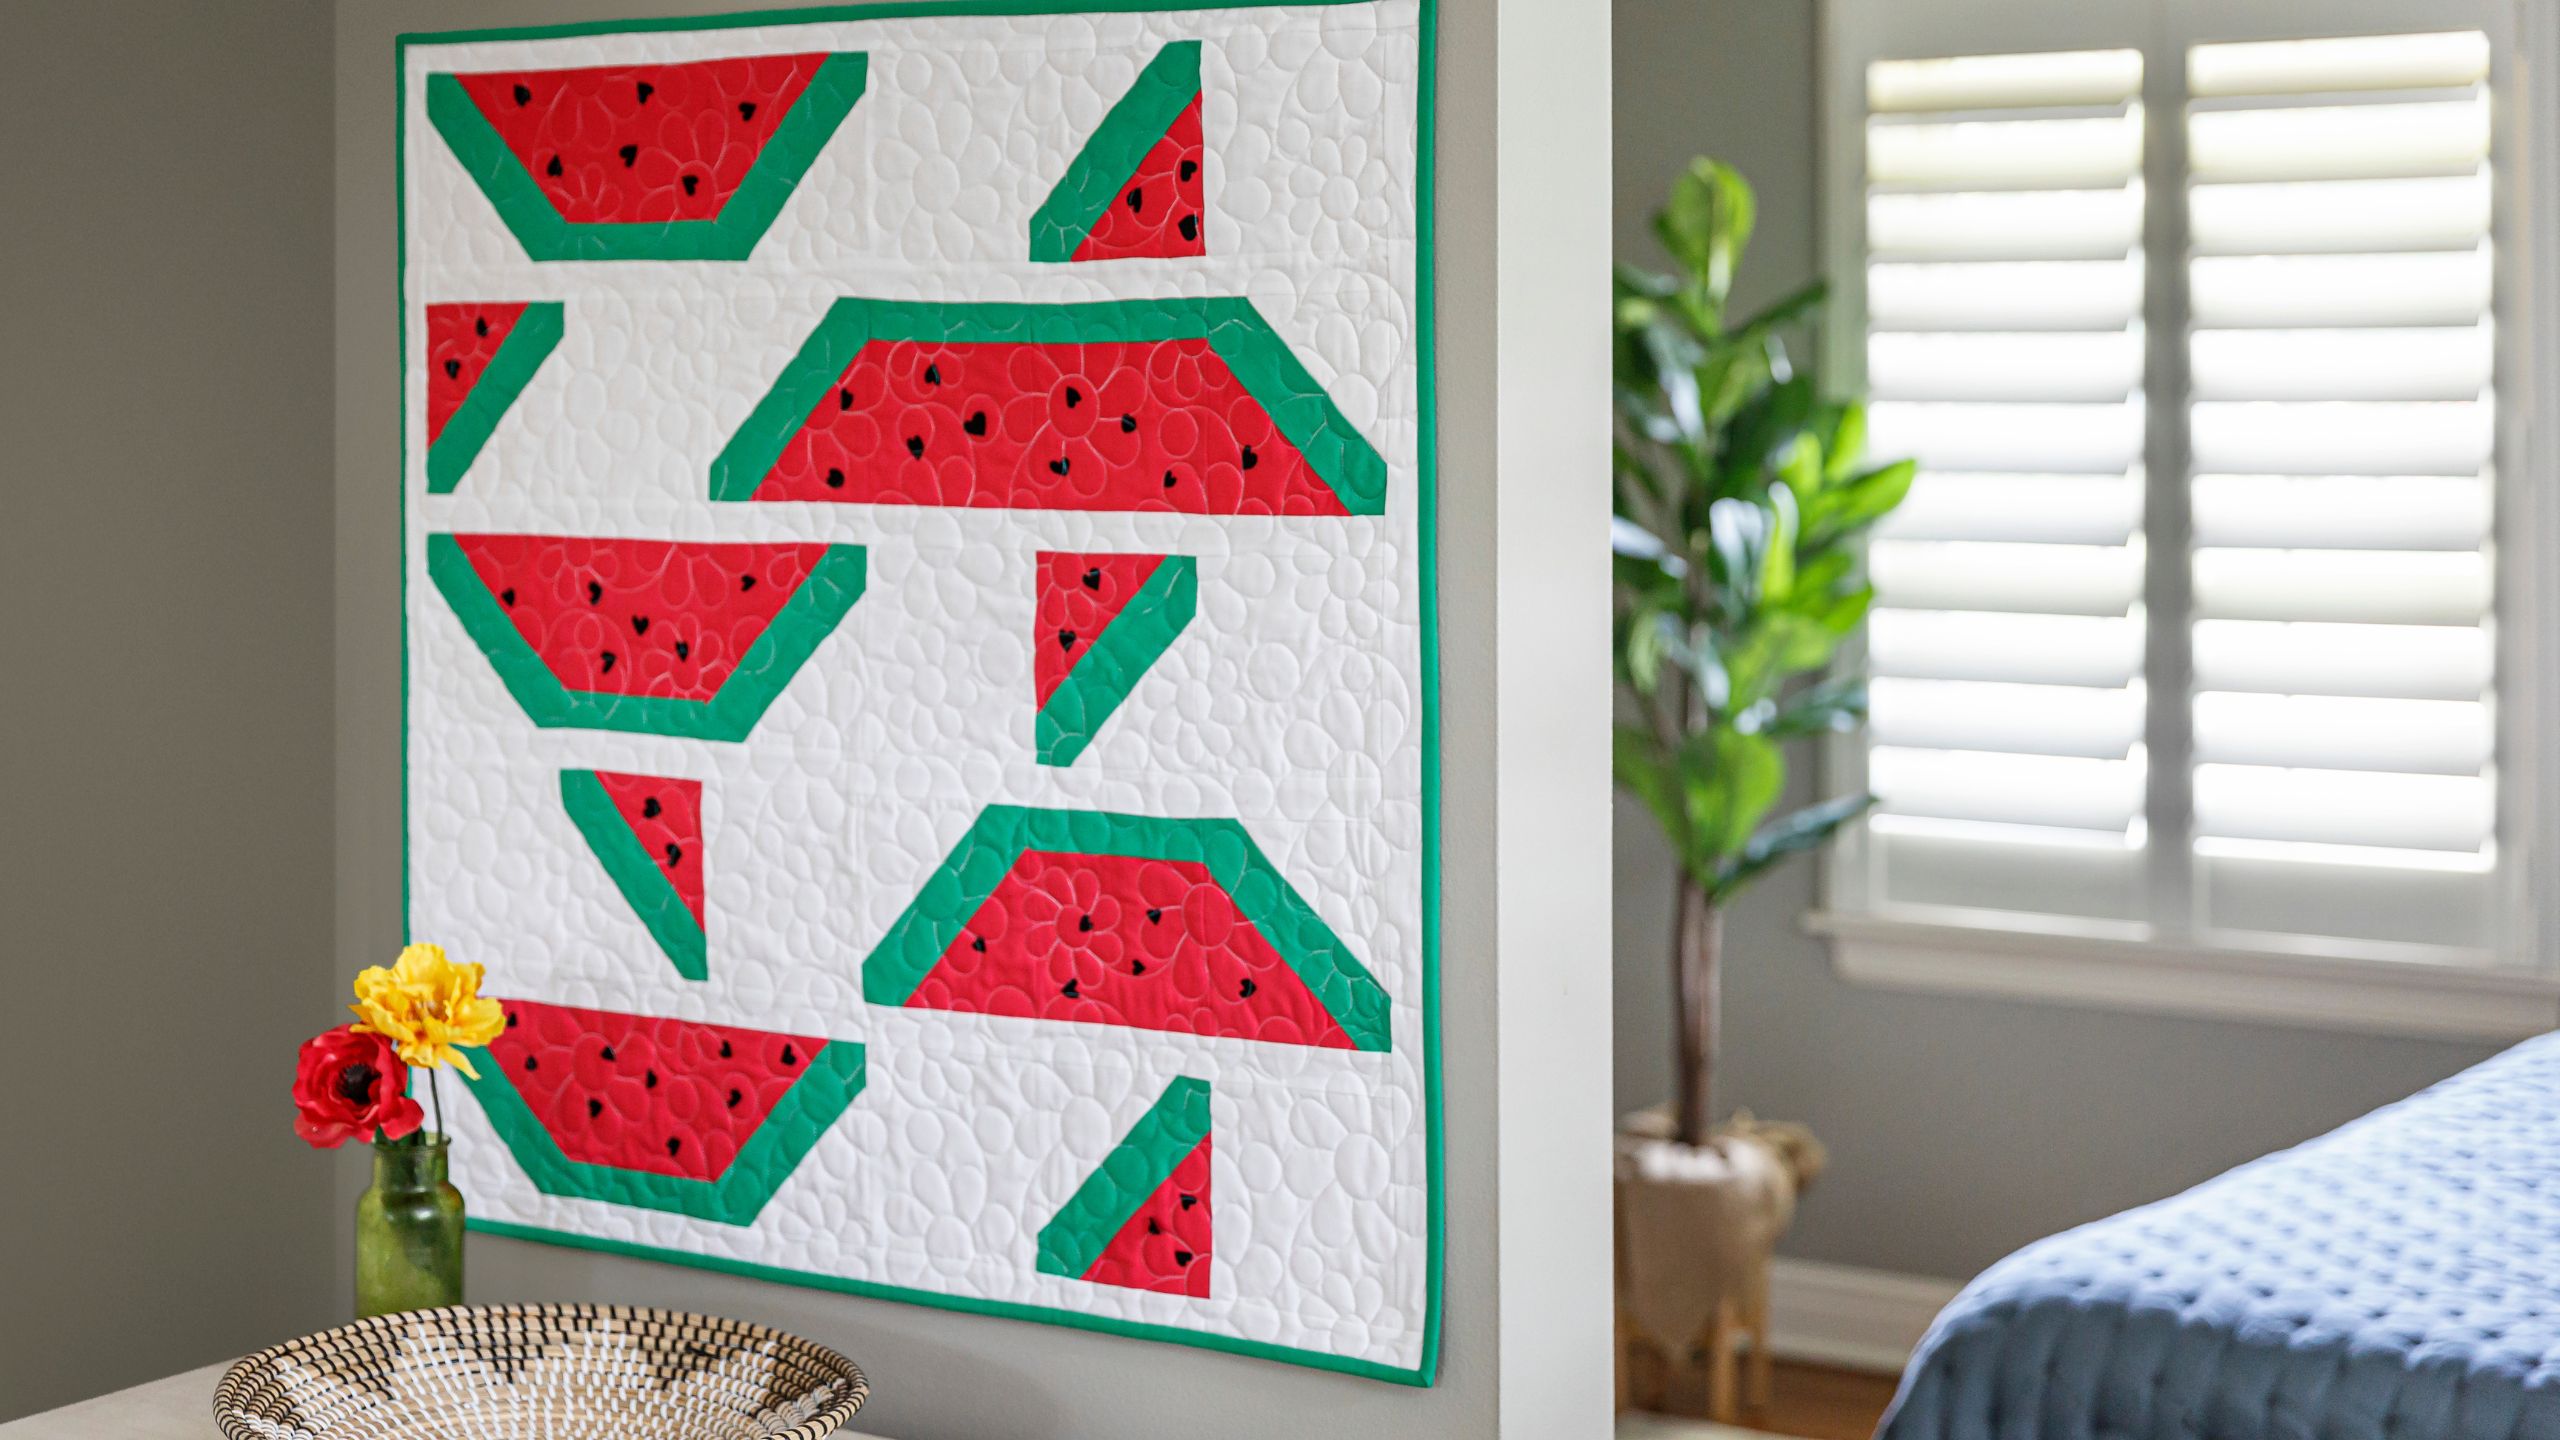
How to Make a What a Melon Wall Hanging - Free Project Tutorial
 Misty Doan
- Fabric by Yard
- Modern
- Wall Hanging
- Beginner
- Quilt size 32" × 31"
This wall hanging is one in a melon! Join Misty as she shows you how to create this deliciously adorable wall hanging. With various slices of watermelons on a white background, the What a Melon Wall Hanging is the perfect summer project. Enjoy a slice of summer all year round with this sweet wall hanging!
Instructor
Misty Doan
Misty Doan grew up surrounded by sewing and quilting. She loves spending time sharing tutorials each week each week, and when she’s not stitching up one of her fun sewing projects for home decor, most likely you’ll find her hanging out with her husband and three awesome kids or working on a house project.
Shop this tutorial
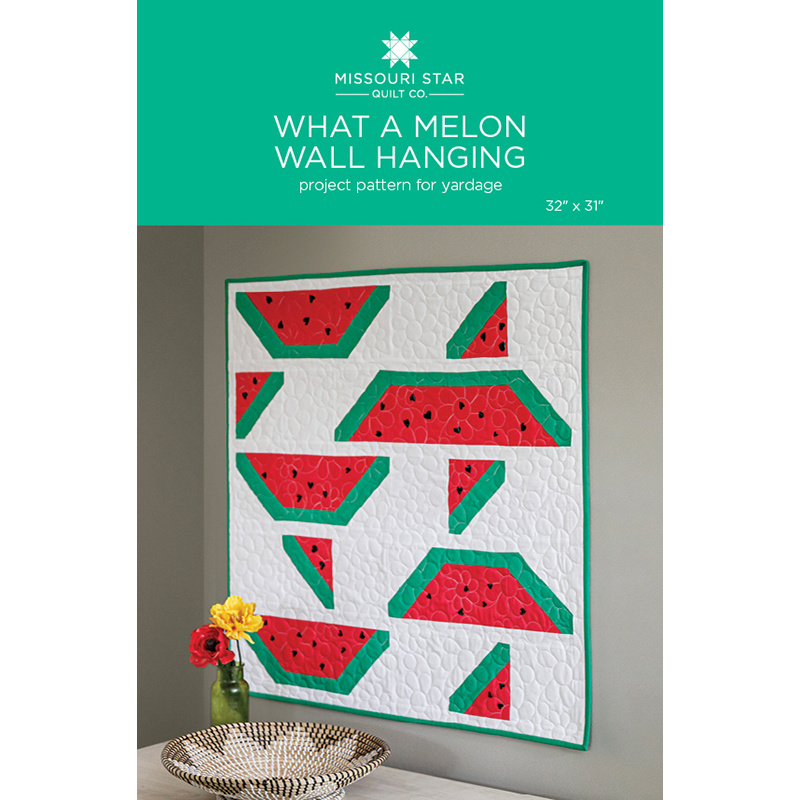 What A Melon Wall Hanging by Missouri Star$6.95Shop →
 Digital Download - What A Melon Wall Hanging by Missouri Star$4.95Shop →
 Kona Cotton - Watermelon Yardage$7.28Shop →
 Kona Cotton - Fern Yardage$7.28Shop →
 Kona Cotton - White Yardage$7.28Shop →
 Kona Cotton - Black Yardage$7.28Shop →
 Missouri Star Sew Light Fusible Adhesive - 17" x 2 yards$4.95Shop →
 Missouri Star Quilter’s Best Blend Crib Batting$14.45Shop →
 Olfa Splash Aqua 45mm Rotary Cutter$18.75Shop →
 Missouri Star 5" x 15" Ruler$15.95Shop →
 Exclusive Missouri Star Jenny TG1600 ProPlus Oliso Smart Iron$199.99Shop →
 Missouri Star Wooly Betty Board - 17.25" x 25.5" Orange Border$98.95Shop →
 Missouri Star 50 WT Cotton Thread White$6.95Shop →
 Baby Lock Accomplish - 1500 SPM Straight Stitch Machine$999.00Shop →
Common Questions
What is covered in How to Make a What a Melon Wall Hanging - Free Project Tutorial?
This wall hanging is one in a melon! Join Misty as she shows you how to create this deliciously adorable wall hanging. With various slices of watermelons on a white background, the What a Melon Wall Hanging is the perfect summer project. Enjoy a slice of summer all year round...
How long is the tutorial video?
The tutorial video is 00:09:44.
Are supplies listed for this tutorial?
Yes. The tutorial page includes the supplies and materials connected to this project.
Is a transcript available?
Yes. A written transcript is available on the tutorial page.
Video Transcript
I've wanted to design a watermelon quilt for a long time and I finally found a simple way to make a watermelon block. I turned it into this little wall hanging, but you can use this method to make a quilt of any size. It's really fun and simple, so let me show you what you need to make it.
So to make this I used all Kona solids. You're going to need three quarters of a yard of your background, a half a yard of your pink (this is called
Watermelon), a quarter yard of green (I used Fern), and a quarter yard of your black. You could also just use a spare charm pack if you have one lying around - you don't need much, it's just for the seeds. Then you'll need some of our Missouri Star Sew Light Fusible and one yard of backing fabric.
Okay so this quilt is really simple. It's made up of essentially two blocks and let's dive into the first one. So you are going to take your pink fabric and your background fabric and you are going to cut it into five inch squares. So I have one of each of these here I'm going to go ahead and stack those up and then I'm going to cut this in half on the diagonal. I'm just going to use my little ruler here and lay this point to point and cut it just like so. And so this is actually now going to make two blocks. And we can set in between these a two inch by eight inch rectangle of our green.
And so I am going to fold this in half and finger press to find that center
line, then I'm going to do the same with my triangles. Make sure they're nice and straight and then I'm going to open this up and set this right on that finger press line and take this to the machine and stitch it with a
quarter inch seam.
There we go once we have that first one done. We can roll it back and if you need to remark that center line you can. You just want to make sure
that it's all lined up. And now we'll put our white on the opposite side,
sew that down as well.
All right now we can press that one back and now we can bring this back over and we are going to square this up to five and a half. So let me grab a square ruler and I like to always kind of start with this as straight on my mat as I can. And I'm going to begin by just barely trimming this first side.
I'm actually going to rotate this just for my brain, because I want to make sure this is my five and a half line that I'm looking at here and I do want to make sure I can trim both sides a little bit. So that's what I'm watching for.
So we're just going to square this up and now I can rotate this since I'm right-handed and I can have this line up right on that five and a half that I was looking for and we can just shave this a little bit off. So not much trimming at all and then this is how your block looks when it is all done. So you can see some of these I just included plain and some of these we're going to add to block two to make our larger wedges. So let's set these aside and we can dive into making block two.
So to do that you are going to need a four and a half inch strip of your pink and a one and a half inch strip of your green. And we are going to sew these together in a strip set, so let's bring this over to the machine.
I'm just going to line it up and go all the way down one side. Just take your time and make sure it stays lined up as you go and don't pull on it because that's what causes kind of warping of your strips.
All right and now we can press our green back all the way down the length of the strip. Just roll that back, keep moving down. All right, there we go. Now we have our strip set complete, and I know this is going to be
so surprising, but all we need to do now is trim this down. It should measure five and a half inches tall and so we are going to cut these into
five and a half inch blocks. So I'm just going to line this up along my cutting mat and work my way across.
We have one two three four five and a half and we'll just keep going all the way down the strip. All right I have that all trimmed and depending on the width of your strip, whatever brand of fabric you use, it will vary slightly how many you can get but I was able to get eight of these blocks out of my strip set. So just keep that in mind as you're designing.
And so now we can set these together in different ways. So we can add our wedges to either side we can even make our slice longer. You can see that's all I did in the quilt behind me is I just added different elements. But we need that one final detail of the seeds and so let me show you how we did that.
So I just used a little square of our Sew Light Fusible and some spare charm packs that I had lying around. And I'm just going to iron this to the back just like so. And now we actually did include in the pattern some fun different little heart shapes that you can use as a template if you want. You would trace those on to your your fusible before you iron it down, but I will show you what I did. Let me grab my scissors. So I actually just folded little chunks of my fabric like this and I just kind of worked my way across
and just cut out little hearts. I just free handed it and it was fun. So just like so and they can be different sizes depending on how big your wedge is.
But hearts are pretty easy to cut out and so I just did little heart shapes
for the seeds. There we go.
And so now I will add a few to this one. I've already peeled the paper backing off of these little guys, but let me show you if you're not familiar it's just really easy. You peel off the paper and it just leaves that adhesive behind and then we can add a few of these seeds to our little wedge just like so. We can go iron that down.
So I'll take that over here to the ironing board give it a press with a nice hot iron and then if you want to you can go back and secure these down with just some black thread with a few straight stitches. I wouldn't do anything crazy like try to outline them, just tack them down too make sure they'll stay there if you know throw it in the wash. But I don't mind them fraying a little bit and having a little bit of personality and I think it turned out great in the finished project!
So I hope you enjoyed this tutorial on this quick and easy watermelon wall
hanging!


