Skip to content

Free quilting video tutorials from Missouri Star

Quilting Tutorials
How to Make a Whirligig Star Quilt - Free Quilting Tutorial

How to Make a Whirligig Star Quilt - Free Quilting Tutorial

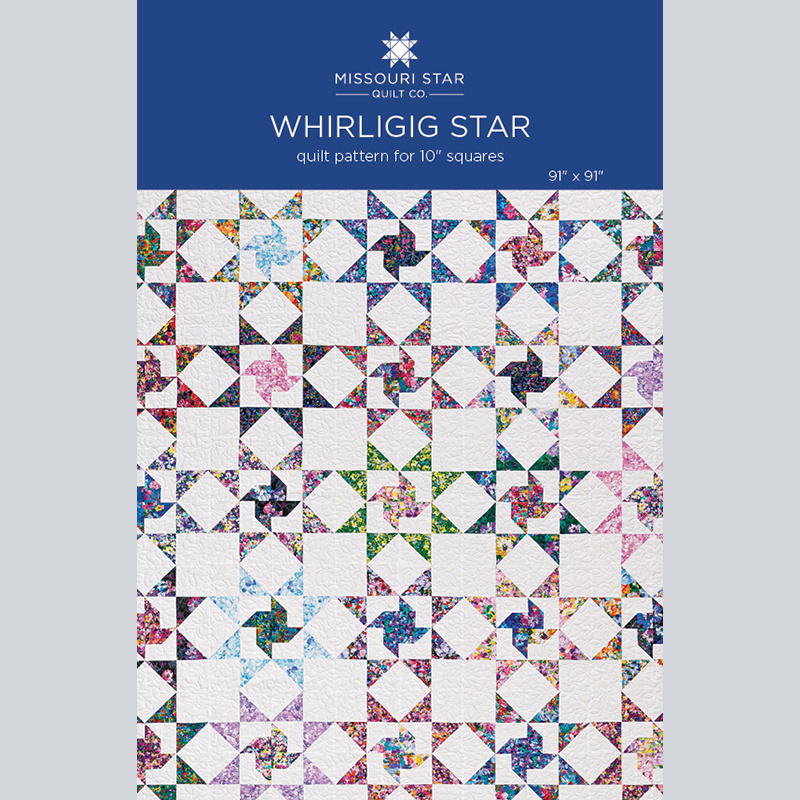
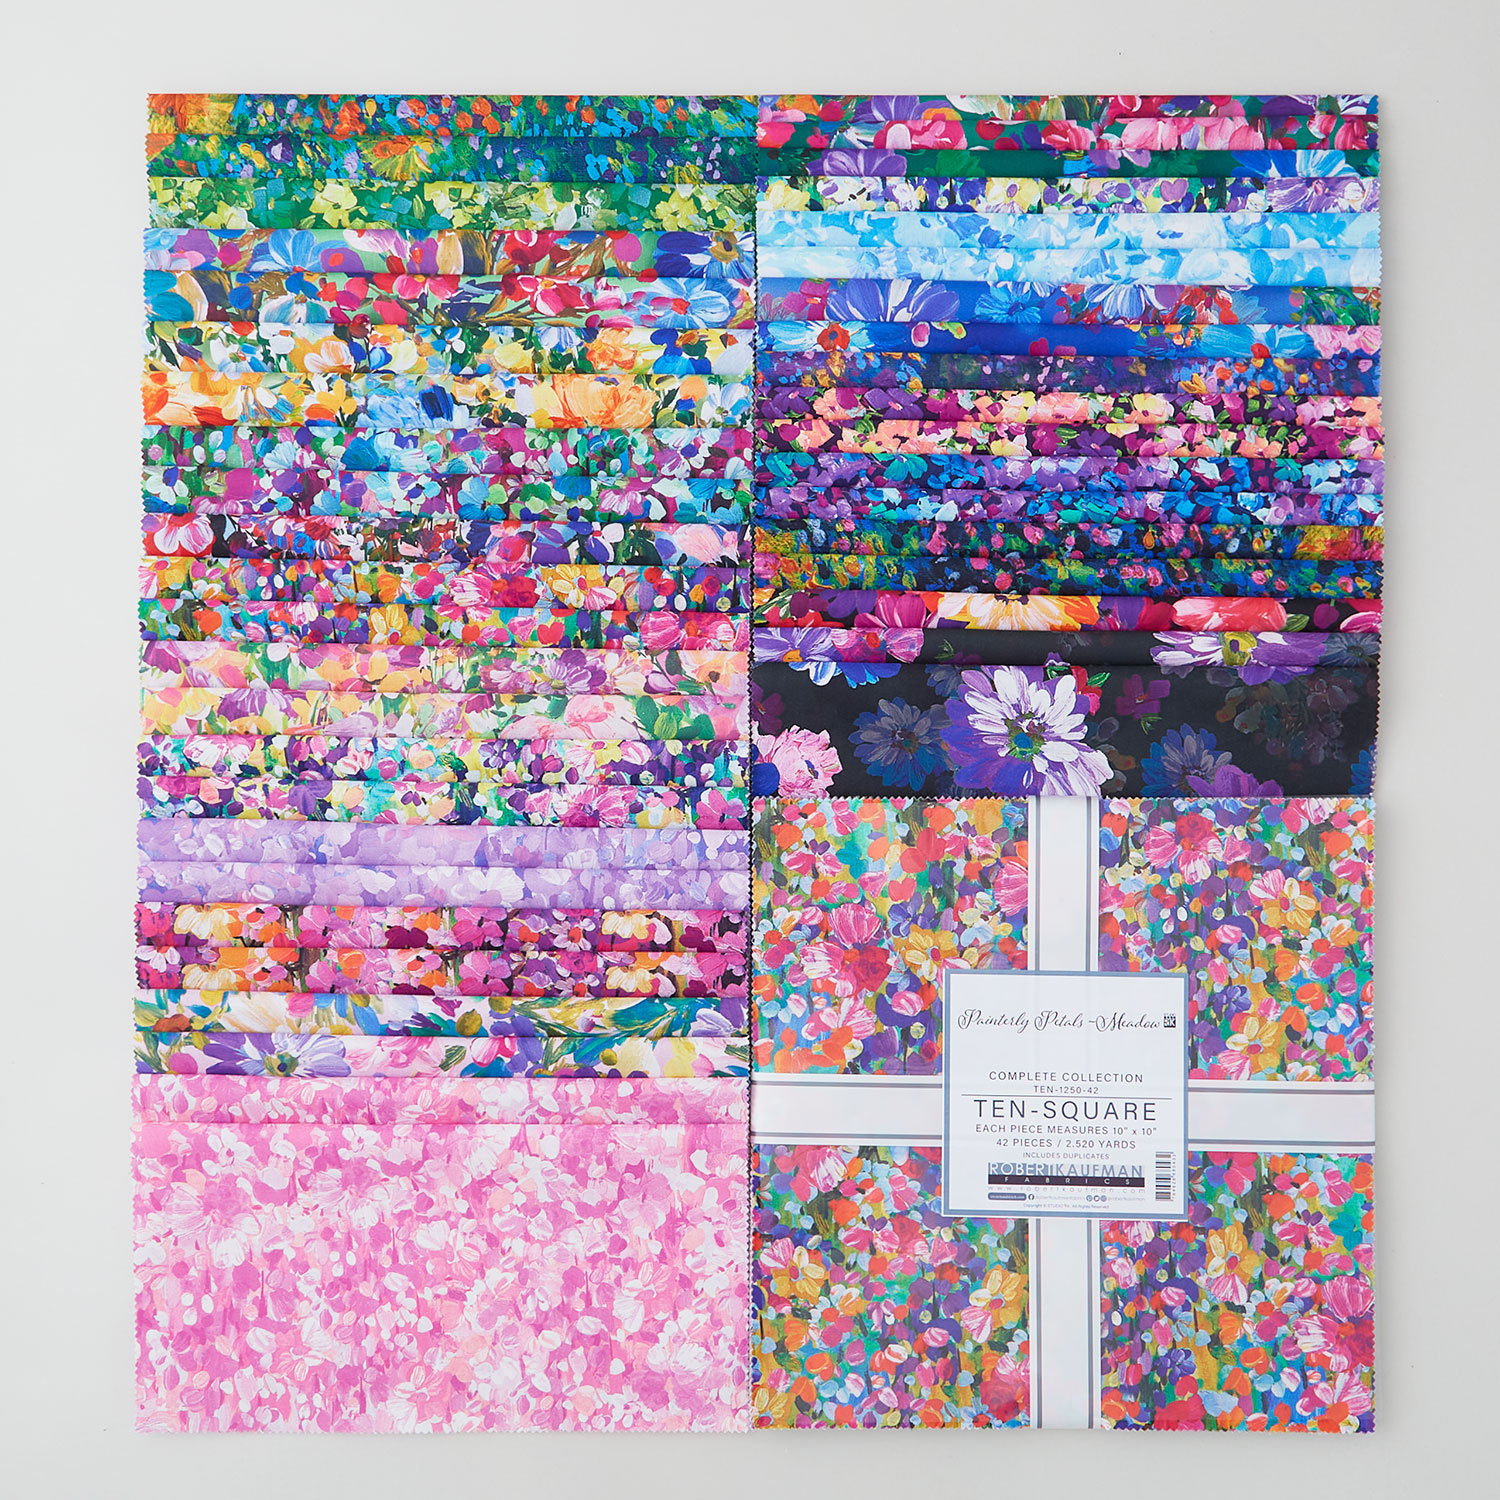
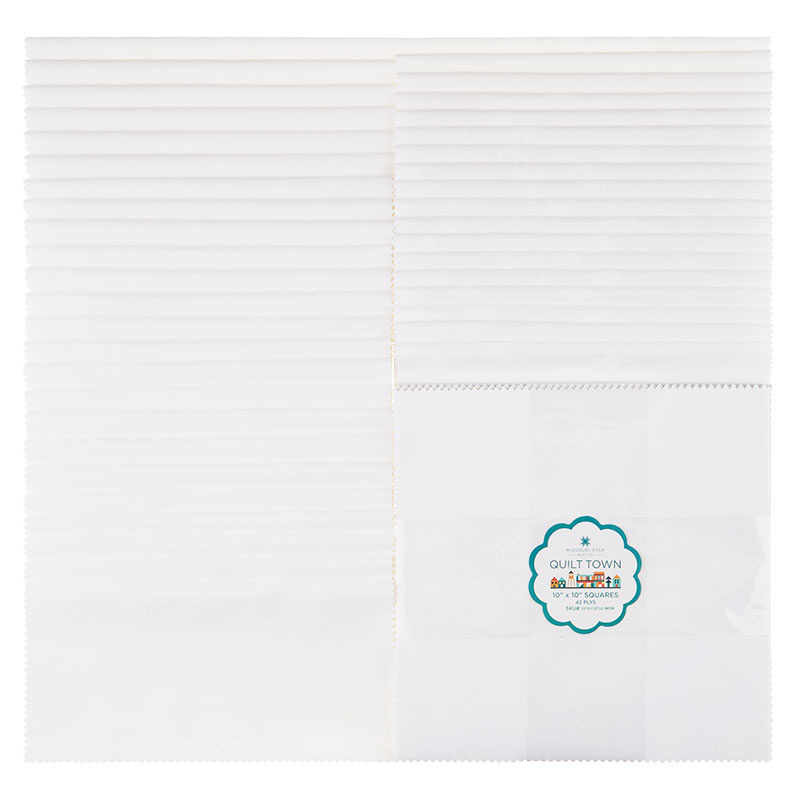
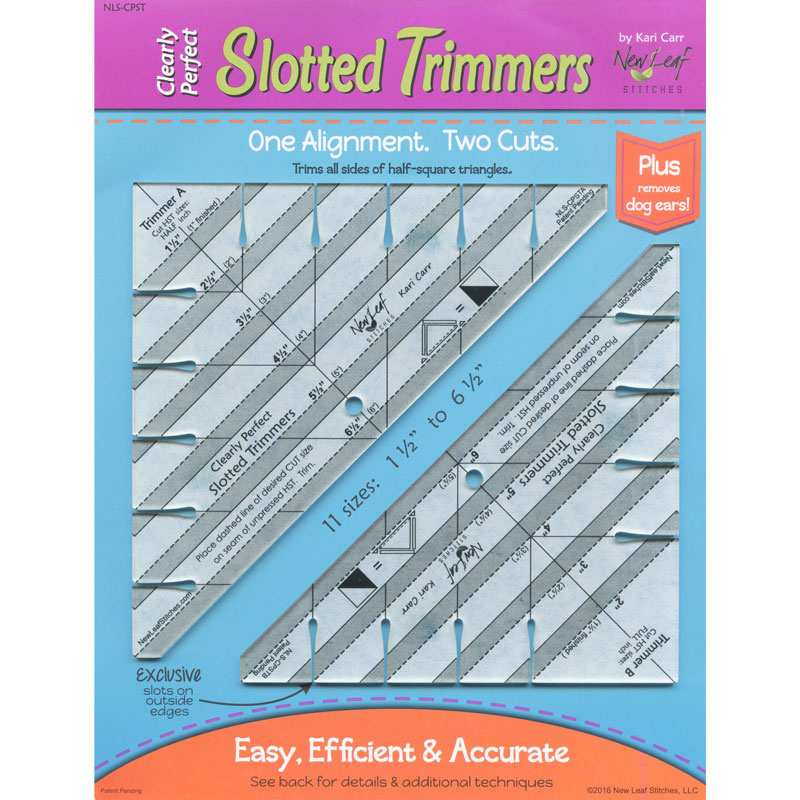
This week, Jenny Doan is using precut layer cake squares to create a simple star block with a whirligig center. Her fabric is Painterly Petals Meadow by Studio RK for Robert Kaufman, with a pretty white-on-white background of Quilt Town Tossed Missouri Stars. We'll square each block to perfection as Jenny and Natalie do side-by-side demonstrations of our favorite tools: the Bloc Loc and the Clearly Perfect Slotted Trimmer.

Instructor

Jenny Doan

Jenny Doan is an American quilter, author, and YouTube personality. Jenny started Missouri Star Quilt Company in 2008 and today it is the largest quilting supply vendor in the United States.

Common Questions

What is covered in How to Make a Whirligig Star Quilt - Free Quilting Tutorial?

This week, Jenny Doan is using precut layer cake squares to create a simple star block with a whirligig center. Her fabric is Painterly Petals Meadow by Studio RK for Robert Kaufman, with a pretty white-on-white background of Quilt Town Tossed Missouri Stars. We'll square each...

How long is the tutorial video?

The tutorial video is 00:21:42.

Are supplies listed for this tutorial?

Yes. The tutorial page includes the supplies and materials connected to this project.

Video Transcript

hi everybody it's Jenny from the Missouri Star Quilt Company and I've got a super fun project for you this year the beginning of this year the first quilt let's take a look at it so this is our whirly gigar isn't this great and I have to tell you I love this line of fabric it's so beautiful the painted look and I can't wait to show you how to make it so to make this quilt you're going to need one packet of 10in squares and we have used painterly pedals by Studio RK for Robert Kaufman you're going to need some background and you can use 5 yards of a background but you know I love pre-cuts so I used these pre-cuts and I also used the Missouri Star Quilt Town USA white onwhite print that it's the Little Star on the white I love it I just love that we did that you're going to need some uh fabric for your border look at that gorgeous border I mean I want a dress out of that it's so pretty and you're going to need uh about 1 and 3/4 yards it's a nice big 6in border and on your backing this is a big quilt you can see it stretches almost the whole design board it is 91 by 91 and so you're going to need about 8 and a/4 yards or you can do uh 2 and 3/4 yards of 108 it's a nice big quilt let me show you the backing here this is our backing this is what you'll need 2 and 3/4 yards for the quilting pattern here is called flower Pano and I just think it's perfect for this quilt so let's get to making it so this is the block we're talking about and we're going to make Star legs and a whirly gig Center and it's very easy and quick it makes a big quilt fast because the blocks are so large it'll help you also to have a squaring tool now I'm going to use the clearly perfect slotted trimmer but any square that you have that works for your brain is what you want I mean use anything with a diagonal line because these legs are all made out of half Square triangles so what we're going to do is we're we're going to make the legs first and I'm going to choose this color right here and one trick I found so this is the Missouri Star Fabric and it has a little tiny Missouri Star embossed on the front and a lot of us use white on white when you use white on white it's hard sometimes to tell the front from the back but what I find is I often let me just show you this I often use my jeans and I put my fabric up on the Jean and I guess it would work with a dark surface like this as well but I can see that this is obviously the front because I have it on a dark background and so I'll just sit at my sewing chair and drape it over my jeans or if I have a dark mat cuz right now in my sewing room I have a light mat so it's hard to tell so I just drape it over something dark and then uh and then I know that that is the top side so I want this side to be right sides together and we're just going to make the um 4 and 1/2 in 8 at a time legs so what I'm going to do is I am going to draw a line line diagonally both directions and I'm just going to use a pencil for that and just start wherever you want in the middle and work your way out and we're going to sew a qu of an inch on both sides of these lines and so we'll come over here to the sewing machine and I just kind of lay my presser foot along the line and just sew down it so I don't actually measure cuz I'm going to be squaring blocks up later so it's going to be fine but this will give you eight half Square triangles so we're going to go along here and we're going to flip this around and we're going to come down the other side oops and I'm caught here let me see if I have a little a little scissor I can just snip that little thread there we go otherwise you wouldn't have been able to see my seam at all it would have all curled up all right then I'm going to go to the other X and I'm going to do the same thing quarter an inch on either side and by quarter of an inch it doesn't at all have to be exact it has to just be close and so so that will all be fixed when uh when we go ahead and cut these so I like to start cutting on the way the parts that don't have lines so I'm going to cut it vertically like this and I'm going to cut it horizontally like this and I never have to cut awkwardly with this block so then I'm going to cut on the lines this way like this and on the lines this way like this now I'm going to invite Natalie up here to help me Square some of these blocks Natalie's going to be using the block lock ruler and I'm going to be using the clearly perfect so you will see two different ways whoops let's make sure this stays on the line two different ways to square your blocks hi Natalie thanks for helping me today you're welcome all right so I'm going to go ahead and trim these so now we have eight half Square triangles we're going to be trimming those to 4 and 1/2 and I'm going to grab Natalie a block lock all right so I am going to don't open mine don't open that one I'll do four and you do four yeah so I'm going to go ahead and show you the clearly perfect I'm lining my Stitch line on their Stitch line like this and then I'm going to cut the little the little edges off right here and cut it around like this trim it make sure it stays on that line sometimes it slips if you have a problem with your ruler slipping there's a spray you can get uh there's a tape you can get um I sometimes use medical tape that I get at Walmart but there's a lots of official sewing things you can get I'm kind of a creature of habit sides we probably should we're going to Elbow each other all right so on this last one let's switch sides and then you can show the um how to do it with the block lock okay I'll let you move over there all right so for the block lock you're just going to line the seam right up with this little Ridge and put it up next to it and this is a 4 and 1/2 in tool so we just cut all the way around the edge it is nice to have a block that is is the size of your um of your Square mhm all right one more here for me and one more for me if your sides are really straight you can pull that down into one corner and just cut one side right same with the with the clearly perfect if your sides are great you can just make those work now I'm going to put these dark fabric up and press to the dark side so that my seam is hidden behind the dark fabric let me grab these over here being careful not to get too close to those blades there you go okay so now what we're going to do is we are going to put these together in legs and as you can see here they all come together with the white in the middle and so I'm going to make four sets where the white comes together like this and I'm going to do that to all my legs so they're ready to go as soon as I'm ready to go with the center part so I'm going to start with this one and come come off all right so put them together with the whites together in the middle making sure your top pieces line up and then you can just sew down them and then this one right here and sew down and one more we are going to sew down this one right here right down on the center actually I'm going to start from the bottom on this one and I'm going to make sure these two edges are lining up they felt like they wanted to uh move a little bit so I thought I would do it that way all right so this is going to be the outline of our whirly gig block I'm just going to press these open and we're going to set them aside now these are squared to 4 and 1/2 which means all of our other blocks to in order for this to work together all of our other blocks have to also be squared to 4 and 1/2 so I'm going to take this block right here and I'm going to cut four 4 and 1/2 in squares for the corners and I'm just going to start right here on the edge and actually you know what I'm going to trim this little tiny edge off here so I get a straight edge to start with cuz when you're cutting 4 and 1/2 you have a little bit of room all right so here's my 4 and 1/2 and I can line that right up straight on the line and I don't have to worry about all those little pinks now if you're doing yardage you can cut a 4 and 1/2 in strip and subcut that into 4 and 1/2 in squares so I'm going to stack these now and again I'm going to start by cutting off that little tiny pink Edge right here I'm not even really measuring I'm just taking the pinks off and then we'll come over 4 and 1/2 and make four 4 and 1/2 in squares for our Corners there's one two and three four all right we're just going to set these aside with our legs over here now we need to make the center block and we are also going to do that out of 10in squares and so I'm going to grab another background Square over here and make sure that it's uh right sides together just like that and I'm going to cut these into 2 and 1 half inch strips because I need 2 and 1/2 by 4 and 1/2 in blocks and I need four of those so again I'm going to cut off my little Edge right here and two and 1 half right here and two and a half again and then I'm going to subcut these into 4 and 1/2 in rectangles now the way I like to do rectangles is I like to have a a ruler that's that length and so I'm going to use this little ruler and instead of going here and counting it on my mat I'm just going to sit it right here and I'm going to go to the 4 and 1/2 inch line and I'm just going to cut all of those at once and I need four of those for each block and all of these at once and then I'm going to take my background here because I need four 2 and 1/2 in squares as well to make the little wh gig pieces so I'm going to take this piece and I'm going to cut for 2 and 1/2 inch and I should be able to get this right here 2 and 1/2 and 2 and 1/2 yep all right all right so there's my four of those all right so what we're going to do with these is we're going to separate our our pinks from our whites like this and we are going to put a whirly gig or I'm sorry a snowball block on all of our pink blocks so what I'm going to do is I'm going to put my 2 and 1/2 in square up here and actually I'm going to turn this because I'm going to cut off this top part I'm going to cut off down here so if I put my pink edge up there I'll just cut that off later so that will be good and I'm going to sew from the top left to the bottom right and make sure these are all facing the right direction right sides together and then we're going to sew from here to here you can Mark a line you can press a line or you can use your diagonal seam tape I'm using my diagonal seam tape and I'm going to do four of these one right after the other one more and then the last one well not the last one for the quilt you're going to be making a few of these all right so now you can take your rotary cutter or your scissor and you can clip these apart and you can clip them off and then we'll press them open you're going to love how this comes together this little Block in of in and of itself would make a darling little quilt just a great little quilt if you have to make a baby quilt or anything like that they're just going to make a great little quilt all right so we're going to press these open and I don't know about you but sometimes when I do my sewing my corner on it doesn't turn out perfect so I'm just going to kind of check these and see and so if I Lay My 4 and 1 half ruler on here I can see if anything is sticking above or sticking out it's a great way to check you know if you tend to have that that tendency to make a wing and I don't always do it but I sometimes do it and so I like to just check and make sure that they're all going to go together nice and neat this one has a little bit of extra off the top see right here I'm just going to cut that off trim that up and then what we're going to do is we're going to sew one of these where the white side is the biggest we're going to sew White Strip to that and so we're going to look for the right sides together and we're going to put these together and we're going to sew right White Strip quarter inch right down the side and we're going to do that to all four and then we'll just grab another one and grab from our stack that that we've already cut and honestly when you're using white on white if you don't get it exactly right don't you dare take it out nobody's going to notice the difference I don't you know sometimes we just get so crazy about things and it's like white on white is going to be fine either side nobody's going to keep a Quil back too because it wasn't perfect I promise all right so now because we've used 2 and 1/2 in strips by 4 and 1/2 these should be 4 and 1/2 in blocks so we're going to come over here to the ironing board and we're going to press these back and we're going to press to the dark side actually you can press whichever way you want if it wants to go to the light side let it go to the Light Side these particularly want to go because there's more seams on the other side so we're going to we're going to make their dreams come true and just press it to the light side on this one and I'm going to go back and press that one flat and then press it the other direction cuz it wants to go that way badly all right so now what we're going to do with this is we're going to put all of our pieces so that the pink comes to the middle like this and turn each one like that and like that and it makes that cute little gig block so now that we're going to sew this together as a four patch like this I'm going to sew the two top pieces quarter of an inch and sew the two bottom pieces a/ qu of an inch and I always lay them out before I sew them and then I'm going to sew this middle seam right here and the only thing that really matches up on this middle seam is on this middle middle seam is the middle seam so um make sure that right in the center where those four blocks come together they match so take a few little stitches and then make sure this middle matches right here you know and if you need to like encourage it a little bit you can do that but this then becomes the center of our quilt how cute of a block is that and we are going to make it even more special by putting a star around it and so now what we're going to do is we are going to take I'm just going to move all this stuff out of here over here if you will and we are going to take this these legs right here and we're going to line it up around our block so we've got one two right here the sides and these sides and here's our bottom sides and then we're going to put our 4 and 1/2 in blocks that we cut earlier in the corners like this there we go there we are all right so now we're going to sew this together to make all of our rows and what I'm going to do is I'm going to sew these two sides to this top one right here these top legs and you can actually do this part ahead of time as well and so I'm sewing this side and I'm going to flip it around and come over here and sew this side and then I'm going to do it to the bottom as well right here one block to each side flip it around and then what we're going to do is we're going to put the legs to either side of our center block and so let's go ahead and do that now you are going to want to match that Center seam again with this it will help keep you on track and you won't lose your point as long as you stay on the seam side of that um crisscross on the back I'll show you that in a minute all right let's take a look at this one real quick real close now see how these threads cross right here you have a seam going this way and a seam going that way as long as you stay on that point or on the seam side you won't lose your point and that's just a little bit of information and we have points coming from both sides so we'll just hold our breath and see if it works but again nobody's ever given a quilt back to me because the points weren't perfect so I'm okay with it I don't work too hard especially on this one my seams seem like they're small it worked it's a miracle all right let's do this one now we're going to sew the top and bottom to this block and we will have our Stars ready all right so here is our cute little star isn't that darling all right let's press it now when you make these blocks you're going to pull out 25 pieces for your star legs and cuz there's 25 blocks in the quilt behind me and you're going to need 25 different legs and then you get two of the whirly gigs out of each 10in square and so you're going to pull out 13 of those and you'll have an extra or a couple of extras but look how cute this is isn't that darling all right let's see how this fits in the quilt now I did not uh sash this or anything I just made my stars and I hung them right next to each other and so I have five by five so I hope you'll have fun with this I hope you'll make it your own if you decide you want to put a sashing in it you know or make four for a baby quilt how cute would that be I mean just have some fun with it play with it make it your own and we hope you enjoyed this tutorial on the worldly gigar from the Missouri Star Quilt Company hi everybody it's Jenny from the Missouri Star Quilt Company we hope you enjoyed watching this video if you aren't already part of the Missouri Star Quilt Company family be be sure to subscribe so you won't miss a thing and if you click that Bell it'll notify you every time a new tutorial comes out see you next [Music] Friday

More Layer Cake tutorials

See all