
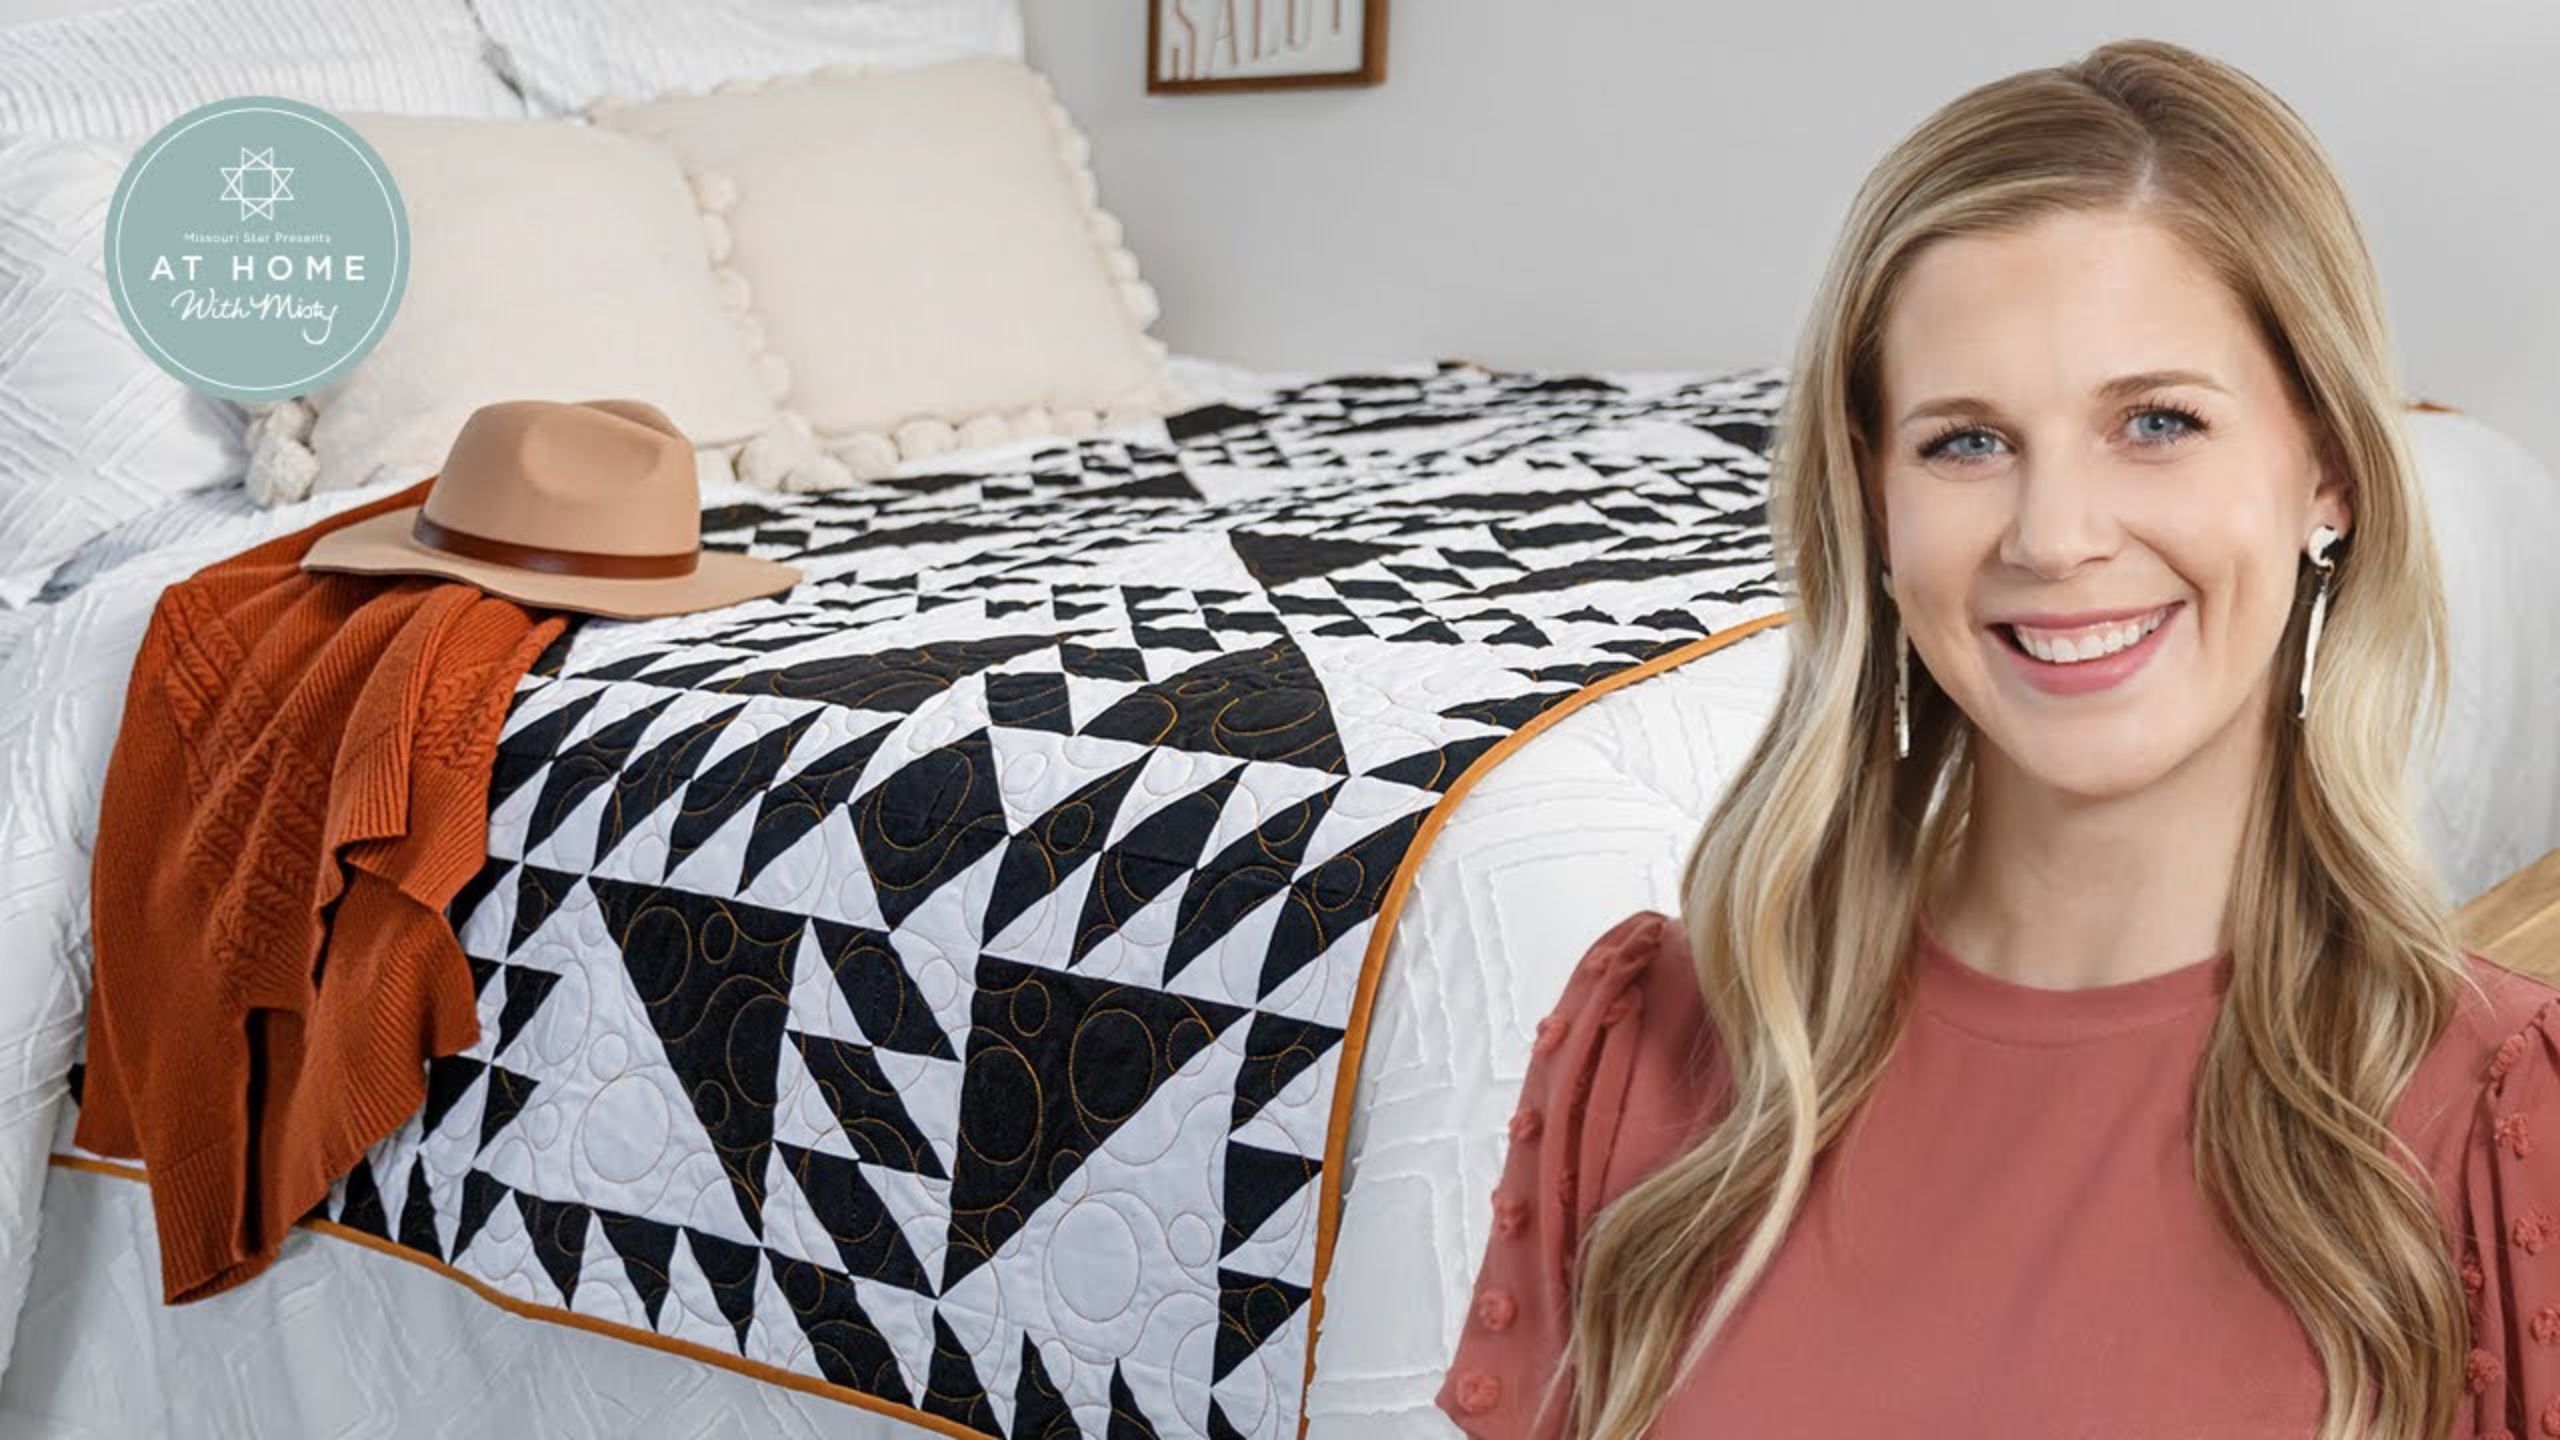
How to Make a Whirlwind Quilt - Free Quilt Tutorial with Misty Doan
 Misty Doan
- Layer Cake
- Modern
- Twin
- Intermediate
- Quilt size 75" × 87"
Is your room ready for a new look? Stitch up something special for your home with this At Home with Misty mini-series: Redecorate a Room! Tune in to learn how to make the beautiful Whirlwind quilt to bring a little contrast to your bedroom. Misty uses black and white Kona Cotton for the quilt top with gold binding for added color and a speckled metallic backing for an eye-catching finish. Make this project with matching pillow shams for a completely new bed set to transform the space!
Instructor
Misty Doan
Misty Doan grew up surrounded by sewing and quilting. She loves spending time sharing tutorials each week each week, and when she’s not stitching up one of her fun sewing projects for home decor, most likely you’ll find her hanging out with her husband and three awesome kids or working on a house project.
Shop this tutorial
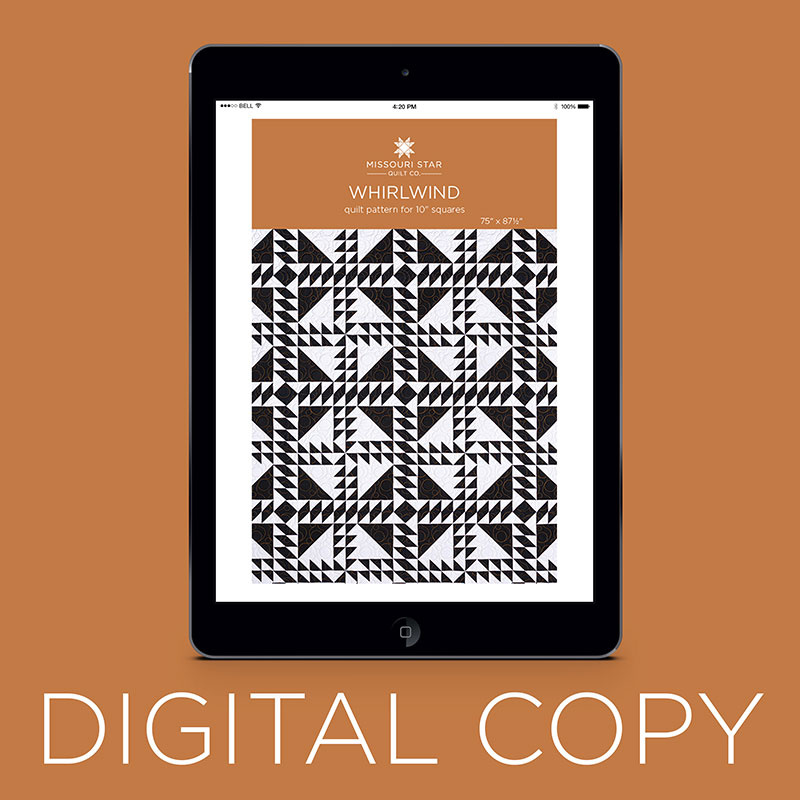 Digital Download - Whirlwind Quilt Pattern by Missouri Star$4.95Shop →
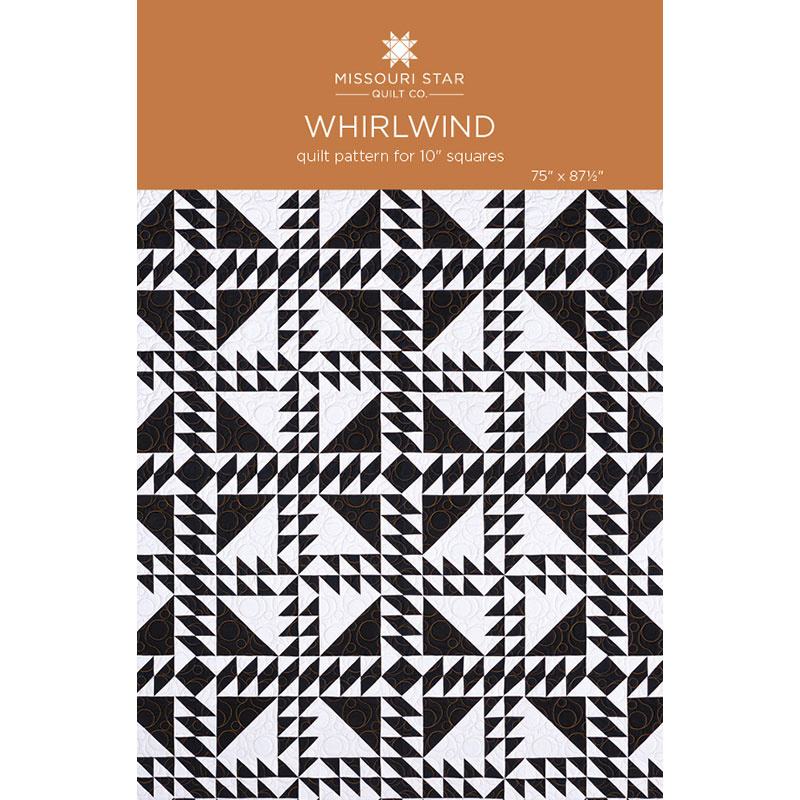 Whirlwind Quilt Pattern by Missouri Star$6.95Shop →
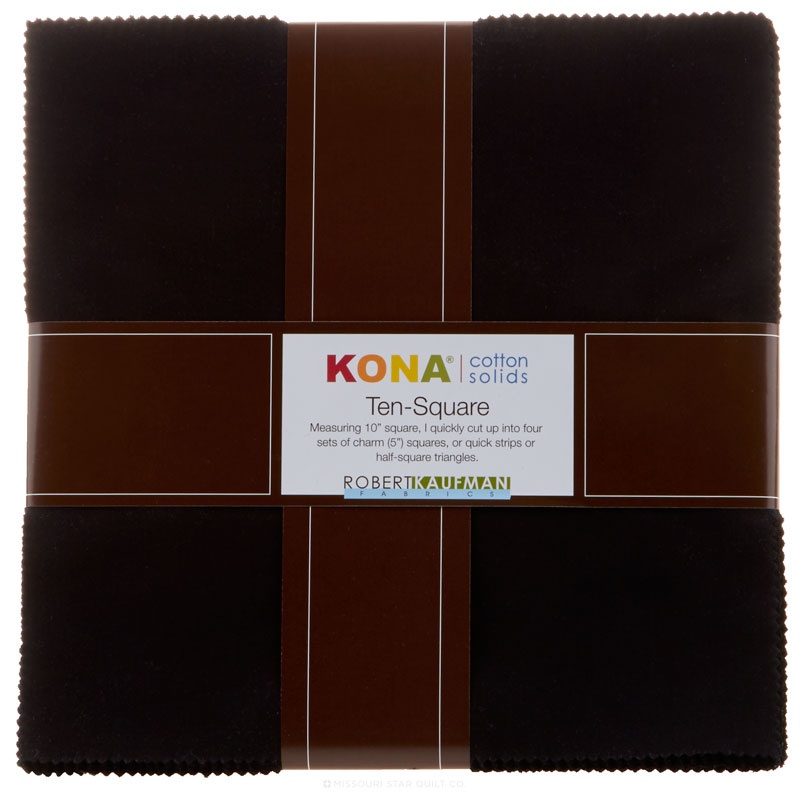 Kona Cotton - Black Ten Squares$30.95Shop →
 Kona Cotton - White Ten Squares$30.95Shop →
 Missouri Star Quilter’s Best Blend Full Batting$32.45Shop →
 Bloc Loc 4 1/2" Square Up Ruler$25.00Shop →
 Missouri Star 2.5" x 8" Ruler$10.95Shop →
 Missouri Star 5" x 15" Ruler$15.95Shop →
 Olfa Splash Aqua 45mm Rotary Cutter$18.75Shop →
 Olfa Splash 24" x 36" Cutting Mat Navy$68.95Shop →
 Missouri Star 50 WT Cotton Thread White$6.95Shop →
 Exclusive Missouri Star Jenny TG1600 ProPlus Oliso Smart Iron$199.99Shop →
 Missouri Star Wooly Betty Board - 17.5" x 17.5" Aqua Border$88.95Shop →
 Elan 8" Dressmaker Scissors$20.95Shop →
Common Questions
What is covered in How to Make a Whirlwind Quilt - Free Quilt Tutorial with Misty Doan?
Is your room ready for a new look? Stitch up something special for your home with this At Home with Misty mini-series: Redecorate a Room! Tune in to learn how to make the beautiful Whirlwind quilt to bring a little contrast to your bedroom. Misty uses black and white Kona Cott...
How long is the tutorial video?
The tutorial video is 00:19:04.
Are supplies listed for this tutorial?
Yes. The tutorial page includes the supplies and materials connected to this project.
Is a transcript available?
Yes. A written transcript is available on the tutorial page.
Video Transcript
Like I said, this is week one of a four-part series redoing my daughter's room. We're making all kinds of fun things to just make it her own and I
hope you guys will join me all the way through.
This is the first week so, of course we're going to start with a quilt and this is a variation on the Lady of the Lake pattern. When Ashelyn was helping me design it I kind of kept trying to make her go back to the original and then I realized this is a great lesson that all quilts are beautiful and perfect exactly as they're designed. This is how she wanted it, so this is how we made it. It is called Whirlwind and it is very simple to make. So let me show you how we're going to do this.
To begin you are going to need a 10 inch pack of both black and white or whatever color you decide. Then you'll also need an additional yard and a half of those same fabrics each. So I have those together and then we are going to dive into making this.
So to do these small half square triangles that make up the perimeter of our block we are going to take our 10 inch squares and we're going to take one from each pack and set those together. I'm going to grab a pen or a pencil and we are going to mark a few lines on here. I'm just going to lay my ruler right along the edge so that this runs right down the center and I'll draw a line this way. Then I'll turn this and draw a line this way. So now
I'm going to keep these two lined up together and we're going to take these over to the sewing machine.
So if you're not familiar with the easy 16, I am going to sew all the way around the outside of this 10 inch square and then a quarter inch in from both of these lines that I drew. So we're going to begin by going all the way around the outside and I just sew off and pivot. This is pretty forgiving so if your fabric shifts a little bit you don't need to worry.
One more on this outside edge. There we go. Now like I said, we're going to sew a quarter inch away from the lines that we drew in the center here. So I'm going to begin by sewing down this way and we'll come back and go down to the other side. We'll turn and do the same thing on that other line that we drew and when we are all done this is going to give us 16 half square triangles out of our 10 inch square.
There we go. I do want to point out if this makes you nervous or it's too complicated for you in any way, shape, or form, you could cut your 10 inch squares down to five inch squares and sew around all four sides on all of those, but for me this saves a little bit of steps and I find this easier to have it all together.
So now we can take this over to our cutting mat and I am going to go ahead and just cut on those lines that I drew and turn these into five inch squares.
So we'll turn these just like so and so now you can see. You can either cut before or after but essentially I have four or five inch squares that are sewn all the way around. Now I can just take those individual squares and I can cut them corner to corner in both directions and we'll get four half square triangles out of each.
You're going to need all 16 to make this block so let's go ahead and iron a few of these because I have some of them ready to go. Then I'll show you how we square them. So I'm going to press all of these to the dark side. Just roll back, keep my dark fabric facing up towards me, and then I can just lift that and roll that back as I press. There we go.
All right and so now we can go ahead and square these. Remember you would do this to all 16 from your pack. I like to use a Bloc Loc, which is why I went ahead and pressed mine first, but you could use a Clearly Perfect Slotted Trimmer. You could just use a square ruler. The number we're looking for is three inches so I'm going to lay my Bloc Loc on here
and I'm going to always make sure that in this case (since I press to the dark side) the part that says Bloc Loc will be on my white, the lighter fabric. And we're just going to trim there and then I like to check both sides to make sure this is nice and square. So we'll just shave off a little bit this way as well. You can see we don't have to trim much at all, but now we have a beautiful precise three inch square.
So let's go ahead and do a few more, just like so. If you're not familiar with the Bloc Loc, I love it because it has this little ridge in here that nests along
that seam that we've created and so it doesn't slip and I know that that
diagonal seam is going to be right in the point where I want it to be and it
just trims up so nice. So there we go! I have the rest of them all squared up already.
So now let's go ahead and move on to the center of our blocks which is this larger half square triangle. It ends up being eight inches. So, to make that, this is where that extra background fabric and the matching fabric that we need comes into play, because we're going to cut 12 inch squares which I already have here and we're going to do very similar to what we did before, except for we're just going to sew on all four sides because we're going to get four at a time half square triangles out of our 12 inch squares.
So let's go ahead make sure these are lined up and then I'll take them to the sewing machine. We are just going to sew our quarter inch seam on all four sides.
All right, there we go. We have sewn all the way around all four sides and so now we are going to take our ruler. We're going to lay that point to point… I'm actually going to grab a little bit larger ruler. So used to working with 10 inch squares I didn't think about it not reaching, but this one will. So I'm just going to lay this corner to corner and we're going to cut this in half diagonally in both directions just like our smaller five inch squares that we were working with. Now we can go ahead and give these a press and square them up as well. So same thing, I always press to the dark side so we're just going to roll that back. You only need one of these larger half
square triangles per block, but we'll go ahead and press a few so I can show you how to square them up.
Alrighty, so now because this is a larger square I don't have a Bloc Loc
that is this size. I think you can get a Clearly Perfect Slotted Trimmer that is
large enough to work with these, but I had just my 10 inch square ruler and I thought I would show you how to use that for trimming. So very similar to the Bloc Loc, there is this diagonal line and you're going to line that up with your seam and these are going to be squared to eight inches. So I just look down to eight inches and I can see that is nice and square on this end. And I am just barely going to have to trim a tiny bit off of this block, just like so.
Lovely. And then I'm actually going to go ahead and turn it just to double check, make sure something wasn't hidden under that ruler that I wasn't seeing. It looks very nice but I will go ahead and trim off that little tab from our seam. You can see it's just as easy to do with a regular square ruler.
Let's do it one more time, just so I can show you. I always like to start on this corner that has the ones - it makes sense to my brain for it to count up. We're looking for that eight inch mark and I can already tell this particular one I'm going to need to trim both sides. They're all just a little bit different so we'll trim here, and here, and then I'll rotate this. Line up this corner again so my eight is meeting right on that that I just cut, and then you can see this little bit that I'll need to shave off this other side. So now we have our eight inch half square triangles ready to go.
So let's go ahead and assemble our block! Okay so now we are ready to assemble our block and I want to recommend following the pattern making one block and having it there to reference as you go because this particular pattern is easy to get twisted up. I can tell you from experience! So I like to have one here that I can follow along with. Let's grab our eight inch half square triangle to go in the middle and then we can start building out across the bottom with our half square triangles.
So I'm going to follow along and these all of my black are going to point up
and then on this end the whites are going to come together to make a little flying geese. So we can go ahead and sew these together. but I did also make my other sides so I have this side ready to go. You can see three go together there, three go together there, and then here is the top and the flying geese is pointing the same direction, but on the opposite side.
So let's sew this bottom unit and then we can assemble all of these together. So I've stacked these up and I know I can just add one after the
Other. If it makes you nervous, you can always label them. And then I can just open it and add the next one. We'll just keep adding one after another
until we finish this little set.
Okay so now we have all of those sewn together. I'm just gonna trim a few of my threads here, and we can press these, there we go. So now let's take this back over here and we can start assembling our block together. So I'm going to put my three that I have sewn on either side and sew those and then we'll come back and sew the top and the bottom.
All right, so we'll go ahead and sew down this side first, make sure I'm all lined up and then of course use that quarter inch seam. Take a few stitches and then I like to make sure everything is straight and then zoom down. There we go now we can turn and do the same thing on the other side. Line up that top edge, take a few stitches and then make sure everything stays nice and square. There we go and then we'll press these back. I like to kind of roll these to the center and then bring this back over to make sure we have it turned correctly. It matches our first example. Then we're gonna do the same thing at our two sides and sew down both sides. I like to make sure my seams are nesting on those corners; those are really the only places you need to watch. All right I have sewn both sides on so let's give this a nice press so our block lays nice and flat.
All right so now that we have our block nice and flat. I have a few other blocks ready to go and let me show you the layout on the quilt behind me. This is the completed quilt - it is six blocks across by seven down and it's a great size it ends up 75 by 87. I ended up using this really fun kind of speckled 108” on the back you need two and three quarter yards of backing when you go with 108” for this project. I quilted it in this kind of terracotta gold color which I think is really fun against the black and white and I bound it with a very similar color just to kind of have that accent color that pop.
Let me show you how I kind of kept the layout straight as I was going. So here is our block that we made and you can see it sets in the quilt right here. Then we're gonna just kind of rotate these so my the black side of the half square triangle is going to be pointed in and you can see up at this top corner all four of them point together. I just kind of worked my way across and then that's how you get these secondary shapes that appear of this diamond, these kind of herringbone shapes and the pinwheel and we get all of that just because we changed the layout of this very traditional block. So don't be afraid to play - you might be surprised at what you end up with!
I do want to give you one more idea. I made this kind of accent color block which you can see you could sit in at any point in the quilt and just kind of have this little pop of color, so don't be afraid to play. I love solid quilts for that reason. You can make them exactly what you want them to be.
I hope you enjoyed this tutorial on the Whirlwind quilt and be sure to follow along as we finish our room series!



