
How to Make a Winter Pines Quilt - Free Quilting Tutorial with Misty Doan
 Misty Doan
- Layer Cake
- Holiday
- Lap / Throw
- Beginner
- Quilt size 57" × 73"
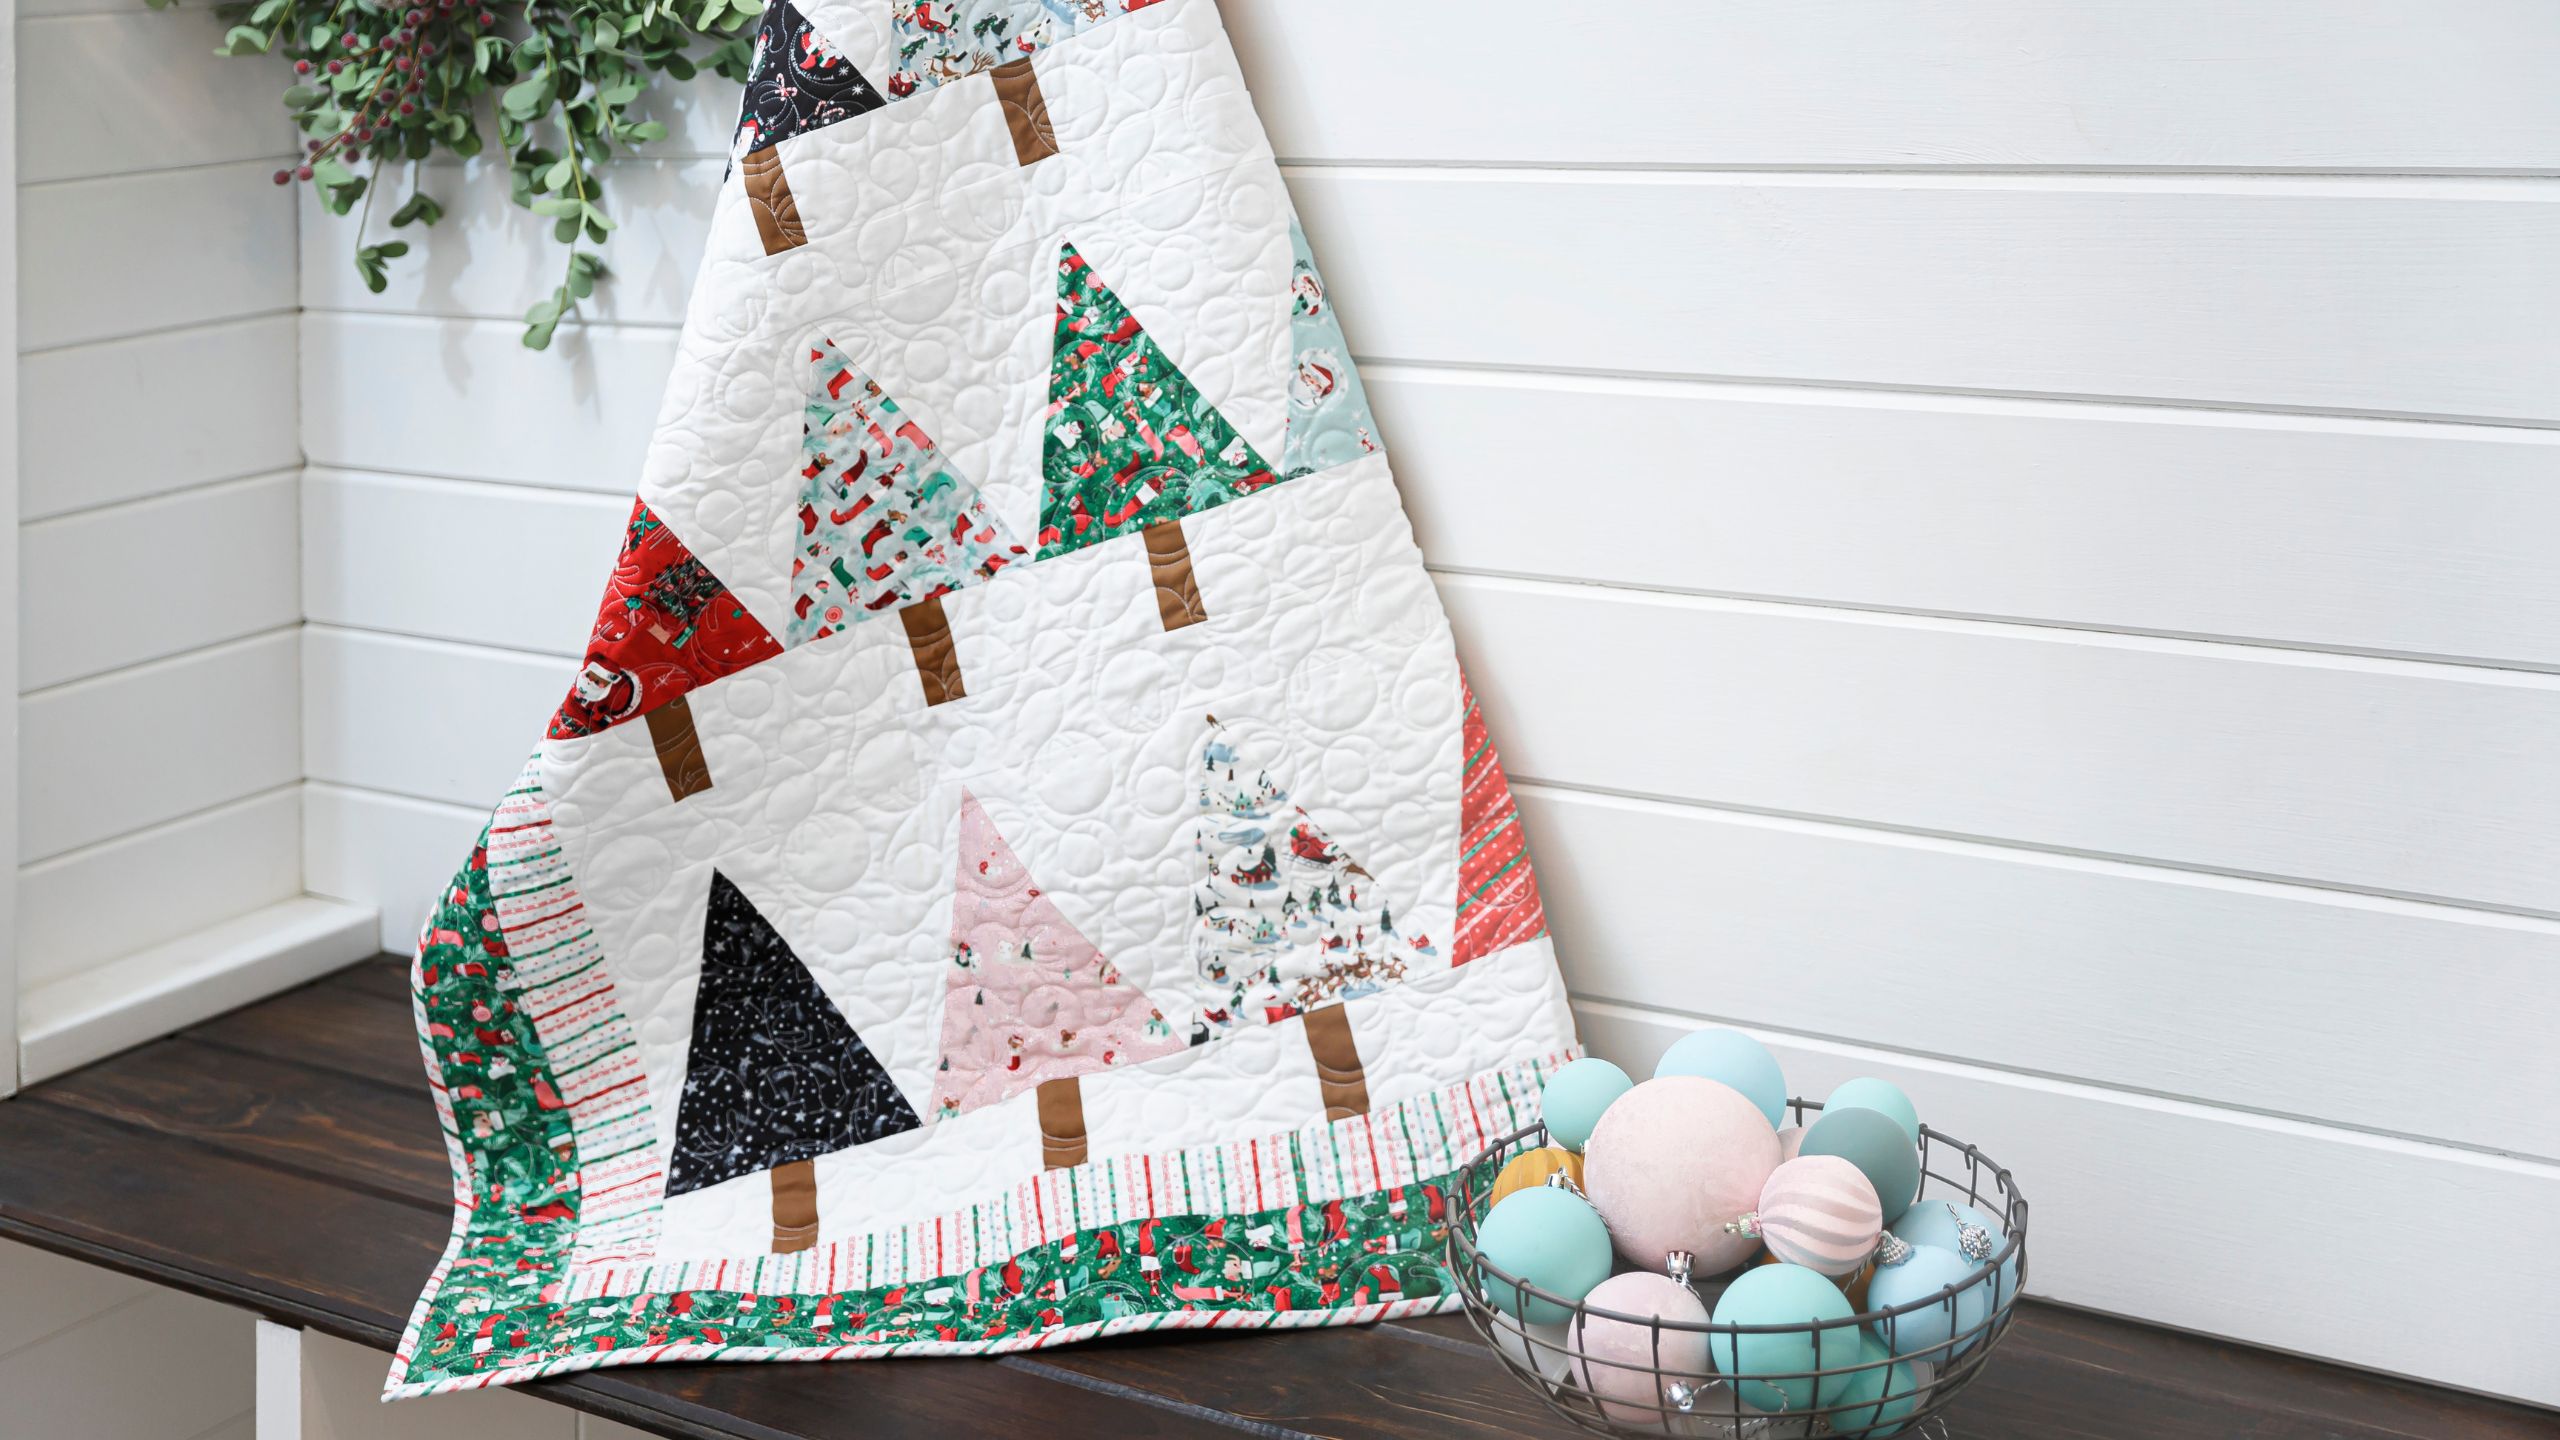
This quilt is mighty pine! Piece a beginner-friendly Winter Pines Quilt using the Missouri Star pattern and cheery Twas fabrics by Riley Blake designer Jill Howarth. Misty shows you just how easy it is to kick off your holiday sewing with precuts!
Instructor
Misty Doan
Misty Doan grew up surrounded by sewing and quilting. She loves spending time sharing tutorials each week each week, and when she’s not stitching up one of her fun sewing projects for home decor, most likely you’ll find her hanging out with her husband and three awesome kids or working on a house project.
Shop this tutorial
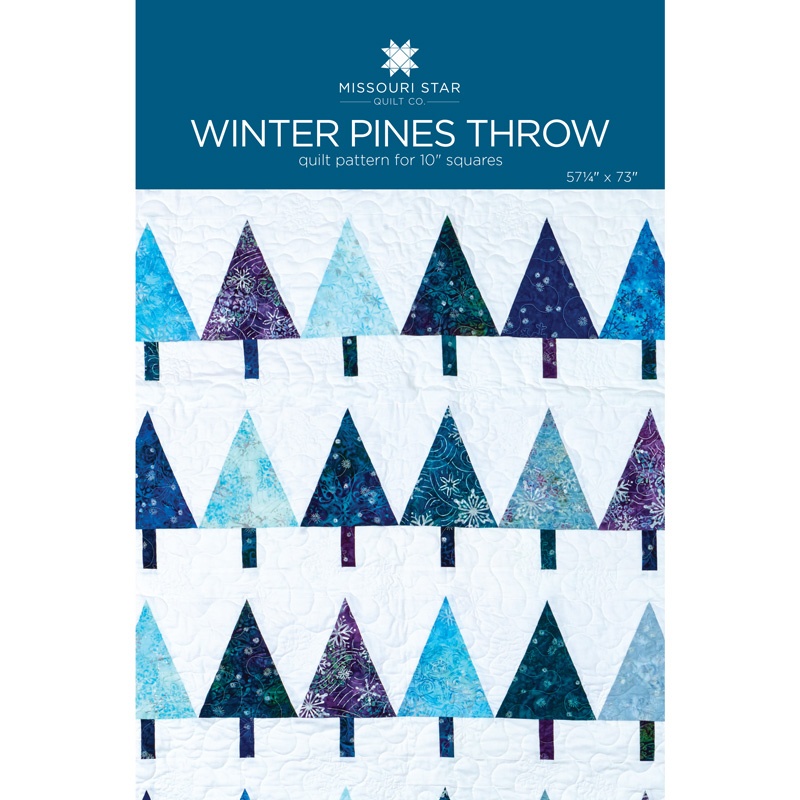 Winter Pines Throw Quilt Pattern by Missouri Star$6.95Shop →
 Digital Download - Winter Pines Quilt Pattern by Missouri Star$4.95Shop →
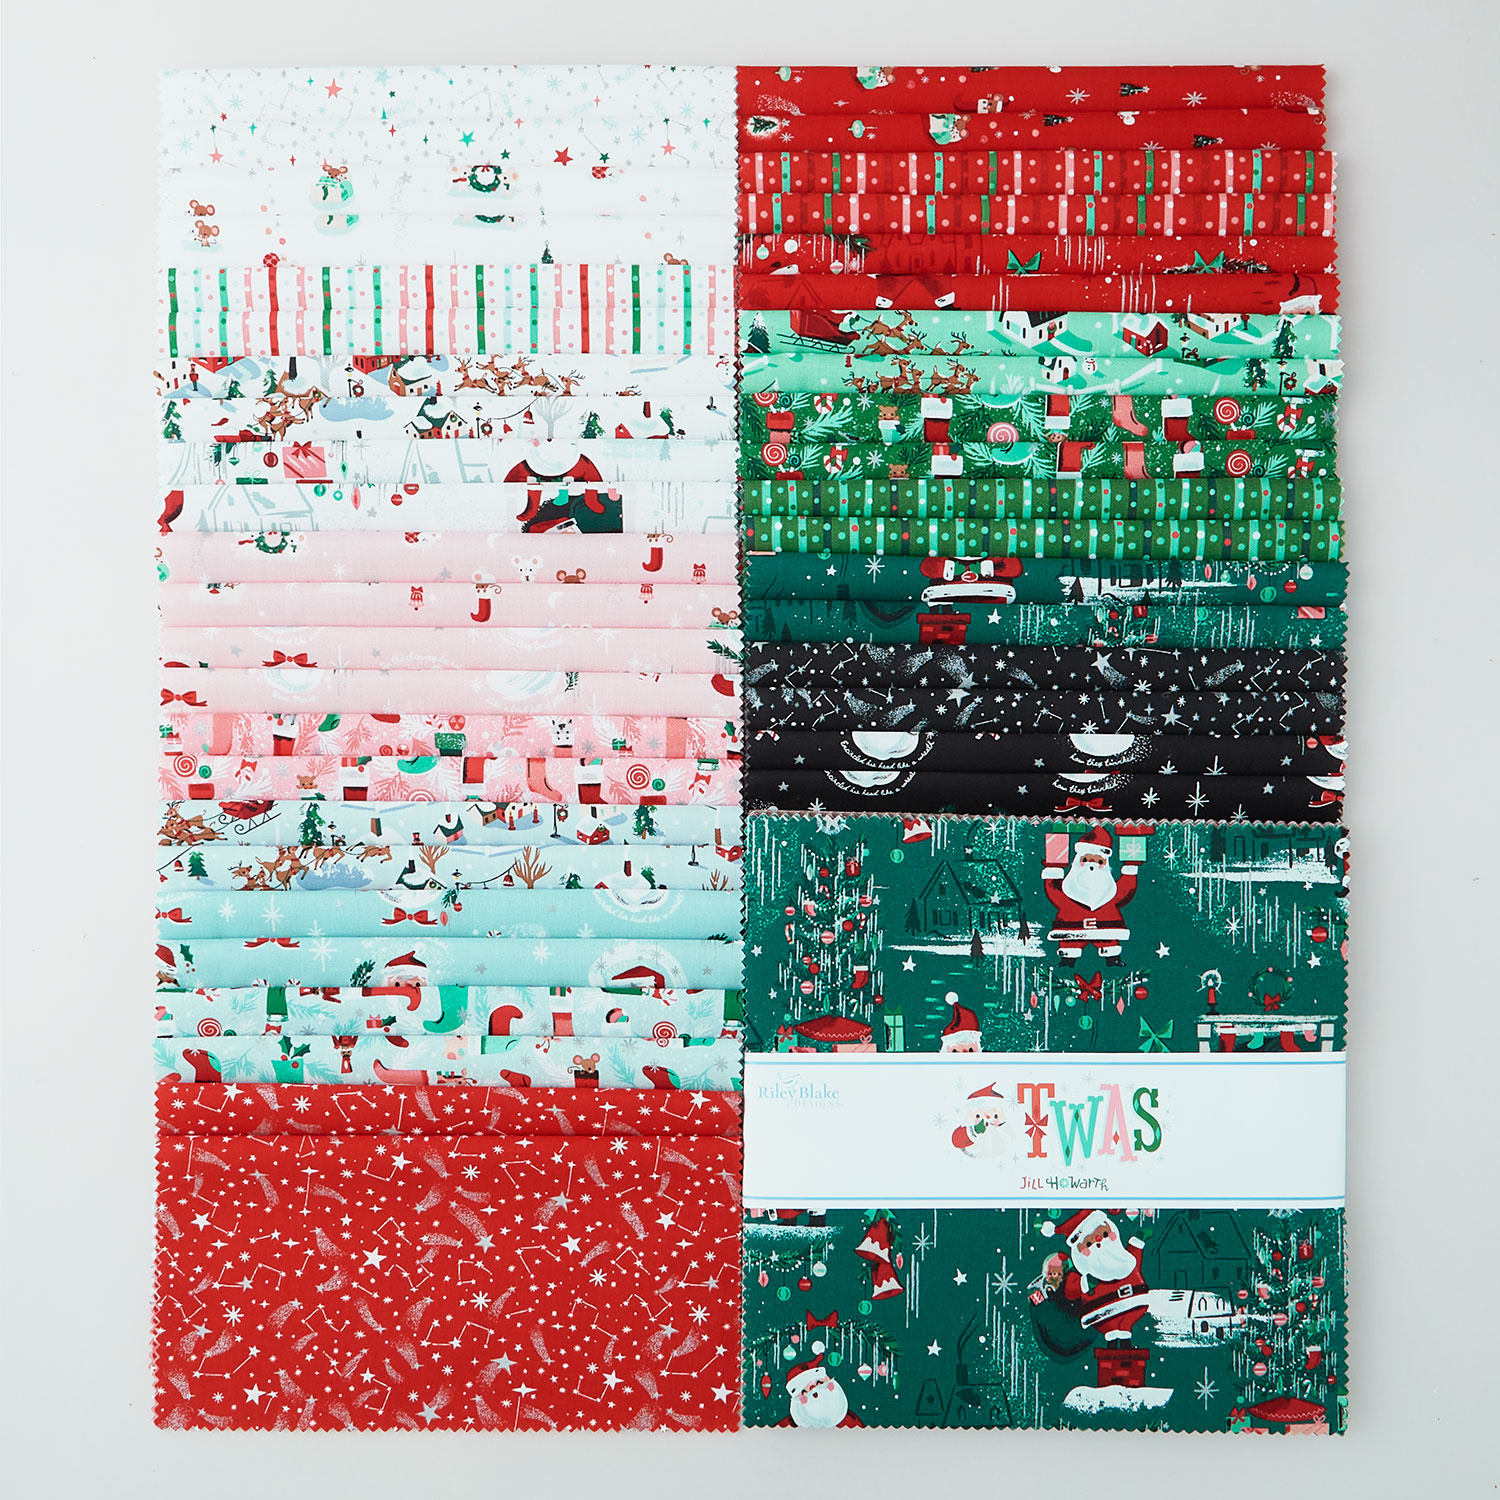 Twas 10" Stackers$39.95Shop →
 Confetti Cottons - Crayola Solid Color Riley White Yardage$7.76Shop →
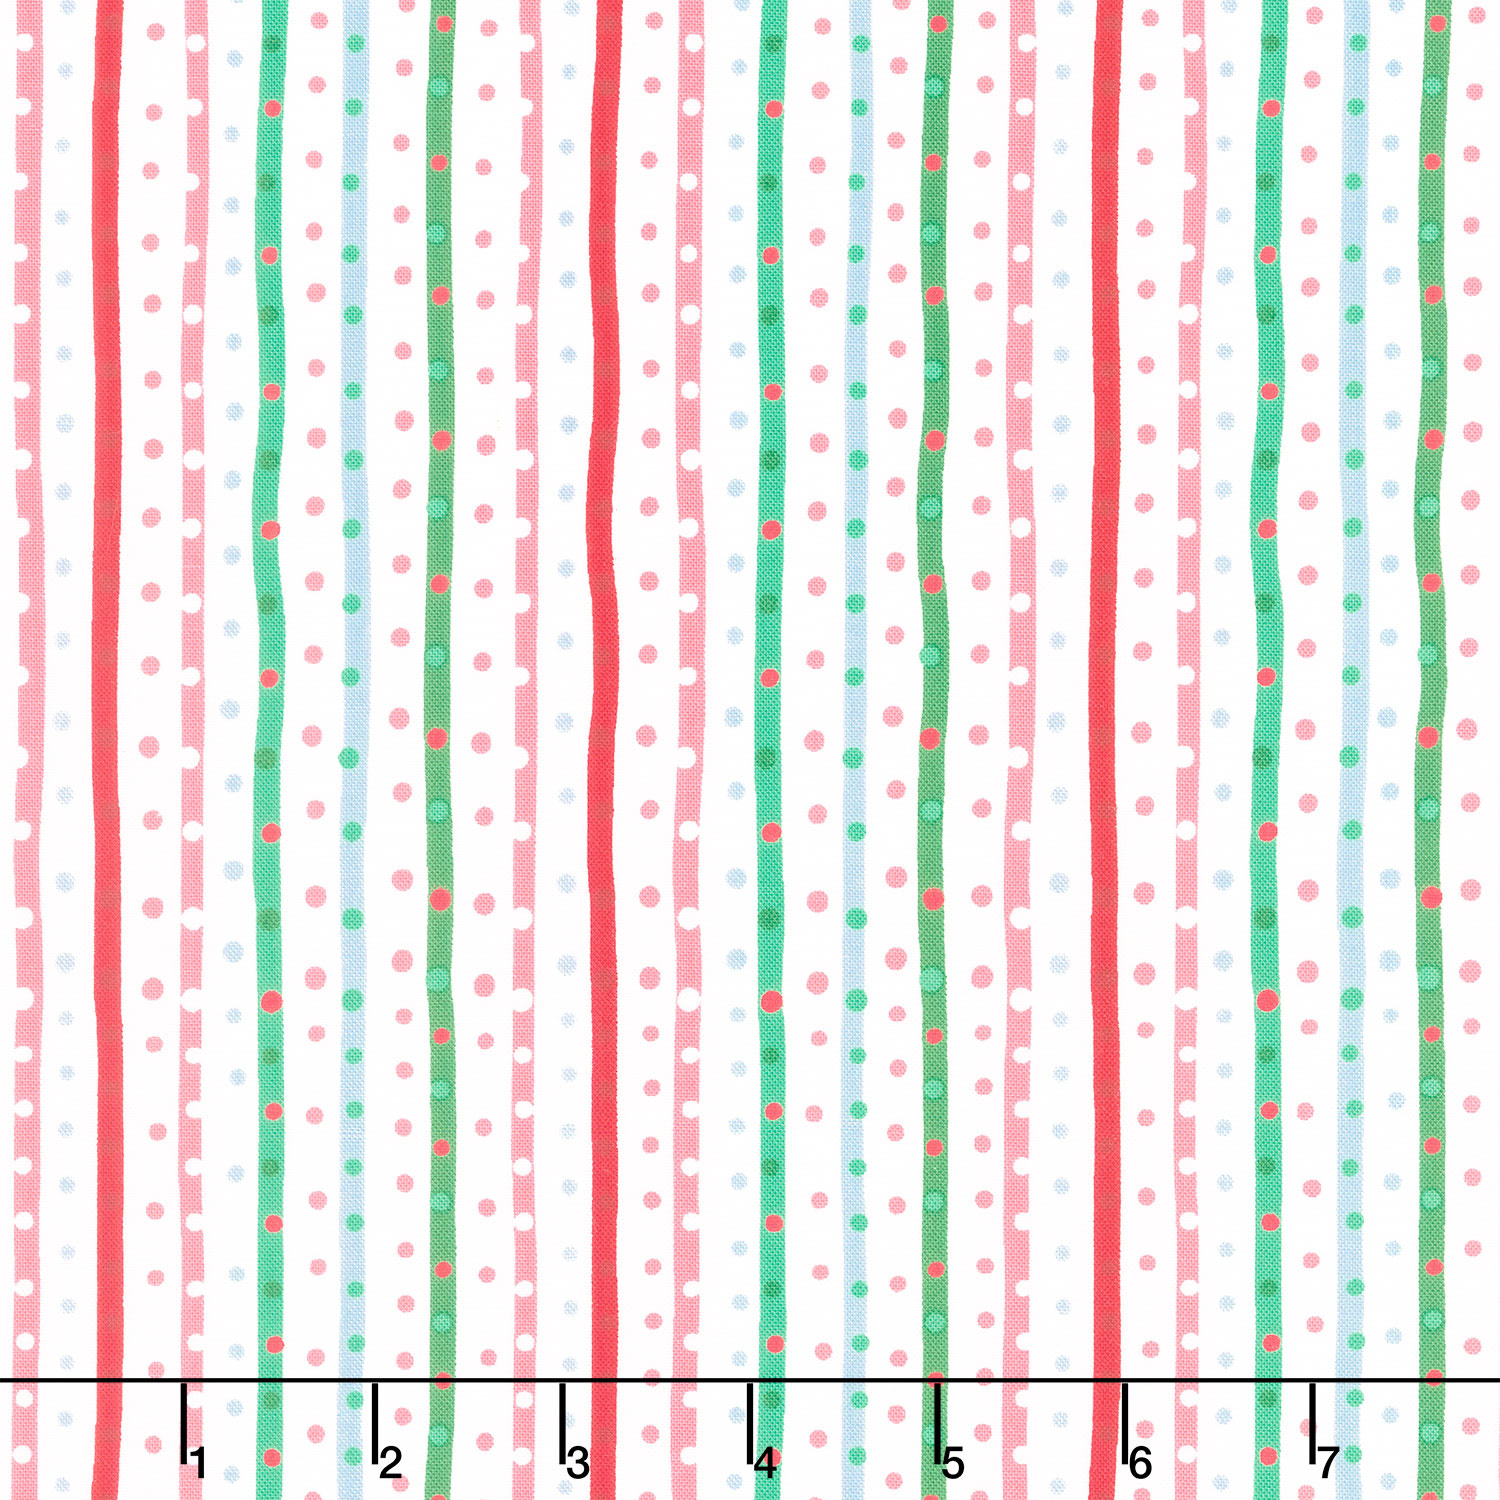 Twas - Sugarplum Stripe Multi Yardage$11.96Shop →
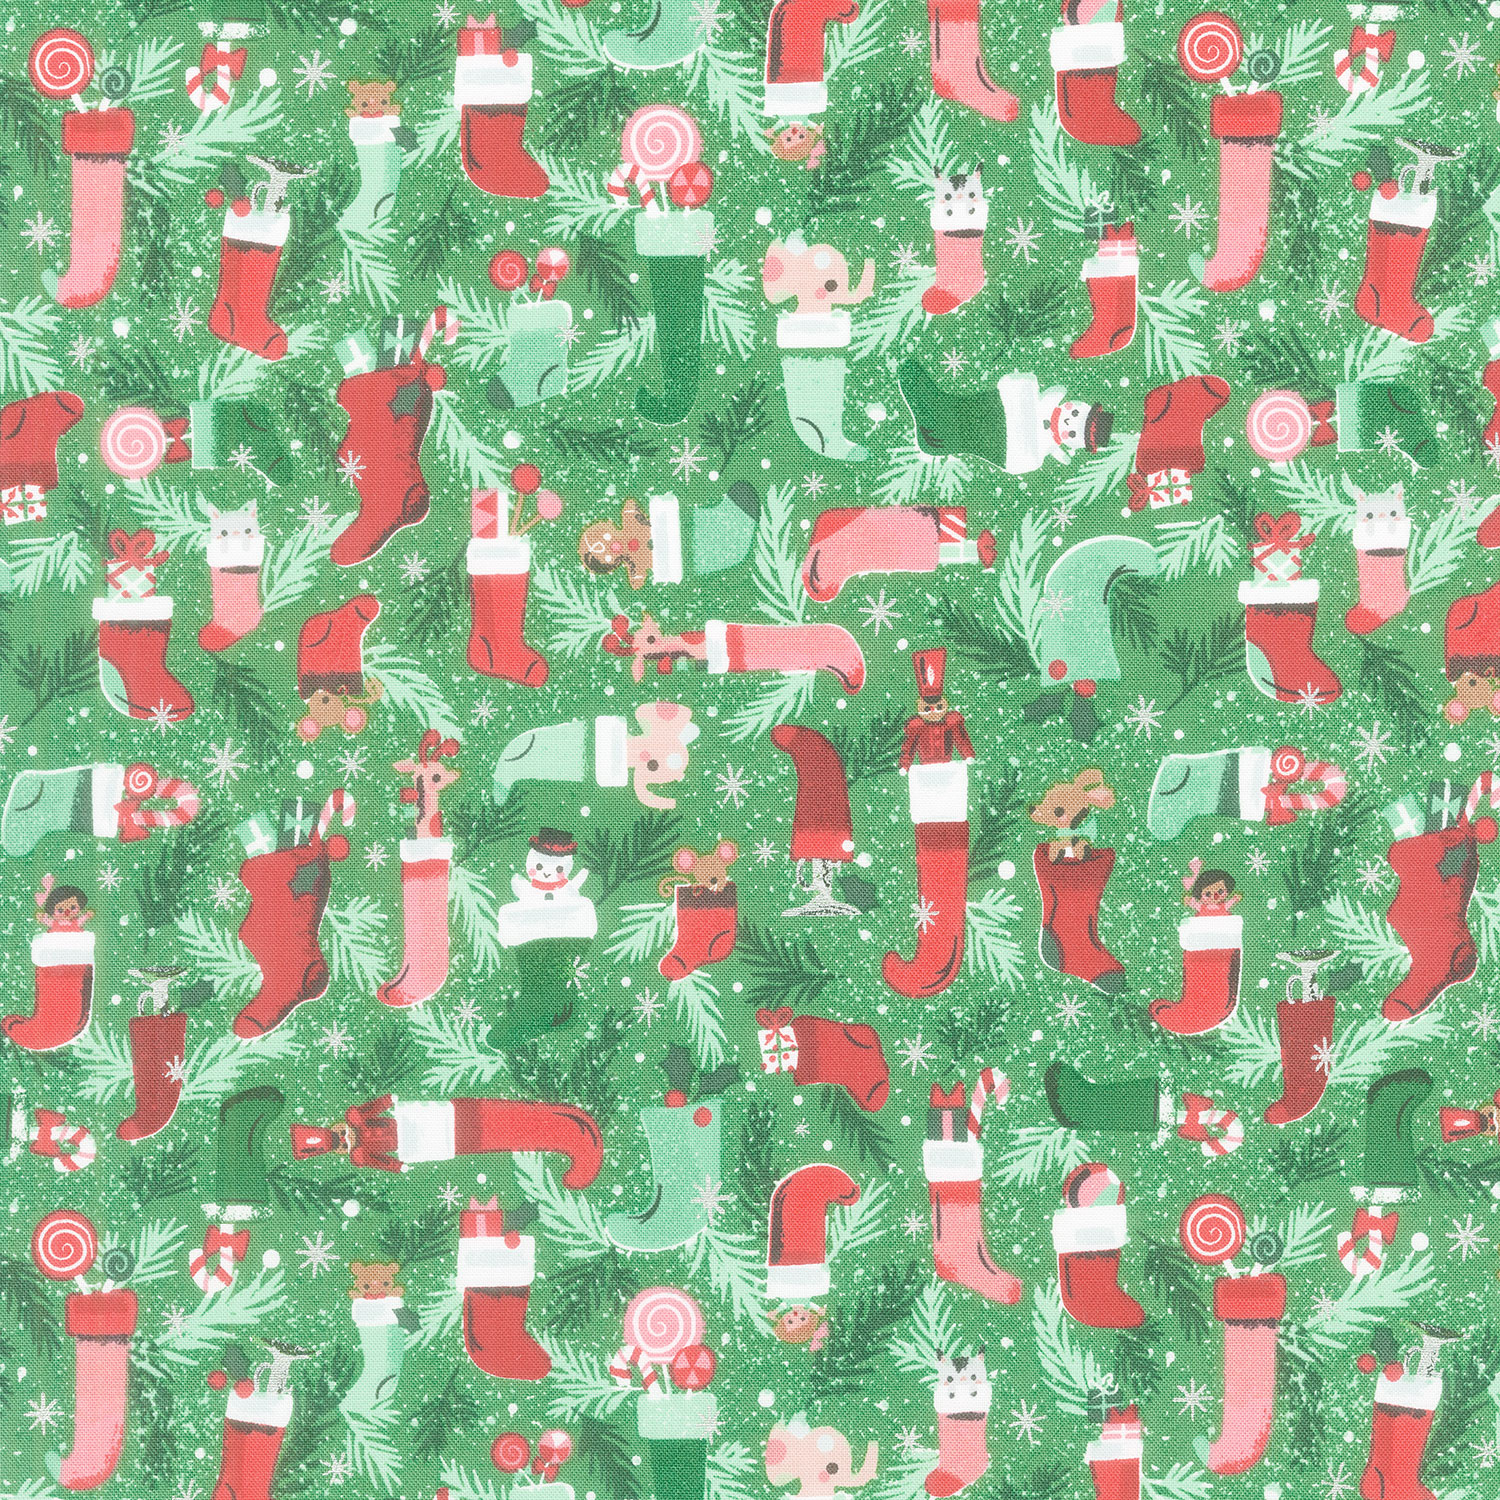 Twas - Stockings Were Hung Green Metallic Yardage$12.44Shop →
 Missouri Star Quilter’s Best Blend Twin Batting$26.45Shop →
 Kona Cotton - Roasted Pecan Yardage$7.28Shop →
 Missouri Star Large Simple Wedge Template for 10" Squares$11.95Shop →
 Olfa Splash Aqua 45mm Rotary Cutter$18.75Shop →
 Missouri Star 2.5" x 8" Ruler$10.95Shop →
 Exclusive Missouri Star Jenny TG1600 ProPlus Oliso Smart Iron$199.99Shop →
 Missouri Star Wooly Betty Board - 17.25" x 25.5" Orange Border$98.95Shop →
 Missouri Star 50 WT Cotton Thread White$6.95Shop →
 Baby Lock Accomplish - 1500 SPM Straight Stitch Machine$999.00Shop →
Common Questions
What is covered in How to Make a Winter Pines Quilt - Free Quilting Tutorial with Misty Doan?
This quilt is mighty pine! Piece a beginner-friendly Winter Pines Quilt using the Missouri Star pattern and cheery Twas fabrics by Riley Blake designer Jill Howarth. Misty shows you just how easy it is to kick off your holiday sewing with precuts!
How long is the tutorial video?
The tutorial video is 00:13:32.
Are supplies listed for this tutorial?
Yes. The tutorial page includes the supplies and materials connected to this project.
Is a transcript available?
Yes. A written transcript is available on the tutorial page.
Video Transcript
So like I said, I was excited to try out this pattern using this beautiful fun
retro line it's called 'Twas by Jill Howarth for Riley Blake Designs and it's
just adorable with the fun Santas and snowmen. And you can see how great it looks in the design behind me. So let me show you how to make it!
You can pick up the pattern - it is called the Winter Pines Throw. And to make this quilt you're going to need one package of 10 inch squares. You're also going to need two and a quarter yards of background - I just used white. You'll need a half yard for your inner border, which I use this
cute stripe and I also use this again on the binding. So if you want to do that you'll need an additional three quarters yard for the binding. So you'll need an accent fabric for the tree trunks. I use this strip of brown - that's basically all you're going to need, so a quarter yard will be plenty. The pattern also calls for, you can use the scraps out of your layer cake so you can just decide which you want to do. I just really wanted those trunks to pop. You're also going to need three quarters of a yard for your outer border and 3 three and three quarter yards for your backing, using
horizontal seams.
So I just want to show you some of the adorable prints that are in this layer cake. We've got these little Santas, they're so jolly and happy. And I just love the vintage feel of this. You can see the little sleigh with the
reindeer traveling across the village, and just some cute stripes, so many fun options. You will have a hard time choosing which prints you want to use for your trees, but I'm going to go ahead and use these cute Santas.
So let's start with the trees, and I'll show you how we're going to cut these. We're going to use the Large Simple Wedge template from us here at Missouri Star. And I like to lay it along this left side. Since I'm right-handed, this is the easiest way for me and I just make sure that my template edge is lined up right along that outer edge of the fabric. And then I'm going to cut this long side first, and then I like to flip this back. If you have a rotating mat that can be really handy. Otherwise I like to just adjust my fabric - it's not a big deal. I've already made that cut so I know it's accurate
and then I'll just line it all up again. So I have it's straight on this edge and this edge and then now I have this folded back and out of the way so I don't have to run the risk of cutting into that fabric and I can just cut across. And there is my first tree shape.
Let me show you how you get a second one out of that same layer cake square. So you can see here's that first piece we cut out. We're just going to shift this over now and it should have basically no waste. And we can just cut this edge. So I'm going to go ahead and rotate this since I'm right-handed we'll just flip this around, align those two edges up just like before,
and make a cut. And so this is that scrap that you could use for your trunks and I would just use a different print on the trunk than I did on the tree. But I'm just going to set these aside since I went with that accent fabric.
And so these are how you'll go about making all of your print tree shapes. So now let's talk about the background shapes because we're using yardage so it is just a little bit different. I went ahead and cut a nine inch strip of my background fabric and I've got it folded here. So it's actually four layers and you can open this up and do it however you prefer. I like to keep it folded so I'm just going to line it up over here. Actually I think
just so I have less waste I'm just going to open it this much and then I'll line this up, make sure I'm not cutting into my selvedge edge. To start with I'll cut this side and this is our waste. And then I'm going to flip this around
so I'm cutting on the right side. And we'll just line this up again and we will cut all the way down this strip. Just alternating flipping this back and
forth and we can just make one cut after the other and it goes
super fast.
There you go. So now I'm just going to set these aside. Let's talk about
putting these together. All right so now I have my background pieces cut and a variety of my print pieces ready to go, so let's talk about assembling our rows. Every single row is going to have seven of our print trees, and then the background pieces. It always starts and ends with the background piece so I'm going to grab one of these and one of these
and we are just going to place them so that they are you know fitting together. And then we're going to lay them right sides together. One part I do want to point out is they don't match up exactly on the end, there's just a slight overhang and it's not very much in order to get that quarter inch but it is a little bit on the top and bottom.
And so now I'm going to take these over to the machine and we're going to sew with our quarter inch seam and we'll just keep adding one after the other. And there's that. So now I'm going to go ahead and press this back
just like so and you can see how nicely that turned out with our quarter inch. It looks really good. And so now we'll just add a background again.
So I like to just lay it out make sure it's all lining up, and then flip it over and watch for that little bit of overhang. Like I said it's less than you think it's going to be. It's easy to shift it too far and that's what kind of causes your rows to get a little wonky.
All right so I'm just going to continue adding this until I have a complete row and I'll meet you back here.
All right I have a row all complete with seven of my trees so let's just give
this last background piece a press. There we go. And now we can trim this off so we have nice square edges. So in order to do that we are going to
use our template. If I can remember the angles correctly, we have this nice dashed line in the center and we're going to put this right against our stitch line, just like so. And then this is going to give us our straight edge to cut. So I'm just going to make sure that stays nice and straight and we'll trim that off on one side, and flip it around and do the other side
as well.
So because our angles are going differently, we need to flip this around
just make sure it stays right on that seam and then trim off square. Okay so that is all done. Our row of trees is complete. So now let's work on the trunks okay. To make our tree trunks the size we're looking for is three and a quarter by one and a half inch rectangles. Remember, you can cut those out of those layer cake scraps, but I'm going to use my brown and so I'm just going to open this up. I went ahead and cut a strip at three and a quarter by the width of fabric. And so I'm just going to lay this along
my mat now, make sure my fabric is nice and straight, and we will make our cuts. Just come over one and a half and you can just go all the way down your strip to get a bunch ready. And remember each row you're going to need seven so we'll just make one more cut and we will have enough to finish off our row. But you would just keep going so that
you have enough for your whole quilt.
So I'll just stack these up and then we're also going to need to cut some
background pieces. So I have some three and a quarter inch background squares. Here you'll need one on each end of your tree trunk row and then you're also going to need some six and a quarter by three and a quarter inch rectangles that go in between all of your tree trunks. So let's go ahead and start assembling these.
Now I'm going to start with that three and a quarter inch square and
we're going to add one of our tree trunks to that. So I'm just going to make sure it's nice and straight along that edge and we will just sew this down.
Now you can go ahead and press this; I'm just going to finger press this back and add my rectangle on the other side. And then I'll keep going until I have our whole row done.
All right so now we have our entire tree trunk row ready to go so we are going to take this with our trees and line these up right sides together
and sew all the way down. So let's go ahead and do that. We've done the math for you so everything should just match up nicely. If you want to you can kind of finger press in your trees and your trunks and just pin those or match those up, but I just trust it and if our trees are a little crooked, well so is nature. So it's fine. Right so we're just gonna go with it.
When you're sewing these together just make sure you're not tugging on either one of them. Just let the fabric ease through the machine. We have our trunks added so I can just give this a press and our whole row is done!
Flip that around, so I can just roll these back. All right there we go.
How cute are these? I love them so much! This is one of my favorite patterns to make at Christmas time. It literally looks adorable in any
fabric. And I've even done it in solid brights and it's super cute that way too! You really just cannot go wrong!
So let's talk about how this quilt goes together. So as you can see on the quilt behind me we have six rows of these seven print trees. And in between we have a two and a half inch sashing strip to just give it some breathing room and space. And then we have that two and a half inch inner border, and a four inch outer border and this cute throw finishes up at 57 by 73. I quilted it with Jingle Bells and I just think it turned out awesome!
I really hope you guys enjoyed this tutorial and I'll see you next time on
At Home!



