
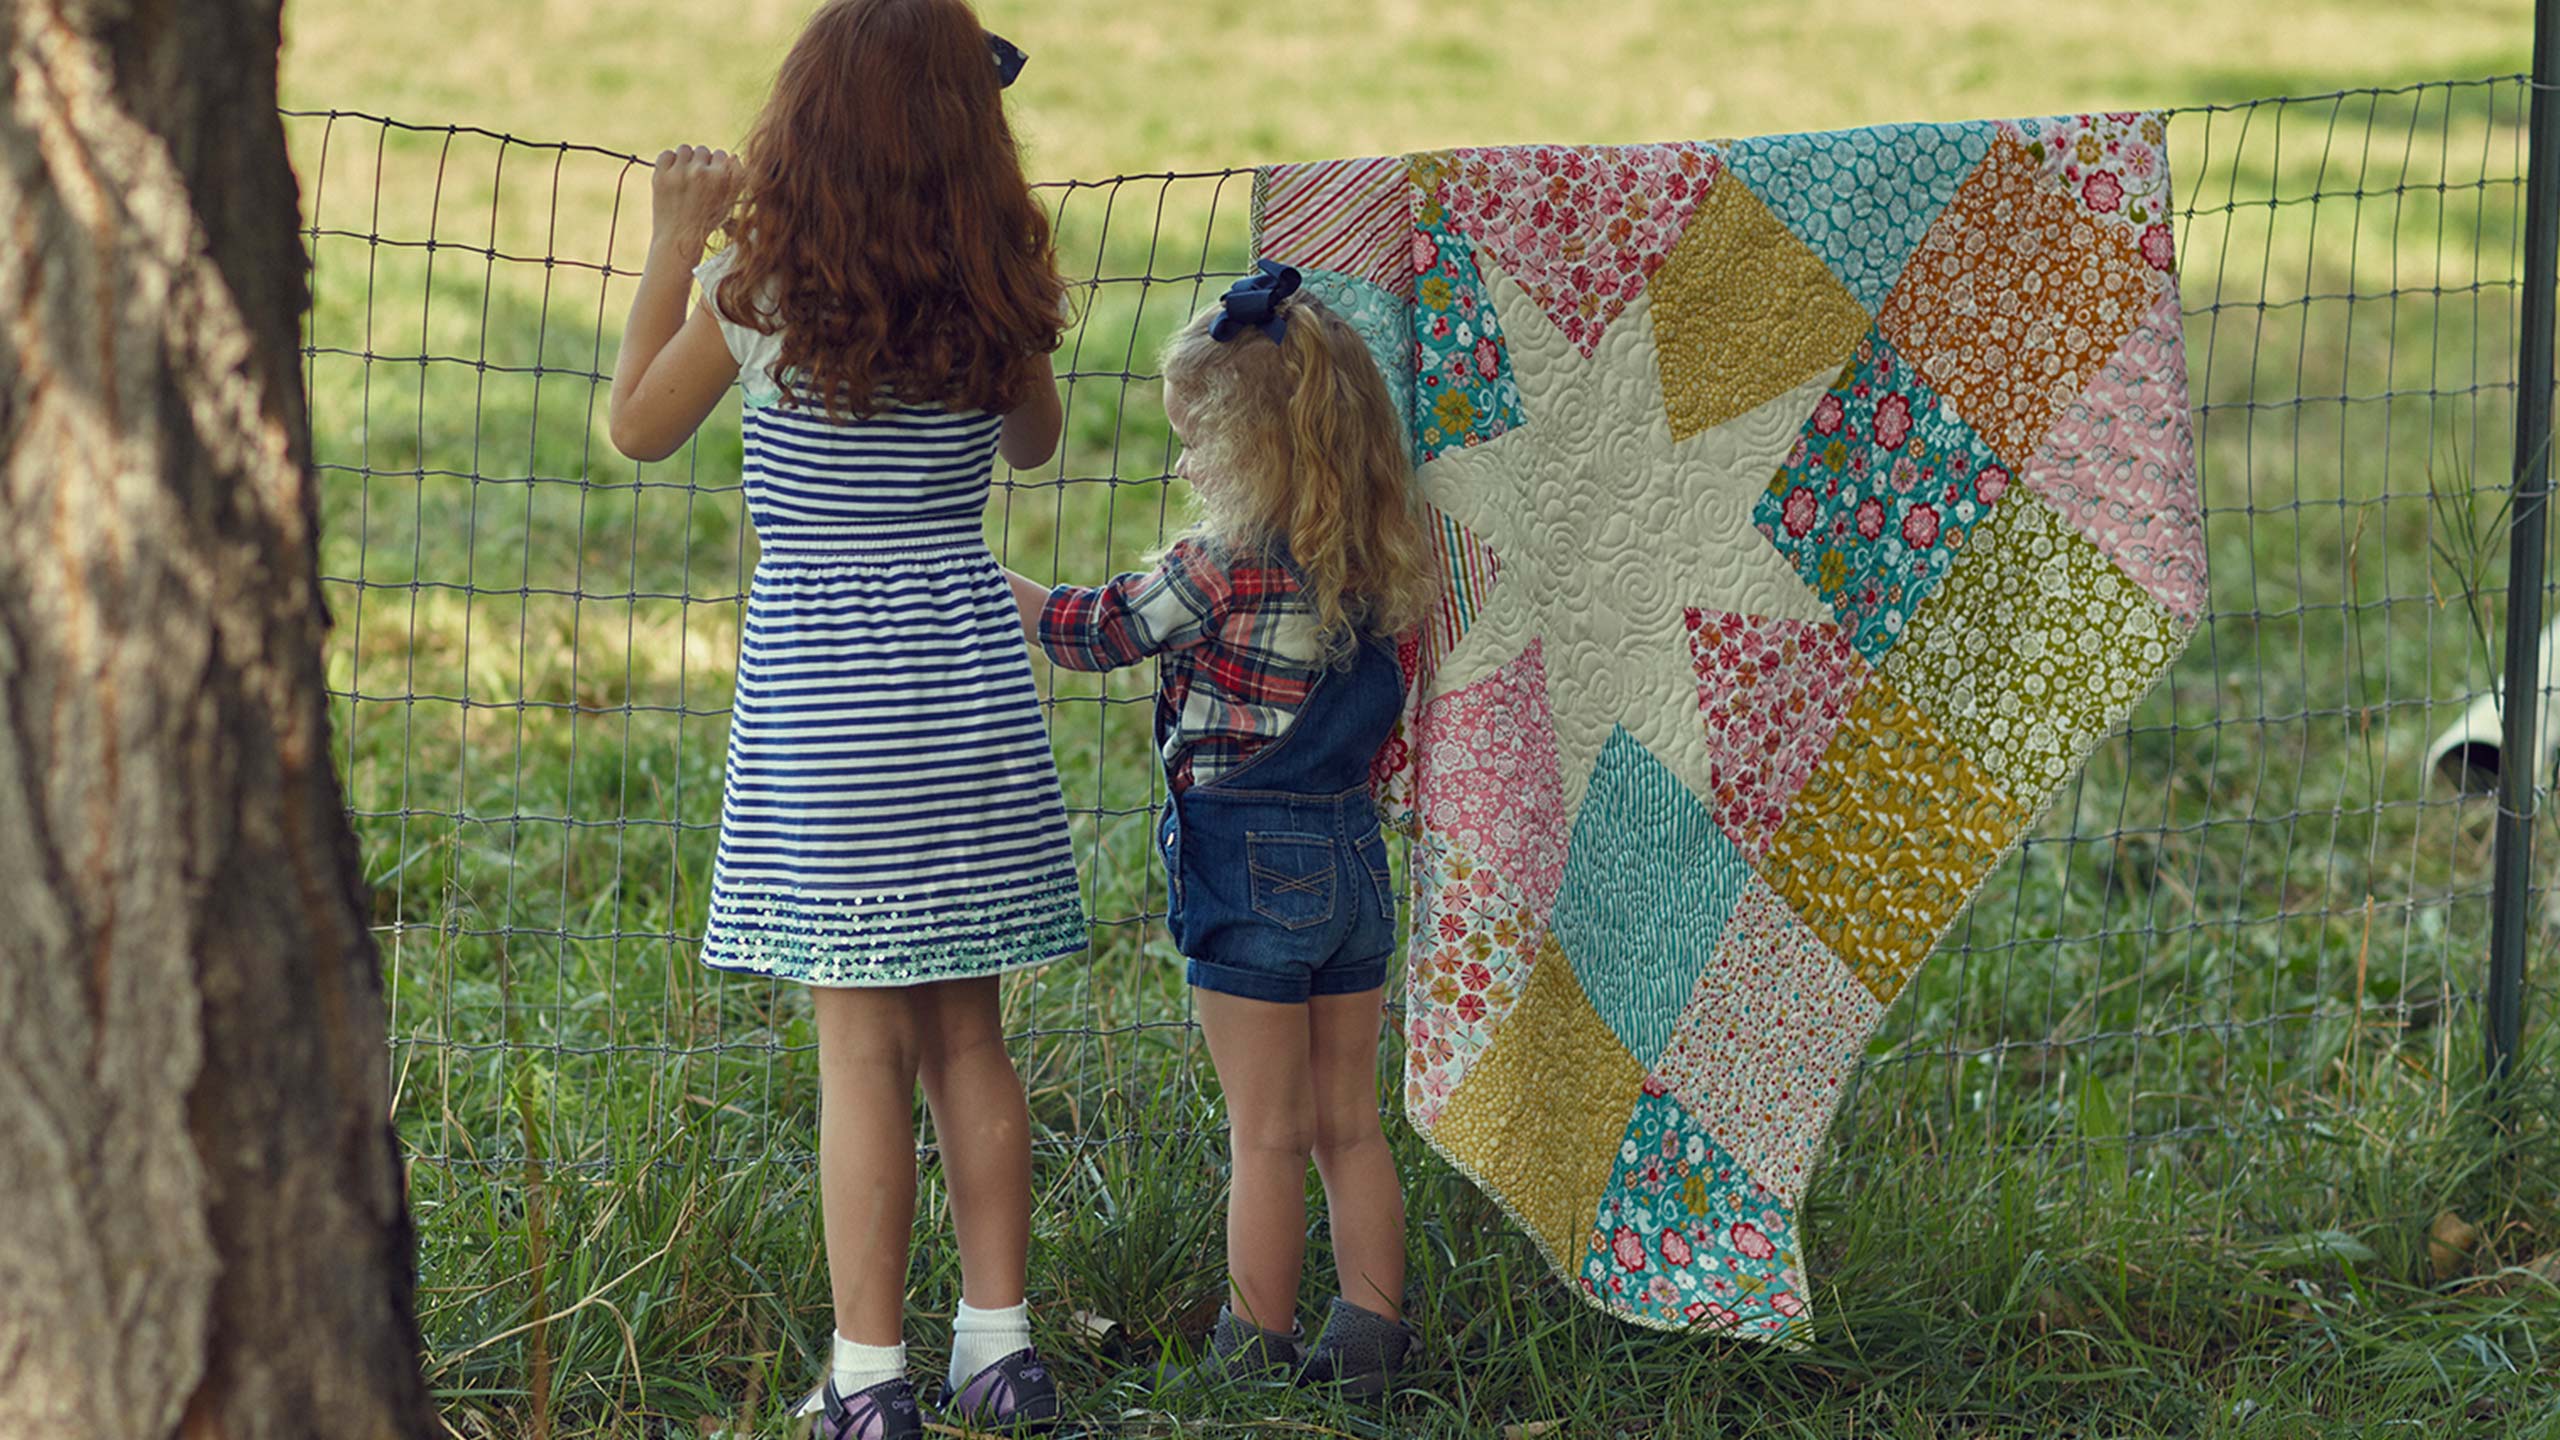
Wonky Star Quilt
 Jenny Doan
- Layer Cake
- Traditional
- Lap / Throw
- Beginner
- Quilt size 66" × 77"
Jenny Doan shows us how to make a fun Wonky Star quilt. You will need 40 - 10" printed squares (20 different prints, 2 of each) or 8 printed charm packs.
Instructor
Jenny Doan
Jenny Doan is an American quilter, author, and YouTube personality. Jenny started Missouri Star Quilt Company in 2008 and today it is the largest quilting supply vendor in the United States.
Shop this tutorial




Common Questions
What is covered in Wonky Star Quilt?
Jenny Doan shows us how to make a fun Wonky Star quilt. You will need 40 - 10" printed squares (20 different prints, 2 of each) or 8 printed charm packs.
How long is the tutorial video?
The tutorial video is 00:11:05.
Are supplies listed for this tutorial?
Yes. The tutorial page includes the supplies and materials connected to this project.
Video Transcript
[Music] hi I'm Jenny from the Missouri Star Quilt Company I am really excited about this quilt behind me this is one of Natalie's quilts and it is so much fun it's a little out of the box for me and those of us that you know like doing things a certain way it's going to challenge us a little but that makes it a lot of fun this is a wonky star quilt and I just want you to take a look at this it's 20 block box and um it's four across by five down and it's just a great little quilt and so fun to make really freeing so what you're going to need to make this quilt is you're going to need 20 solid squares or about 2 yards of background material and if you get the background material that will also include your little bitty border and you're going to need uh 20 squares of uh 10in squares of a layer cake but my layer cake actually has two squares of each one which means you're either going to need eight charm packs or you're going to need a layer cake that has um double squares in it because to make the block you're going to use eight blocks of background Fabric and five blocks of your star Fabric and then you're going to just do just the opposite for the next one the next one will have eight blocks of colored Fabric and five blocks of the white star Fabric in the center because every other one on this quilt is opposite but this this is a really cool way to make a star so this is the block we're talking about and it's super easy it goes together just like a nine patch but you get to decide where the legs on the star go which I think is really fun you don't have a pattern it's you just get to be a free spirit on this so I'm going to show you how to do that you're going to use charm squares they're all five by5 squares and we're I'm going to show you how to make these wonky legs now you want to make them a little different so they're a little bit off so it has that wonky look when you look at your charm you'll see that this right here is just about the center of the charm right here and you want your leg to cross over the center on both sides so that you'll get a good quarter inch seam when you put them together so I'm going to take my other charm of my opposite color and I'm going to put it just past the middle here now see where I lay this Square that's going to give me a leg that's that looks like this I can pull this down so I can make a longer leg you could do whatever you want and everyone is going to be different so let's go ahead and make a long leg on this one so you just want to make sure it just goes just beyond the center up here and we're going to sew a quar of an inch right down here so let's go over to the sewing machine okay so here we are at the sewing machine and I'm going to put my presser foot down and put it down just right on that um the edge of my fabric I'll let my fabric be my guide and we're just going to sew that down and then we're going to go over here to the ironing board and iron that back let me clip these threads a little bit there we go so now I'm just here at the ironing board so we're just going to set the seam and we're just going to roll this back now it's going to have an odd shape to it but what we're going to do is we're going to use this back piece here our original star charm as our pattern and we're just going to trim this block off so we're going to come up here and trim that side and just cut it right back to its original 5 in size and do this one too and then I'm going to open this up right here and I'm going to trim this little edge off right here and I just lay my ruler uh right on that edge and just give it a trim so because we've trimmed it to the size of the square this is going to it'll retain its 5x5 shape so now we have one star leg on and we're going to put the other leg on and what I like to do is I just take this other piece that's left over from the first leg and I'm going to put it on here like this I want to make sure it's just a little different so we can have that wonky look and I'm making sure that this piece crosses over the middle and then we're just going to go here and sew it on you've got to be a little bit Brave to do this um and now we're going to Let's head back to the ironing board but you got to be a little bit Brave to do this because it's a little out of the box you know we we're used to doing things that tell us exactly what size to cut and exactly what to do and this is it's a little freeing because everyone looks a little different and it's just kind of fun so we're going to do the same thing now I press that back and I'm going to use the original Square as my pattern and I'm just going to trim this off oops you got to open your blade first that's always helpful so we're trimming this up and then we'll do the same thing on this Edge right here and trim off the back and I'm just going to lay that right there give that a trim and we have our star legs and they're just a little bit wonky we like that just a little bit wonky so then when you lay this out I've made the other legs already but look how fun this is because because it's a um a nine patch you're going to sew it together in rows of three so you're going to put your two corners out and your legs are going to point toward the middle like that and then you have legs again on your sides cuz this is traditionally how we make a star but it's just so fun because it's just a little different and we get to Choose You Know choose where our how our legs look I'd like to choose how my legs look like you get what you get right and you don't throw a fit okay so see look take a look at this star look how cute this is going to be so we've got it all laid out here three rows of three and now we're just going to sew it together row by row so let's take this first row over to the sewing machine and I know that my legs are going to be in the middle and my two pieces are going to be on the outside of the legs so I'm just going to carry this little stack over there and put them together like this there's no um I mean this is one of those great times you don't have to be perfect you know it doesn't have to make a sense it's just a fun thing to do just a really fun thing to do so here's my first row and I I really loved this at first it really did make me a little bit nervous but once I started doing it I could hardly wait to finish the next one because it was so fun it was just so amazing how they how they all looked good even if they were completely different so there's my first row and then these legs are pointing outward so we're just going to fold one over that side and sew that on and then when we get to the sewing machine will do exactly the same thing with the other side so let's head over there do the second row all right there we go now let me just show you something really quick a tip just before I sew so see right here where these threads cross like this you can see that I hope right there as long as you were on this side of that cross you will never lose a point and we like keeping our points so just make sure anytime you're sewing anything where the threads cross like this make sure that you are on the seam side of that cross and you'll never lose that point so you can put that piece on top as you're sewing and as you're going along you'll see that you you have plenty of room and you won't lose that little star point so that that makes it uh that's a good little tip to know Quilters love their points there we [Music] go all right here's our second row and I have gotten these backward before so it's always good to check there we are so there's our second row and now we're going to sew our third row and this one is done just like the first one where we've got our legs are going to be pointing down and these go on either side so now I've got these three rows together so let's press this last one make sure that uh when you're pressing these you can check to see if you know uh it's helpful if if your outside seams go out and your inside seams go in then they'll Nest better but now all you have to do is put the block together so we're going to lay this top row this way and we're going to make sure that these seams line up right here these are the points you want to worry about these Corners so I'm just going to put a little pin in there and I'm going to put a little pin over here you can feel how they nest right together and so I've got a little pin in those and then I can just head over the sewing machine and whip those together cuz they're pinned down so we can sew straight down that edge again I'm watching this point to make sure I I uh sew on the seam side of those threads Crossing there we are and one more row so look how cool this is it's all done and together and this is fun because this one has the background fabric as the star and this one has the colored fabric as the star now these are just scraps from my stash so when you put yours together you're just going to want to mix and match them all up I think this is going to look adorable in any kind of fabric that you choose we use the Amy Butler um stash fabric for this quilt and it's adorable but think if you made this you know even the Civil War quilts and the and the um baby quilts I think it would be so darling so we hope you enjoyed this tutorial on the wonky star block from the Missouri Star Quilt Company



