

How to Make an Anything Goes Quilt - Free Quilting Tutorial
 Jenny Doan
- Layer Cake
- Batik
- Queen
- Beginner
- Quilt size 82" × 94"
Anything goes with Jenny’s new quilt! This layer cake pattern features a big center square to showcase anything and everything—from fabulous prints to fussy-cut unicorns. Jenny is using Chromatic Island Batiks by Deb Tucker for Studio 180 Design, but you can let your imagination loose on this one. The possibilities are endless!
Instructor
Jenny Doan
Jenny Doan is an American quilter, author, and YouTube personality. Jenny started Missouri Star Quilt Company in 2008 and today it is the largest quilting supply vendor in the United States.
Shop this tutorial
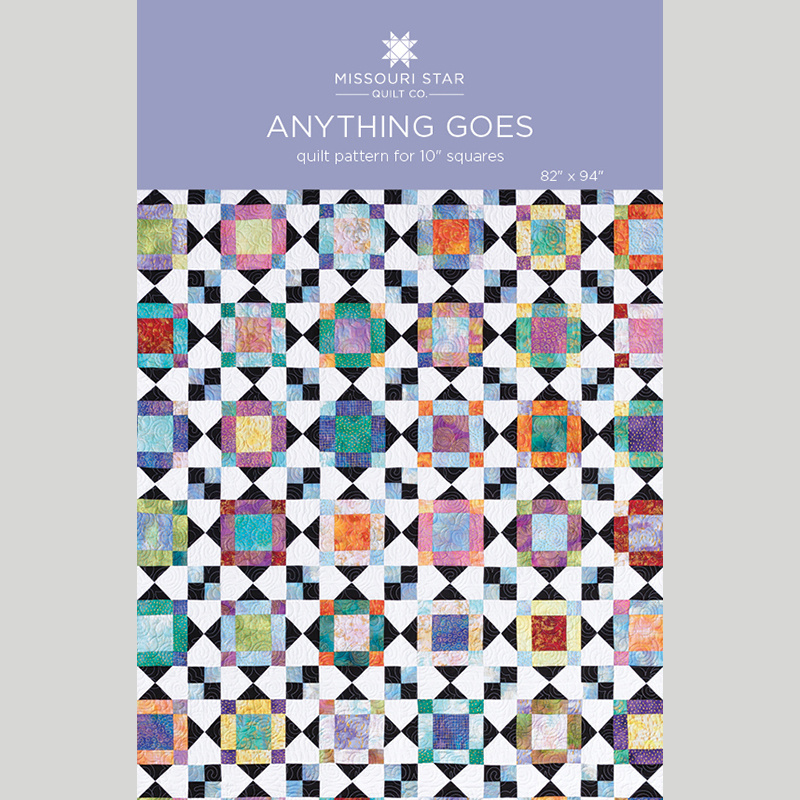 Anything Goes Quilt Pattern by Missouri Star$6.95Shop →
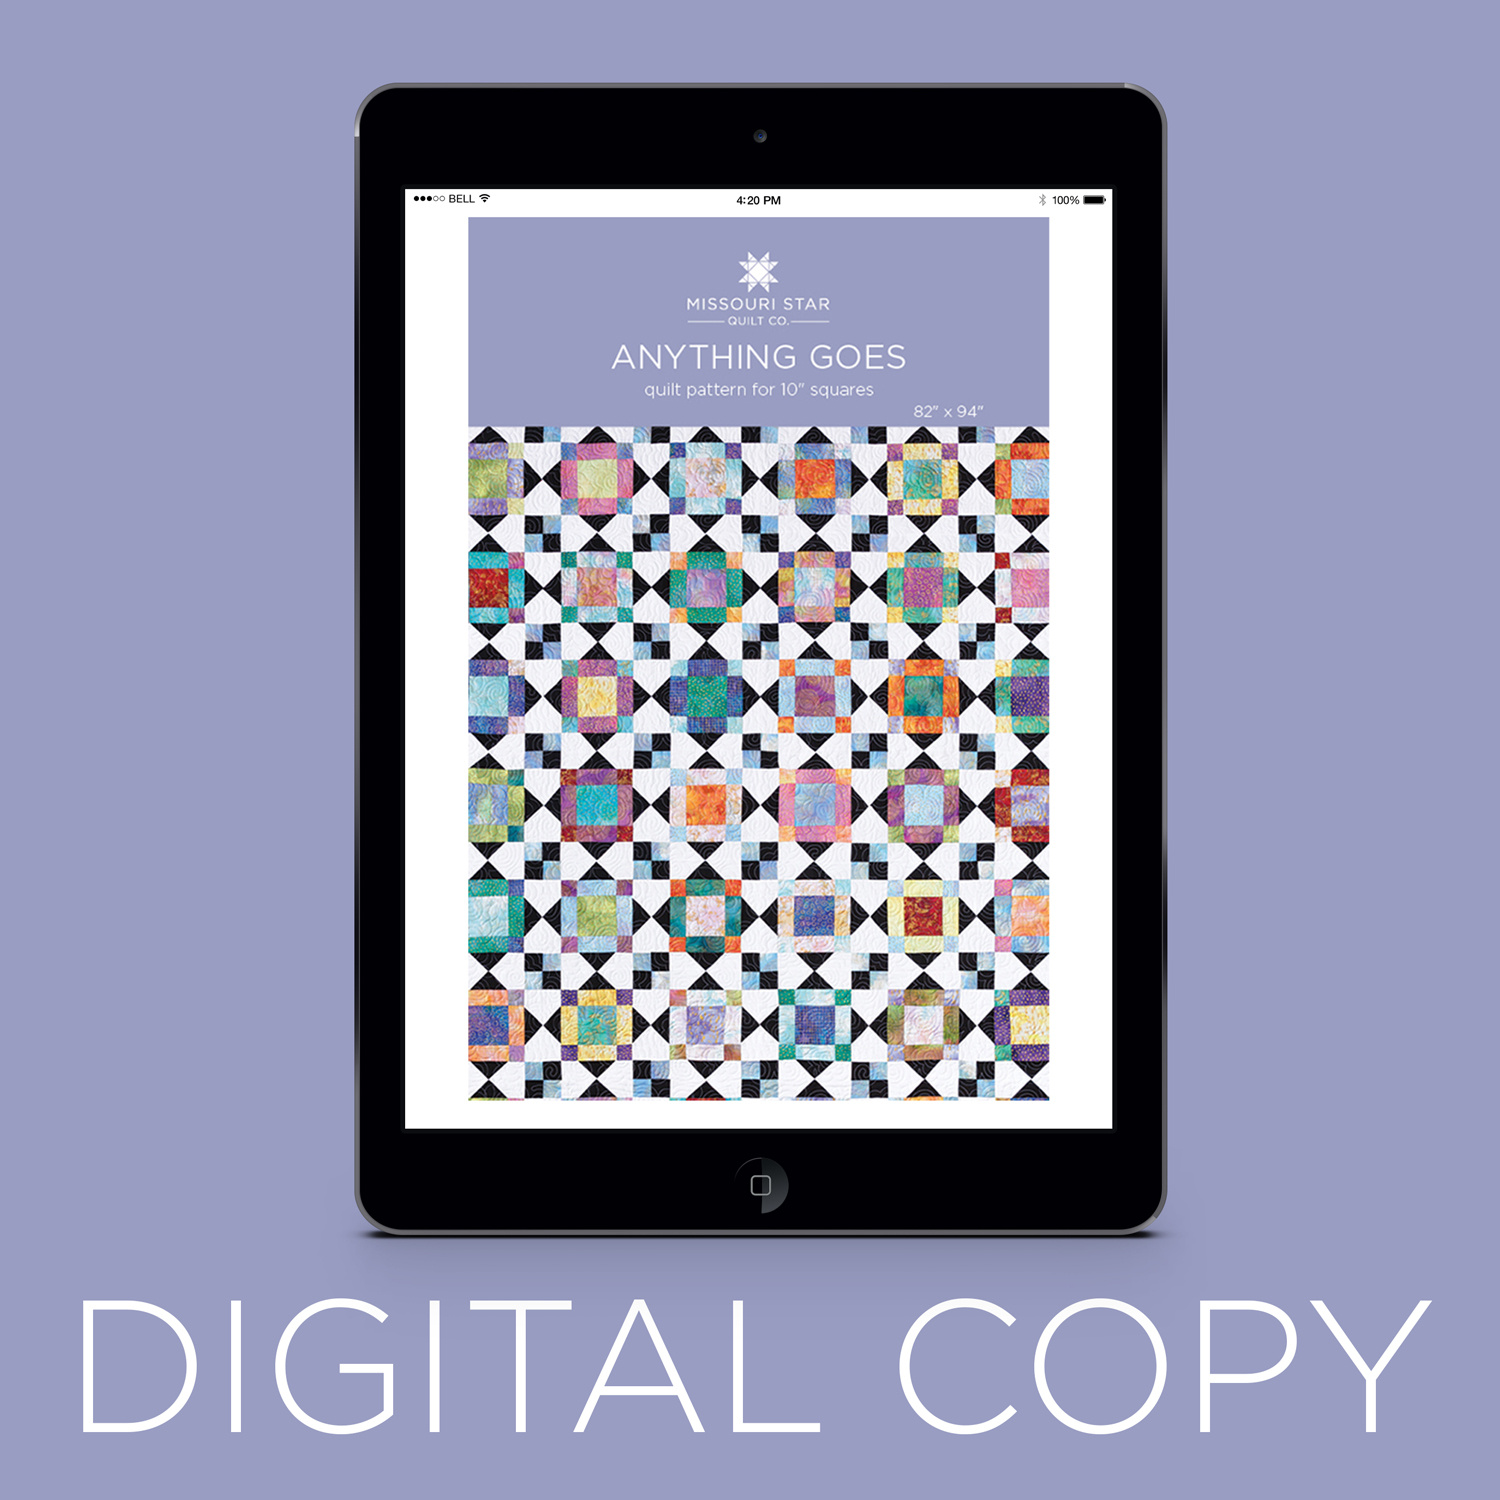 Digital Download - Anything Goes Quilt Pattern by Missouri Star$4.95Shop →
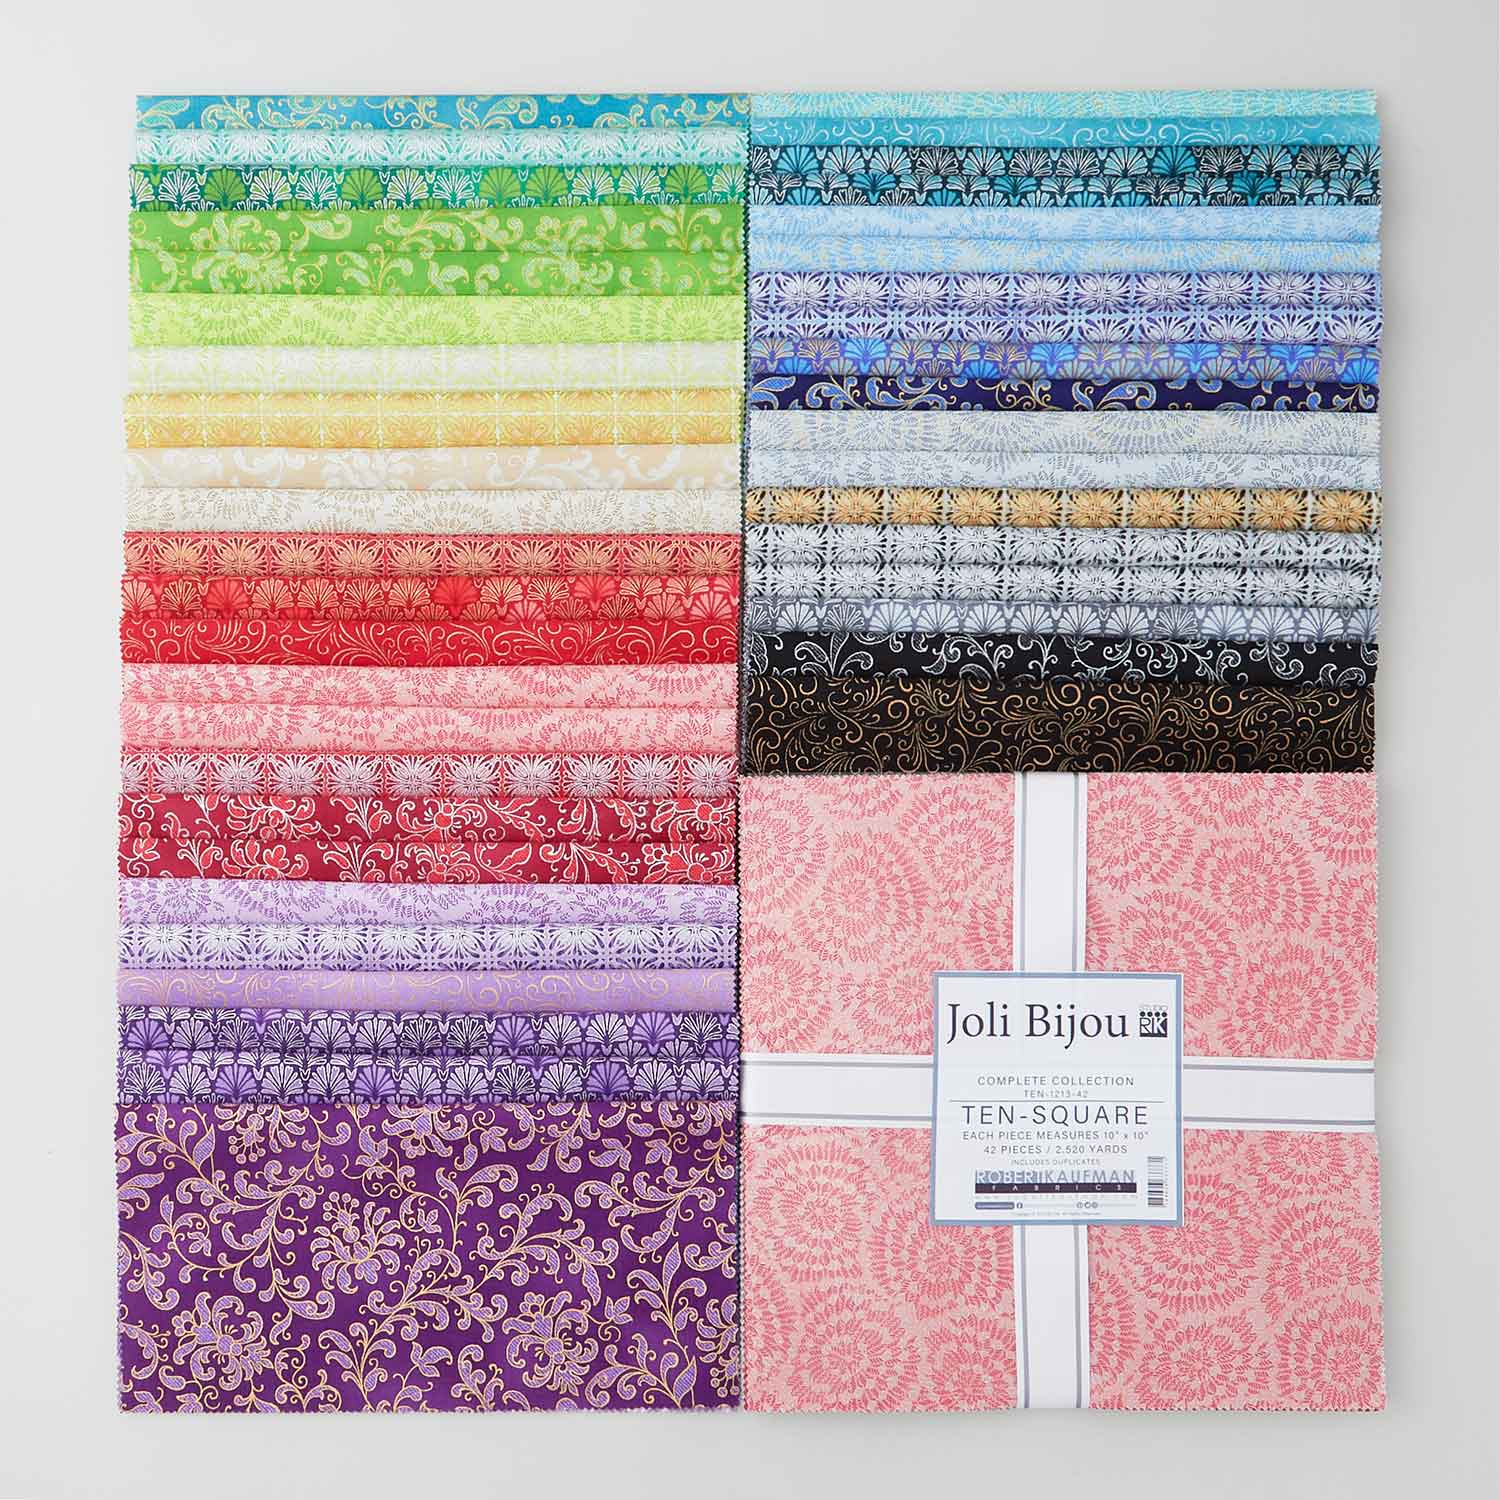 Joli Bijou Ten Squares$38.95Shop →
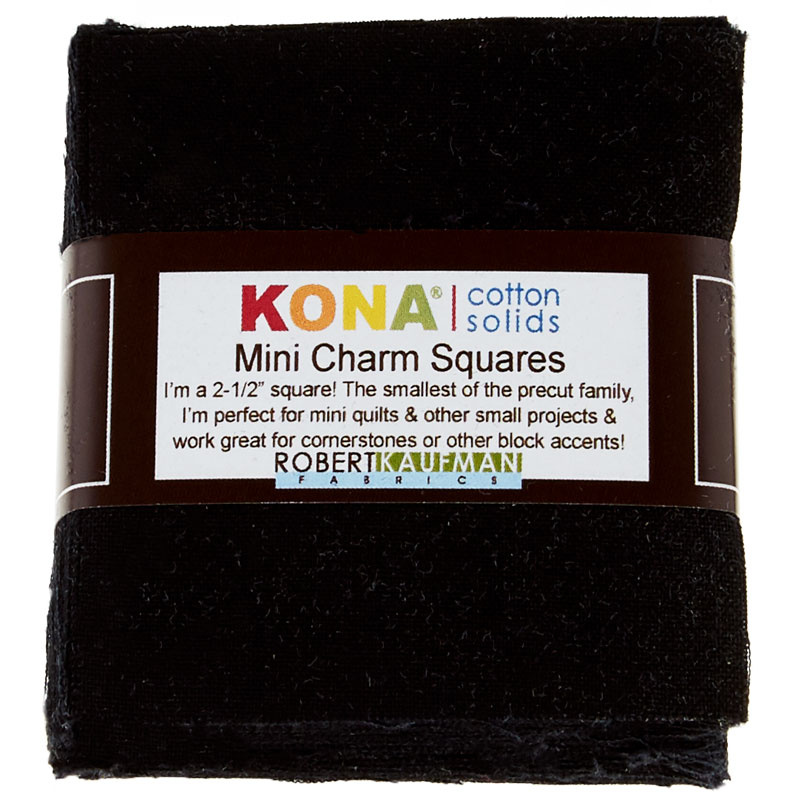 Kona Cotton - Black Mini Charm Pack$6.95Shop →
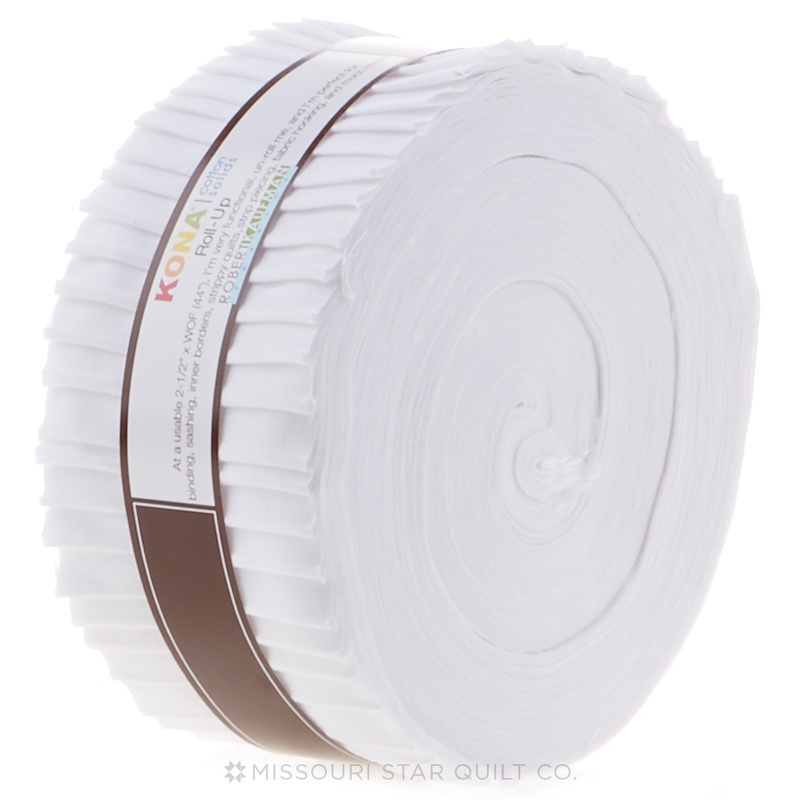 Kona Cotton - White Roll Up$30.95Shop →
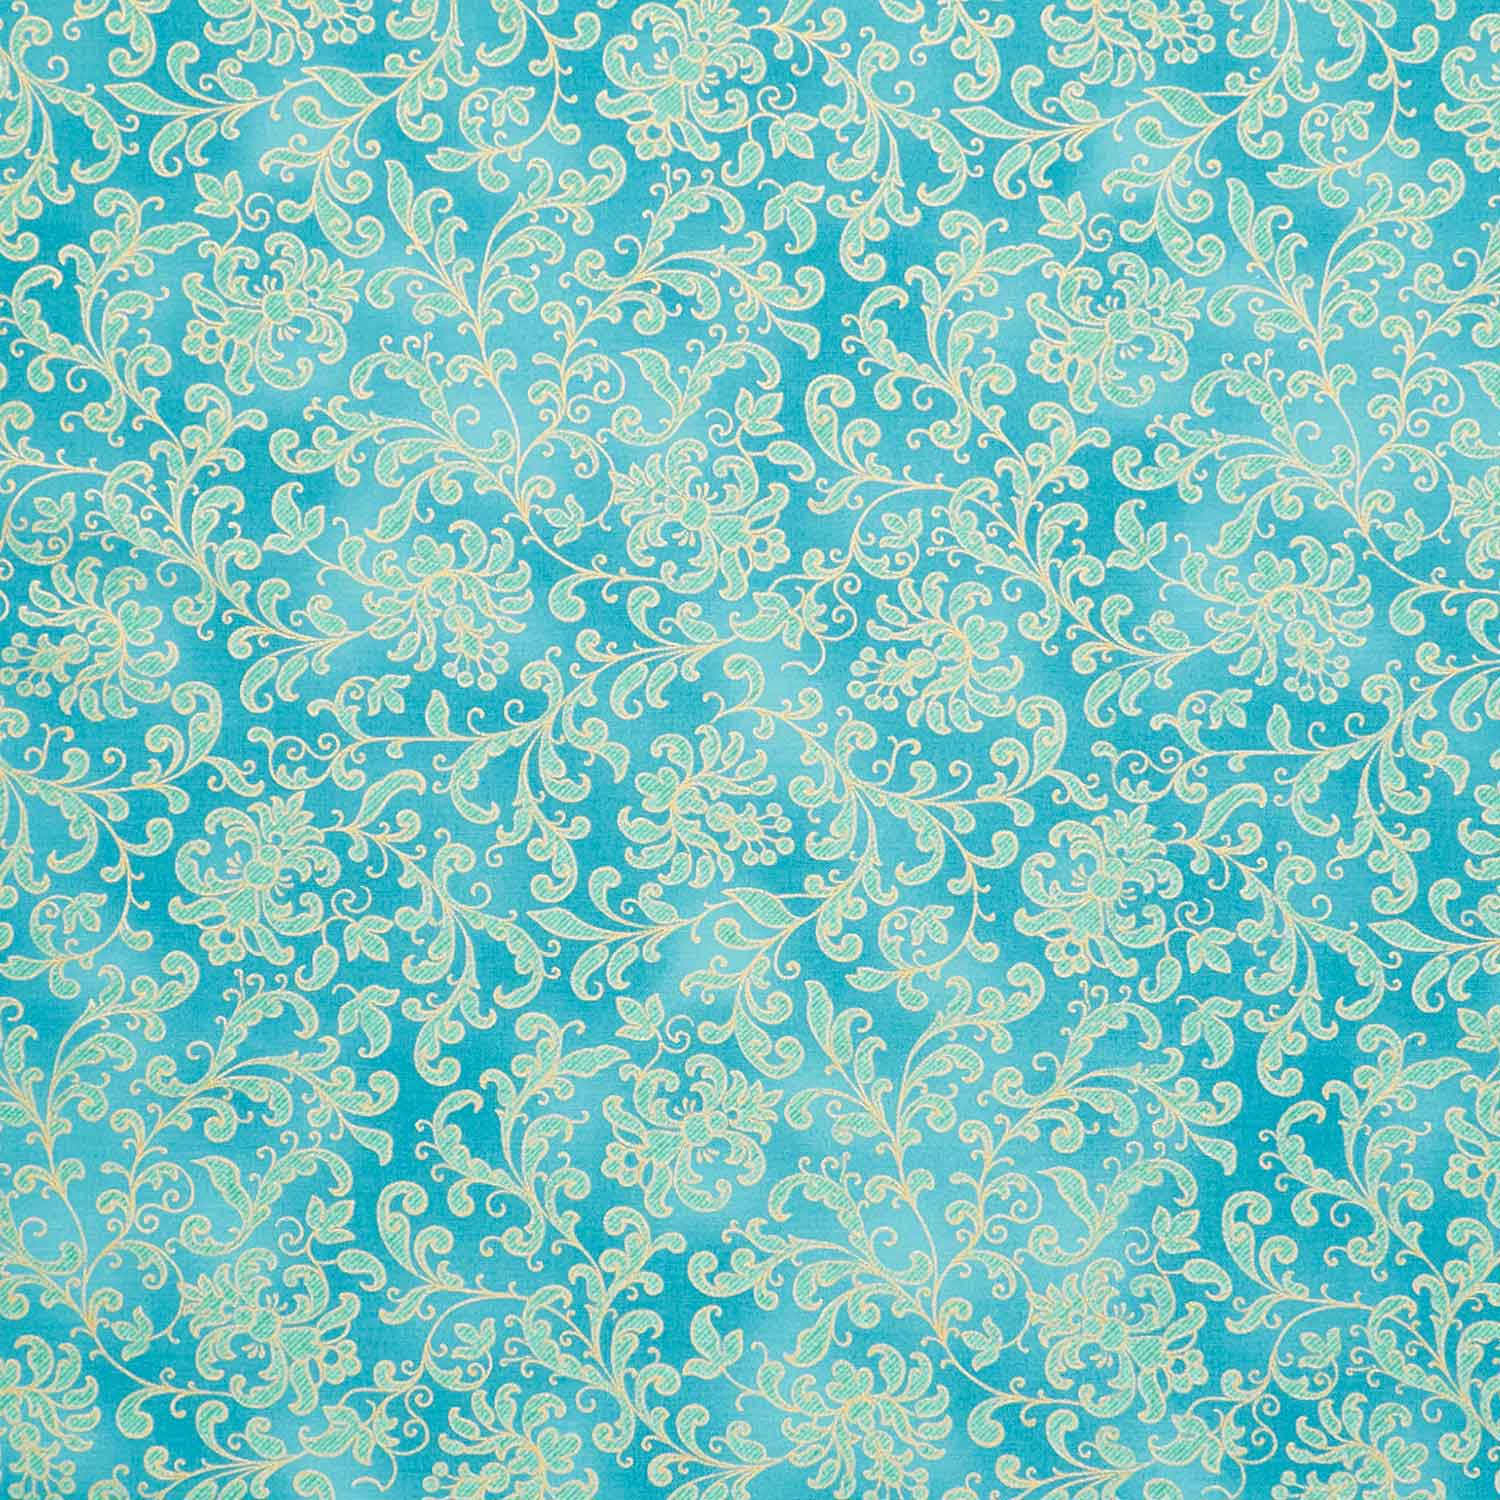 Joli Bijou - Lace Turquoise Metallic Yardage$11.96Shop →
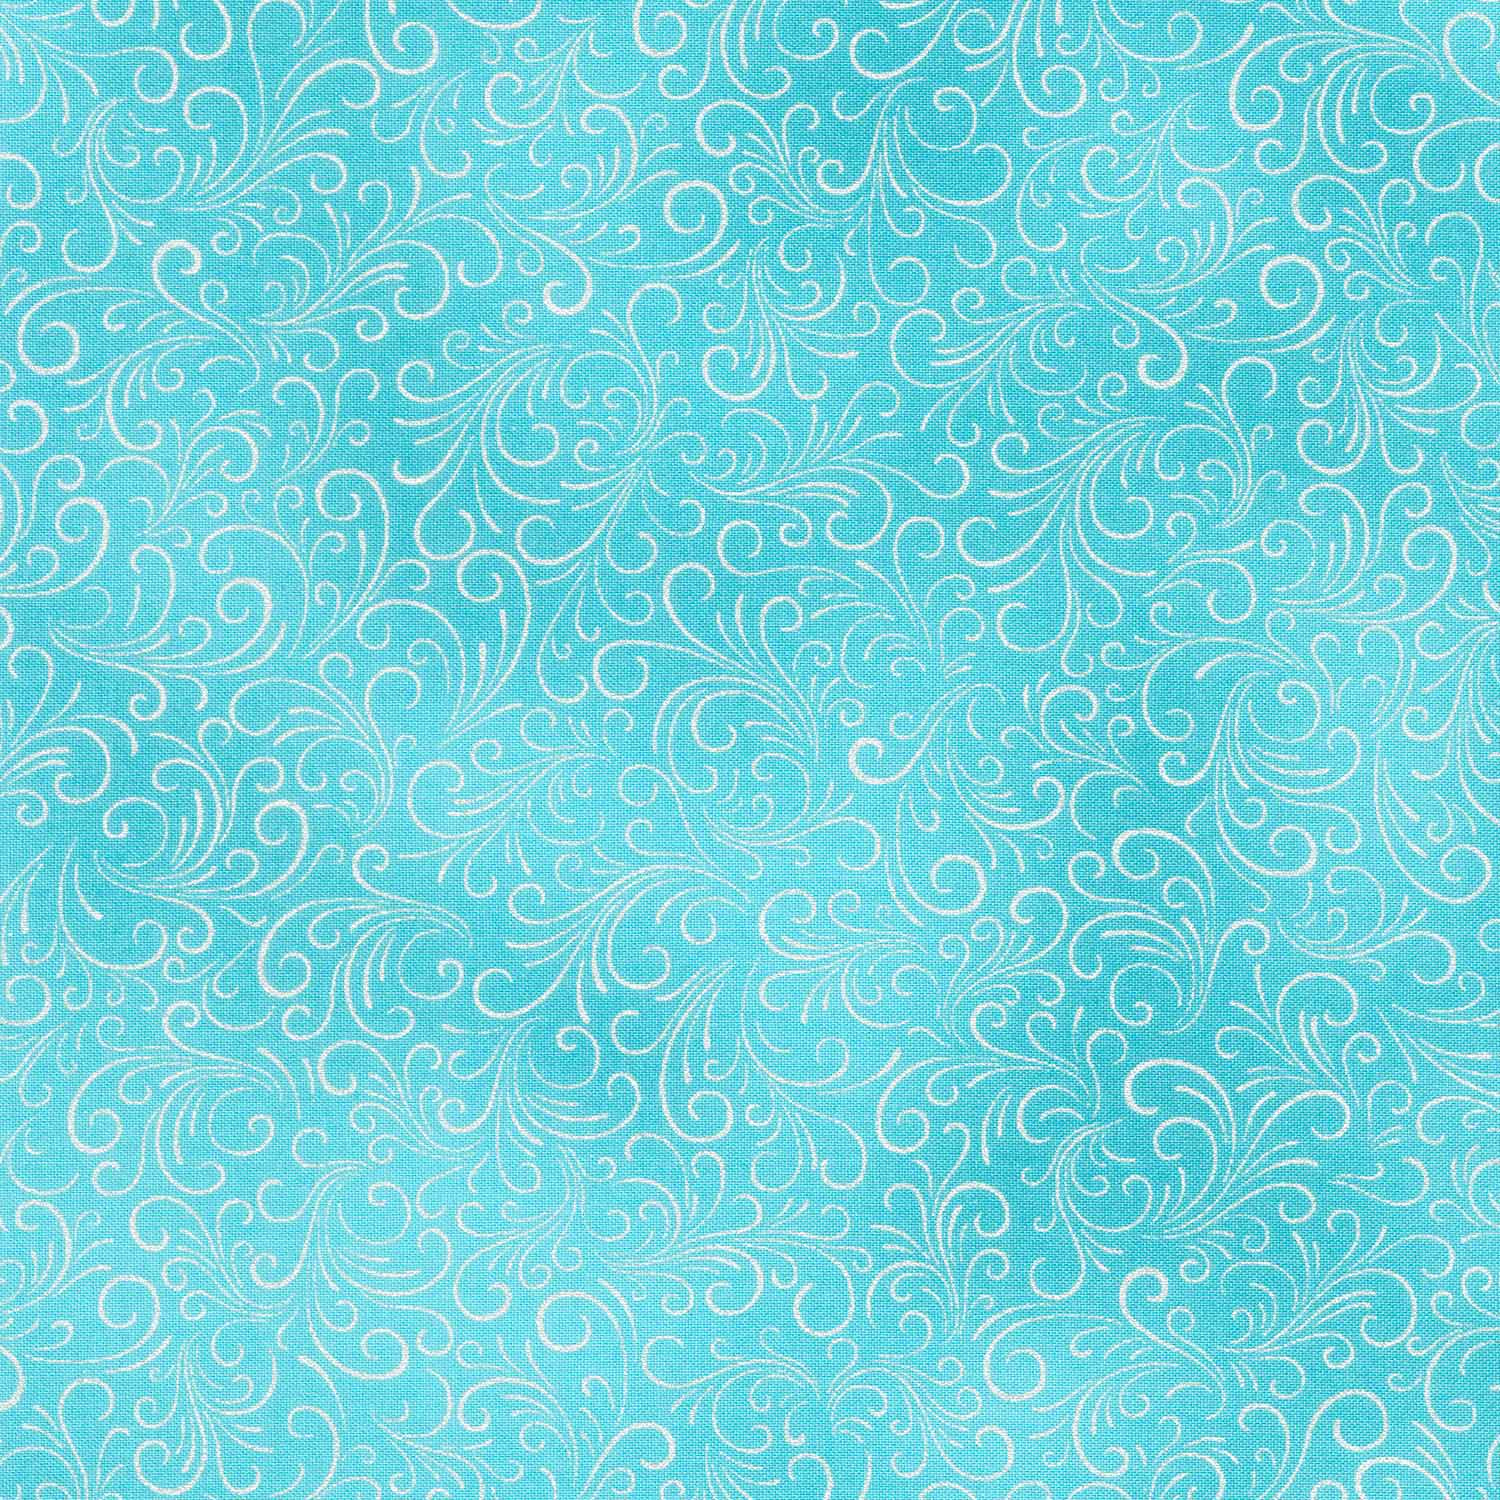 Joli Bijou - Swirl Aquamarine Metallic Yardage$11.96Shop →
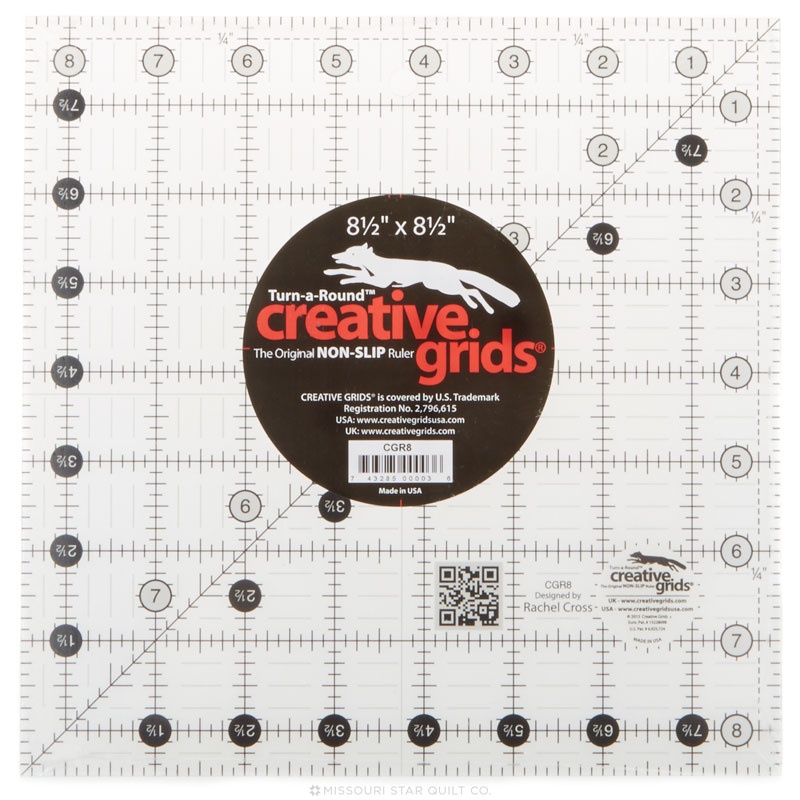 Creative Grids Quilting Ruler 8 1/2in Square$24.99Shop →
 Missouri Star Quilter’s Best Blend Queen Batting$37.45Shop →
Chapters
Common Questions
What is covered in How to Make an Anything Goes Quilt - Free Quilting Tutorial?
Anything goes with Jenny’s new quilt! This layer cake pattern features a big center square to showcase anything and everything—from fabulous prints to fussy-cut unicorns. Jenny is using Chromatic Island Batiks by Deb Tucker for Studio 180 Design, but you can let your imaginati...
How long is the tutorial video?
The tutorial video is 00:21:51.
Are supplies listed for this tutorial?
Yes. The tutorial page includes the supplies and materials connected to this project.
Is a transcript available?
Yes. A written transcript is available on the tutorial page.
Video Transcript
Hi everybody. It's Jenny from the Missouri Star Quilt Company, and I've got a fun project for you today. Let's take a look at this quilt behind me. Isn't this great? Now, this looks like you worked really hard, but it's very simple and fun and even the cutting is fun on this and I can't wait to show you how to do it. So I'm calling this Anything Goes because this center square right here really could be anything you want it to be. It could be a block, it could be fussy cut. If you have a lover of unicorns in your house, it could be a unicorn block, it could be whatever. So I'm making it with this layer cake, but I want you to think about this quilt in so many different ways.
So to make this quilt, you're going to need one packet of 10 inch squares and we have used Chromaticity by studio K for Robert Kaufman. You're going to need some white or your background fabric. And I use this roll because I love that they're pre-cut, they're ready to go. But if you want to use yardage, it's about three yards. Also, I love these two and a half inch squares that are in these packs. There's 84 in a pack. You'll need about five packages of these or two yards of fabric, and you can cut those into two and a half inch strips and sub-cut them into squares.
You're also going to need your border fabric. Out here is two yards and your border fabric includes the border and every other square has a little blue square in the corner so that it makes those four patches. So this two yards is enough for both of those. And then you're backing out here, you're going to need eight and a half yards or three yards of a 108. This is a nice big quilt. It's 82 by 94. Let's look at that backing. Isn't that pretty? It's just gorgeous and it has this little touch of gold in it, and this one is quilted with the curly twirly flowers quilting pattern. And I really like that pattern because it's swirly and round and it just catches everything in. Just such a great little pattern.
Another helpful tool is an eight and a half inch ruler because we use that to square up the block before we border it. So let me show you how to make this block. So you're going to go through your whole layer cake and make 14 little stacks of threes, fabric that goes together and works together to make your blocks. And remember I said you're going to make three blocks at a time with this. Sorry, I had to pause. I can't straighten and talk. So what we're going to do first is we're going to cut this in half. Now, I want you to notice just for a minute here, let's just pause and take a look at this layer cake. It is just a little bit bigger right here. And because it's just a little bit bigger, that's going to add to your seam allowance and that's what I'm going to use the eight-inch squaring block floor, is just to square that up so that your other pieces fit perfectly.
You could trim down all your blocks, but I think it's kind of nice to square the block and you know that it's just perfect. So what I'm going to do is I'm going to cut this in a five-inch strip right here, and then I'm going to set this aside and then I'm going to cut five-inch squares. And this is for our middle. And to me, even this cutting is fun because it's so... It just uses every bit of it. So there we're going to set those up there. These are going to be cut into four two-and-a-half inch squares. So we're going to take this and cut that and cut this just like this. And we're going to set these up here.
And then we're going to take this one and I'm going to lay my ruler on here and make sure... Cut off this little extra edge, which you do or don't have to do. Either way is fine, but we're going to cut this into two-and-a-half inch strips. So five by two and a half inch rectangles like this. One, two, three, and you keep your packs all stacked up, four. Let's make sure this one is just right. You might need to take a little bit off of that.
All right, so now we're going to put these and we're going to make these three blocks before we move on to the other. Now, when I did this, I did go through the entire pack and make all my sets of threes because you don't want to be to the end of your pack and find that you have three reds. You want them to all be interspersed and all be different. So go ahead and make those stacks, but then come back to the three that you just cut and let's make those first.
All right, so the first thing we're going to do is we're going to take a piece off of here and this is going to be the center of our block right here. And then what we're going to do is we're going to rotate these just one beyond like this and we're going to put them around this orange, and one more over here. And then we are going to take our little squares that are two and a half. And I'm going to pull the one right off the bottom and put those in the corners like this.
So you have four matching ones in the corners and it just makes the cutest little block. But remember, this center square right here, this is dispensable. Anything can go in there. Hence, the name Anything Goes. All right, so let's go ahead and sew this together. We're going to sew these two two-and-a-halves to this block right here. We're going to do this on the top and the bottom and then we'll sew the sides together as well. So here's my top row and I'm just going to lay this up here. And then here's the middle. And we're just going to sew these pieces to the side over here like this. We'll set that back in here. And then we'll do our bottom row right here.
Now, when I sew in my studio, I have a little table/tray, TV tray if you will, if you are my age, TV tray, sitting right over here by me with my iron so I don't have to get up an iron so I can just sit and iron. But up here, I've got this one way over here. So I've got to come over here and iron. Not that I'm lazy or anything by any means, I just make a nice little nest for myself. All right, so now we're ready with these and we're going to sew them to the top and bottom. And we are going to match up these seams right here. So these two little seams are going to match up. We hopefully have pressed one going one way and one the other, and I didn't. But what I'm going to do is I'm just going to move those seams. I'm going to leave my center ones the way they are and just pull my top seam back.
All right. And now the other side. And then we've crossed that little seam and I'm going to push this one in as well. All right, now this is the center for our block right here, and I'm going to press it flat. What we're looking for is a nice flat block. And then we're going to turn this over and I'm going to make those seams lay down the way I want them to. Oop, this one opened up. I'm not going to die over it. I'm not mad about it.
All right, now this is a cute block in and of itself, but we have bordered this block again right here with the little white borders. So we're going to cut two pieces that are four and a half out of our strips, out of our two and a half inch strips. You're just going to take those two and a half inch strips and cut them in... You actually need eight pieces, two for each side. And then you need eight of the little two and a half inch squares. And if you guys have not used the pre-cuts in background colors, for me, it's just like a little miracle. I love them.
All right, so what I'm going to do here... Oh, I guess I better tell you first. So what I'm going to do is two of these are going to come together like this to make the borders. I was ready to sew, I was thinking you guys were just following along with me. And then two of these are going to go across the top like this. And what we want to do is we want to fold these back because this is what we want to make. We want to make this V, see, mine's going to go this way.
And then this one's going to come down this way. So you're going to sew on half one way and half the other. Let me get this so it will lay down. I guess I could use my iron. There we go. That's better. Take a minute. All right, so we've ironed our line. Now we're just going to lay it here in the middle and we're going to sew these on both directions, see how that's going to work? And it's going to make that on all four sides. And then we'll set our four corner squares in. Now, half the blocks will have the black, and I have one done here with the black in the corner and the other half of the blocks will have the blue. And that's what makes the four patch that looks like it's on the next row.
And so we're going to go ahead and do these, but what I'm going to do, so because I'm really angley challenged, I am going to do all four of one side going the same direction, make sure it's right. And then I'm going to swap out and do the other one going the other direction because if I try to do one this way and one this way, I will surely get lost. So we're going to go straight down here and now I'm going to put another white one in here. And these are all going to be the same like this.
And this really helps because you don't have to cut extra ones when you mess up because I did mess up a few times, just a few. All right, four, maybe four times. All right, so here's these. And I'm going to grab my scissors out of here and I'm going to go ahead and trim these off and I am going to press them back. And then I will make my other ones to make sure that I'm going the opposite way. And honestly on this, you can make all the blocks, all the ones that go one way and all the ones that go the other. So you can really rote sew on this part.
All right, so here is this right here. Let me get a little room and we've got all of these lined up here like this because we're going to sew them all together, but we have to make sure that they're going the right direction. So this one is laying going the right direction. And so you'll notice when I put my white fabric through under the presser foot, it is pointed the other way. So now we're going to make four going this way.
And I have the diagonal seam tape on here, so I'm using that to guide me as I sew along. I'll get to three of these off. And so I'm going to look here and turn this so it goes that way. And then this one. It can get a little tricky if you don't watch it. That's why I usually do all of one. The good part about that is that you get all of one done. The bad part about that is if you make a mistake, you're going to do it 40 times. So just be careful, experience here. Alrighty.
So also, what I'm going to do now before I cut this, because these ones we know we can make them work. But before I cut this, I'm going to fold this back and make sure that this is going the right direction. So they're right, we know they're right. So what I'm going to do now is I'm going to clip this little edge off on all four of these and press them back and then we will sew these together and they will make our border for our Anything Goes block. All right? So press these back.
Now, if you want, this is a good time to take your two and a half by four and a half inch ruler and look and make sure that these are straight. My little corners, sometimes even though I sew, I use the line, I use the diagonal. Sometimes they'll pop up and they don't lay exactly straight. And so if you want to, if you have that problem, you can take your ruler and put it right on there and make sure that this all lines up in the two and a half by four and a half inch rectangle space. So this one looks pretty good. And so what I'm going to do now is I'm going to sew these two together, these two piles, and I'm going to line them up with the back because I know also that the back is... They were cut straight, so I know they're going to be straight. All right, so let's put these together.
See how this isn't quite lined up? I know that my little flip out square might just be just... Whoop, that's not the right one. There we go. I'll make to make those backs line up so that they'll be nice and straight. All right, now what we need to do is we need to make sure our block is squared to eight and a half. So let's take a look at it. All right, so you can see how this lines up on the lines. So I am just going to go ahead and square this up and then I will turn this. I could use my rotating mat for this and we'll get this side and this side.
There we go. Now you can be assured that this whole thing is going to lay together perfectly. Look how nice that looks. I love how clean they look when you square them up. All right, so now what we're going to do is we're going to put this on the top and the bottom. And then we're going to put these on the sides just like this. Do you see it? Can you see it? It's coming right together. And then we have some of these little blue squares cut in the corners and we are going to go ahead and put four of those right here in our corners like this, just like that. And that makes our two blocks. So this one has the same border on it, but a black square in the corner and this one has the same border with a blue square in the corner. Every other block will be made like that.
All right, so we're going to go ahead and I'm going to sew the blue to the top and bottom of this block like this and lead this one in here like this. And then I'll grab my squares that fell off of there. Is there one more? There it is. All right, these now are going to come apart and they'll go on the top and bottom and we're going to sew the sides on. Now I am going to go ahead and flip this. This piece feels just a hair longer than the top piece. And if I sew it on this way, the feed dogs will take in that extra fabric and it will lay ever so nice. If I put it on the other side, I would have to fight it the whole way.
All right, so let's see this one now. We're going to do the same thing over here, one on each side. There we go. All right, let's press this back. Oh, that looks nice. And then we get to put these on the top and bottom. I'm going to press this one out and this one out to the outside. Put it right here. We'll match up these corner seams for sure, and that's really all we got to match up.
All right, so this is laying really nice on here. I'm going to make sure my seam is nested and sew right off the end. And then we're going to add this one out here. Have I ever added one this way? Yes, I have. So look at that, make sure that your point is pointing out. We all do those things. And our block is done. Now let me press it so I can show it off.
I am such a chaotic, messy sewer. I know you guys know that about me, but I have all these piles of things everywhere. Look at that. Isn't that great? Now, so these blocks are going to go together like this and we're going to put them every other one. So let's look at this. So this one starts with the black block, and then the blue block goes right next to it and they're just butted right up next to each other. And it gives you this cool secondary look that happens right here. But then this one down here, row two starts with the blue. And so it makes this four pack right here, which is a really fun secondary thing that happens. I love these secondary patterns that appear. I just think they're very, very fun.
And so we've got one, two, three, four, five, six by one, two, three, four, five, six, seven. Now, one more thing. This is the fabric that we're left with. Remember when we're making our middles. And so I just wanted to show you just to play with these a little bit, show you how different the block looks just by choosing these three different colors. So we've got the green with the blue like this, with the orange in the corners, like that.
It's just fun to see it. And these were from the three that we cut to begin with. And then we've got... Let's just scoot this one up here. We've got the blue with the orange. Isn't that great with our little blue-green corners? So out of those three we cut, we got this one with the orange middle, we got this one with the blue and this one with the green. Isn't that fun? So I'm calling this Anything Goes because I just think it's a great way to frame up a little block in the middle. And remember, anything can go in there that you want, from a little block to a fussy cut thing, to just these beautiful different colors. So we hope you enjoyed this tutorial on the Anything Goes Quilt from the Missouri Star Quilt Company.
Hi everybody, it's Jenny from the Missouri Star Quilt Company. We hope you enjoyed watching this video. If you aren't already part of the Missouri Star Quilt Company family, be sure to subscribe so you won't miss a thing. And if you click that bell, it'll notify you every time a new tutorial comes out. See you next Friday.



