

How To Make an Endangered Animals Quilt - Free Quilting Tutorial
 Liz Gubernatis
- Fabric by Yard
- Wall Hanging
- Intermediate
- Quilt size 34" × 34"
Get ready for a quilting adventure that's out of this world! Quilting expert and astronaut Karen Nyberg joins Liz in the studio to make a stunning animal quilt will discussing her experiences as the first woman to quilt in space! This inspirational tutorial will have you jumping over the moon with joy!
Instructor
Liz Gubernatis
Liz Gubernatis is the Senior Manager of Education at Missouri Star Quilt Co. and loves teaching people how to quilt! She is a creative idea generator and champion. Colleagues, family, and friends know her for my creativity, can-do attitude, and common sense.
Shop this tutorial
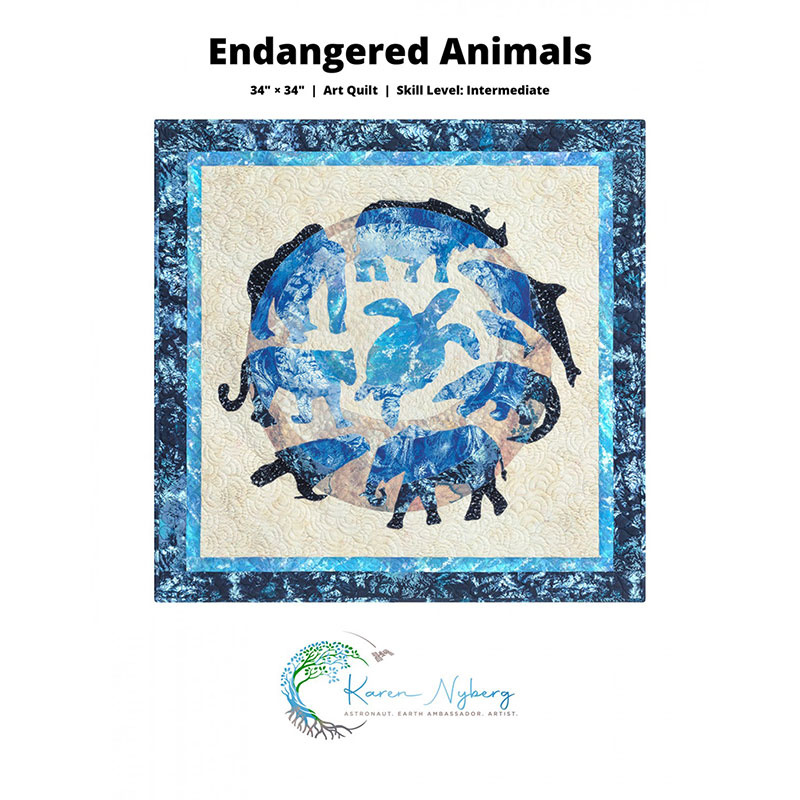 Endangered Animals Quilt Pattern$15.75Shop →
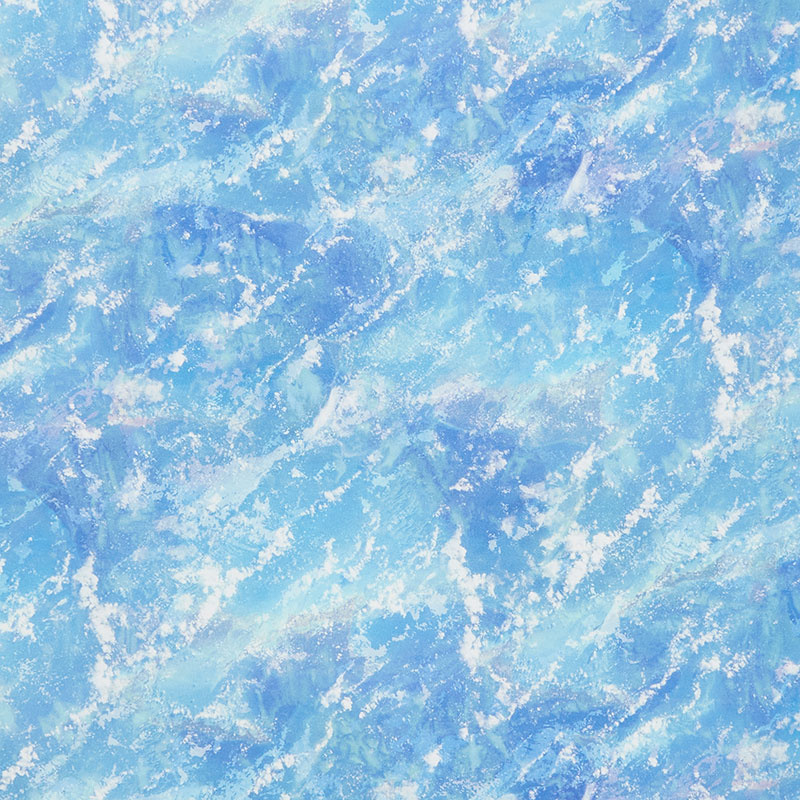 Earth Views - Clouds Pool Yardage$11.96Shop →
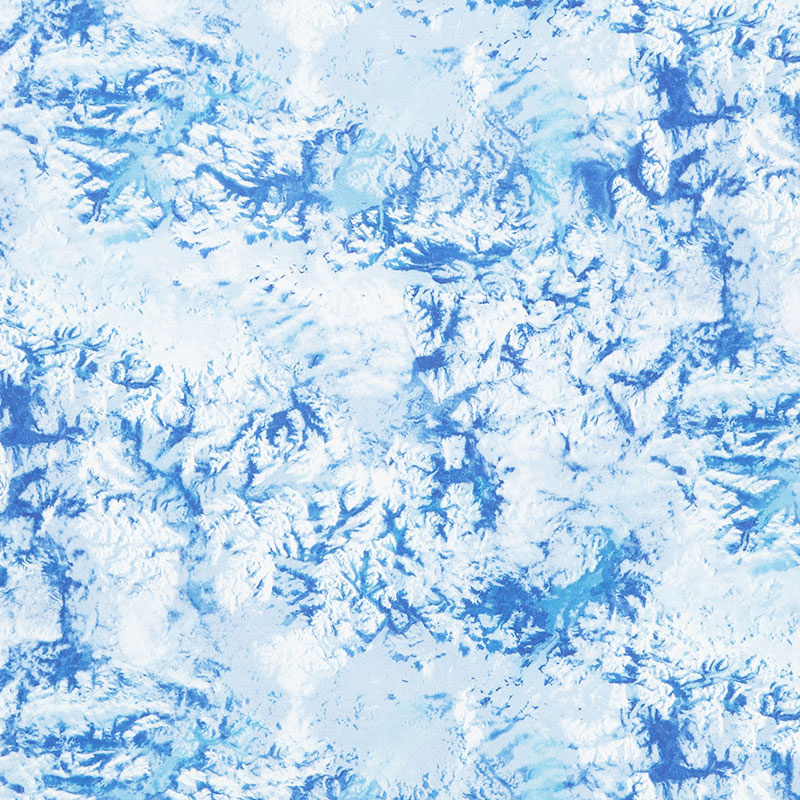 Earth Views - Mountains Frost Yardage$11.96Shop →
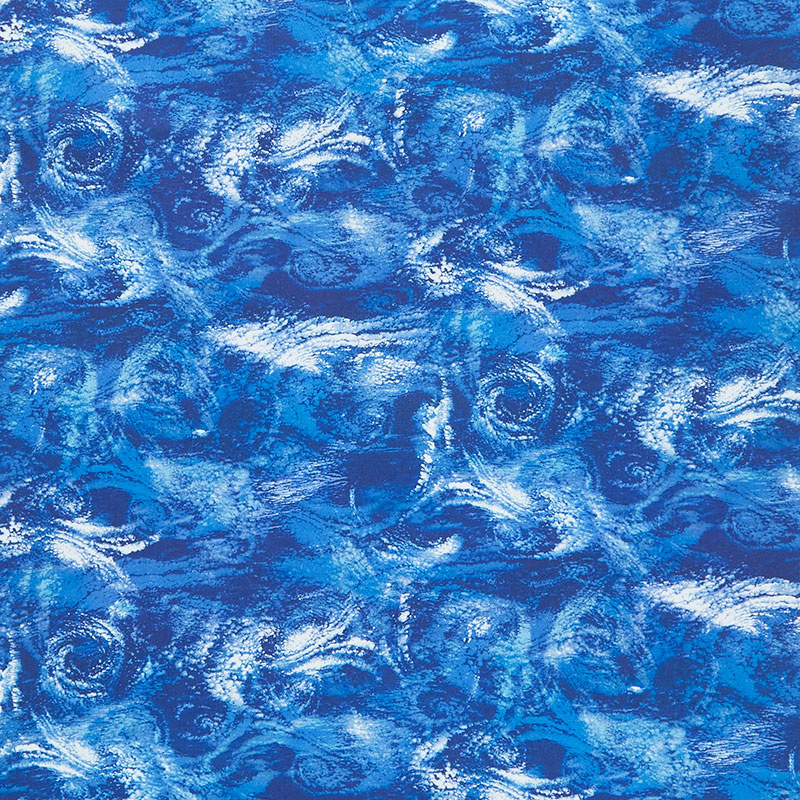 Earth Views - Clouds Ocean Yardage$11.96Shop →
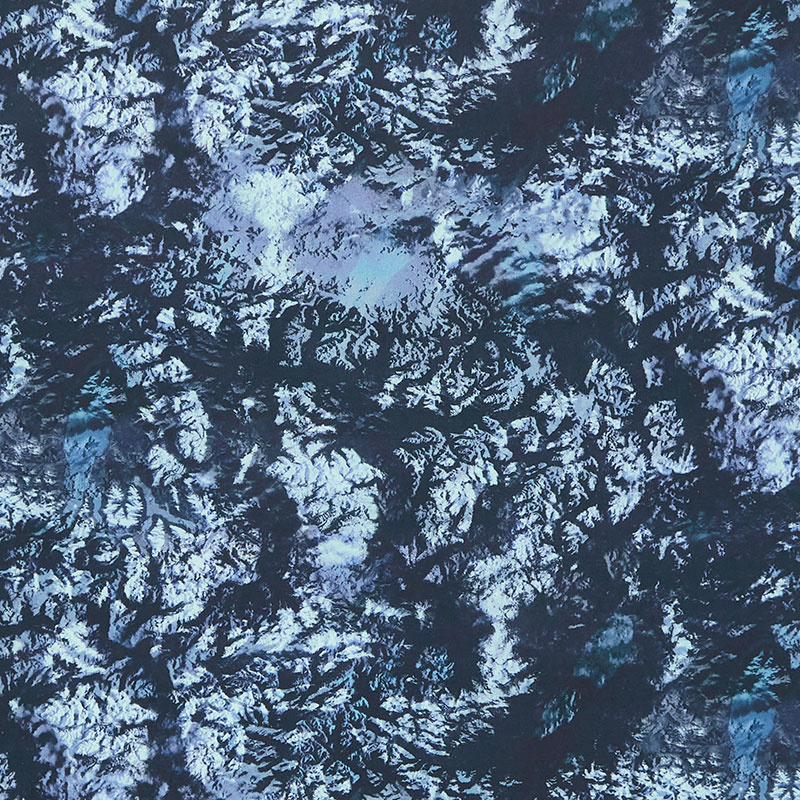 Earth Views - Mountains Lake Yardage$11.96Shop →
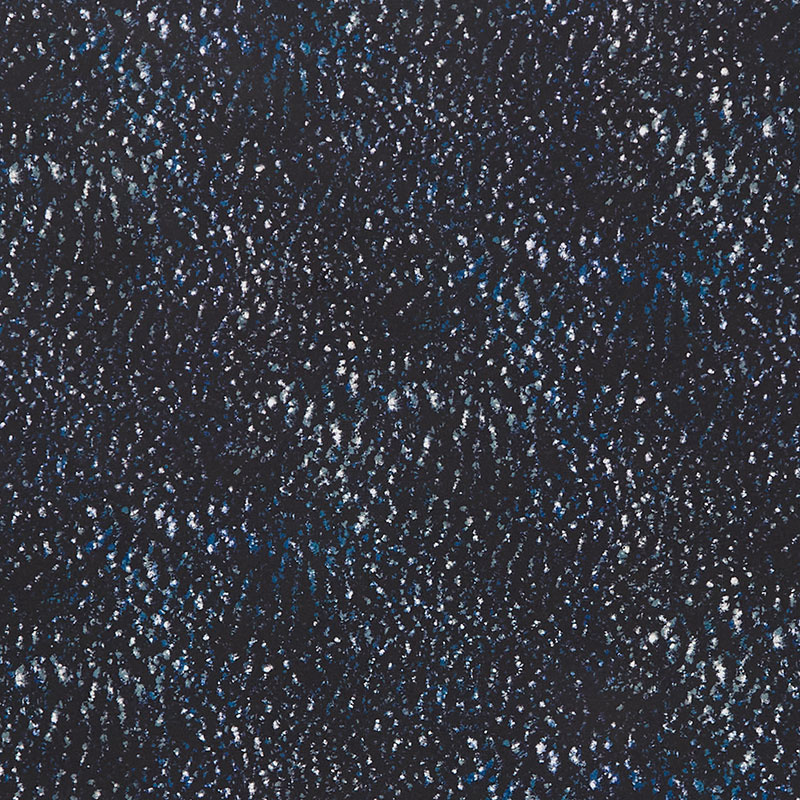 Earth Views - Dots Midnight Yardage$11.96Shop →
 Earth Views - Desert Stone Yardage$11.96Shop →
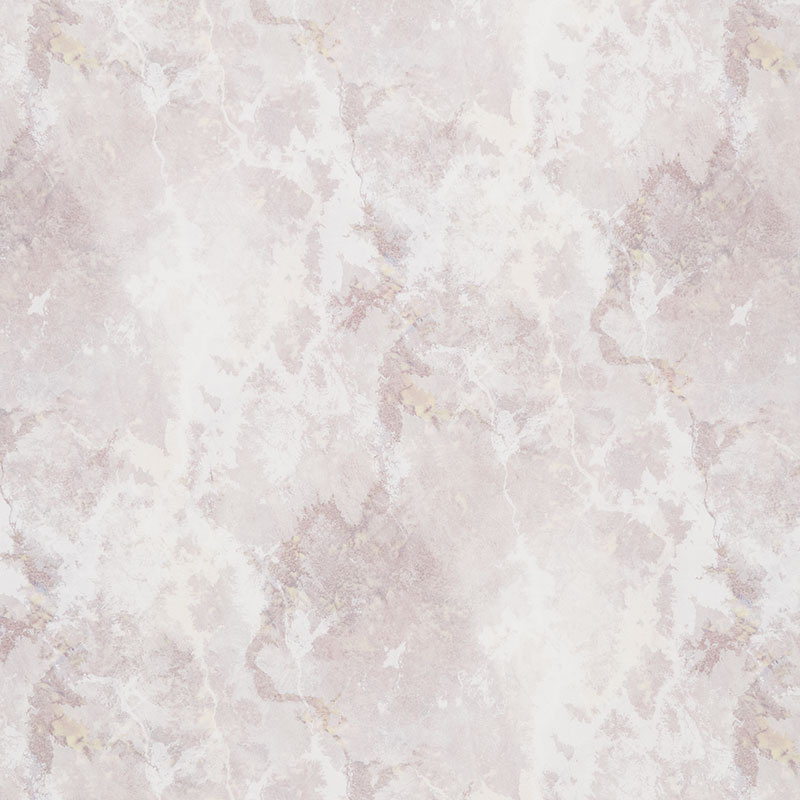 Earth Views - Marble Limestone Yardage$11.96Shop →
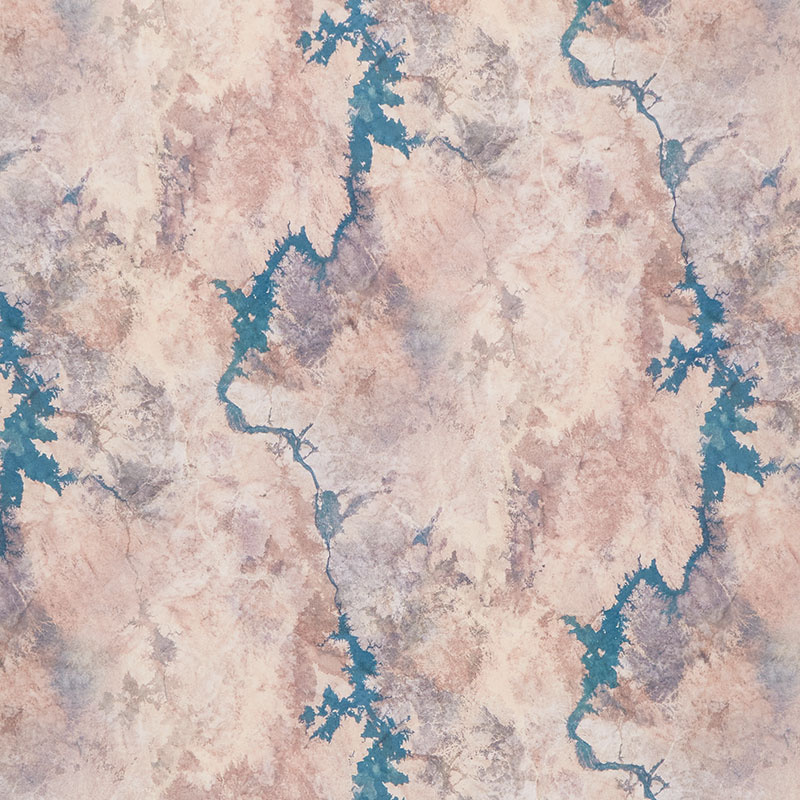 Earth Views - Marble Nature Yardage$11.96Shop →
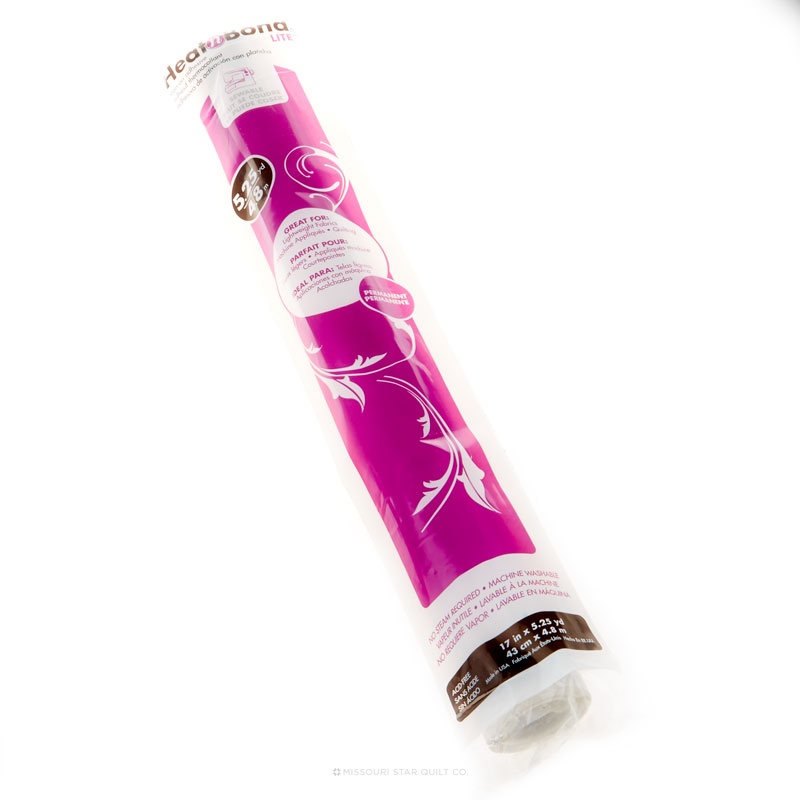 Heat N Bond Lite Econo Pack$11.75Shop →
- Earth Views - Mountains Lake Yardage$11.96Shop →
- Earth Views - Dots Midnight Yardage$11.96Shop →
 Missouri Star Quilter’s Best Blend Crib Batting$14.45Shop →
 Exclusive Missouri Star Jenny TG1600 ProPlus Oliso Smart Iron$199.99Shop →
 Missouri Star Wooly Betty Board - 17.25" x 25.5" Orange Border$98.95Shop →
Common Questions
What is covered in How To Make an Endangered Animals Quilt - Free Quilting Tutorial?
Get ready for a quilting adventure that's out of this world! Quilting expert and astronaut Karen Nyberg joins Liz in the studio to make a stunning animal quilt will discussing her experiences as the first woman to quilt in space! This inspirational tutorial will have you jumpi...
How long is the tutorial video?
The tutorial video is 00:21:11.
Are supplies listed for this tutorial?
Yes. The tutorial page includes the supplies and materials connected to this project.
Is a transcript available?
Yes. A written transcript is available on the tutorial page.
Video Transcript
Dr. Nyberg: Sure, thanks Liz! From the time I was a little kid I was very interested in space and art and creating, and so I followed my dream of being an astronaut and got very lucky got to fly to space twice over a 20-year astronaut career. When I finally decided to retire in 2020, I decided to try to spend a little bit more time with my other passions which is art and then also the perspective I gained from being in space of our planet Earth. So I'm kind of combining those things now and having a lot of fun with that.
Liz: Awesome! And so this is a star quilt that you made based on something that happened during your time in space. So tell us a little bit about that too.
Dr. Nyberg: Yeah. So one of the things, you know we're in space. My second flight was almost six months long and so we have time for hobbies. So I brought some sewing supplies with me and I talked to the
folks at NASA on the ground. Like I would really love to do a sewing project of some sort and after I got to space they worked with Quilts Inc and came up with this idea of this Astronomical Quilts Block Challenge. So I made a star themed block in space which took a really really long time sewing in space.
So I managed to make one and then they put out a call for people to submit star themed blocks. This design is very similar to the star I made. It's not exactly - mine was not as perfect. I kind of designed as I went. I sewed by hand, I designed as I went and there's some challenges with
that. So this is called The Challenge Star Quilt then because it's kind of designed after that idea.
Liz: Awesome! So you guys can find more information about that in the links below. You did some videos from space and so you may remember that she also taught us how to wash our hair in space so there's a couple of links below to some other good things from you. In addition to that we wanted to show you a couple of Karen's other patterns. So you can see
behind us here the cupola quilts and so we have that pattern here at Missouri Star as well as one called Orbital. So this one is also done using some techniques similar to what we're going to use today. So once you've tried this quilt, you're welcome to try all the quilts and make them your own.
So we're excited to try this out today. Okay so what we're gonna work on today guys is the Endangered Animals quilt. You can see behind us here that it has this look of Earth and it's created by using an applique technique that creates the ombre. So the fabric itself is gorgeous - it comes from your photos of Earth from space. And that's amazing! I want to check out the entire line because it's lots of different pieces of earth.
So we've got sand, we've got some mountains, we've got some oceans, we've got some rivers, and so it's all beautiful stuff. So we're going to show you how to make this quilt using the same colors that are in this original. We want to encourage you to make this your own so you can use any fabrics. Make this green, make it pink, make it whatever you'd like
to make it and you can use your own animals even but we use endangered animals. So clockwise from the top we have the Javin Rhino, the Vaquita which looks like a dolphin but it's not, the Chinese Pangolin, the African Forest Elephant, the Cockapoo, the Armor Leopard, the Western Lowland Gorilla and the Hawksbill Turtle.
Okay so to get started on this Endangered Animals quilt, first we need a background square. I'm going to refer you to the pattern for all the measurements and the pattern also includes a really fantastic great big printout of the animals. I'm going to open this up and show this to you. So you'll be able to use this printout to to cut the animal shapes. So I'm going to leave this to the side and we'll start with a background square.
So in this case we used sand but you could use anything you like. We're going to start with this square and we will want to press out any folds.
This is going to be the background for our circles. The circles are also cut out using a quarter circle template.
So the first thing you're going to do for your circles, we're going to start
with cutting something a little bit larger than we need and we're going to
adhere some Heat and Bond Light to the back. It's a fusible that will be the
bumpy side down, paper side up and you can see here. I'll show you in the top camera that we actually ended up piecing some together. We didn't have a big square large enough for this big circle. That's okay you're just going to overlap a little bit so that you have some fusible on the entire piece.
Now you may choose to just put fusible around the outside and they'll be a little bit softer in the middle. That's okay, but we went ahead and put fusible on the entire piece. Then what we did was we folded in half
and it was still a square at the time. We fold it in half, and fold it in half and that lets us use a Quarter Square or Quarter Circle template to create this kind of perfect circle.
So our first circle, this largest circle, we're going to be able to center on our square by folding in the center. And we will take the paper off, and I can do that very easily from the part that was overlapped which is kind
of nice. And I know that you also used a different material when you did yours, so it's whatever fusible that you'd prefer and you're just going to follow your manufacturer's instructions for applying that. So we'll peel all those pieces off and sometimes on the outside what I'll want to do is score this with a pin. So I'm going to let future Liz worry about that part and score that edge. There we go and then it'll peel right off.
So then we have this shiny side, that's that glue. So once you've got that we're going to use that kind of center point you can still see here, and we'll line it up with the center of our square and that is how we will align everything. And then Karen, I'm going to have you pull this a little bit towards you and put this on the mat. For this we're just going to be able to set the iron straight down right there and it will adhere that glue. It's just about four to five seconds, and then it moves. And we'll do that for the whole circle and we'll join you back here in just a minute.
So here we have the center circle applied down and this is Nile River and
so we are going to get to see a good chunk of this, but we're going to cover it with the next circle to create a graduated look from dark to light. So our next circle, cut out the exact same way, is going to be this one
and is this also that is also the Nile River it's just a different colorway. So if you got real sneaky you could line it up so that they actually kind of match, but this is going to be offset a little bit from the original so it's not a perfect circle coming up. The other thing that we can do we cut this in that perfect quarter circle but we can kind of improv the edge a little bit if we want to.
So we can use a good pair of scissors and or the rotary cutter, just give it a wiggle. Right now I'm going to use this same circle, but that reminds me of a story you were explaining about the scissors in space.
Dr. Nyberg: Yes I brought myself some needles and some fat quarters to sew but I did not bring fabric scissors and the scissors that are on board the International Space Station are not meant for cutting quilting fabric and it was a bit of a challenge.
Liz: That's something we can relate to, not having the fabric scissors. I'm going to score this again. So I also don't have my fabric scissors on me
and we're just gonna peel this away.
And so what we're doing with these circles is really creating the base for
letting the animals create that Earth shape. So this can kind of be offset one way or another and again you can improv the edges. So we'll press that down the same way and then we'll do a third layer. That's going to be our small piece and this is a different colorway of the sand, is that right?
So we're kind of creating this again, offset a little bit you can kind of move this wherever you want it. But that's going to be your your center
lightest space and everything will come out from there. So we're going to go ahead and press these down we'll come back when we have our whole background assembled.
So our next step is to cut out our animals. I'm going to refer you over here to the big diagram and what you can see is that each animal is also
labeled with which fabric they're going to use. So you're going to start by taking your fusible, and you're going to lay it over and trace the piece that you need. So for piece one we're going to use the pool colorway. So we trace the fusible and then we put that trace, you can see my tracing lines.
We ironed that, pressed it to the wrong side of our material and then when we cut that out right along our trace lines, we get the turtle. So you can see these are actually reversed from how they're going to turn out and that's how a lot of applique works.
So now that we have that shape, and our other two shapes, we have the pieces for the turtle. So I'm going to bring turtle over here and we're going to find our placement. We won't iron him down yet, because I'm going to get all the animals together before we iron them down, but we'll be able to kind of place him in the center. We can decide if he's going to point a
little more upwards or point a little more to the side. And as we place all our animals we'll be able to see the lines that you've created.
We can talk a little bit about how to line them up with the lines of our background to create that real Earth feel. So I'm going to do one more shape and that's going to be the elephant. This is where you're going to start seeing with the elephant that we have the darkest shapes and this line creating those darkest shapes around the outside is what gives this planet Earth it's real circle shape. So that's why placement moving inwards
of these other lines is a little bit less important. Then you can kind of do
those to your heart's content but you want to make sure these outer lines are your dark material to create that shape.
So as I put the elephant down, and then just shape here, we're going to do the same thing for our elephant shape tracing it onto our fusible,
ironing that fusible to our fabric, and then cutting our fabric out. We'll be able to place the pieces of our elephant, and I want to point out this tiny little piece of his tail - don't lose that piece - you can see that it got reversed. So don't lose that that little piece. He's going to end up over here
and we've got this so everything will reverse so and take this over. Once we have it in here I'll show you how it all came together.
We've got ocean, we've got lake, and then we've got midnight. So that's
that darker outer piece, and as you can see that curve of that darker fabric
is going to create these pieces. So it's easy to scoot his feet around. So it's nice to lay this out and then come back and flip it. You can see just a little bit lighter here at the top. So that's how all our pieces came out and now we're going to reverse him and bring him over here. Our elephant this fabric is going to line up with the bottom of the turtle and that gives us that kind of ombre feel. Then we start placing our elephant and I'm putting him too high up so we're going to have to scoot him down. So we'll
bring this a little bit. Important thing is just get this Horizon where the black meets perfect. Okay so you can see that his trunk falls inside that piece, but then we've got our darker pieces at that horizon.
So as we talk about the horizon... this is kind of where I wanted to ask you how did you decide how to graduate the colors as you're playing with this?
Dr. Nyberg: So what I really wanted was there to be like a light source in the center and then, you know because when we look at Earth from space when this usually it's one side is light and the other is dark. But I wanted it to for the artistic value that I had to make it come from the center and so all the lighter colors are in the center and when I drew it out, I just basically drew a few circles and then I picked my blues from the lightest
to the darkest and then the black to be the blackness of space on the outside of the circle. I tried to make it not perfect, but just to give that feel at least that there's a light source in the center and then it gets darker to the to the horizon.
Liz: And so too I know you were telling me that this and you said here too this horizon line is the important one. If we were to start playing with
some of these other lines you could if you wanted to make sure that you know these circles lined up with these lines. It's not about being perfect though it's about kind of making it yours, right?
Dr. Nyberg: And honestly I did not, when I did the design, line up
this transition with the transitions here exactly in some places they line up.
Liz: But that wasn't kind of by chance right? Okay so something else that we were we were talking about is that you can actually line up motifs on the fabric to kind of help it also look even more ombre effect. So I've got two of the fabrics here and where I'm going to kind of again when you go to apply this down you have all your animals in the right places you're just going to press down. So you can do that one layer at a time, and make sure these are really nice and close together. They don't overlap - if you
start to overlap you're going to get pieces coming out the sides you're not
gonna be happy with it. But you'll just take and I would start with the body
that lines up on the horizon, take the paper off press that down, then start lining up your smaller pieces. And you can do these one at a time - you
don't have to get the whole thing down. Then press it. So you can press one piece at a time come in and press the next pieces.
Once you've got that done you can move on to the borders, but I want to show you one of the cool ways to cut out the fabrics so that it has an even
more ombre effect. It's a really neat technique! So I'm going to take this away for a minute. So again one of the things that we can do is line up the fabrics a little bit, so can you show us how you did this because I know you've got a cool technique and thought about how to actually line up the colors?
Dr. Nyberg: Yeah I think it's fun to try to make it look like it runs very smoothly together. A lot of the fabrics have the same color tones within them. Like you see on this one, you see kind of the more of a royal
blue inside it that matches the royal blue here. You see the whole fabric line all the blues you can find colors that match. And then also a lot of them have clouds on it. So what I like to do is, in fact I did it on the elephant on my piece, I think that's the only one I did, but I like to kind of line up when I'm cutting the pieces. So that you might find some clouds that match or some colors that match, so that it looks like it's all running
together. It can take a little bit of work to figure that out, but you know so you have the lightest part here matched with the lightest part on the other fabric and then when you do the transition lines between the two they kind of just flow very naturally. It's really fun to play with that and it takes a little more time and a little more fabric because you need to be able to place it right. It's kind of being a little fussier with it.
Liz: Right, so you do want to order a little extra fabric if you want to play with that, but it has a really cool effect.
Dr. Nyberg: It really does!
Liz: So I'm going to show you that here in the top cam as well. I'm going to scooch around here. So guys what we're looking at is how in the elephant here these are two different colors. We just played with how that line works, but that line starts to disappear when you line up those motifs. And so how we can do that again is by looking at this darker blue and lining it up with darker blue, taking the clouds and connecting the clouds. And again it can be a little fussier, but sometimes that's really fun. So if that's something that you're interested in, get a little extra fabric go to town playing with this. Also think about you don't have to use the exact same colors that we used so you can pick more of the greens, more of the aquas and also start connecting them together. It'll give you that really beautiful
ombre effect. So that's a really fun addition to this project!
So once you've cut out your animals and you've pressed them down, you are actually kind of done. This is a wall quilt and an art quilt so it's not going to be washed very often, so the quilting that you have done on top is going to do the job of holding it down. If you really want to you can go ahead and applique each shape down. Outline the animal with some applique. What kind of applique stitch do you usually use?
Dr. Nyberg: I usually use a zigzag.
Liz: Okay and so sometimes we'll use a blanket stitch or even a straight
stitch, and we have some links below too for some more information about using applique stitches in your projects, so check that out below if you're interested in more stitches to use. But again because this is a beautiful art quilt and it's going to usually hang on your wall. The quilting itself is going to do the job of holding everything down and as you can see in the quilt behind us you have that light to dark effect and it looks like planet Earth made from the endangered animals.
So that is our tutorial on the Endangered Animals quilt. Thank you Karen so much for being with us today and sharing this beautiful fabric and your tips. For more quilts from Karen, there's also the Orbital, and it's also an applique quilt and then there's Cupola Views which is also behind us. There's also an exclusive pattern from Karen in our Block magazine
Celebration issue of 2023, so be sure to tune in for more patterns and more projects using the beautiful Earth views line from Karen Nyberg!


