Skip to content

Free quilting video tutorials from Missouri Star

Quilting Tutorials
How to Make an Everyday Sling Bag - Free Project Tutorial

How to Make an Everyday Sling Bag - Free Project Tutorial

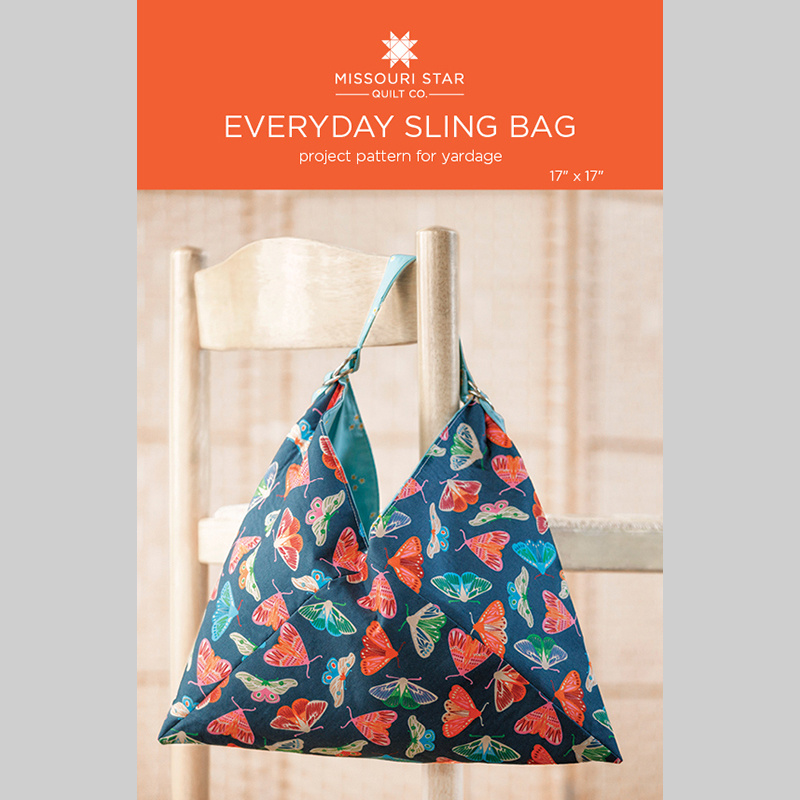
Join Misty and Jenny from One Big Happy as they show you how to make a square bag. Yes, a square-shaped bag! Tune in to learn how to make this super stylish and functional bag.

Instructor

Misty Doan

Misty Doan grew up surrounded by sewing and quilting. She loves spending time sharing tutorials each week each week, and when she’s not stitching up one of her fun sewing projects for home decor, most likely you’ll find her hanging out with her husband and three awesome kids or working on a house project.

Common Questions

What is covered in How to Make an Everyday Sling Bag - Free Project Tutorial?

Join Misty and Jenny from One Big Happy as they show you how to make a square bag. Yes, a square-shaped bag! Tune in to learn how to make this super stylish and functional bag.

How long is the tutorial video?

The tutorial video is 00:51:19.

Are supplies listed for this tutorial?

Yes. The tutorial page includes the supplies and materials connected to this project.

Video Transcript

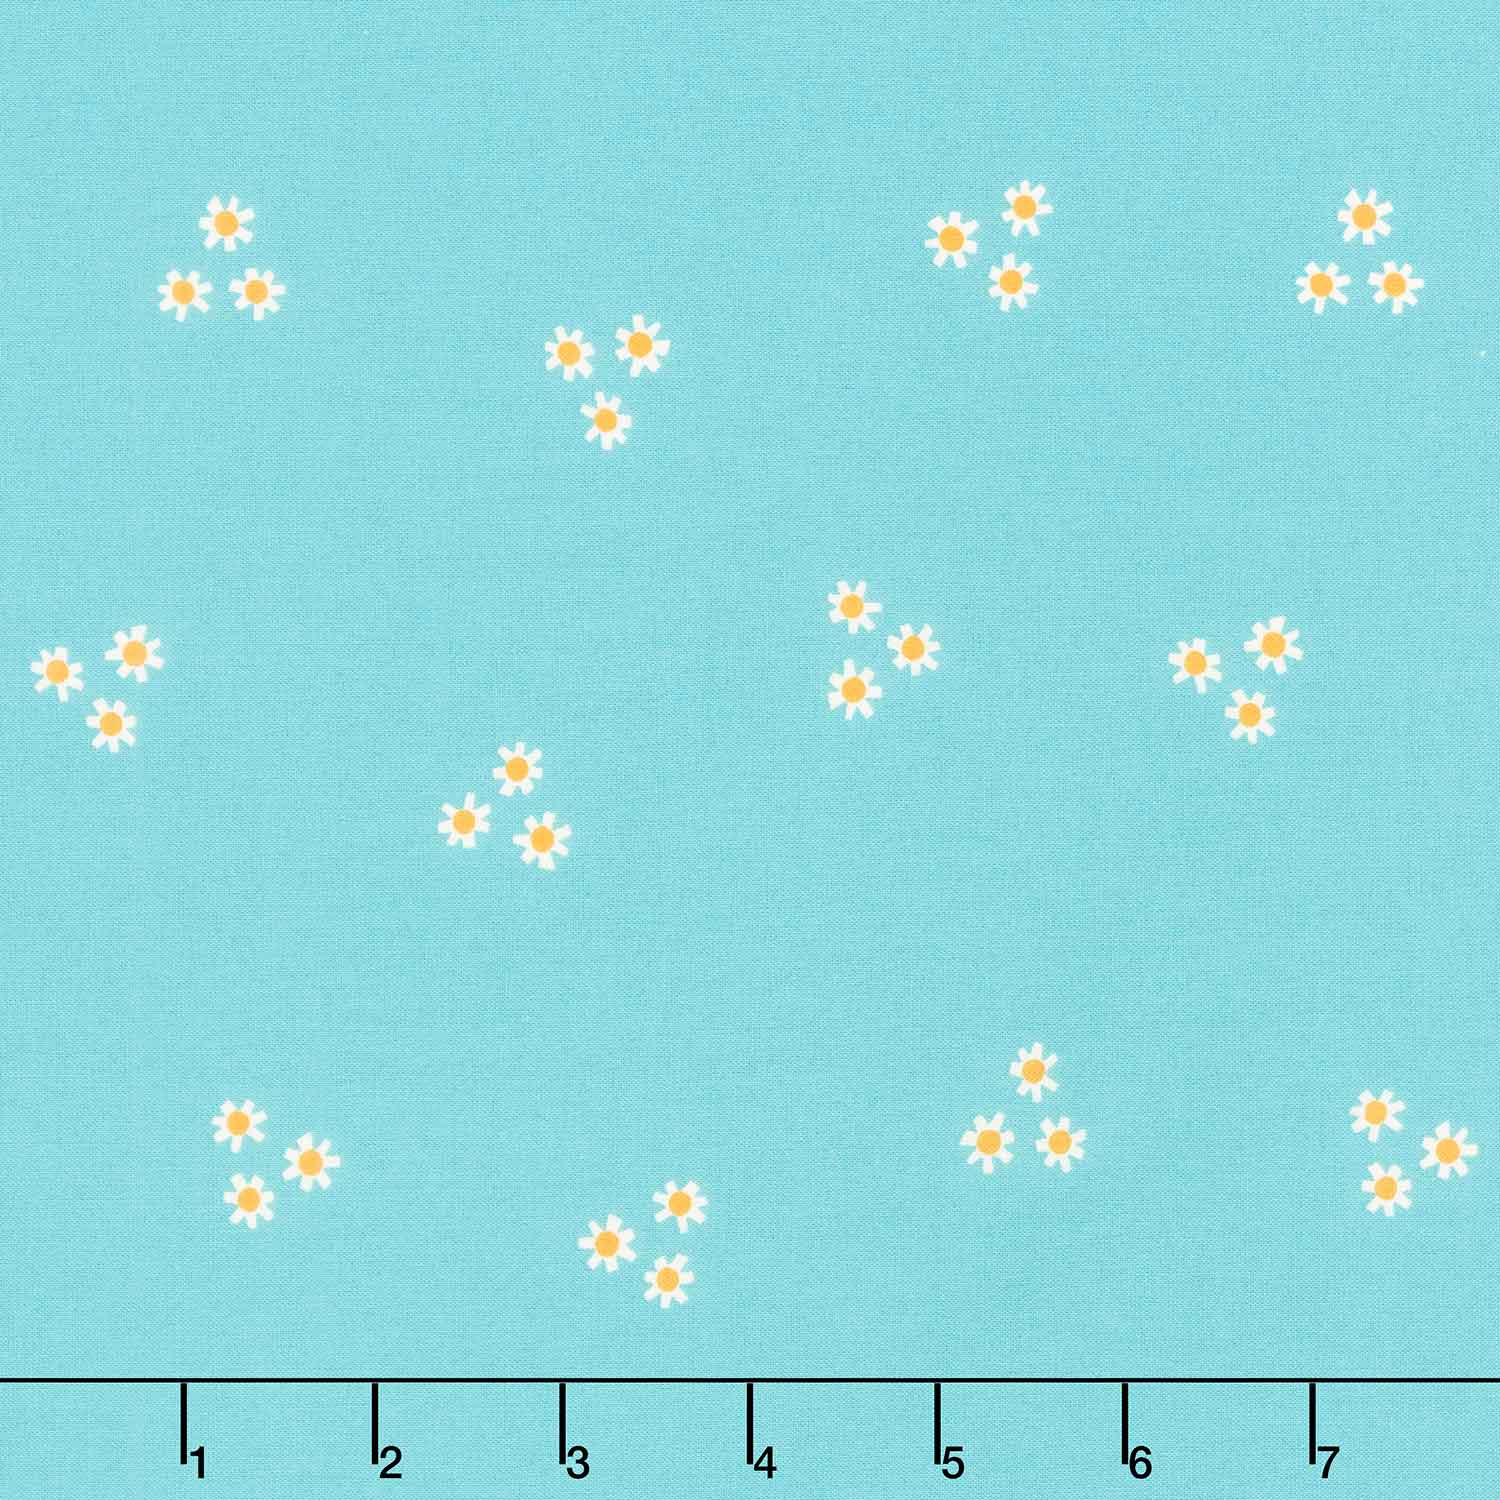
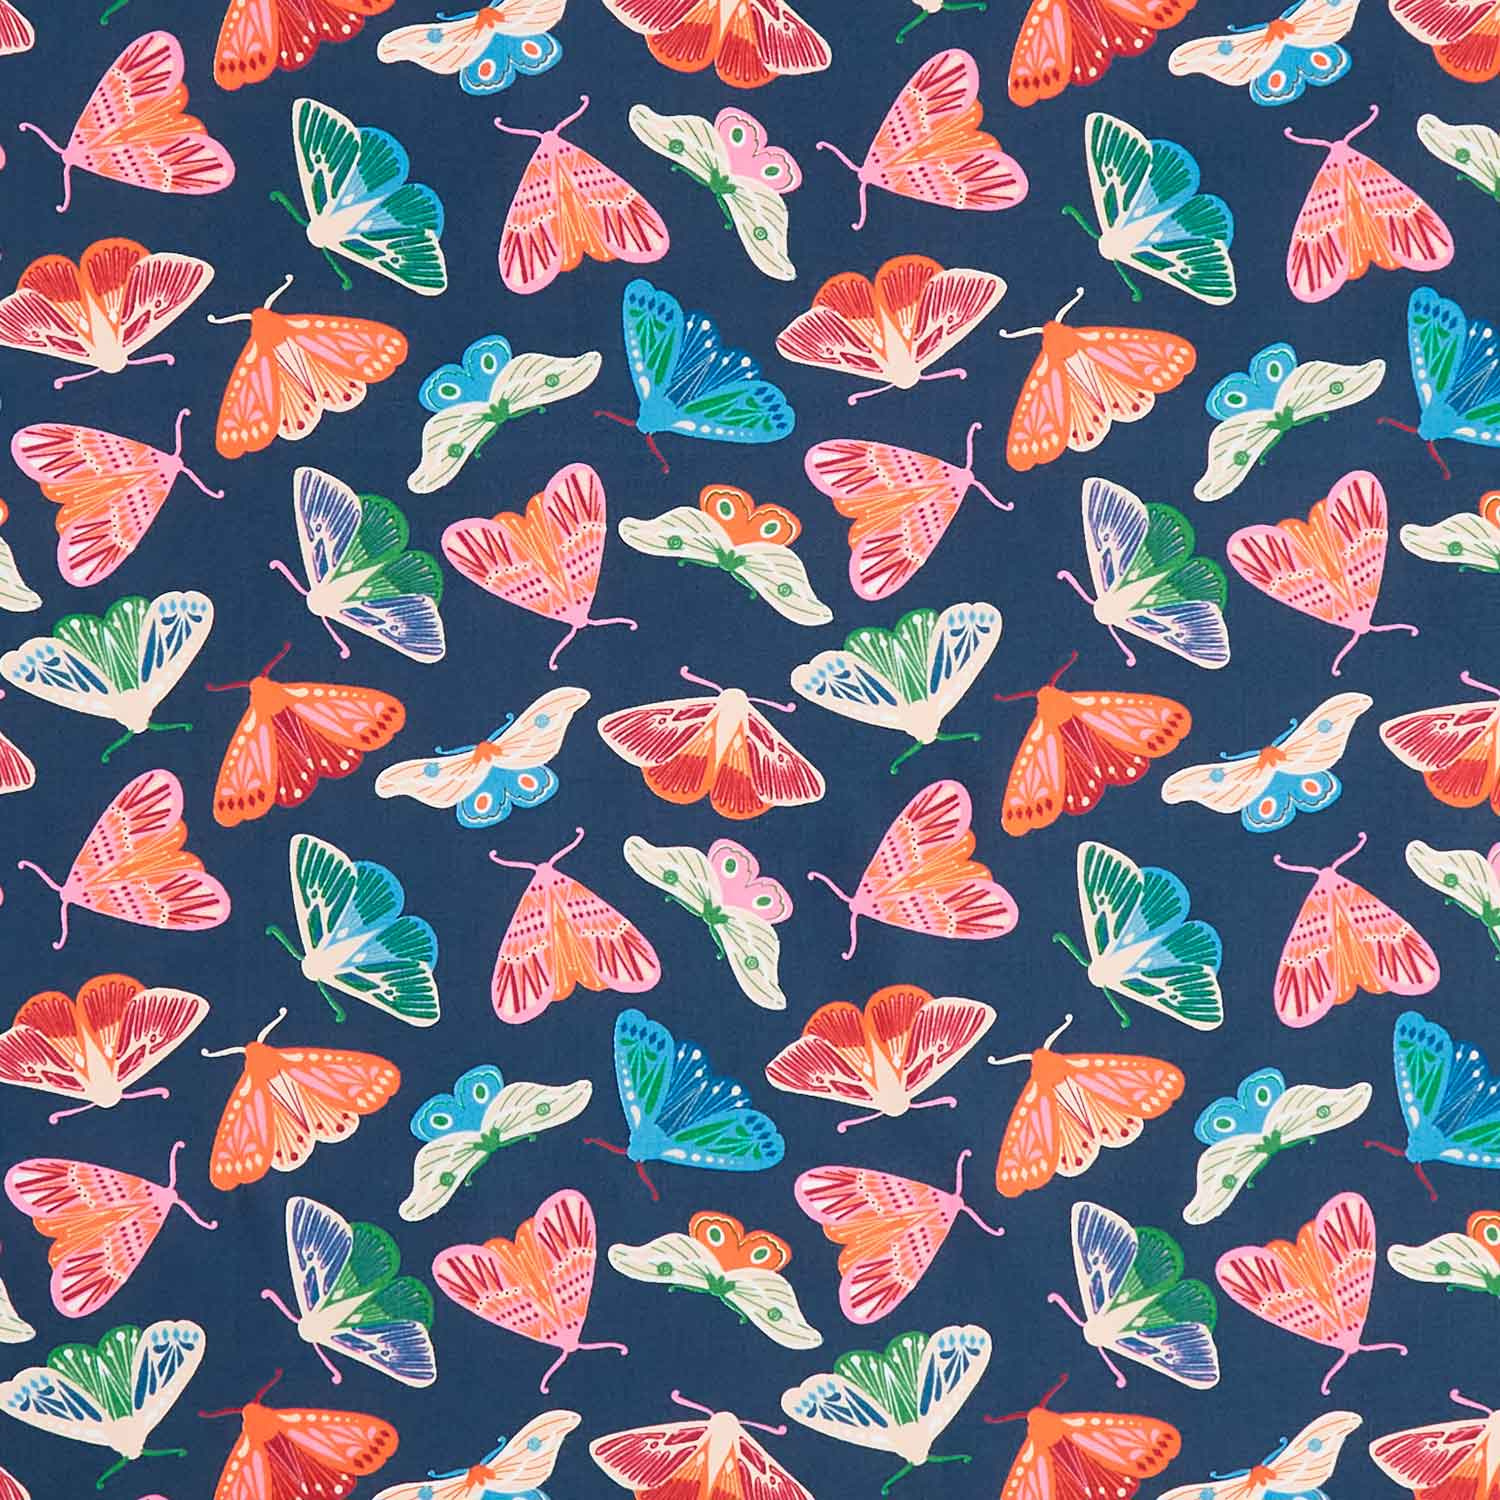
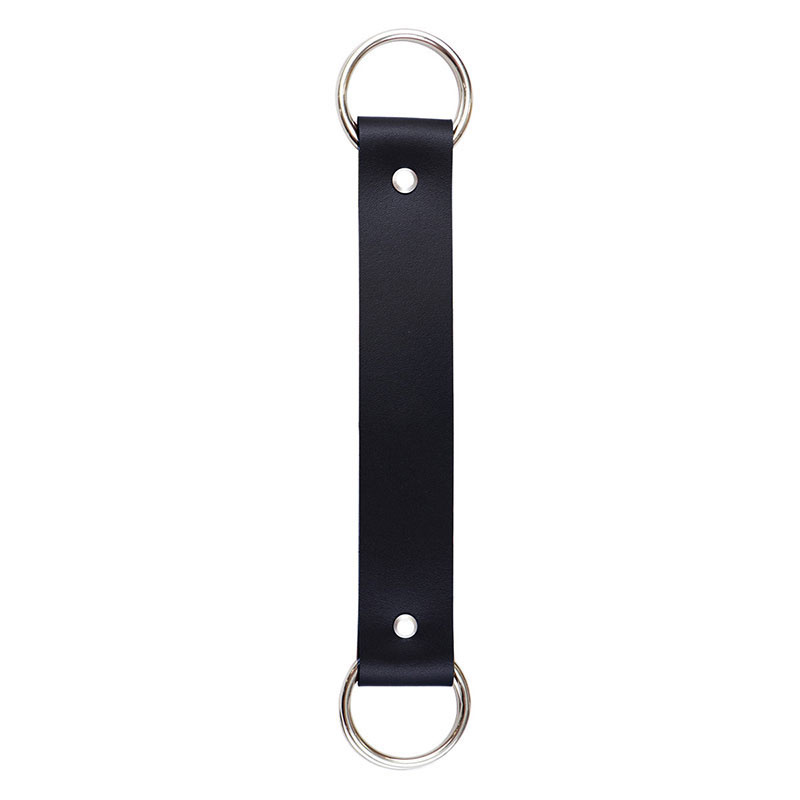
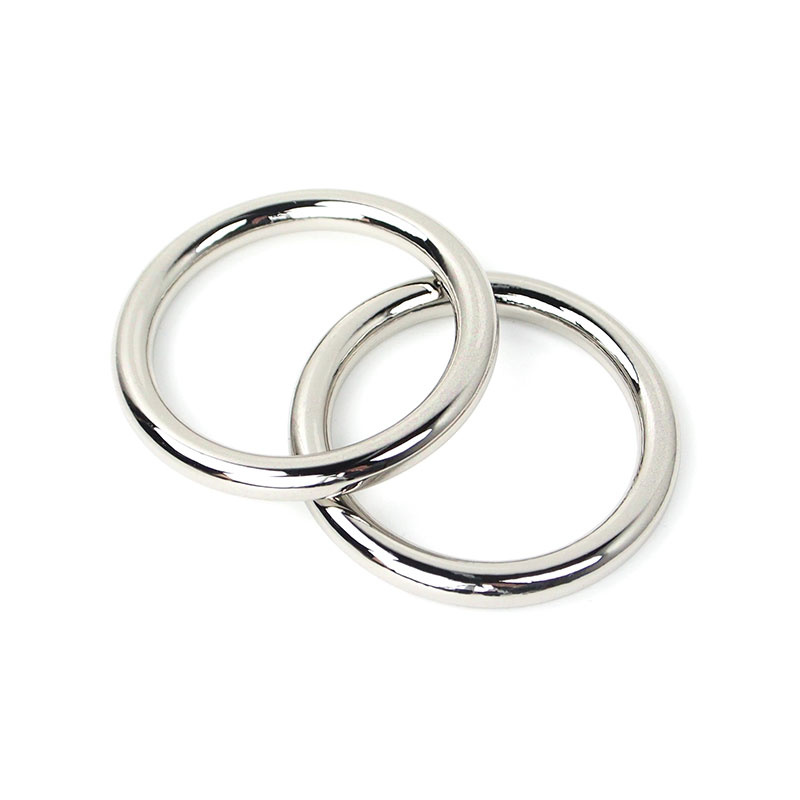
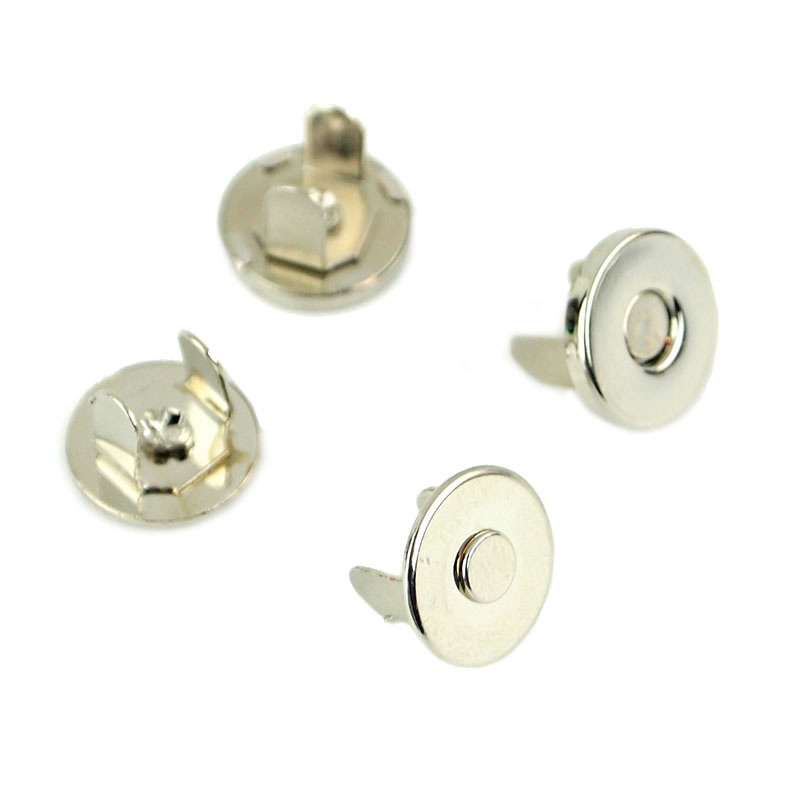
hey everyone it's Misty and sometimes you just need a quick and easy bag pattern and I have one for you today I can't wait to show you how to make it every once in a while you just need a super simple bag pattern and I have one for you today this is the easy everyday sling bag super simple to make and I want you to remember as I show you this technique that you can do this with any size Square it's it's all based on squares and so to make this let me show you the supplies you're going to need first up I chose a half yard of each of our Fabrics this is the outside and this is my lining both of these prints are from Flowerland by Melody Miller for Ruby star Society they're just really bold and fun you're also going to need some fusible fleece about a half a yard so I have that here then if you're going to make your own handle you're going to need these inch and a half half rings you'll need four total and that's what comes in this pack and then you can add an optional snap closure there's also these great leather handles that are available from makako it just adds a really fun detail if you're interested in that so let's get started and I'll show you how to make it okay to start off with you are going to take both of your prints and we are going to cut a 13inch strip by the width of fabric and so that's what I've done here and so now what I like to do because we need three squares of each of our Fabrics to make this bag and so I like to just kind of eyeball this and fold it in thirds this does have a really wide Salvage so you just want to make sure when you're trimming this later that you're not going to cut into that so I like to make sure I can see that side and so I just fold it just like so and make sure my edges are lined up and and obviously you could just cut one at a time but I just found this a great way to save some time and stack them up just like that and then we'll align it on our mat and then I am looking for 13 in so I'll start by trimming off this side and then coming over 13 in which will be right here and trimming this off all right so this is our waist so we can just throw that away and now we have three equal squares for the outside of our bag next up we're going to take that fusible fleece and we are going to cut a strip of that that is a/2 in smaller than your square and so since this was 13 I've cut these at 12 and 1/2 half and so now we're going to take the bumpy side of the fusible fleece and we're going to fuse this to the wrong side of each of our squares so let's go over to the iron and do that so I like to make sure my square is nice and flat at first Sometimes you have some wrinkles in there from when it came off the bolt so I'll just give this a good press and then I'll put the bumpy side down down I like to just kind of eyeball it it does kind of naturally stick to that fabric and then I flip it over and press it from the fabric side it doesn't have to be exact we just want to make sure that the majority of that fleece is not going to be in our seam CU we don't want all that bulk in the seam so I will go ahead and do the same thing to the other two squares and I'll meet you back here all right so now I have fused that fusible fleece to the wrong side of each of my outside squares I have those ready to go and at this point you could do some quilting details if you wanted to I think this would look really cute with some cross-hatch quilting um so this would be the step that you would do that I just made the bag without adding any quilting but I just wanted you to realize that it would be a fun detail and so now we are going to put these two to begin with right sides together just like so and we are going to sew a quarter inch seam on these two corners that come together so I'm going to go ahead and take this to the machine and I did back stitch at the start and sew off and then sew the other way and back stitch just so we had some good strength there in our seams and I am just using a/ quar inch seam allowance so back stitch just take your time make sure everything's staying lined up all right and then we will pivot and go down this other side Okay so we've sewn those two seams now you're going to open it up and you have like a hat shape it's just a triangle and you probably think oh no what have I done this is exactly right this is how you want it to look and so now we're going to fold this out this is what I found to be the easiest because we need to line up on one of these sides it doesn't matter which just one of the you know opposite sides that you've already sewn and we're going to line up our other Square just like this so that again we have right sides together and so when you get to this middle here it's actually going to overlap that first scene by a quarter inch which is what you're wanting and then it's going to meet up with this point and come all the way down and overlap the seam on this side so let's go ahead and sew with that quarter inch on both of those sides just want to really take your time make sure it's all lined up and that you don't have any of the bulk from your first Square underneath where you're stitching so I've taken a few stitches now we're good to go all right now we can line up this opposite side and so straight down again just taking time to adjust make sure everything is lined up all right and so now when we flip this out we have more of our bag shape let me turn that see it's starting to look more like what we're wanting and so now we can set this aside for just a moment and we can move on to our lining so our lining squares are cut the exact same size as our outside um so 13 in I have all three of these ready to go and they go together almost exactly the same way the only difference is we're going to leave about a 6 to 8 in opening so that we can turn the bag right sides out in the end so let's go ahead and start by sewing two together just like we did before and then we'll come back and we'll add that third one and on that one I'll leave the opening okay and so now we can turn this so we can see the right sides of our lining and I'm going to line up this corner just like we did before I'm going to use a few Clips or pins this time just to remind myself to leave that opening so on one side here I'm just going to place a couple of Clips again remember this is going to intersect that other seam that's exactly what you want and we just want to have about about that much space that we can turn this right sides out so I'm going to go ahead and start at this other Corner make sure that's lined up and we'll sew all the way down and come to this first clip back stitch leave this opening and finish off the other Edge there we go we're going to skip down to here move this clip out of the way back stitch Stitch and finish off the rest of this Square all right and so now we have that lining ready to go again just leaving that opening so that we can flip this out at the end so you could technically slide this inside of the lining and Stitch all the way around the top because of the fusible fleece I put on here I find it easier to to actually reverse that so I'm going to turn this one inside out and we're going to turn the lining right sides out and I'm going to slide this so that my Corners match up inside the bag and then we are going to clip our Center joint they should line up exactly on both sides and then our two peaks here at the top will match up and the same thing on this other side there we go and so now we are going to take a/ qu inch seam all the way around the top of this bag and then we will turn it right sides out there at the end so let's take this to the machine and do that move my bowl over here so I can put all of these away as I go I'm just I always like to start at one of the one of the points and so we will back stitch of course and so all the way down just moving that pin out of the way as I get close to this Center seam and make sure everything staying as lined up as possible and then I'm going to stop here and show you what I'm looking for under the needle cuz I'm afraid you might not be able to see it but right here you can see where my two threads cross from when I sewed this lining together and so as I'm coming and approaching that I'm stopping right at that point because that's where my quarter inch seam is and I know if I stop there then all of this is going to match up and then from that point I can you know back stitch tack it there even just keep my needle down and pivot to continue all the way down and so that's exactly what I'm going to do as I continue and I'll do the same thing on the other side so again I'm putting my needle right in where those seams cross and then we're just going to sew straight down this side all right just taking my time to adjust those layers of fabric again looking for where those seams cross now I'm just going to leave my needle down and then I can pivot this under the machine and sew up this other side all right there we go so one quick thing before we turn this right sides out I do like to use my scissors and just trim off some of the bulk just that's going to help everything lay really nice so we're just going to shave down a little bit at these points just making sure that we have plenty of seam there still just getting rid of some extra fabric and then I do like to take one tiny snip on this inside curve and then I kind of shave this fabric back as well just a tiny bit goes a long way there we go and the same thing on this other side there we go and then I'll go ahead and trim off a little bit on these bottom corners as well we just want want everything to lay really nice just make sure you're not getting too close to those seams all right there we go so now we can reach inside here and we're looking for that opening that we left and we can turn our bag right sides out by pulling it through that just be gentle we did back stitch so it should be okay for you to pull this all the way through there we go starting to take shape so I like to get in here with my finger and just push out all of these Corners before I push the lining back down inside just make sure everything's laying the way that I want because if you needed to you know make any adjustments or change your seams you would want to do that obviously before you close up your lining so I think that's looking really good and so now we can fold our lining inside and we're going to take this over to the uh ironing board and we're just going to roll this so that the edge lays inside the lining fabric is inside and then we'll come back and we'll top Stitch this and then close up our lining and so we're just going to press this really good so it lays nice first all right so we have that all pressed in place and now we can just come back about an eighth inch or whatever you prefer from this top Edge um to do that top stitching to just kind of give this this beautiful finished Edge and so let's go ahead and do that with top stitching I don't like to start right at a corner I like to start kind of in between Queen I just find it to be easier and so I'm just going to use the width of this presser foot that I have on the machine as my guide and lengthen that Stitch length just a little bit go ahead and back stitch once and then we will go all the way around the top of this bag all right I'm going to keep my needle down at the corner and just [Music] pivot [Music] [Laughter] all right we have completed all of the top stitching around our bag it just gives it a nice finished Edge and so now we can go back and close up our opening and so I like to you have two options here so you could do a like a blind stitch by hand and then if you do that this bag is fully reversible and so that's kind of a fun option if you want to just you know Stitch this closed but I'm going to go ahead and close it on the machine just for time and so we're just going to I'm actually going to take this to the ironing board really quick cuz it's easier if you just allow that natural seam allowance that's created from those other seams to just roll under so we'll just give that a little press so that it lays nice and flat and then I can just sew from here to here with a very small Stitch to close that up so I do need to make sure I turn my Stitch length back down because I had lengthened it for that top stitching so I'm just going to sew close to that edge here we go now that is all closed up and we can just shove that back inside the bag and so now let's talk about the handle cuz remember I told you I would show you how to make a fabric version as well as this great leather version Let me just show you how this one works it's really cool because the fabric version is going to work much the same way and so we it has these two rings and you're just going to slip your fabric through both of the Rings and then it's going to go between the first and the second ring and it kind of just creates this little I don't even know what you call that but it's very secure in there which is super cool and then same thing on the other side through both of the Rings and it flips back over to go inside the other loop and then it creates this great little handle I forgot to tell you if you wanted to add that snap closure you would do it prior to putting your lining together it would go on your lining fabric I didn't put a snap closure CU I liked the idea of it being reversible and so that way I can you know use either side because both of these Fabrics are so cute so now let's show you how to make this same concept out of a fabric handle so remember we only cut 13 in off of our half yard cut of fabric so you've got some inches left there on the side and from that extra fabric we are going to cut the pieces for our handle and so I am using my lining fabric for this you'll have plenty of the outside you can choose maybe you even want your handle to be reversible um just play with it have fun and so I cut two rectangles that measure 14 in by 1 and 3/4 in so 1 and 3/4 by 14 and I have these ready to go here and then from our fusible fleece we're going to cut two pieces that are 1 in by 11 in so I have those ready to go and then we're going to flip these to the wrong side and we're just going to Center this up and if it helps to have this on a mat it should be about an inch and a half from each Edge and just slightly more than a/4 of an inch from each side and so we're going to just Center that on here and we're going to press this to the the wrong side of both of our rectangles so let's take this to the ironing board same idea I like to just Center it up and then flip it over and press it from the fabric side there's one and we'll do the same thing with this one all right these are ready to go now and so we're going to place these rectangles right sides together and I'm going to sew all the way around this outside edge leaving about I don't know 3 to 4 in open in the middle and so let's go ahead and do that you can put pins in there if you need to but I'm just going to remember so I'll start here okay all right we're going to back stitch and then go all the way to this corner you can sew off or pivot whatever you prefer I tend to just sew off all right we're coming back to that last side so remember to leave an opening and we will back stitch okay perfect so just like we got rid of some some bulk on our bag we're going to do some same the same thing here with this we're just going to trim off these little corners and shave this down just a bit so that this will turn nicely for us again a little bit goes a long way you don't want those seams to be too narrow all right and one more here there we go all right so now we can turn this right sides out it just takes a little bit of maneuvering if you have a chopstick or something sometimes that is helpful so I will go ahead and get this all flipped right sides out and I'll meet you back here okay all right so we have this all flipped right sides out and I've gone ahead and given it a press and turned our little edges under and so now we're going to top Stitch just like we did on the top of our bag with about an e/ inch away all the way around and that's going to catch this opening here and enclose our whole strap so let's go ahead and take this to the machine you could lengthen your Stitch length here if you wanted because it's a handle I'm keeping mine short I just want it to be really sturdy it's starting to shift on me so I'm just going to realign those sides and then needle down and pivot and continue all the way [Laughter] around all right so now we have all of our top stitching done all the way around our handle it's ready to go and so we're going to grab that package of 1 and 1/2 in rings and we are going to need two for each side side and we are just going to stack them up and because of how we did this we have we don't have that fusible fleece in the ends which makes this easier to Loop over our rings and so we're just going to Loop them over just like that and then right where we did our top stitching originally it should fold back about an inch and we will just top Stitch all the way across there on both sides so let's go ahead and do that and I found this gave me plenty of room to still get my presser foot in here and sew across and keep the the Rings out of the way just make sure it's all lined up there we go there's the first side pretty easy we'll flip this around and do the same thing on the other side I'm just looping that fabric through you can really feel where that fusible fleece stops and that tells you how far back to fold this and then we will sew straight across just remember to back stitch all righty there we go now our fabric handle is complete so just like I showed you on this leather one it works the exact same way so we can take this one off and slide this one on on so the fabric will just slip through and secure in those rings I just think it's a fun detail for this bag and really unique you don't see this kind of handle on a lot of things if you decide you want to make multiple sizes of this bag using different Siz squares you can use the same handle you don't even have to make another one because you can just slip this out so it serves multiple purposes which is super fun I think it's great to take to to the farmers market or grocery shopping or just you know load up your kids toys wherever you're headed it's a super versatile and fun bag and I hope you enjoyed it now I have a special treat if you're joining us from one big happy I'm going to show you how to line your knitted version of this bag all right if you are joining me from one big happy welcome I'm Misty it's so nice to meet you and I'm really glad you're here you should have a knitted bag that looks something like this that Jenny has walked you through for uh my viewers if you have not checked out Jenny fish's tutorials over at one big happy we will link you below and you can learn how to make a knitted version of your very own let me show you how to line this with fabric it just gives this bag a little bit more body and stability here's one that I've added the lining to and I think it's super fun so let's go ahead and get started to begin with you're going to want to pick a fabric and I chose this line it's called thick and bramble from Figo Fabrics it's just this beautiful floral that matches these yarn colors perfectly you're going to grab a half yard of that and you're also going to grab a half yard of fusible fleece and so this is fusible fleece it looks like normal craft fleece but the back side has an adhesive like bumps on it which is really great and so from your yardage of fabric you are going to cut three 12in squares and that's the size that's going to match up to Jenny's pattern and so it it's going to look just like this I'm going to go ahead and press this with the iron so it lays nice and flat and then my fusible fleece is going to be cut a half inch smaller than my fabric so that was 12 in square this is 11 and 1/2 and that bumpy side is going to go to the wrong side of my Fabric and so I'm just going to kind of make sure that this is centered in here should look some something like this you just have about a/4 in all the way around that's what you're looking for and then now we can carefully flip this over and press it from the fabric side and that heat of the Iron Will activate the glue of the fusible fleece there we go and so your squares will look like this you'll have three of them and just like you assembled your knitted bag and just like I taught earlier in this video you're going to sew those three squares together and it's going to look something like that so if you need a Refresh on how to do that on a sewing machine you can go back and watch from the beginning but I'm going to show you now how to add this facing so that we can line the inside of the knitted bag so our two 1 and 1/2 in strips that we have here we are going to go ahead and we're going to place those right sides together like this so I'm going to make sure that the Salvage is out of the way cuz we don't want to catch that in the seam and then you can use a straight edge any ruler and I'm going to lay corner to corner where those the fabric intersects and we're going to just use a pen and draw a line just like so and we're going to sew right on that line so if you need to put a pin or something in here to hold that fabric together you can but I'm just going to pinch it really good and take this to the machine and and then we're going to sew right on that drawn line remembering to back stitch at the start and the stop there we go so from here you can use your scissors or a rotary cutter if you have one and we will just trim off our extra fabric just like so and then we will press this this back so we have one continuous strip of fabric so let's go ahead and just press this little seam it's going to look just like that and so now I'm going to go ahead and turn this right sides out just to make it a little bit easier for me so we're going to push that in like that and then starting along one of these straight edges we're going to leave a good tail on our fabric of about five or 6 in and then I'm going to start about right here and so with a/ qu inch seam on the machine and I will pivot at the corner and go all the way around so let me walk you through this so right where my thumb is I'm just going to go ahead and place this under the machine so there is a line here that indicates the/ quarter inch seam that's what I'm following and so I'll go ahead and take a few stitches and then back stitch and then we are going to come to the corner all right and then now we can fold this back so it creates this kind of 45° corner and then we're going to line the fabric up to go back the other direction so it's just meeting up with our lining Fabric and so then we can place this back under the machine back stitch and we'll sew down just want to make sure that you don't get any of those extra layers in your way as you're going and as you get to this bottom corner I just get as close as I can to the center and then I'm just going to pull this other Corner straight just like so and keep my strip lined up with that and we're going to continue all the way around all right let me show you how to do this corner one more time so as we're approaching I'm just eyeballing and when I get the needle about a/4 inch away from this edge of the fabric here I'm going to stop and I'm going to back Stitch and then I can turn this and fold my fabric back it creates this 45° angle and then I'll fold it so it lines up this corner and this corner of the fabric and so then we can just turn and start sewing down the other side and then we'll finish this out and I'll meet you back here when it's it's done okay I'm coming back to that first side where I've left this fabric tail remember and so I need to leave about 6 in of space here for me to finish off these ends and so I'm just going to come a couple more inches here and back stitch and so now you can see I've got this little bit of a tail here and this tail here and so how this is going to work this is kind of the trickiest part so I will try to make sure you can see it's not hard you just need a little guidance as you go and so I'm going to go ahead and trim off this Salvage end just a little bit here and just nice and straight and then I'm going to lay the width of that strip on top of this one and then I'm going to fold this other strip across and I'm going to trim this straight with this edge of the the in between strip so just to reiterate I've cut this one straight I'm laying the width of the strip here aligned with that edge folding this one over the top and we're going to trim this one off straight there we go all right so now we can remove this and so what this does it allows us to have just enough overlap that I can turn this so that they're right sides together and just like we drew that 45 line to connect the strips initially we're going to do the same thing here and so we can take our ruler or straight edge and we're just going to lay this on here and sometimes this is an instance because you don't have a lot of extra fabric it just takes a little practice and patience and so we just want to make sure that the straight edge is lined up here with this corner and that they're not shifting and so if you need to put a pin in there or a clip I'm going to use a clip just to hold this outside edge and keep it from shifting and then I can come back here with my ruler and it just takes a little bit of maneuvering and we are going to line up our ruler from corner to corner just like so and we're going to draw a line and we are going to sew right on that line and that's going to connect our pieces together so now we can take this and honestly I find the clip to be in the way once I start stitching and so I'm just going to move that out of the way we're just going to keep that lined up and pinched and the rest of it out of the way we're going to put our presser foot down and our needle right in line with that line that we drew just make sure it's all straight and back stitch and then sew all the way across there we go and so now how you know if you got it right is when you pull this over here it will lay straight just like that and so that's what we're looking for so now we can come back and trim off this excess and so we will clip that off just like so and now we can come back to the machine and finish off sewing across the top here so let's go ahead and do that all right so now our facing is attached all the way around the top of our lining section and so now we're just going to take this to the iron and we are going to fold this back all the way around and press it so that it lays nicely when you get to this bottom Point here you might need to take a few Little Snips and so let me show you what I did we are just going to snip right up from that bottom point and then come up another I don't know inch or so and just cut a few little notches and that's going to help all of this roll under nicely so we'll do the same thing on the other side just make sure you're not getting right up next to the seam because you want to make sure you have some fabric to still flip but this will allow it to kind of overlap and fold around that inside corner all right there we go and so now I can just roll my fabric back because I want that seam to be exactly on top and so I always start with my fingers and then I can hit this with the iron and go all the way around when you get to the corner like this it will fold in and then over and it will look nice and neat on that little corner because of how we we attach the the fabric to it and so let's go ahead and press this and I'll meet you back here when it's all done all right so our facing is attached you can see how I have pressed that down right along that seam line and I went ahead and turned it wrong sides out because that's how it's going to go into our knitted bag and so this is ready to go and so now we can take our knitted bag and we can slide this inside and we'll start by matching up these bottom corners and so I like to just slide my hand all all the way in there and grab that bottom corner and then come over to the opposite side and make sure that is all lined up and then as we straighten this out the bag has that natural stretch that is going to line up with our lining and one of the beautiful things about this knitted version is that stretch so we wanted to accom omate some of that in the lining which is why it's just a little bit bigger than your knitted bag and so I'm going to put some clips in here if you have pins that would totally work I'm just clipping together the lining and the knitted portion and I like to make sure whoops I just broke that clip I like to make sure that the knitting is hanging over just a little bit from the lining and the reason that I do that is Jenny's going to show you how to add that handle and the closure and so you need to be able to attach a few stitches to this edge here so you want to make sure that it's hanging off your lining and so we are going to just put a few pins in here or clips and just keep everything lined up as we go we'll make our way all the way around this bag and then I'll meet you back here to sew it down all right I have this all clipped in place our lining is ready to go and so you can kind of decide if you prefer to have your lining out or the knitted portion out I actually do like to have the lining out so I can see the edge of that fabric and make sure I'm catching it under the machine so that's why it's helpful to clip this all the way around because now we can flip it wrong sides out and I'm just going to follow I actually had no trouble sewing this on the machine and the thread just disappears into that yarn I think it's a really beautiful way to finish this off you could hand Stitch all of this in if you wanted but I recommend giving the sewing machine a try so I'm going to take off my table and set this out of the way just so I have a little bit more working room and then we can bring this over to the machine and again we want to make sure a little bit of that knitted bag is peeking through and we'll lift our presser foot and I like to just line my presser foot up right with the edge of this Fabric and because we're dealing with some bulk here you can lengthen your Stitch length a little bit and then we are just going to sew all the way around so back stitch to start and just follow with the Ed that fabric removing the clips as you go leave our needle down and pivot there we go and I'm just going to continue in this way all the way around the bag and I'll meet you back here when it's done all right we have sewn all the way around our bag our lining is now fully attached and we have this beautiful no seams finished bag and so now for my viewers you saw me show this great leather handle I want to show that it also works with this knitted bag so you can just fold this through your Loops it is a little bit more bulky than just the fabric but you can totally do it so we're just going to pinch that in there and make sure it slides and then do the same thing on the other side and pull that through just like so so fun I love that so for those of you at one big happy you can bounce back over with Jenny and she'll show you how to make that knitted closure and the knitted version of the handle but I hope you guys enjoyed seeing both of these versions of this everyday sling bag hey everyone it's Misty thanks for watching at home if you aren't already a part of our Missouri Star Family be sure to subscribe and hit the Bell if you want a notification every time we release a new video I'll see you next Monday on the newest episode of at home

More Fabric by Yard tutorials

See all