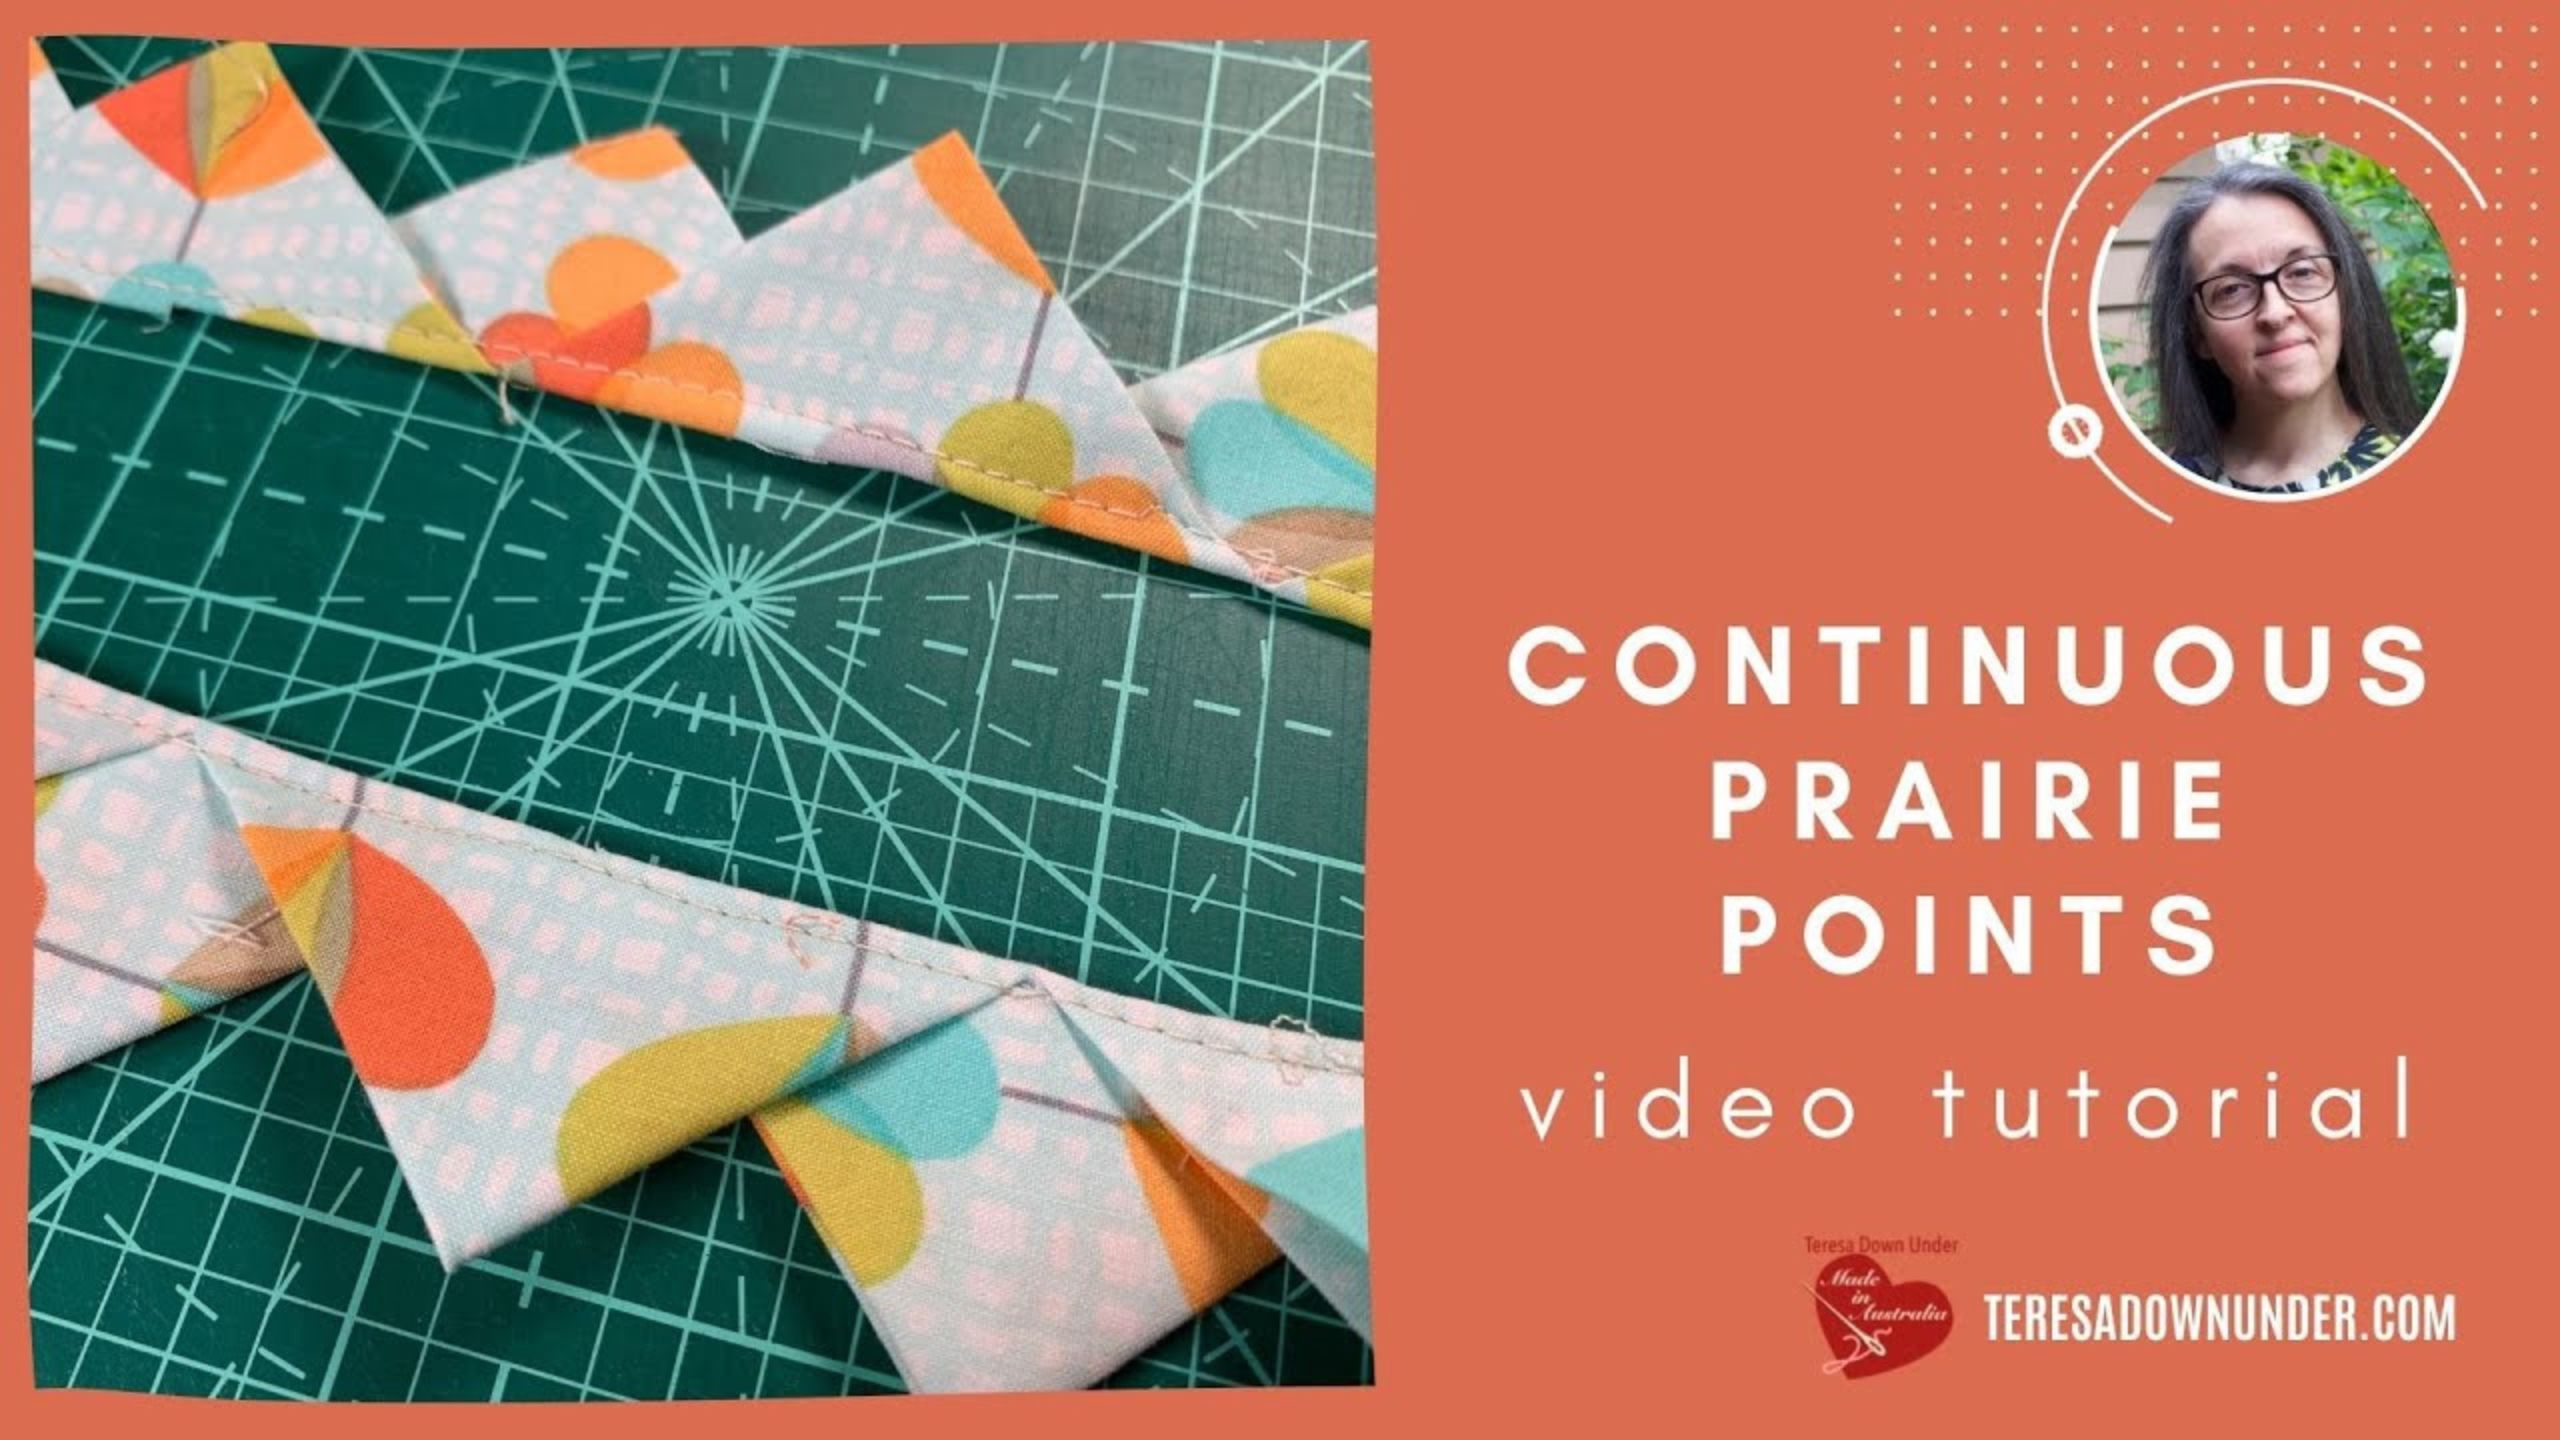
How to make continuous prairie points with Teresa of Teresa Down Under
Are you looking for an alternative to traditional binding? Then check out this tutorial on Continuous Prairie Points with Teresa from Teresa Down Under and add a fresh edge to your quilts!

Instructor
Teresa Mairal Barreu
Teresa loves spending her spare time sewing and designing. She is the author of “Turnabout Patchwork. Simple quilts with a twist,” a book all about playing with blocks – making a block, slicing it up, and turning or repositioning the pieces to make a completely different block. She shares several new quilt block tutorials each week on her YouTube channel and blog.
Shop this tutorial

Common Questions
What is covered in How to make continuous prairie points with Teresa of Teresa Down Under?
Are you looking for an alternative to traditional binding? Then check out this tutorial on Continuous Prairie Points with Teresa from Teresa Down Under and add a fresh edge to your quilts!
How long is the tutorial video?
The tutorial video is 00:03:34.
Is a transcript available?
Yes. A written transcript is available on the tutorial page.
Video Transcript
To make continuous prairie points, you will need the following materials:
-Fabric for the prairie points
-Rotary cutter and cutting mat
-Sewing machine and thread
-Iron and ironing board
Here are the steps to make continuous prairie points:
Cut a strip of fabric to the desired width of the prairie points. The length of the strip will depend on the desired length of the finished prairie point border.
Fold the fabric strip in half lengthwise, with the right sides facing each other.
Sew a seam along the long edge of the fabric strip, leaving a 1/4 inch seam allowance.
Turn the fabric right side out and press it flat.
Cut the fabric strip into individual prairie points, making sure to cut through both layers of fabric.
Fold each prairie point in half, with the raw edges at the bottom and the folded edge at the top.
Arrange the prairie points in the desired order and orientation. Make sure the folded edges are all facing the same direction.
Pin the prairie points together, making sure the folded edges are lined up.
Sew the prairie points together along the folded edge, using a 1/4 inch seam allowance.
Continue adding prairie points until the desired length of the continuous strip is reached.
Once you have completed the continuous prairie point strip, you can use it to create a border or other decorative element on your quilt. Simply sew the strip onto the edge of the quilt, making sure the raw edges are aligned, and fold the prairie points up to create a textured and visually interesting border.