Skip to content

Free quilting video tutorials from Missouri Star

Quilting Tutorials
How to Make Half Square Triangles - Free Project Tutorial

How to Make Half Square Triangles - Free Project Tutorial

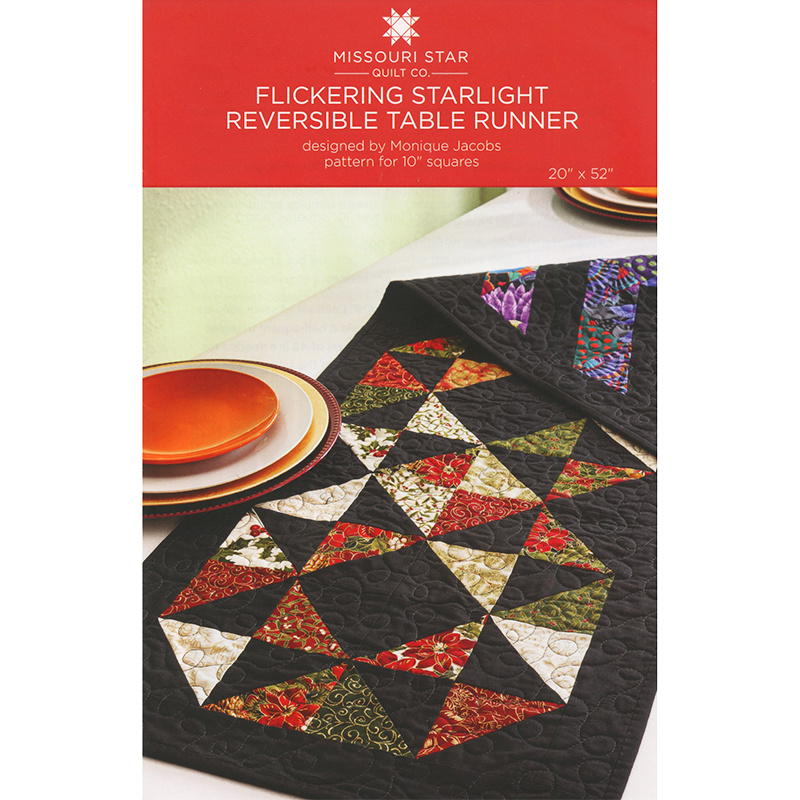
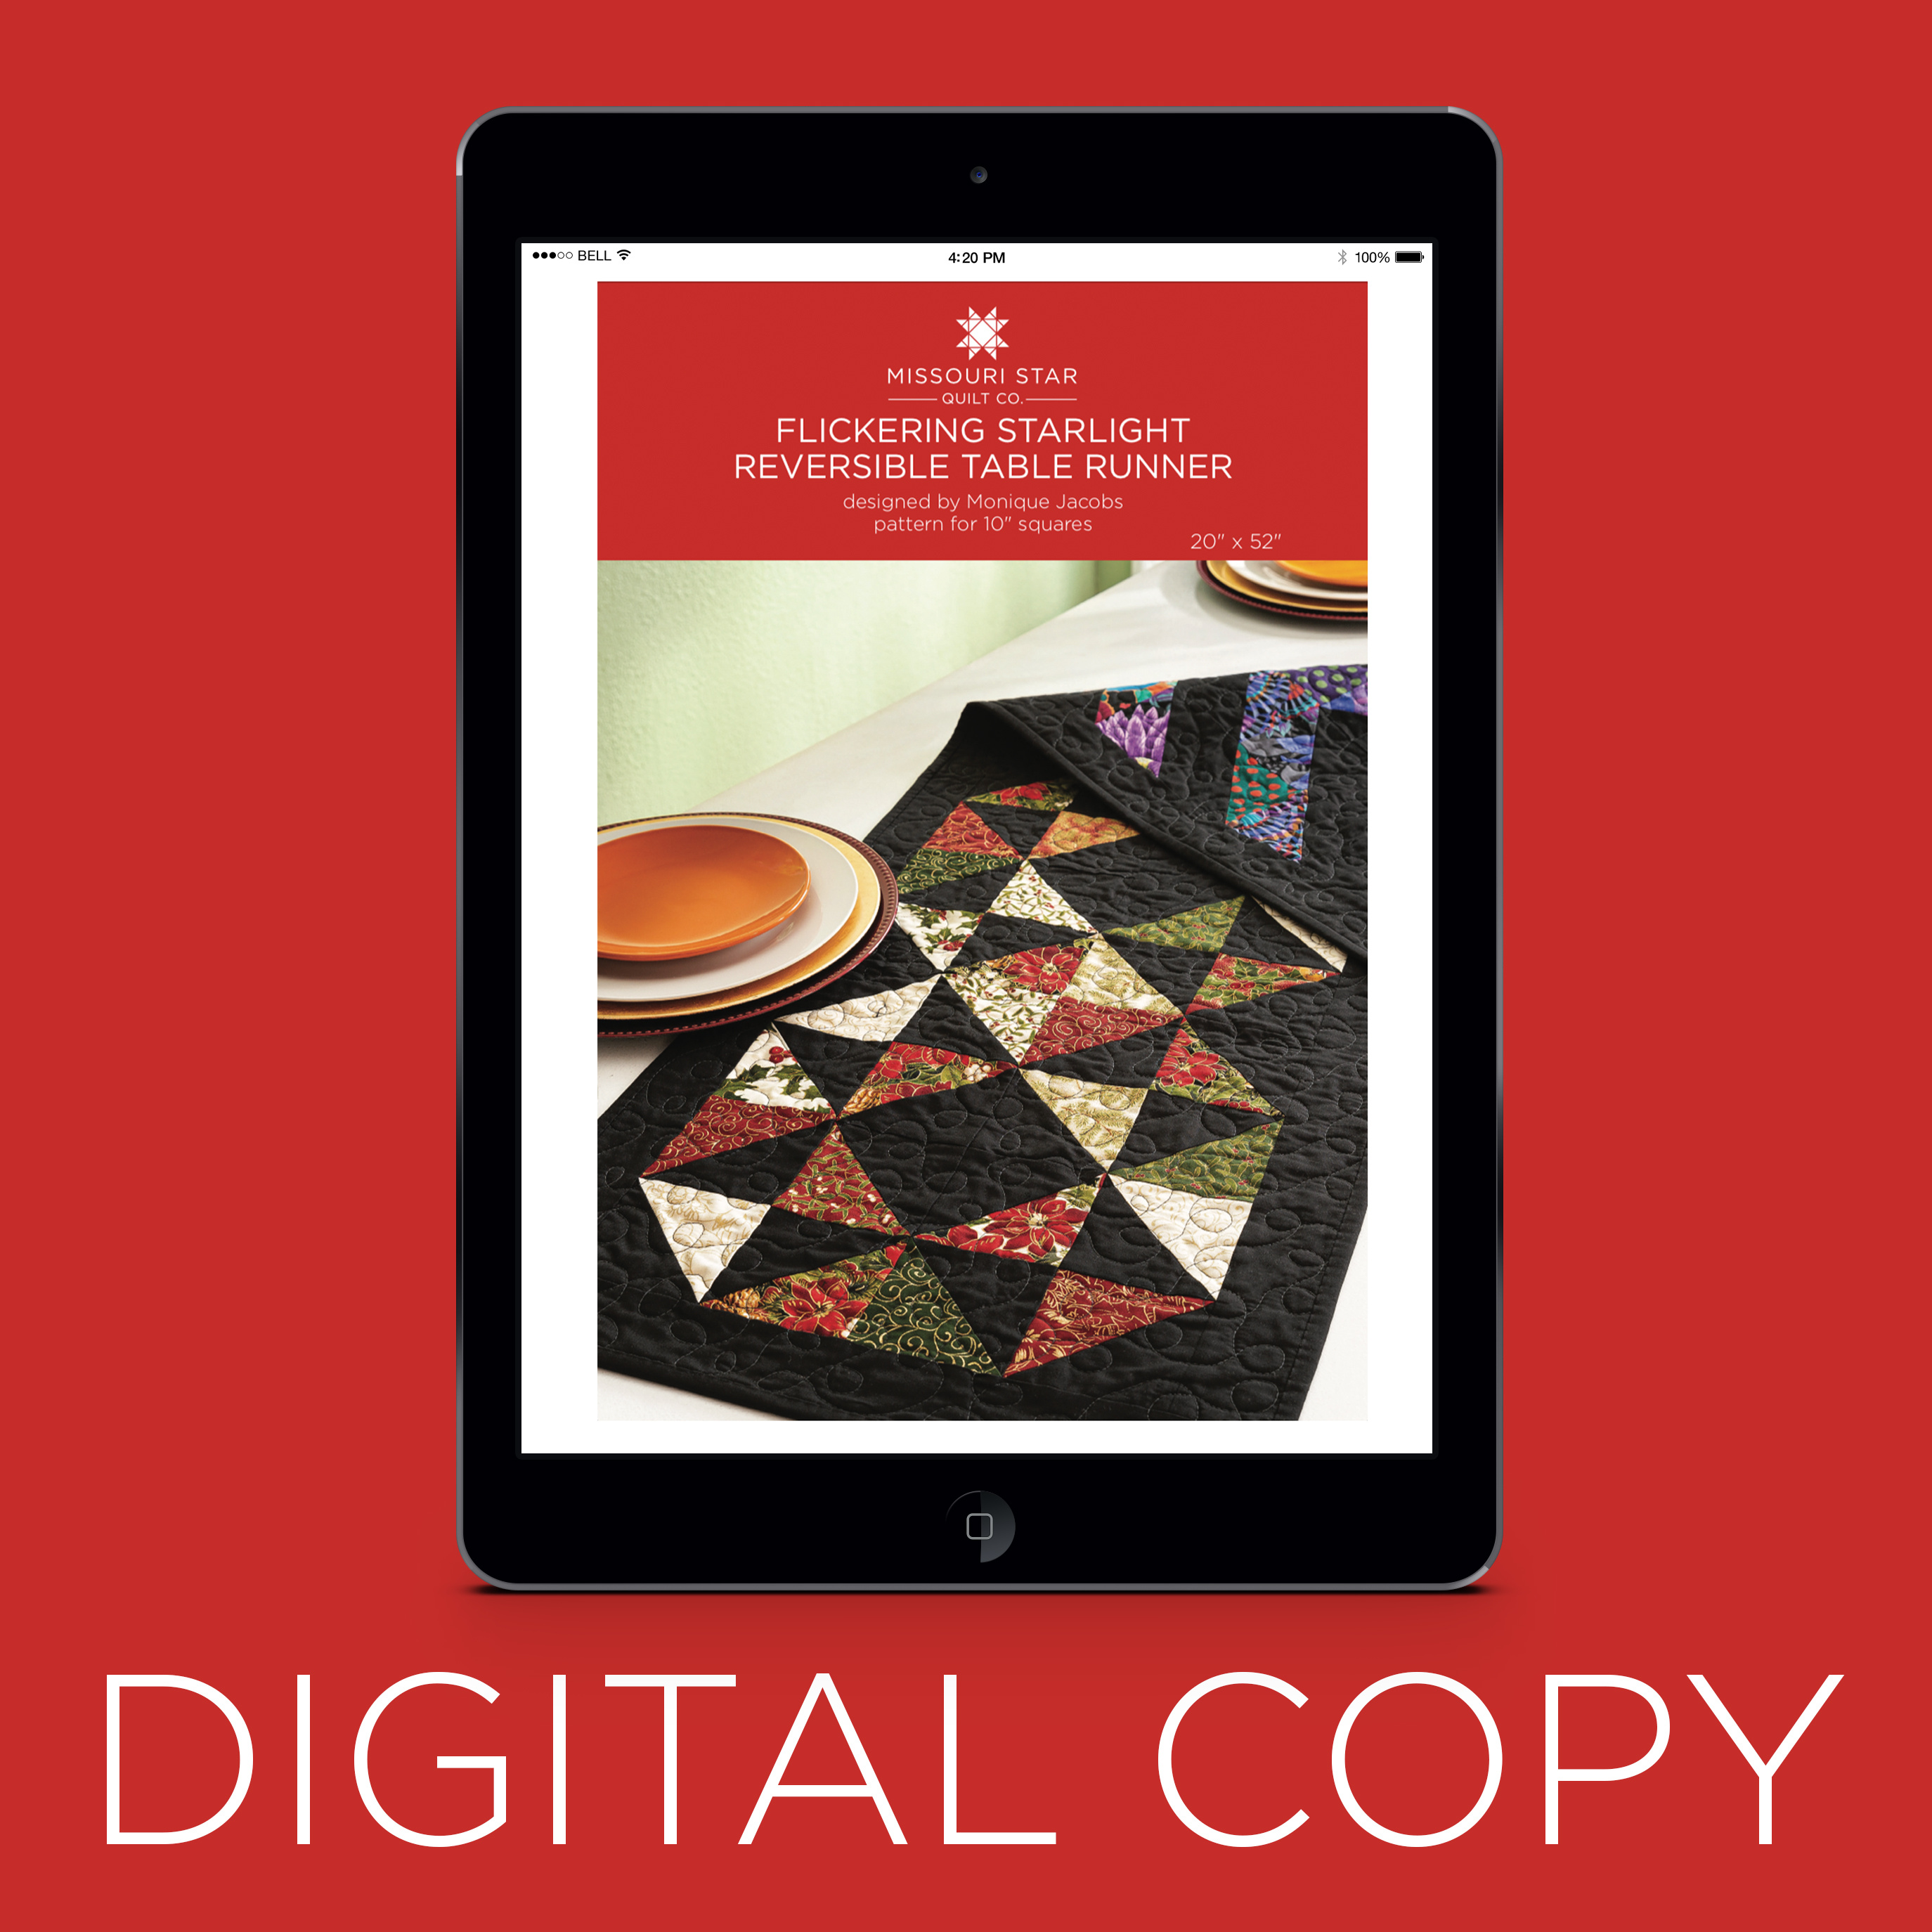
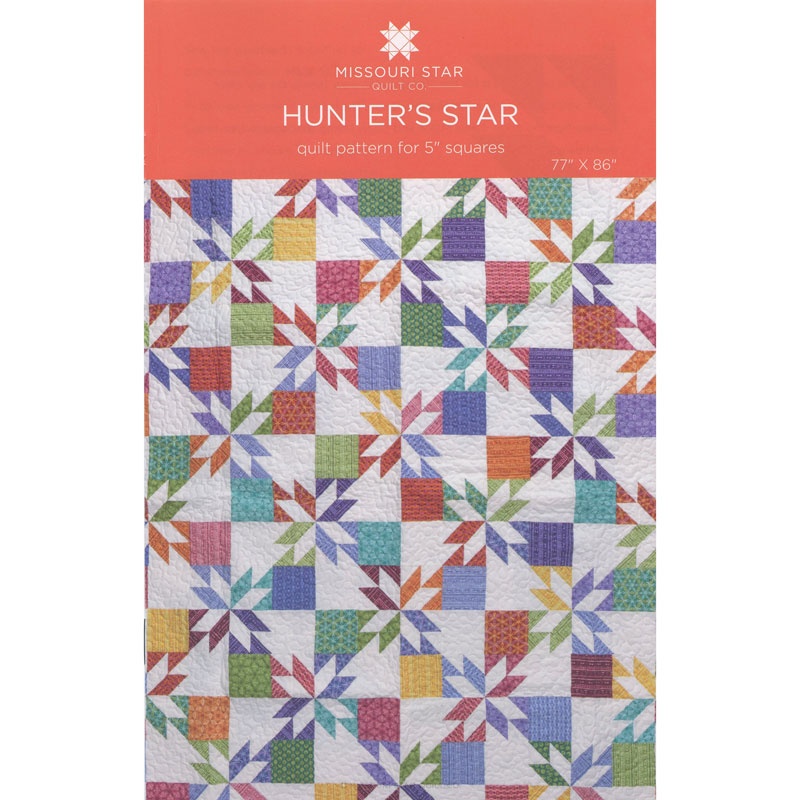
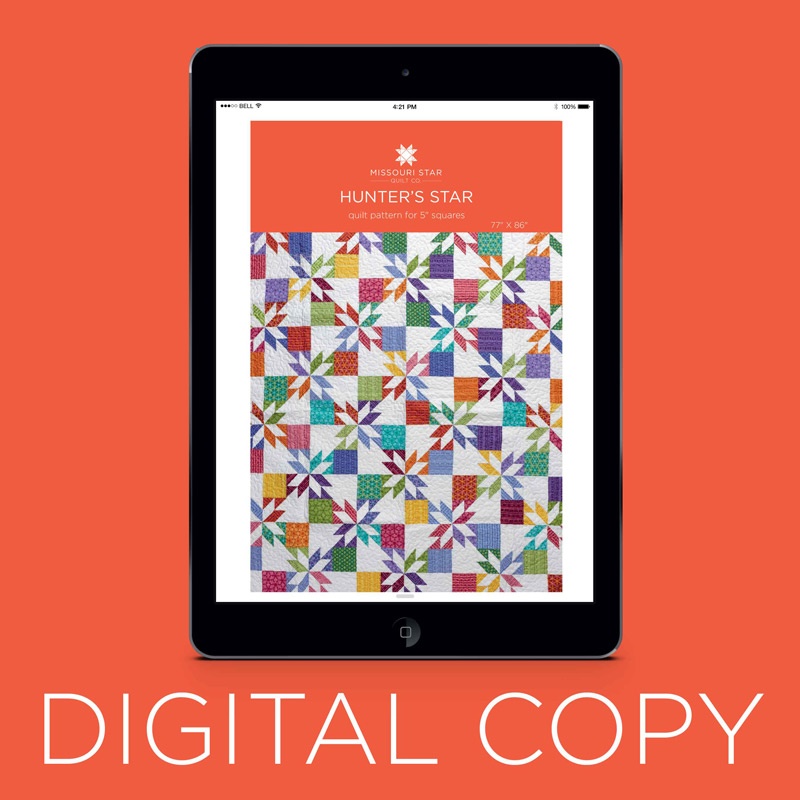
Let's get back to the basics! Join Liz for a bit of quilty education as she teaches the basics to cutting, making, and piecing half square triangles using the Flickering Starlight Reversible table runner and Hunter's Star quilt patterns as shining examples. Follow along to learn something new or to brush up on your skills.

Instructor

Liz Gubernatis

Liz Gubernatis is the Senior Manager of Education at Missouri Star Quilt Co. and loves teaching people how to quilt! She is a creative idea generator and champion. Colleagues, family, and friends know her for my creativity, can-do attitude, and common sense.

Common Questions

What is covered in How to Make Half Square Triangles - Free Project Tutorial?

Let's get back to the basics! Join Liz for a bit of quilty education as she teaches the basics to cutting, making, and piecing half square triangles using the Flickering Starlight Reversible table runner and Hunter's Star quilt patterns as shining examples. Follow along to lea...

How long is the tutorial video?

The tutorial video is 00:17:44.

Are supplies listed for this tutorial?

Yes. The tutorial page includes the supplies and materials connected to this project.

Video Transcript

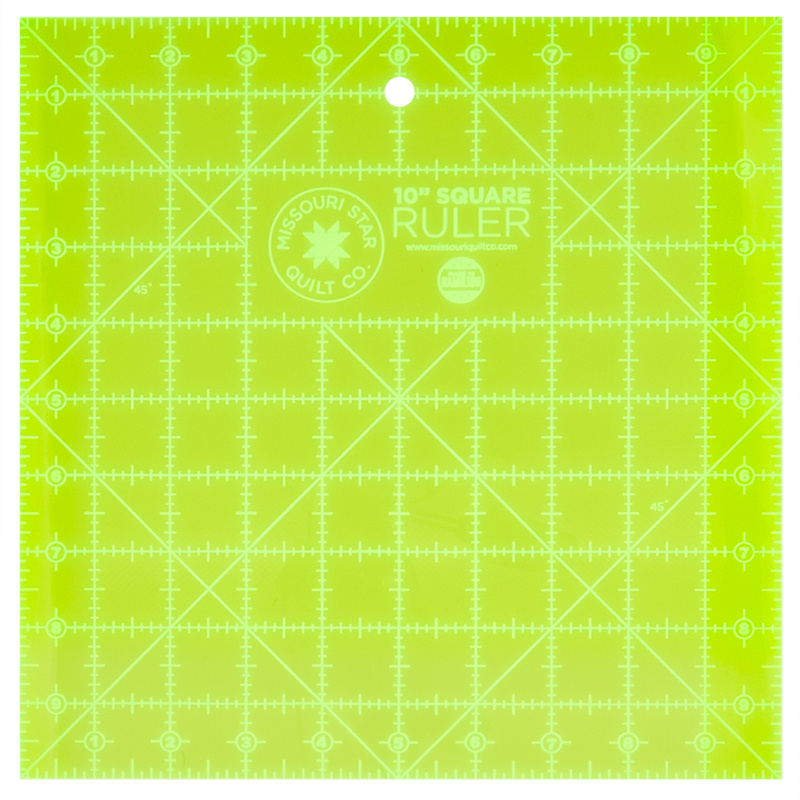
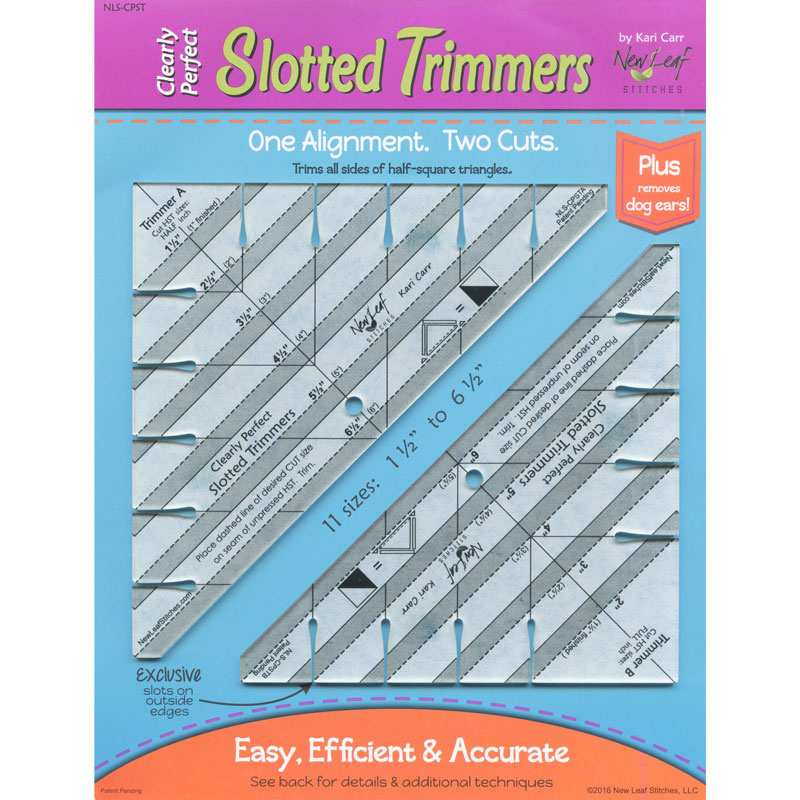
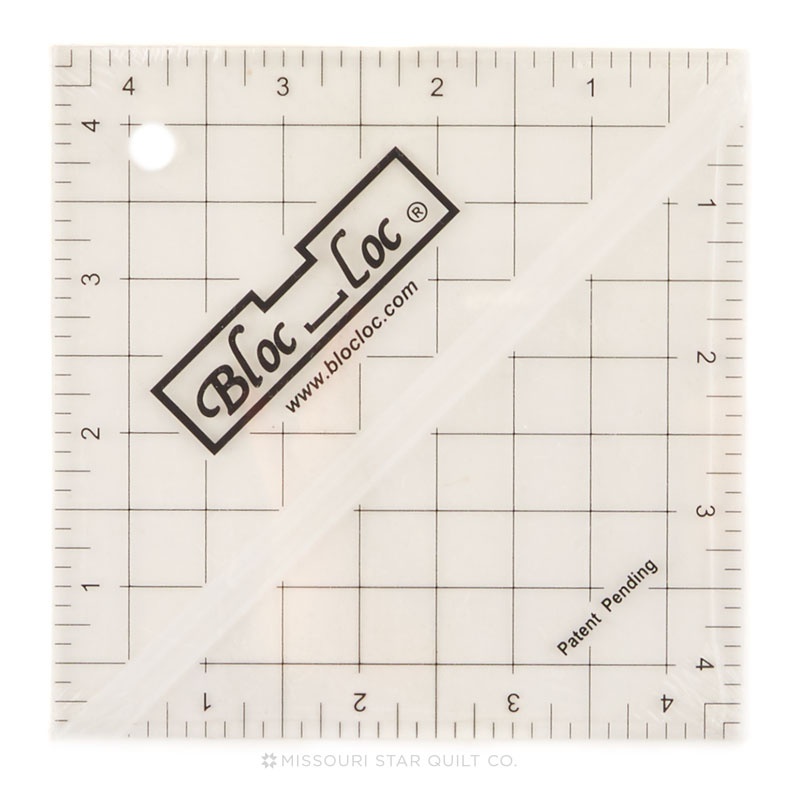
hi I'm Liz with the Missouri Star quote company and today I'm here to talk to you about half square triangle Basics so what does that mean what I want to show you today is why we use one at a time two at a time four at a time or eight at a time half Square triangles what you can lay that into which is tons and tons and tons of things but also how to trim them using our favorite tools so you may know that Jenny's favorite tool is the clearly slotted trimmer Natalie's favorite tool is the block lock and I like use just a regular square ruler but I'll also show you how to square using just our basic 5 in X 15in ruler cuz if you have this baby you can do everything we make so let me get started okay so many many times we use four at a time or eight at a time half Square triangles and the easy8 method is one of our favorites and that has from a layer Kake created all the half Square triangles you see in front of me now but we also do two at a time which is when you're going to make one line across cross your fabric diagonally from corner to corner so on both sides of that line and cut it in half you'll have two half Square triangles why we would do one at a time is sometimes we have a snowballed Corner which is when we put a small square on the top corner or bottom corner and we stitch corner to corner and then trim away the excess many times when we do that there's a big enough triangle from the excess to have bonus half Square triangles and those can be collected for a future project someday well today is the future so here's how we can use all those bonus half Square triangles in a future project so the first thing you need to do with all of your half Square triangles is decide what one size you're going to use and then trim them all to match we know that trimming our triangles makes everything fit together beautifully and makes all the projects much easier and more fun to sew so even though it's a little bit of a process it's totally worth it and future you will so think past you so since it's the future let's get started there there's several ways to do this I'm going to start with the clearly perfect slotted trimmer method so in this one I'm going to find the Stitch line on this and I'm going to align their Stitch line with my Stitch line so you can see their Stitch line of the 4 and 1/2 line that up on my thread and I'm going to trim on those two sides and then I'm going to take advantage of the slotted trimmer part to cut away those two little bitty corners and now when I open this up and press it I don't have anything extra to cut off so this presses open neatly to a 4 and 1/2 inch square and I can add it to my pile so now I'll show you the block lock the block lock is going to have you press your block open to begin with and then you're going to put the words for Block lock on your background you can see here I have pressed to the dark side even though it's not that dark I have pressed away from the background so I'm going to lock that up on the Block on the seam and it just snugs right there to the seam I've also pressed one to the light side so you can see that what happens there is that now this is the seam I'm locking up against so even though we always say it's to your background if you have pressed to your background it will actually be the other way around so it's going to Snug up against that seam and lock in place on the Block and you're going to slide it so that all four corners are on the Block and it automatically hugs your diagonal seam so then you're just going to trim and if you have a rotating mat this is great if not you can rotate this and because it just slides and stays in place you just make sure it's lined up on your corner and I'm going to show you the pink Edge you barely see the pink Edge is inside this is going to caught in the quarter in seam so I'm just not going to worry about it a lot of times we talk about trimming down and we can't really trim up if the block is actually too small but if it's within this quarter inch and you can see this little block here is marks that quarter inch then my/ quinch seam will cover that up and you'll never know no big deal so I will just trim off this little bit here and this little bit here and now that one is a nice four and a half inch square and it can go in my pile all right two more to go okay so next we'll do a square ruler so you can use a square ruler of any size I'm going to go ahead and use the 6 in but you can use up to the largest size you have and all you need to make sure it has is this 45° line so we're going to line up our 45° line on our seam and the first thing we're going to do is make sure that the 4 and 1/2 in is inside so we're trimming away and it is so we're going to cut the first two sides and I like to make these really tight to the corner so I have plenty of room to cut later then I'm going to spin my block around and this time I'm going to use the 4 and 1/2 which I can turn so you can see 4 and 1/2 and 4 and 1/2 and I will line that up so you see my 4 and a half line is there and I will trim off the extra here and trim off the extra here and now this one 4 and2 in square goes in my pile and the last I'm going to show you is how to use our 5 in X 15inch ruler this is our very favorite ruler and like I said if you have this ruler you can do just about everything we make so again I'm going to use the 45° line which is right here and I'm going to count back from the 15 to get 4 and a/2 so 1 2 3 4 and a half is actually going to be this between 10 and A2 or it's the 10 and a half between 10 and 11 so I'm going to be able to turn this line line up my diagonal line on my seam and then this is our four and a half so I'm going to pull this down so you can see my 45° line is on my seam and you can see just a little bit peeking out here but the four and a half is inside on both Corners here so turn that now we're going to spin it around and now we'll use that 10 and 1/2 line and the half inch line here and we'll line that all up again our 45° line is going right down the diagonal and everything's nice and square trim and trim CPS that happens sometimes you're just going to take that off or you can take it off with a pair of snips and that is how you get all of your half Square triangles trimmed so in our case I've trimmed them all down to 4 and A2 now let me show you how to lay them out into several different fun projects so one of the first projects I'm going to show you and we've linked all of these fun projects in the description box below is this one which is called the flickering Starlight reversible table runner so we've got all half Square triangles on this side and all half Square triangles on this side so you can make this reversible or you can get two different projects and all we have to do is lay out our half Square triangles so let's start with this side all that we have to do is decide if we want to have all our solids together or mix and match and we're going to lay out these to make this Arrow shape and with the next row we add one more to finish the arrow out that's how simple that is we will have additional blocks that start the next row so that one will get repeated here to create our stripe and if we want a different color for that just go to a different pile and we can start laying out that particular Arrow so you see how that can continue the file so you see how that will continue as you create your stripes going across and then in your Center you're going to choose two to be your mini arrows in a secondary pattern and then you'll continue going the opposite direction so it's a very simple layout and you can play with this you can make it Scrappy or solid and we would love to see what you make so make sure you share with us using # msqc showand tell so we can see the fun projects that you're making now let me show you how to lay out the opposite side so on this side what you can see is we have a star inside an octagon so let me show you how to lay out that shape and then we make four to create the whole project so I'll pick these back up and let's use blue this time all right so our four corners are going to point in and then our star in this case is created by the background so in this case it's going to be white so I'm going to create my little star legs on the sides and I'm also a little bit angly challenged so I'm going to follow the pattern instructions star legs and one more pair of star legs nope there we go and then here in the center we create a square and a square by again pointing all of our color blocks outward so now we have the square and a square and the star legs and we can also start playing with this with different color placement so let's say I want my square and the square in the center to be a different color just go to a different set and let's say I want my outsides to be a third color for a little more contrast let's go ahead and use those that we trimmed up earlier voila so now out of all of your solids or your extra prints or your Scrappy projects you just need pairs or sets of four to create a whole new scheme and this one can lay next to a completely different layout and still create the beautiful pattern that is part of the flickering Starlight reversible table runner all it needs is half Square triangles as you can see this one's going to be slightly bigger than this one that's okay you can decide whether you still need a border make it nice big or if you want to leave the Border off you can decide if you want to make 16 of these long and make some gigantic huge project or something that's smaller maybe just one block and it's a table topper the sky is the limit once you know how to lay these out into projects you can make these your very own so we'd love to have you show us what you make using # msqc showand tell and tell us more about it in the comments below I have one more to show you and that's the hunter star behind me we could asked a lot of times what happens when I try to make a hunter star that is not all the different colors but is two colors or is in solids so let me lay out one Hunter star here for you and we'll see what that looks like okay so to make this Hunter star we've used much smaller blocks in the quilt that makes the larger quilt but let's say we're going to make one large Hunter star or maybe four total blocks let me show you show you what I mean if I'm just going to create this block twice and this block twice that will give me a project that is this big so let me show you what that's going to look like when I lay this out what we're going to do is have two pointing up and then create this little Diamond we're going to do this four times so I've picked four colors that I have this and I'm going to do the same thing all four times but then I'm going to turn it see how that works so I will lay this out the exact same way but I will turn it this way and I'll lay it out the exact same way so angly challenged follow the ones you've already made and now I need to turn this not once but twice so once and then twice and I have made that really interesting pin wheel block so by making the one block turning it once twice and three times we've created that movement and that spin and then what happens next is we have a four patch so we'll pick four well two two colors in this casee I'm going to do the lavender and this light teal and this is my second block all it is is putting my colors in the corner in a giant four patch and so if I make two of these and two of these I've got either a nice long table runner or put them in a square got a great baby quilt or if I just do one of these I've got a really fun table topper or pillow front so you can create all kinds of smaller projects just using your half Square triangles and laying them out you just have to do one block sometimes not even the whole quilt to get something that's really impactful and fun to make so you've seen how we've made one two three projects using the same set of half Square triangles it's really fun to mix match and play with these so I hope that you go to your stash of extra half Square triangles trim them up lay them out and show us what you've made using all of the things that you've learned today in our half Square triangles Basics thanks for joining us at the Missouri St Quil company we'll see you next time

More Layer Cake tutorials

See all