Skip to content

Free quilting video tutorials from Missouri Star

Quilting Tutorials
How to Make Linen Throw Pillows - Free Project Tutorial

How to Make Linen Throw Pillows - Free Project Tutorial

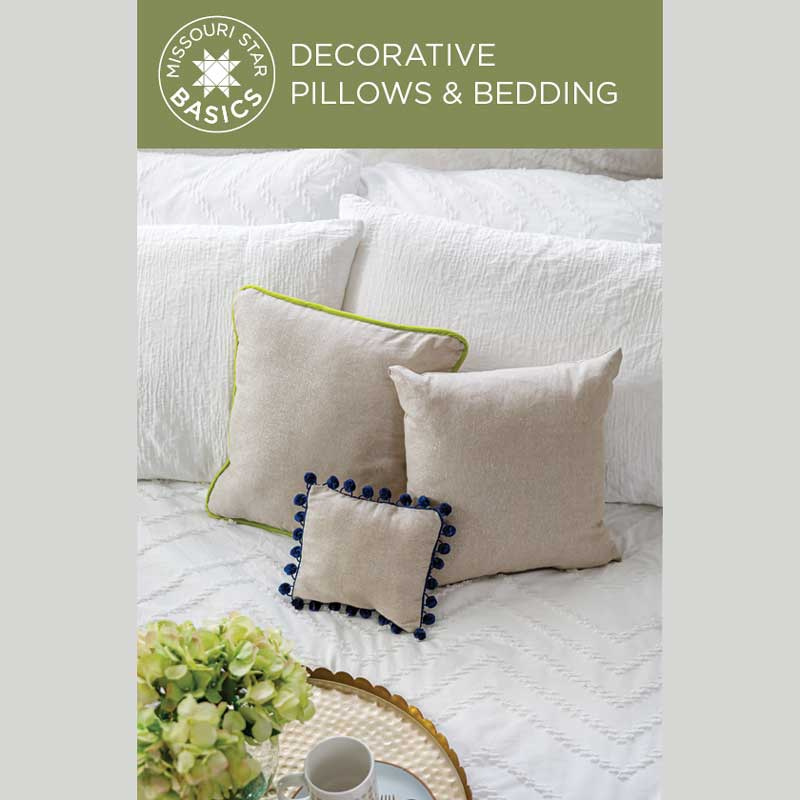
Let's make something pillow-tastic together! Join Liz as she tackles a a new project: a beautiful linen throw pillow with piping. She'll show you how to make it yourself using the Missouri Star Basics decorative pillow pattern and some linen fabrics. When finished, you'll have something to give your home the cute and cozy vibes!

Instructor

Liz Gubernatis

Liz Gubernatis is the Senior Manager of Education at Missouri Star Quilt Co. and loves teaching people how to quilt! She is a creative idea generator and champion. Colleagues, family, and friends know her for my creativity, can-do attitude, and common sense.

Common Questions

What is covered in How to Make Linen Throw Pillows - Free Project Tutorial?

Let's make something pillow-tastic together! Join Liz as she tackles a a new project: a beautiful linen throw pillow with piping. She'll show you how to make it yourself using the Missouri Star Basics decorative pillow pattern and some linen fabrics. When finished, you'll have...

How long is the tutorial video?

The tutorial video is 00:50:04.

Are supplies listed for this tutorial?

Yes. The tutorial page includes the supplies and materials connected to this project.

Video Transcript

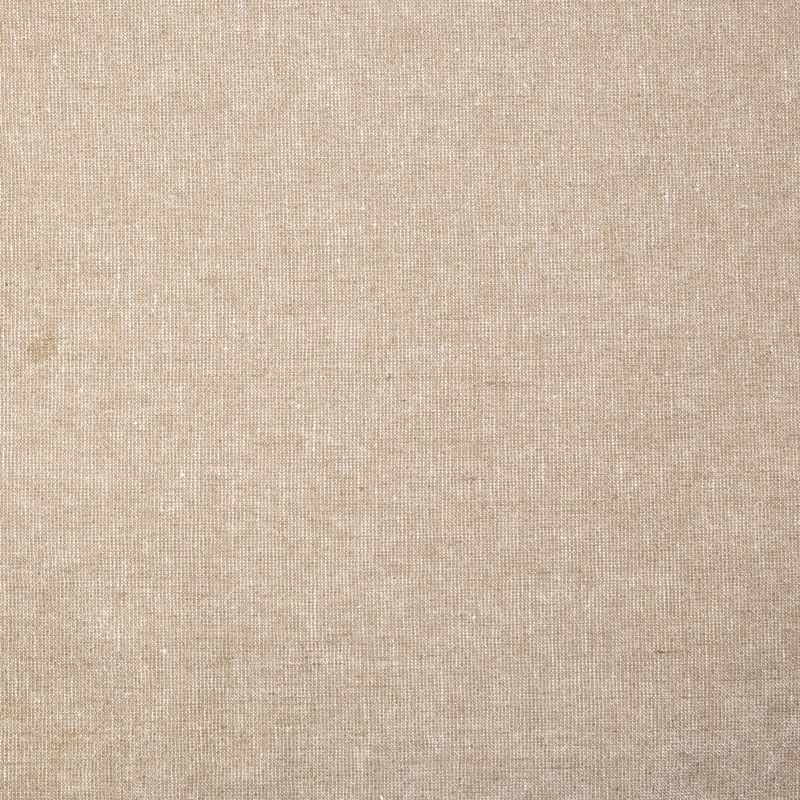
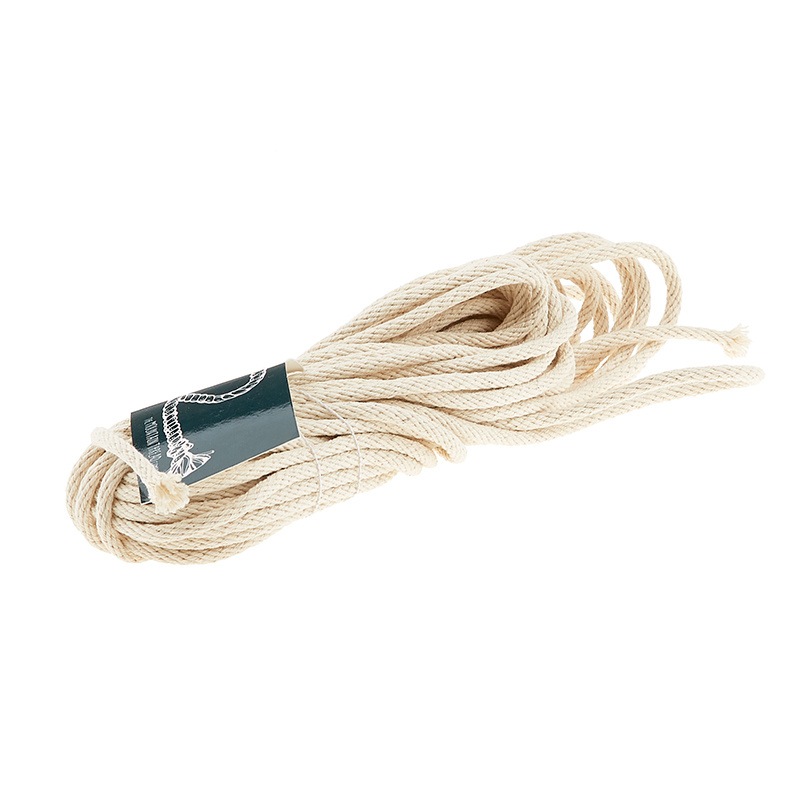
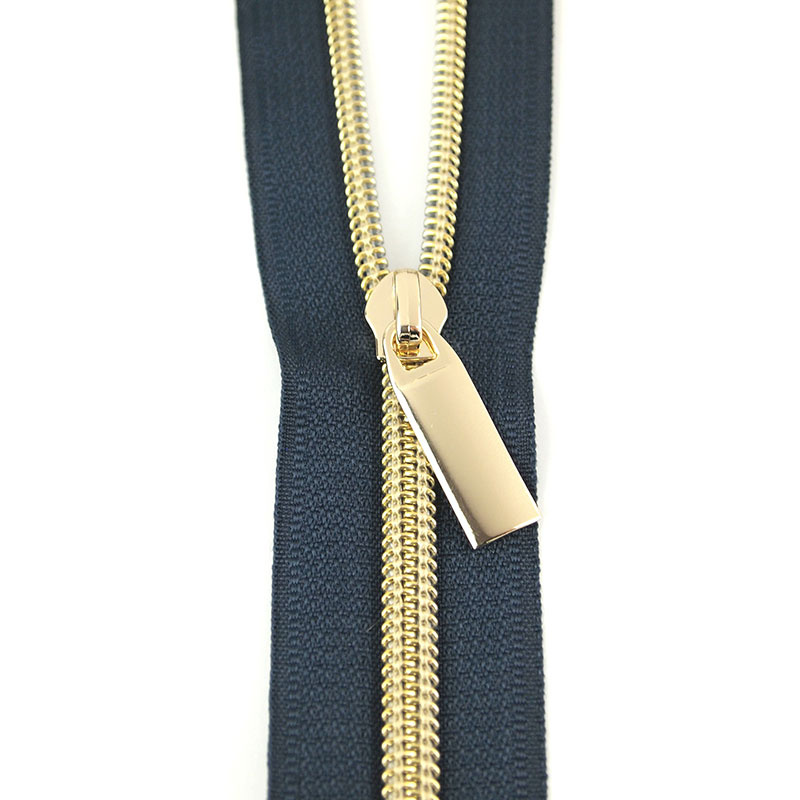
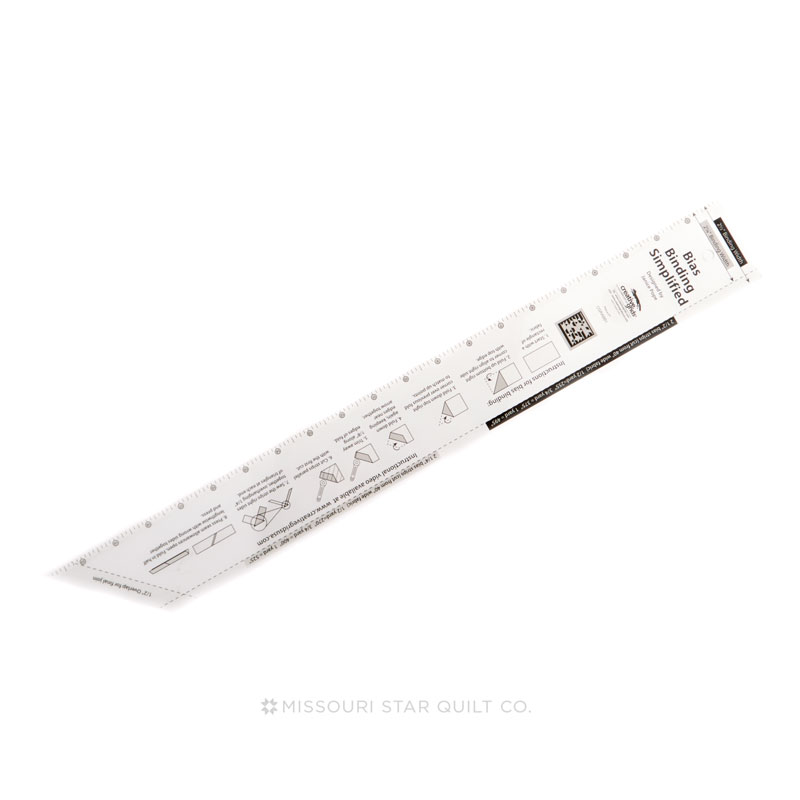
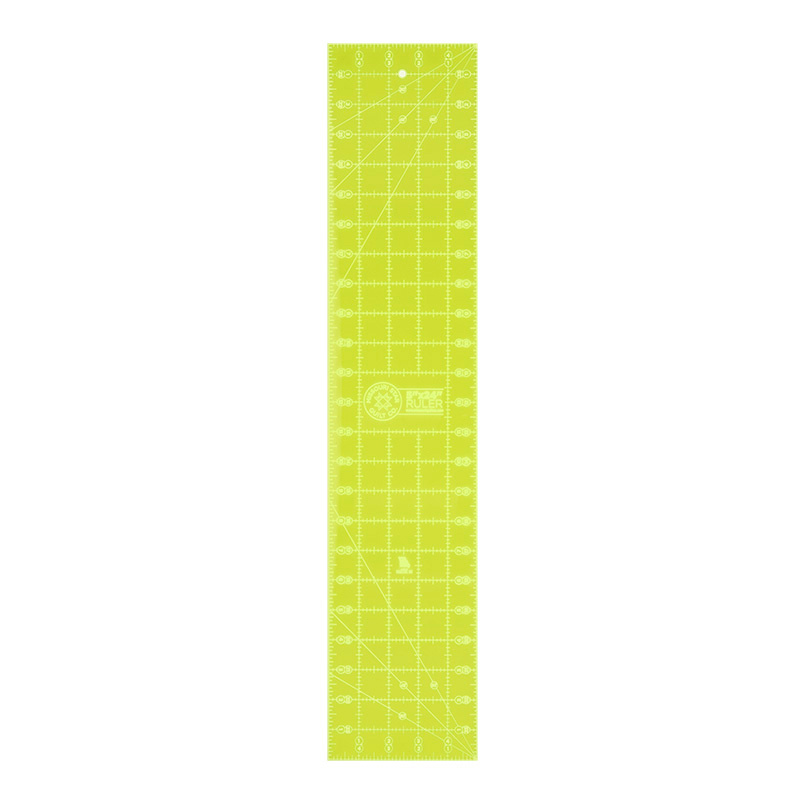
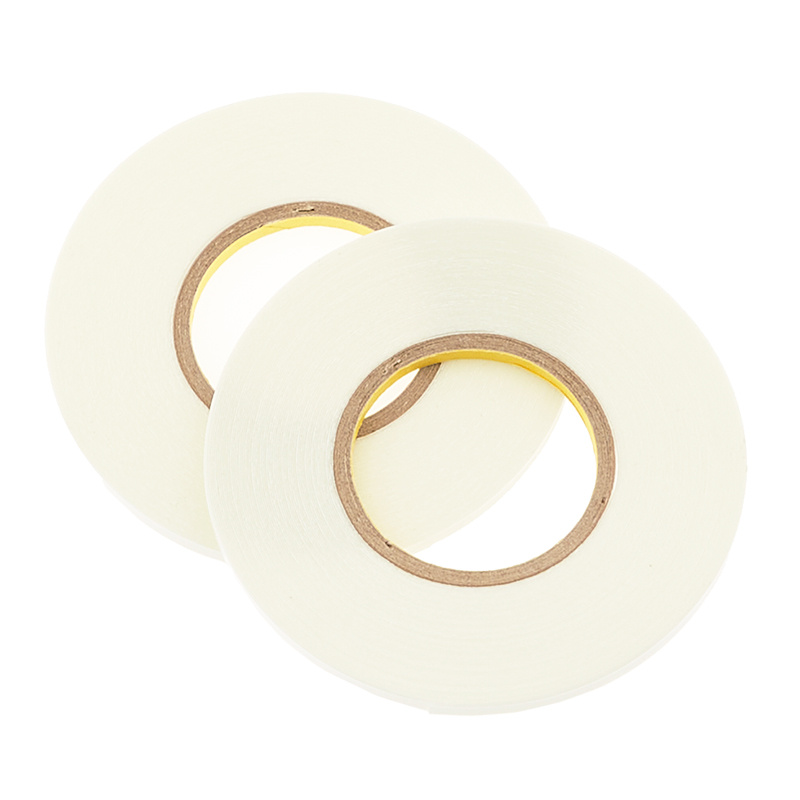
hi I'm Liz with the Missouri Star Quilt Company and I'm excited today to show you how to customize your own pillows I'll show you how to make your own piping and attach it how to create an envelope back or a zipper closure for your pillows and how to work with some super fun shiny linen let's get started [Music] so supplies to make your pillow will be determined by whether you want to do piping and whether you want to do an envelope back or a zipper closure if you're doing a zipper closure you will need a zipper if not you'll just need extra of your fabric so that you can overlap in the back to make the envelope closure I'm going to use this sparkly linen blend I'm also going to make my own piping so I need yay rope and some fabric to make my piping and I will need the bias ruler from tkm products or to cut on the bias so I'll show you how to do that with a regular ruler but this ruler makes it super fast and easy you also want a nice sharp pair of shears so the first step to adding piping to your pillow is to make bias binding so what we're going to do is first square up about a half of a yard of our selected material so I'm going to straighten up this Edge and then I'm going to straighten up this Edge and it's not incredibly important but right now I'm going from 3 to 21 so that's 18 inches so that's a good exact half yard and then what I'm going to do is use open this up and use my ruler to cut bias so what we have is with the fabric is Salvage to Selvage and it has a little bit of stretch to it so you can kind of see the fibers have a little bit of stretch to them then there's lengthwise fabric that runs along the Selvage and there is no stretch there but we want bias because when you hit the 45 and that angle you get lots of stretch and what that lots of stretch does for you is go around corners and handle going around curves really well so the easiest way that we have found is to have an extra tool and this makes it super super easy but I'm going to show you how to do this if you don't have that tool too so just hang in but what I'm going to do is line up my fabric on my mat and Open my bias ruler it unfolds and you can just lay the top of it and the bottom of it on your half yard it fits perfectly and then you can cut along that ruler Edge and you will get a perfect 45. so I'm going to do that right now and this is awesome for making bias binding and this ruler being two and a half inches close my rotary cutter means that I can just move it over if I'm making regular bias binding or just make it over make my next cut make my next cut and I can cut everything just right however for this piping we just need to wrap it around our yay rope so I actually need to be an inch and a half not two and a half inches so what I'm going to do is slide this over a little bit and you can see on my ruler I have one inch and two inch right there will be one and a half so I'm going to pull this away pull this down and I'm going to slide my one and a half Mark keeping this nice and straight at the top and straight at the bottom and running my one and a half inch Mark all the way down like so then I will be able to cut a perfect one and a half inches for my bias writing and if it slides a little what I'm going to do is come down here hold it pause you can see I'm adjust ever so slightly and then I'm keeping my fingers out of the way of the rotary cutter but I can pause and move and then I've got one and a half inch strip that very end so you'll do this to your whole half yard and you'll have all these one and a half inch strips but let me show you how to do this if you do not have this awesome ruler fold that put that away I am going to use a longer ruler for this the longest ruler I have many of our longest rulers are about 24 inches but then I'll show you one more time how to do it if you just have our favorite 5x15. so if you have the nice long ruler to make your first cut and I'm going to split this around so you can see from an original Square Edge to make your first cut you're going to find your 45 degree line on your ruler so you can see that right here and I'm again going to line this up on my mat and then line my 45 line with the edge of my fabric see that even my long ruler is not going to reach the end edge of this fabric that's okay what I'm going to do is pull this all the way down to the edge of my mat I've still got my 45 lined up here and I can see where I'm going to aim off the edge so what I'm going to do is just like I did before I'm going to start with my hand down here and cut with my rotary cutter about halfway up the ruler pause this time I'm going to slide the whole ruler until it's past the edge and then I can actually slide it until the 45 is straight on this edge of the fabric you see that so now I'm going to hold my hand very nice and carefully I haven't moved this it's okay if you wiggle but now I'm going to continue follow the ruler off the edge and I still have an exact 45 bias inch cut okay let's do that one more time and we'll do that with the 5 by 15. so once I've got that first cut and you'll do this the same way it has the same markings so you have the 45 you'll put on the bottom and then you have a 45 here that you'll be able to put on the side so just follow it up and you can see many of our mats have a 45 degree line that you can also follow along what I'm going to do now with the 5 by is cut my next strip so I'm going to take advantage of that line on my mat and I'm also going to take advantage of that 45 line and I'm going to slide it here so that the one and a half inch marks are riding along the edge of my fabric so here's a question we get often and there's no right or wrong answer just be consistent to how you do it do I cut with it on the outside of the fabric do I cut with it on the inside of the fabric does it have to be exactly on the edge it's threads it's not going to make a huge difference as long as you're consistent to yourself so whichever one you go with go with that for all of them I'm going to line it right up on the line because that's what my brain likes so do what works for your brain and down here you can see I'm going to scooch and I'm just going to drag my fingernail to pull that fabric in place and then I'm going to scooch it down to where the 45 mark is on the edge of the fabric so I've got 45 inch or 45 degree sorry I keep saying inch 45 degree mark and then inch and a half so once I've scooched it all where it needs to be then I'm ready to start my cut and again I'm going to pause and slide do the Electric Slide slide to the left okay and I'm going to watch that everything stays in place so my inch and a half line is still on the edge there and I'm off the edge with my ruler bingo so again just cut one and a half inch bias strip so you get that nice stretch and then I will show you how to turn this into piping all right so the next step is to join all of our bias pieces together so when we cut them they were already cut at that 45 so when we're used to making binding we're used to doing the plus sign method where we have to cross and then stitch in this case that's already mostly done for us so we're actually going to flip it this way and we're going to let a quarter inch hang off either side if we did it just like this once we get the quarter inch in we're actually going to be off by a quarter of an inch so you see where that quarter inch would come off the edge here so your bias binding is going to be quite a bit wonky so that is why we're going to pull this down a quarter inch so you can kind of see from my little bit of finger press That's where that seam is going to go and it's going to go right to the edge and right to the edge so when we sew a quarter inch from here to here when we open it will be nice and straight it's going to do that for all our pieces I'll just do this one right here so you can see what that looks like on the machine and I'm using this which is from Clark click so it is a quarter inch seam tape that tells me from my needle how far a quarter inch away will be it's especially helpful for angles like half Square triangles and like this kind of project so I'm just going to line this up and I'm eyeballing it doesn't have to be perfect but so those are each roughly the same and then I'm going to put my needle down right there at the seam and I'm just going to use this red line to run this along the other thing you can do is draw a line if you're really squeamish about it but you can just eyeball it it's not a big deal so we're just going to sew straight across all right and I trim my threads and before I trim the extra away I want you to see when I open it up we are going to have a pretty darn straight now it's still off by just a hair I could undo that and redo that but I know that my quarter and seam will catch that so I'm okay with it however if you want to you can again draw a line so it's really perfect and just follow that line but I also find that if one side is bigger if I press to that side so in this case I would probably go ahead and press to this side it is going to have to take care of itself so I'm gonna show you that here so let me show you it looks like to press pick a Direction give it a little wiggle and then the whole thing continues to have that stretch and you've pressed the side the next thing you're going to do once you've done the entire length of this and I'm going to recommend maybe three four strips maybe five so you have plenty to go around any size pillow project you're going to do is we're going to start by wrapping it around our yay rope so I'm going to untangle it a little but I'm mostly going to do this as I go and I'm going to leave a bit of a tail of this rope because it's going to make it easier to join later then I'm going to lay this out so that my seam is wrong side up and I'm going to cut one end nice and straight because I'm going to need it straight later so I lay it here any ruler will work and just cut off that one little triangle of waste okay so I'm going to take that tail I was talking about and I'm going to stick this out here about three inches and then I'm going to start wrapping it around and we will Stitch It Down so we're basically going to wrap around and make these edges meet so you can kind of see we're going to make those edges meet and we're going to stitch using either a zipper foot or a very skinny foot out here somewhere and we can stitch right up against the Rope if you can get that close but as long as it's about a quarter inch from The Edge you will catch it so the room may have a tiny bit of play in wiggle room that is perfect so I'm going to take it to the machine and show you how I do that if you find that this is moving on you there's another tool that I can show you that can help I'm going to show you just kind of eyeballing it and doing it by hand a little piece at a time and that works best for me but if it is rolling on you and it is getting away from you and you still want to do it one of the other tips in our toolbox is to use something like this which is a double-sided tape this one is an eighth of an inch wide and what you can do is run this along the edge of your fabric and this is often often a good place to start you can use a little bit of any kind of tape or glue for sewing but you can even use school glue but I found this tape works really well and so you stick it down and you pull off this paper and it leaves the adhesive so now when I lay my rope in here with its tail and I wrap around I'm going to make this Edge join that edge but I'll have that adhesive to help me stick it and it's repositionable so I don't have to get it right immediately it's not going to be the end of the world you can see it's holding there so I can just kind of line it up and use my fingers to squeeze if I need to readjust I can peel it back and readjust those pieces so you can do this for as much or as little of the binding that you like I'm going to start with it just there I'm going to go ahead and do the whole length of this and then once I get started I'm going to go ahead and finish the whole length and come back and show you what that piping looks like at the end so what I have to show you is what happens when I use the two different feet so this is what we were just working on earlier where I was using my skinny foot and using the edge of my foot against the rope and so that place the thread a little bit further away from the Rope this is what happens when I use a zipper foot the zipper foot lets me get a little bit closer both of these will work so whichever foot you feel more comfortable with you should use I've gone ahead and made a whole length to go around my whole pillow using the zipper foot because I want to show you what happens when you do have that extra line but like I said this works just as well so whichever one works better for you go for it so I'm going to set this aside and now that I have my bias binding wrapped around I've created my own piping now it's time to create the body of the pillow so in our case we're just going to do a pillow that will fit a 14 inch pillow frame and so this one is about a 15 inch square so that's what we're starting with I'm going to square it up just a little bit it feels like it's a little wonky on one side and it's easier to start with a square and then cut it down and I'm just going to spin it and you can see I come in a little bit so I think what I'll do is actually come in half an inch here and a half an inch here to make this Square so it ended up being 14 and a half Square to start with what your pillow to be about the same size as the insert because otherwise you kind of get flopsy corners and maybe that's look you're going for cool I'm usually looking for it to be completely filled if I can so I'm just going to go here to a 14 and a half inch square to start okay once I've got that I am going to take my piping and I'm going to start somewhere in the middle about two-thirds of the way over with now my stitches and I'm going to clip this to this piece of fabric I'm just lining up the edges and adding my clips when I get to the corner I have a decision to make because of the bias I can trim a little clip in and make it super Square or I can let it go around the edge I'm going to opt for the rounded Edge corner so it's gonna it's gonna pinch and fold just a little bit that's okay I'll still be able to stitch around that edge and I will clip that down and I'm going to go all the way around my pillow I'll be back in just a minute all right so I'm going to come around this last corner and then I will show you how to join these two edges so again I'm just going to kind of use my fingers to guide it into place and it's going to wrinkle a little bit and that's okay that's part of the point of the bias binding around the piping is that it can handle corners and it will smooth out and it does not matter if your Clips go this way or this way it's just a matter of personal preference so if you're going wild and they go willy-nilly doesn't matter now we're going to go ahead and join these so I am going to slide this down here and what I want to do is join these two pieces of fabric just like I would join binding on a quilt so what I want to do is come up here so that I've got nice overlap plenty more than I need and I'm going to go ahead and snip off the rest of this good pair of shears it may take a couple slices to get through the Rope but it's just a nice cotton rope so you can cut right through it so what I'm going to do is come to about where they meet and I'm going to seam rip all the way to there all right so the way that I do my plus sign is that I cut off a little piece of this and that's how much I overlap so I'm going to flip this around and show you how I do this it's a little bit different than how Jenny Natalie Orr Misty do it it's kind of a combination of all of them with a little extra twist so I am going to create a plus sign but I need to know how far these cross so what I do is I pick a point somewhere in the middle and I put my pin there on the actual pillow that's where I want these two pieces to cross and it's straight enough for me okay so when I lay this down here and I take that little piece that I cut off I leave it folded and what I'm going to do is put the fold just over the pin as if the pin were going through it see that and I'm going to snip it here in this case I'm not ready to snip so I'm just going to make a mark and that's because with our three-dimensional rope I may need to loosen or tighten this so I'm not ready to just cut it off the way I would binding but I'm going to give myself just a little bit of a mark inside the seam allowance I'm going to pull this away do the same on this side keep the Rope out of the way I lay this nice and flat over my PIN I take my little extra snip and I lay it as if the pin were inside it and the reason I do that is that we want it to be a little tighter versus a little looser especially because we have a bias binding it's going to have that nice stretch so we want it to be just a little bit tighter than looser so again I'm just going to make a mark there those are the spots that I want this to cross over so I'm going to pull this down here and I'm going to pull this down here and Pull the Rope out of the way and try to make this as flat as I can and then I'm going to take this Mark and I'm going to line that up on the edge of the fabric and this Edge where my other Mark is so I'm making a little box here and when I sew corner to corner it should turn out nice and even so what I'm going to do again to help me out because of all this extra three-dimensional stuff is I'm going to bring my ruler back over and lay it down from that intersection to that intersection I'm just going to kind of slide it in so nothing moves on me now I know where to make my mark and again this is on the inside but I'm just going to make a little dotted line you would use your favorite marking tool even just a pencil I want you to see this so I'm using a Sharpie be careful with that because you can sometimes see that on the other side of the fabric okay then the last bit of security is I'm going to take the pin out of the pillow top and I'm going to place it well away so I have room for my foot but hold this together that's what I've got okay so I'm happy I made the mark because this wants to move around I'm happy I pinned it because this wants to move around because of these extra row pieces so I'm going to very carefully take this over to the machine and I'm going to stitch right on my dotted line and to do that I'm going to let the rest of this fall away and I'm going to force it to behave because it's not the boss of me I'm the boss of it so let's slide this in you'll also notice I have my zipper foot on the machine and that was to make it easier to sew right up close to the edge on my piping but it's also going to make the rest of this project easier so I'm going to slide this under here and put my needle down right where the intersection begins I don't want to sew over my rope so I'm going to make sure it's pulled out of the way and I'm going to use my thumb to hold that back this isn't very flat so I'm going to have to go nice and slow and use my finger to smooth it down and I'm again going to use the line on my machine to help me stay nice and straight and we will sew corner to corner right along our marked line you may choose to pull out a stiletto if you have one at this point I'm just going to go ahead and get close but not let my fingers be too close and Stitch right off the edge all right before we do a lot of clipping let's see how we did okay so much like regular binding I want to be able to pull it open and you can see there you can see my dotted line which is why I don't Advocate using Sharpie yourself but I wanted you to be able to see that I Stitch right along that and it has continuous continuously bound this piping except we've got rope sticking out the end so let's take care of that first thing we do is go ahead and clip this a quarter inch away and we can use scissors and it's approximate because we've already stitched the seam so this part does not have to be perfect I'm going to go ahead and clip these extra little corners for Less bulk as we're also be joining the Rope here all right so now we know that's going to lay down in the right spot awesome we need to tuck the Rope back in but we also need to join the Rope so I don't want the Rope to join at the exact same spot the fabric joined because that makes it a little easy for it to come apart so I'm going to pick a spot closer to this side and I'm just going to snip it sure I have plenty of this side to go over they're going to cross quite a bit okay and I'm just going to cut this off mini bravery test not a big deal now we are going to go ahead and press this open with a little finger press and Tuck this rope back in and we don't want it to overlap exactly but this is going to fray just a little bit so kind of like we just did where there's like a plus sign we can think about there being just a little bit of overlap if these both Fray a little bit they will join and still be solid around the edge so I'm going to overlap it about a quarter of an inch and clip it and this will naturally Fray just a little bit when you give it a touch of a wiggle those will overlap then just like before we fold over we'll take this to the machine and we'll Stitch this the rest of the way to the pillow top and since we haven't actually stitched anything we've just clipped we can actually start there and be very secure so I'm going to put my needle down right on the edge and you can see that's exactly where I was stitching this binding and you can add more Clips if you like I'm going to hold this part with my fingers because I like to feel it nesting just like any other seams you're nesting that rope together it's just tucked inside and your foot is going to ride right along the outside of that and I'm gonna go ahead and adjust and just do a little bit at a time and I'm going to slow down and you can adjust your foot as you need to I feel like I went off a little bit so I'm going to pull back and just make sure the Rope is tucked in nice and tight and what I'm doing is lifting my foot and using my fingernail to press that little bit of bulk that wants to follow out and it wants to because It hasn't been secured in the first place but once you get this part you're done with the hardest part it's not that hard it just takes a little patience so you're going to adjust use my fingernail poke that fabric under and as we come back to where we've stitched it's going to get a lot easier just adjust there we go nice and easy now we can seal around I'm going to show you the first corner and then I'll meet you back here when they're all done so we're going to come around the corner we're just going to follow the Curve I'm going to take that out I'm going to kind of hold this in place when you go around a corner you want to slow down and you're just going to kind of guide the fabric around the feed dogs are pulling the bottom of the fabric you don't have to worry about pushing pulling tugging you just want to gently guide it so that it can do its own job so I'm just using my fingertip and making sure I'm holding that to the say come off of here and then see I'm lined up as I come into the straightaway then I can sail down the straightaway so you'll do that all the way around your pillow and I'll join you right here to show you how to add the back so now what I've done is gone all the way around and I've attached it to the front of the pillow like I've done here for this pillow I am now going to show you how to do what's called an envelope back so what this does is overlap two pieces so that it is covered so that when it does this bulge that happens it doesn't expose the pillow so to do that we're going to start with two pieces that are almost as large as the front these are going to be 12 inches by 15 inches and what I'm going to do is fold over one edge of each side and get you a nice clean seam now this does not seem to have a right or wrong side which is awesome and a lot of our solids don't either so I'm going to choose one I'm going to fold over a quarter inch and another quarter inch and that would be a nice clean Edge so I'm going to stitch that down on both of these back pieces so once I have both of these sides I'm going to overlap them I want the right side towards the right side of the pillow so I have cut this so that it is bigger all the way around and that is to make my life easier and I will show you how so my right side is there and again my right side overlaps and I want to be overlapping the Edge by a good portion as well which is nice and all the way around then what I'm going to do is put a pin right here to hold these two pieces together like that and I'm going to put Clips on the ends where my seams are and I'm not clipping this yet to the piping or the front of the pillow it's clipping it to one side of this flap to the other side of this flap I'm going to turn the whole project over by grabbing for these corners and do a nice flip okay why I do that is I want to now sew from this side because now that I've sewn the piping on I have a stitch line to follow so I can use my finger to make sure the piping stays on the inside and doesn't start rolling to the outside but I can also just follow that Stitch line all the way around and I know that the pillow will match and it will catch everything in the seams so I can't clip all the way around this time but I will put pins in the corners and in these sides to hold everything in place I'm going to put my needle down because it's a zipper foot to get me started I'm putting my needle down right along that Stitch line and I'm between the two clips to get started so I'm going to follow that Stitch line and again I'm just going to go nice and slow I'll show you how I go through this clip with that extra layer and I leave these pins in place but don't snag your fingers on them that hurts a lot following my Stitch line and I can feel you can kind of see that lump that is the Rope of the piping and I'm coming up on that clip so I'm going to keep an eye on it make sure it doesn't flip and you can see I'm close but not quite on the Stitch line that's fine it's going to be hidden by the time we get that far but it's still a good rule of thumb to follow that as close as we can see I'm right past that I can keep going and I'm going to go around the curve now so I'll show you how to go around one corner and then I'll come back when we are all set and again as we need to we can pick up the presser foot turn the piece just a little bit take a few more stitches pick up pivot take a few more stitches because we want to stay nice and close to that binding that's how we're going to get the curve on that corner pick up and pivot you got to think about the corners just a few stitches at a time and now we can trim I like to do this part with scissors you can line everything up with a rotary cutter but because of that piping it's going to roll on you so I like to just hold this in my hands and follow about a quarter inch away and I will even clip along the Curve and for most of this I can follow the seam allowance of my top and as I get to the Curve I'm going to follow the Stitch line and just kind of cut around that corner and I'm just going to trim trim trim you do this how you're comfortable some people like to leave it on the mat and let the bottom edge of the scissor stay down there I feel more confident that way otherwise just kind of make sure you're always cutting away from yourself not towards yourself that's when we make mistakes and accidents happen all right go around this last corner and you can see right here I got real close that's okay it's caught in the seam I'm not worried about it I just won't trim it further all right once we have trimmed everything and we're happy with that now we're gonna take all these pins out finally put them back in my pin cushion and we will flip this through the opening one last pin reach through and pull this side and then you can just use your thumbs to push out your corners okay now we've caught everything and we have piping along the edge of our pillow so here we have piping made by you on your pillow now let me show you how to do a different closure we'll go ahead and Skip The Binding of piping on this one but I do want to let you know that this same method of attaching first to the front and then to the back works for Palms as well so got just a little bitty sample got the envelope back here the front and the Palms got attached the same way they're just again bulking a different way than the Rope but they come by the yard and so you will attach them just the same way we did with the piping kind of a quarter inch from the edge making sure they're all facing to the inside when you go to join Palms I'll show you this really quickly you have a couple of options as they come all the way around the pillow and you're ready to join them you can cut off one Palm and then be able to overlap and you can take off this little bit that phrase you can use a little bit of fray check or even a lighter if you're comfortable with that and you overlap the palm and it will look continuous when you sew it on so this is even easier to join than your regular piping but you now know how to do both now let's show you how to close this with a zipper instead of the envelope back we're first going to start with two squares the same size because we don't need to overlap the back this time and with this linen blend there's no right side and wrong side but you would want to go ahead and put right sides together all the time so we're going to start with this we're also going to need a zipper in this case our zipper is a little bit shorter than our pillow so we're going to kind of Center it up and as you can see on here I'm going to eyeball it it's about an inch and three quarters inch and a half on either side and what I'm going to do is sandwich this between the tops of this then open the zipper so that I can Stitch around the outside and pull it through so everything seams will go on the inside so the way I do that is I like to open this about halfway and I have stitched closed make sure you can see that I have stitched closed both sides and that is so that I don't take the zipper head off it happens and we can show you how to put it back on there are a couple of videos that we can link in the description to show you how to add that back on but I don't want to take it off so I'm going to leave it right there and what I'm going to do is end up sandwiching it right sides together here and then right sides together here so we'll start with the first side again we're going to kind of sandwich it in here this is another good spot where if you have troubles I always clip the ends first because I can see right now I am way off so clipping first helps me adjust until I'm happy with it so the important sides are the two sides and then I'm going to kind of come in about a third of the way here and a third of the way here and again as you can see it doesn't matter which way my Clips go they work no matter which way they're facing okay use that zipper foot again and I'm just going to stitch along the edge of this to secure it to the pillow so at this time I can actually start off the edge and I'm just gonna follow along and this again needle down because it's a zipper foot but it's going to follow along the edge of the zipper when I get here this is again bulky I can pause with my needle down reach in here and pull this past it and then I can keep going I'm gonna sew right off the edge okay now we're going to take this off the machine and clip it to the other side all right so here it is just as we had it before this now becomes the right side that we're going to line this up with what we're going to see here is that having stitched this close helps keep this from wobbling everywhere so if I had just an open Edge it'd be very difficult to line this back up but having stitched it closed I just fold it over line up the corners of these pieces here in the corner and line up the zipper edges here and then I can clip and it will be in the same spot I'll show you again here I'm going to line up the corners peel that back fold the zipper over and I'm clipping just to the zipper right there then I can actually fold this towards myself and I can give myself a couple of extra clips again about a third of the way in here and about a third of the way in here do the same thing start off the edge Stitch along when the zipper head is in the way I will zip it right out of the way and even though I'm starting the needle off the edge I want you to see that my foot is holding this in place that's going to keep things from moving around too much needle down and off we go and I don't want to trap myself so I'm going to go ahead and reach in here and pull the zipper head out of the way and then finish off the Stitch [Music] you can see it's creeping away so I'm just going to pull this back out to the edge [Music] Stitch right all right now we have one big rectangle of fabric with a zipper in the center good job in order for this to work really well we're going to want to open this up about halfway again this is stitched closed so it's going to hold but that's also where we're going to start our next stitches so we've got that open halfway which means we can open this up again we're going to line everything up and you can see when I start lining everything up my zipper means that these aren't matching up so I want to pull this down so that they do line up and for me that's the important thing is that the bottom is lined up so I'm going to do the important parts first in the corners and then a couple in the middle and that means this is going to be kind of folded and that's great so what we're going to do is go ahead and fold the zipper over like this and we're going to start just inside where that zipper Edge is so I can mark that say I want to start on that side and I'm going to start here and just Stitch to the corner pivot and Stitch around and we'll go all the way around these three sides of the pillow you've already had the zipper so don't Stitch that side okay that is it so let's check to make sure that our zipper functions and was caught one of the nice Parts is you don't even have to clip all these edges if they Fray when you wash they'll spray on the inside but you've got plenty of room you can if you want to go ahead and finish those edges but again they're on the inside of your pillow so it's not a big deal so I'm going to open this all the way and we're going to flip again I'm going to take my thumbs put them in the corner push them through and you can decide how pointy you want your corner to be you can poke that out with any kind of Point Turner just use your thumb you can use a chopstick purple thing whatever you want to do but you can also leave that a softer curve so again thumbs push that through I've got a couple extra threads we'll trim and then the bottom corners are even easier you have made a pillow cover that has a zipper closure it was that easy and the zipper opens and closes zippers I want to do and you can use something decorative you can press this again when it holds a nice wrinkle or crease and that is all you need to do to make your own pillows in any kind of fabrics so we can't wait to see what projects you make and which Fabrics you choose which trims how you make your own piping what colorful zippers you choose all the things to make this custom to your style use the hashtag msqc Show and Tell and show and tell your projects thank you for joining me today and happy sewing hi everybody it's Jenny from the Missouri Star Quilt Company we hope you enjoyed watching this video if you aren't already part of the Missouri Star Quilt Company family be sure to subscribe so you won't miss a thing and if you click that Bell it'll notify you every time a new tutorial comes out see you next Friday [Music] foreign

More Fabric by Yard tutorials

See all