Skip to content

Free quilting video tutorials from Missouri Star

Quilting Tutorials
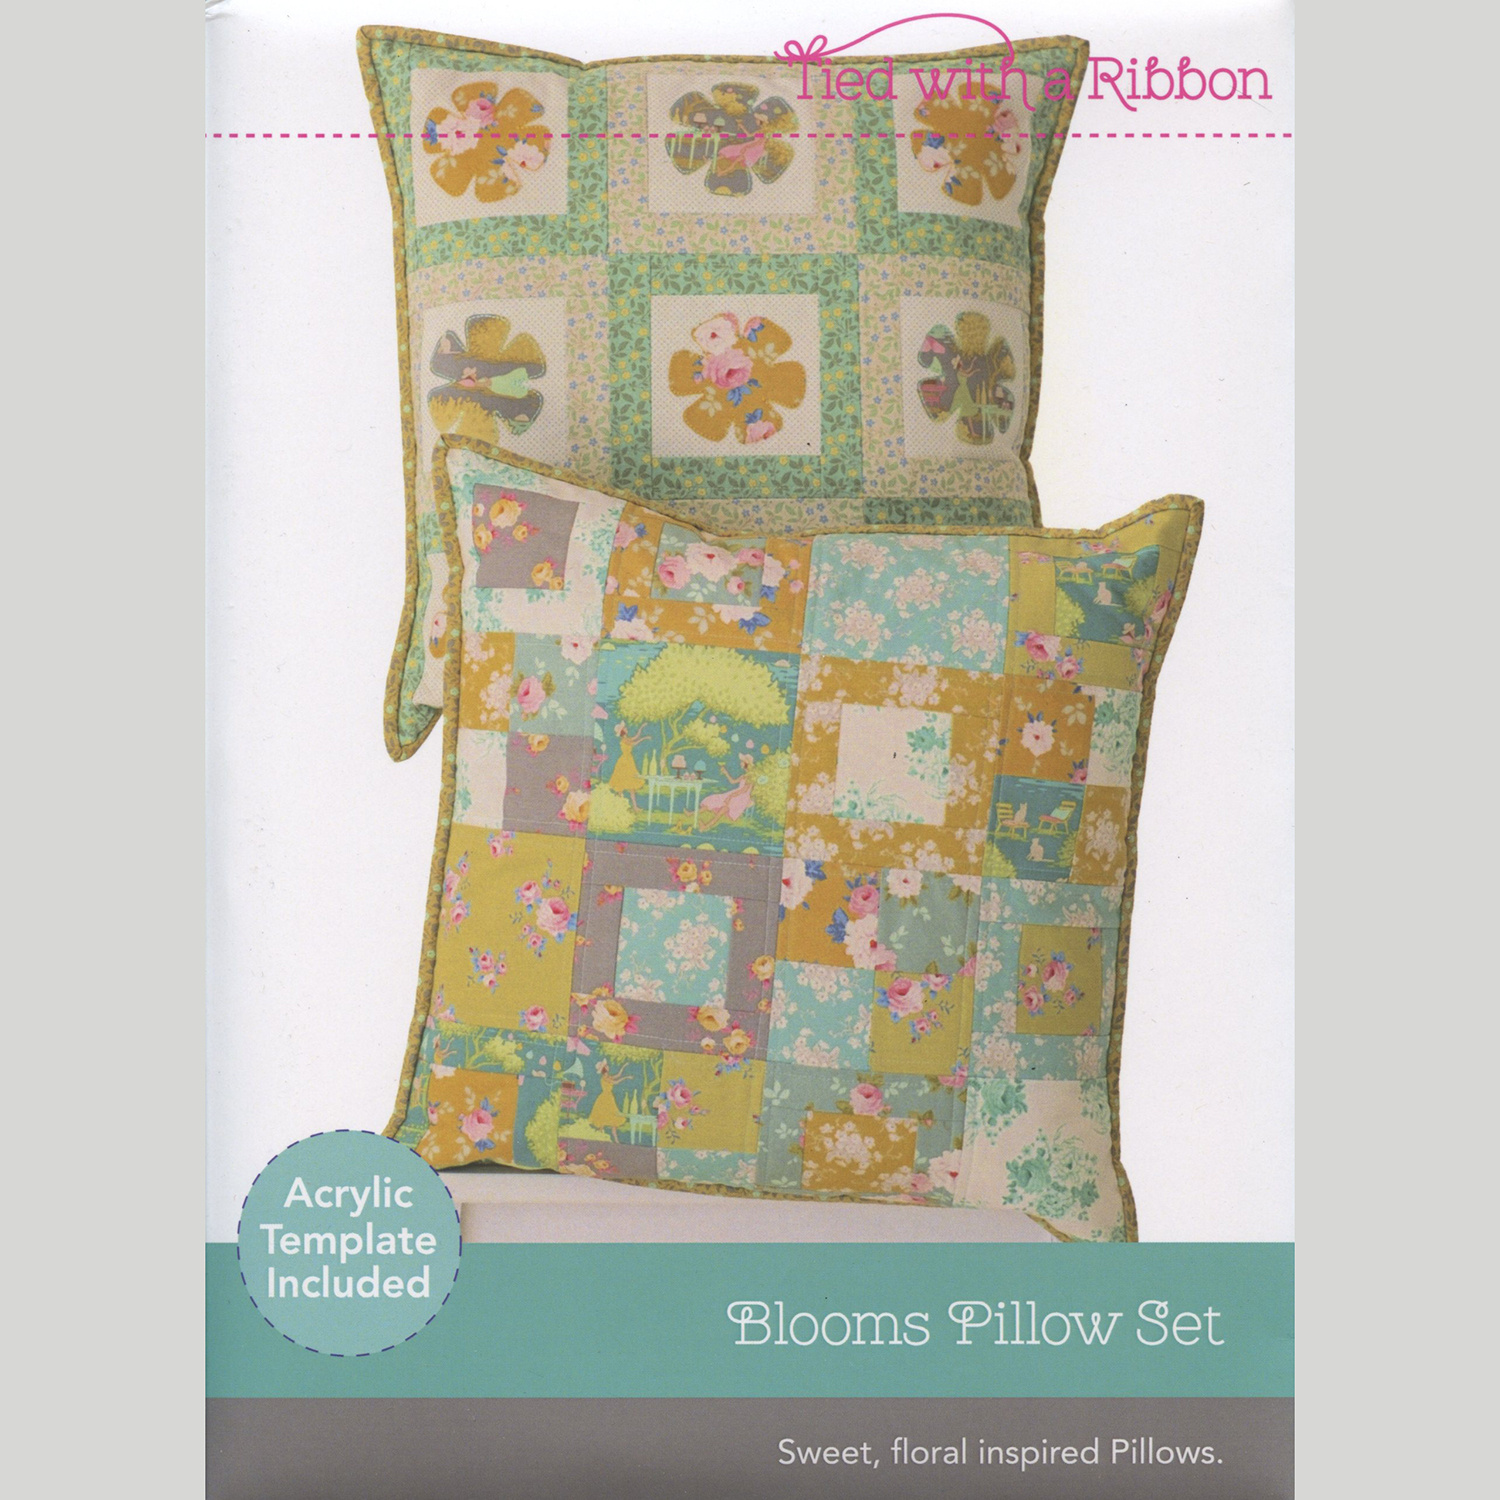
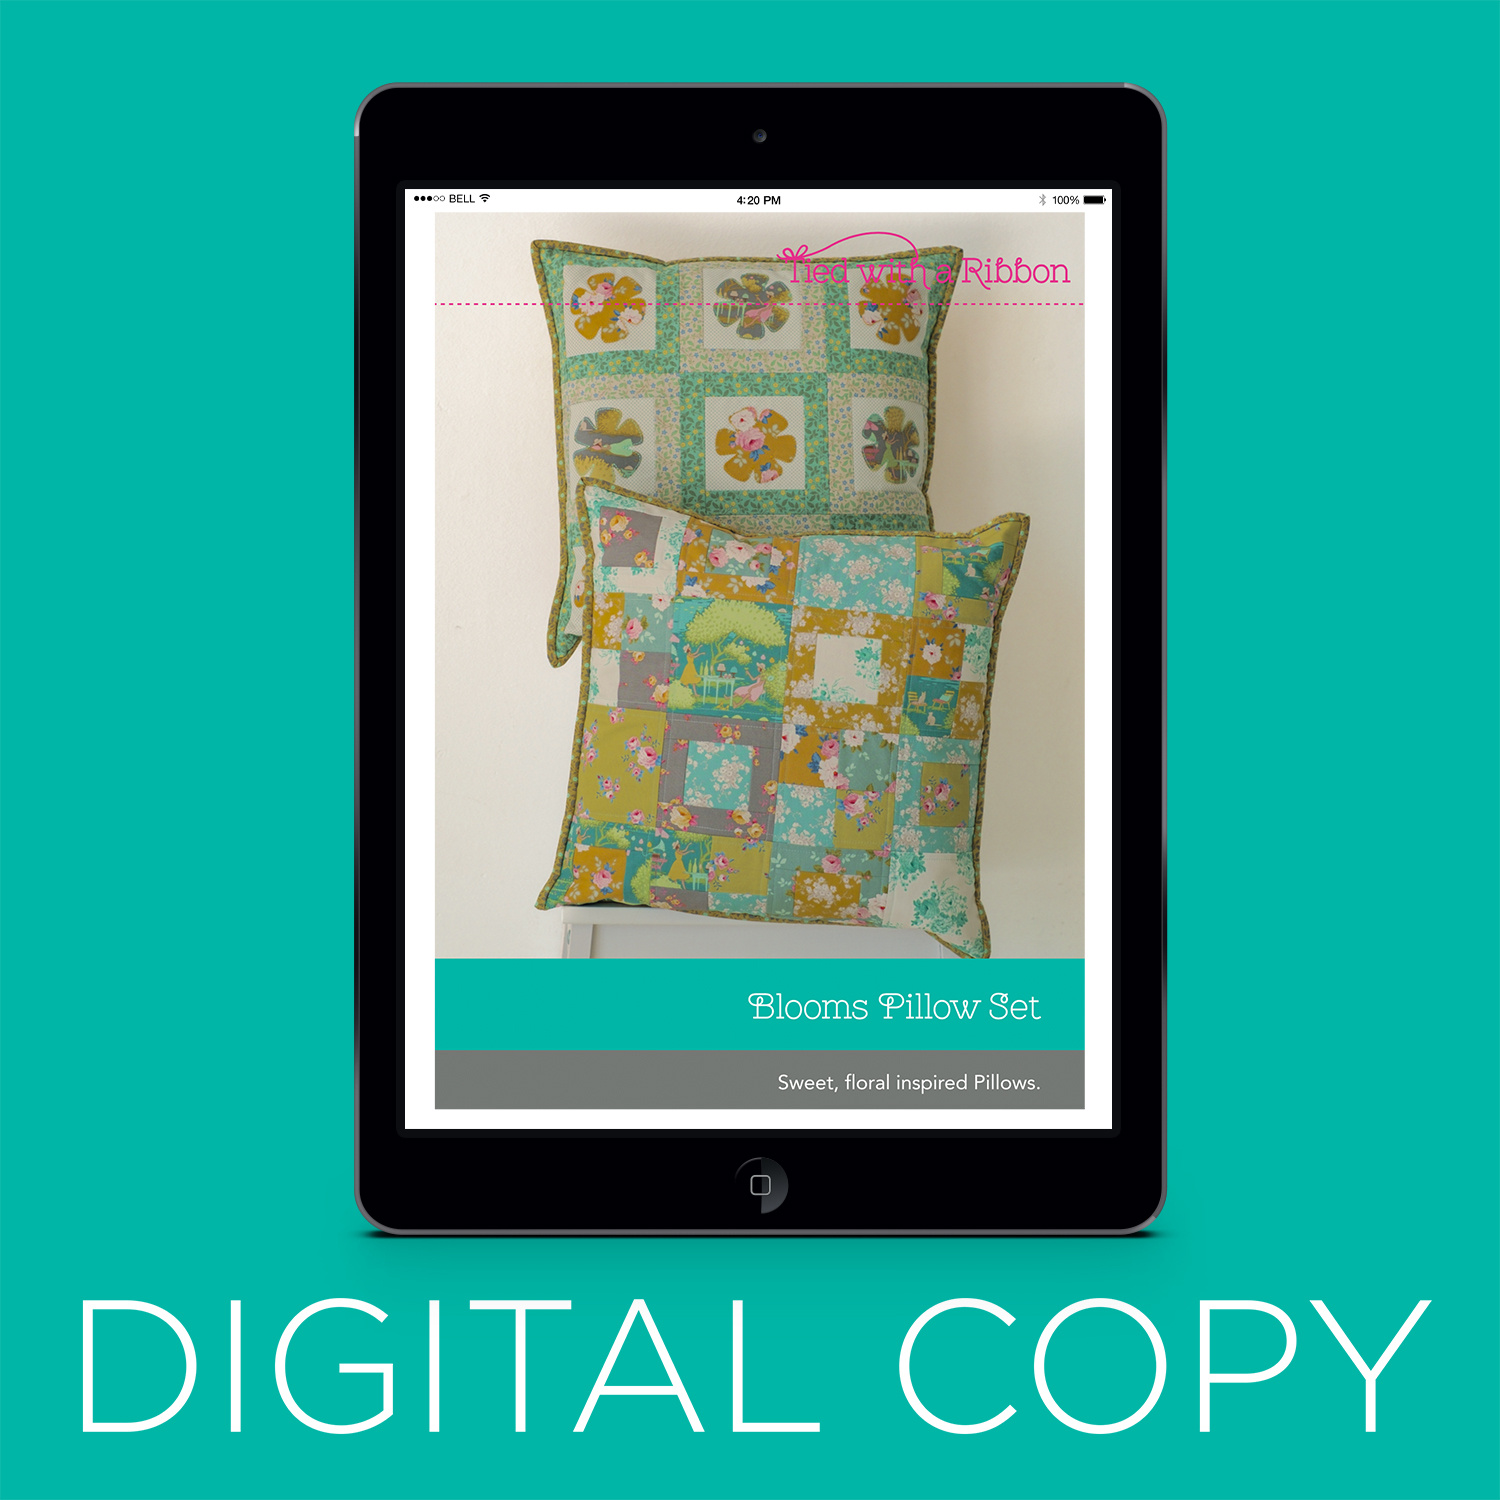
Blooms Pillow with Jemima Flendt

Blooms Pillow with Jemima Flendt

Enjoy the freshness of springtime all year long! This set of floral-inspired pillows with modern flair is made with appliqué and machine-piecing techniques. The Blooms template makes creating the flower shapes easy! Jemima Flendt of Tied With a Ribbon joins Misty to demonstrate this pretty home accessory.

Instructor

Misty Doan

Misty Doan grew up surrounded by sewing and quilting. She loves spending time sharing tutorials each week each week, and when she’s not stitching up one of her fun sewing projects for home decor, most likely you’ll find her hanging out with her husband and three awesome kids or working on a house project.

Common Questions

What is covered in Blooms Pillow with Jemima Flendt?

Enjoy the freshness of springtime all year long! This set of floral-inspired pillows with modern flair is made with appliqué and machine-piecing techniques. The Blooms template makes creating the flower shapes easy! Jemima Flendt of Tied With a Ribbon joins Misty to demonstrat...

How long is the tutorial video?

The tutorial video is 00:19:49.

Are supplies listed for this tutorial?

Yes. The tutorial page includes the supplies and materials connected to this project.

Video Transcript

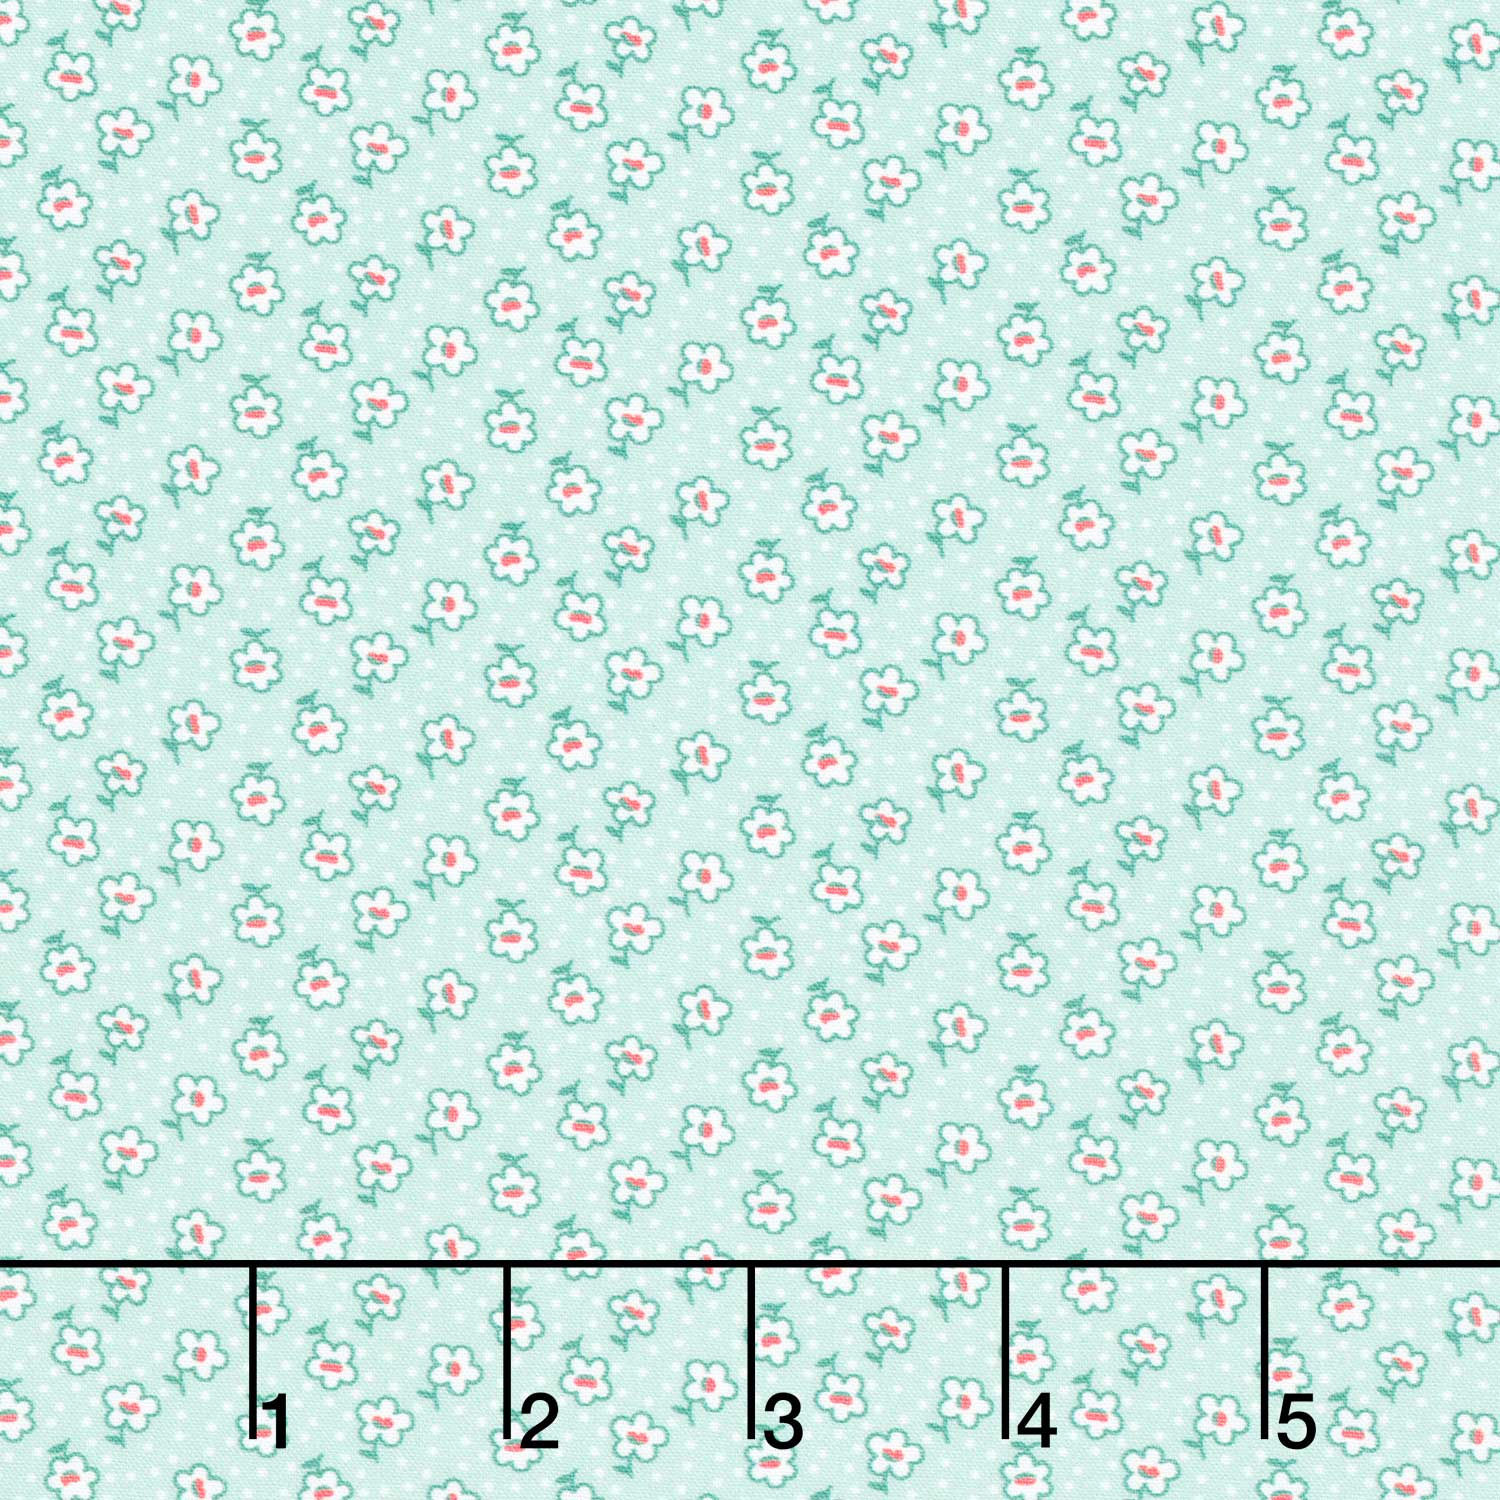
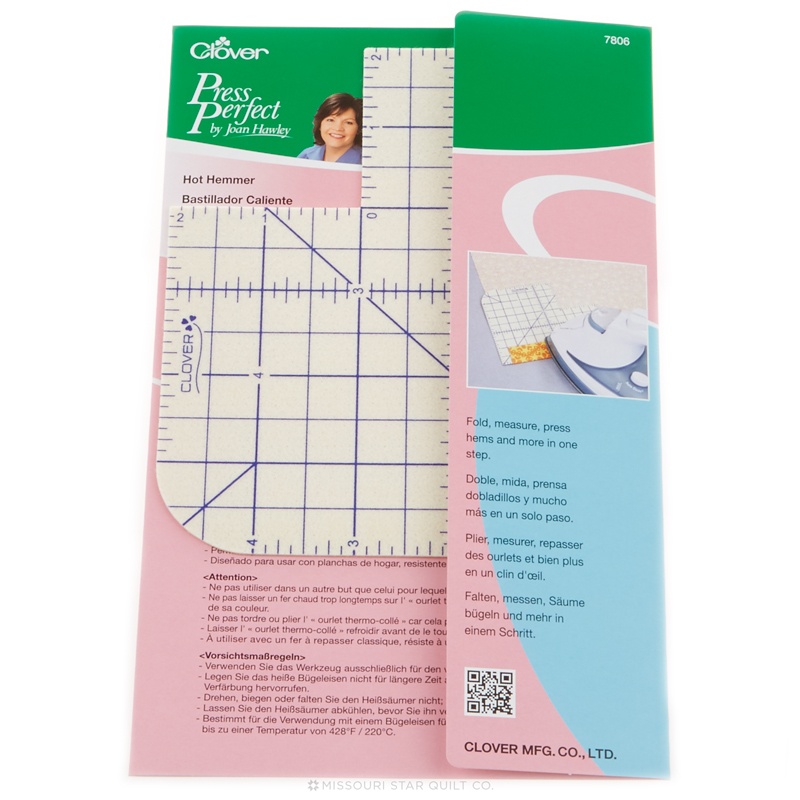
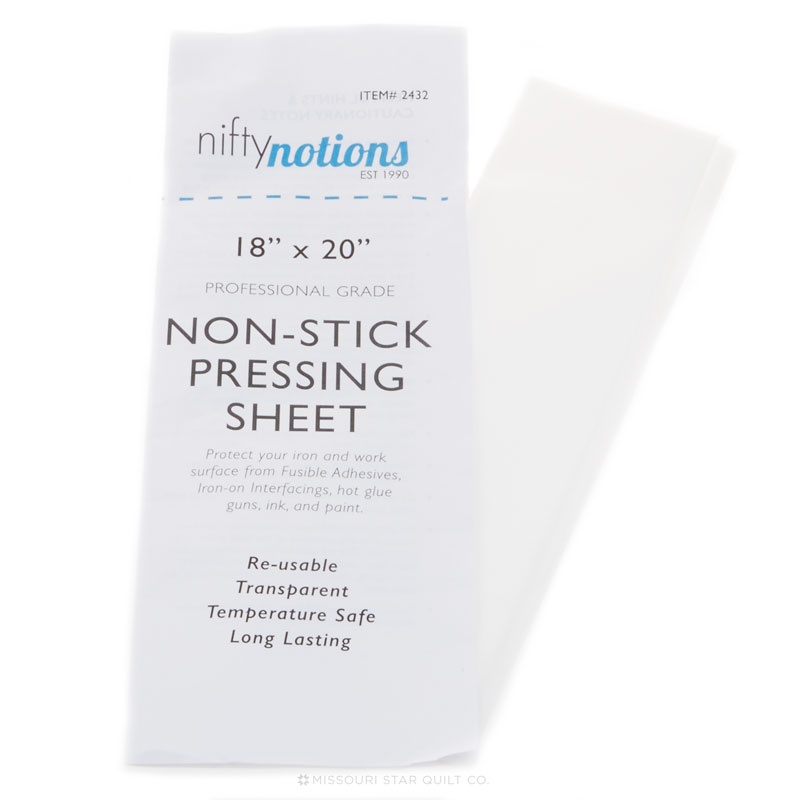
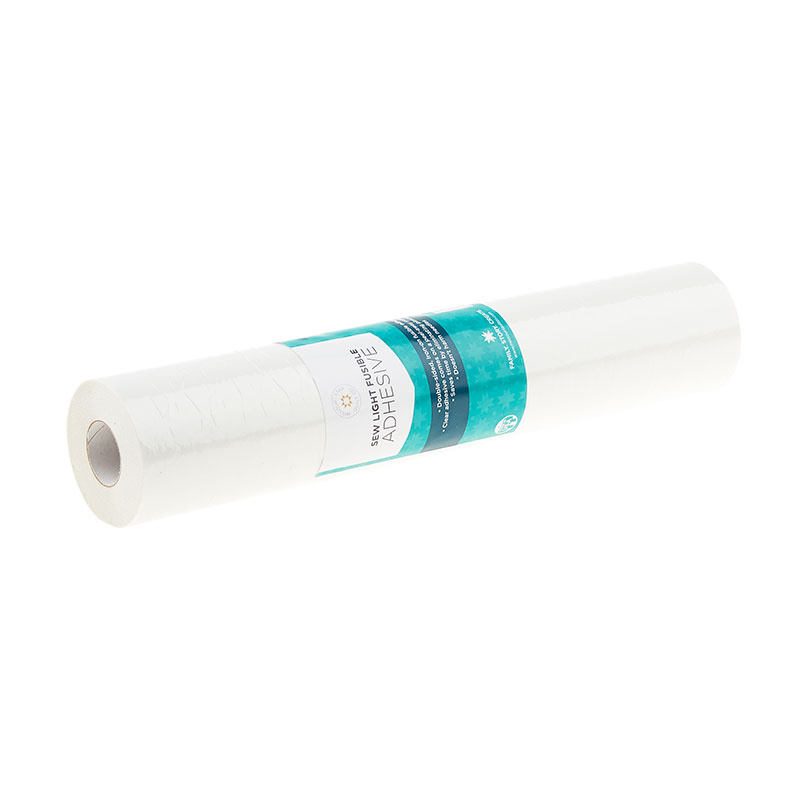
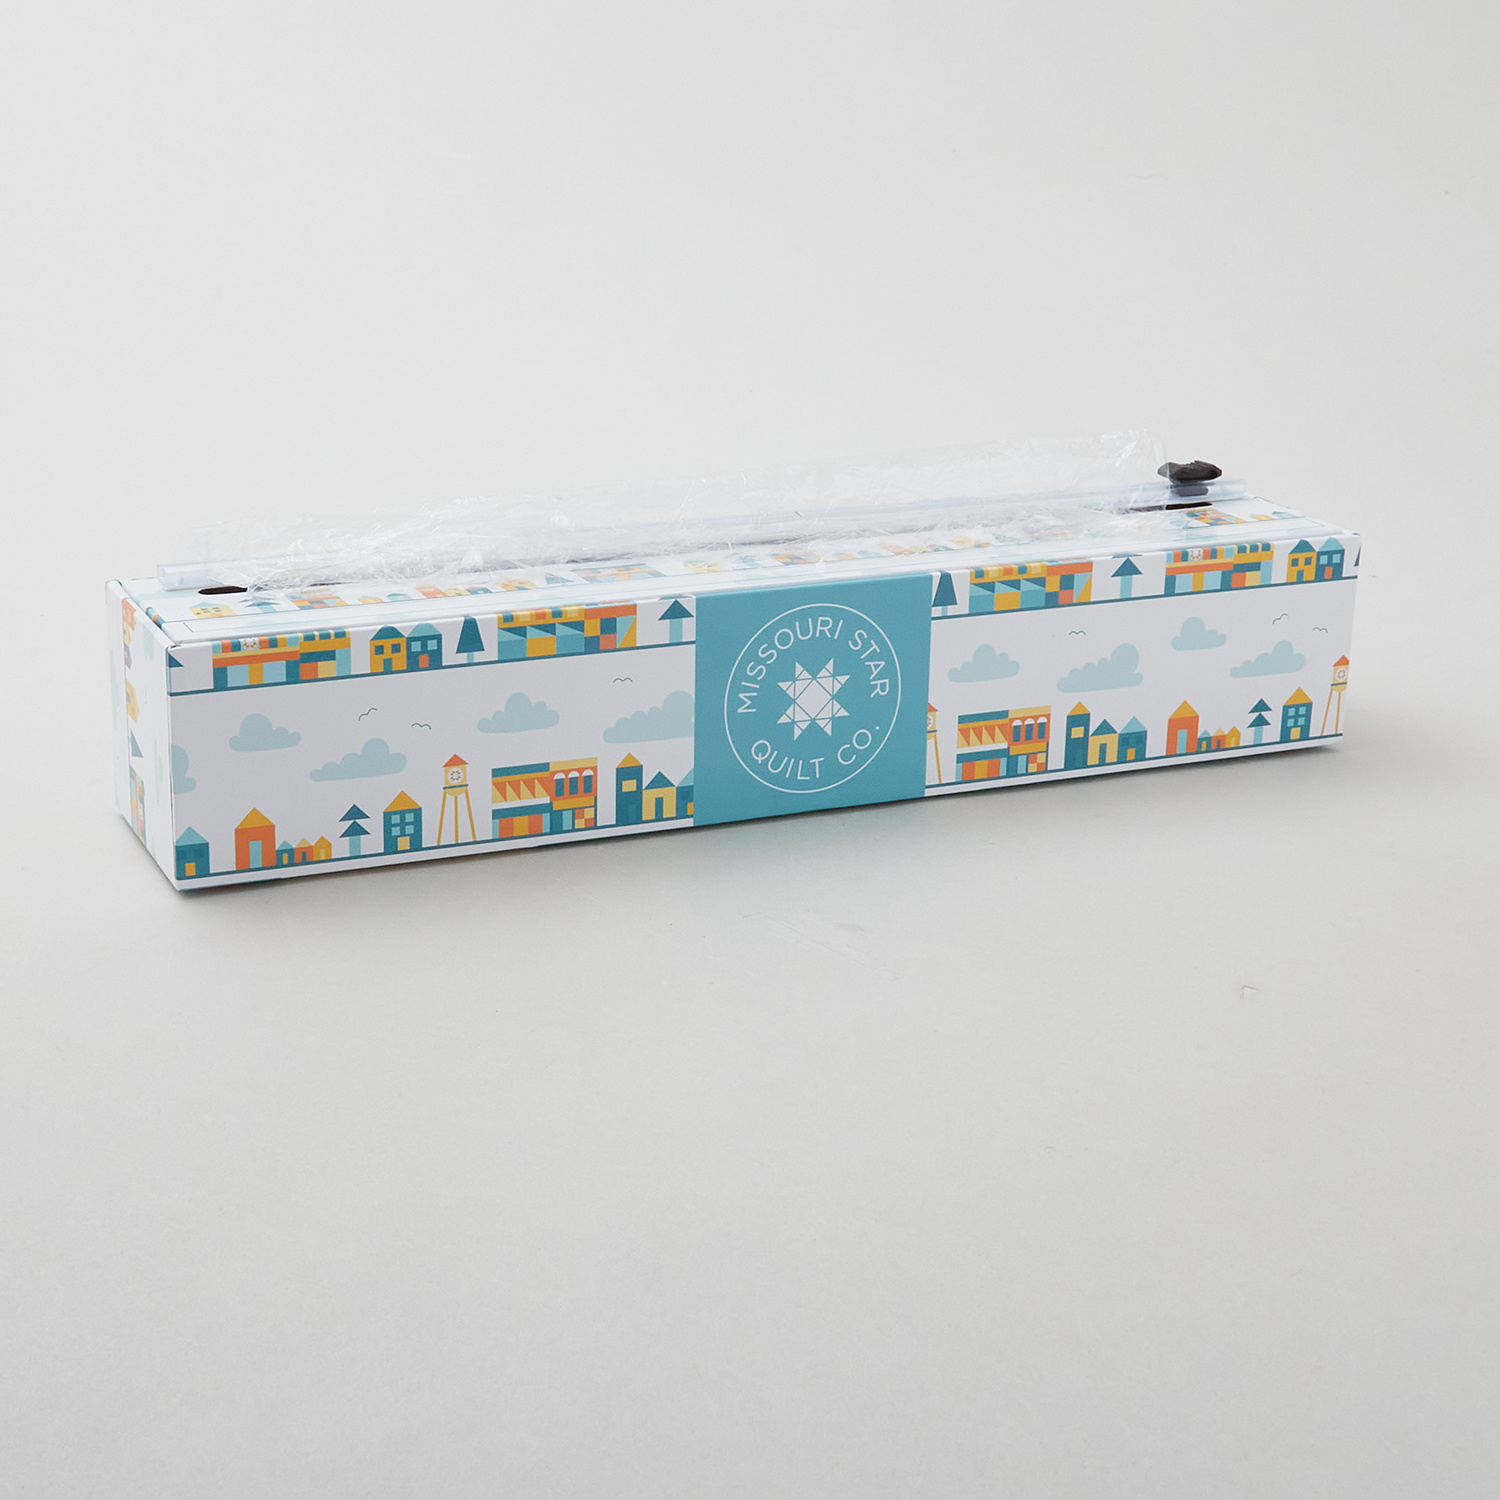
hi everyone welcome to at home with Misty I am so excited to be joined by jamaa Flyn thank you for having me I'm really looking forward to it thank you so much for being here today she is going to teach us how to make her blooms pillow [Music] set jamaa thank you so much for being here today oh I'm so glad it worked out and you were kind enough to share uh your blooms pillow with us and you're going to teach us how to make this adorable pillow today that's right I'm really excited to share how we' go through and make the applique and this is one of the pillows out of the set but there are there are two in the pattern but um this is the one one that we're focusing on today okay awesome let's do it all right so what do we need to make this all right so you're going to need your pattern we're also going to be um needing U your template today okay because we're going to be also tracing onto our template um paper Okay so this here is a fusible web and um we're using the um Missouri Star brand here so late yeah um which has got paper on one side and then on the back side you've got glue as well so we've then got our supplies in our Fabrics we've got here the Fabrics that we've used for the actual outside of the rectangles on the pillow right here we'll show them up here again so these are going to be your outside colors and then we've got these beautiful the green and this peach color which make the ACT ual blooms in the pillow and then we've got the background Fabric and also you've got the backing fabric for the back of the pillow as well yep so wonderful and we've got our other supplies that we need yeah just some Basics uh you're going to show us how to use this hot hemming tool yeah you haven't used it before it's a really Nifty little tool to have in your tool box okay perfect all right let's get going well the first thing that we need to do is we actually need to trace our Bloom's template onto our fusible web okay so what we're going to do is we're going to take off a piece here there we go and then what we're going to do is we're going to trace out the bloom template onto the paper side of the fusible web because the other side has glue on it so you want to make sure that you're always tracing on to the paper side so when you're working with this um one thing that I really like to use is a mechanical pencil because it makes tracing the shape really nice and smooth it also means that you don't have to keep sharpening your pencil as well so and you can get into those nice sort of little points so you're going to trace around your Bloom um for each of the squares in the pillow so we've got nine all together yeah just tracing around your shape there we go okay so what you're going to do is you're going to need to trace that out for each of the nine that you're going to need make sure when you're doing that that you actually just leave a bit of between them you don't want them to be too close um and at this stage we don't need to cut on the line but we're going to cut them out all right so if we've got some scissors of course then what we're going to do is you just need to give yourself a little bit of room around the outside you don't want to cut directly the shape of the bloom but you want to have enough room just around the outside CU we'll do our exact cutting with the fabric for the next step yes that's right so you can set that aside and now what we're going to do is we're going to take our blooms shapes and we're going to press them onto the fabric that we've chosen for our blooms Perfect all right so once you've traced out your shape what you're going to do is you're going to take your fabric onto your ironing surface and then you're going to place it down onto your fabric with the glue side down to the wrong side of the fabric to the wrong side of the fabric is really important otherwise it's going to make a little bit of a mess that's right and one other thing that I think we we kind of forgot is if you don't have the template you have included this that's right you can absolutely trace it out of the back of the pattern um so it's all included in there as well wonderful yeah so once you've got your fusible web ready to go with the glue side down to the back of your fabric we're going to use this Teflon sheet and when you're working with any type of applique where you've got a pencil line you want to use a Teflon sheet because it will keep your iron nice and clean ah very smart it also means then of course that in case you've got the wrong side or anything like that that you don't end up with glue all over your iron so these are really handy to have so what we're going to do now is just give that a press I love that because I'll be honest I'm always just in a hurry so I skip a lot of these steps but you're right it really does protect from so many little errors that could happen it yes so once you've got that and it's cool enough for you to handle we're now going to cut out our shap okay perfect should I do that yes please okay so we will just snip off this a little bit of extra to make it easier and then I can cut out so now we want to cut out on the lines so before we cut around the lines and now what we're going to do is we're going to cut on the lines to get our beautiful Bloom shape perfect I will do my best doing really well back to grade school it's like that yeah the old old primary school days always very and it's really the fun part too of applique like just being able to sort of sit down you can um sometimes do that in front of the Telly as well right and um catch up on all all your shows while you're um enjoying some cutting yeah and getting getting your project ready to go okay we've got this all cut out there we go cute little Bloom yeah so once you've cut out one you're going to continue to repeat that for each of the green fabric blooms and then also also for the peach fabric blooms as well so you want to make sure you've got all of your flowers and your blooms ready to go for the next step ready for you yeah so once you've done those then you're going to actually start to put together your squares with the Fabrics which are going to be the red and the blue ones okay so what you're going to do is you're actually going to take your background squares and first of all we're actually going to sew to the right sides the side pieces okay get those Stitch these down yeah and we're just using our standard quarter inch that's right yes okay perfect sure these are lined up and down the other side right now once you've done both of those you're going to want to press those open so that you can actually then place the next pieces okay so when it comes to pressing I like to press them with the seam um closed first kind of set the seam set the seam yeah that's right yes it's really um so helpful in making sure that everything stays nice and straight it's true once you've set that seam then what you're going to do is press them outward and you're going to repeat that for the other side beautiful and then we're ready to sew the longer sides to each perfect so just like that right sides together and repeat there we go all right make sure got everything behaving right always a few stitches to get me started and then make sure I'm lined up all the way to the end all right there we go great and again we're going to set your same when you're pressing first of all set it and roll it back and then have it facing outwards yes beautiful so what you're going to do after you've done that you're going to do that for all of your red squares and the same for all of your blue squares as well so that you're ready to put them together for the next step okay perfect so let's do that all right so here are some of the rows that we've got that are ready to go together okay now at this point with your applique you can actually either put them down individually okay so if you would prefer to work on one square to sew them you can actually put them down and I'll show you how to do that so with the fusible web what we need to do is we actually need to take off the paper from the back side of your balloom just carefully peel that apart and you'll then have all your glue on this particular on the back side of your Fabric and left behind for yes so then what you're going to do is you're going to place your glue side down onto the um background Fabric and I like to you can change it up as well so just don't have them necessarily all in the same position you can do if you like um or you can sort of certainly move them about they don't have to be uniform at all a little bit of movement that makes sense yep um so place that in the center and then when you have with the placement you're then going to press it with the iron you don't need the Teflon sheet anymore at this point because we're not worried about the pencil line going anywhere so place that down and fuse it to the background Fabric and you're going to repeat that for all of your blooms so that all of your red ones are going to have the green on and then all of the the blue have that beautiful peach yes right so repeat that for each of your blocks um again you may prefer to do that when they're all together really up to I love that you called that out cuz for some people it might be easier to manage one at a time but if you wanted to do all nine you absolutely could yeah that's great all right all right so when it comes to stitching your blooms there's lots of different stitches and it can really often depend on your machine and what stitches you've got on your machine um I like to use a blanket stitch on the machine to them down you can use AAR Edge applique you can do it with zigzag Stitch I mean they're really you can get as fancy as you as you kind of just personal preference absolutely yeah you don't have to have a particular stitch for it to be applique beautiful and we just have our straight Stitch machine up here today but on our finished sample we did use this sweet little blanket stitch so you can see we just blanket stitched all the way around our Bloom there and it looks so nice once you've got all of these together and all of your blooms sewn down then you want to have all of your rows put together okay so here's one and you can either have the bloom already on there applic or you can at this point that's when you would do it okay so when you're sewing your rose together it's really easy as well if you Nest your seams because it helps to make it really easy to sew these together and make sure they're kind of you know going opposite way so they lock in place there I love that yeah okay so y let's do that so we'll F these back and just so you know if you're not sure what nesting your seam means let me show you here you can see she's pressed these both towards the Red Blocks and so then when we meet these here these two little seams are going to Nest together right there where we are going to join them and that's just going to keep a nice really crisp line once we stitch it together and that's what we're looking for yeah it makes it really easy it's exactly a great place to just stop make sure everything's lined up again and of course you can pin if you'd like but I'm just going to go by feel that's the way I like to do it okay so I've taken a few little anchoring stitches and now I'm going to line these up and you can really feel with your fingers when the seams are nested of course that one wanted to FP on me there we go there's one and same thing as we approach this next scene as well and then line up all the way to the end there we go cute little squares yeah so again we would then press mhm them and then we've got all our pillow ready yes so whether you're then going to actually Stitch down your applique or if your applique is already done right then you're going to need to quilt your pillow top okay awesome and so to do that you would just sandwich it with some batting and some uh backing behind it of course you're not going to see that fabric it'll be inside the pillow so it's a great place to use up some scrap if you've got it um and then quilt that as desired and so we used a edge to edge on this but it would be really simple to do a straight line pattern with this so you can follow the outline of the blocks right uh you can do anything you know to follow the outline of the Bloom as well if you prefer so can really yeah ex you can absolutely quilt this on your own domestic machine yeah so wonderful all right so then let's talk about finishing up our pillow that's it all right so the next step once you've done your pillow top you're then going to need to put your backing together wonderful so I'll show you through how we do that now in this particular pattern there's an envelope backing on it which really means then that you don't have to look or hunt for a SE a zip if you've decided to do this sort of late on a on a weekend or anything like that quick yeah so there's no button closures and there's no zip on this particular one so it's actually done by folding over this um the long Edge and I'll show you um how we use a hot Hammer to do that if you haven't seen a hot Hammer before I'm excited yes so this here is a hot hammer and these are a really handy little Gadget because they actually have the lines on the actual temp on the mat as you can see but you can actually use it to iron with and it won't melt like our regular rulers no so with this particular backing of for the pillow you're going to need to place your you don't and you don't have to have a hot Hammer that's a they something that are really good to have yeah um so what you're going to do is the first part of it actually asks you to turn over the seam and when I now iron I know that I haven't had to bring up my measuring tape or burn my fingers or anything like that so when you place it down you can already roll over the edge that you need and then using your iron I might go from this side sure can actually then already press that edge on the half inch it gives that guide yeah I'm always eyeballing so see this is what's so nice about having uh you join me is every time you get to sew with someone new I feel like you learn so many things learn something different yeah it's such a wonderful thing and it just means that you're not sort of burning your fingers as you're you're going along absolutely I'm the queen of eyeballing it so this is great that it can be so precise and and really quite simply and then we'll just do that a second time to fold it over so it means that you've got no raw edges or anything like that either so again just taking your and you're going to press it over an inch this time yes okay and just up to the line and once we've done this I'm going to get you to sew down the open Edge okay perfect keeps it nice and everything in order yeah yeah right beautiful all right wonderful so if you can sew down the open Ed and you like you can always sew down the other side as well just so they match nicely of course there's one and we'll come back and add that second line of stitching I think those little details really give you such a beautiful finish yes and you can have a beautifully colored thread on there as well so if you wanted to add a little bit of detail you can certainly do it by that that's a great idea all right there we go beautiful so once you've got the backs of your pillow they actually overlap and that will actually make the same size then as your pillow front which you've already finished and quilted wonderful so that goes on the back and then you're ready to bind okay yeah and so we have this one here that you've added your binding too yes so we chose the blue for this particular one and you can make your binding and then you would sew it on just like you do a cool wonderful so you could either use machine or hand to uh to finish that Binding off and it looks so great I absolutely love it I think this turned out so cute and it's a great quick project that you can make really in an afternoon you can make it you know for a birthday party or a baby shower or anything like that as well so something nice and quick AB exactly a great one you can gift quickly if you have something you know on the horizon so thank you so much jamaa for coming and sharing this with us and will you tell everyone where they can follow along with what you're up to sure you can find me at tiwi ron.com and definitely come and follow me over on Instagram at tide with ribbon wonderful we than for I'm looking forward to it all right bye everyone bye hey everyone thank you so so much for watching at home we're so excited to be almost a million Quilters strong here at Missouri Star and so if you haven't already joined our family be sure to subscribe and hit that notification Bell so you can be notified of all of our future tutorials and we'll see you soon [Music]

More Fabric by Yard tutorials

See all