
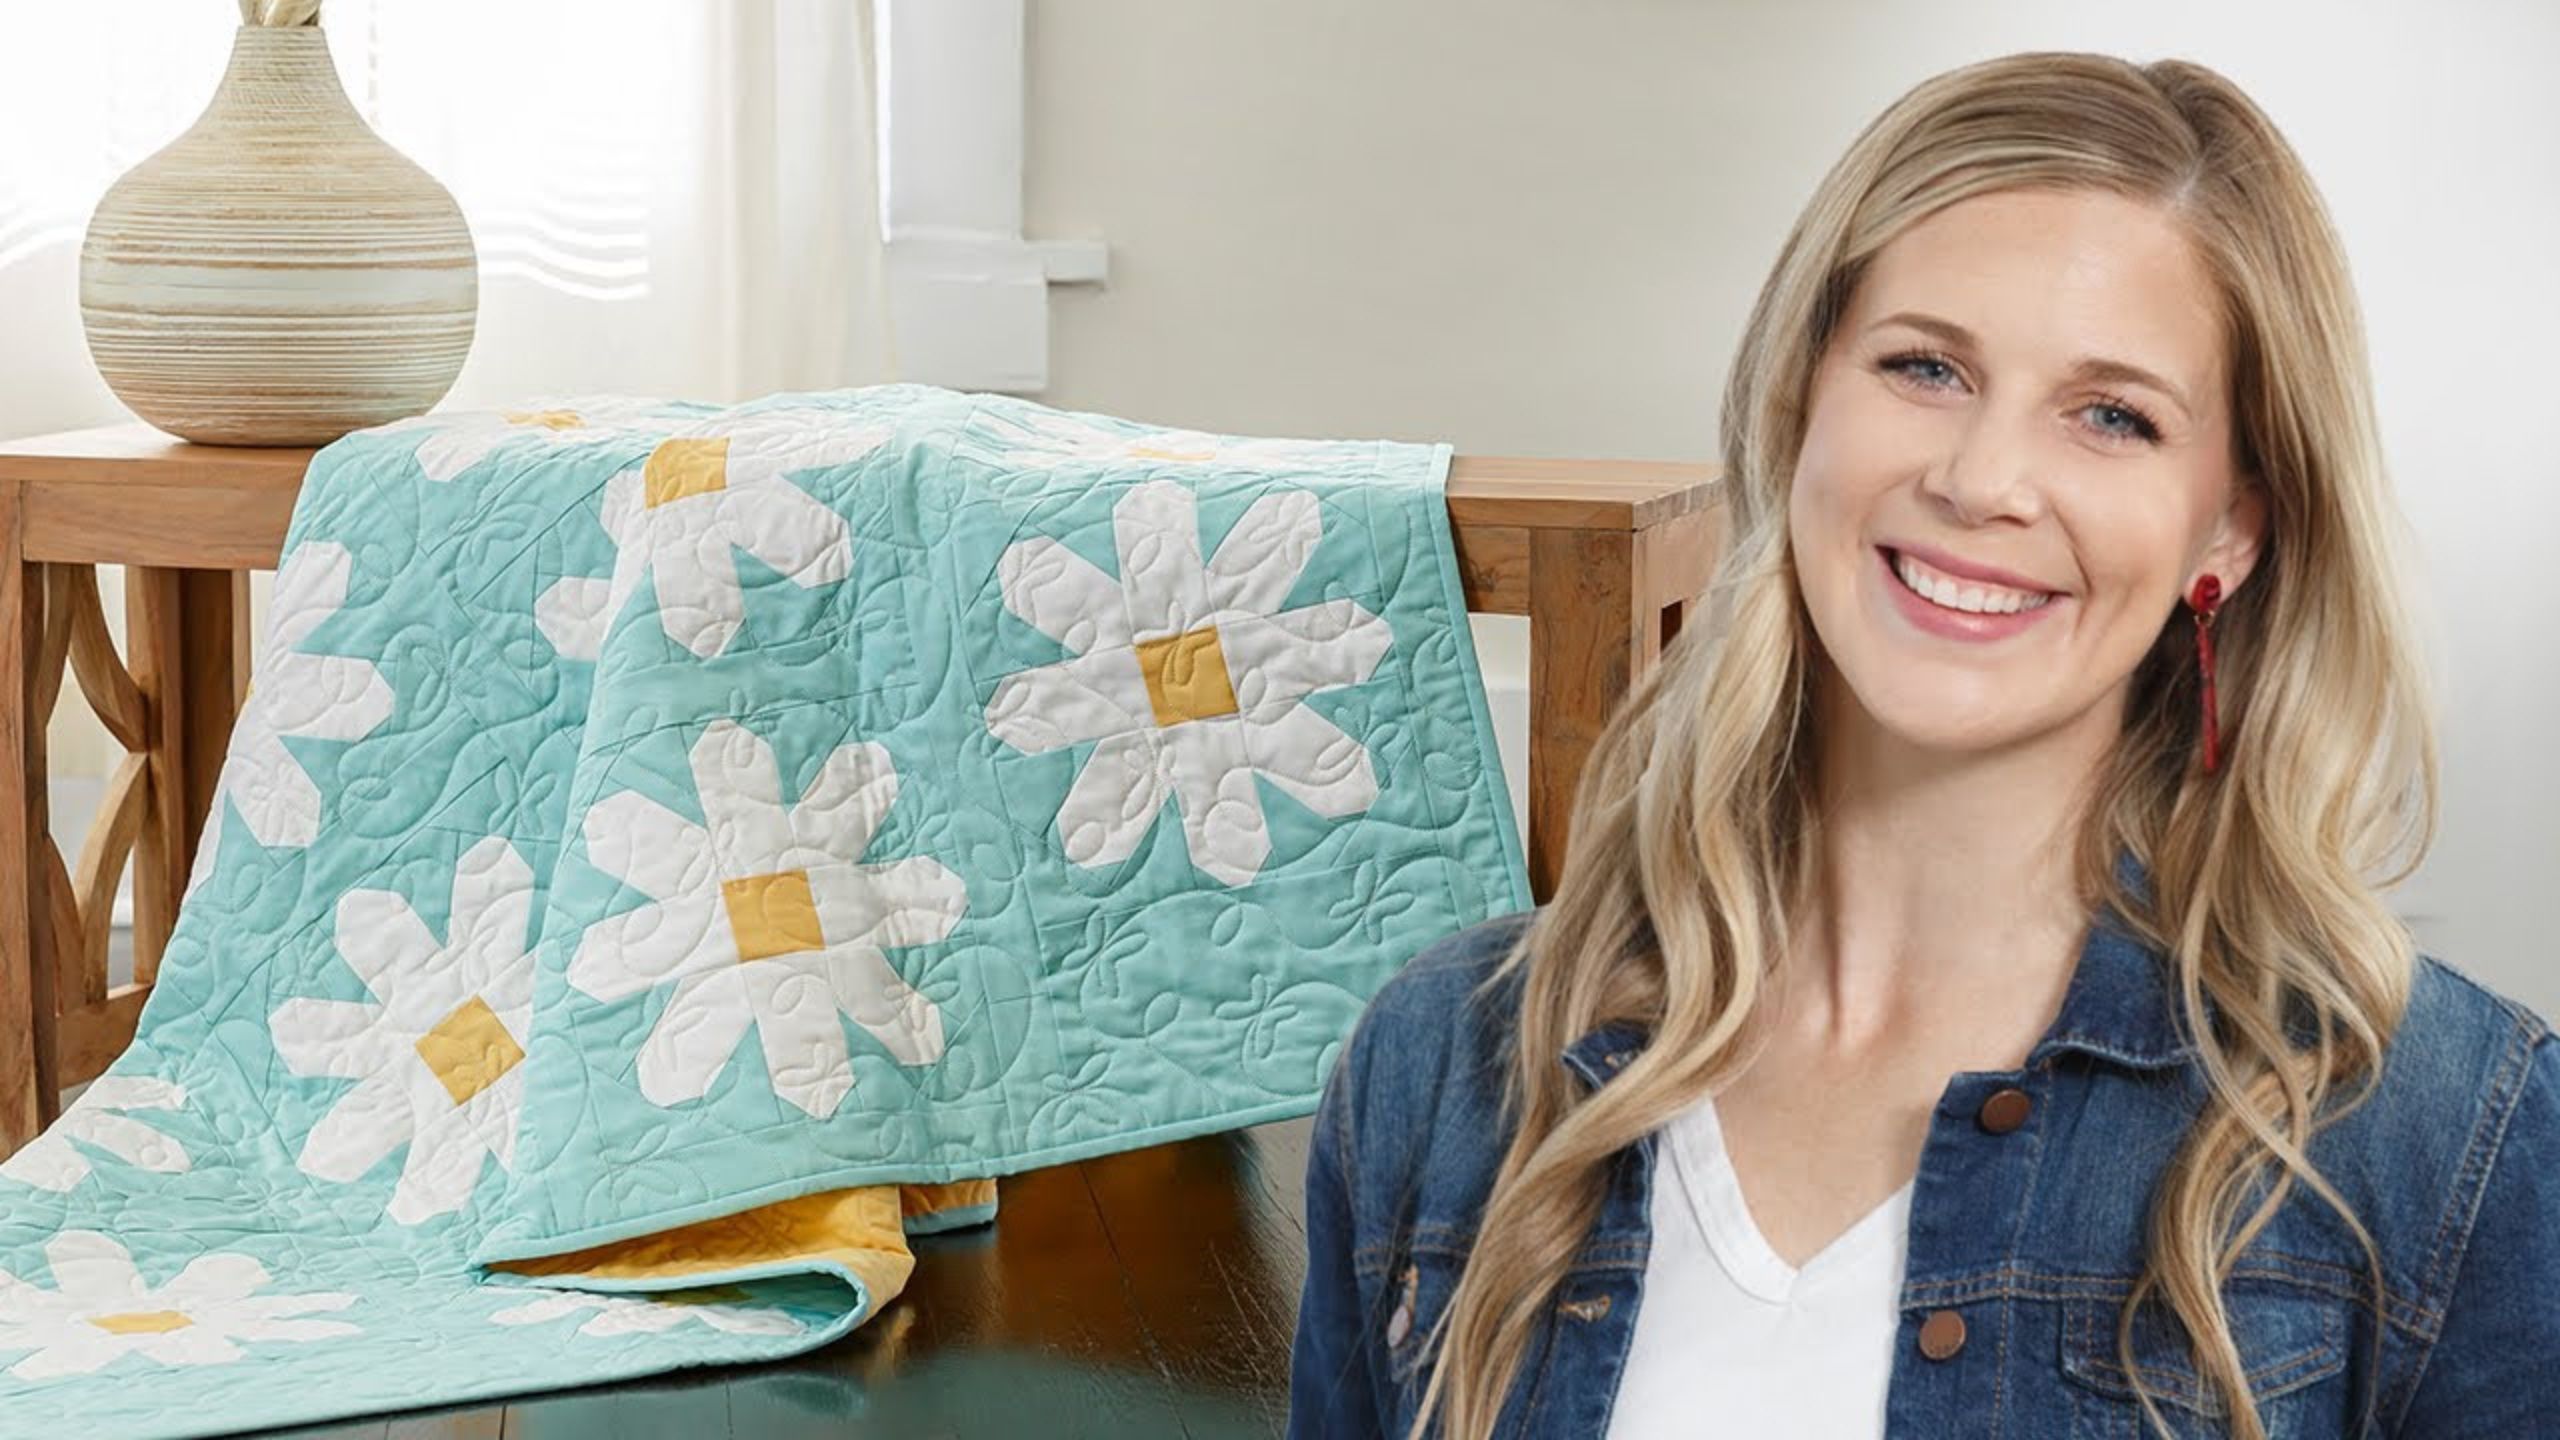
How to Make the Fresh As A Daisy Quilt - Free Quilt Tutorial with Misty Doan
 Misty Doan
- Fabric by Yard
- Modern
- Baby
- Intermediate
- Quilt size 59" × 63"
Crazy about daisies? So is Misty! In today's tutorial, you get to learn how to make the darling Fresh as a Daisy quilt by Pen and Paper Patterns using Moda Bella Solids and the Missouri Star 4.5" x 4.5" Square Ruler. Follow along with Misty as she shows you how simple it is to make daisy blocks!
Instructor
Misty Doan
Misty Doan grew up surrounded by sewing and quilting. She loves spending time sharing tutorials each week each week, and when she’s not stitching up one of her fun sewing projects for home decor, most likely you’ll find her hanging out with her husband and three awesome kids or working on a house project.
Shop this tutorial
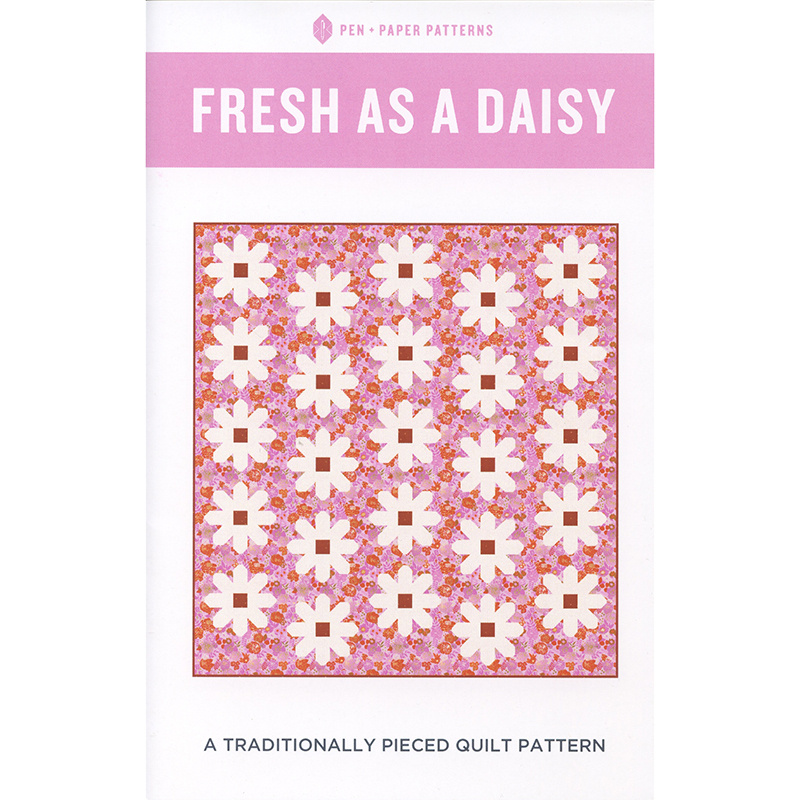 Fresh as a Daisy Pattern$11.75Shop →
 Bella Solids - White Bleached Yardage$8.24Shop →
 Bella Solids - Afternoon Yardage$8.24Shop →
 Bella Solids - Spray Yardage$8.24Shop →
 Missouri Star Quilter's Best Blend Throw Batting$20.95Shop →
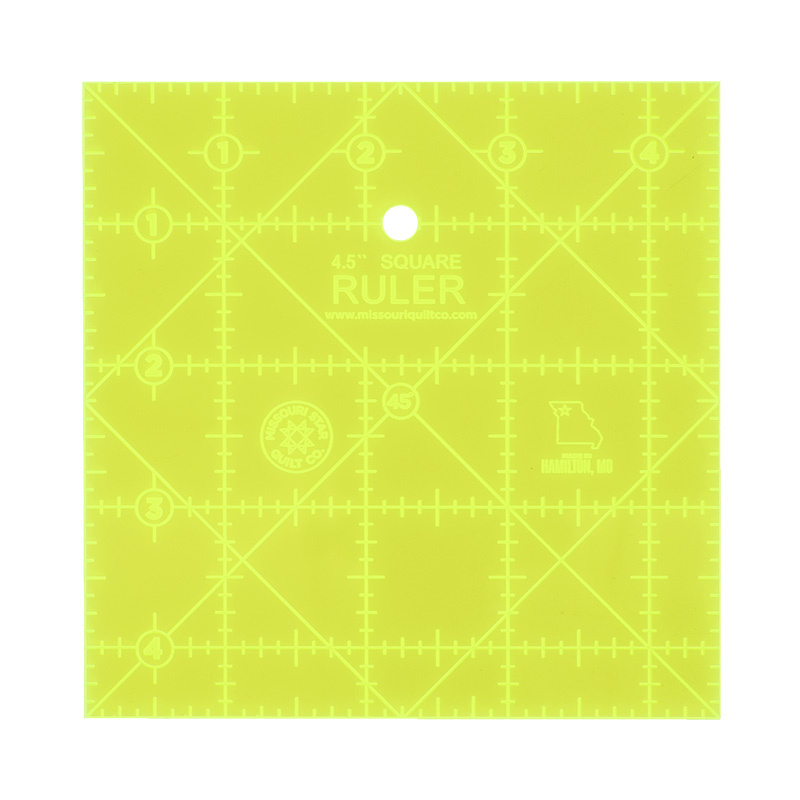 Missouri Star 4.5" x 4.5" Square Ruler$6.95Shop →
 Missouri Star 50 WT Cotton Thread White$6.95Shop →
 Exclusive Missouri Star Jenny TG1600 ProPlus Oliso Smart Iron$199.99Shop →
 Olfa Splash Aqua 45mm Rotary Cutter$18.75Shop →
 Missouri Star Wooly Betty Board - 17.5" x 17.5" Aqua Border$88.95Shop →
 Elan 8" Dressmaker Scissors$20.95Shop →
- Olfa Splash Aqua 45mm Rotary Cutter$18.75Shop →
 Magnetic Thread Spool Pin Holder - Pink$5.45Shop →
Common Questions
What is covered in How to Make the Fresh As A Daisy Quilt - Free Quilt Tutorial with Misty Doan?
Crazy about daisies? So is Misty! In today's tutorial, you get to learn how to make the darling Fresh as a Daisy quilt by Pen and Paper Patterns using Moda Bella Solids and the Missouri Star 4.5" x 4.5" Square Ruler. Follow along with Misty as she shows you how simple it is to...
How long is the tutorial video?
The tutorial video is 00:11:35.
Are supplies listed for this tutorial?
Yes. The tutorial page includes the supplies and materials connected to this project.
Is a transcript available?
Yes. A written transcript is available on the tutorial page.
Video Transcript
So like I said, we're going to be making this Fresh as a Daisy quilt that you can see here behind me. We're making the throw size today, so pick up the pattern from us here at Missouri Star and we'll have all the measurements that you need. But I'm going to walk you through this technique. If you're not familiar with Lindsay's patterns, they're so great because it looks like you might have to do some really intricate paper piecing, but they're all traditionally pieced and she makes it super simple. So let me walk you through this method.
First up grab your fabric. I used all Bella solids. So you'll notice the background is this beautiful aqua. You'll need four yards of that. For the petals, I used bleached white and you'll need one and three quarter yards. Then for your centers you'll need just a quarter yard and I used yellow.
So let me show you how to make this. First up, we're going to grab our white rectangles and a couple of our background squares and we're going to begin by placing these on one edge and snowballing. That just means we're going to sew corner to corner. So you can either draw a line or press a line, but because I have diagonal seam tape on my machine I'm just going to go ahead and take this over there and sew point to point. If you're not familiar with diagonal seam tape, I have this on my machine. What that does is the center line is in line with my needle and then on either side of that is exactly where a quarter inch line would be if you're
doing traditional piecing. But because I just need that center line, I'm going to go ahead and put this first point right under my needle and then I'm going to make sure that this second point lines up with that red line, and then I'm just going to sew and keep my point right in line with that red line and then I can trim my thread. Then we'll go back and do this the other direction because I can just set these both on here. So lining it up with my needle and with that red line, there we go. So now that that's done I can go ahead and trim off my seam allowance, just leaving a quarter inch behind on both of these sides.
Now we can take this over to the iron and just press these back. Just kind of roll them back like so. All right and then it's going to look like this and then you're going to do this same thing eight times, because for your block all of the petals begin in the same way. You're going to keep four of them that you're going to just set aside like so, and then you're going to take the other four and we're going to turn these into the corner units of our block. So now that we have this ready we're going to take our shorter background rectangles and we're going to line them up with this bottom edge that we've snowballed. Don't worry about the fact that they don't line up here - that's totally fine. We're just going to take this and sew a quarter inch seam on this side.
Then I'll go ahead and press this one back, and then I'm going to add that same size rectangle to the other side. All right. Okay and now we can press this open as well. So now we've got a piece that looks like this. You can see it looks a little odd, that's okay. You're doing it exactly right. Now I'm going to take my larger background rectangle and I'm going to just finger press this in half so I have a center line and I'm going to line that up exactly with the point here. And then we're going to sew a quarter inch seam along this edge. There we go. Now I'll go ahead and press this back. All right, so if your unit looks like this, you have done it exactly right.
Now we are going to trim this up. If you have a four and a half inch ruler, this is the perfect time to use that. I am going to set this on here and I'm going to use the lines to make sure that this is going to work out exactly right. You can see that this is going to just kind of come to the edge of all of those pieces that we have sewn so I'm having as little waste as possible. We are going to trim this up so it's square. There's one, two and then I'm going to pause and go ahead and rotate this so I'm not cutting towards myself and we'll cut these two other sides. And there are
our corner units.
So you'll just repeat this four times and then let me show you how this block goes together. First we're going to take one of our yellow centers. That first step in our petals, they'll go like so. And then our Corner units will set in just like this. Isn't that so fun? I love how quick and easy this is. Now we can just assemble this like a nine patch. So let's go ahead and fold these over and I will take these to the machine and we'll do some chain piecing one after the other. Just take a few stitches and then make sure it's lined up. Then I'll grab my next piece, just slide that in right after and the last one.
I love this method because it kind of keeps all your pieces pinned together with those threads. I'm just going to open this up and add my next piece to the top and continue all the way down until I have all three rows ready to go. All right. So now that I have those, you can see how they're kind of stuck together. I'm just going to go ahead and press these. So I'm going to press these up and bottom sections to the middle because that's where they want to go. Then I will press the center to the outside and this will make those seams nest really nicely when I finish sewing this block together. There we go. All right and so now I can just fold this first one over and continue down with my quarter inch seams.
Then I'm just going to pause when I get to the middle here and make sure that those seams are nesting going opposite directions. And then again at this next little juncture and then I can just cruise all the way down this side. Turn it around and do this on the other side and our block will be complete.
Okay now our block is all together. We can just press this and it comes together so fast! I just love this block so much.
So let's take a look at how it goes together into the quilt. So here we are at the quilt. Remember we made the throw size (this measures 59 by 63). You can see that the block just sets in here and then it's finished off with some sashing but you'll notice that it does kind of stagger a bit and so there's a rectangle on every other row that's on the bottom and the top that gives us this movement. I just love how it comes together. I decided to back it with yellow, the same yellow that I used in my center. So whatever you choose for your backing, you'll need an additional four yards and then I finished it off with the Flutter By quilting pattern.
So I hope you enjoyed this tutorial on the Fresh as a Daisy pattern it's a really fun block to make!


