
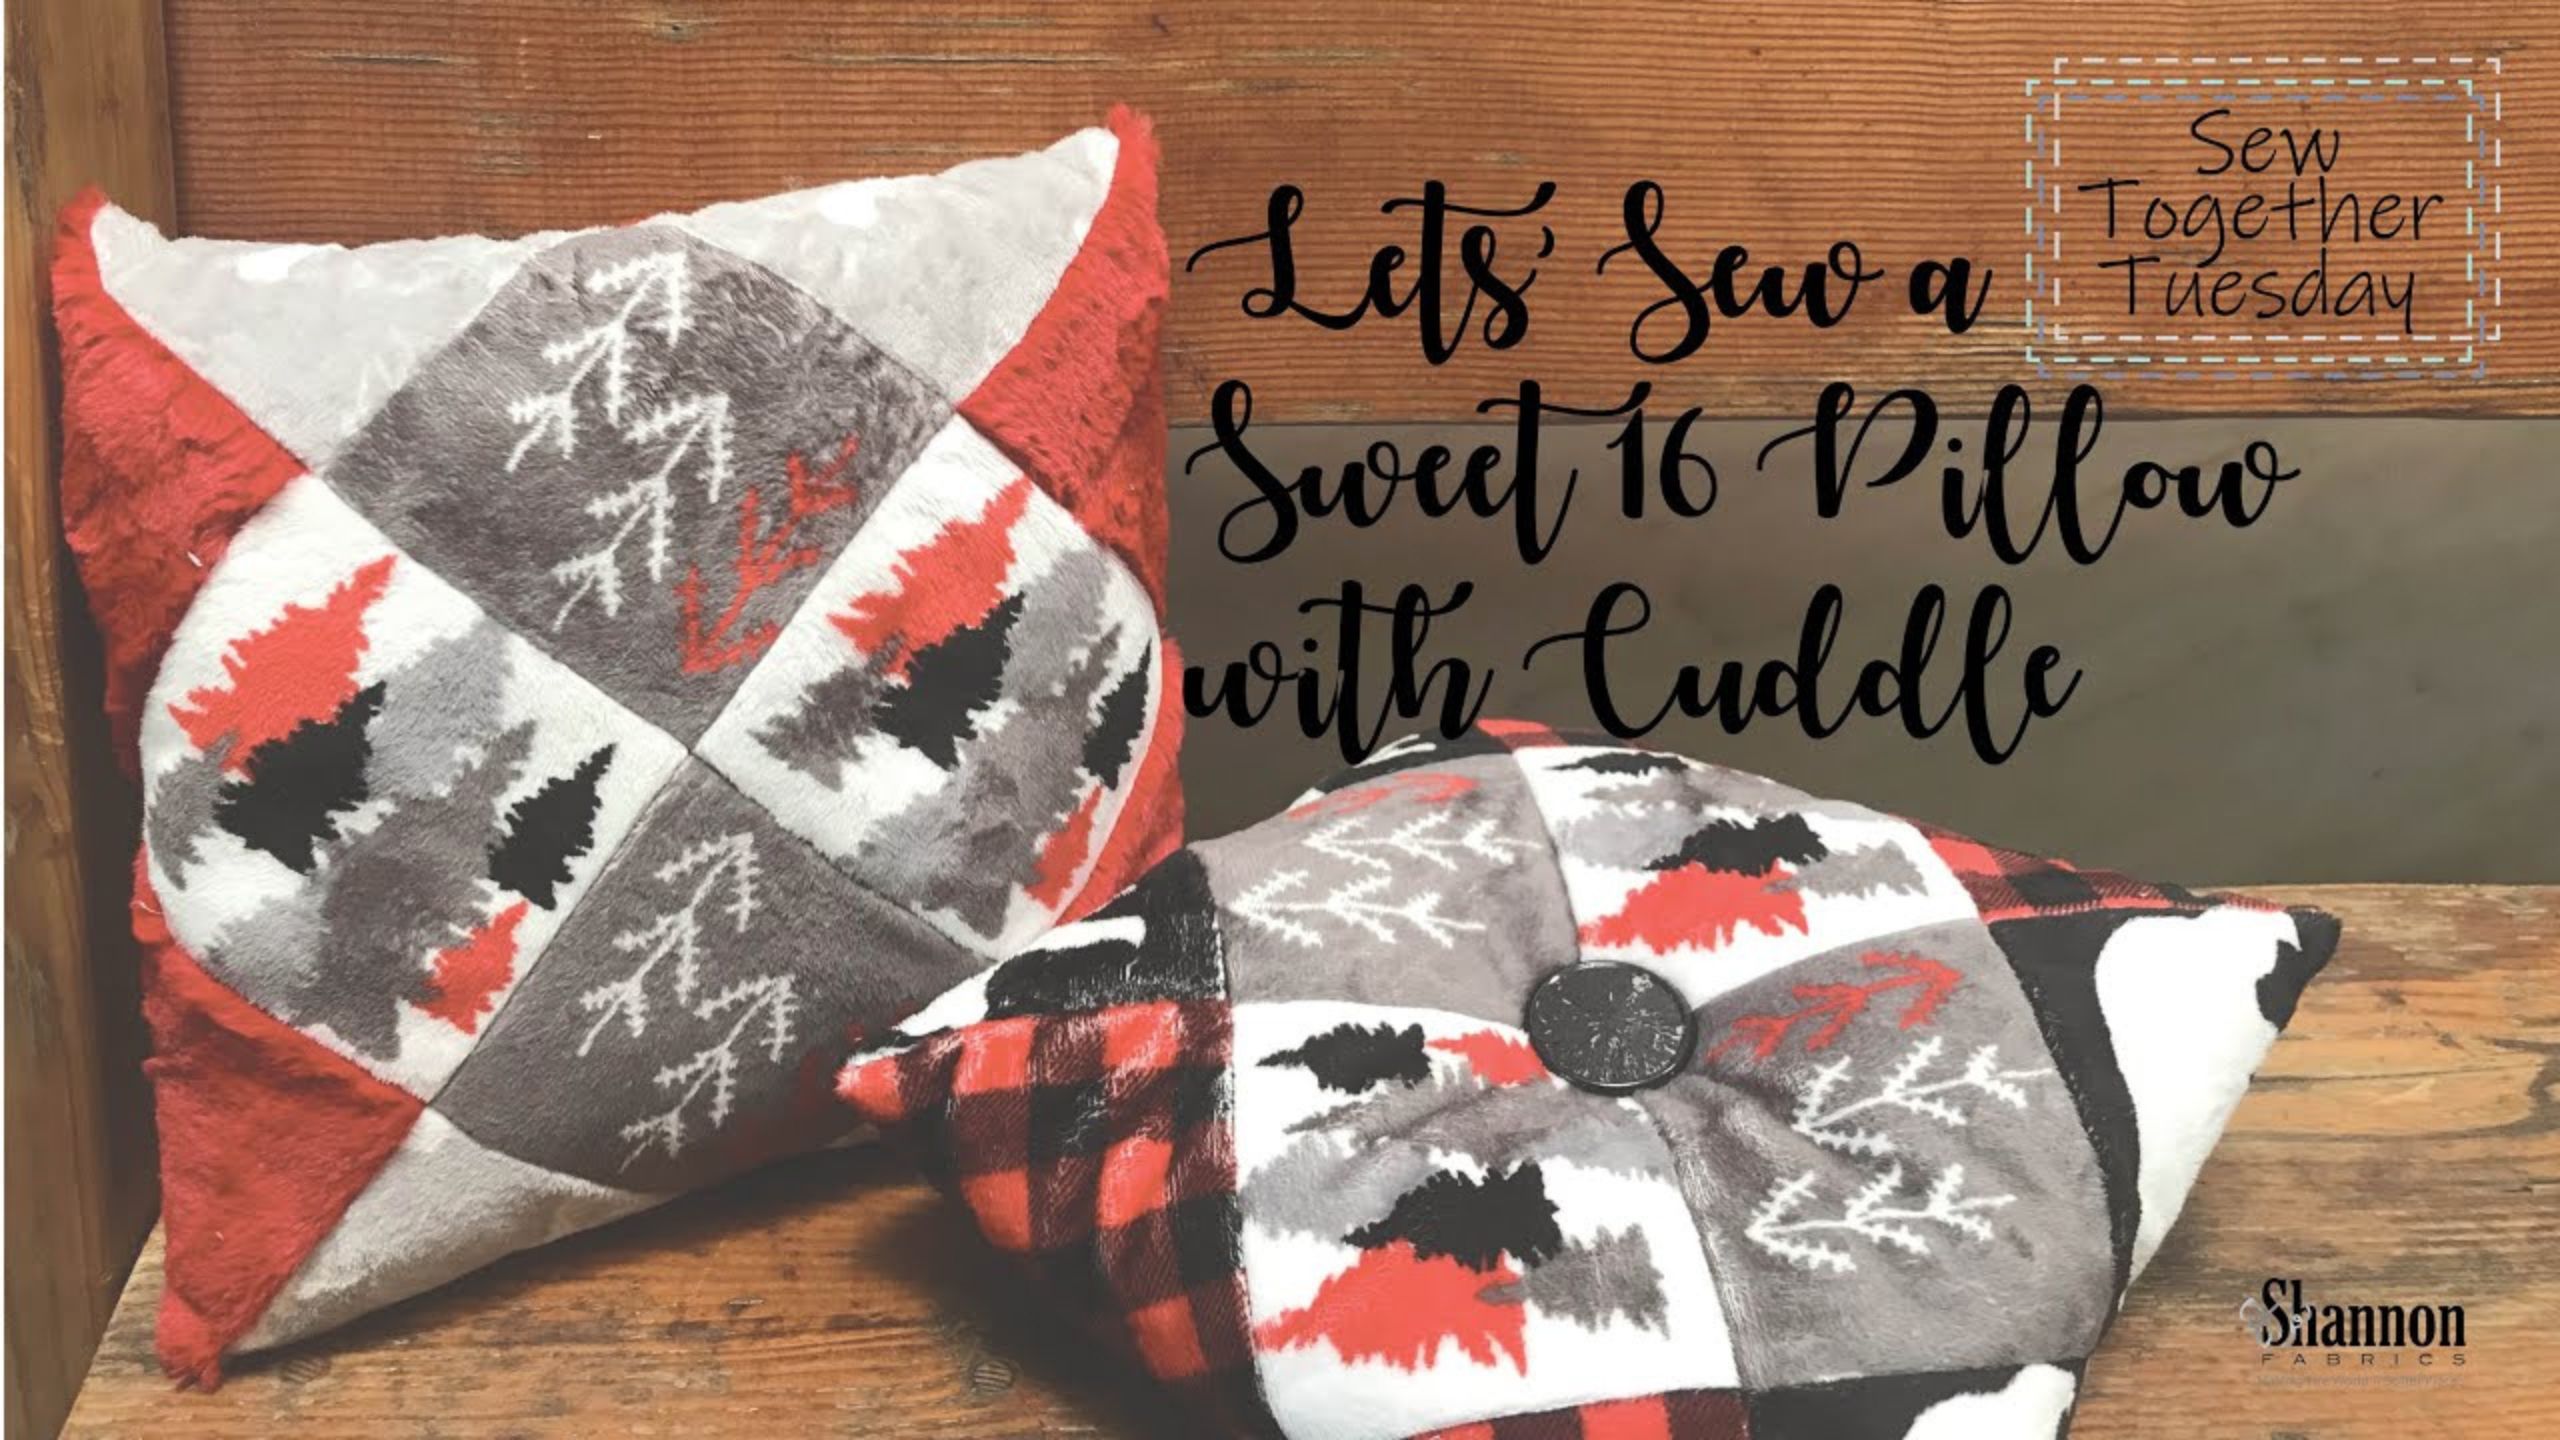
How to Sew a Pillow with Cuddle® Minky Fabric - a tutorial with Shannon Fabrics
This week on Sew Together Tuesday, our National Educator Teresa Coates takes you step-by-step through how to sew a pillow using Cuddle® minky fabric. It's an easy, quick and fun sewing project!

Instructor
Shannon Fabrics/Teresa Coates
Shannon Fabrics imports and distributes several different types of fabric, including super-soft Cuddle® minky plush fabrics, Embrace® double gauze fabrics, terry cloth and other novelty fabrics. Teresa Coates is a writer, editor and maker. Currently she is the National Educator for Shannon Fabrics and the host of Sew Together Tuesday.
Shop this tutorial
 Kaffe Fassett Stiletto$9.75Shop →
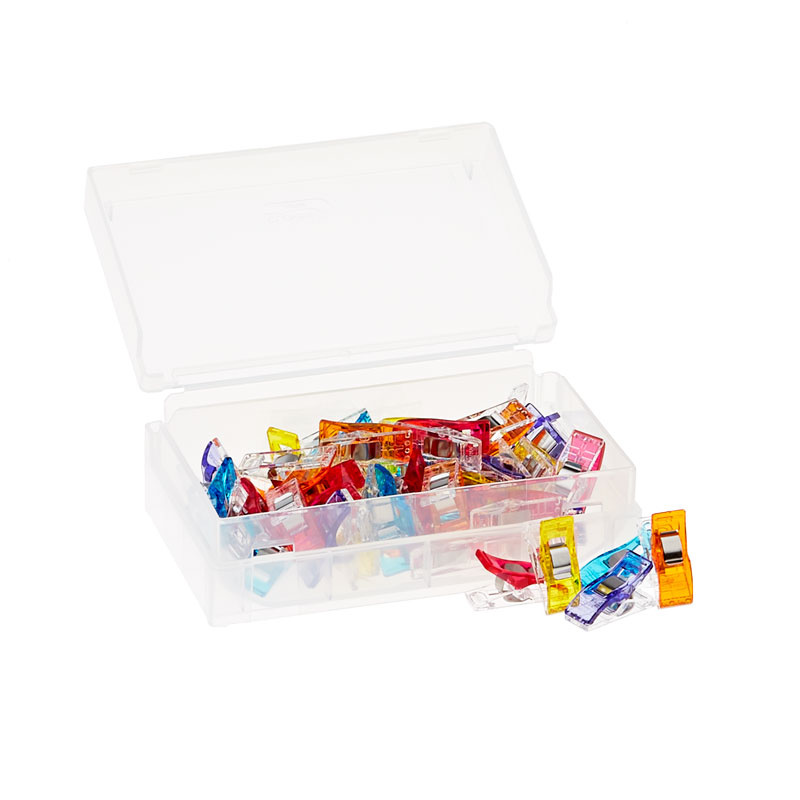 Wonder Clips - Assortment 50 Count$33.95Shop →
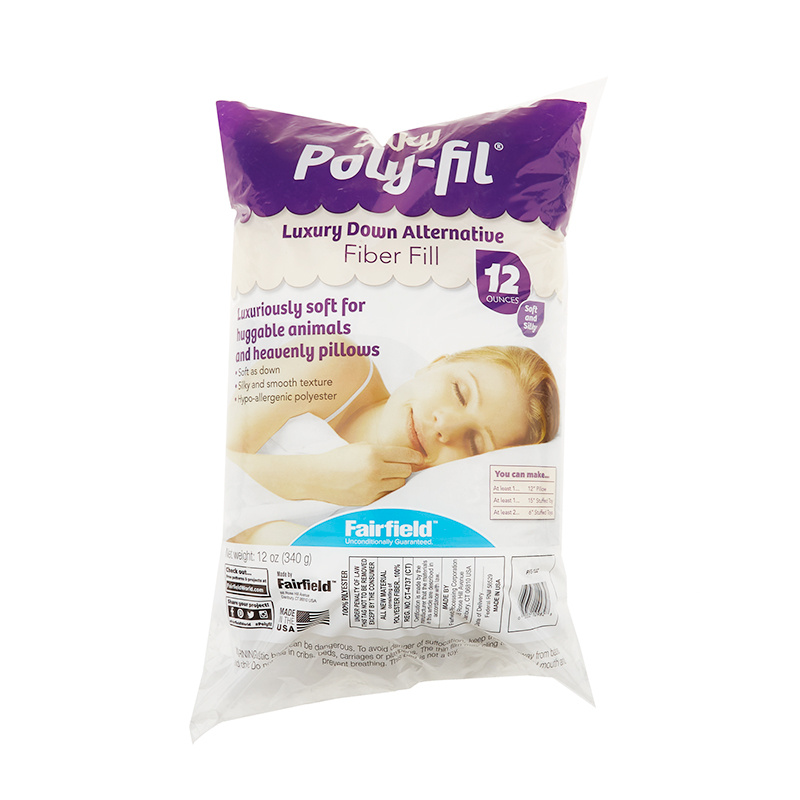 Silky Poly-Fil - 12oz$13.95Shop →
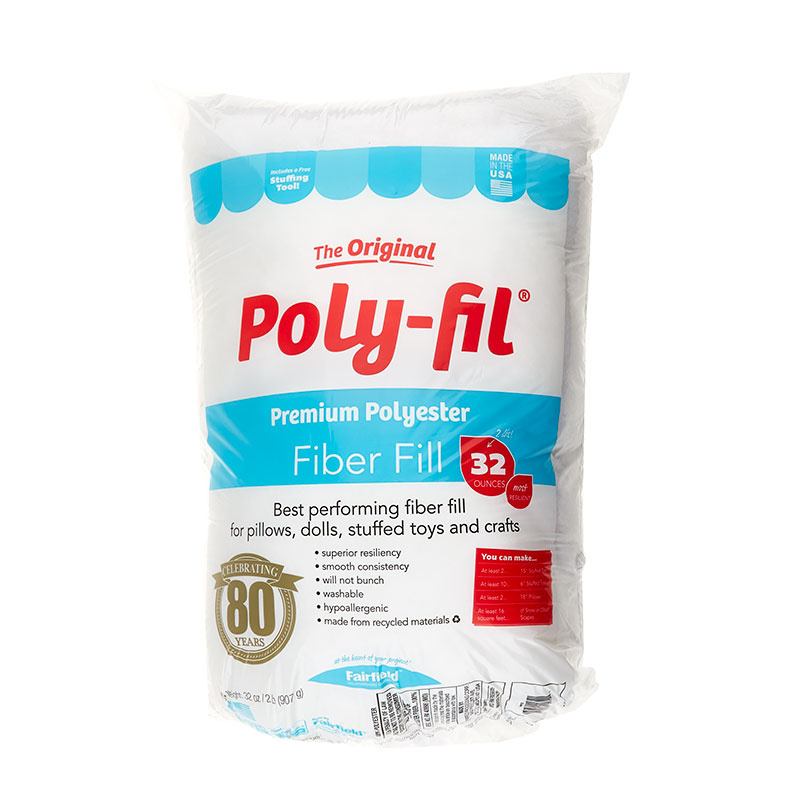 Poly-fil Fiber - 32oz$19.95Shop →
 Soft Touch Pillow - 12" x 12"$11.45Shop →
 Soft Touch Pillow - 20" x 20"$23.95Shop →
 Olfa 45mm Deluxe Ergonomic Rotary Cutter$32.95Shop →
 Schmetz Stretch Machine Needles$5.75Shop →
 Flower Head Pin$13.75Shop →
 Olfa Splash 24" x 36" Cutting Mat Navy$68.95Shop →
Common Questions
What is covered in How to Sew a Pillow with Cuddle® Minky Fabric - a tutorial with Shannon Fabrics?
This week on Sew Together Tuesday, our National Educator Teresa Coates takes you step-by-step through how to sew a pillow using Cuddle® minky fabric. It's an easy, quick and fun sewing project!
How long is the tutorial video?
The tutorial video is 00:29:23.
Are supplies listed for this tutorial?
Yes. The tutorial page includes the supplies and materials connected to this project.
Is a transcript available?
Yes. A written transcript is available on the tutorial page.
Video Transcript
Today's project is our sweet 16 pillow and it uses 16 little squares and you may have seen this one before. If you've ever gotten one of our little charm packs that we used to give away consumer shows you've gotten it and has a version of this pattern in there.
So today we're going to go through that. It's a great way to use your scraps and that's what I wanted to show you. We're actually going to be working with our cabin quilt print today which has little squares printed on it but I'm going to show you another version at the end that you can use it with just a bunch of scraps and it's a great project for that.
So if you've been making some different cuddle projects quilts and pillows and that sort of thing make sure that you save your scraps. You can do this in five inch square, six inch squares, whichever you'd like. It'll just make a bigger pillow depending on on what you what size your squares originally start with.
So to start with we're gonna need our fabric and all sorts of tools, so I've got those over here for you. This is our cabin quilt print which is actually sort of like a cheater cloth. So all of these squares are printed on here. We're going to be using the scarlet version today and I've got it partially sewn together here so we can um put it together a little bit faster.
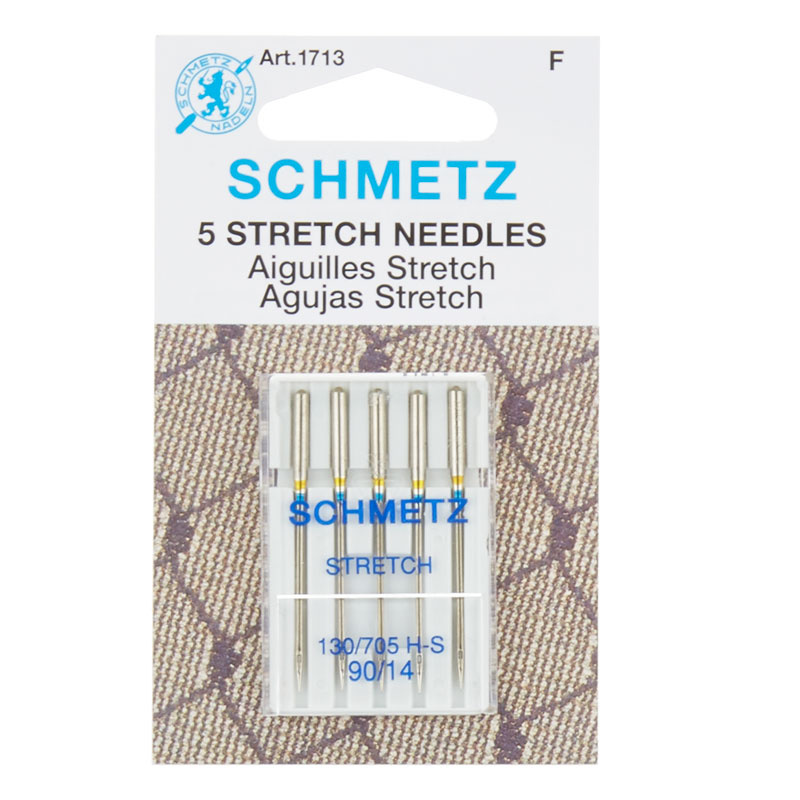
But we have a couple different versions of this and I really love all the different squares that are in it. So we have this this fabric and then I have my Wonder Clips I've got my Clover Flower Head Pins I'm using the Superior So Fine today and Schmetz stretch needles and 90/14 stretch. I've got my rotary cutter, and my stiletto which I'm gonna use like crazy today.
So to get started we're gonna need to cut our squares so I've got some right here for you. All right so what I did is I took these original size squares out of the fabric and I cut them and they're not quite square so I cut them to 4 and 3/4 inches because that's what I could get square out of each of those. So it's sort of a weird size but it works as long as they're all square.
So I'm gonna cut this from the back and I'm just gonna mark this on here so here's my 3/4 mark and 3/4 mark at the bottom there. Okay I'm gonna line this up and I'm just gonna trim this off ok so now I've got a square just like all the rest.
Okay so if I were starting this project, what you're gonna do is you're gonna lay out all of these squares and I have some extra here, but I can show you we would lay these all out. We'd figure out how we wanted our pattern to go and then what I do, I'll show you, is I take a little picture of it so I can know how I want it to go together. The thing to remember when you're putting these pillows together is it when we're done the front of it is gonna be this part right here okay so when we're finished you'll see that this part will work together to be our middle part so keep that in mind that this will be the front and then these edges are actually the back. You'll see when it comes together how it works but I like to do this first - I take a picture of them so I can get them back in the right order.
So I'm gonna show my red to my dear and then I've got these two sewn together. So we're gonna do that we would cut out all of the squares lay it out we wanted to and then sew them together. So first we're going to sew them in pairs. Ok, so I'm going to put these two together. I'm just gonna pin these right along this edge that I want to sew and I want to make sure the naps going the same direction.
Okay with this height is what I'm using for the red, it isn't quite as important because it's sort of swirly and it goes in different ways, but if I were using if I were using the just another cuddle I would want to do that.
Okay so I'm going to sew these together on the machine. I've got my walking foot and I have it straight set at a three stitch length, just a straight stitch, and I'm just gonna stitch right along that edge. All right I'm gonna use my walking foot and I've picked my needle over just a little bit because I'm gonna use just shy of a half inch seam allowance because I've got smaller squares here, but you're you would use a half inch seam allowance on the larger ones. Back stitch, I'm just gonna stitch right along here I'm gonna tuck that under make sure it's nice and flat.
I'm gonna go all the way across to the end, back stitch, cut my threads, pull it out. All right so now I've got two of these pairs sewn together okay and as I showed you in my little patchwork I saw here on my photograph, I saw this is how it goes together. So now I'm going to sew these three together. I like to do these in rows - you could do them in pairs and then rows, however you want to do it.
I'm just gonna sew right along this edge again using my stiletto to sort of feed it in and keep it nice and even. So now I have four pieces sewn together so I have a whole row. I can reference my picture again and see that that's exactly what my top row is supposed to look like.
I've got all the intersections pinned so then what I'm gonna do is I'm going to put one pin at the end because that's where I want to start. I'm gonna put one in here and I'm gonna put it down a little bit so that hopefully I can just sew past it and put a wonder clip up here.
When I'm sewing the two cuddles together that works pretty well. Sometimes if I'm using the lux cuddles it can be a little bit more difficult because the pile is there and it makes it thicker but we're gonna give it a shot to see what happens. I'm just gonna put a couple clips in here so I want to hold it pretty well. That edge will want to sort of roll on you when you're when you're sewing so clipping it will help a lot to keep it where you want it to be and not have to fight it.
I'm gonna go forward we're just gonna take this nice and slow and so all along this edge. I really love my stiletto for this - if you have an awl, you can use something like that - there's a few different tools that work really well to push your fabric through keep it.
I'm just gonna keep doing this for each row - you can see I've already done this twice before and this is the third one. So this puts all four rows together - it's nest it's right along okay and you can see the pins over here really help a lot to keep it from shifting too much and in the extra little wonder clip at the top really does its job.
You can see this now is the layout for the paper that I made earlier I can see that it works. It's the same layout I got it back together in the order that I wanted it to which is great.
So once you've got this 16 patch here what we're gonna do is we're gonna fold it in half this way right sides together and we're gonna pin the ends here. I'm going to do the same thing; I'm going to make sure that these joins match and push the seam allowances to either side and when I sean these I want to sew from this the
fold up.
I'm gonna make sure I've got plenty over there for my half inch seam allowance okay and I'm just gonna pin that and I throw a couple of little wonder clips on there just for good measure to make sure nothing moves.
I'm gonna do the same thing on the other end okay but this one, I want to flip it over because I want to sew again from the fold over here so I'm gonna put it together that way.
I'm going to start this just past the seam okay that's what I wanted to catch that seam that I sewed before but I don't necessarily want to sew all of that down flat back there when I get up to here.
This is where it gets a little bit tricky. So now we have like a little little pouch here. What we're gonna do is we're gonna flip this the other way. What I want to do is grab these side the middles of the sides - these are the center seams so if I lay this down flat you're gonna see this is the center seam and this is the center seam and I'm gonna turn it like this and bring these together.
Now this is my middle seam, this is the back center seam. I'm gonna pin that that's a little bit long so I'm just gonna work that in and get it nice and straight. I'm gonna match up these side seams or seam allowances.
This project is a great one to do with kids especially because you don't have to be super careful and it just works out almost always.
We're gonna match up this side now. What I need to do is I need to leave a little hole in here for where we're gonna stuff it. If you want to do a larger one which I'll show you, you can actually use a pillow form in it and you'll leave a larger hole that you can put the pillow form in but this guy we're just going to stuff.
So now we've got this funky-looking thing which doesn't really look like a pillow until I open it up and sort of get it flat and you can see how this is going to work together. We want to get all of these seams as as open as possible which we've done pretty okay there and then I'm just going to turn this inside out from here. I don't need to clip these corners because they're gonna get filled in with stuffing.
After stuff, we're just going to take this back and we're going to sew it closed. I'm just gonna do a little ladder stitch here back and forth to bring that closed at about a half an inch seam allowance. You can whip stitch that if it's easier for you.


