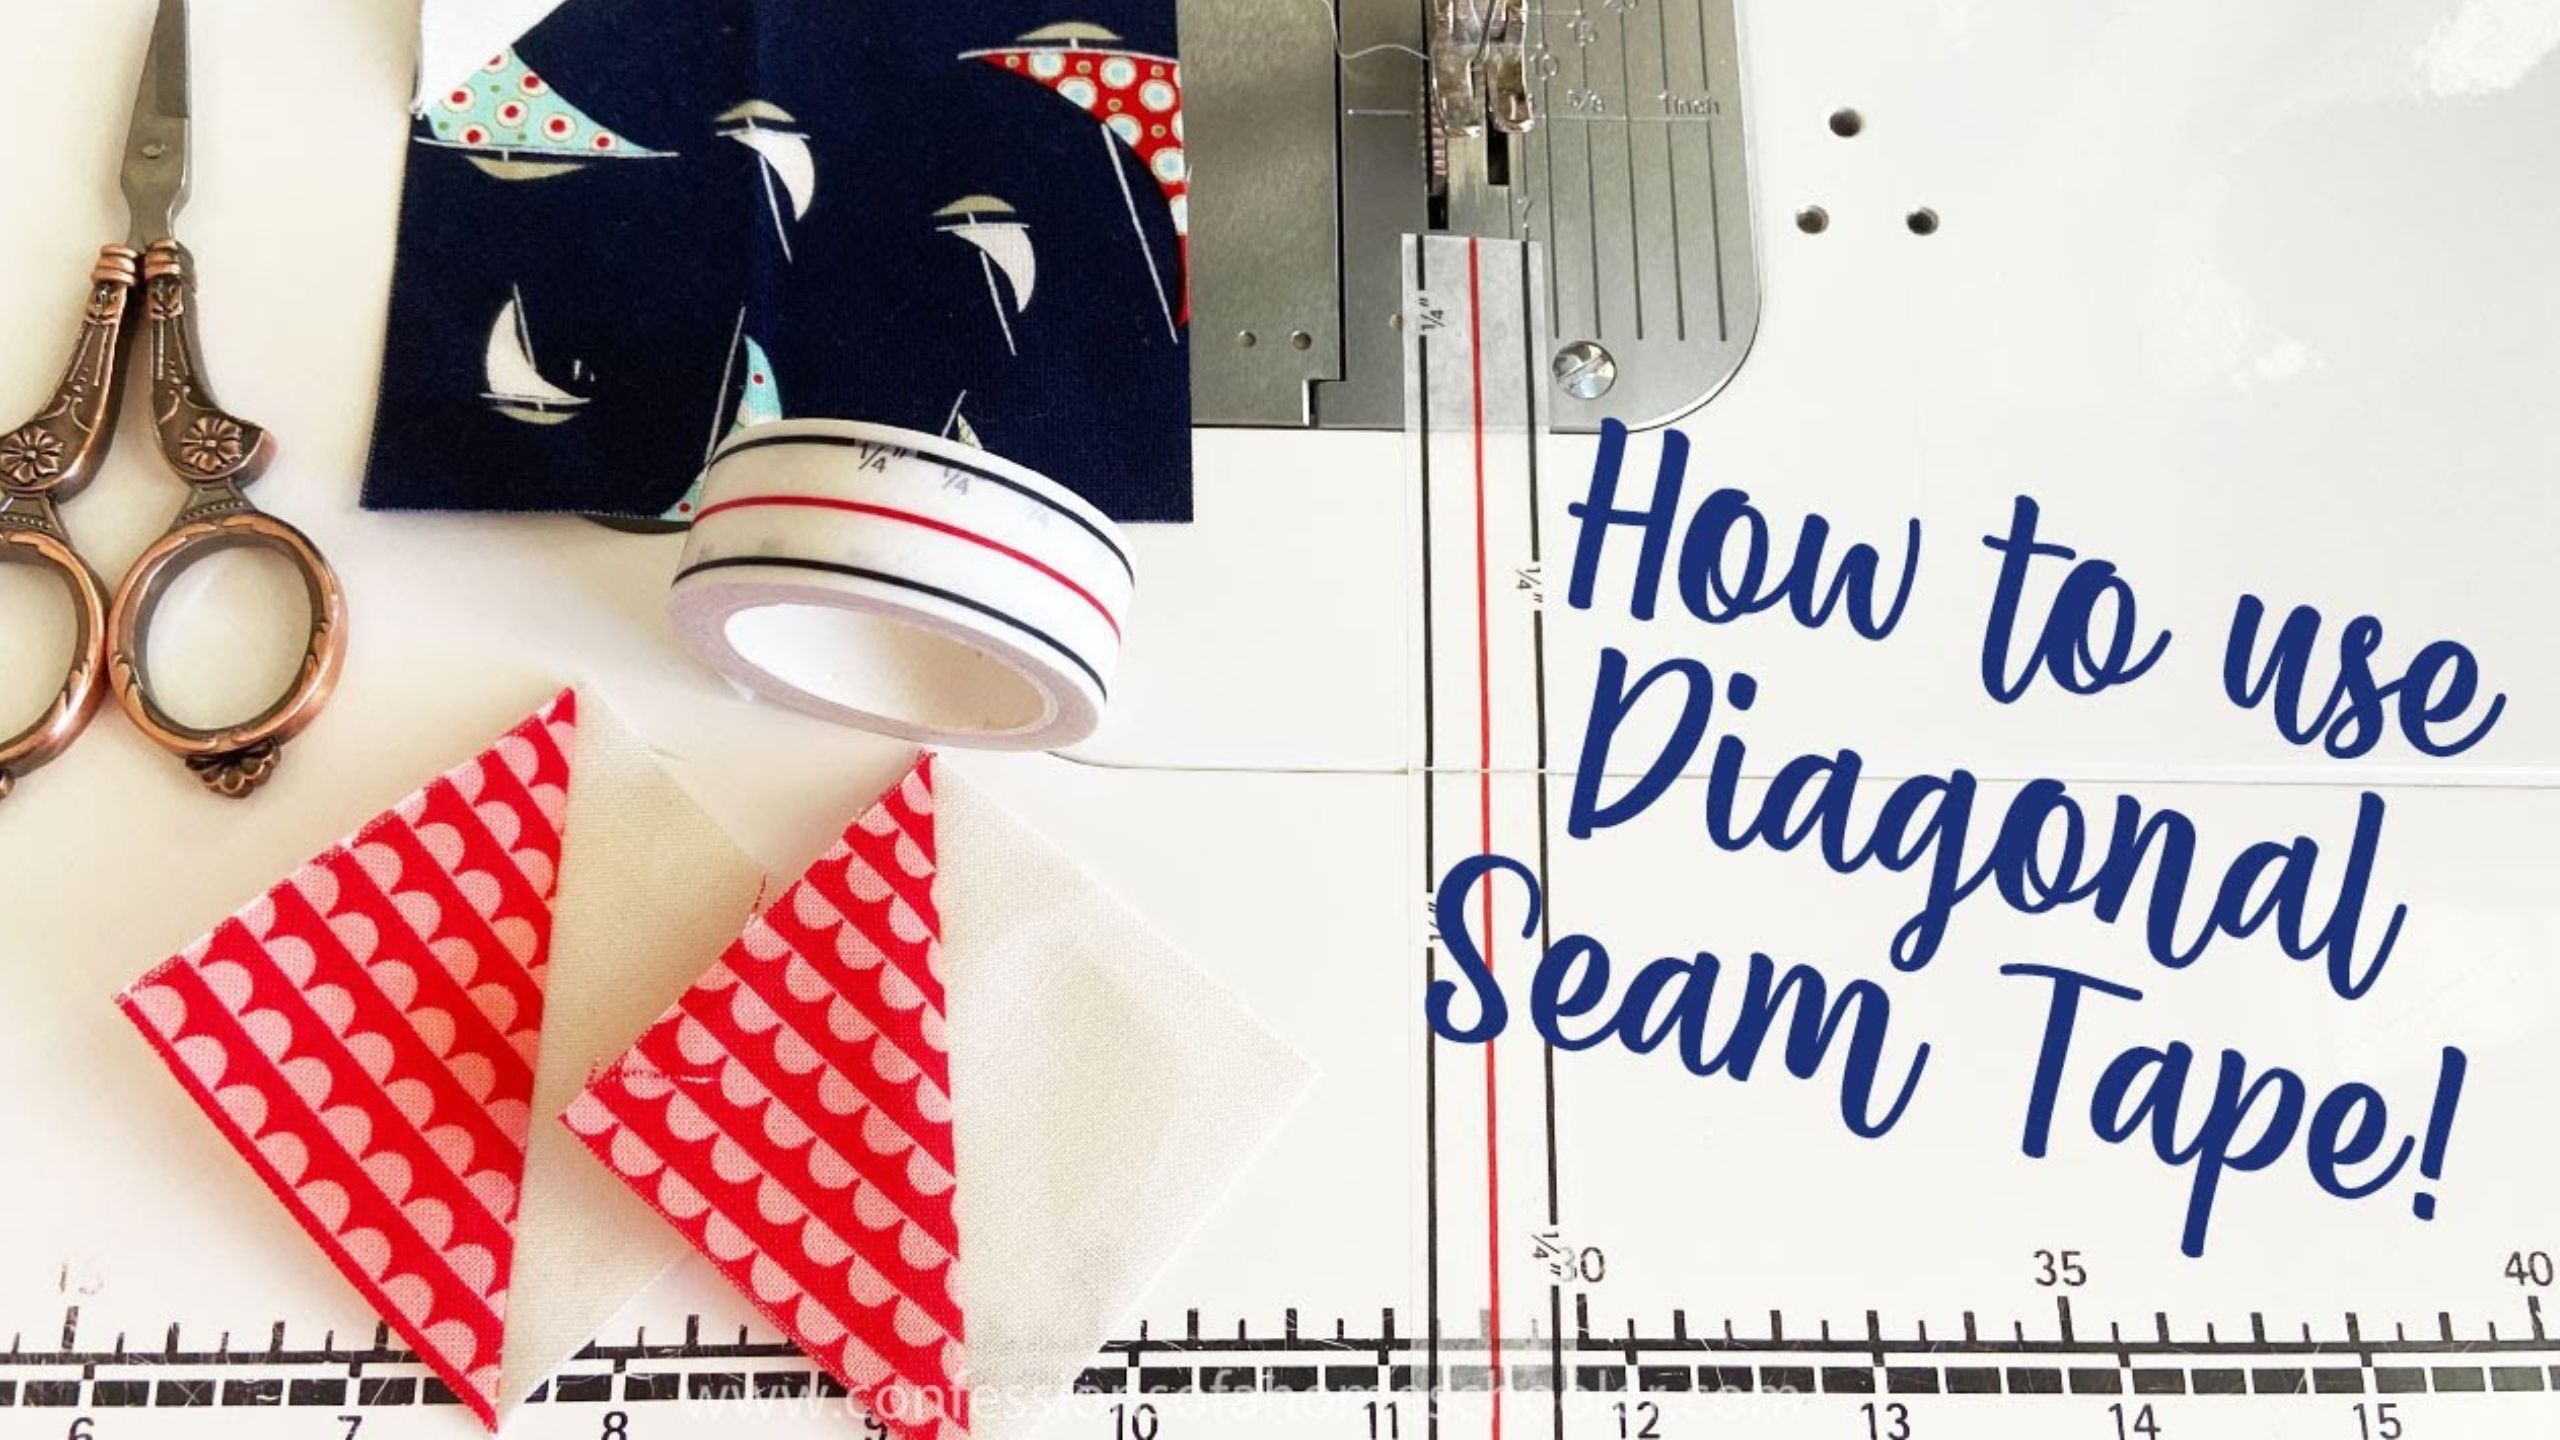
How to Use 1/4" Diagonal Seam Tape - Quilting Quick Tip with Erica Arndt
Every time Erica posts a video using diagonal seam tape, she gets questions on what it is and how to use it. Join her for this quick video where she shares the magic of diagonal seam tape, one of her favorite notions!

Instructor
Erica Arndt
Erica is a blogger, author, quilter, knitter, and maker of all the things! She is perhaps most well known for her homeschooling website, Confessions of a Homeschooler where she share homeschooling tips, curriculum, and organizational ideas, in addition to her quilting patterns and videos. She loves creating weekly video tutorials to share helpful tips, tricks, tutorials, fun projects, and inspiration for sewing and quilting.
Shop this tutorial

Common Questions
What is covered in How to Use 1/4" Diagonal Seam Tape - Quilting Quick Tip with Erica Arndt?
Every time Erica posts a video using diagonal seam tape, she gets questions on what it is and how to use it. Join her for this quick video where she shares the magic of diagonal seam tape, one of her favorite notions!
How long is the tutorial video?
The tutorial video is 00:06:56.
Is a transcript available?
Yes. A written transcript is available on the tutorial page.
Video Transcript
The tape is strong, thin, sticks well to almost any surface, and comes off easily. Each roll has 10 yards of tape so it should last a really long time.
The red line in the center is aligned with the needle of your machine, and the black lines on either side are 1/4″ to each side from the center of the lines, to represent a 1/4″ seam allowance. The black lines won’t replace a piecing foot with a perfect 1/4″, but act as an extra guide.
The tape removes cleanly, but the manufacturer recommends removing or replacing the tape often or after each project to avoid any residue on your machine. This tape is not meant to be a permanent fixture on the machine, and long term use without replacement may result in some residue to clean off.