
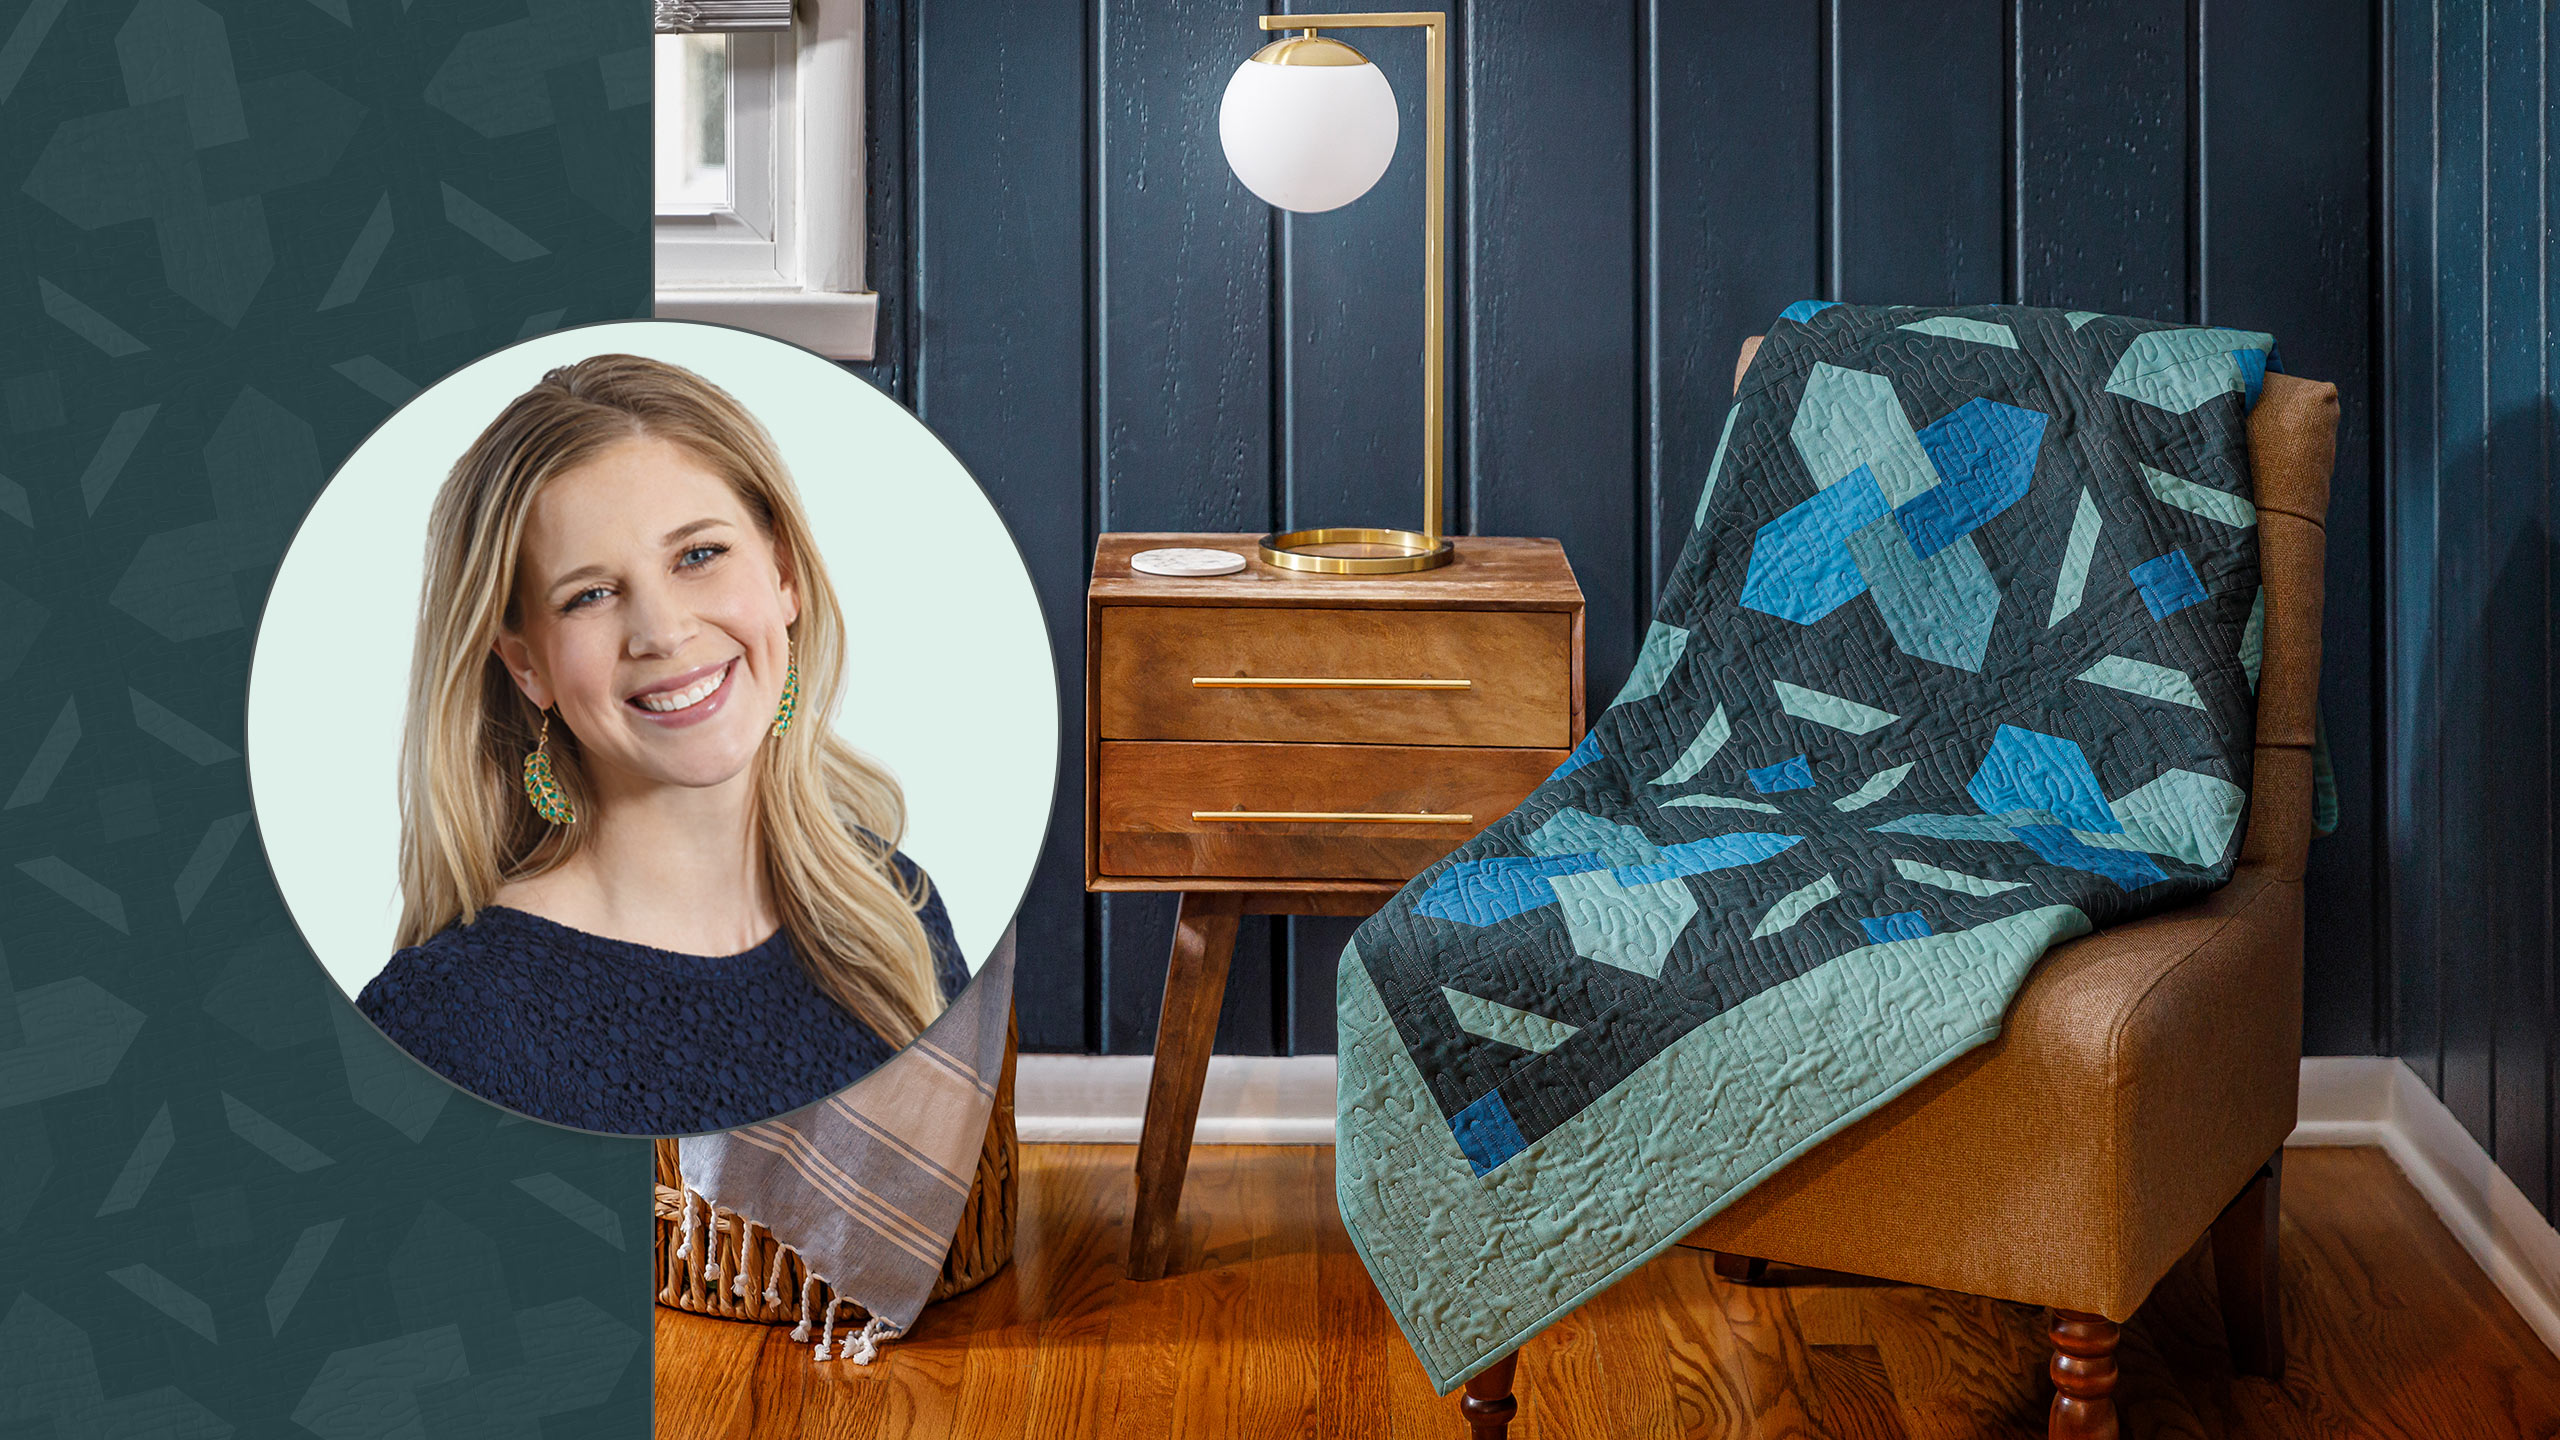
Interlocked Quilt
Lock in on the intriguing geometric design of this quilt! Clever color placement of simple squares creates an interlocking effect in the center of each block. Join Misty as she shows you how easy it is to create this striking quilt for your home.

Instructor
Misty Doan
Misty Doan grew up surrounded by sewing and quilting. She loves spending time sharing tutorials each week each week, and when she’s not stitching up one of her fun sewing projects for home decor, most likely you’ll find her hanging out with her husband and three awesome kids or working on a house project.
Shop this tutorial
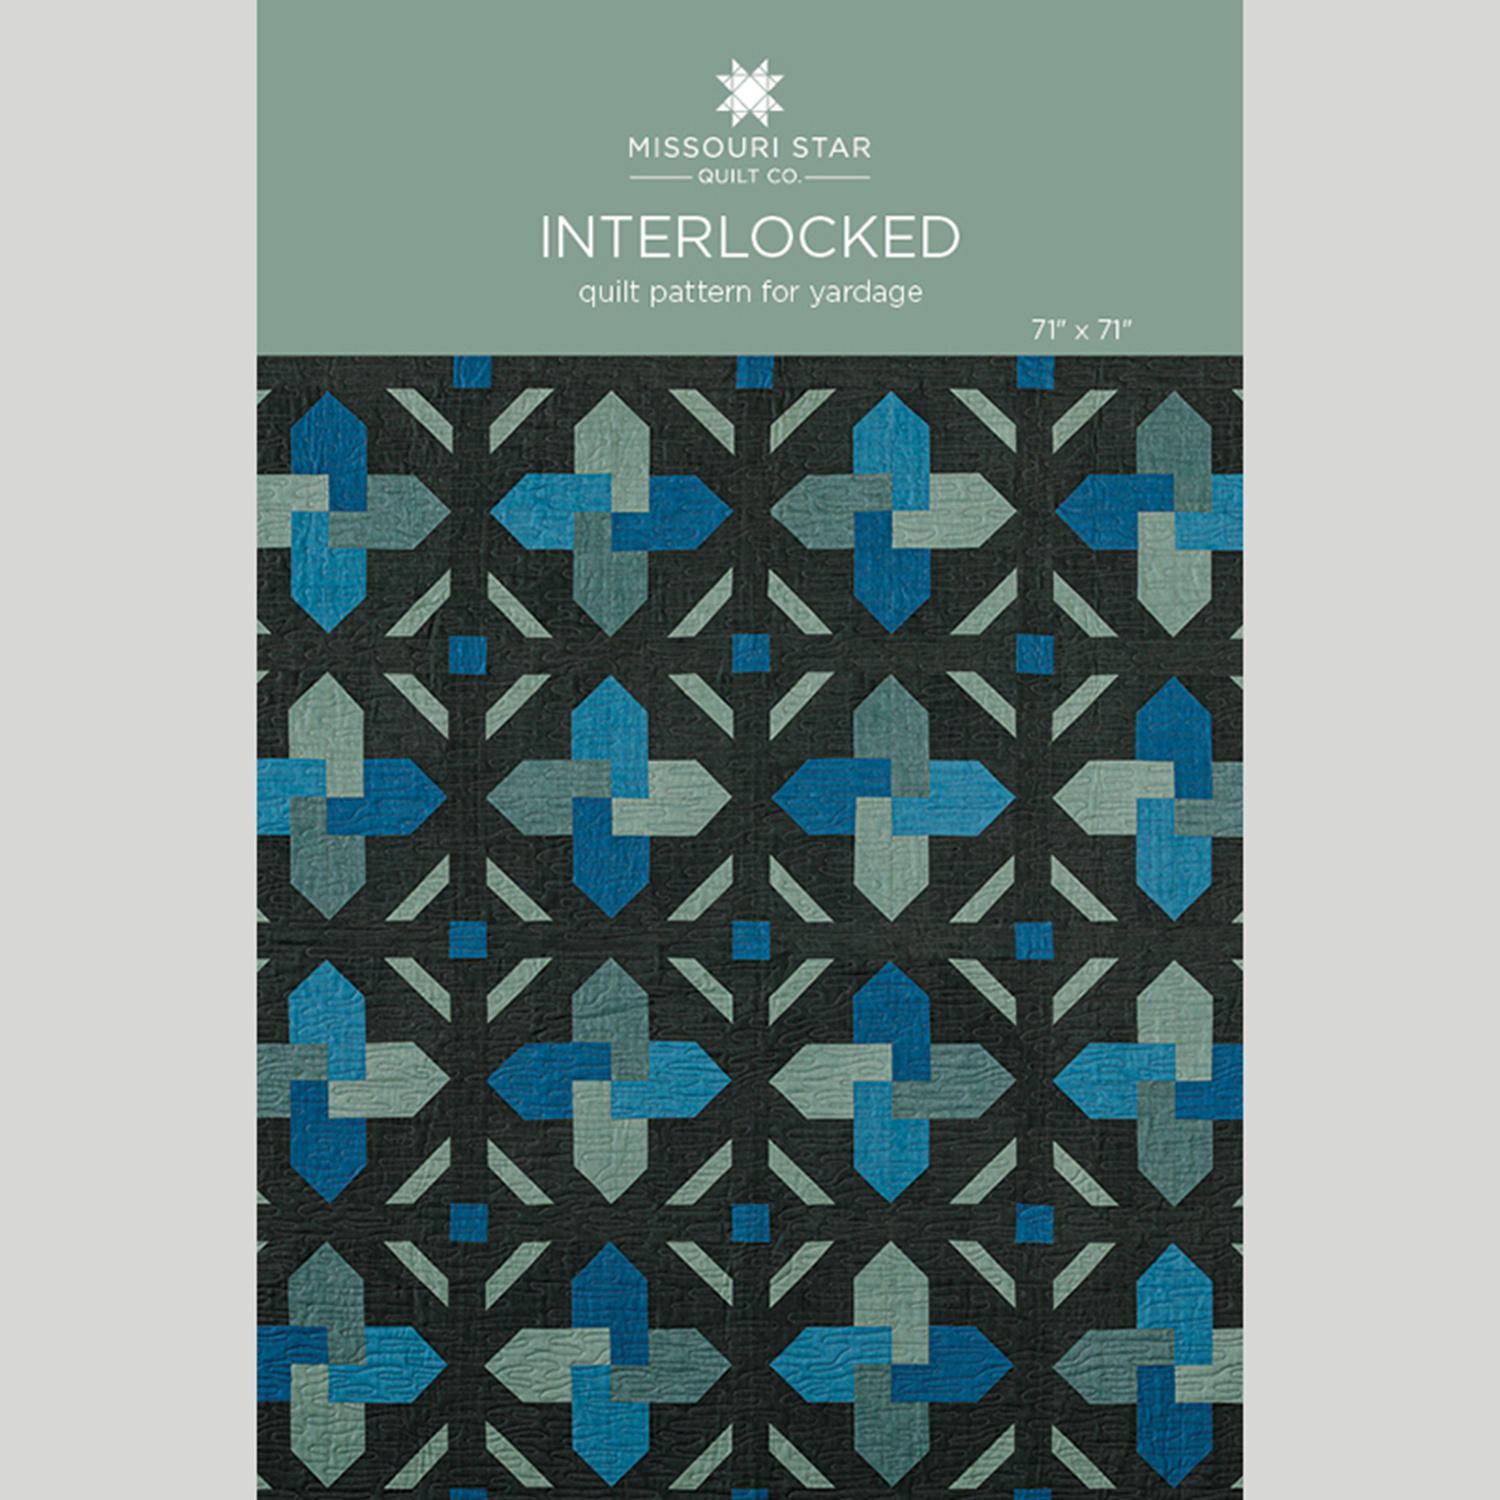 Interlocked Quilt Pattern by Missouri Star$8.50Shop →
 Digital Download - Interlocked Quilt Pattern by Missouri Star$6.95Shop →
 Laundry Baskets Favorites - Linen Texture Spanish Moss Yardage$11.96Shop →
 Laundry Baskets Favorites - Linen Texture Indian Ocean Yardage$11.96Shop →
 Laundry Baskets Favorites - Linen Texture Teal Yardage$11.96Shop →
 Laundry Baskets Favorites - Linen Texture Dusk Yardage$11.96Shop →
 Laundry Baskets Favorites - Linen Texture Charcoal Yardage$11.96Shop →
 Missouri Star Quilter’s Best Blend Full Batting$32.95Shop →
 Missouri Star 2.5" x 8" Ruler$11.95Shop →
 Missouri Star 45mm Rotary Cutter$19.95Shop →
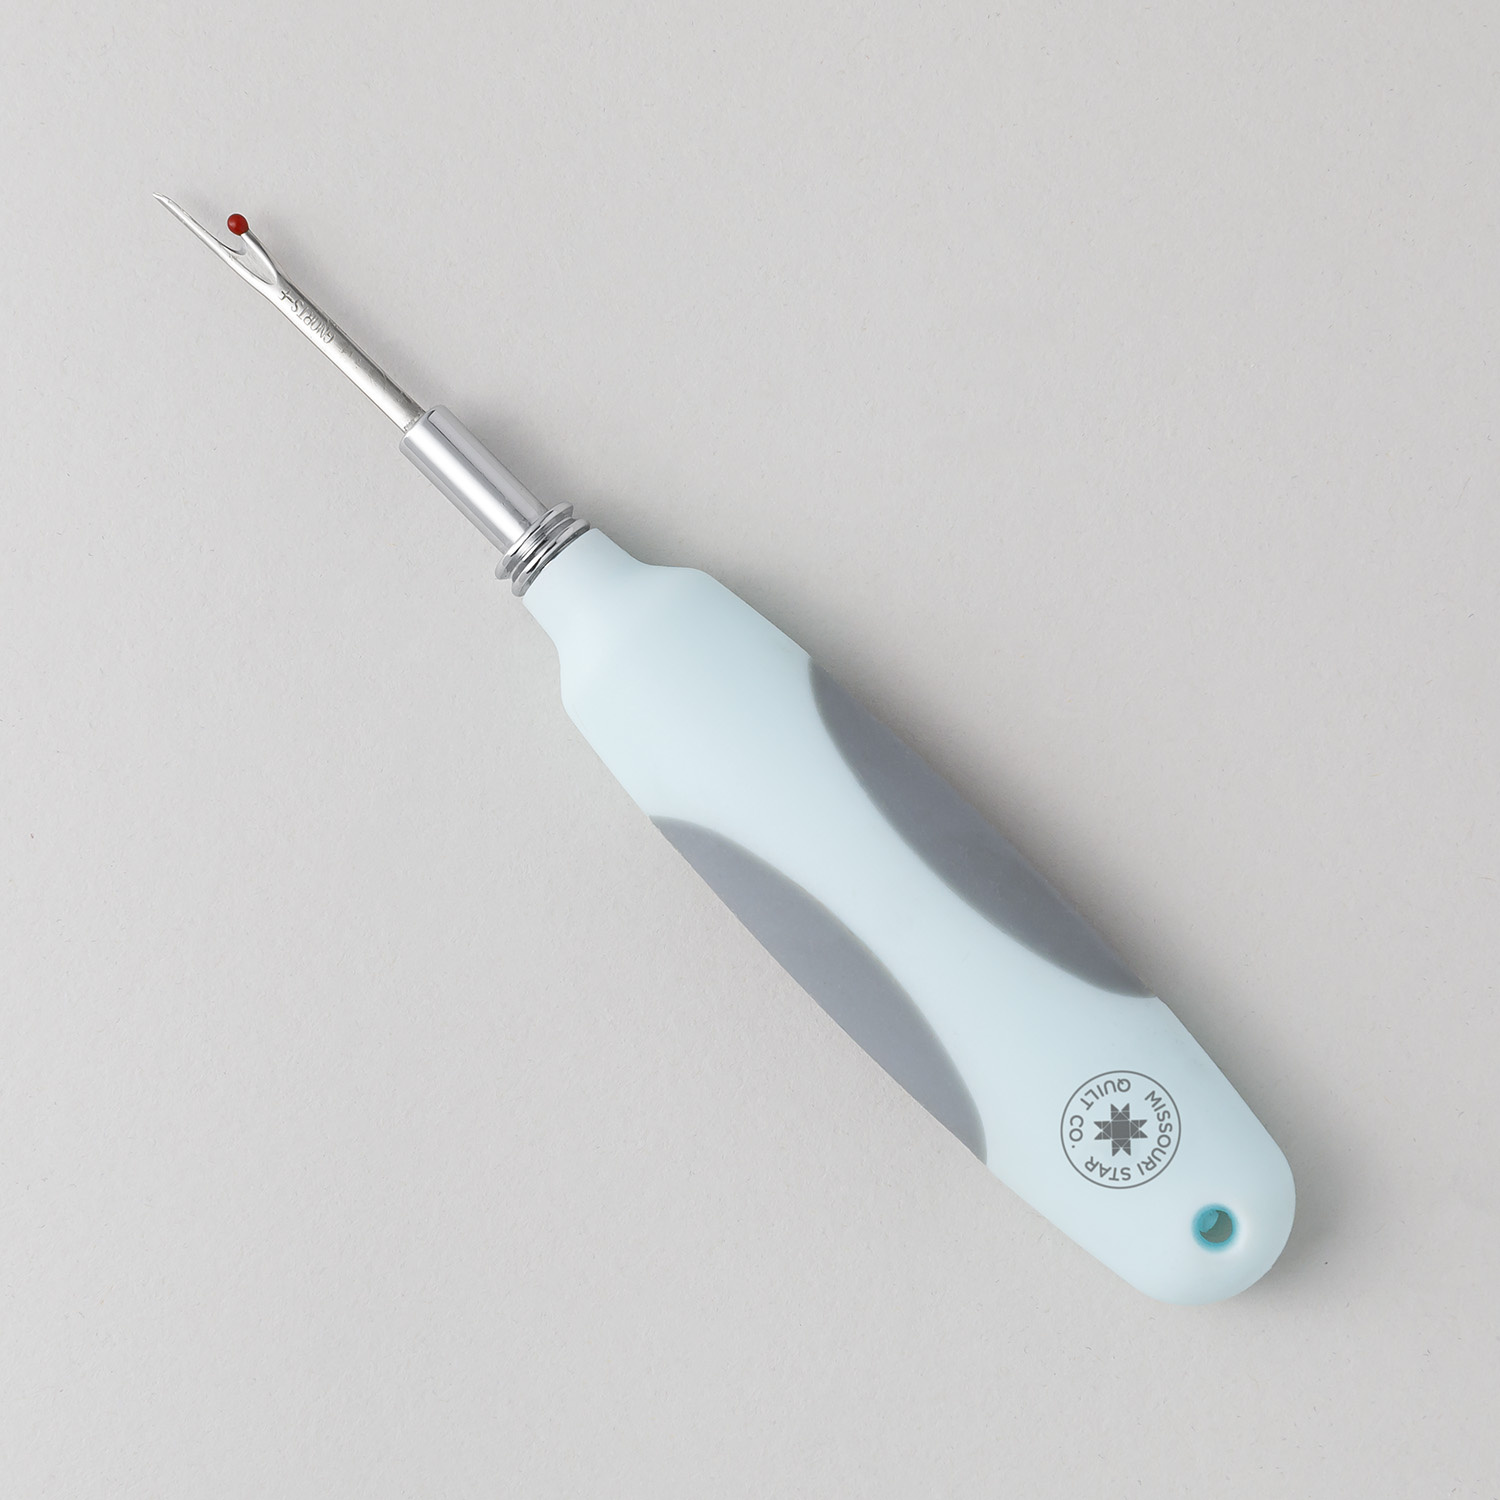 Missouri Star Seam Ripper$9.95Shop →
 Missouri Star 50 WT Cotton Thread White$7.95Shop →
 Exclusive Missouri Star Jenny TG1600 ProPlus Oliso Smart Iron$199.99Shop →
 Missouri Star Wooly Betty Board - 17.25" x 25.5" Orange Border$99.95Shop →
 Bernette 77 Sewing and Quilting Machine$1499.00Shop →
Common Questions
What is covered in Interlocked Quilt?
Lock in on the intriguing geometric design of this quilt! Clever color placement of simple squares creates an interlocking effect in the center of each block. Join Misty as she shows you how easy it is to create this striking quilt for your home.
How long is the tutorial video?
The tutorial video is 00:10:47.
Are supplies listed for this tutorial?
Yes. The tutorial page includes the supplies and materials connected to this project.
Is a transcript available?
Yes. A written transcript is available on the tutorial page.
Video Transcript
I'm calling this week's quilt Interlocked cause it kind of just weaves into each other. I used all the not technically solids - it's this kind of linen texture from Laundry Basket Favorites and I just think it turned out really beautiful. So to make this quilt you are going to need 3¼ yards of your background fabric… I used charcoal. And then you're going to need ½ yard of the two colors that are not your accent and your cornerstone, so that is this darker green and this kind of medium blue. So you need ½ yard of each of those. And then of your accent fabric, which is what we're calling this light green you need 1⅓ yard. And of the dark blue, you need ⅝ yard. So let me show you how to make this quilt.
So this quilt is based on sizes that are going to be familiar to you, even though we're using yardage. So if you have some pre-cuts go ahead and grab them and it could still work great. So for my background, I'm going to cut some 5 inch squares and some 2 1⁄2 inch squares so I have those ready to go. And then on my accent color, I'm going to need to cut some 4 inch squares and then the rest of my colors I'm going to cut into 2 ½ inch strips, and then subcut those into 5 inch and 7 inch sections. So that's all of your cutting that you're going to want to take care of ahead of time.
The magic in this block, which here's our block that we're making, is really all in the layout. So let's talk a little bit about that. Just slide these out of the way. So to begin with we are going to take four of our 5 inch squares and we're going to put these in the four outside corners. Actually now that I'm laying these out, I think it would be easier if I flip this mat over to the white side so I'm going to do that and meet you back here.
All right, much better. Now you can see what I'm working with. So we've got our four 5 inch squares in each corner, and I like to have one block just kind of as a reference so I don't get mixed up. So I'm going to start by putting my 5 inch strip of my light green here and my 7 inch here and I'm just going to build this out. And the thing that is nice is once you get a rhythm of this, every single block is made exactly the same. Here we go, just like this. And now we are going to assemble our blocks in quadrants. So you can kind of pull these apart because we'll work on these individually. And then we're going to take our 2 ½ inch background squares and we are going to place them on our strips and we're going to snowball these in opposite directions, so that we get our points just like so. So I'm going to go ahead and start snowballing and then I'll meet you back here.
All right, so I've gone ahead and snowballed the two for this quadrant here and now I'm just going to trim off my excess fabric leaving our ¼ inch seam allowance. That one there and this one here, there we go. And now we can press these back. And I'm just going to focus on this one quadrant because they're all made essentially the same. So I'm just going to roll back those snowballs now. And then those are going to set back in against our 5 inch square. So I'm going to go ahead and clear this stuff out of the way and I'm going to start by sewing this 5 inch rectangle to the background and then we'll come back and add this one. Then we'll add our accent colors at the end. So let's go ahead and move these and finish up this block.
So just lining that up - one thing you do want to check, let me pull this over here, you want to make sure that the background part of your snowball is lined up with your background square. The point should be coming to the middle here and then you know you're ready to go. And trim our thread. All right, so we'll set that and roll it back just like so. And then in the exact same way, we want our background to match up with our background square and we'll sew these together.
All right, so then each of our quadrants is going to look very similar to this with the colors rotating around. And so now we're going to grab those 4 inch accent fabrics that we chose. And I'm going to go ahead and get a pen
and we are going to mark corner to corner on the wrong side of this fabric
and that's going to be our sew line. And so I'm going to place this on the corner here and we're going to sew right on that line. So let's go ahead and take this to the machine.
All right, quick and easy. So if you wanted to you could sew ¼ inch away so that you could keep these extra half square triangles. I just skipped that step for now. So we're just going to trim this off leaving that ¼ inch and then we can press this back. And now one more snowball. We have another one of our 2 ½ inch background squares. We're going to add that to this corner; I've gone ahead and marked that line already. So we'll snowball that one and then this quadrant will be done.
All right, we can just trim that off. Perfect, let's give it a good press. Just want to make sure my whole block lies nice and flat. All right, there we go. So I have the rest of this ready to go, so let's go ahead and pull those out of here so we can put our block together. So we have this one that goes here, here, and here, and they're all assembled the exact same way, just with those differences in color. And so now we can sew these together just like a four patch. So let's go ahead and take these to the machine.
Make sure everything is lined up neatly, take a few stitches and then I
line everything up again. Then I can just sail down the side and put this one in right behind. Now I can open these up. It's a great time to double check and make sure everything's sewn correctly. Then we can fold these over and finish out our block.
There we go. So we'll give this one final press. Oh all right, so once that's got a good press our block is done. And every single block is made exactly like this. Let me show you how it fits in the quilt. So here's this one right here and all I did is just rotate it as I made my way across. And so that gives it lots of movement. The quilt is four blocks across by four down and you'll notice I do have these sashings and cornerstones. So each of these sashings is the exact same size. Let me just measure my block 13 inches.
So you're going to cut a 2 ½ inch strip by 13 inches, with those 2 ½ inch
quarter stones. And I continued that for the first little inner border and then finished it off with a 5-inch outer border. This quilt ends up 71 inches square. I quilted it with this beautiful water pattern and I think it just turned out great!
So I hope you enjoyed this tutorial on Interlocked. I'll see you next time on At Home.


