Skip to content

Free quilting video tutorials from Missouri Star

Quilting Tutorials
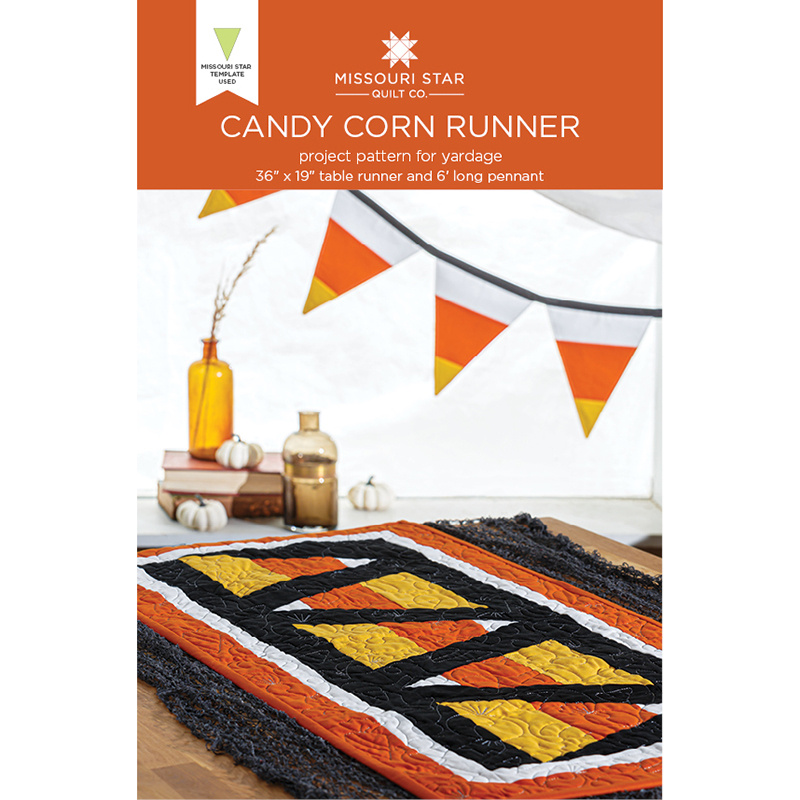
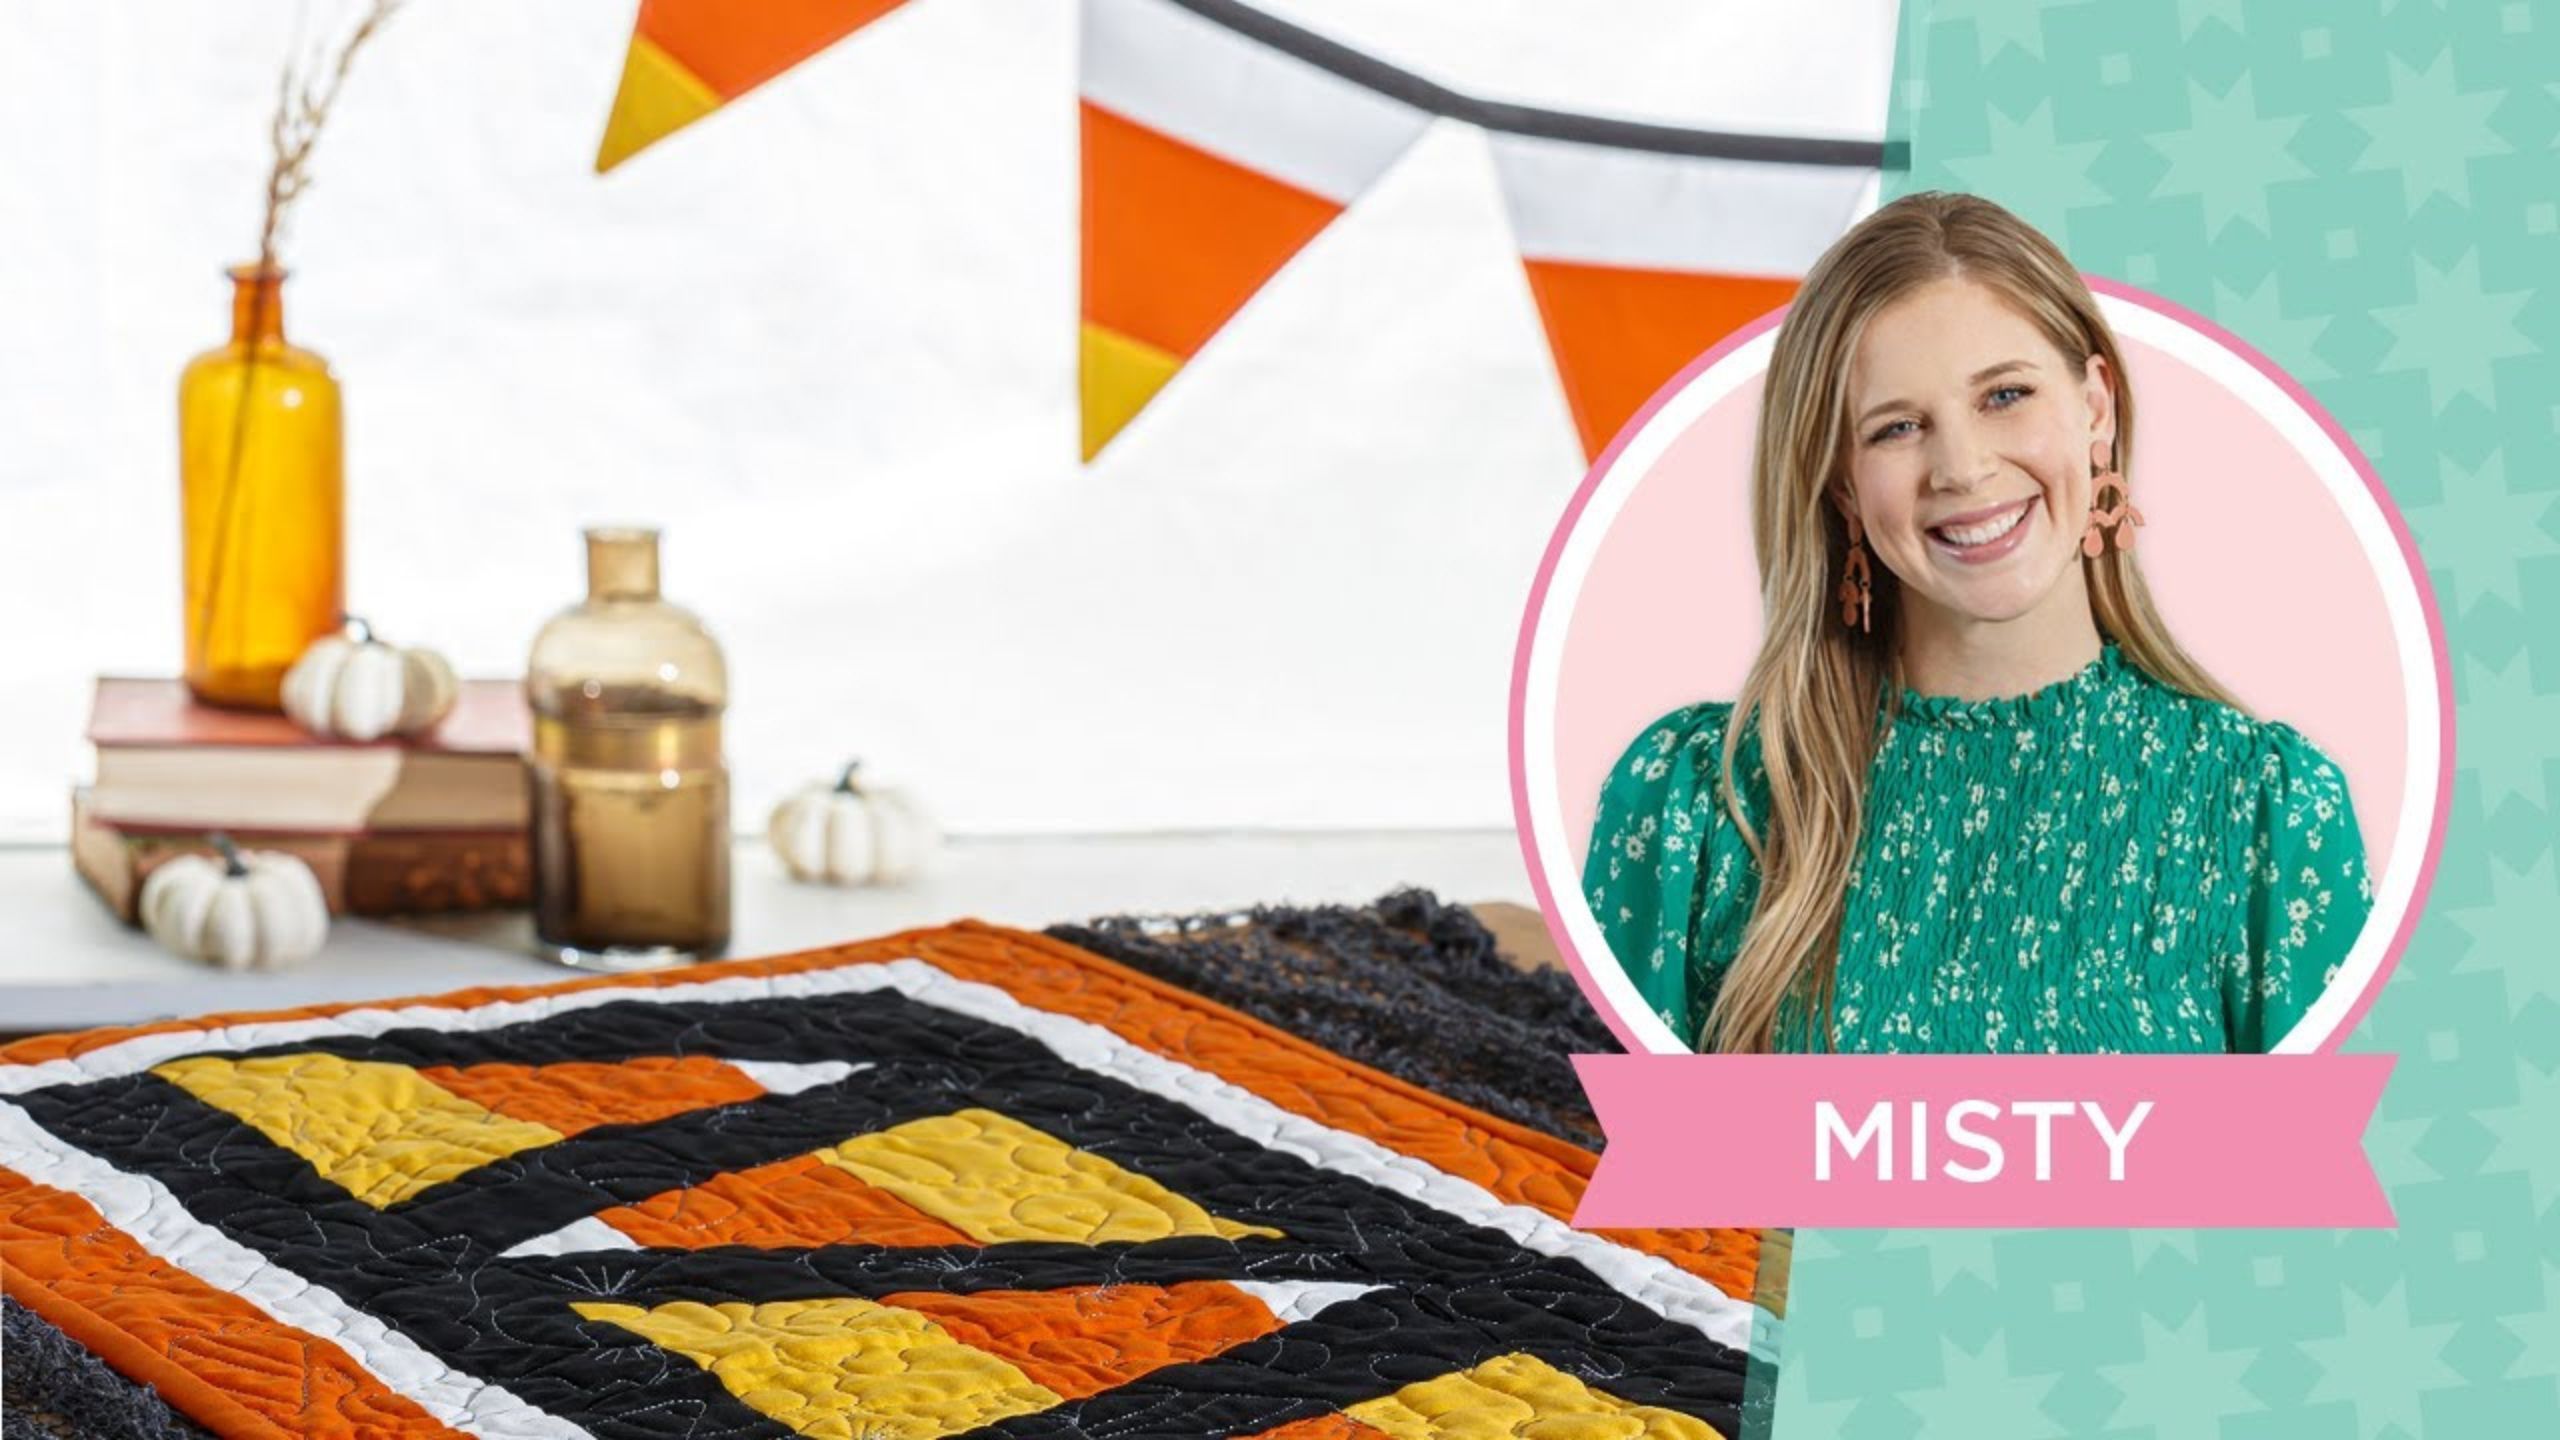
Join Misty as she shows how to make a sweet Candy Corn Table Runner and Pennants!

Join Misty as she shows how to make a sweet Candy Corn Table Runner and Pennants!

With one simple strip set you can create coordinating Candy Corn decor! A classic Halloween table runner and super sweet pennants (see what we did there?) are made from the same strips, cut with our triangle template. Misty shows you how it's done with some inspiring tips and tricks!

Instructor

Misty Doan

Misty Doan grew up surrounded by sewing and quilting. She loves spending time sharing tutorials each week each week, and when she’s not stitching up one of her fun sewing projects for home decor, most likely you’ll find her hanging out with her husband and three awesome kids or working on a house project.

Common Questions

What is covered in Join Misty as she shows how to make a sweet Candy Corn Table Runner and Pennants!?

With one simple strip set you can create coordinating Candy Corn decor! A classic Halloween table runner and super sweet pennants (see what we did there?) are made from the same strips, cut with our triangle template. Misty shows you how it's done with some inspiring tips and...

How long is the tutorial video?

The tutorial video is 00:31:38.

Are supplies listed for this tutorial?

Yes. The tutorial page includes the supplies and materials connected to this project.

Video Transcript

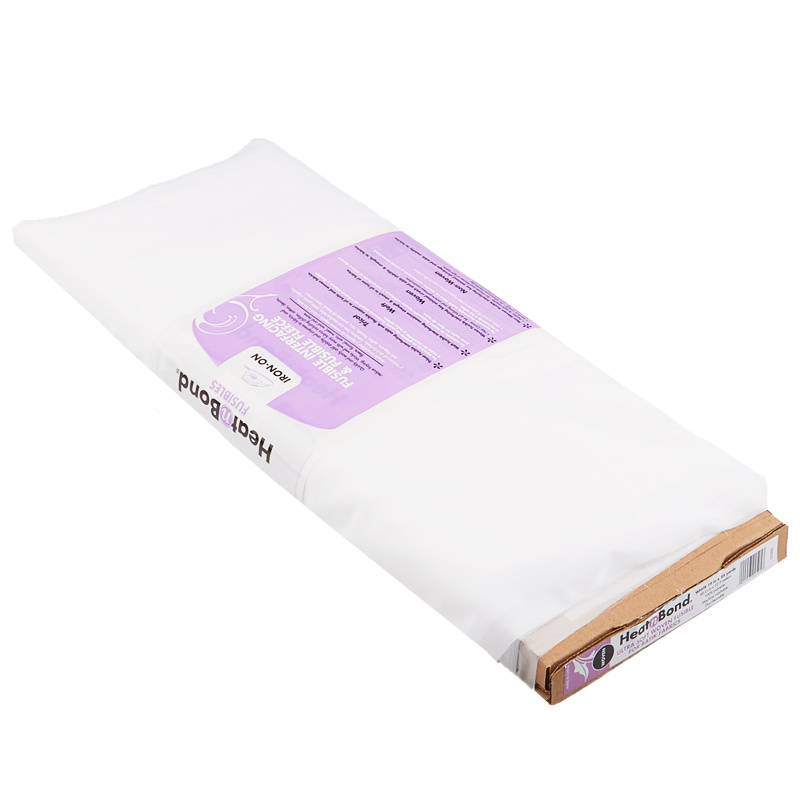
[Music] o [Music] hello everyone welcome to the show I your host Misty Don and I am joined as always by The Fabulous Liz hello behind the camera shouting out any questions we might have along the way uh I am so happy to be back with you this week we have a really really fun project and I think you're going to love it it's kind of a two for one which I think everyone always likes right absolutely and it's so sweet yes it's really cute so we are starting with this awesome candy corn Runner and as I was making this I did a little bit of research into candy corn like you do like I do you know cuz I I in another life probably would have been some sort of research scientist because I just like have to know all the things so I that iy that I I dug into uh the history of candy corn and it was actually quite fascinating it it was invented back in the 1880s wow it's been around a very long time which in my opinion is shocking because it's not my favorite candy to eat but I think it's adorable well hopefully not the pieces aren't actually from 188 right they make it fresh every year they do so good point Liz but it actually used to be called chicken feed of all things okay yeah and so they they were marketing because over 50% of the population were farmers at that time and so they were marketing to that sort of farm life so it was called chicken feed I found that really yeah I thought so too but anyway there's a little bit of history for you and so this is our cute little Runner that we're going to make but then you also get this adorable little pin it Banner so it's easy you can make them both at the same time and you just need you know your orange yellow and white fabric with a touch of black to make it pop so let's get into how we're going to make this to start off with we're just going to make a strip set and so I've gone ahead and cut down my strips of our three colors and I decided I wanted my orange to be in the middle and my yellow at the top and my white at the bottom and so um these are different sizes I opted not to use the same size um of each strip because I wanted it to look like our traditional candy corn that you get and it is definitely not even and so this yellow strip measures 3 and 1/2 in by the width of fabric the Orange is 4 in by the width of Fabric and the white is 2 and 1/2 so depending on where you want your colors to go just know this is the order I chose and that's the size that we're going to need so let's go ahead and start by opening these up and we are just going to sew our long strips a/ qu inch seam by laying those together so let's take this to the machine and we will get started and for anybody who missed those measurements so I'm just going to repeat them so 3 and 1/2 in is the yellow 4 in is the orange and 2 and 1/2 in is the white for what exactly and then we can just make sure that we readjust and have it lined up straight and we can just zoom down this side with our quter inch [Applause] seam just take your time make sure your fabric is staying where you want it [Applause] here we go almost to the end [Applause] there and as you're sewing this Misty we're seeing you like adjust it but not pulling on anything exactly we just want to keep it lined up we want those ends to be matched but we don't want to tug cuz that'll cause a ripple in our strips and we don't want that we want everything to lay nice and flat so you can see I want to point out that even if you're using the same manufacturers solids for all of your colors or prints whatever you're choosing for your candy corn I think it'd be really cute in prints as well your strips are not necessarily going to be the same length when they're going with the fabric and so don't try and make in toin matchup okay you don't need to worry about that because they vary slightly and so just let lay them straight start straight at one end and if they get off at the the other end don't worry about it don't try and make a match I think that's an important tip because if you try to make the match you are going to pull on it and you're going to get um that wave and that rumpling that we don't want and so then now that we've got that yellow on before I even press it there's plenty of room here you can go ahead and add the white to the other side and you do just the exact same/ quter inch all the way down I've gone ahead and sewn one already so I have that done and that works cuz you have a half an inch sticking out but you're doing a quar inch you're doing a quar inch seam so you can see here I just laid it right on top and then when I fold it back I've got that little bit of Gap and so I don't ever have to worry about catching that yellow unless my seam gets a little wonky so just make sure you're taking your time and you've got that nice straight quarter inch and then let's go ahead and press this and I actually took the time to make sure that my seams were kind of going towards the dark in the middle just because I didn't want them to be peeking through so I'm going to roll back starting on this white side and make my seam go towards the orange in the middle and we're just going to work our way down by doing this when we get to the quilting process we won't have to worry about that darker fabric color showing through on the white that's why we have that whole joke about pressing to the dark side pressing to the dark side that's exactly right and then we're going to do the same thing with the yellow to the middle same idea here and you can see it's really quick to just take the time and make them go the way you want it's worth it in the end there we go just like that all right now let me move some of my things out of the way here now we've got a strip and this strip set should measure let me double check to tell you the right height but it should finish right at 9 in if you've got your quarter inch seams where you want them which is perfect for our large simple wedge template so I've got my template here um and this is so handy for this project because it is just naturally in that candy corn shape which is what we want to get here so I'm going to start by putting the wide side of my template on the yellow part of the fabric and so I've got the wide side towards me and I'm going to go ahead and make a cut now can you guys see here make sure you can see this little tip is hanging over the end just slightly and that's okay I just want to make sure that the skinny side is always the side that's hanging over my strip set and so I'm just going to make sure my flat edge here is all lined up with that edge and we're going to go ahead and trim off this first side and then I'm going to pull this one down a little bit closer to me and turn it around to make it easier to work so I'm not cutting towards myself again keeping the top lined up straight with the fabric and letting the little bottom Edge hang over just slightly and the reason I'm not worrying about that is because that is still all going to be covered and caught in my/ quarter inch by nicking off that sharp point it's not going to matter one bit and so now I've got my first candy corn cut and we can just turn our template now and just make our way down the strip and so again we're making sure the wide side is flat now on the white side of our Fabric and we're going to just cut and cut and cut as we go down our strip set and this works great cuz candy Corn's a little blunted so it's not going to be super sharp Point anyway exactly exactly and actually I mean when we sew it it's it's pretty pointy it really just doesn't affect it at all because of that quarter inch scene and as you're cutting you're getting two different kinds of triangles we are getting two different cuts so you can see you know because we're changing the direction of our template um we've got those with the yellow on top and those with the white on top and they're both adorable you could use them both in a runner if you wanted but let me show you why I opted to split them in half so if you see here by the design of this Runner if I had my yellow at the top here and then I put this one here I felt like I was just getting big Stripes of color okay yeah and so as I was designing it I wasn't super happy with that I wanted the color to kind of um move back back and forth like it did in this uh finished product so I decided to go with just the yellow topped candy corn in the runner itself and remember you can make however many strip sets you want um out of one strip set you get this many you get five of your yellow tops and so let's just keep cutting this and I'm just going to divide them into two separate piles and we'll just cut all the way across and this is really cool cuz I think think it's so easy to get all of these shapes done without having to do the extra because you've done the strip set exactly and now you're just slicing anding and slicing and turning yeah it makes it really really fast and you know just take time make sure it's lined up and just make your little stacks and there's just you know no or very minimal waste by doing it this way just our little ends of our strips like this and this is going to sound silly but some of the Eagle will notice like Misty Cuts differently from Jenny that's cuz Misty you're right-handed I am Jenny's left-handed so you might if you're finding it difficult to to do this and you're otherhand start on the other side just flip it around right exactly so there we've got that and you can you guys can see just how quick this goes we are almost done cutting our strip set and then and here it totally didn't matter that those were even or not nope perfect not at all there we go and so this is our waist just these two little end pieces so you can just set those aside and we have our two different Stacks so you can see they're opposites and so let's use our yellow on top to make the runner so now we're going to use some black accent Fabric and what I've done is you're going to need two complete black wedges just the same size using your simple wedge template so go ahead and cut those and then you're going to cut some 2 and 1/2 in strips and let's show you how to do this we're going to start by taking our wedge and our 2 and 1/2 in strip and I'm just going to sew it on this side so I'm going to leave myself a little bit of extra at the top not going to start it right there and we're just going to sew a/ quar inch down this side and then I'll show you how I trim it and keep adding to it okay so you've pointed your point you part away from you and you're adding a little extra black towards the top okay yep exactly and I am using white thread here so that you guys can see what I'm doing but this might be a great time to use your gray or to use the black because it will blend with your black background gotcha there we go go so you can see just like so we have sewn that on and I'm not going to cut this off yet just because I like to have extra because we are working with an angle on this but I am going to go ahead and roll this back and give it a nice press to get ready for trimming and now we're going to set this over on our cutting mat move this so it doesn't try and pull me off the table oh gravity exactly out to get you every time all right and so I'm just going to set this I'm lining the bottom edge of my candy corn up with the markings on my mat so I have a nice straight line and then let me grab a little straight edge ruler here and we are going to cut this straight across and that's going to give this nice angle to the black strip but I didn't have to worry about measuring it and finding it before I sewed it on so we're going to cut this side and then on this one I'm actually going to measure up a/4 in from the point and do the same thing and are you using the ruler markings to help you with the white I am so so you can see here I've got the the tip of my candy corn here I want to make sure I leave that quarter inch so I've got my/ quarter inch Mark right here at the tip and I'm going a/ quar inch up and then I'm lining it up straight on these lines of the map to again make sure it's straight just use all those ref reference points you can to keep it as straight and neat as possible and then we're just going to cut that off the top and you can see now we've got this like extended triangle neat okay it is it works really great it sounds trickier than it is once you do one or two of these it goes really really fast and you realize that it's forgiving and you don't have to worry about it and so now we're just going to add our our next um piece of candy corn to our strip set so we can just fold this over and line it up on the edge and sew down and you don't have anything hanging over at this point so I do a little bit okay um it just kind of Peaks over at the top and then this bottom Edge will kind of peek over because remember we we blunted off that bottom Edge so we're going to see a little bit of this bottom corner because of that okay and then we can just sew down our 1/4 in seam I love how you're making the angles totally doable it's not it's not hard it just takes a minute it just takes a minute and you can totally tackle this there we go and now we'll press this one there you go and you guys can see how nicely this is coming together see how great that lines up no trick at all and then you're just going to continue doing the exact same thing but this is one little thing I do want to point out if you lay your strip on here and you think oh this is lined up it's going to be perfect remember how I said give yourself a little extra room at the top because you'll notice if you line it up like this when you take it to the machine and fold it back sadness it is not going to be what you need it to be so do not do that I I kind of had this montor in my mind where I could see the side I sewed on last time and I because I'm using solids I just flipped that over and put that on the other side okay and in my brain I was like I want those stitches to be away because then when you fold this back it's going to give you the angle that you want such a good tip so keep that in mind and you're just going to continue until you get your five candy corn all the way across it's very simple we just repeat that step do you want me to one more just to show it yeah let's show one more let's sew one more so remember we're going to put our side that we stitched on last away so we're having it kind of go up and off of our candy corn and we're just going to sew that quarter inch that is such a good tip well I had to learn the hard way Liz well you learn you don't have to learn so these are the things that I learn so you guys don't have toly exactly I can't tell you how many times my brain has been like oh that angle looks perfect and then no it doesn't work yeah all right so then we'll press this one back it's a different kind of angly challenge oh it looks so good it looks so good doesn't it yes and then we'll get over here and just like we did before we're going to line up our edges and once you have that first one done um you can see how it will get much easier for you to do this because you've got a bigger piece that you're working with and it feels less scary and so we're just going to line that up there nice and straight cut off that bottom Edge you can turn it this way if it makes it easier for you and then we're going to cut this one off and on this side you again just want to kind of check your quarter inch back on this side and then just make sure your cut is nice and straight so we can't quite there you go can you not see it you need me to move up just a little bit okay let's move it up just a ha you bet no problem so let's just keep this one Edge I feel like this side is really straight so I'm using that as my true Edge okay and then I can see here I want to make sure I've got at least a/ quarter inch over and so I'm going to take my quarter inch right here at the tip of this candy corn and just make sure that it lines up all the way down and I've got a little bit of variation here where it got a little wonky but I'm not worried about that because of that quarter inch seene it will all be caught so I'm just going to come back and trim off this end tiny bit and there you go you see how nice that looks easy and you just continue that on so let's talk about these little end pieces here to make sure that we get a nice Square finish so I toyed with the idea of cutting one of these in half and using half of this for our end oops if I can get my angle right but I found that once I took my quarter inch seam this just wasn't quite right I wasn't completely happy with it so I opted to just use a whole wedge and we're going to trim this straight so let's go ahead and lay this right sides together on this side and then we will turn this and sew a/ quarter inch seam down there we go again press this back and then let's lay this out we always want to make sure we have room for our seam allowance and so I'm going to actually measure over a/4 in from the bottom of my um Candy Corn wedge here and I'm just going to trim that off straight and then now it's a little more than a half but you wouldn't have wanted to try to measure that exactly I got exactly so you might as well just use the shape that you know is going to fit and so that's what I did there so you can see how that ends up so nice and then let me show you in this finished Runner here this is that center strip that we're building with our candy corn and our 2 and 1/2 in strips and the black wedge on the end I went ahead and put a 2 and 1/2 in strip on the top and bottom of that Center section then we have an inch and a qu inner border of white and another I believe this is just 2 and 1/2 yep another 2 and 1/2 in outer border of orange and I just think this is such a cute little Runner remember is ad this is from one strip set for your Center candy cord so if you make more you can make this as long as you like you could do two rows I mean there's just a lot of options it's that's so cute I think so too it turned out so great so now let's go back and talk about what we can do with those other pieces that we this only half your strip this is only half of your strip set so we've got these great white topped um candy corns and remember remember I showed you at the beginning we can make this really cute little pennant so let me show you what I did for this I got some fusible feather weight I've got this right here and I went ahead and opened this up and I'm going to cut out a few of our wedge shapes out of this just to show you and this is the same thing you can cut that 9in strip out of it and you know use your wedge to cut them exactly to match your strip sets Okay but I'm just going to eyeball it for now and make a few Cuts maybe I should start to show us start on this end to be less less wasteful make sure I'm nice and straight and this is just a stabilizer cuz I wanted the fabric to have just a little bit of extra body as I was working with it so I've got just cut out a couple there obviously you would want cut out however many long you want to make your pennant that's right cuz you've got five from the strip set but you could make more strip sets exactly and one thing with the penants if you alternated you know the white top with the yellow top it would be so cute you know to have those uh you could use the whole strip set just to make the pennants and it'd be a really fun decoration for Halloween so with this fusible interfacing remember there is a bumpy side and that's where the adhesive is and so you want to make make sure when you're placing these together to put the wrong side of your fabric towards the bumpy side of that interfacing and so that's what I've done here I also for the first time made that mistake when I was working on this project so what do you do if that happens and you get glue on your iron so one of the best um tips I've been given is to just turn your iron off let it cool completely and you can often peel or scrape that adhesive off okay cuz we like panic and we want to like get to it right away but you can get most of it off if you just let it cool so that's a good question um that's my best advice and so you can see I just with a nice hot dry iron that adhered really nicely to the back took no time at all let's do one more again feel for those bumps bumpy side down towards the wrong side so you should be able to see your seams on that and we're just going to give that a press you don't want to slide this around too much because you are working with an adhesive you just want to lift and press your iron okay there we go and so we've got a couple of those with just some stabilizer it just gives it a little bit more body than these you can see how much floppier yeah without the stabilizer behind it okay and so I've gone ahead and cut out um some more black back wedges again that same size using our large simple wedge and we're going to put these right sides together and we're going to sew down both sides leaving this top open Okay so let's take this to the machine and are you going to sew right off the corner or do you I am I'm going to sew right off the corner I found it easier than trying to Pivot there's that one and we can turn it around and go down this side there we go now our top is completely open here um you have a couple options I finished this out and enclosed it in my strip but I do think it would be really cute to maybe use Rick Rack or something to hang these pennants and if you were going to do that I would recommend that you go ahead and sew in a little bit on your top as well um still leaving a space to turn it but it will give you more of a finished Edge along the top um like I said I didn't think of that till after the fact and I'm happy with this and so what we're going to do is go ahead and cut off that that sharp point so we have less bulk up there and then I Like to Lay My Ruler along this Edge um and just trim this down to closer to an eighth of an inch seam at The Point again getting rid of some of that bulk so we're just going to trim that out you can do this with scissors if you want I like to do this because I feel like I don't ever have to worry about sliding through my seam gotcha so I think this works really well and so we've just cut out some of that bulk and now we can just push this through and turn it easily and if you've got a pencil or a purple thing or anything to you know go back and push that point out I've got a chopstick here just take your time to kind of maneuver that out and then that is that and we can give this a nice press isn't that so cute just a nice press and I did go ahead and then top Stitch right along the edge of that to give it a nice finish you can see here this little top stitched Edge right around and in that case I did pivot at the point and so like I said I just made a simple uh casing for this so we just use a 2 and 1/2 in strip let me remind you how to do that just figure out how long long you need your strip to be um with just five and planning to pin this in place I didn't need extra length here to tie it I just went with one single strip for five of these um one single width of fabric one exactly thank you Liz yeah and so just depending on how long you want this to be or if you need extra on the end you might want to make that two or three strips long um and so you would start by sewing your strips together obviously for however long you want but in this case we're just going to go with with one and we're going to first start by pressing this in half lengthwise all the way down just like so and if you had two or three strips you would keep doing this for the full length of that okay similar to if you were making binding and if you're joining strips does it matter if you straight edge join them or if you do the plus sign I don't think it matters at all for a project like this especially because um like for me I worry about that in my binding I I do the plus method because I hand finish my binding but and I I mean I think it looks prettier and it's the proper way but if you're machine binding you can get through that bulk easy regardless gotcha um but for this method because we're sewing it all on machine I don't worry about it at all so in that case I would probably just straight piece it because it's faster for my brain and so then now that we've pressed that Center uh line all the way in the length of this we're going to go and turn each end of our fabric into the middle and we're going to press it again just closing those raw edges into the center I like to try and do this at the same time if you have um like a I think it's called a bias maker where you can fold those edges in this that's the perfect place to use something like that I never think of those gadgets until I'm up here talking to you guys so that's okay but you can see we're just going to press that in and then when we um fold it in half again we have no raw edges at all and so then we can just sandwich our pinets in there and top Stitch right along that edge which gives us this beautiful and that finishes the top Edge that's brilliant exactly it encloses it so we didn't have to worry or fight with turning them and you can wash this it's super sturdy because every raw Edge is enclosed that's fantastic isn't that so fun I hope you guys enjoyed this little two for one project of this really cute little Runner let me show you one more time candy corn Runner and pennant project project to get you ready for all of your Halloween celebrations that are fast approaching thanks so much for joining us as always have a wonderful week and I will see you next time

More Fabric by Yard tutorials

See all