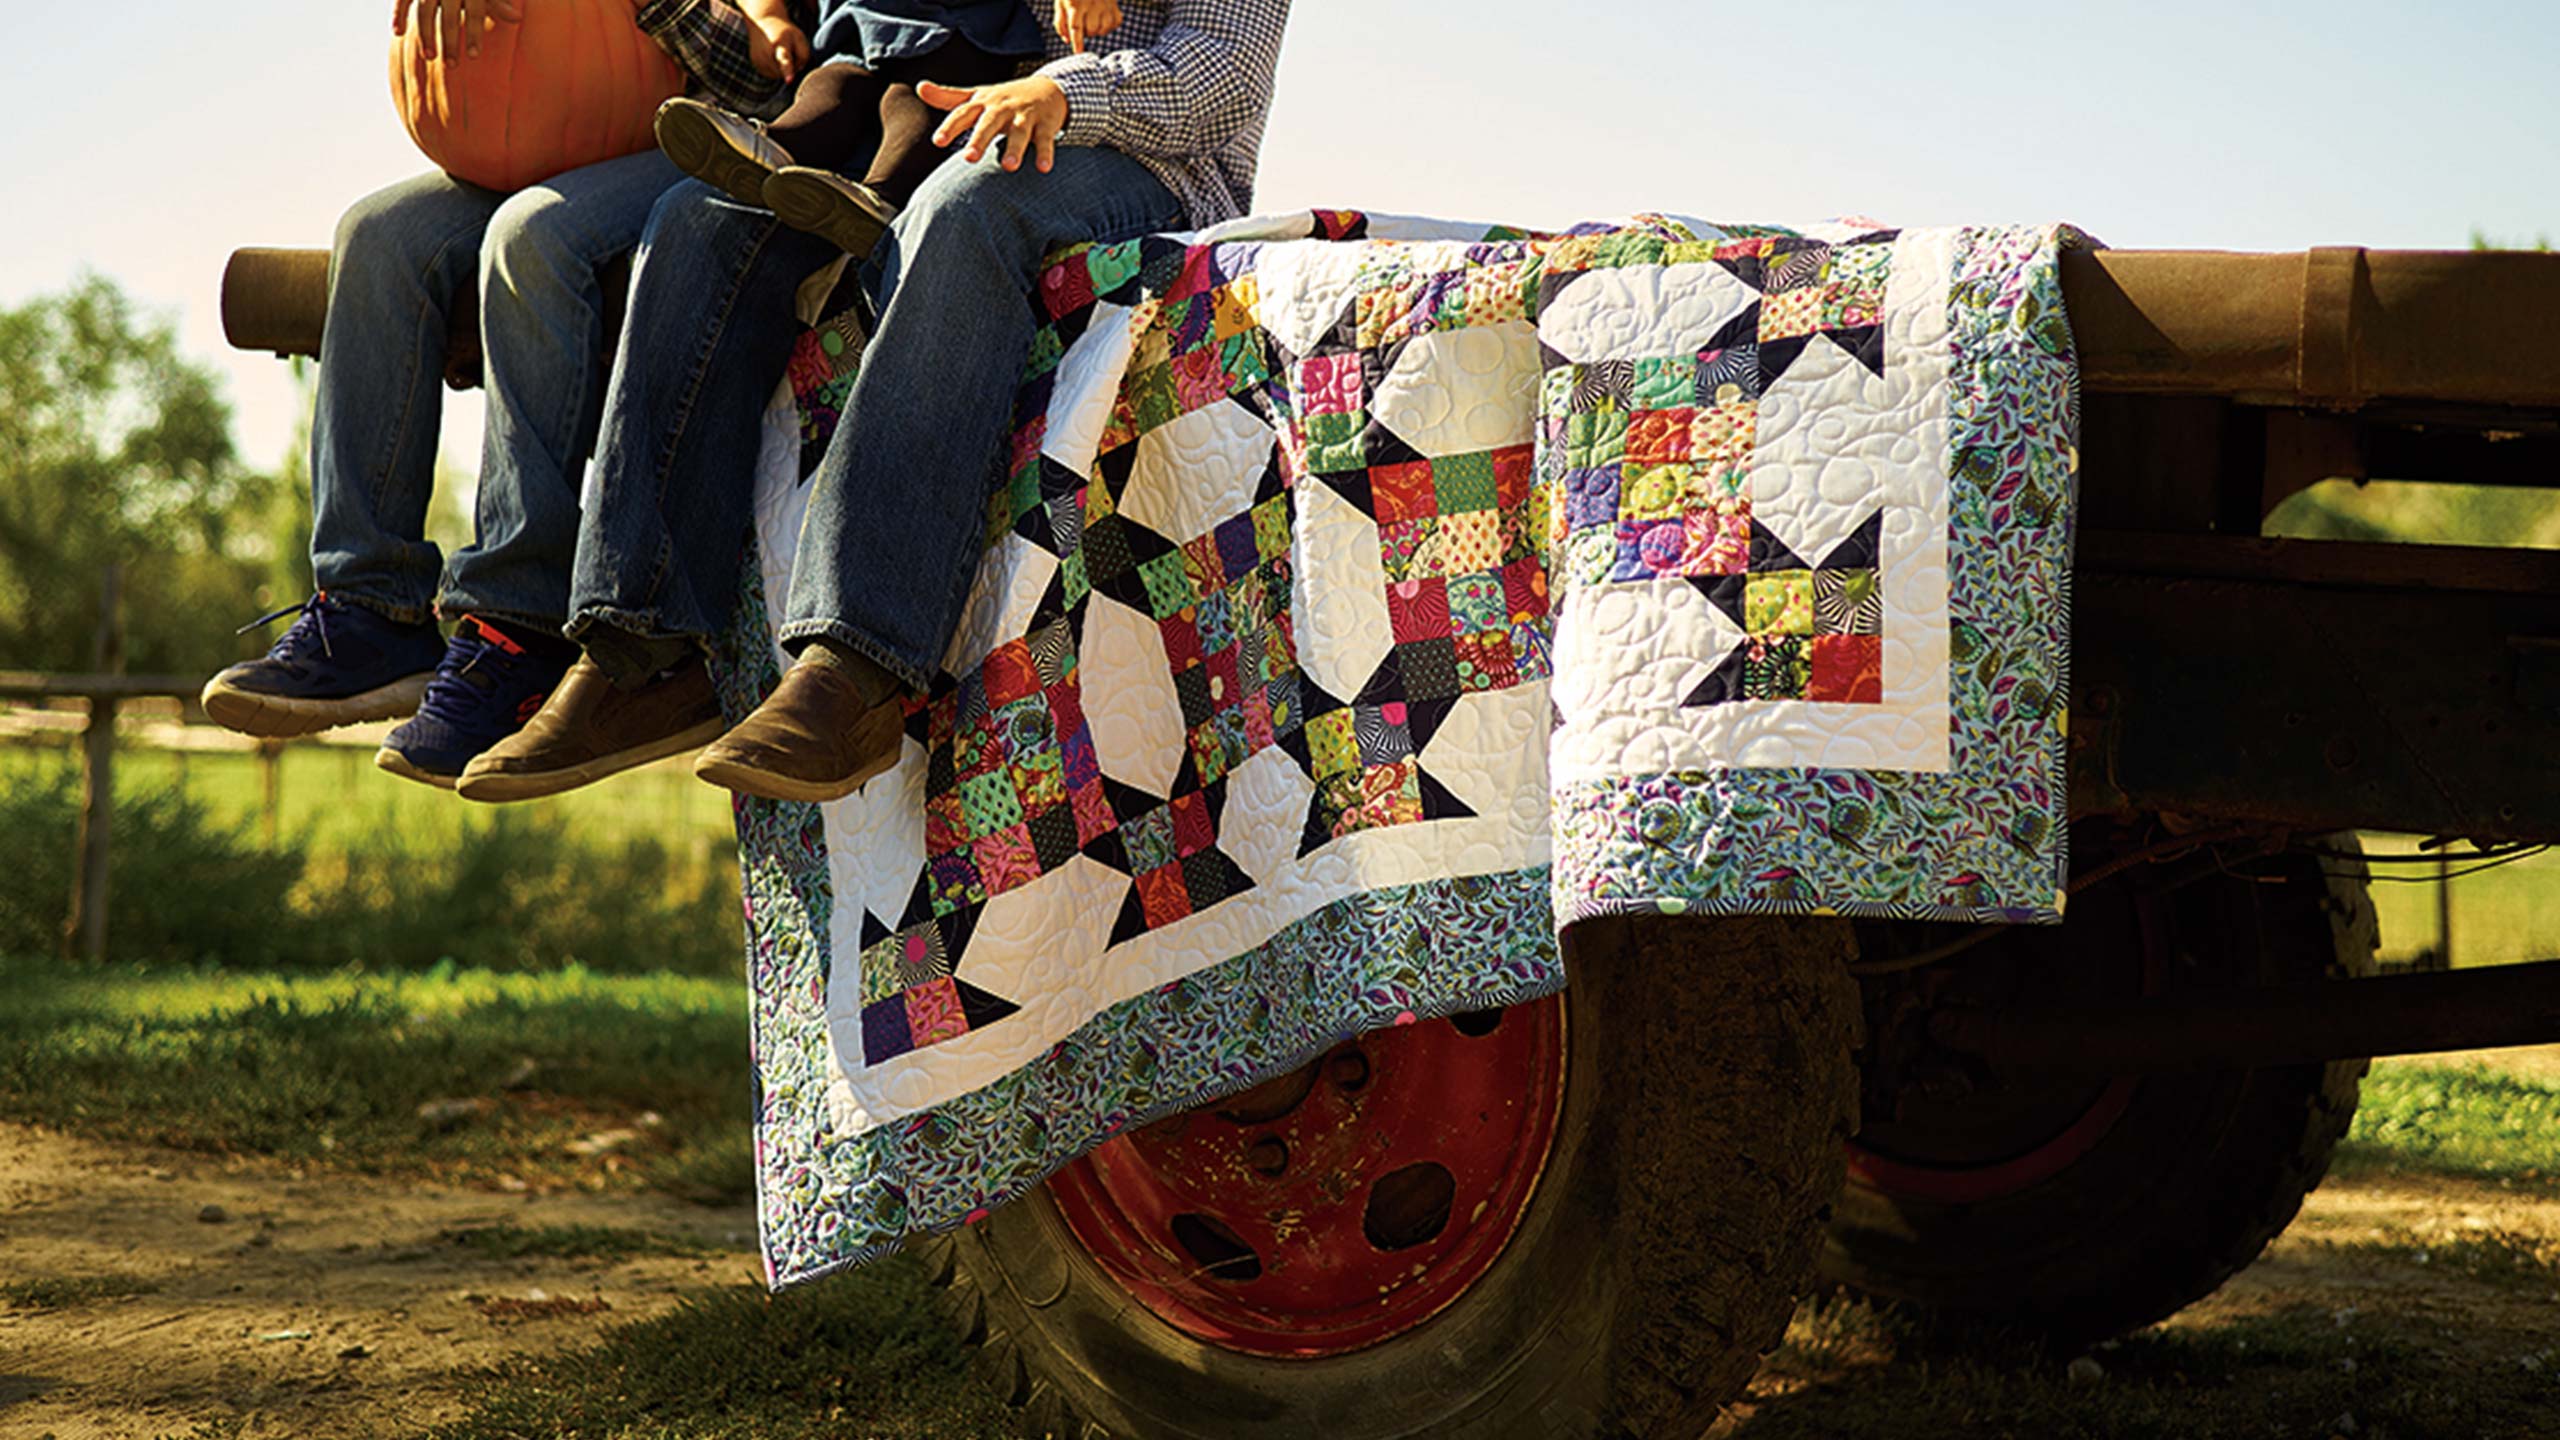
Katie's Quilt
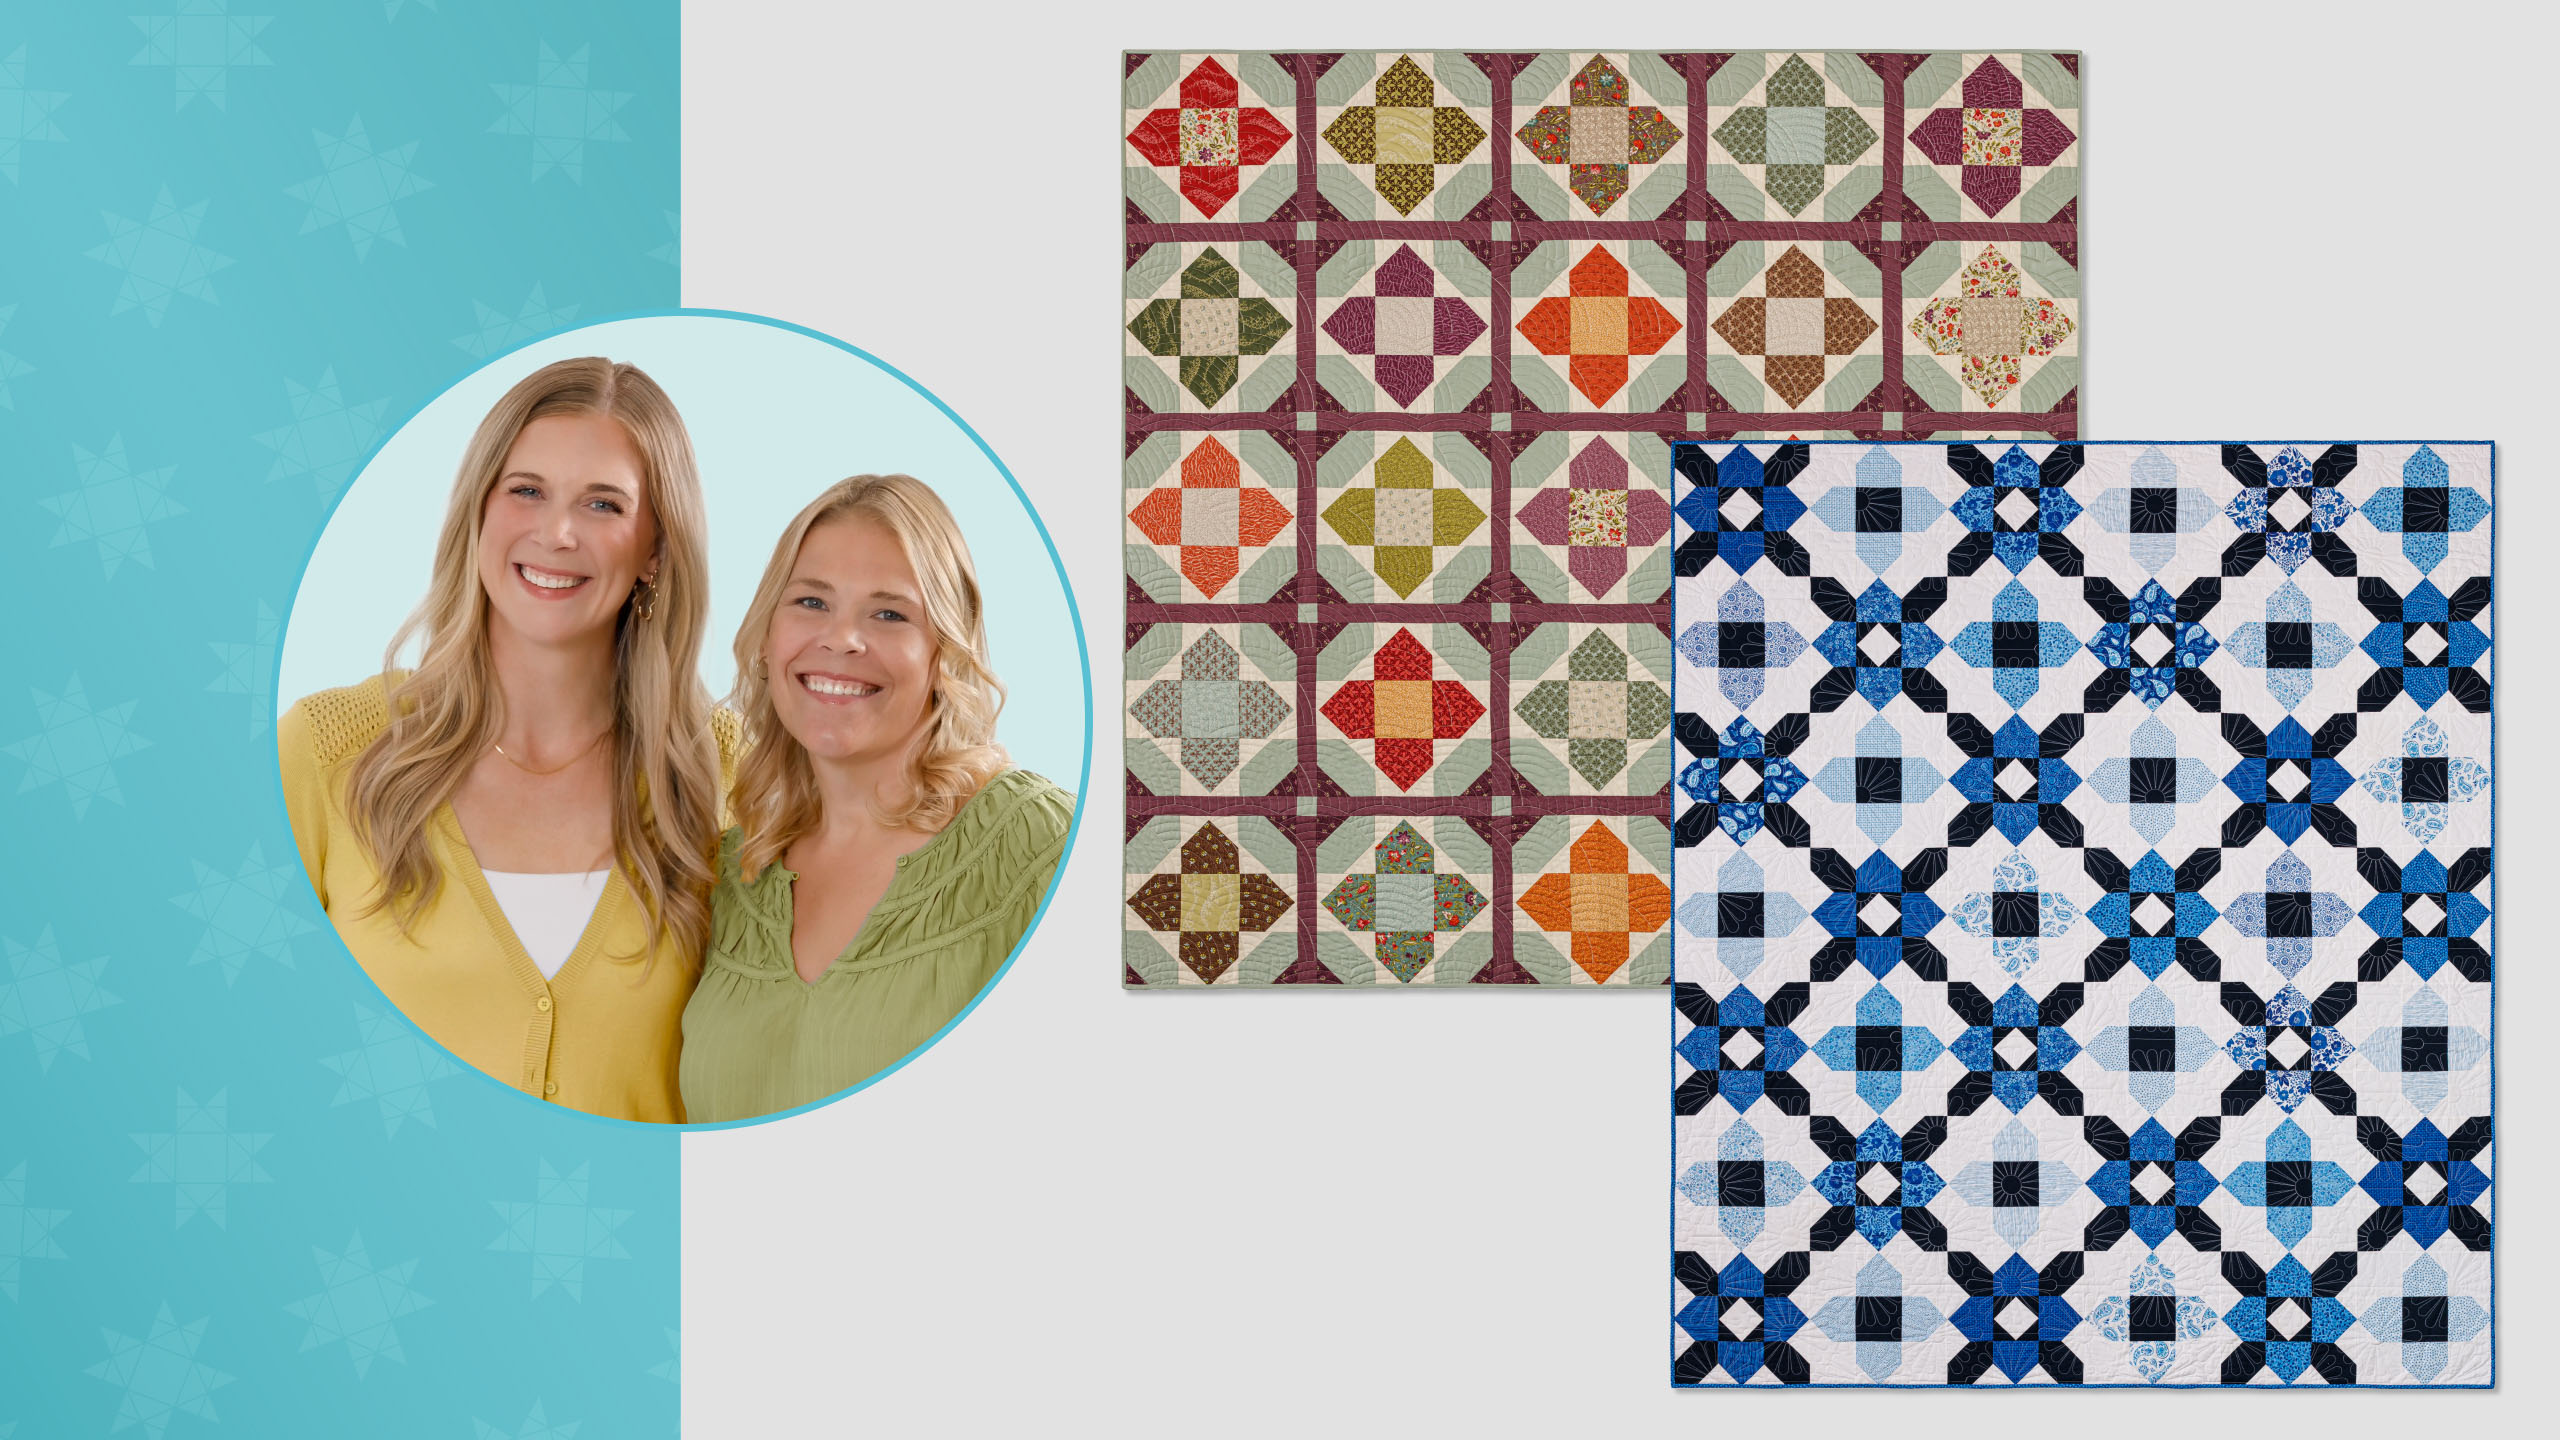
Jenny Doan shows how to make a really awesome looking quilt, in a refreshingly easy way. She names the quilt after her granddaughter Katie.

Instructor
Jenny Doan
Jenny Doan is an American quilter, author, and YouTube personality. Jenny started Missouri Star Quilt Company in 2008 and today it is the largest quilting supply vendor in the United States.
Shop this tutorial
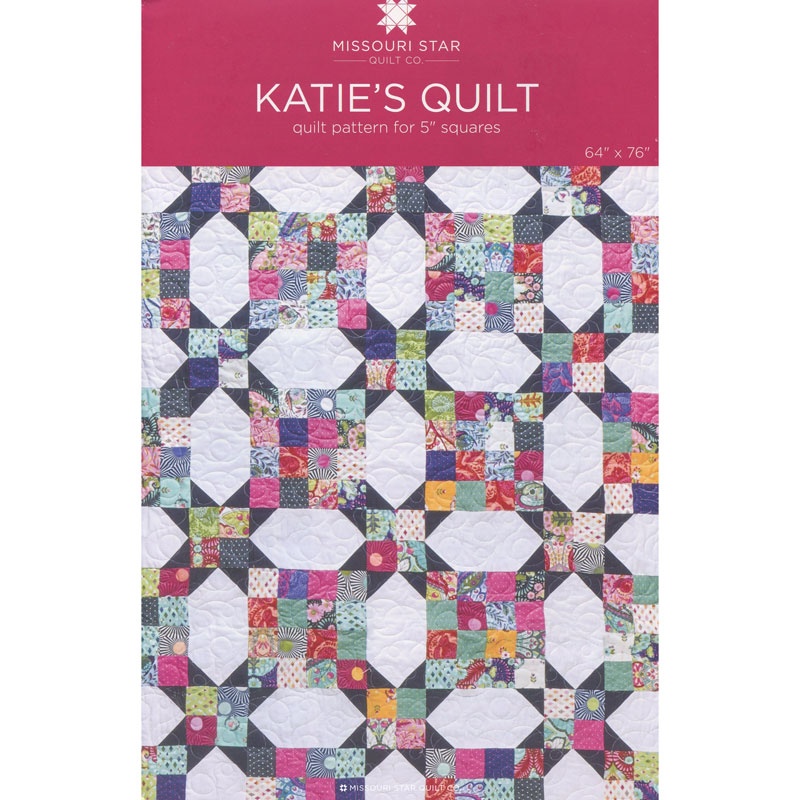 Katie's Quilt Pattern by Missouri Star$6.95Shop →
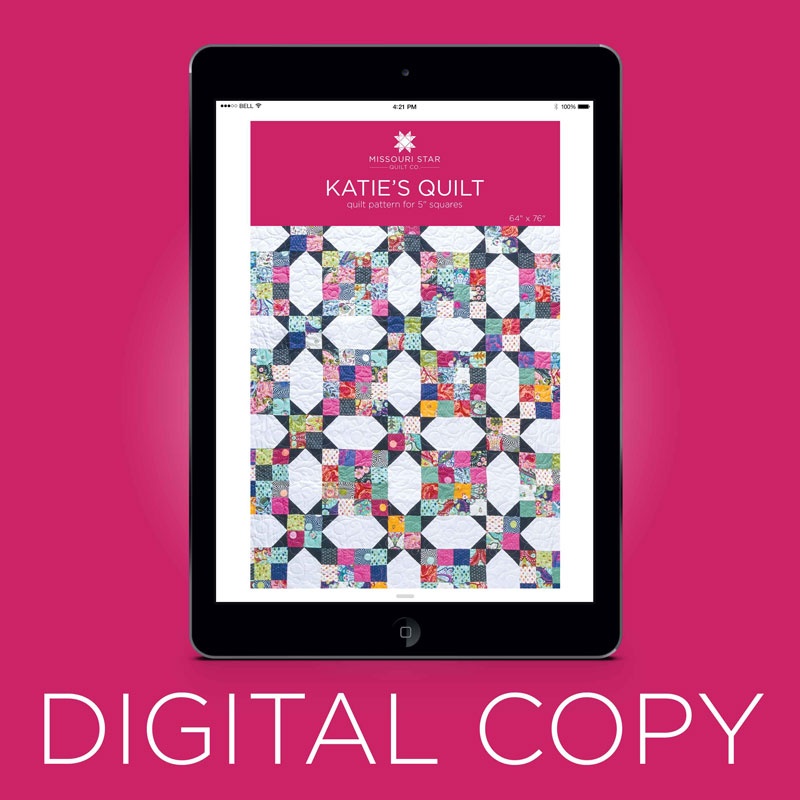 Digital Download - Katie's Quilt Pattern by Missouri Star$4.95Shop →
 Olfa Splash 45mm Rotary Cutter Navy$18.75Shop →
 Olfa Splash 24" x 36" Cutting Mat Navy$68.95Shop →
 Missouri Star 5" x 15" Ruler$15.95Shop →
 Exclusive Missouri Star Jenny TG1600 ProPlus Oliso Smart Iron$199.99Shop →
Common Questions
What is covered in Katie's Quilt?
Jenny Doan shows how to make a really awesome looking quilt, in a refreshingly easy way. She names the quilt after her granddaughter Katie.
How long is the tutorial video?
The tutorial video is 00:05:49.
Are supplies listed for this tutorial?
Yes. The tutorial page includes the supplies and materials connected to this project.
Is a transcript available?
Yes. A written transcript is available on the tutorial page.
Video Transcript
Hi I’m Jenny from the Missouri Star Quilt Company.
Sometimes as a Grandmother you get special requests and my little granddaughter Katie wanted a new quilt, for her new bed, in her new house. So this was the quilt I came up with. This is a great little quilt. Looks much harder than it is! Wait till you see how easy this goes together. This right is one 4-patch, this is four 4-patches, and this sashing block is all we used to bring them together. And wherever they meet hey form a star. So, it’s just a great little sashing block, great little idea for a great quilt. Let me show
you how to do this. I used this line from Riley Blake to make these blocks. It’s obviously not finished yet, but it shows you how those star points just pop. Depending on the fabric you use it will give you a different look with your quilts.
So let’s take a closer look at this quilt and how to do it. We’re going to take our 4-patches. Now on these 4-patches I have a great tutorial called scrappy 4-patch, and the link for that will be in the description, and you guys will be able to put this together. You never have to cut a little piece. It’s just all done very easily, so, check out that tutorial on how to make a scrappy 4-patch quick and easy. So what we’re going to do is we’re going to have the 4-patches and then we’re going to have our 16-patch, which is just four 4-patches sewn together.
Then what we’re going to do is we’re going to make these sashing blocks. Now the sashing block is just whatever color sashing it is and then we’ll snowball the corners. So when you snowball the corners you’re going to take a 2 ½” square, and you’re going to put them on each corner. Every single corner has a snowball square.
So, I’ll show you how to do that. I’m going to take my little 2 ½” square, and I’m going to come over here and press it in half. That’s going to give me a line to sew on. And I’m going to go ahead and take this over to the sewing machine and sew this down. So here we go.
Now with these corners, because the corners are going to overlap to make star points you just want to. Let me just get this out of the way for right now. You’re only going to be able to do two at a time. So, we’re going to put another one on here. Right like that, line it up, and then sew on that corner.
When you make these snowball blocks, you’re going to want to trim these corners before you put the next two on. So, I lay my ruler, and I put my ¼” on my ruler, on the stitch line, and I’m just going to cut off that corner, and cut off this corner. Whoops got that backwards. There we go ¼” on the stitch line, cut off the corner. Then we’re going to press those open.
Now this one I just ran it over I didn’t even set that seam. So I need to go back and set that seam because it just went right under the wrong way. We don’t want that to happen. OK, so now we’re going to go ahead and finish the other two corners. And you’ll notice when you put them on that it’s going to
overlap a little bit right here. And you want that because you want a start point like this. So this is the whole quilt! These 4-patches and this block right here.
So when you go to put these together you’re going to put a 4-patch and the block, a 4-patch and the block. You’re going to make long rows of this like this, a 4-patch and the block. Just a long row, then your next row is going to be your 8-patch together like this, I mean your 16-patch together, and you’re going to have these on either side. Like this and you’re just going to make rows of those. So you have another 16-patch over here and another block.
So, you’ll have these two rows going. So, see here, this is the sashing block, the 4-patch, the sashing block, the 4-patch. And your next row is your 16-patch, your sashing block, your 16-patch, your sashing block. And when you put them all together what you get is a row that looks like this. These are the two rows together. You can see where they start to come together here we’ve got the bottom half of the star.
So, as you add these quilts to these rows, every place they meet up like this, you’re going to see this star popping out of there. So, it just makes a really fun and easy quilt, and I hope you enjoyed this tutorial, on this star sashing, from the Missouri Star Quilt Company
Sometimes as a Grandmother you get special requests and my little granddaughter Katie wanted a new quilt, for her new bed, in her new house. So this was the quilt I came up with. This is a great little quilt. Looks much harder than it is! Wait till you see how easy this goes together. This right is one 4-patch, this is four 4-patches, and this sashing block is all we used to bring them together. And wherever they meet hey form a star. So, it’s just a great little sashing block, great little idea for a great quilt. Let me show
you how to do this. I used this line from Riley Blake to make these blocks. It’s obviously not finished yet, but it shows you how those star points just pop. Depending on the fabric you use it will give you a different look with your quilts.
So let’s take a closer look at this quilt and how to do it. We’re going to take our 4-patches. Now on these 4-patches I have a great tutorial called scrappy 4-patch, and the link for that will be in the description, and you guys will be able to put this together. You never have to cut a little piece. It’s just all done very easily, so, check out that tutorial on how to make a scrappy 4-patch quick and easy. So what we’re going to do is we’re going to have the 4-patches and then we’re going to have our 16-patch, which is just four 4-patches sewn together.
Then what we’re going to do is we’re going to make these sashing blocks. Now the sashing block is just whatever color sashing it is and then we’ll snowball the corners. So when you snowball the corners you’re going to take a 2 ½” square, and you’re going to put them on each corner. Every single corner has a snowball square.
So, I’ll show you how to do that. I’m going to take my little 2 ½” square, and I’m going to come over here and press it in half. That’s going to give me a line to sew on. And I’m going to go ahead and take this over to the sewing machine and sew this down. So here we go.
Now with these corners, because the corners are going to overlap to make star points you just want to. Let me just get this out of the way for right now. You’re only going to be able to do two at a time. So, we’re going to put another one on here. Right like that, line it up, and then sew on that corner.
When you make these snowball blocks, you’re going to want to trim these corners before you put the next two on. So, I lay my ruler, and I put my ¼” on my ruler, on the stitch line, and I’m just going to cut off that corner, and cut off this corner. Whoops got that backwards. There we go ¼” on the stitch line, cut off the corner. Then we’re going to press those open.
Now this one I just ran it over I didn’t even set that seam. So I need to go back and set that seam because it just went right under the wrong way. We don’t want that to happen. OK, so now we’re going to go ahead and finish the other two corners. And you’ll notice when you put them on that it’s going to
overlap a little bit right here. And you want that because you want a start point like this. So this is the whole quilt! These 4-patches and this block right here.
So when you go to put these together you’re going to put a 4-patch and the block, a 4-patch and the block. You’re going to make long rows of this like this, a 4-patch and the block. Just a long row, then your next row is going to be your 8-patch together like this, I mean your 16-patch together, and you’re going to have these on either side. Like this and you’re just going to make rows of those. So you have another 16-patch over here and another block.
So, you’ll have these two rows going. So, see here, this is the sashing block, the 4-patch, the sashing block, the 4-patch. And your next row is your 16-patch, your sashing block, your 16-patch, your sashing block. And when you put them all together what you get is a row that looks like this. These are the two rows together. You can see where they start to come together here we’ve got the bottom half of the star.
So, as you add these quilts to these rows, every place they meet up like this, you’re going to see this star popping out of there. So, it just makes a really fun and easy quilt, and I hope you enjoyed this tutorial, on this star sashing, from the Missouri Star Quilt Company