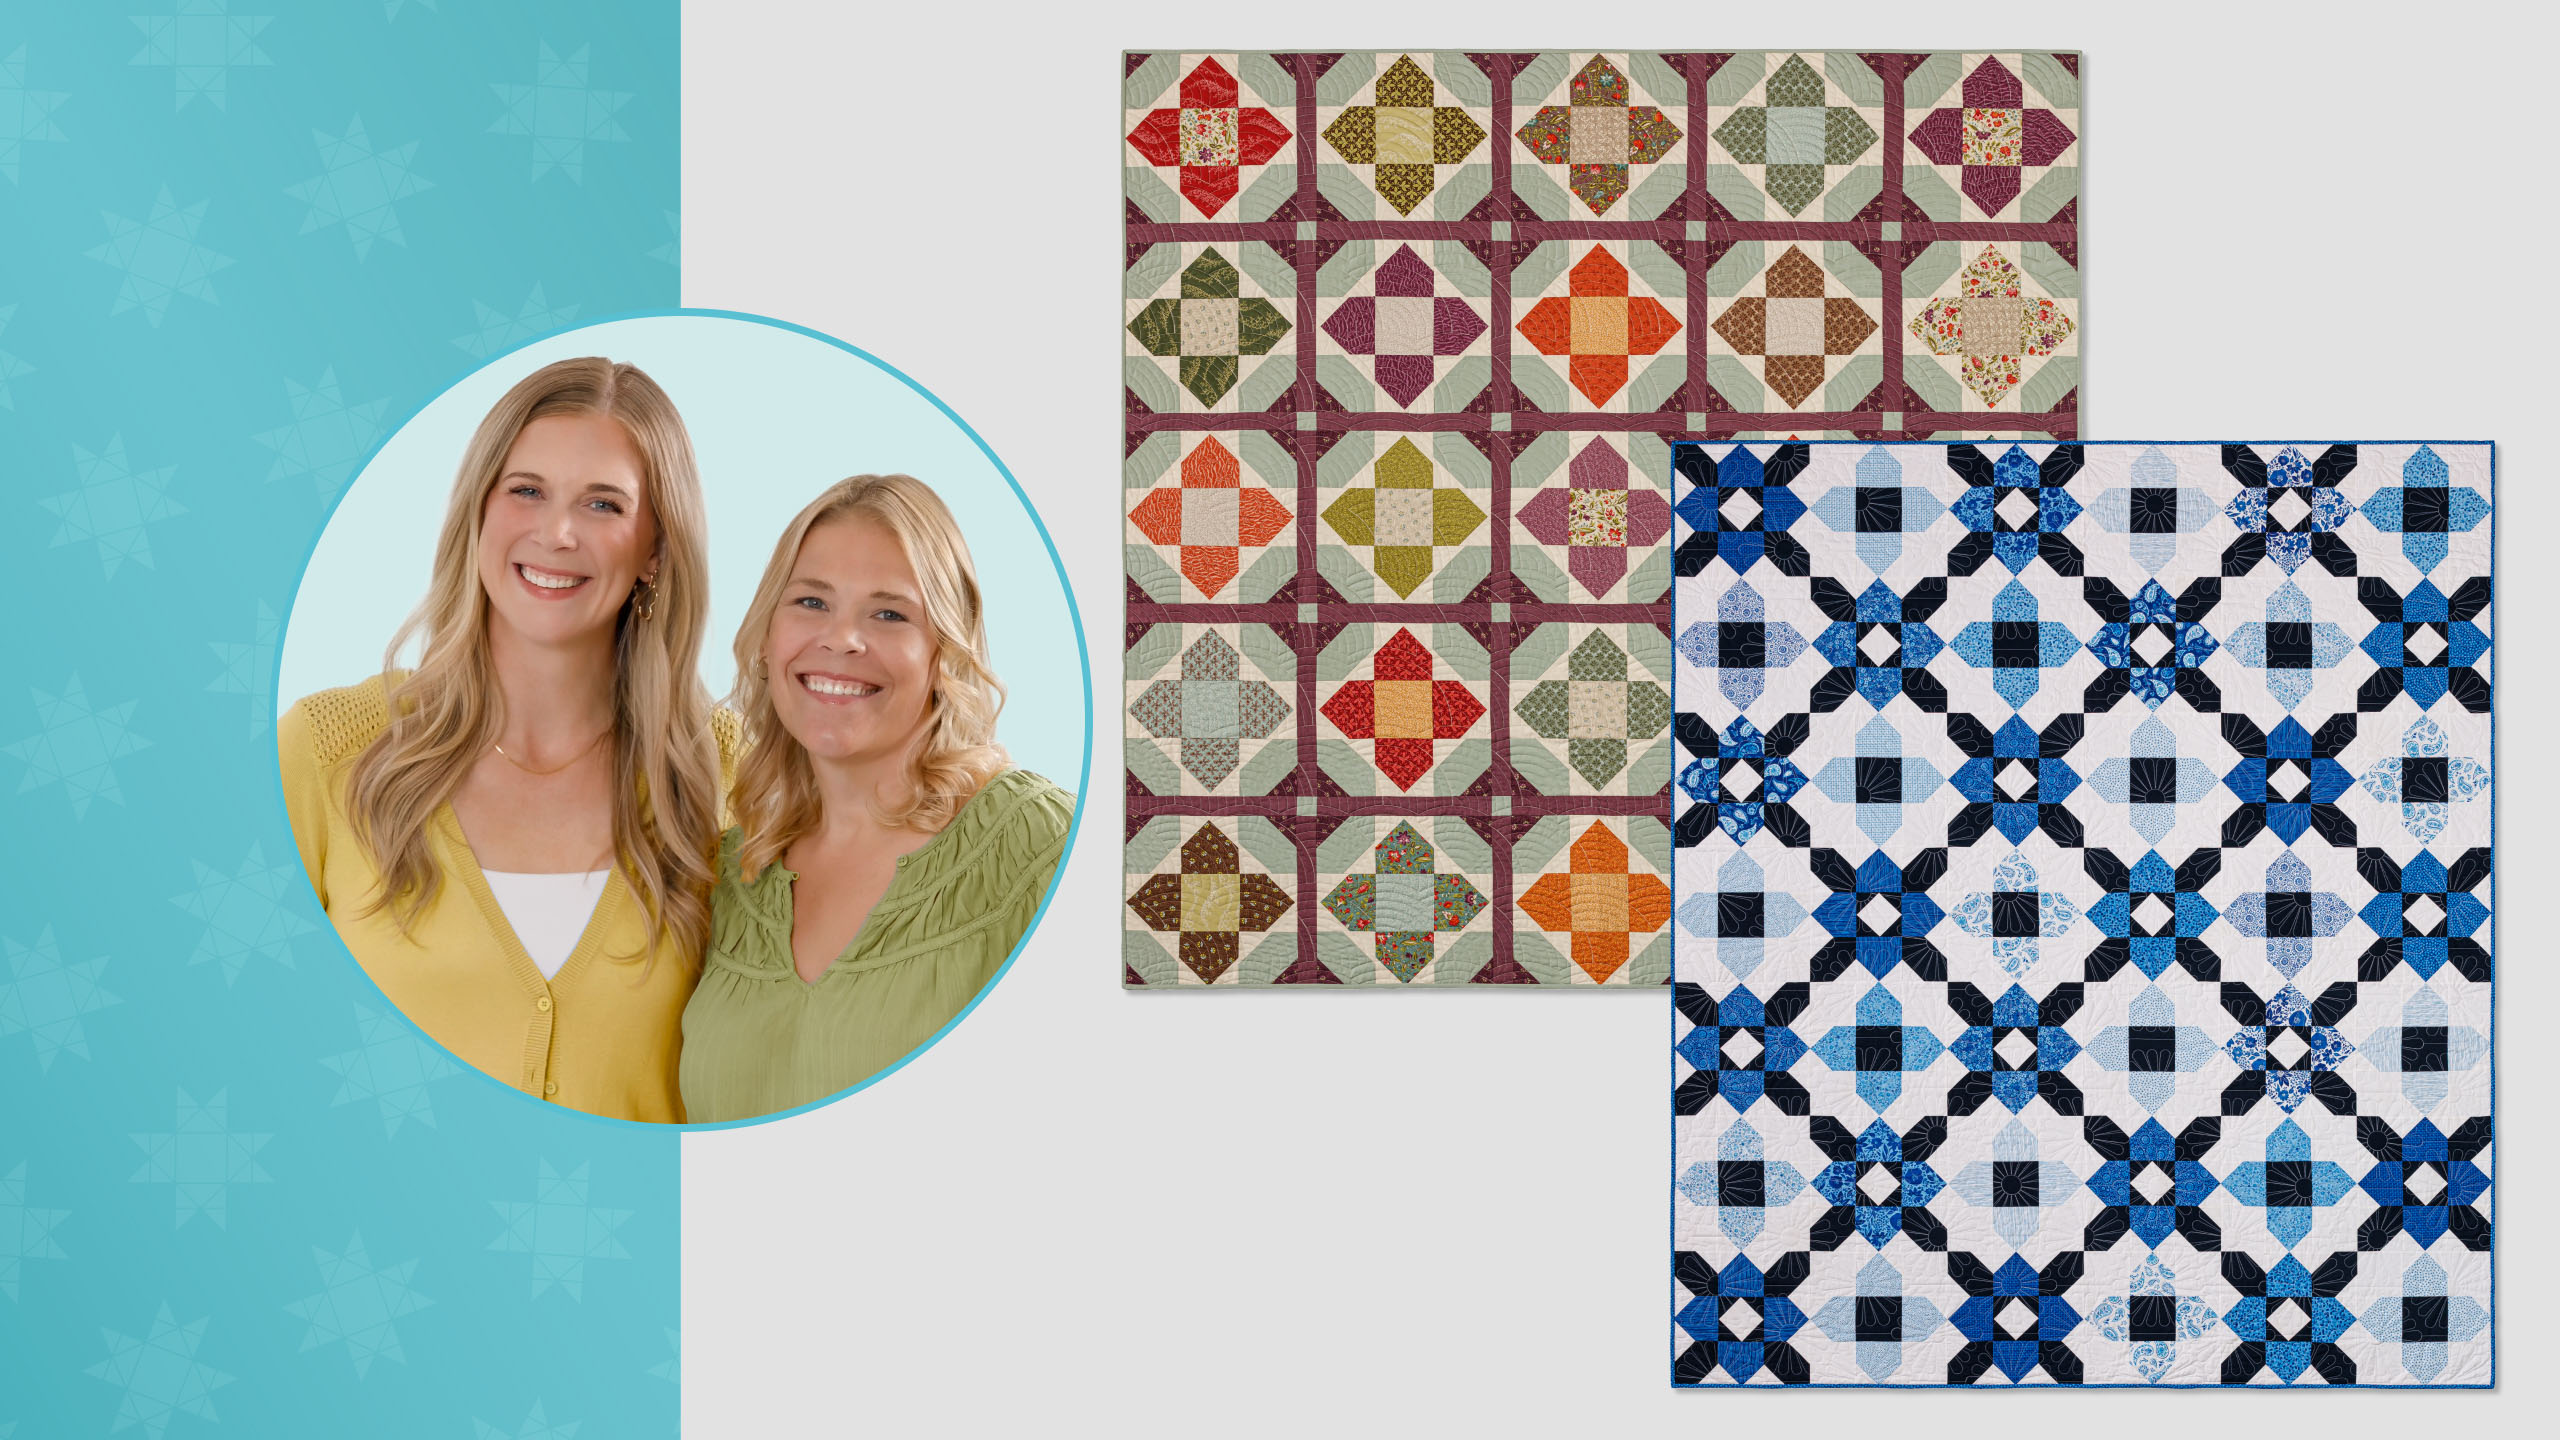
Kings cross quilt finish - Using your backing as binding with Beth Shibley
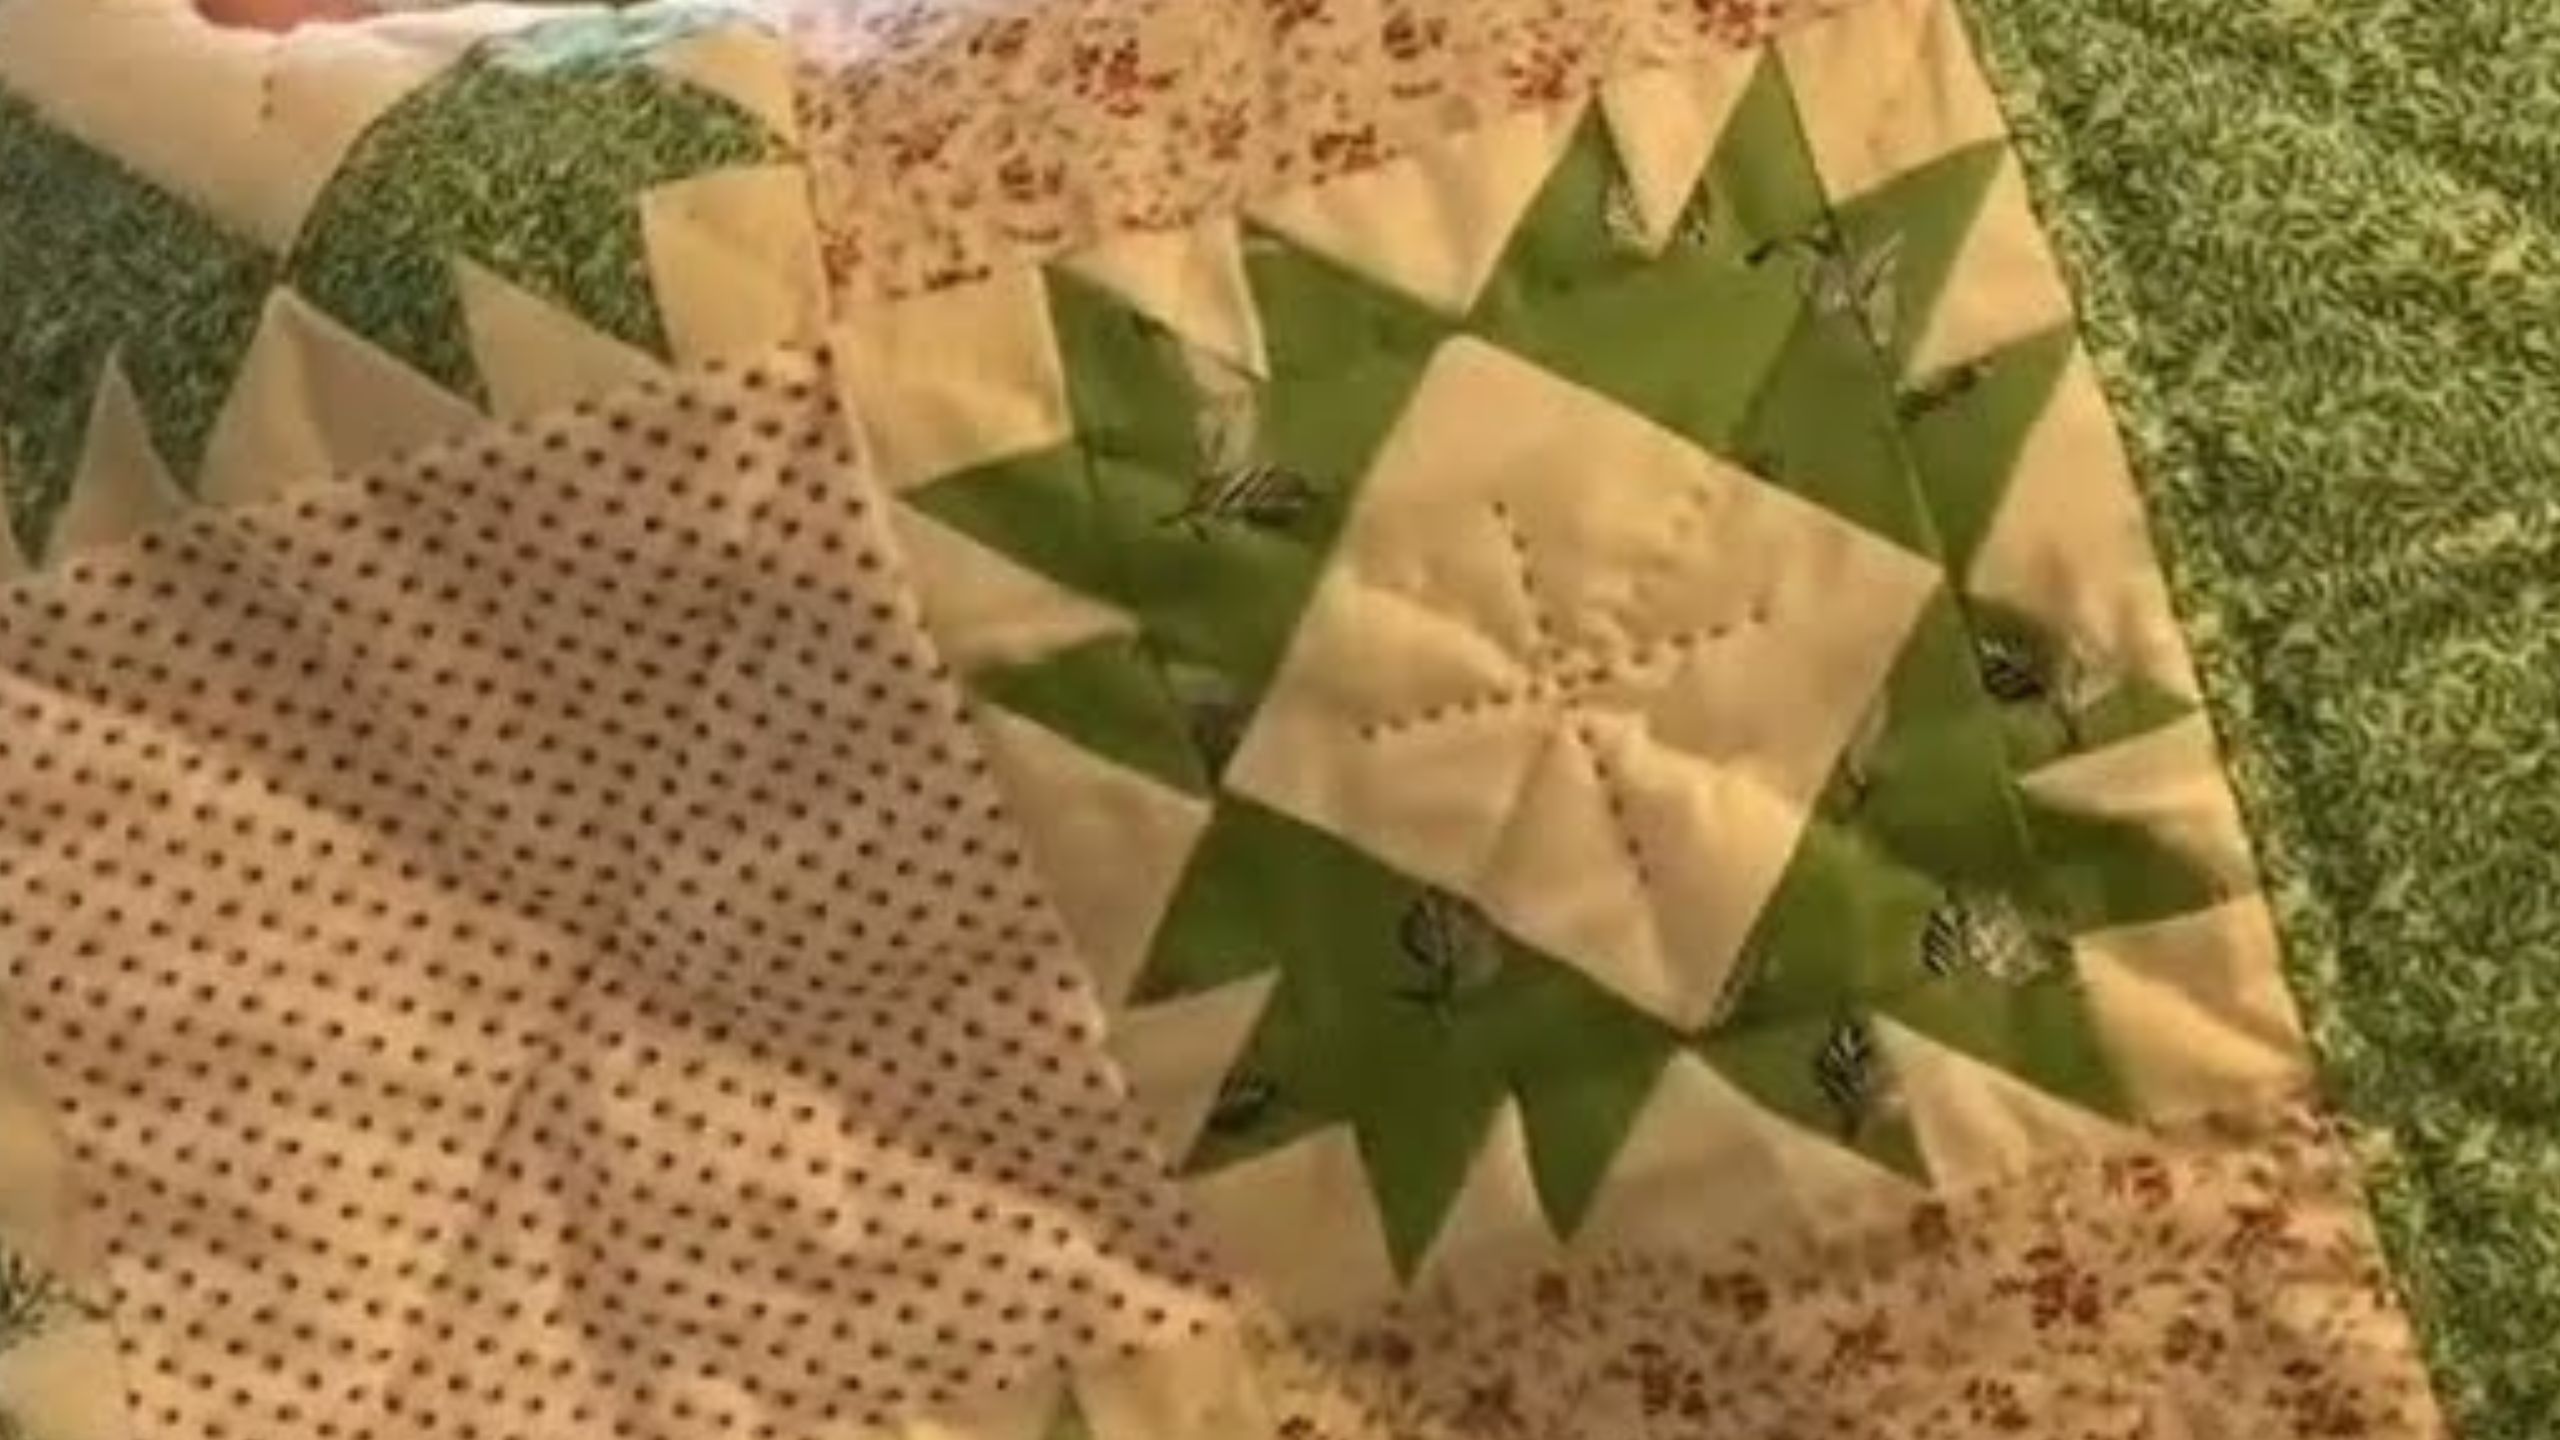
Today Beth Shibley shows you a neat trick to finish your quilt - use your backing as the binding! This means you won't need any binding strips. It's so easy!
Instructor
Beth Shibley
Beth Shibley loves to create and share her adventures in quilting. Simple patterns and practical gifts are what she loves most.
Shop this tutorial

Common Questions
What is covered in Kings cross quilt finish - Using your backing as binding with Beth Shibley?
Today Beth Shibley shows you a neat trick to finish your quilt - use your backing as the binding! This means you won't need any binding strips. It's so easy!
How long is the tutorial video?
The tutorial video is 00:11:43.
Is a transcript available?
Yes. A written transcript is available on the tutorial page.
Video Transcript
A self-binding quilt is a type of quilt that has a finished edge created by folding the backing fabric over the quilt top and binding it in place.
To make a self-binding quilt, follow these basic steps:
Choose your fabric: Select the fabric you want to use for your quilt top and backing. You can choose coordinating or contrasting fabrics, depending on the look you want to achieve. You will want your backing to be at least 2" bigger on all sides than your quilt top, but you can increase this length if you'd prefer wider borders.
Assemble the quilt top: Use your chosen method to piece or construct the quilt top.
Trim the excess: Trim the excess batting so it is even with the edges of the quilt top.
Layer the quilt: Layer the quilt top, batting, and backing fabric together, and baste the layers securely.
Fold and press the backing: Fold the edge of the backing in half, pressing it down with an iron to create a sharp crease.
Fold and press again: Fold the backing fabric over the edge of the quilt top, so that the folded edge covers the raw edge of the quilt top. Clip or pin into place securely.
Stitch the binding: Stitch the folded edge of the backing fabric in place, either by hand or with a sewing machine. You may wish to use a decorative stitch at the edging, or simply top stitch with a narrow seam.
This technique is often used for smaller quilts, such as baby quilts or wall hangings, as the folded edge of the backing fabric creates a decorative finish without the need for a separate binding. However, it can also be used for larger quilts if desired.
To make a self-binding quilt, follow these basic steps:
Choose your fabric: Select the fabric you want to use for your quilt top and backing. You can choose coordinating or contrasting fabrics, depending on the look you want to achieve. You will want your backing to be at least 2" bigger on all sides than your quilt top, but you can increase this length if you'd prefer wider borders.
Assemble the quilt top: Use your chosen method to piece or construct the quilt top.
Trim the excess: Trim the excess batting so it is even with the edges of the quilt top.
Layer the quilt: Layer the quilt top, batting, and backing fabric together, and baste the layers securely.
Fold and press the backing: Fold the edge of the backing in half, pressing it down with an iron to create a sharp crease.
Fold and press again: Fold the backing fabric over the edge of the quilt top, so that the folded edge covers the raw edge of the quilt top. Clip or pin into place securely.
Stitch the binding: Stitch the folded edge of the backing fabric in place, either by hand or with a sewing machine. You may wish to use a decorative stitch at the edging, or simply top stitch with a narrow seam.
This technique is often used for smaller quilts, such as baby quilts or wall hangings, as the folded edge of the backing fabric creates a decorative finish without the need for a separate binding. However, it can also be used for larger quilts if desired.