Let's go fly a kite! This quilt puts together breezy pinwheels and asymmetrical half rectangle triangles to create a whirlwind of kites! Made with charming prints from the Maywood Studio Le Fleur Flannel collection, this quilt looks as soft as it feels. It will blow you away!
Misty Doan grew up surrounded by sewing and quilting. She loves spending time sharing tutorials each week each week, and when she’s not stitching up one of her fun sewing projects for home decor, most likely you’ll find her hanging out with her husband and three awesome kids or working on a house project.
Let's go fly a kite! This quilt puts together breezy pinwheels and asymmetrical half rectangle triangles to create a whirlwind of kites! Made with charming prints from the Maywood Studio Le Fleur Flannel collection, this quilt looks as soft as it feels. It will blow you away!
How long is the tutorial video?
The tutorial video is 00:16:17.
Are supplies listed for this tutorial?
Yes. The tutorial page includes the supplies and materials connected to this project.
Video Transcript
Hey everyone, it is Misty and welcome to At Home. Today we're going to make this beautiful kite festival quilt. I used some beautiful flannel fabrics, but you can make it with absolutely anything. Just grab your favorite pack of 10in squares and I'll show you how. All right, to make this beautiful quilt, you are going to need one package of 10in squares. And I use this beautiful Lafleur flannel by Maywood Studios. It's absolutely gorgeous and just so soft and cozy. You're also going to need some background fabric. I used flannel there as well. So, you'll need two and 7/8 yards or just about three yards, whatever you want to do to make it easy. The other option is you could use a package of 10in squares if it's available in your background. Uh but it wasn't in this case for me. So, in addition to that, you'll need four yards of your backing with a horizontal seam or two yards of 108 and just about twothirds of a yard for your binding. So, let me show you how to make this. So, this quilt is made up of three simple blocks. The first is our half rectangle triangles. And then we have two different blocks that are made up of half square triangles. This kind of pin wheel and broken dishes block. So, up first, let's dive into those half square triangles. And so I have just paired up a 10-in print square with a 10-in background. And so we are going to line those up. And the thing that's so nice about working with flannel is those fibers just kind of hold together and I feel like the fabric doesn't shift as much. I really enjoy it. And so now I'm going to grab a pen and my ruler here and we are just going to draw a line diagonally in both directions. I like to start in the middle so I don't have quite so much drag. Makes it a little bit more accurate. And so same thing this way. Okay. And so then now I'm just going to take this to the sewing machine and I'm going to sew a quarter inch seam on both sides of those drawn lines. So let's go ahead and do that. Just sew all the way off. Pivot around. And we'll come back down the other side here. And then I'll do the same thing in the other direction. Got a thread looped. There we go. Okay. And once more here. Okay. All right. So, now you can see here I've uh drawn and sewn both of those lines. And so we're going to use our 5 by 15 inch ruler and we are going to begin by cutting this in half horizontally and vertically. So there's that first cut. And I love that I can just use the width of this ruler. I don't have to worry about it. And then once I've made those cuts, now I can pull them apart and I can cut on that drawn line diagonally. So, we will just cut each of these apart. And that's going to give us eight half square triangles, which is enough for two blocks. There we go. All right. So, once I have them all cut apart like that, I'm going to use my Clearly Perfect slotted trimmer A. And I am looking for the four and a half inch mark. And so if you've never used this trimmer before, you are going to line up your stitch line with the dashed line of the measurement you need. So I'll just make sure those are all lined up. And then I can trim away my little bit of excess here and here. There we go. and you will just square up all of your uh half square triangles and then press those to the dark side and then you'll have a beautiful 4 and 1/2 in half square triangle. I have a bunch more that I've gone ahead and squared up. And so now let's talk about laying out these two blocks. So remember we have one that is a simple pin wheel and one that is this broken dishes. So we'll begin with the pin wheel and that one's pretty easy. You want to go light, dark, light, dark. And always alternate those seams just like so. And so then we can fold this over and sew it like a four patch. Since I just have that one center seam, I'm just going to open this up right here at the sewing machine. Make sure it's still all going the right direction, which it is. And then I'll fold that over. And I will just make my seams nest in the middle before I press it at the pressing mat. So, let's go ahead and make sure our edges are lined up there. and our first little block will be all put together. So now I'm just making sure those seams are going in opposite directions and then I can stitch all the way down the side. Okay, so here is our cute little pin wheelel block. Let's go ahead and give that a press. And I just love how soft and cozy this flannel is. And it's honestly so easy to work with. So there we go. There is our pin wheel. You do want to be mindful when you're working on these that you're you make all of your pin wheels in the same way because it's easy to just flip and have your dark here and your light there and then that would be a problem. So just pay attention to that when you're working on your blocks. And so then now we're going to do our broken dishes block. And so same idea here. We're going to do one with our print in and one with our print out and then just do the opposites here. There we go. And so in that same way, I'm going to stitch this together and I'll meet you back here when it's done. All right. So now our cute little broken dishes block is all stitched together. We can go ahead and give that a press as well. I always like to just press from the top. Make sure everything is laying nice and flat and we don't have any little tucks in there. Beautiful. It looks great. All right. And so now we can set these aside and we're going to move on to making our little half rectangle triangles. So in order to do that, we are going to grab another set of our print and 10in squares. And I'm just going to give these a press cuz they're a little rumpled. There we go. And I'm going to bring these over here. I'm going to make sure they're lined up very straight. There we go. Beautiful. And so now I'm going to use my ruler again. And I'm going to begin by cutting it in half. There we go. And then I'll separate these apart. And then I'm going to cut these on the diagonal. And the when I'm looking at it, the one on my left side, I'm going to cut this direction. And the one on the right, I'm going to cut this direction. And I'm going to do that for all of my blocks that I need to make this way. Just like so. And so now I'm going to have all of the pieces I need to make this block. So I've got a print here and a print here. And then this will be able to flip around and make a second block. You see how those match on that side? And so then for this one, I need my background on the top and my print on the bottom. And again, this gives me enough to make two blocks like this. But we're just going to stitch one. And so we're going to begin. We're going to lay these right sides together. And I'm going to make sure I have about a quarter inch overhang on both the top and the bottom. We are going to square these up, so you don't have to worry too much, but that just this just makes it a little bit easier. So, I have both of these ready, and I'm going to take them over to the sewing machine, and I'm going to stitch right down this long side on both of them. Just take your time. Make sure everything is staying lined up as best as you can. And then now I'll just follow right behind with my other half. This one's shifting on me a little bit more. There we go. You do want to be careful when you're sewing on that long edge because it has a little bit of bias going on there. So, don't be tugging or anything too crazy while you're stitching it. Just let the machine do the work. And so, now we're going to set this seam and roll it back to the dark side. There is our first one. And the same with this one here. All right. And now we're just going to square these up. And so the size we're looking for is 4 and 1/2 by 9. And this can be a little bit tricky since our ruler is wider than that. And so what I'm looking for is I have my corner here right on the seam line and then my quarter down here right on the seam line. And this is four and a half over. And so I know this this angle here is going right into the corners. And so this little bit of overhang that I have, which is not much, you can see, I'm going to trim off. So there's that and that. And so then now I'll flip this around and I can line this side exactly up with my four and a half. And my height is already at nine. Just make sure I stay nice and straight. do have a little bit to shave off there. And there we go. And so that's how we square that up. Let's do the same thing one more time here with the other half. So I'm coming over. I'm got my 9 in here on this edge, my four and a half on this side. I'm going to hold that in place and trim. There we go. Now we can flip that around. Keep this right on the 4 and 1/2 this way and 9 in this way. And that will give me the rest I need to trim down. Beautiful. All right. And so now we can sew our little half rectangle triangle unit together. And it goes just like this. We want opposites to be touching. So we'll fold that right sides together and stitch it here at the machine. Okay, now we can just give this a quick press and roll it back. There. There is our cute little half rectangle triangle. And so those are the three blocks to make this whole quilt. I have absolutely loved sewing with this flannel. But let's go ahead and take a look at how this quilt goes together because it's much simpler than it looks. So the entire first row is made up of your pin wheel blocks. And so they just set in all the way across. You have one, two, three, four, five, six, seven, eight across. So all pin wheels first row. Then you have your little half rectangle triangles. Same thing. Eight across. Then you come in with that broken dishes next. like so all the way across. And then the only real change is your half rectangle triangles flip. And you can keep track of that because you always want to make sure your your background and your print are touching. And so as you put your rows together, that's really what you're looking for. And I loved this kind of kite shape that you got as an effect. And it goes both directions. So, one more thing to point out. You have one, two, three rows of your pin wheels and only two of the broken dishes. So, you need a little bit more pin wheels than uh those broken dish blocks, but it just comes together so cute. It's so cozy. We backed it with flannel as well. Absolutely love that cute little floral and I just quilted it with loop the loop. I think it turned out great. So, I hope you guys enjoyed this tutorial and I'll see you next time on At Home. Hey everyone, thank you so much for watching at home. We're so excited to be almost a million quilters strong here at Missouri Star. And so, if you haven't already joined our family, be sure to subscribe and hit that notification bell so you can be notified of all of our future tutorials. And we'll see you soon.


 Misty Doan
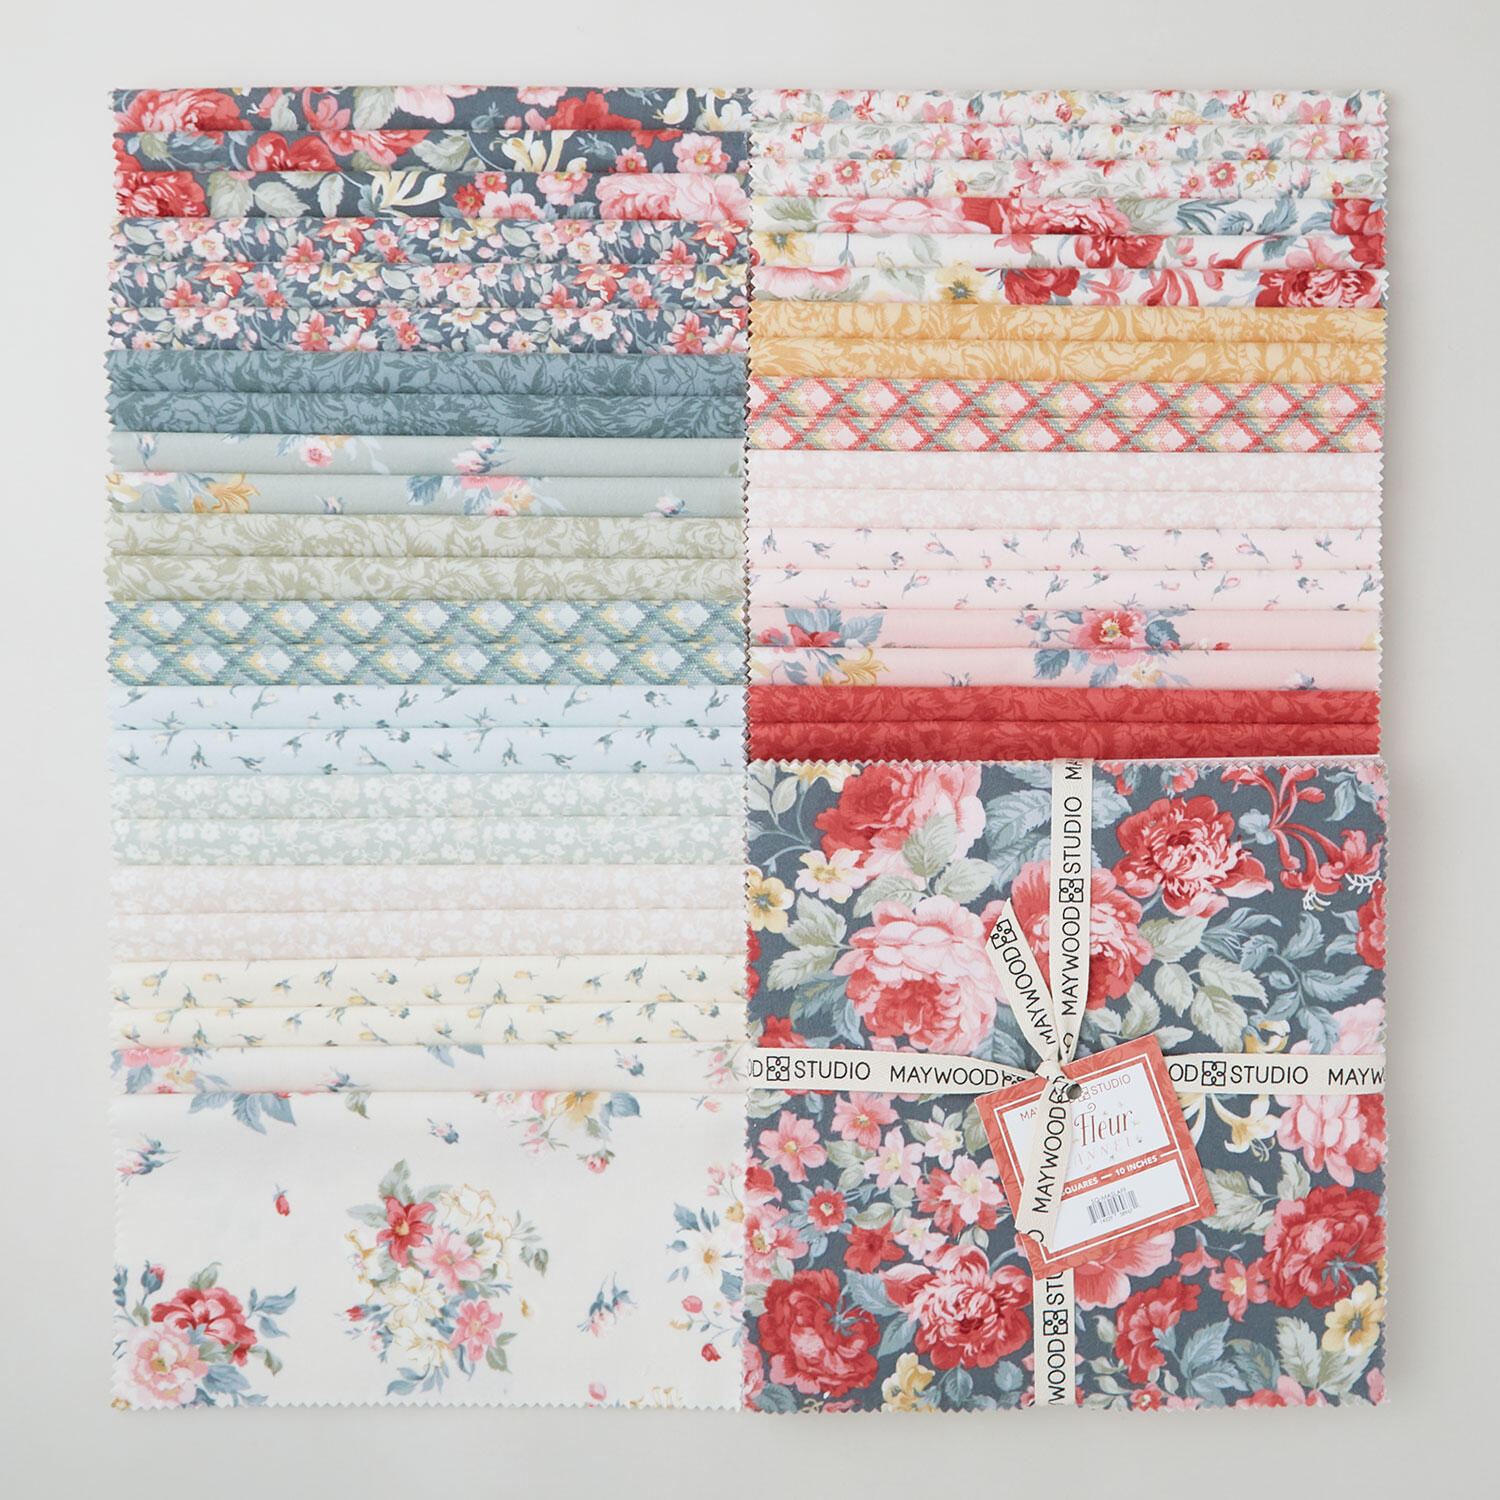 La Fleur Flannel 10" Squares$48.50Shop →
 Flannel Solid - Snow Yardage$8.08Shop →
 Flannel Solid - Ivory Yardage$8.08Shop →
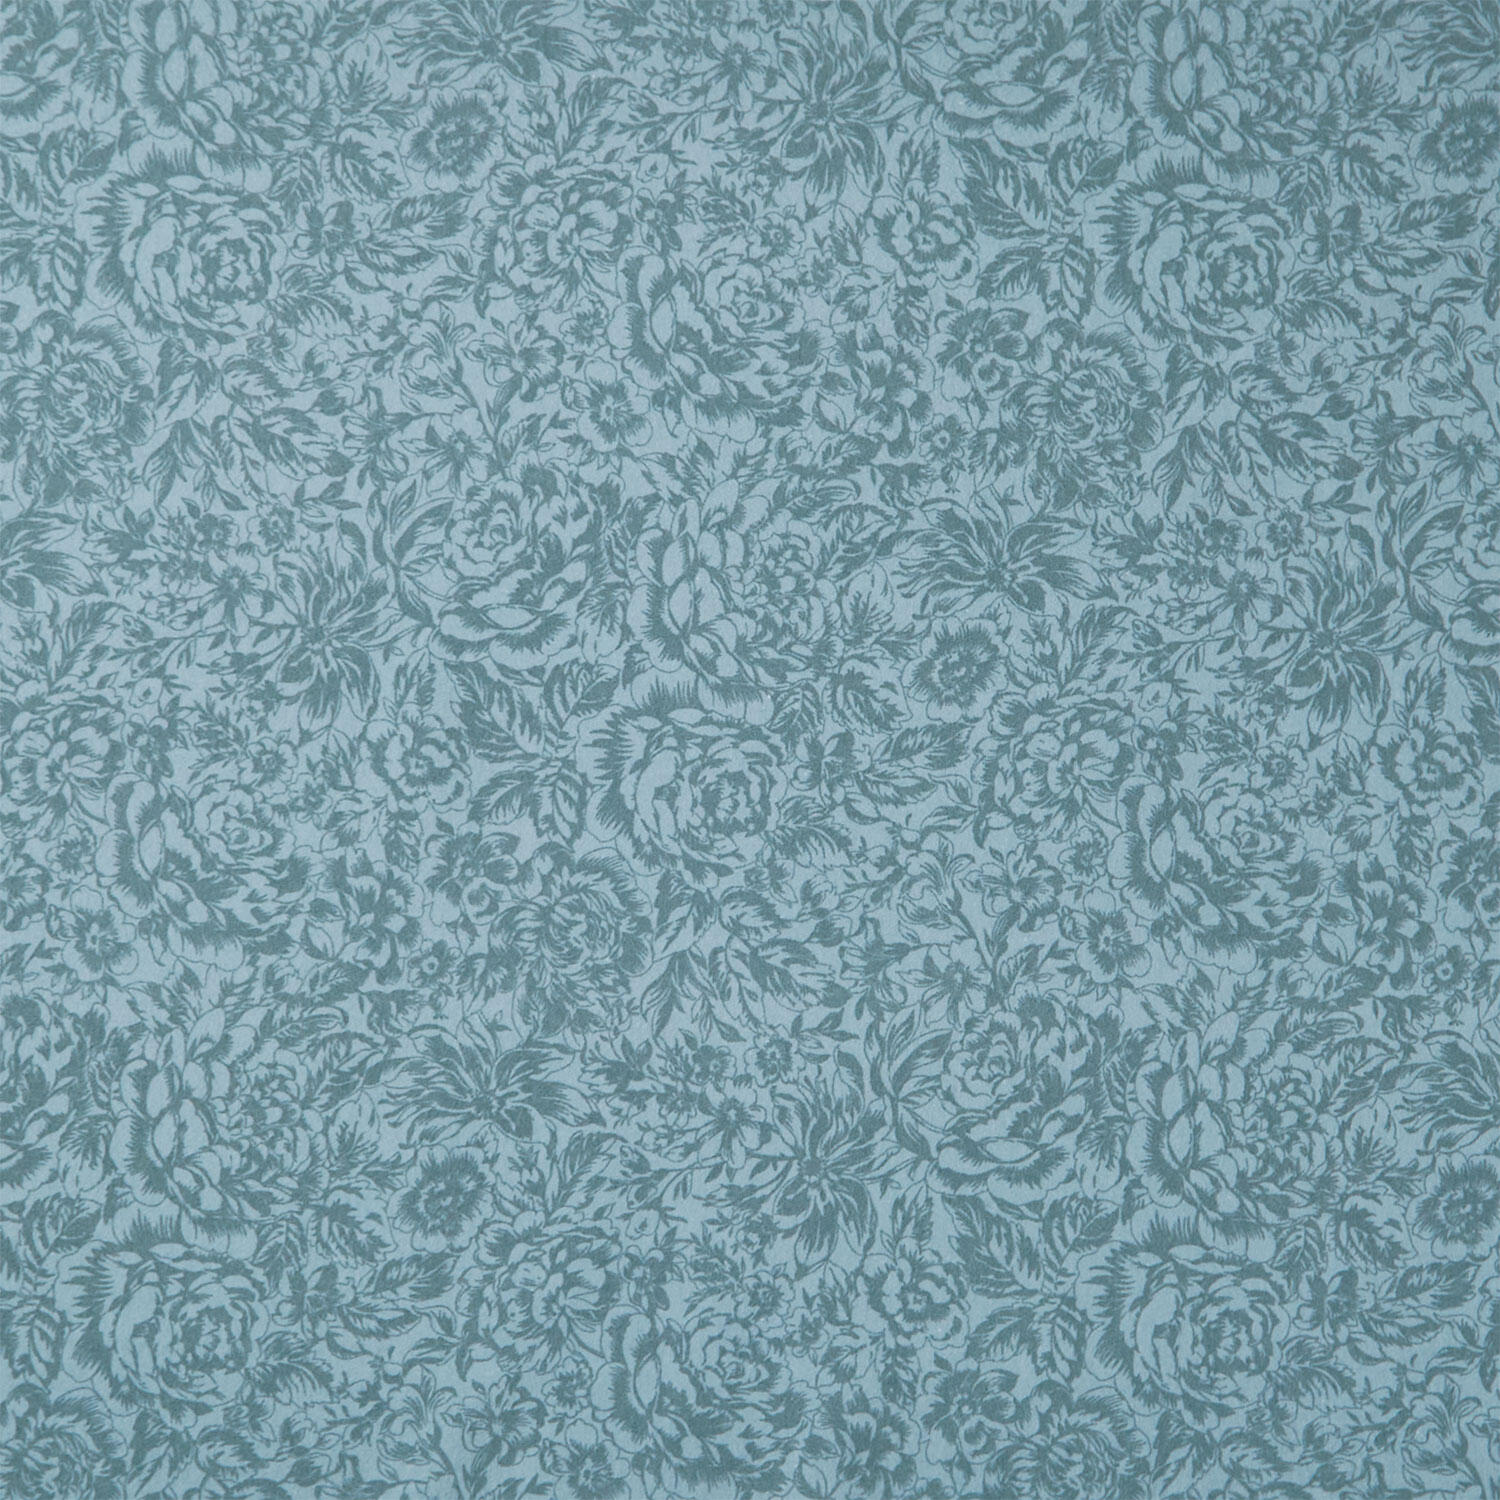 La Fleur Flannel - Tonal Floral Blue Yardage$12.44Shop →
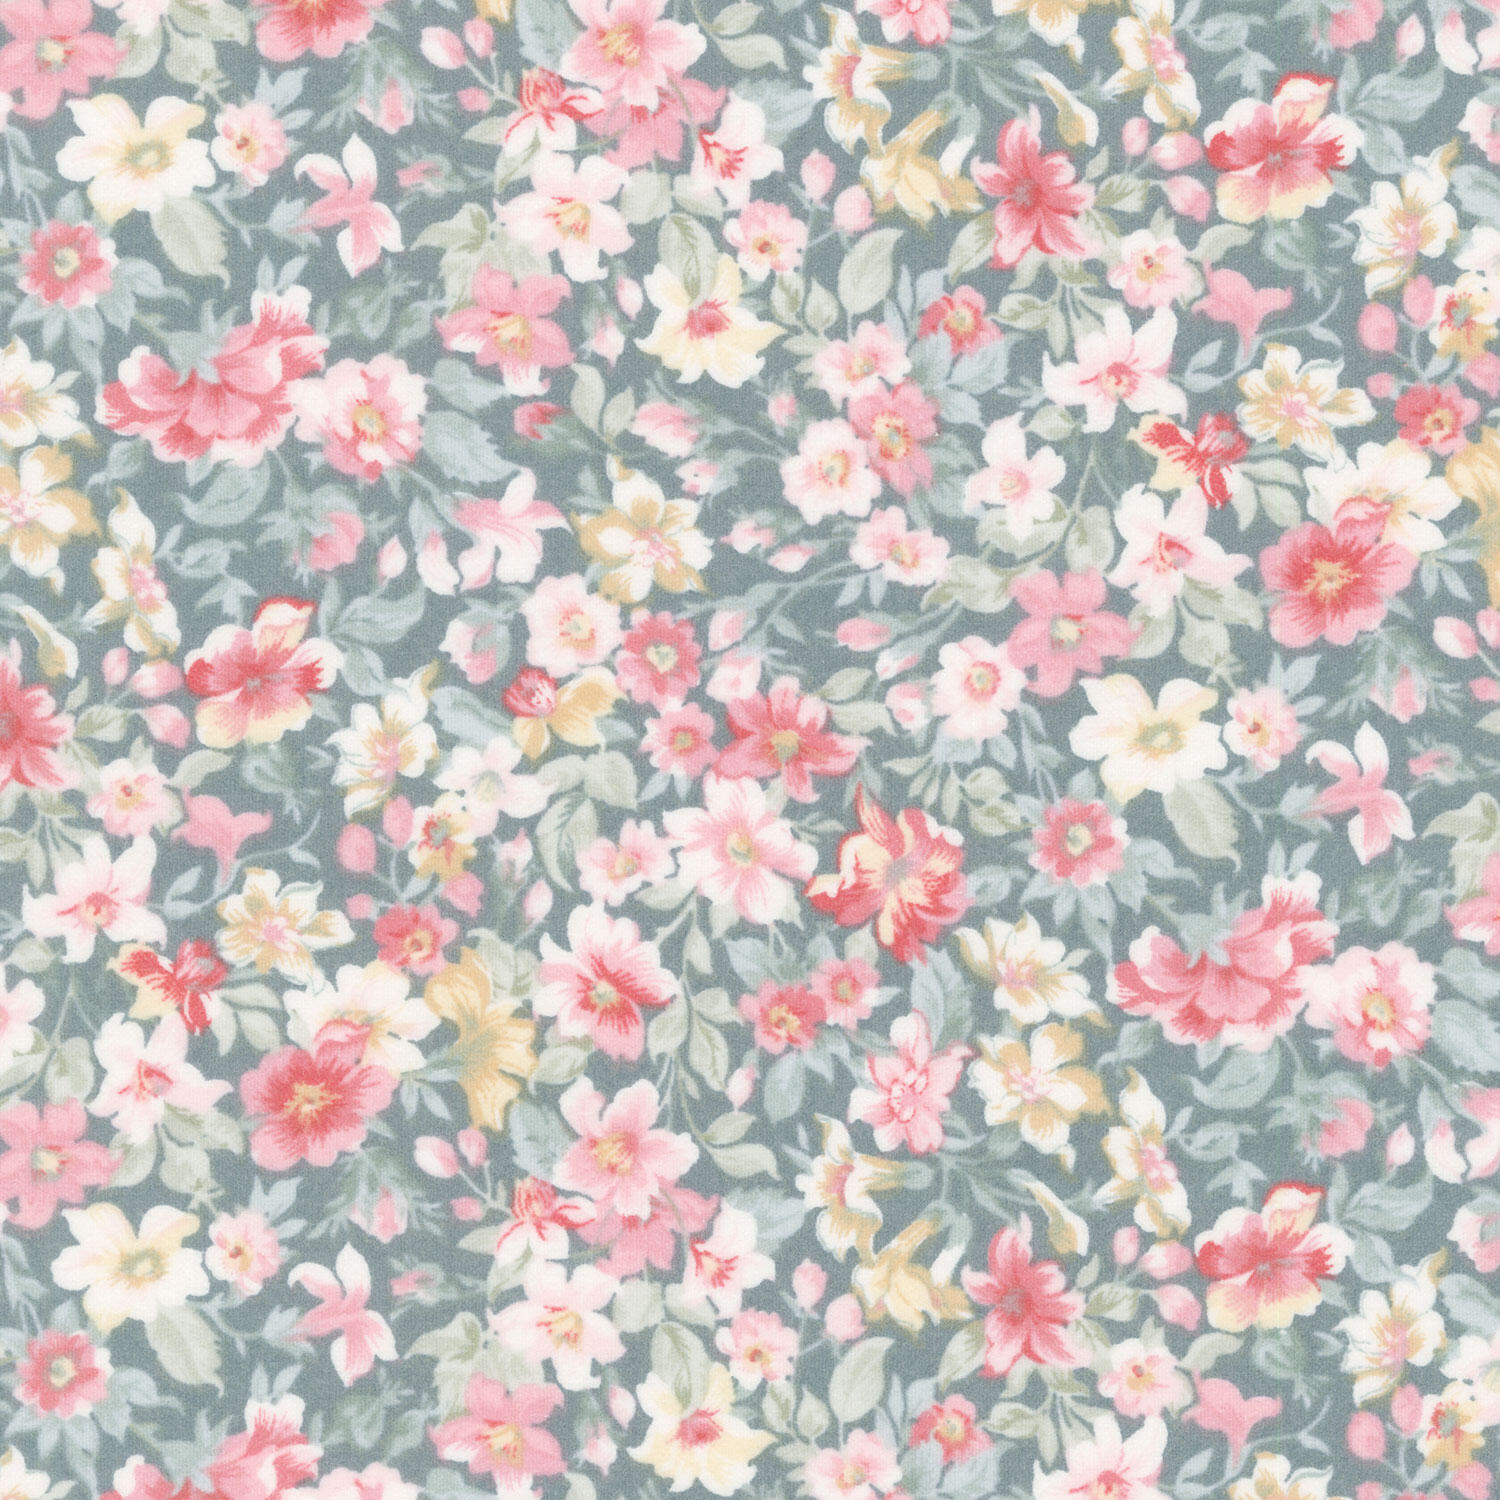 La Fleur Flannel - Packed Floral Green Yardage$12.44Shop →
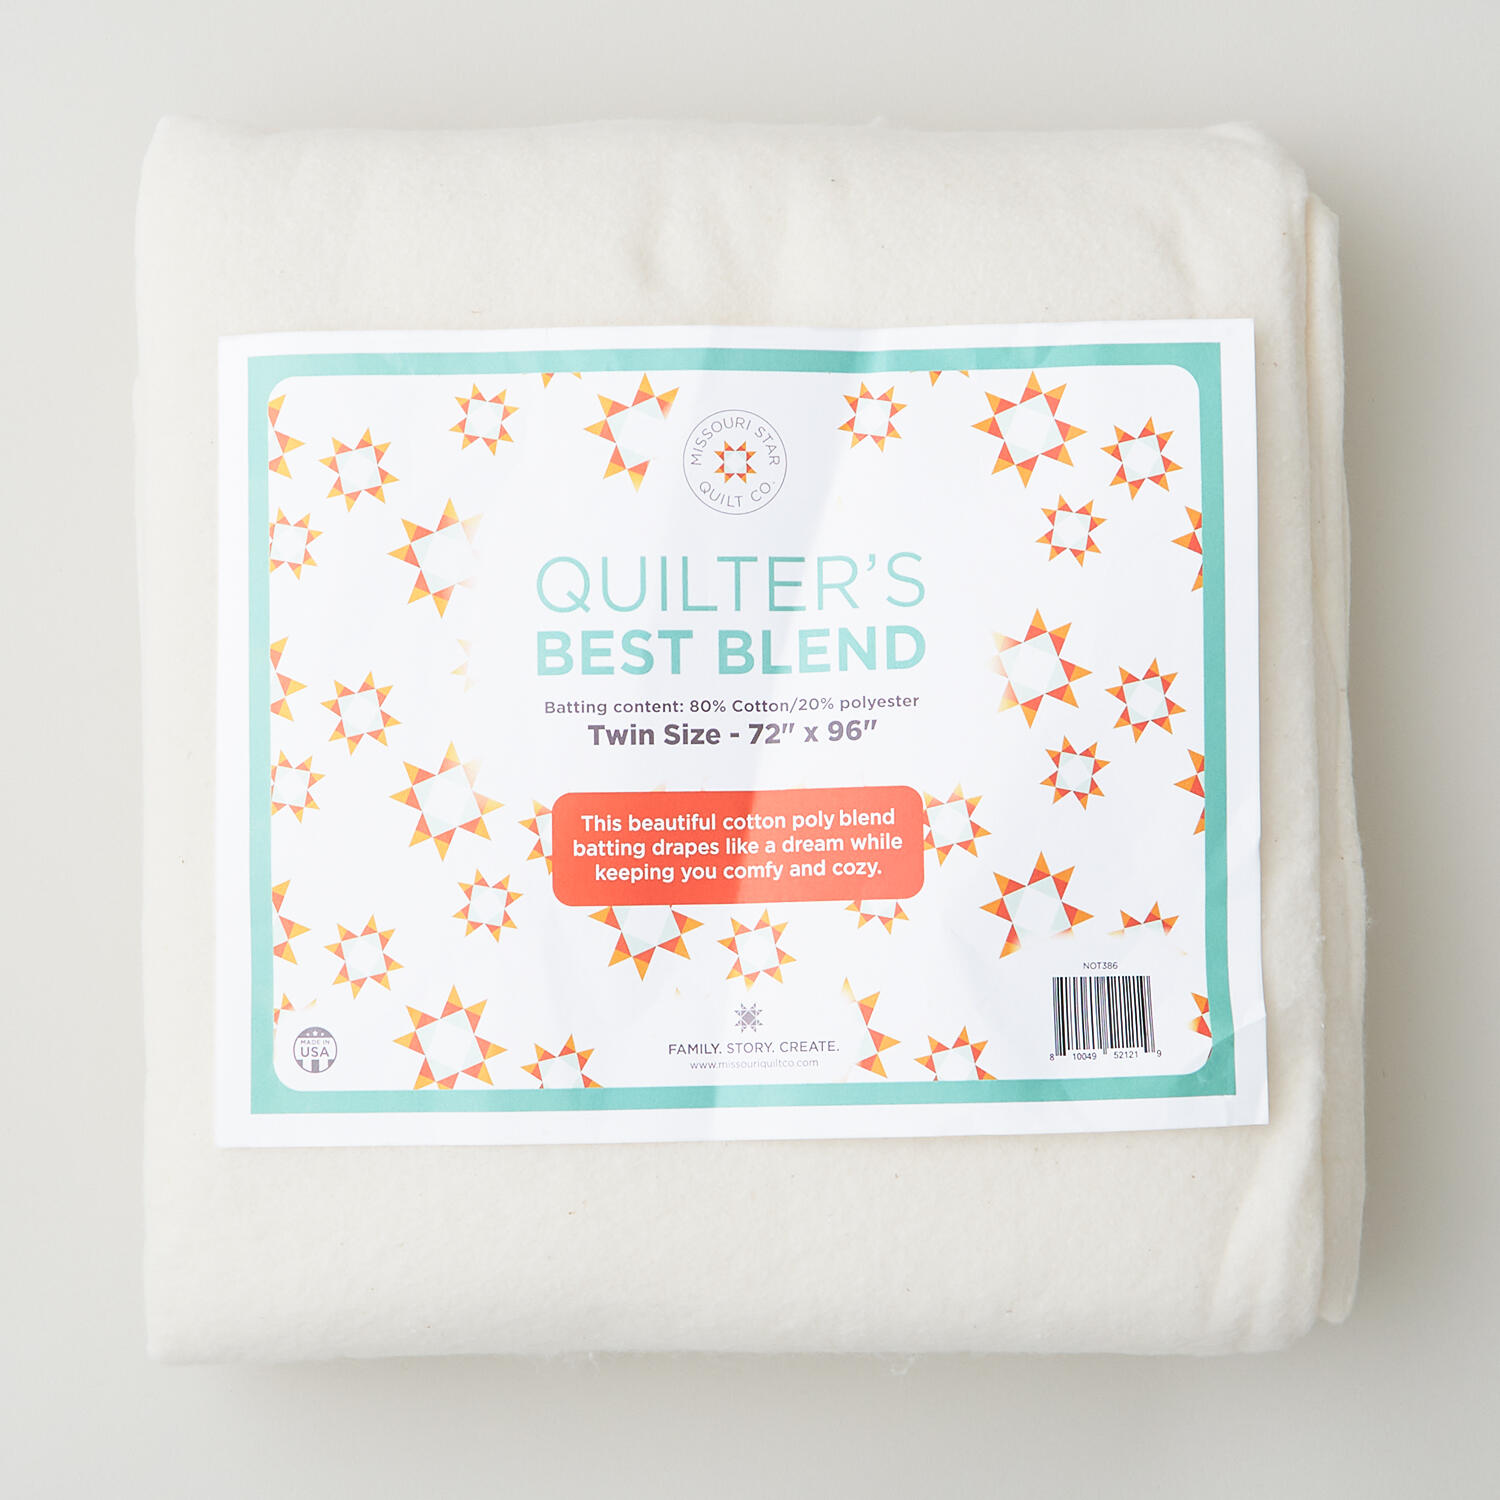 Missouri Star Quilter’s Best Blend Twin Batting$26.95Shop →
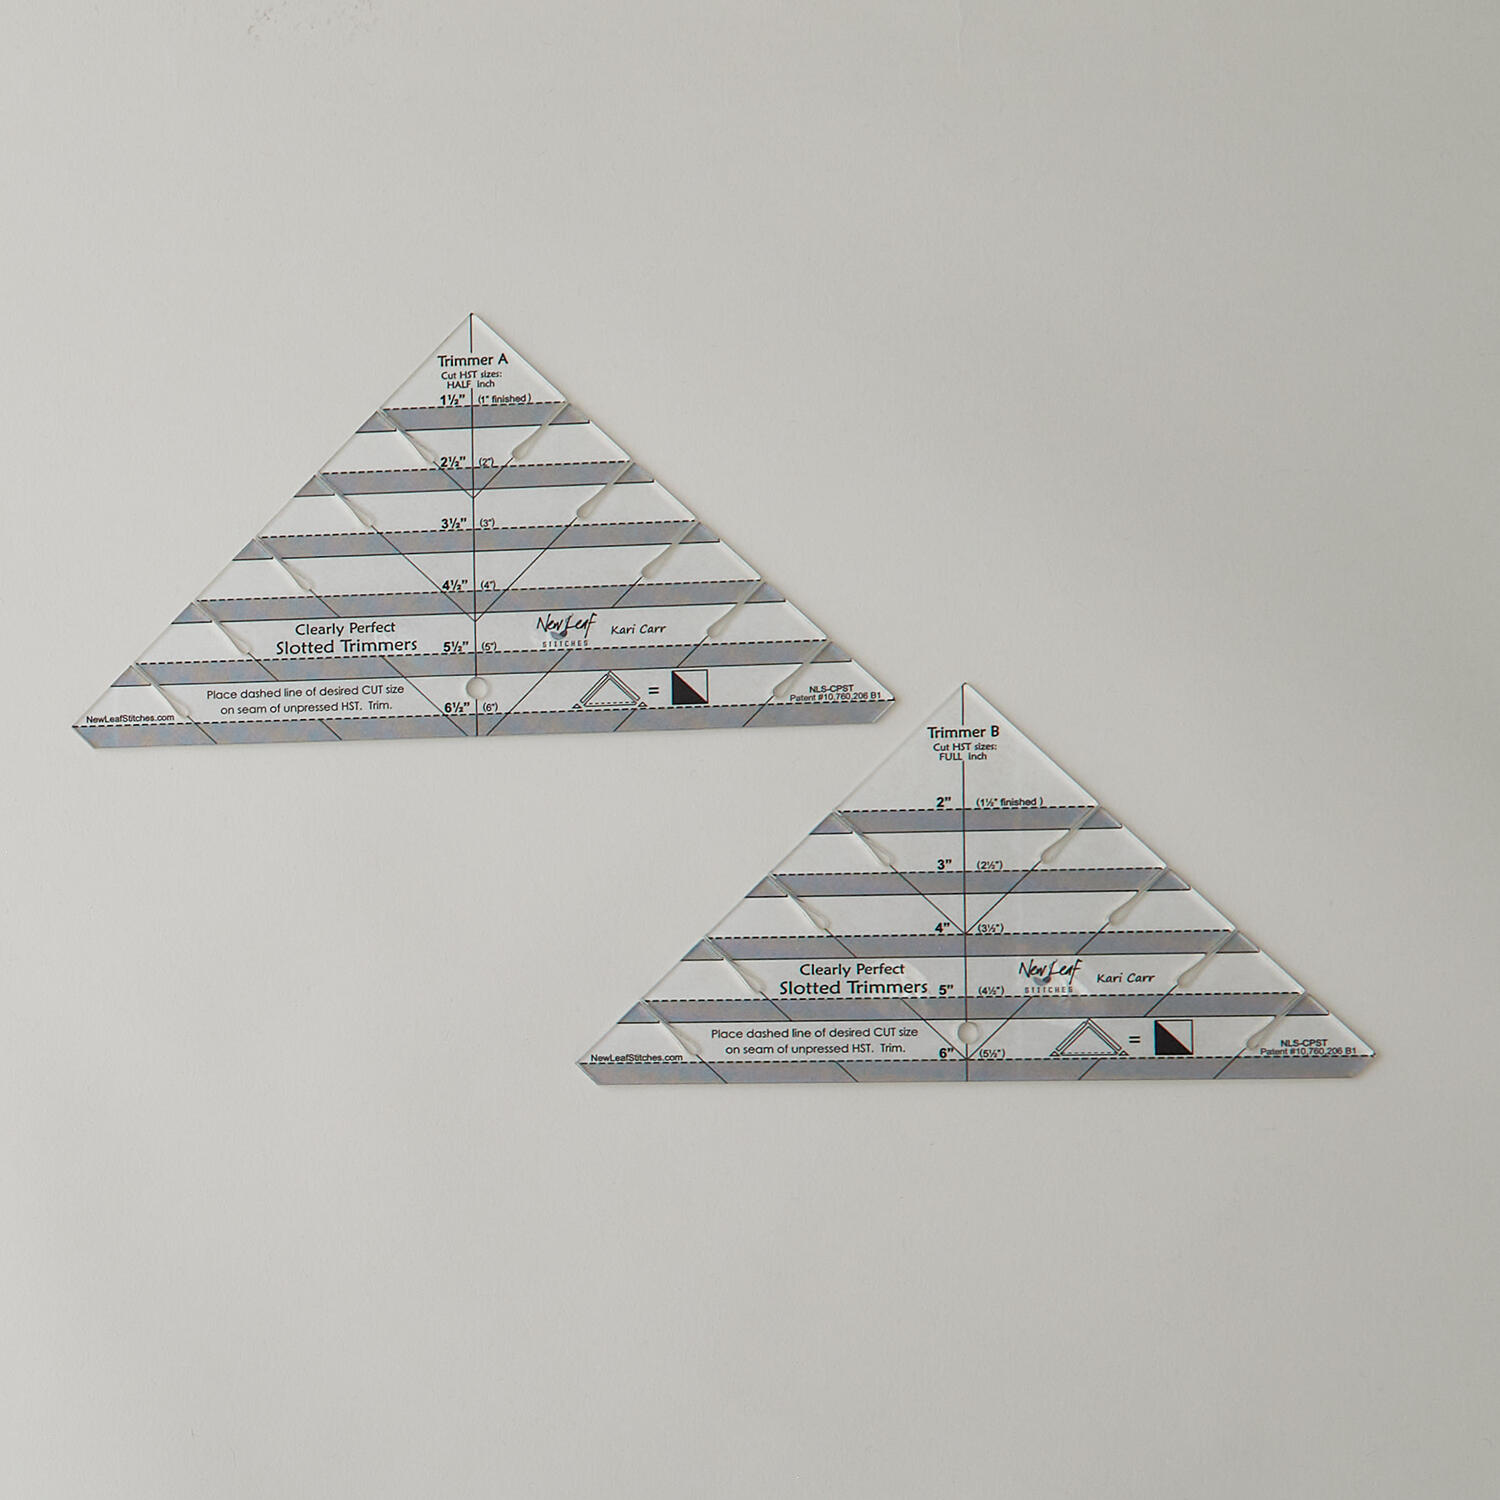 Clearly Perfect Slotted Trimmers$33.95Shop →
 Missouri Star 5" x 15" Ruler$19.95Shop →
 Missouri Star 45mm Rotary Cutter - Olga$19.95Shop →
 Missouri Star 8" Everyday Scissors - Amelia$19.95Shop →
 Missouri Star 50 WT Cotton Thread White$7.95Shop →
 Missouri Star + Oliso TG1600 ProPlus Iron$209.95Shop →
 Missouri Star Wooly Betty Board - 17.25" x 25.5" Orange Border$99.95Shop →
 Bernette 77 Sewing and Quilting Machine$1699.00Shop →
 Kite Festival Quilt Pattern by Missouri Star$8.50Shop →
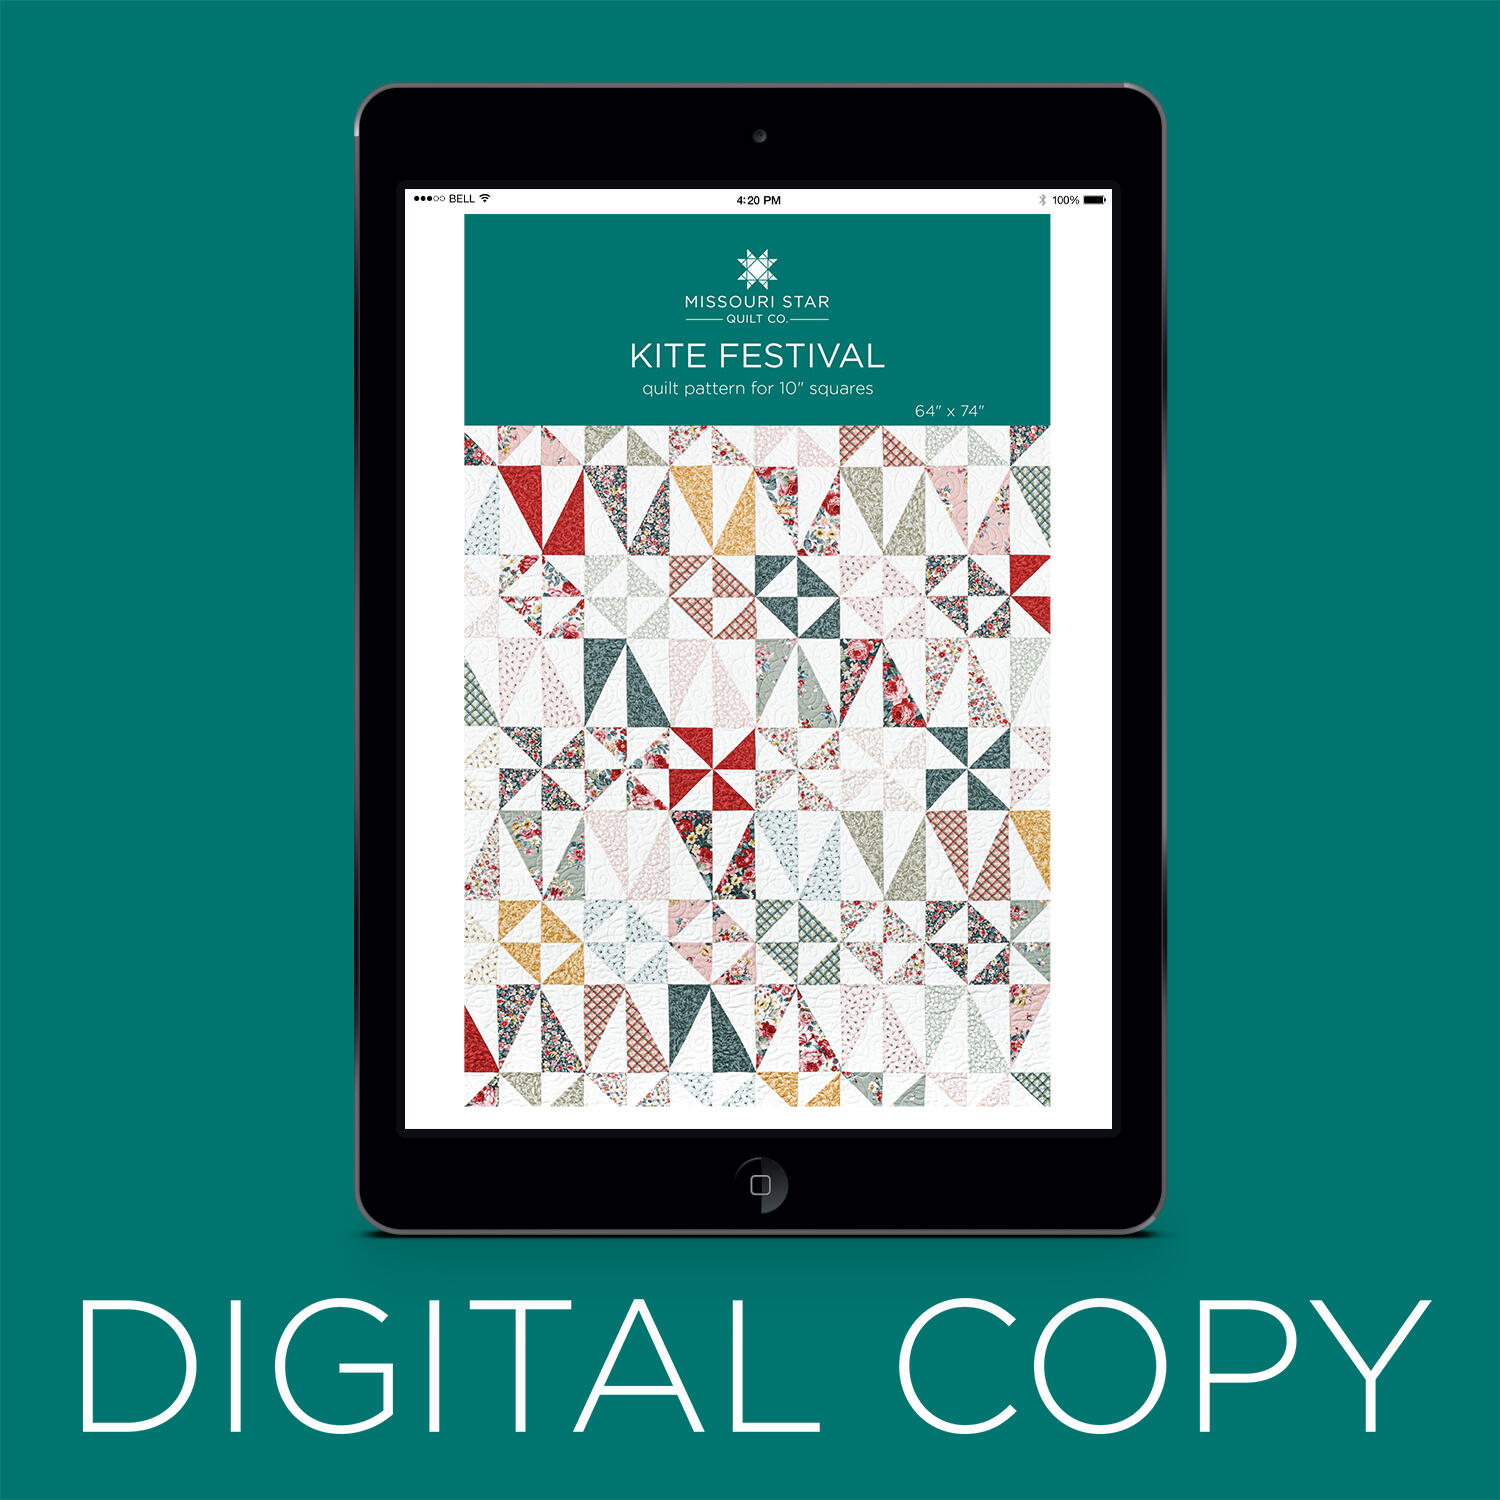 Digital Download - Kite Festival Quilt Pattern by Missouri Star$6.95Shop →



