
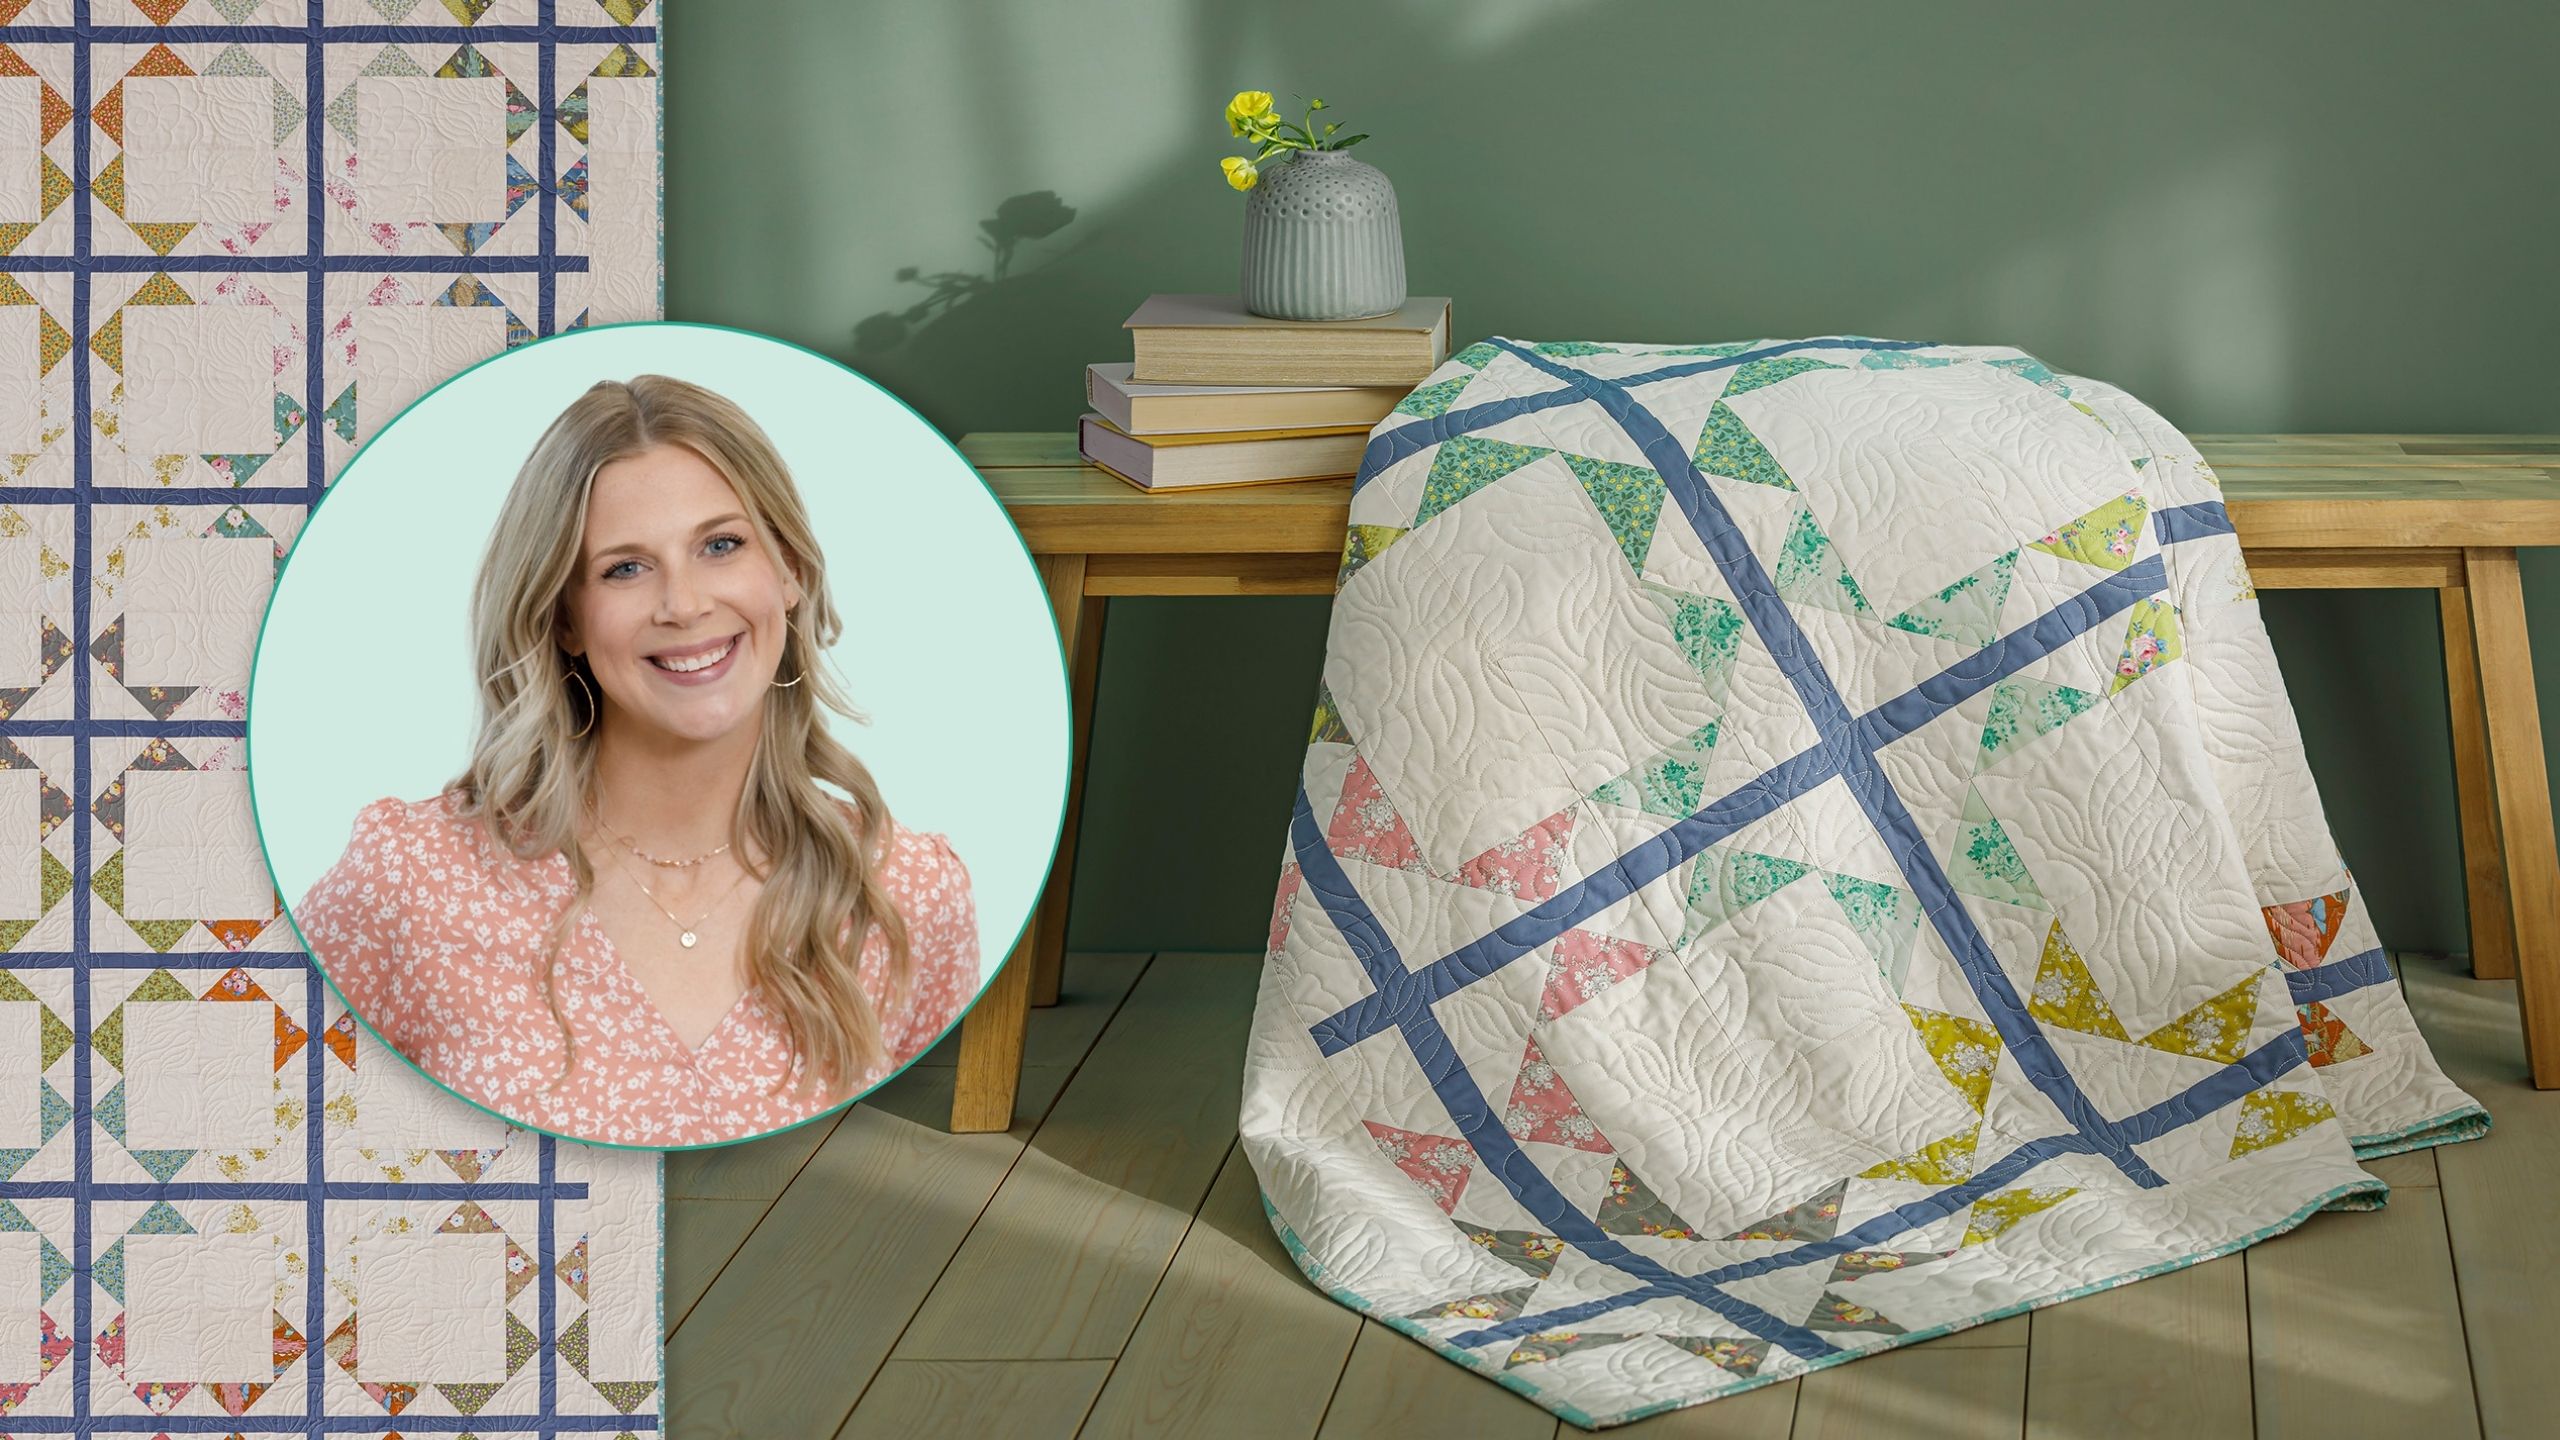
Lattice Star Quilt
 Misty Doan
- Layer Cake
- Traditional
- Queen
- Beginner
- Quilt size 84" × 98"
Lattice help you make a beautiful quilt! Traditional stars are nestled among strips resembling lattice in this easy-to-make bed quilt. Misty demonstrates her quilt made with Moda’s lovely Sunday Brunch line.
Instructor
Misty Doan
Misty Doan grew up surrounded by sewing and quilting. She loves spending time sharing tutorials each week each week, and when she’s not stitching up one of her fun sewing projects for home decor, most likely you’ll find her hanging out with her husband and three awesome kids or working on a house project.
Shop this tutorial
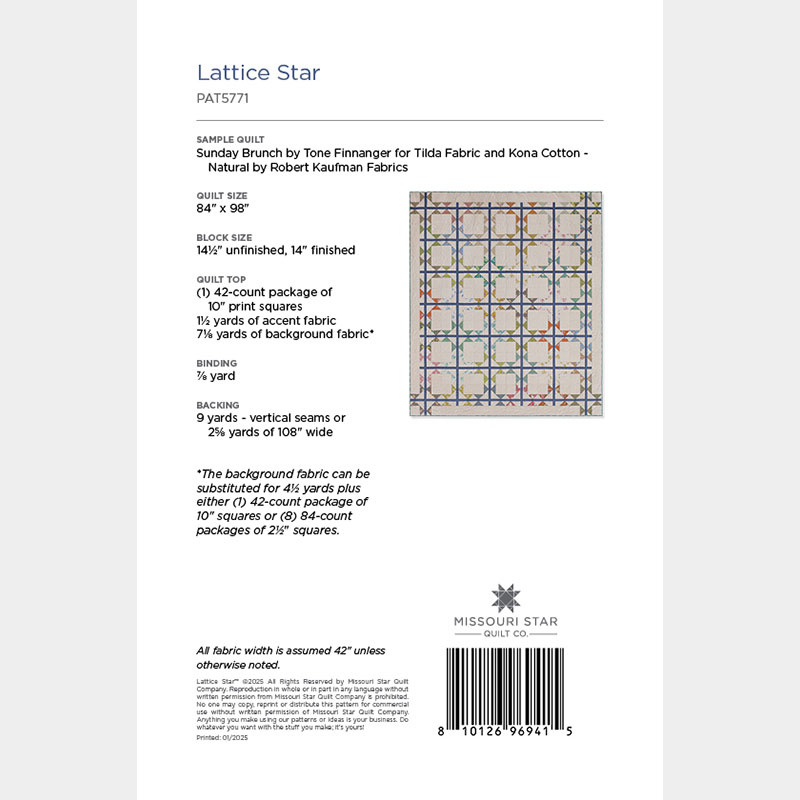 Lattice Star Quilt Pattern by Missouri Star$8.50Shop →
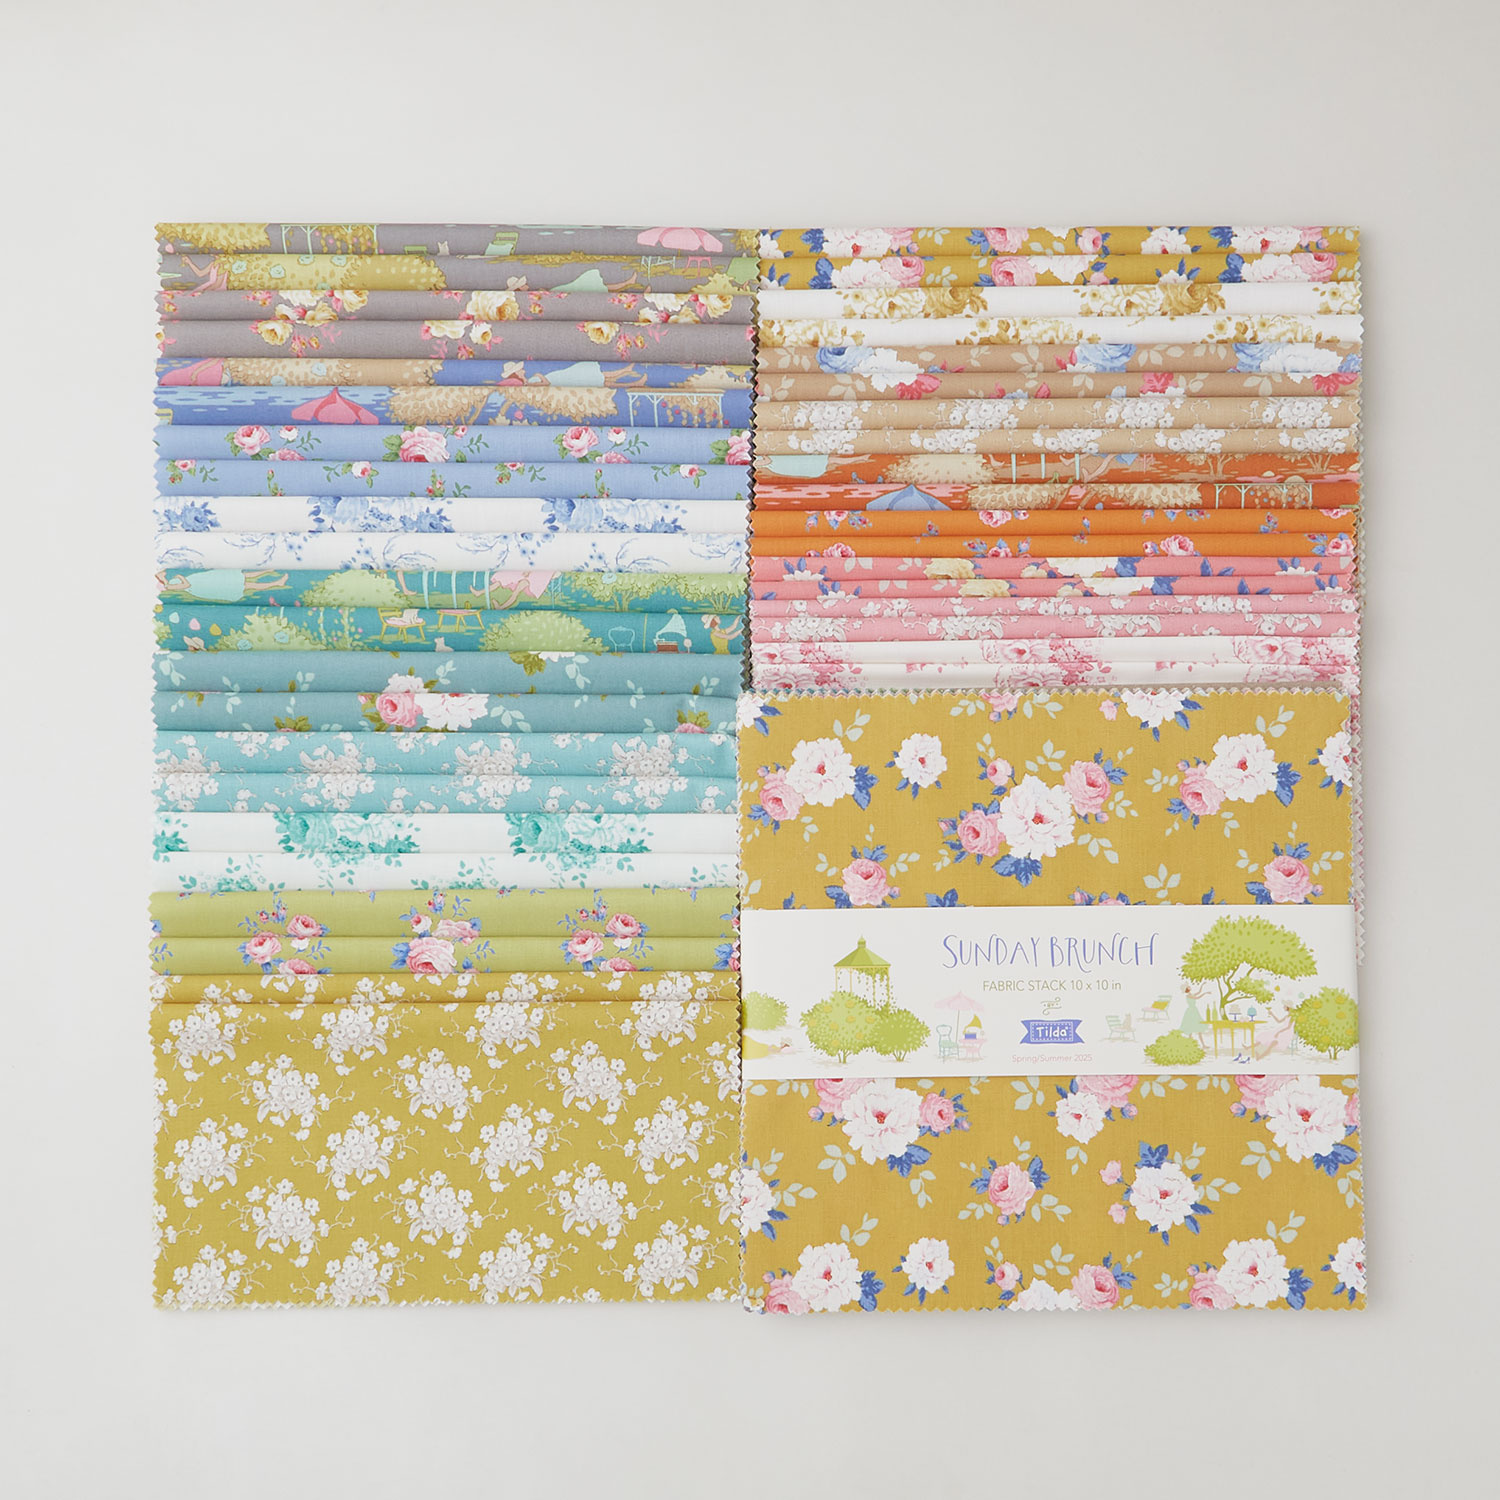 Sunday Brunch 10" Squares$64.95Shop →
 Kona Cotton - Natural Yardage$7.48Shop →
 Kona Cotton - Cadet Yardage$7.48Shop →
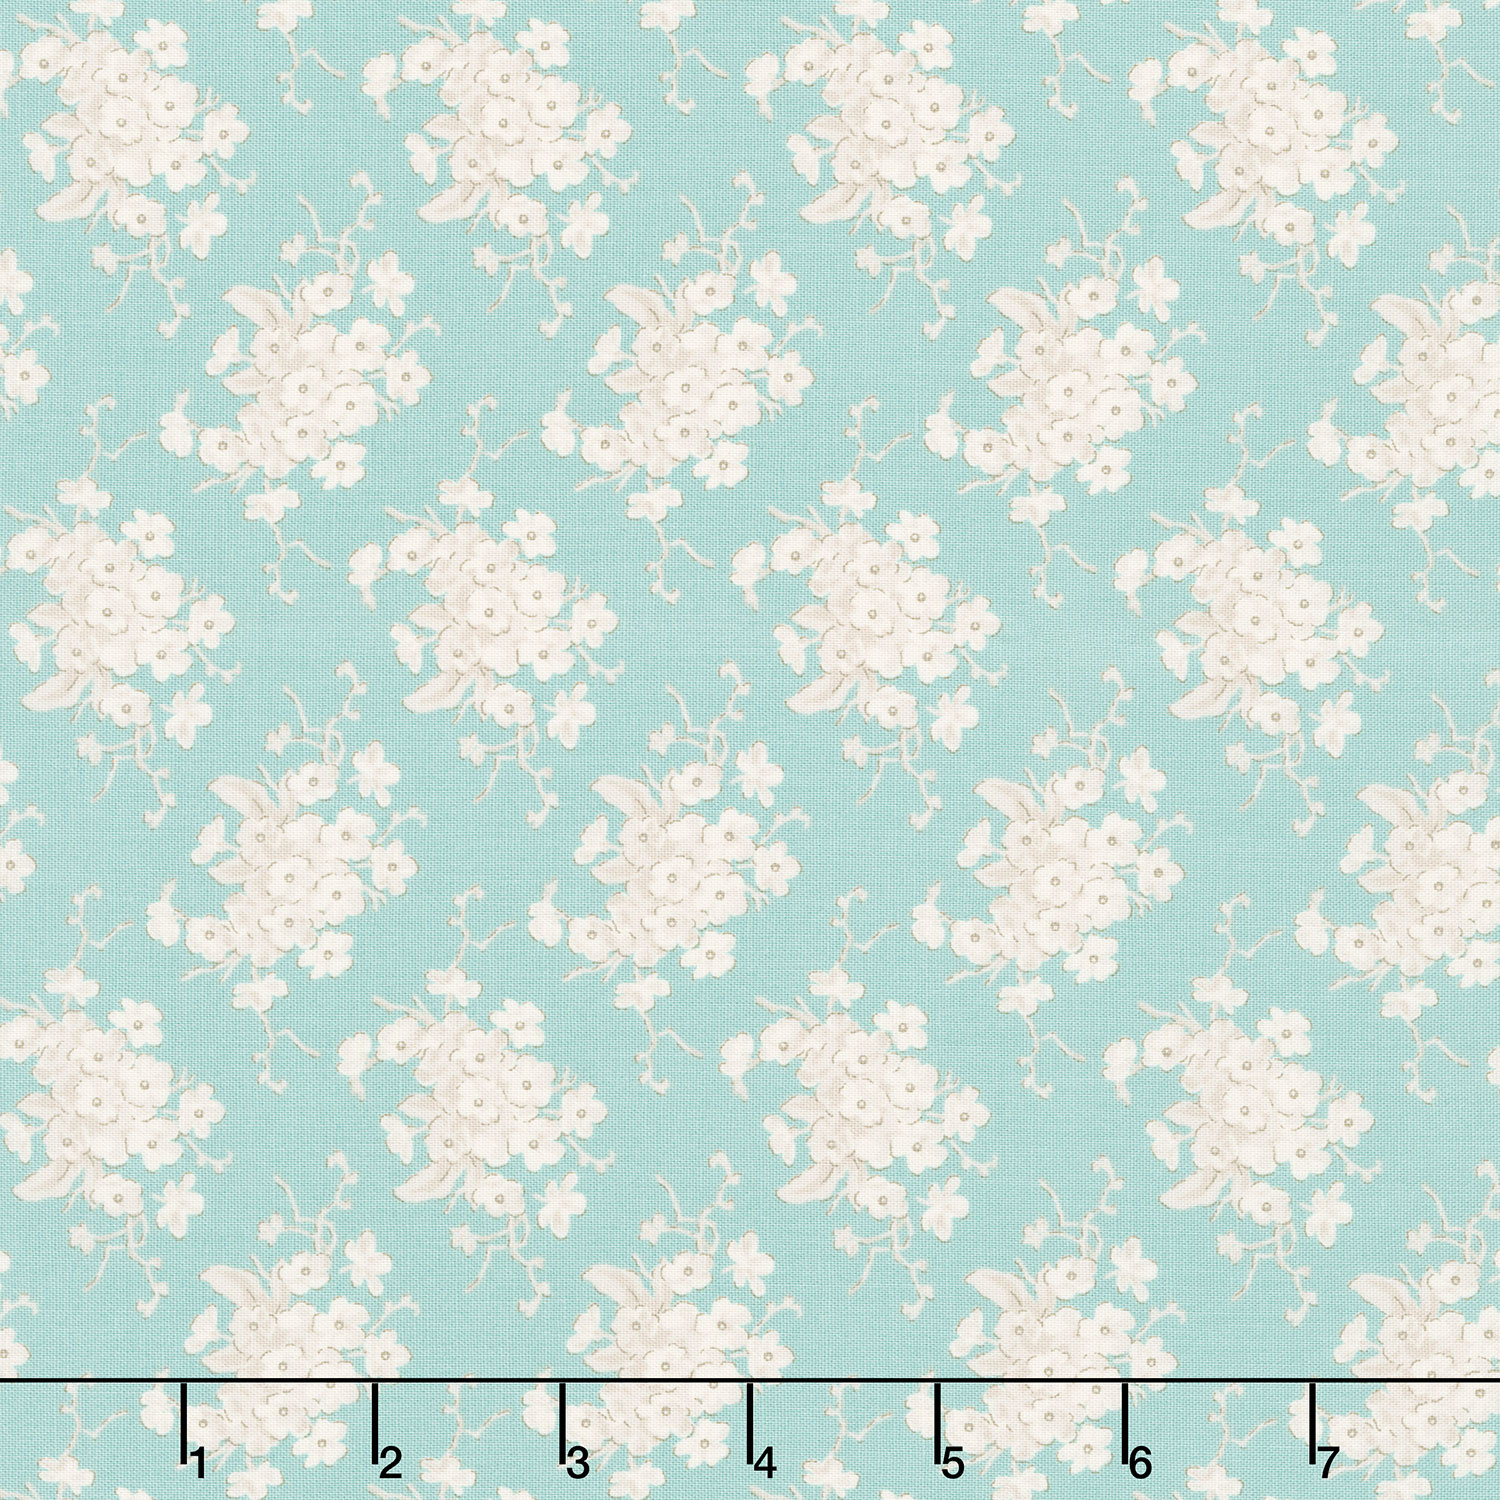 Sunday Brunch - White Flower Teal Yardage$14.96Shop →
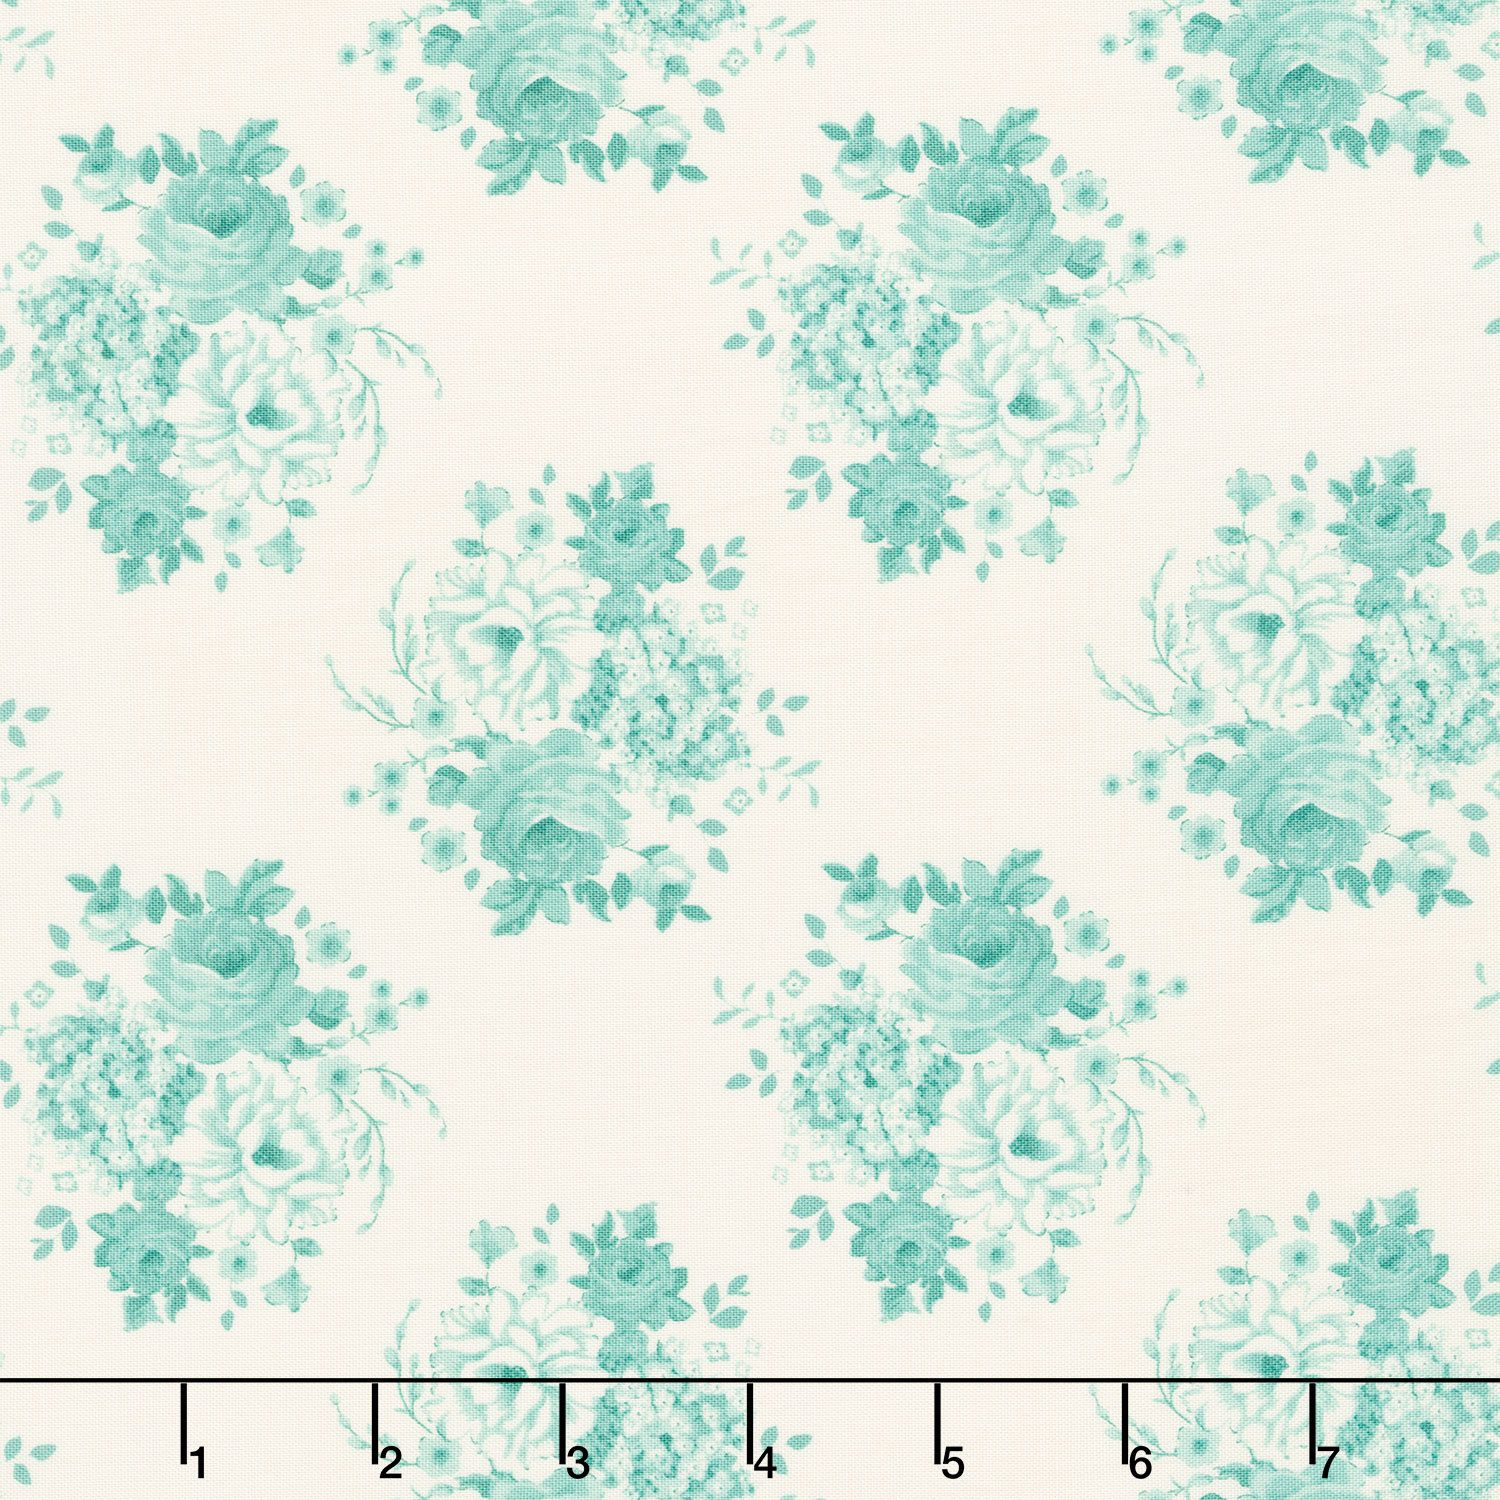 Sunday Brunch - Mia Teal Yardage$14.96Shop →
 Missouri Star Quilter’s Best Blend Queen Batting$37.95Shop →
 Missouri Star 5" x 15" Ruler$19.95Shop →
 Missouri Star 45mm Rotary Cutter$19.95Shop →
 Missouri Star Seam Ripper$9.95Shop →
 Missouri Star 8" Everyday Scissors$19.95Shop →
 Missouri Star 50 WT Cotton Thread White$7.95Shop →
 Missouri Star + Oliso TG1600 ProPlus Iron$209.95Shop →
 Missouri Star Wooly Betty Board - 17.25" x 25.5" Orange Border$99.95Shop →
 Bernette 77 Sewing and Quilting Machine$1499.00Shop →
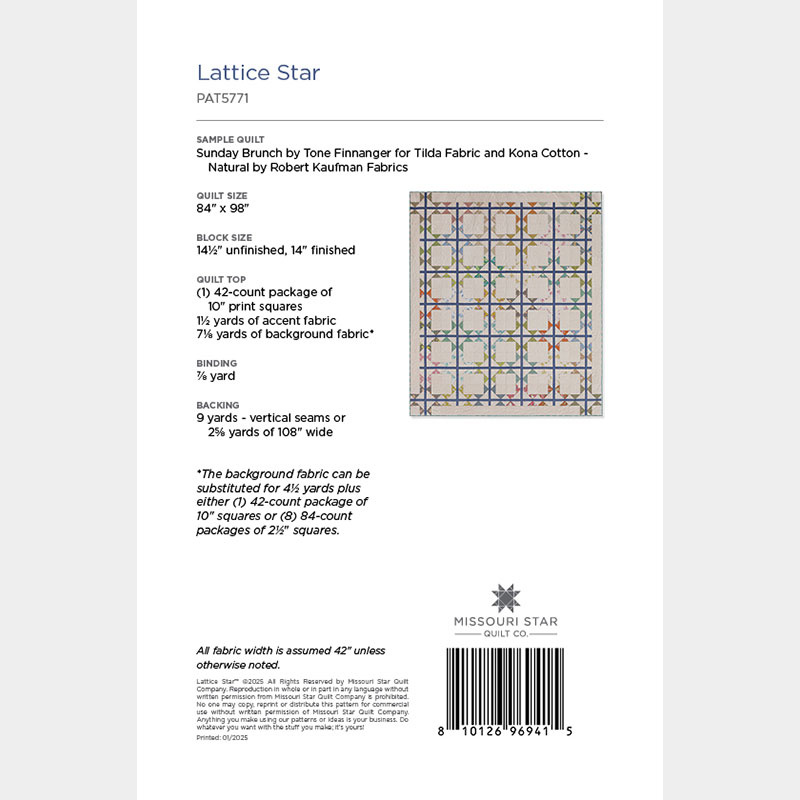 Digital Download - Lattice Star Quilt Pattern by Missouri Star$6.95Shop →
Common Questions
What is covered in Lattice Star Quilt?
Lattice help you make a beautiful quilt! Traditional stars are nestled among strips resembling lattice in this easy-to-make bed quilt. Misty demonstrates her quilt made with Moda’s lovely Sunday Brunch line.
How long is the tutorial video?
The tutorial video is 00:11:45.
Are supplies listed for this tutorial?
Yes. The tutorial page includes the supplies and materials connected to this project.
Is a transcript available?
Yes. A written transcript is available on the tutorial page.
Video Transcript
All right, to make this quilt you are going to need one package of 10-inch squares and I use this beautiful collection called Sunday Brunch by Tilda. I absolutely love it - it's just whimsical and soft, really beautiful. For my background I chose natural and you are going to need seven yards of background fabric. Or, if you pick a color that is available in those pre-cut 2 ½ inch squares, you could grab seven packs of those. And then you will only need 4 ⅛ yard of background fabric which will actually save you a ton of cutting, so it's a great option if it's available to you. And then you'll need 1 ⅓ yards of accent fabric. I use this kind of slate blue - it's really beautiful.
And then you'll need for your binding ⅞ of a yard. And for your backing nine yards with vertical seams.
All right, so to make this quilt we're going to begin by cutting our 10 inch squares. And so I am going to just line this up on my mat and we're going to cut all of them in the exact same way, but you do want to keep your prints together kind of in sets. And so I'm going to cut 2 ½ inch strips across my square. Make sure I'm straight, there we go. There's two, one more cut. Okay so now I'm going to stack these up because I find that to be the easiest. And I am going to cut these all in half so that I end up with
eight rectangles that measure 2 ½ by 5. There we go.
All right, and so now we are going to take our background fabric. On these, let me get a few of these background squares, these are just 2 ½ inch squares. I'm going to take two to begin with and we are going to snowball from here to here and back down on both of these. You're going to do the same thing with all of your rectangles, but I have a few of them already done. So let's go ahead and remember if you want to press a line or draw a line you can. I'm just going to use my diagonal seam tape this time. So we're going to sew from point to point and back down. There we go. All right, I'm going to start at that point and we're just going to sew to this opposite point here and then I can pivot and go the other direction. I'm going to go ahead and do the same thing on this one and I'll meet you back here.
All right, so we have both of these done. We're going to go ahead and trim
off the excess, leaving our quarter inch seam allowance. So I can just trim
there and here and same on this one. Okay, so now I'm going to go ahead and press these back here at the ironing board. Just roll those back just like so, and this one, all right there. There we go. And so our rectangle should stay 2 ½ by 5. If you need to square them up of course you can do that at this point.
Next up we are going to take that accent fabric that we chose and I have cut it into 1 ½ by 5 inch segments. And we are going to sandwich it in between our two little flying geese units. I do want to point out I designed this specifically so once these are sewed together you're losing this point
because I wanted it to look like they were hidden kind of behind this lattice work, so don't fret if you don't keep your point. I planned it that way.
So let's go ahead and sew this down using a quarter inch seam. There's that first side. I'm just going to give it a quick finger press so I can add the other side. You want your points from your print to be pointing towards that accent fabric. Take a few stitches and then line everything up. Okay there we go. Let me give that a press. I do like to kind of press it towards the center so that that accent fabric is hidden underneath the middle. There we go - beautiful. And so you'll see what I mean how you lose those points and that's exactly how I planned it. So you're going to repeat that and you'll have four blocks that look exactly the same.
Now we're going to work on what will be the center of our block. To do that, we're going to make a strip set. So I have cut some 2 ½ inch background strips by the width of fabric and a 1 ½ inch strip of our accent and I'm just going to sandwich that in between our two background strips and sew it together in one long set like I have here. So let's go ahead and set this aside and once we have them all sewn into our strip that we can line up on our mat here. We're going to cut these into 2 ½ inch segments. I'm going to go ahead and trim off this end. Here's one now that we have a straight end. We're going to measure in 2 ½ inches. And so for every block for the middle you're going to need two of these, but you can just cut, cut, cut your whole strip set so you have a bunch of them ready to go.
Then this is a really fast place to use some chain piecing. So you can make a bunch of these at one time. There we go, all right. And I would just continue, like I said, until you have a whole stack of these little units
ready to go. So just like we did before when we had those flying geese units and we added the accent strip in the middle, we're going to do the same thing. But for this portion of the block it's going to measure 5 ½ inches. So 1 ½ by 5 ½ and I have that ready to go. And we're just going to make this little plus block.
So let's go ahead and take this to the machine and we'll sew one of our little strip set units on either side of that accent strip. Again we'll give that a little finger press and add this one to the other side. If you are really worried about those lining up, you can kind of pin them in place as best as you can. But honestly I feel like it's pretty forgiving and so I just trust that it's all going to work out in the end. and I just line up my fabric and stitch it down. There we go. All right, so we'll go ahead and press those as well. Again rolling towards that middle accent color so that it doesn't pop out behind our background fabric. Okay there we go, there is our middle block.
And so now we can talk about assembling this block together. So I have my little star leg units. This is of course going to be the center that we're going to build this around. And then these are going to meet up so that that lattice work kind of continues out just like so. And for the majority of the blocks you are going to just use these 5 inch squares in your corners just like so. And so when you sew it all together you get a finished block that looks just like this.
Now the magic of this quilt is that I used these kind of half blocks so to speak around the edge. And so I know when you see it you see this open space and you think this is the block with some sashing, but that's actually not at all how it goes together. So this is our star block right here that fits in there, and so the whole middle section here is made using our star blocks. And then each of the four corners has a full star block just like you see here. And so then to switch it up a little bit, all we're going to do is we're going to remove these three pieces and we will add a 14 ½ inch rectangle in its place. So then once it's all sewn together, those blocks look just like this. And so then we set this in on the tops and bottom and side and that's what kind of gives you this really fun woven lattice look of this quilt, which I just love. It's really unique and it's one of those like surprise once you set these blocks together which is super, super fun. It's really quick and easy!
I hope you guys enjoyed this Lattice Star and I can't wait to see yours. I'll see you next time!



