
Skip to content

Free quilting video tutorials from Missouri Star

Quilting Tutorials
Tidal Waves Quilt

Tidal Waves Quilt

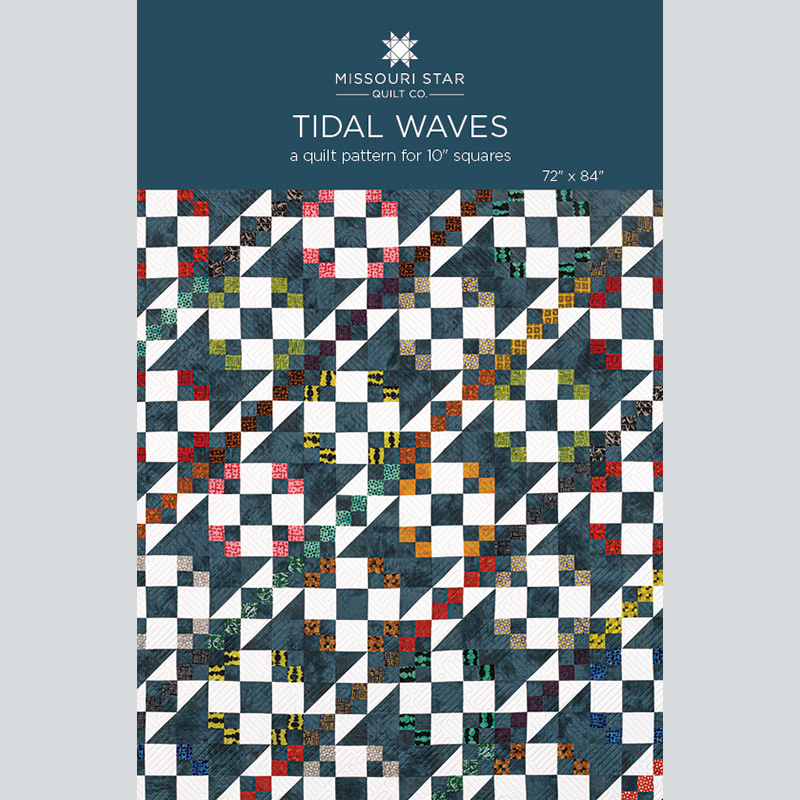
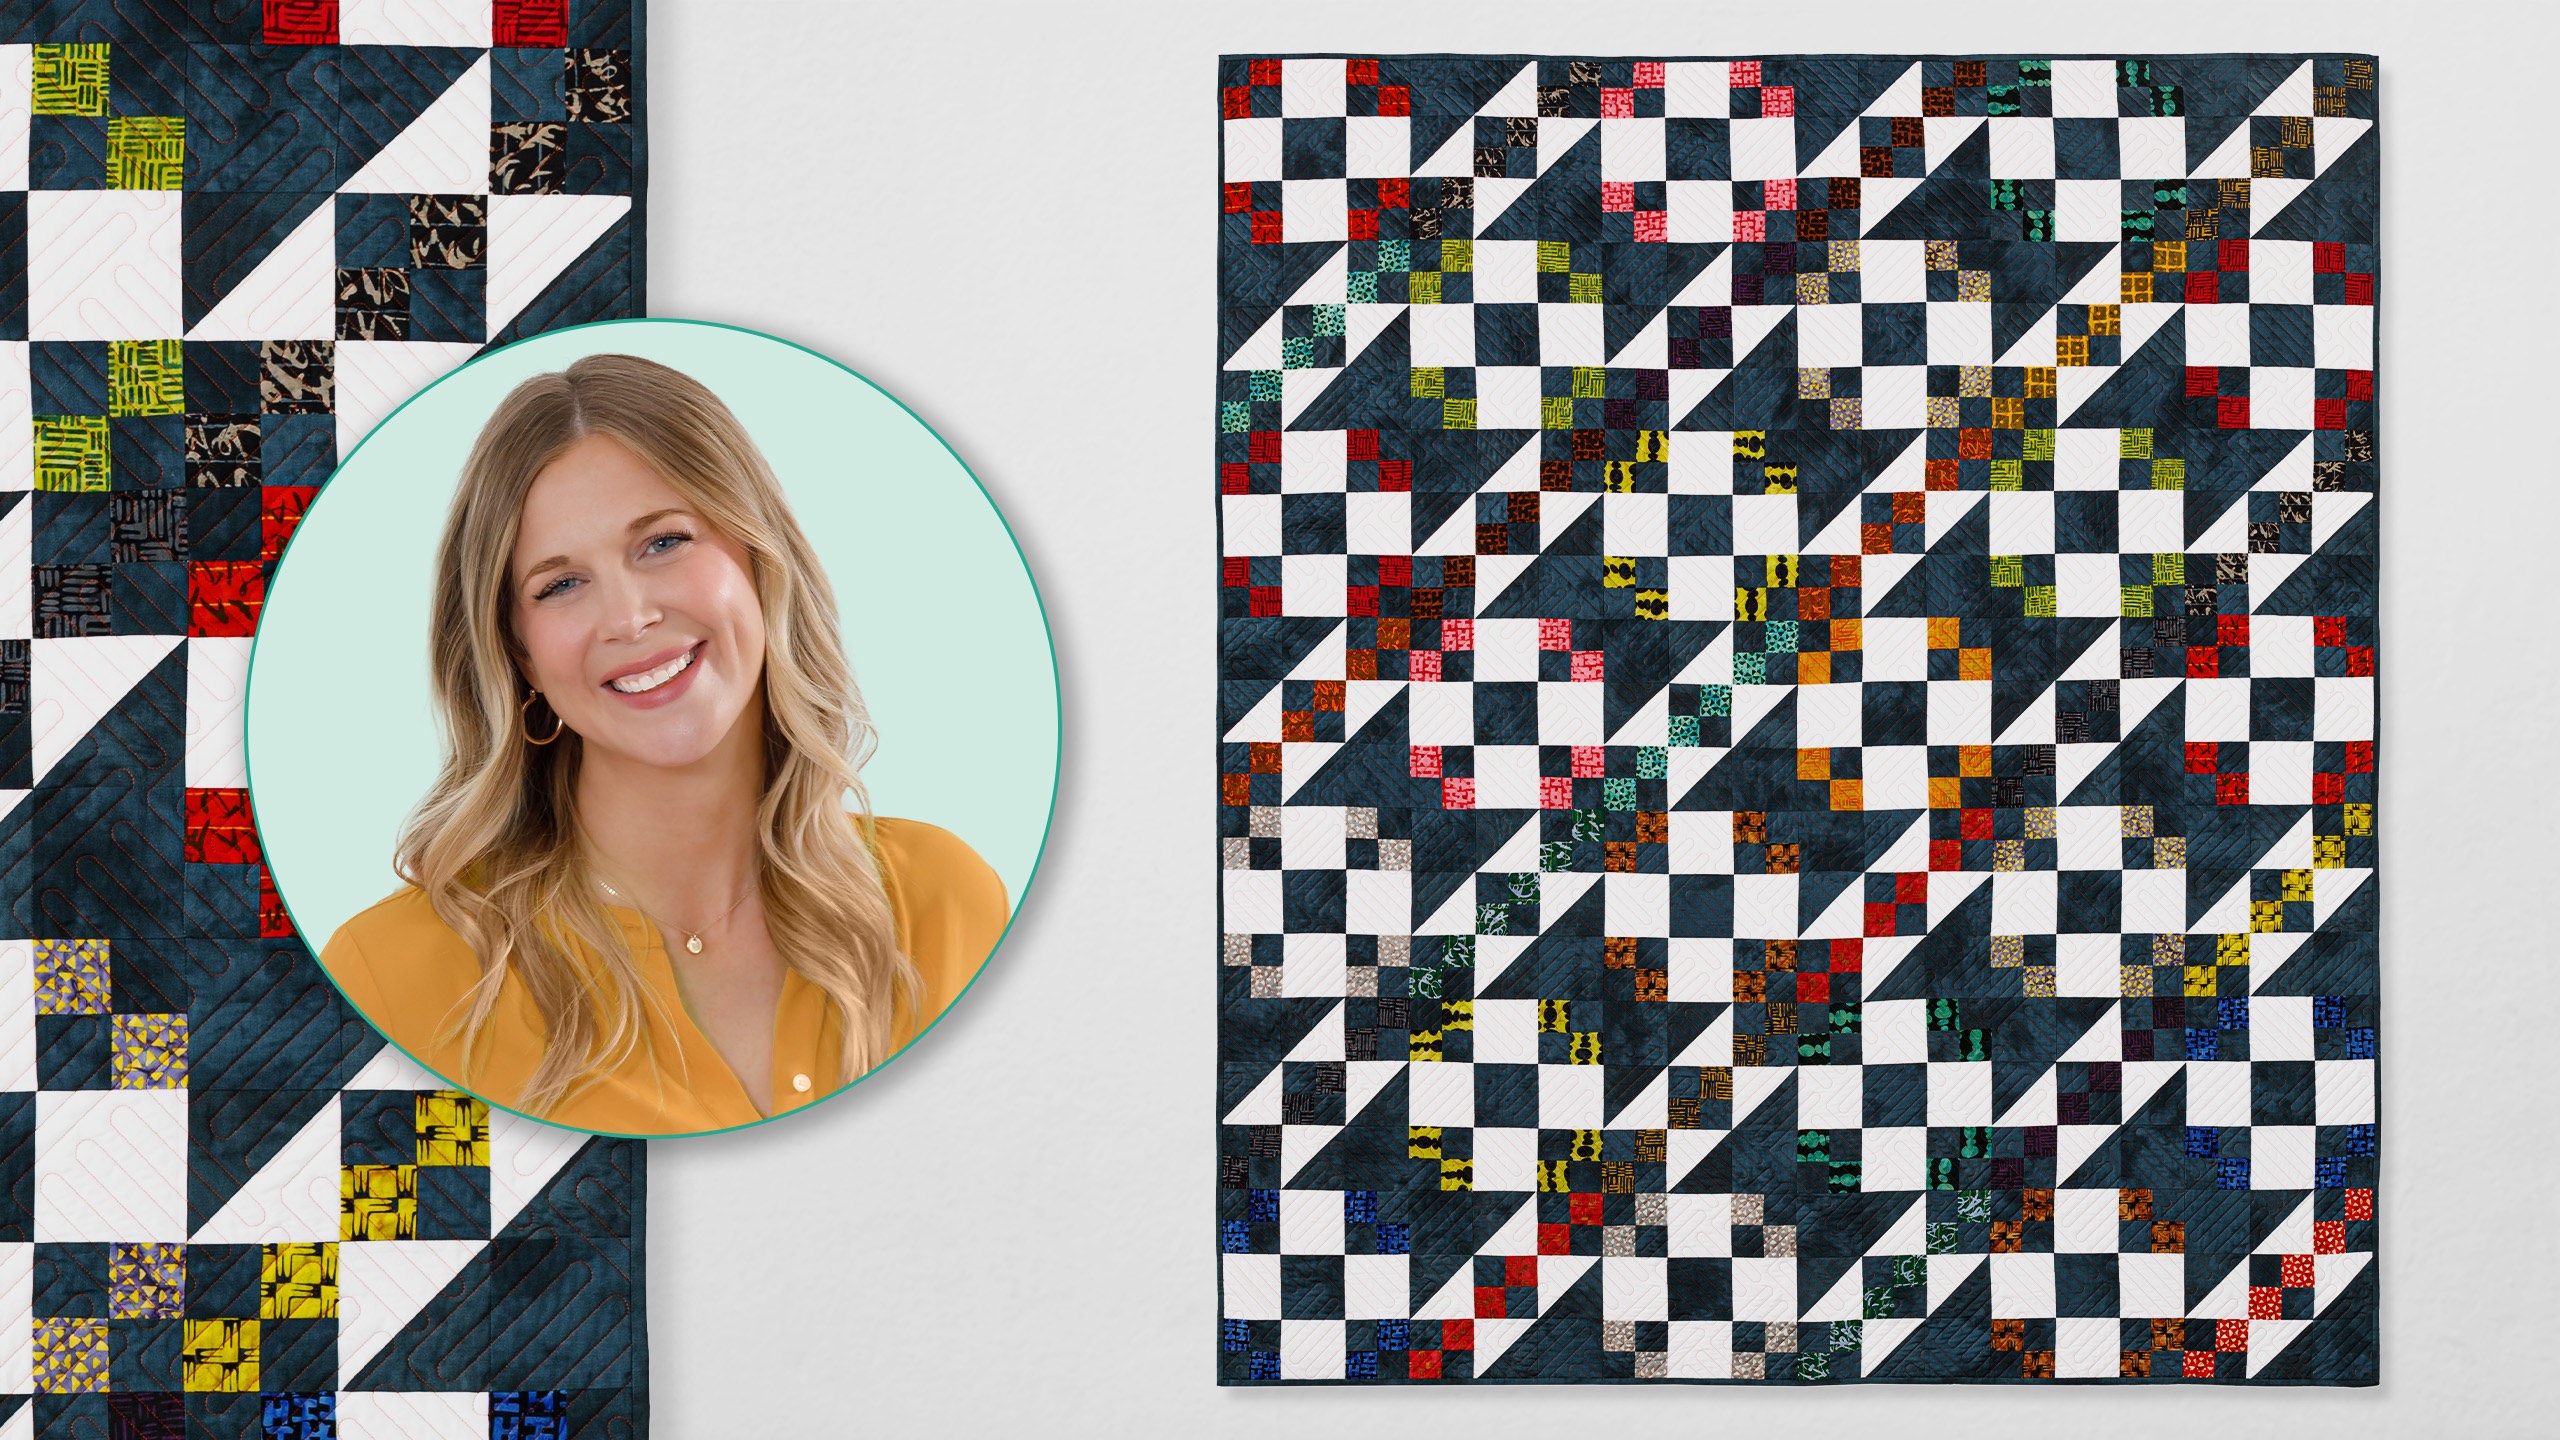
Go ahead, make waves! Tidal Waves is a layer cake-friendly quilt that will sweep you off your feet! Although it looks complex, simple squares and triangles make construction easy. Misty shows you how!

Instructor

Misty Doan

Misty Doan grew up surrounded by sewing and quilting. She loves spending time sharing tutorials each week each week, and when she’s not stitching up one of her fun sewing projects for home decor, most likely you’ll find her hanging out with her husband and three awesome kids or working on a house project.

Common Questions

What is covered in Tidal Waves Quilt?

Go ahead, make waves! Tidal Waves is a layer cake-friendly quilt that will sweep you off your feet! Although it looks complex, simple squares and triangles make construction easy. Misty shows you how!

How long is the tutorial video?

The tutorial video is 00:10:44.

Are supplies listed for this tutorial?

Yes. The tutorial page includes the supplies and materials connected to this project.

Video Transcript

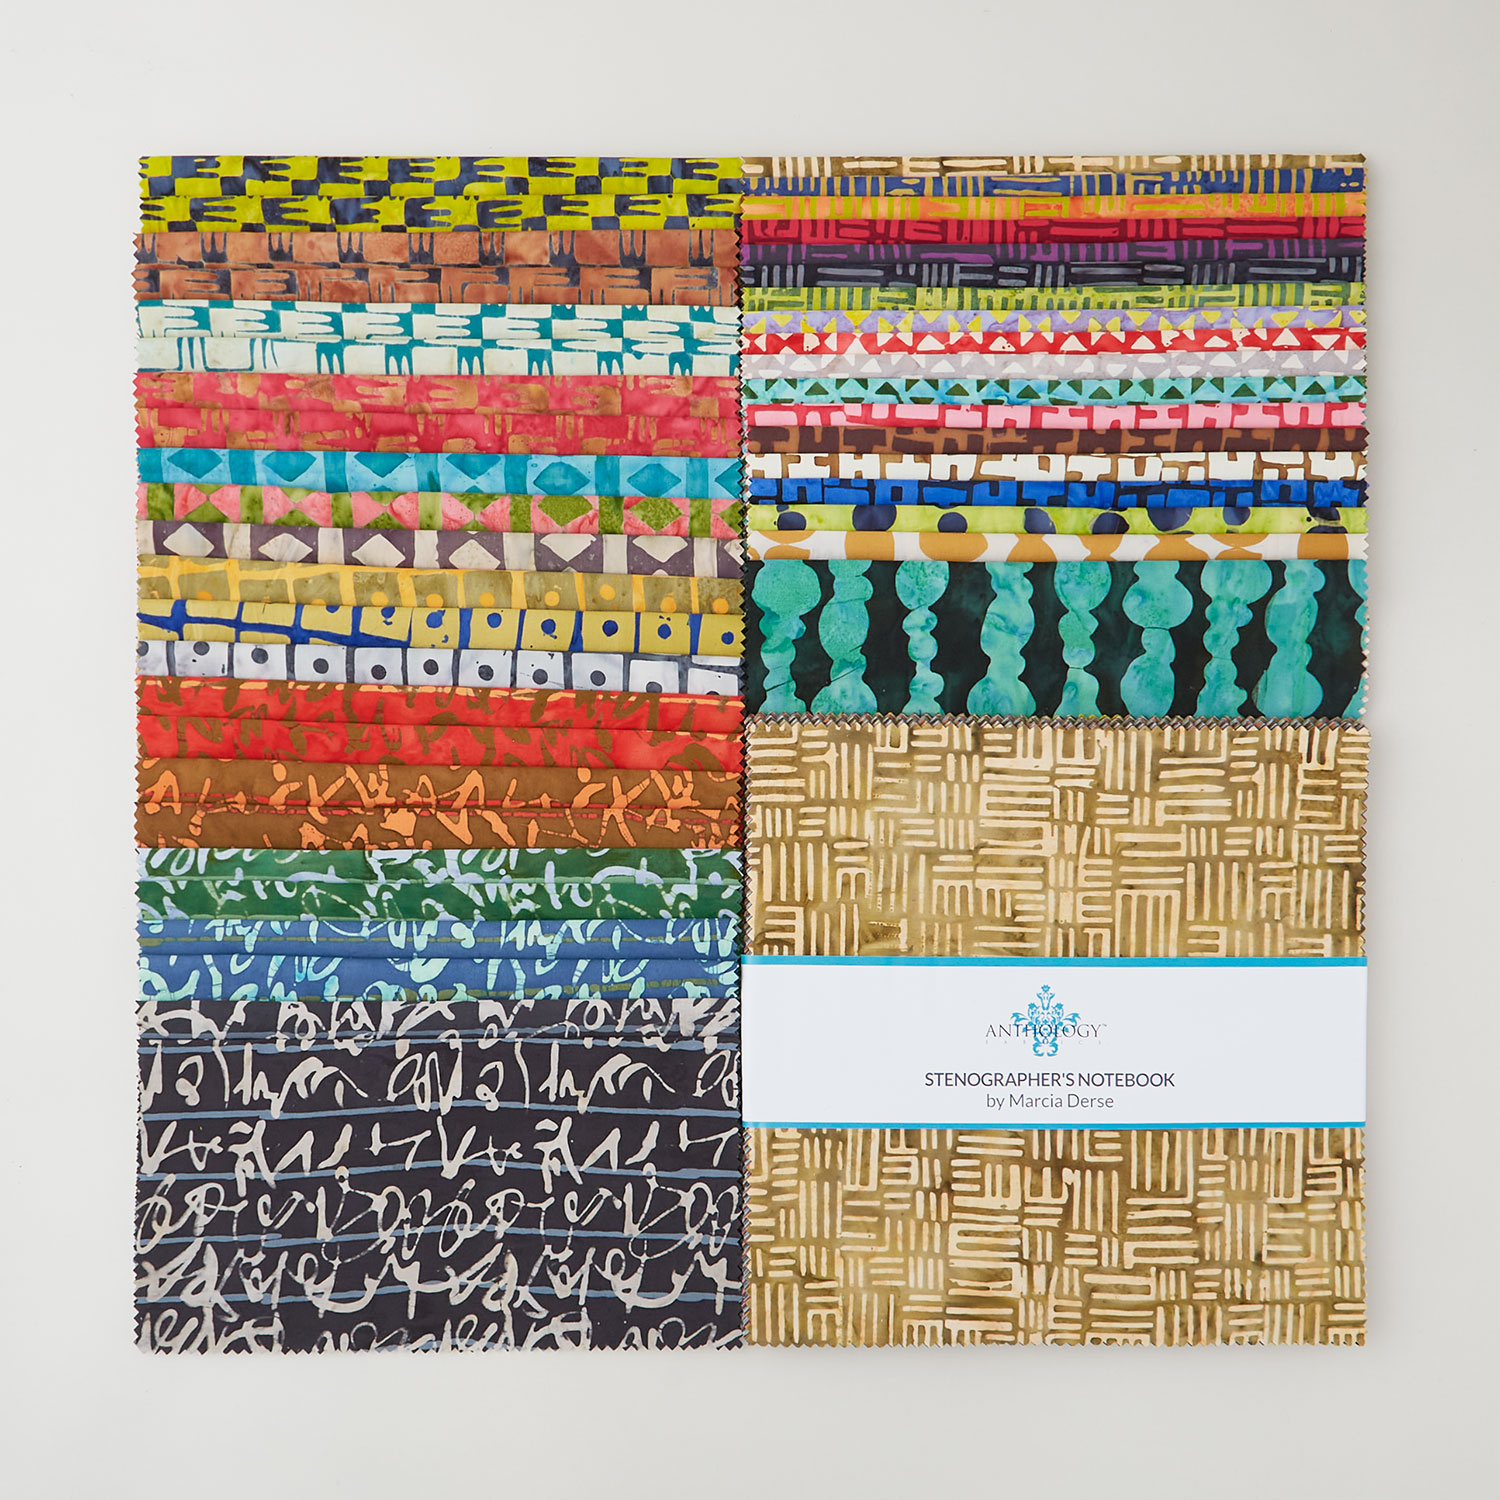
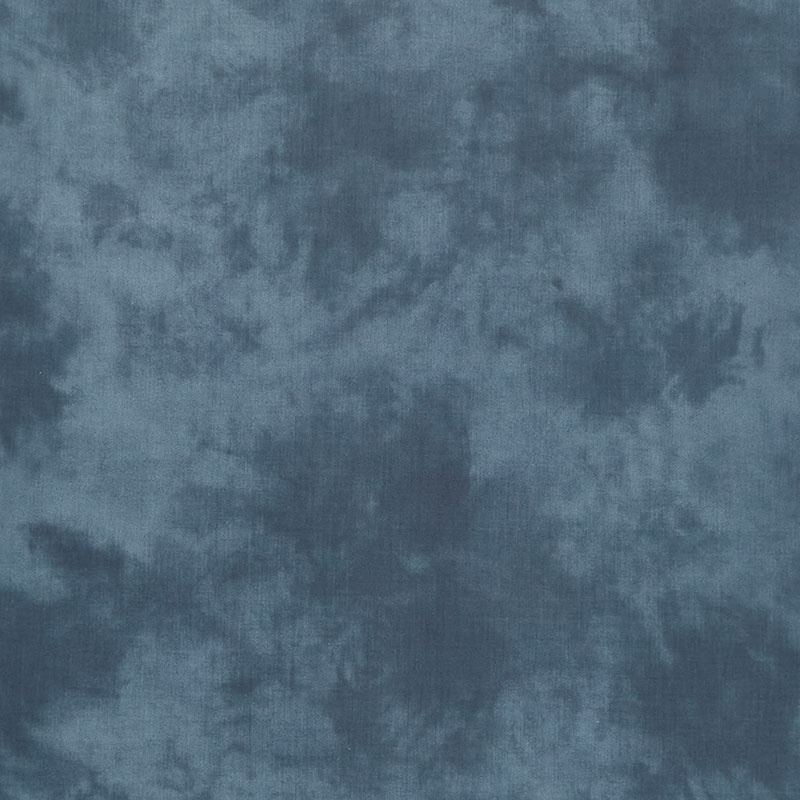
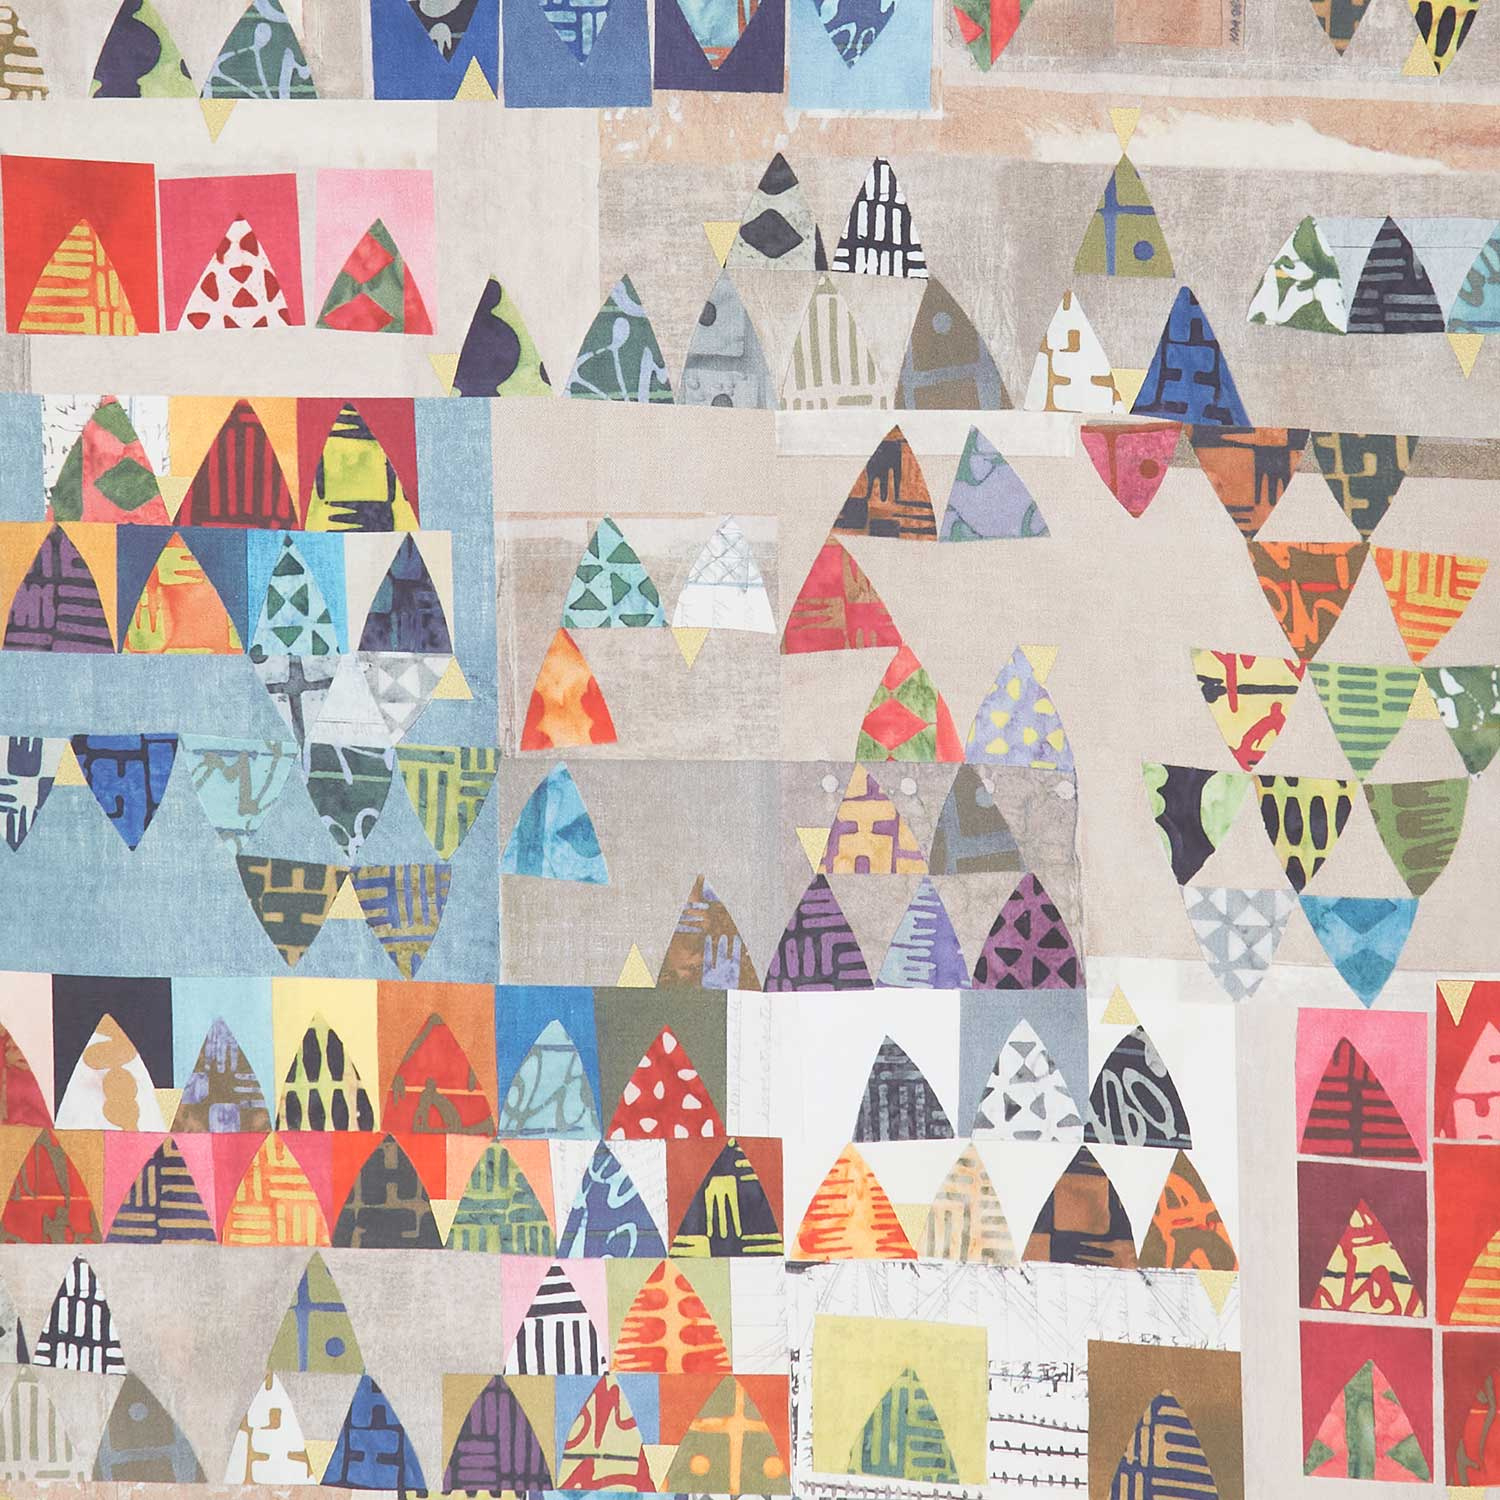
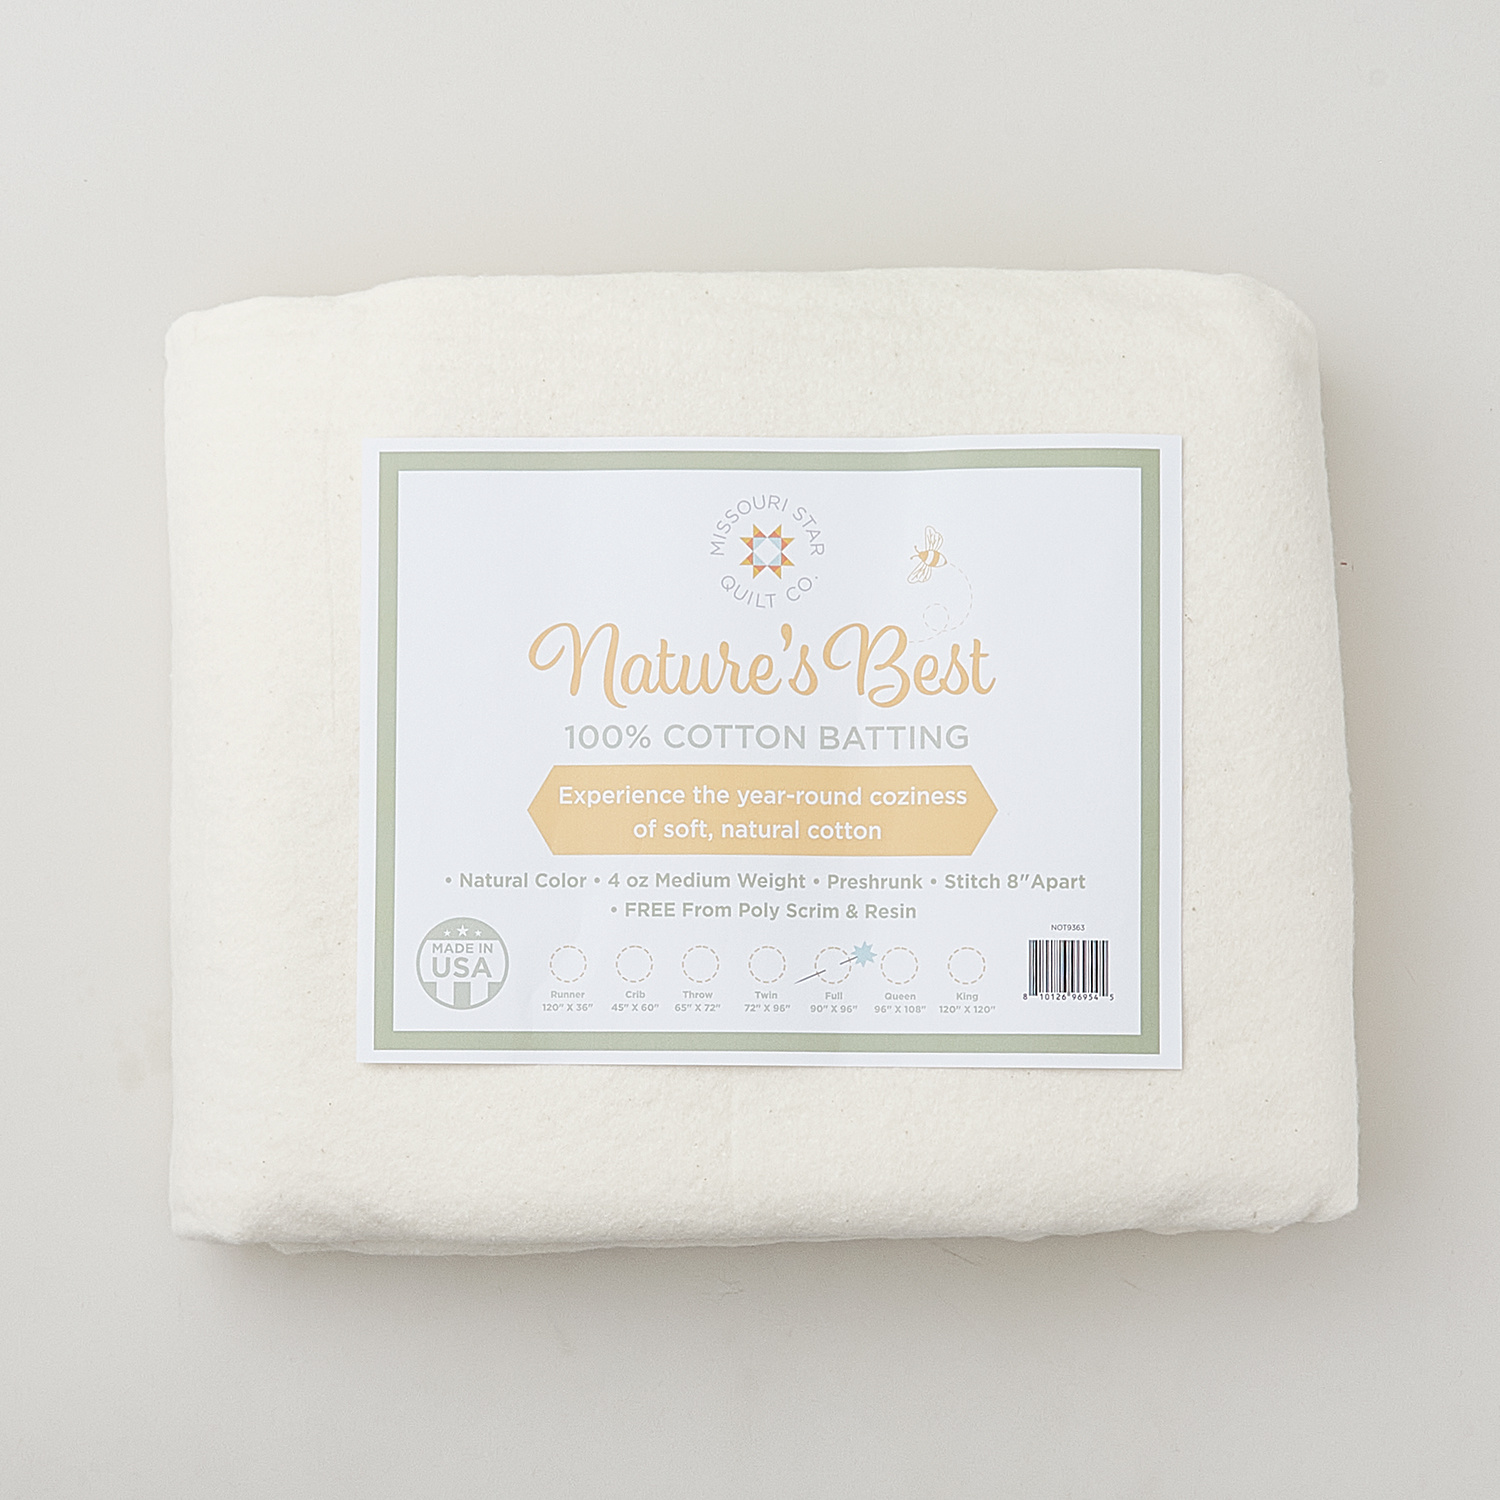
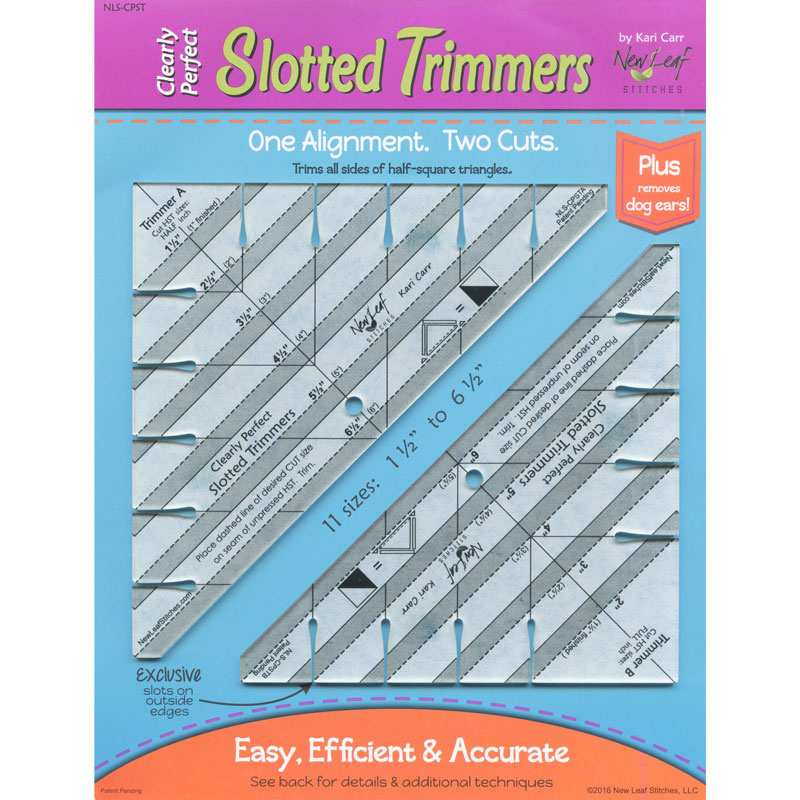
hey everyone it's Misty today we're going to make this tidal waves quilt I absolutely love how it turned out and you're not going to believe how easy it is to [Music] make this quilt is so fun and to make it you are just going to need one package of 10-in squares I used stenographers notebook by Marsha dur for Anthology Fabrics it's this beautiful collection of boutiques and you're actually only going to use about 22 of the squares so if you have some scraps lying around this is a great scrap Buster project you're also going to need 2 and 1/2 yards of your background Fabric and 3 and 3/4 yards of your accent which is this beautiful kind of blue color I chose for your backing you're going to need 5 and 1/8 yard and a squaring tool for 4 and 1/2 in will be handy so let me show you how to make it this quilt is made up of two simple blocks this is the first block we'll be making kind of a Jacob's Ladder type block super easy and so up first we are going to select one of our 10in print squares and we're going to pair that with a 10-in accent square and so remember that's that blue color that I chose and so I'm just going to put those right sides together and then we are going to use our ruler and we are going to cut these into four 5 in squares there's one cut and two and you're just going to want to keep these in their sets because we're going to do all of these the exact same way but I have some ready so we are just going to start by sewing on two opposite ends a/4 inch seam so just these two sides here so let's go ahead and take it to the machine all right there is that first side so now we're just going to flip this around and so that quarter inch seam on the opposite side as well okay so once we've done that we're going to use our ruler and we are going to measure in 2 and 1/2 in from that outside edge since we're looking for the halfway point and this is a 5 in square and we are just going to cut this in half and then you can see we've got these two little bars we're going to take these over to the iron and I'm going to press it towards the dark side so lay my accent color on top and roll this back there we go there there's one I'll do the same for this one roll that back Perfect all right so then now we are going to lay these so that my accent colors are on opposite sides and I want to make sure that those Center seams are really nested so I feel with my fingers and just kind of make sure that they lock in there in the middle and so then just like before make sure that one's lined up there we go we are going to sew a/ quinch seam on either side you're going to want to make sure that you're Crossing that first seam that you made that's what you're looking for so let's go ahead and take this to the machine and we'll sew those seams now we'll flip this around again making sure that my middle seams are lined up all right and then just like before we're going to measure in 2 and 1/2 in and make a cut and then when we open this up we've got these quick and easy four patches that are ready to go so let's go ahead and press these and one more now these should finish off exactly at 4 and 1/2 in but if you want to just check and make sure this would be the time to square them that looks pretty good I am going to trim just this little bit off here and check this one as well [Music] just a little bit there we go beautiful and so this block you're going to need three of these little four patches so I have another one ready to go and then the next step is to make our half Square triangles so in order to do that we are going to take one of our accent fabric 10in squares and pair it up with a background 10in square and I went ahead and drew a line corner to corner and then we're going to sew a/ quarter inch seam away from both sides of those Drawn Lines I went ahead and did that just to save us a little bit of time so you can see here/ quarter inch from both of the lines that I drew and so now I can just take my 5 by 15 in ruler and I'm going to cut this in half both directions this is the easy eight method of making half Square triangles there we go and now that I have these four individual units I can now cut on the line that I drew there we go and these as well there we go and that method is going to give you enough for two of these blocks because you just need four of these half Square triangles so I'm going to grab those and we'll go ahead and press these open we're going to square them to 4 and 1/2 in all right I like to use the block lock especially when I'm looking for 4 and a half because it just slides right on here and you can see how close this is to being almost exact but I have uh been sewing long enough to know that taking the time to square even this little bit will make the process of piecing this so much easier because that little bit of difference can really add up and cause problems later so there we go there's one squared and I'm just going to make my way through all of these and square them up and then I will meet you back here when I'm all done all right I have these all squared up and ready to go and so now we can start laying out our block so to begin with we're going to take our cute little four patches and we want the print to chain all the way through this block so those are going to go just like that then our half Square triangles the white is going to point in towards that chain just like so and then we're going to finish this off with 4 and 1/2 inch accent squares in the two opposite corners and when we sew it together it looks just like that so quick and easy and this is block one so let's go ahead and set this aside and we can go ahead and start on block two me just move this out of the way all right so this is what block two looks like so you can see it starts with the same four patches the exact same method I showed you before and so I have some of those already done and the rest of this there's really two options you could just cut 4 and 1/2 in squares of your accent and your background and that would work just fine you do make quite a few of these so I ended up just cutting 4 and 1/2 in strips from that yardage and making a strip set for the middles and then I just sub cut those into 4 and 1/2 in it just saves one little step for time and then now we can lay out the rest of this and so on this the four patches are going to kind of circle the block the print is just like so and then we'll just set in a 4 and 1/2 in background Square in between and this is going to look more like that traditional nine patch when you sew it together so let's go ahead and take a look at these in the quilt behind me so we're going to begin with this block right here and then after that is where we just alternate with the second block and you can see the whole quilt is just alternating between the two so it's one two 3 4 five six across by 1 2 3 4 five six seven blocks down it turns out a really nice size it finishes up 72 by 84 I quilted it with with this fun quilting pattern called a bacus in this pop of orange thread which I really really like and you can see the backing here is super fun it has a little bit of you know shiny gold which is a fun little detail as well I absolutely love how this quilt turned out so I hope you guys enjoyed this tutorial on tidal waves and I'll see you next time on at home hey everyone thank you so much for watching at home we're so excited to be almost a million Quilters strong here at Missouri Star and so if you haven't already joined our family be sure to subscribe and hit that notification Bell so you can be notified of all of our future tutorials and we'll see you soon [Music]

More Layer Cake tutorials

See all