
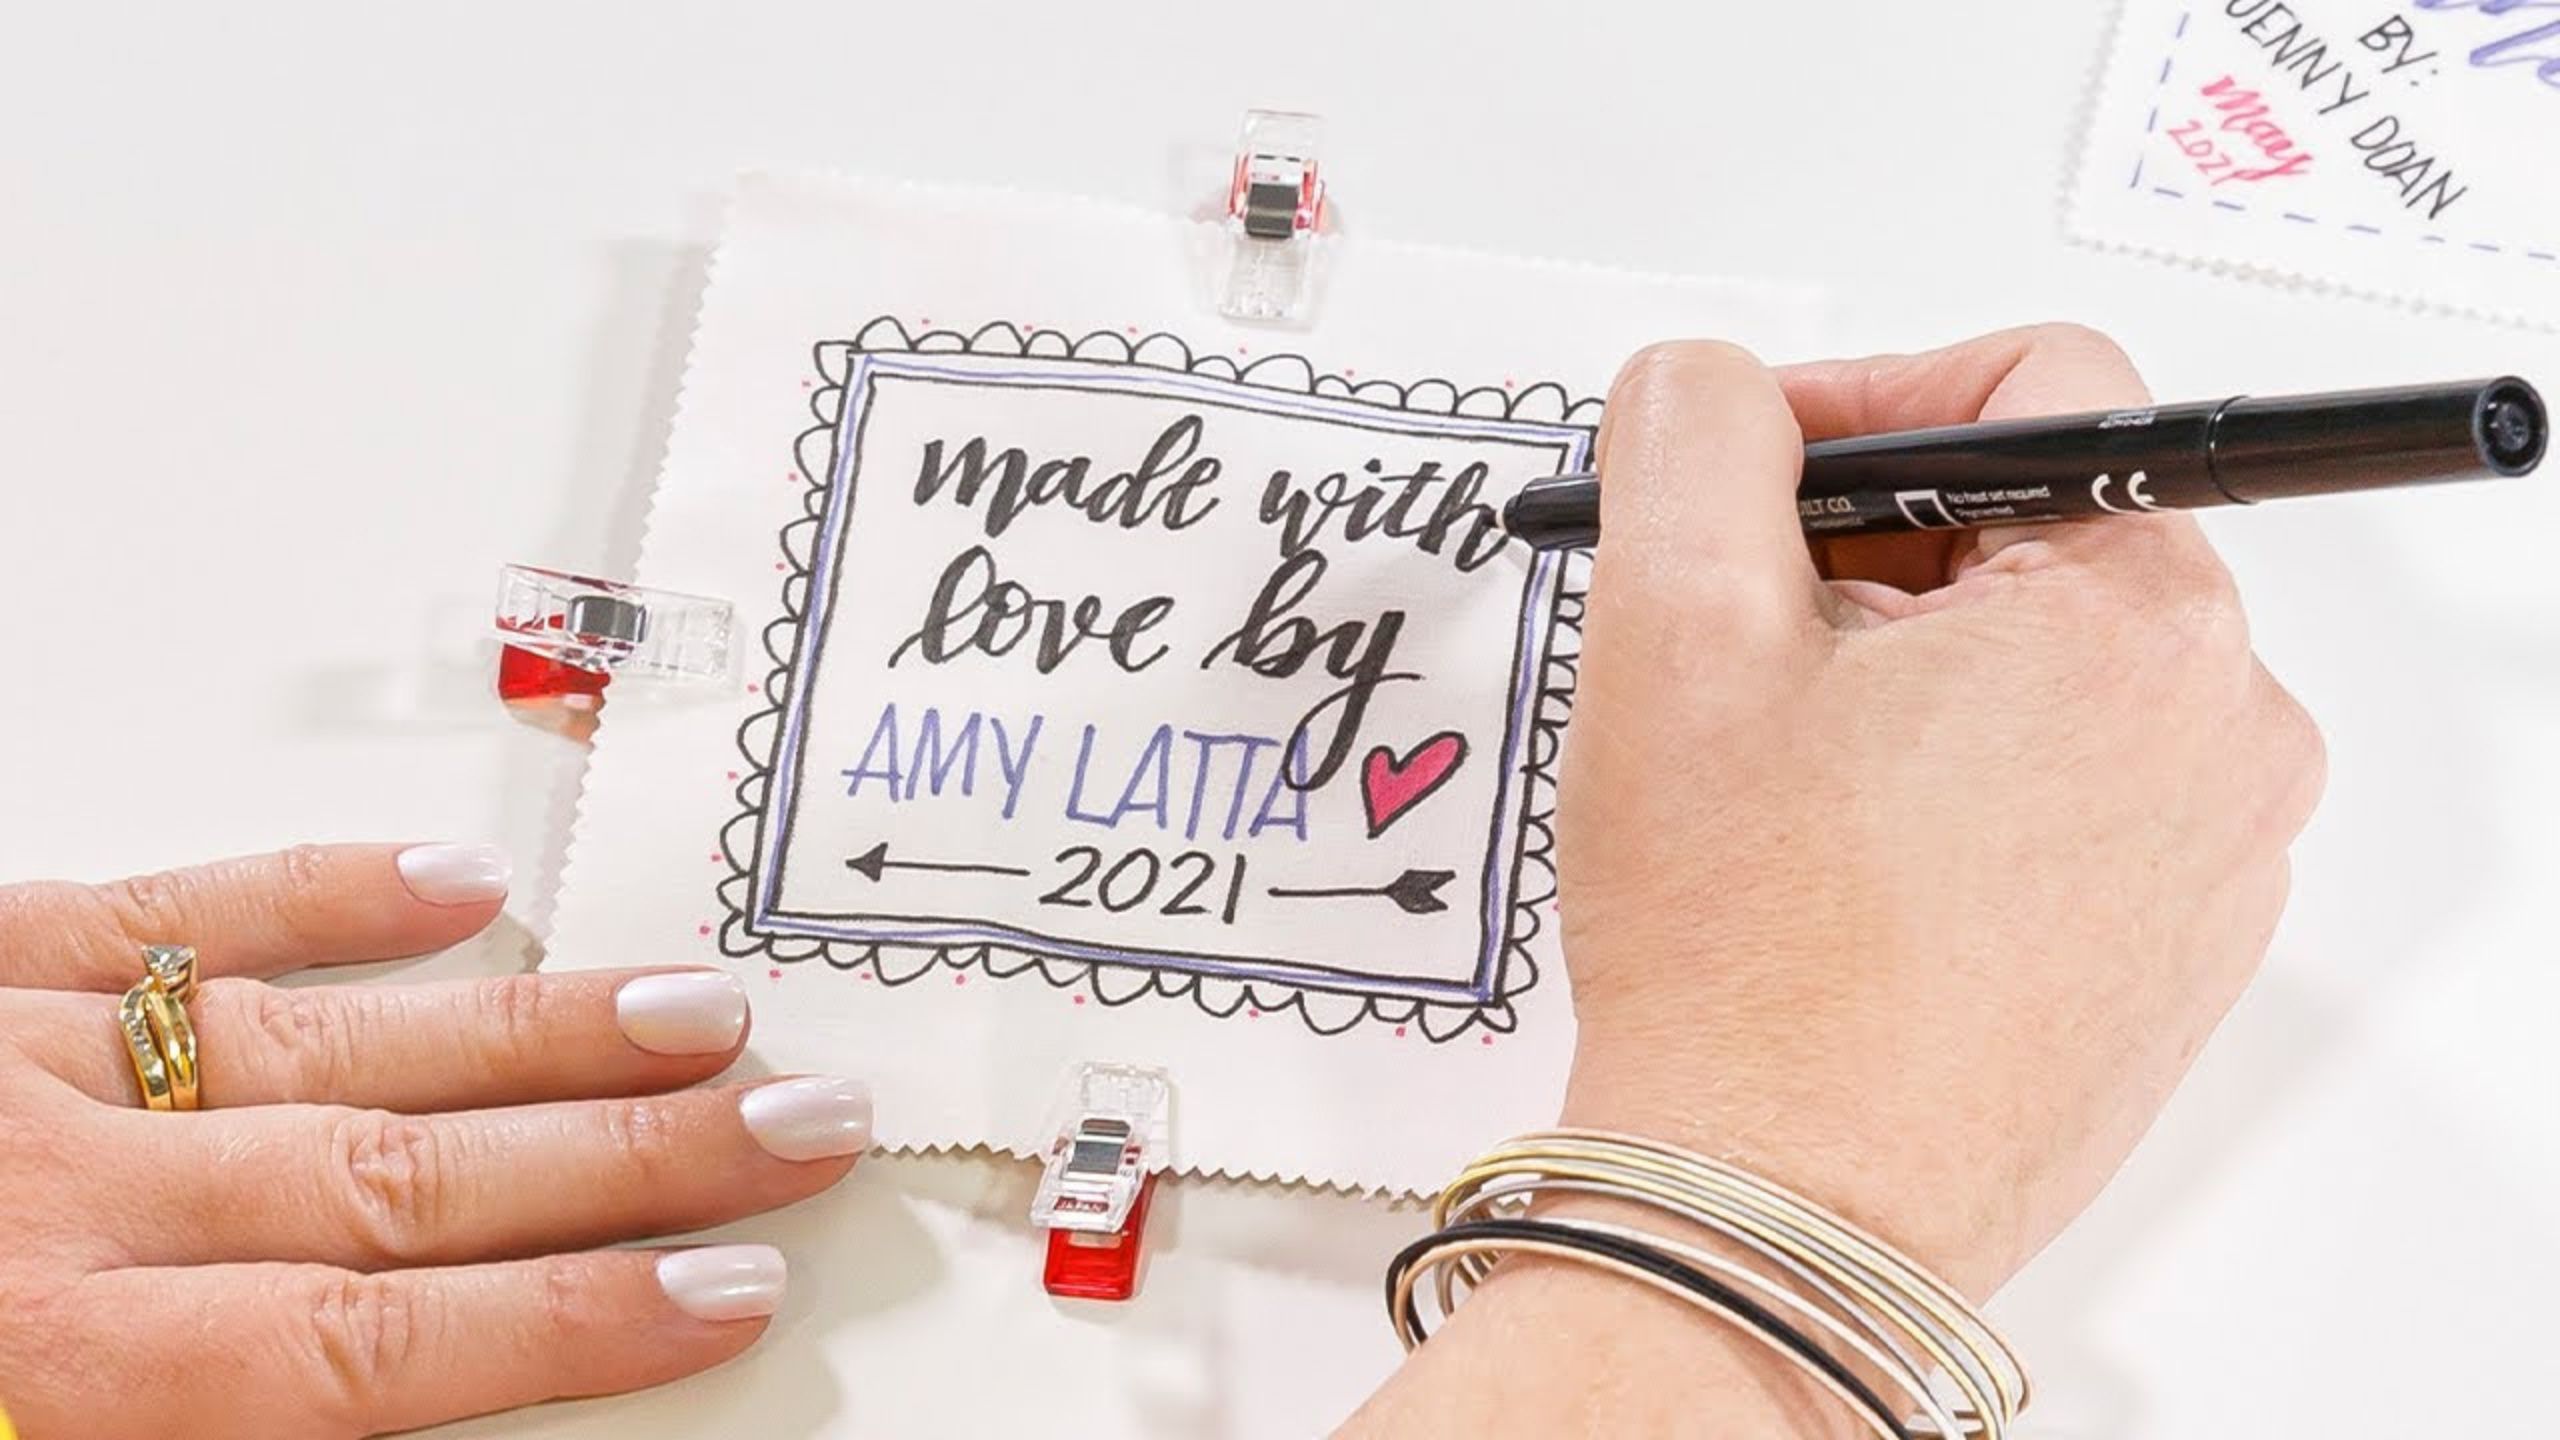
Learn Faux Caligraphy with Amy Latta!
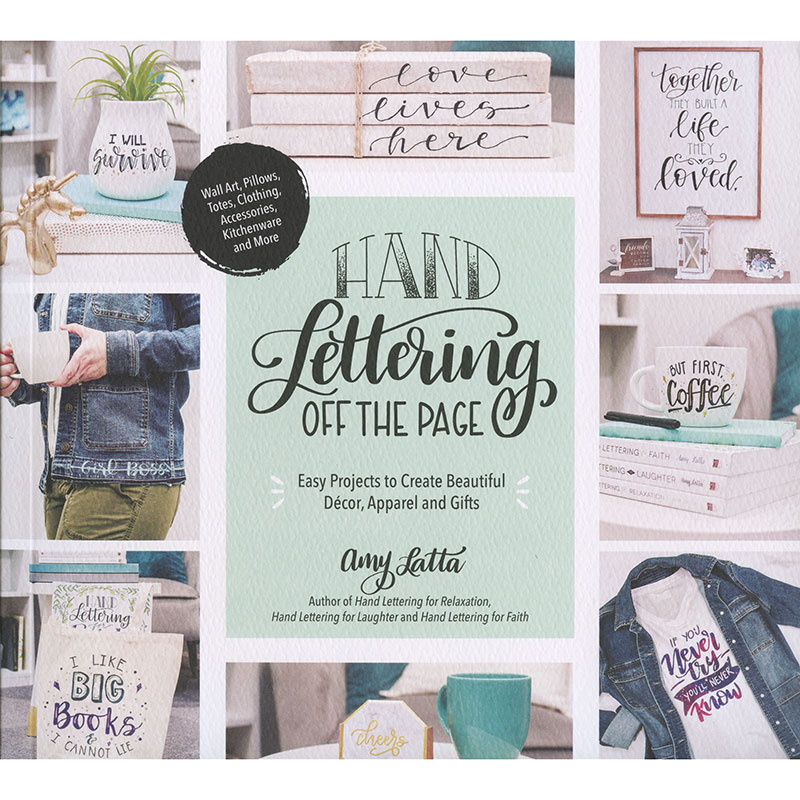
Follow along as Amy guides you through the ins and outs of hand lettering for quilters. Adding a personal touch to your quilt with beautiful faux calligraphy will turn it into a keepsake.
Instructor
Amy Latta
Amy Latta is a lover of all things creative and the author of seven books on hand lettering, creativity, and doodles. She joins Missouri Star Quilt Co. for tutorials on how to create handmade labels to add to quilting projects. You can find more of her work at <a href="https://www.amylattacreations.com/">Amy Latta Creations</a>.
Shop this tutorial

Common Questions
What is covered in Learn Faux Caligraphy with Amy Latta! (Video Tutorial)?
Follow along as Amy guides you through the ins and outs of hand lettering for quilters. Adding a personal touch to your quilt with beautiful faux calligraphy will turn it into a keepsake.
How long is the tutorial video?
The tutorial video is 00:09:04.
Are supplies listed for this tutorial?
Yes. The tutorial page includes the supplies and materials connected to this project.
Is a transcript available?
Yes. A written transcript is available on the tutorial page.
Video Transcript
Materials:
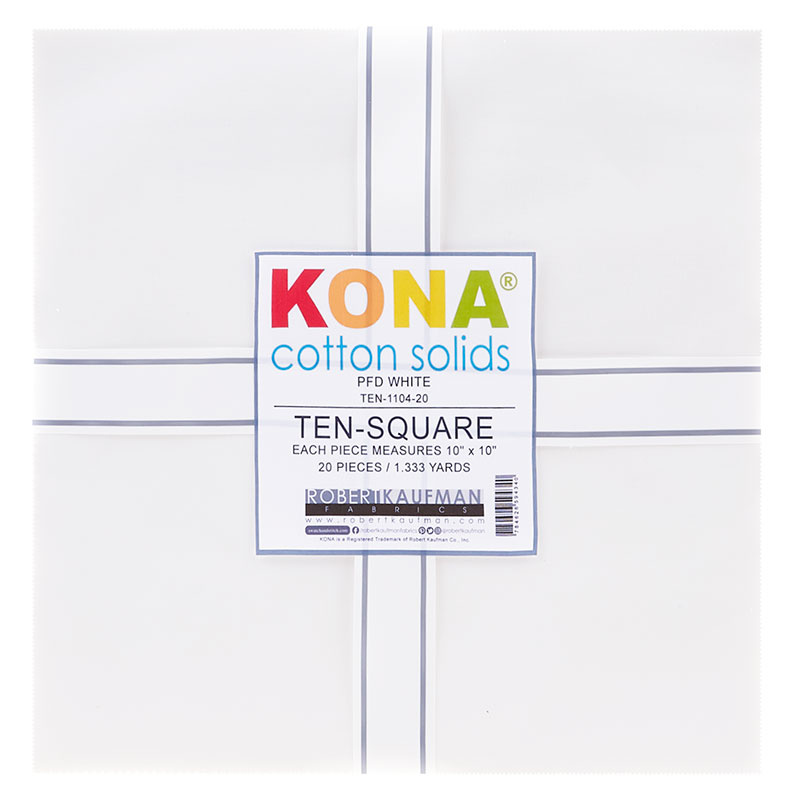
Fabric for the label
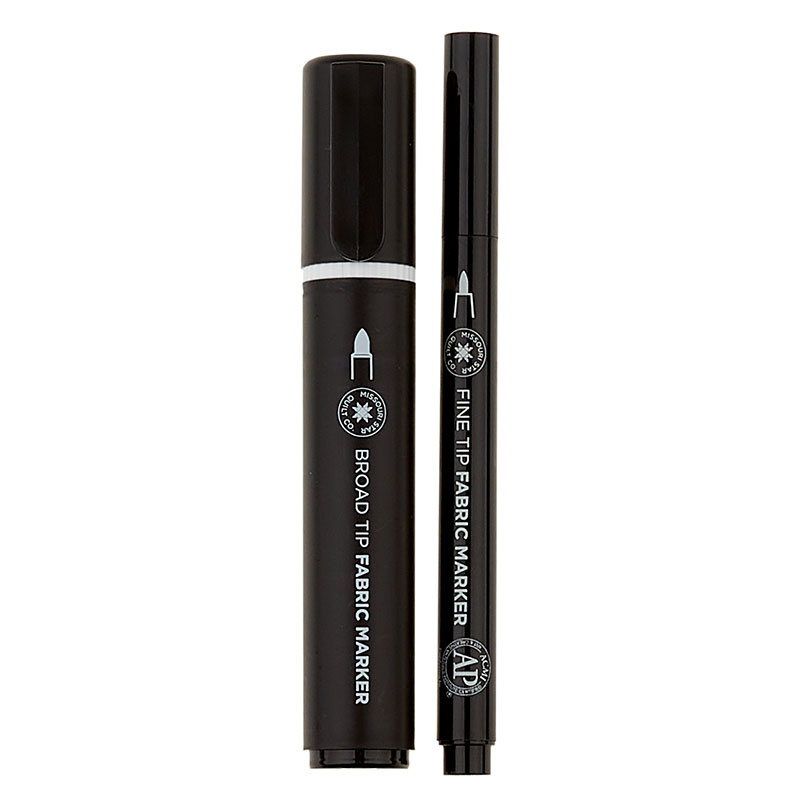
Fabric pen or permanent marker
Ruler
Scissors
Thread
Sewing machine or needle
Steps:
1. Choose a piece of fabric that will be large enough to fit all the information you want to include on your label. White or light-colored fabric works well to make the text stand out.
2. Cut the fabric to the desired size, leaving at least 1/2 inch of extra fabric on all sides for hemming.
3. Use a fabric pen or permanent marker to write the information you want to include on your label. This may include the quilt name, the maker's name, date, occasion, and any other pertinent details. Be sure to use a pen or marker that will not wash out or fade over time.
4. Hem the edges of the label by folding over the edges by 1/4 inch and sewing them down using a sewing machine or needle and thread. You can either hand-stitch the hem or use a machine to do a simple straight stitch.
5. Attach the label to the back of the quilt. You can do this by hand-stitching the label onto the quilt, or by machine-sewing it to the quilt backing before the quilt is bound.
Congratulations, you have now created a quilt label that will help document the story of your quilt for generations to come!


