Skip to content

Free quilting video tutorials from Missouri Star

Quilting Tutorials
Learn how to make an Easy Argyle Quilt with Misty on Missouri Star

Learn how to make an Easy Argyle Quilt with Misty on Missouri Star

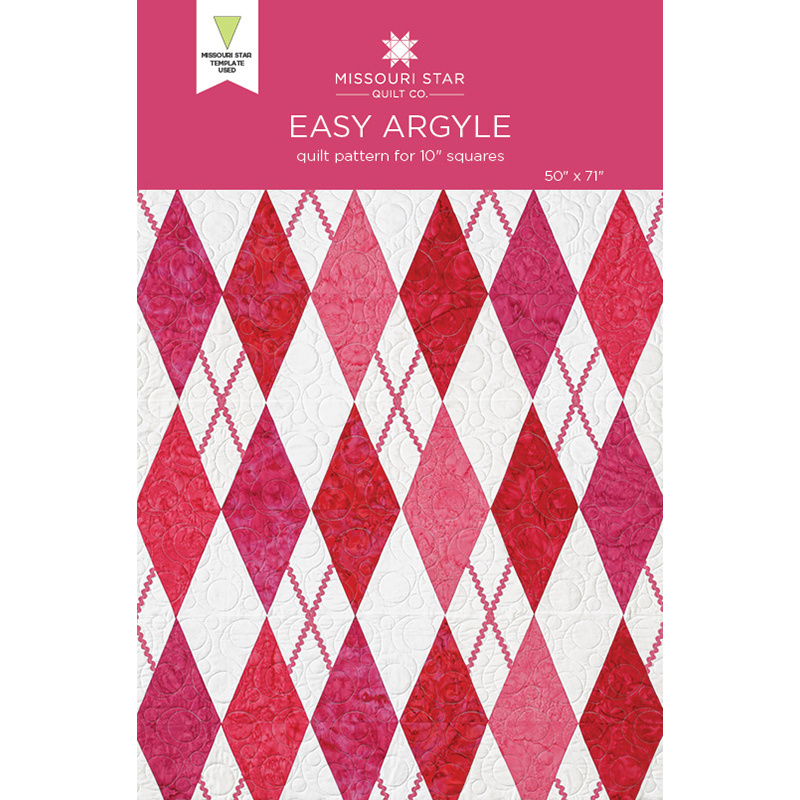
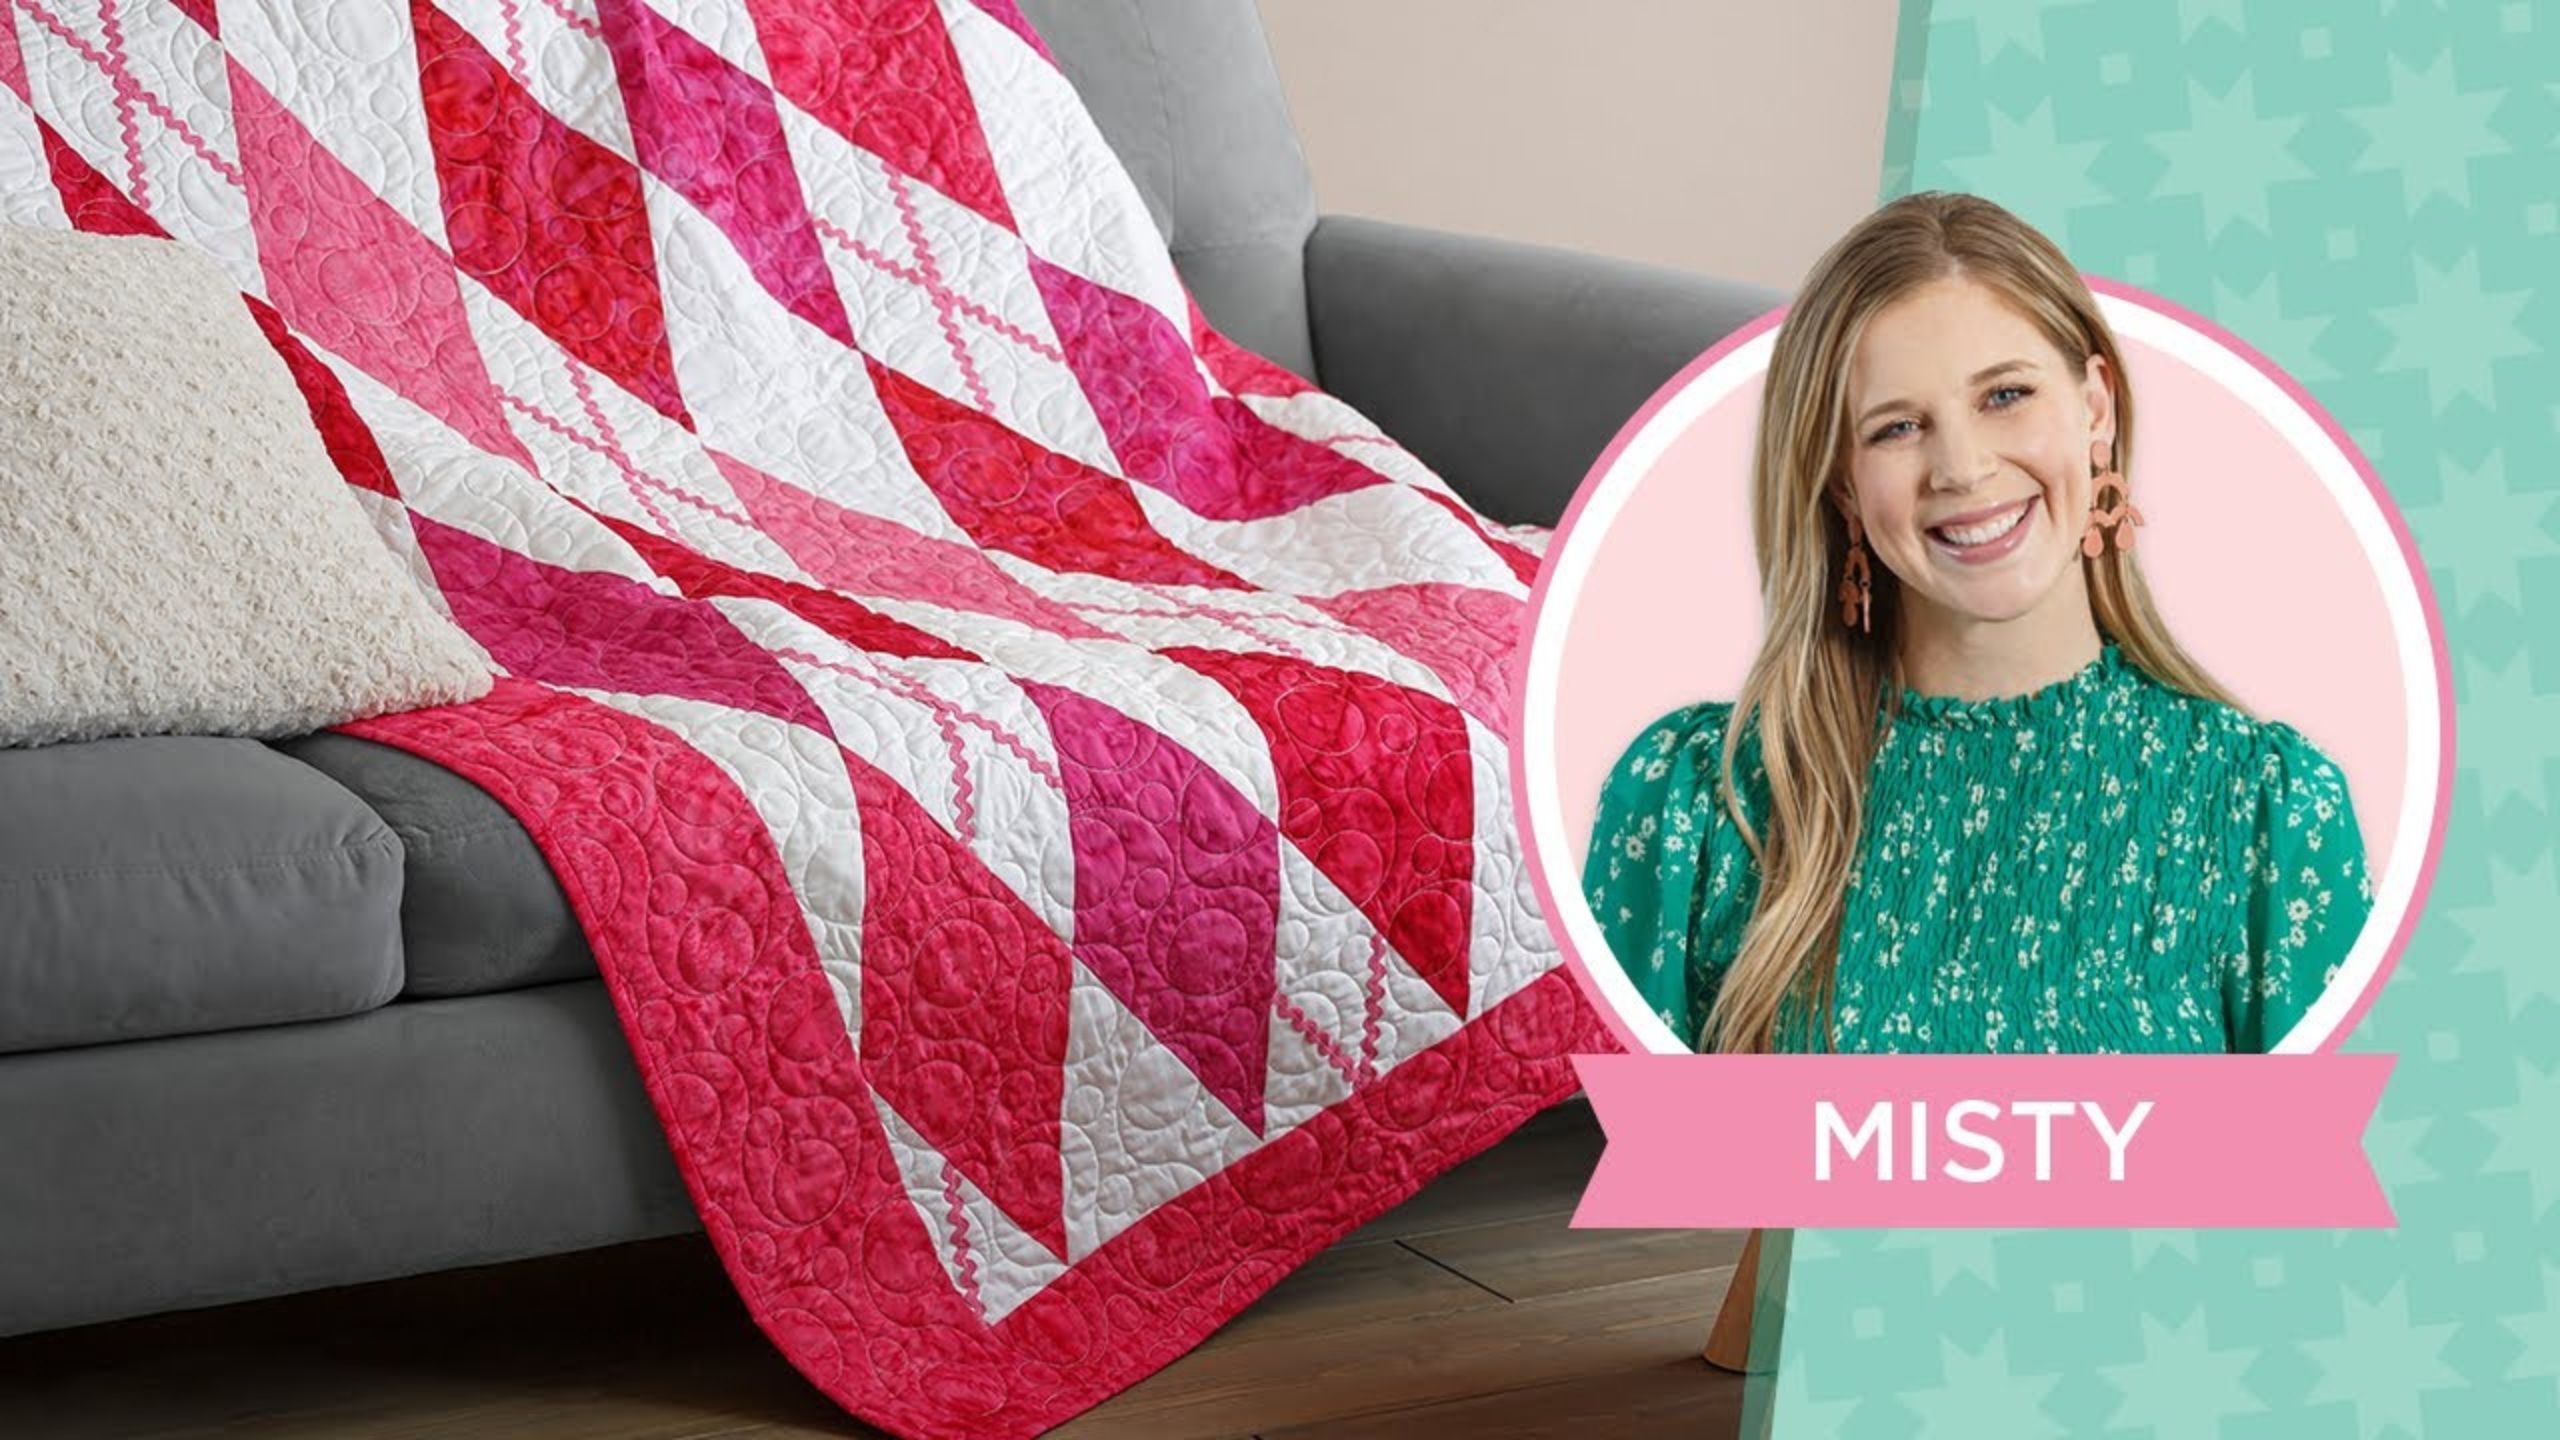
This preppy quilt is an easy gift to support the survivors in your life! Sew along with Misty to make a sweet, pink quilt showing off preppy argyle, with a supportive pink twist.

Instructor

Misty Doan

Misty Doan grew up surrounded by sewing and quilting. She loves spending time sharing tutorials each week each week, and when she’s not stitching up one of her fun sewing projects for home decor, most likely you’ll find her hanging out with her husband and three awesome kids or working on a house project.

Common Questions

What is covered in Learn how to make an Easy Argyle Quilt with Misty on Missouri Star?

This preppy quilt is an easy gift to support the survivors in your life! Sew along with Misty to make a sweet, pink quilt showing off preppy argyle, with a supportive pink twist.

How long is the tutorial video?

The tutorial video is 00:20:22.

Are supplies listed for this tutorial?

Yes. The tutorial page includes the supplies and materials connected to this project.

Video Transcript

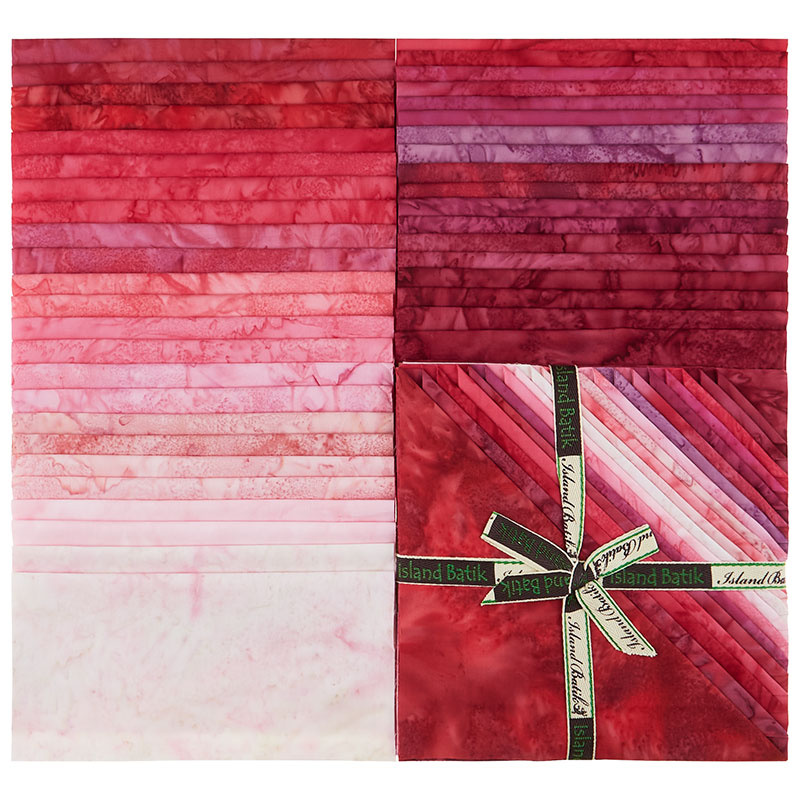
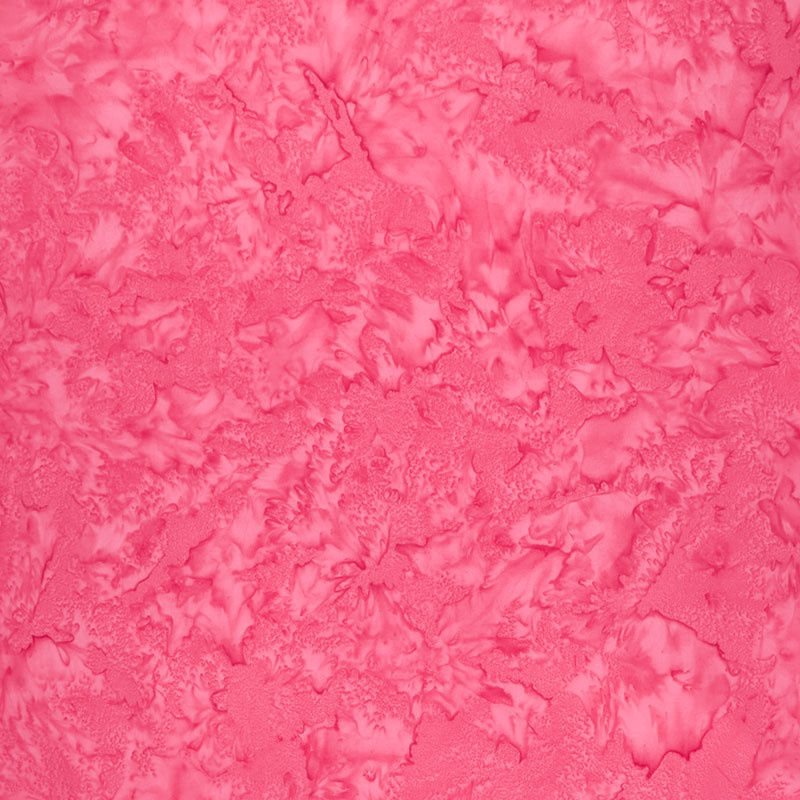
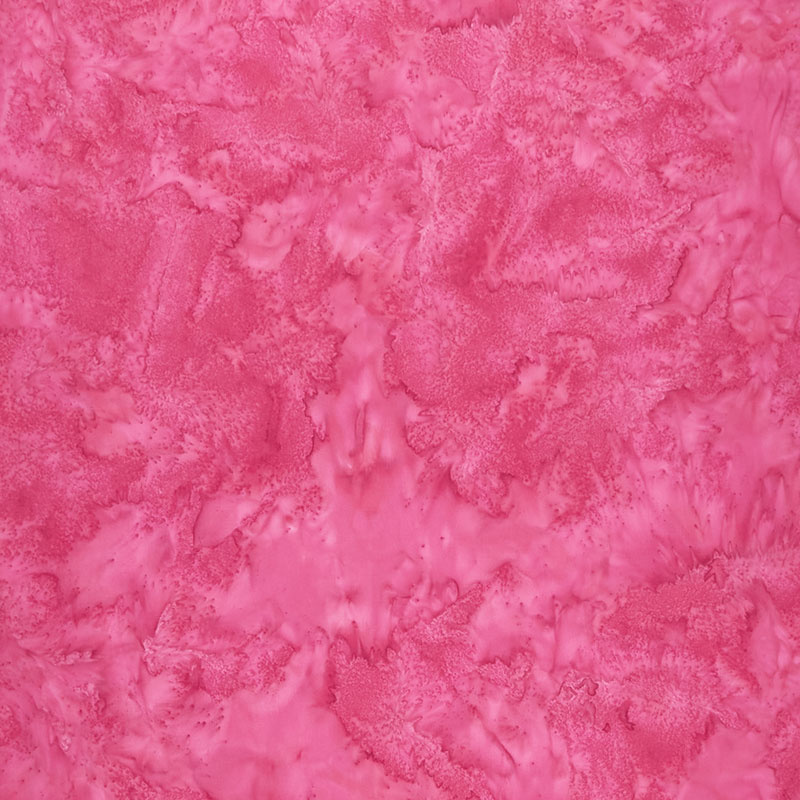
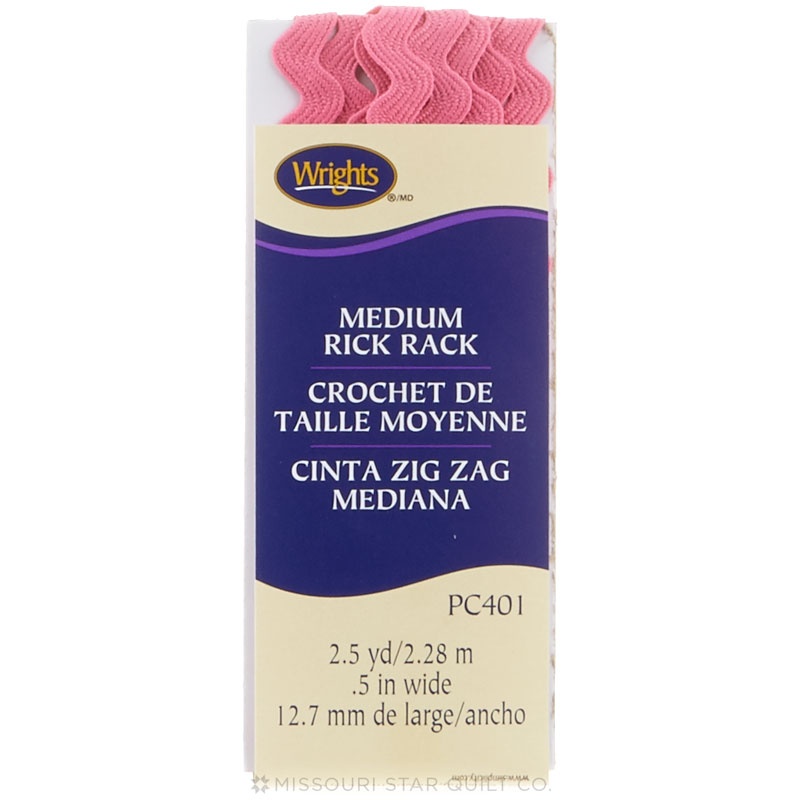
[Music] hello everyone welcome to the show I am your host Misty D and I'm super super excited about this project today I've been dreaming it up for a while and since it is Breast Cancer Awareness Month I thought it would be perfect to make this beautiful easy Argyle quilt in pinks um and it comes together so nice it's made using the precious pinks by Artisan boutiques you can do either a package of 10-in squares or five halfy cuts so you can choose five of the prints from The Collection that you love the best um and get this beautiful argyle pattern it comes together so quick and easy um you can see my five Fabrics that I've selected here and then you're also going going to need one and 3/4 yards of your background fabric you're going to need three packages of this medium Rick Rack in pink and each one of those is 2 and 1/2 yards so 7 and 1/2 yards of Rick Rack you're also going to want the large simple wedge template um from us here at Missouri Star to make this super quick and easy so to get started you can cut out your wedges from your 10in square or from your strips of fabric whichever option you go for so let me just show you how quickly that works out I just have some strips here ready to go and so since this is boutiques we don't really have any Salvage to worry about so I just want to make sure that I'm all the way to the edge and I can make a cut and then once I've made that first cut because I'm right-handed I like to flip this around so I'm not cutting across myself and then now I can just cut all the way down my strips just like that and I get two at once whoops I shifted it's a good thing to call out because sometimes it happens and so you can see here where my my ruler shifted and so my blade kind of slid to the side that's okay we can just repeat this we've got some extra fabric here so now I've fixed that this is still good this is a great learning experience now we can turn this back around and chew up that edge one more time so that our wedges will still be accurate and then we can just set that aside as waist it's no big deal turn it back again that's why you always want to take your time when you're cutting if you're anything like me it's easy to rush through just cut cut cut and because these are already in sets of two I can get one more wedge out of this piece that's folded in half here but I need all of my matching sets of two so I just get four sets per strip just like so and then we're going to start by sewing these together together I just keep them together just like this and I'm going to sew a/4 in seam right across the top and I'm going to do that with all of my sets so I've got a different color cut here I'm just going to sew a few of these with my quarter inch seam allowance this is a little bit different than how we traditionally build a wedge quilt but because I wanted to add this Rick rack detail tail I found this was the easiest way to do [Applause] it you can see I'm just chain piecing putting one of these diamonds in after the other and it goes really quick just have a few of these ready there we go now we can cut the these apart and then press open our diamonds so let's do that we'll give this a press roll it back and because you're going to have different colors I like to keep my same colors together in piles and so this this is actually a different pink than that one so I would just make a different pile for it just set that seam roll it back oh here's my other one I sewed just like that all right and like I said you're going to repeat that with all of your colors either the five that you select or your whole layer cake either way um it's going to be beautiful so let me move some of this out of the way and then we're going to do the exact same thing with some background wedges you can see I've got some cut here so I'm going to go ahead and sew these together exactly like we did our print diamonds there we go and let's go ahead and press these as well there's that one and now we get the magic of adding the Rick rack so this is really fun and this is where you can kind of make this design your your own however you desire you can see I only added the Rick rack detail in every other background diamond so there 's actually 10 of these whole Diamond Rick rck blocks because you can see we've got one on each end here that we're going to end up cutting in half but you do need that full one for your layout so 1 2 3 4 five 6 7 eight nine 10 full diamonds and then you're going to have um eight that are just half of your diamond and you can see here one two three four top and bottom and I'll show you how to make those as well but let's start by making this whole diamond and adding the Rick rack to it so to make my mark on where to put the Rick rack I at first I was like oh I can just eyeball it to make an X which you probably could because you're not actually matching it up but I wanted it to be really close when I put all of this together so it really looked like those lines continued so all that I did to do that is I just folded my top Corner down to each side and just finger press like so so you can see I've got a little Mark right there and then I can repeat it on this other side and finger press and you can see how that works just like that and then we can turn it around and do the same thing and then that gives us a guide for where we want to take our Rick rack and we know they're going to be really close every single time we do this so there we go and now I can just take my Rick rack from the package and I usually just keep it attached and I keep my scissors handy um and I just trim it off as I sew to have as little um waist as possible on it and so I'll just lay this here to start and you can pin if you want I found it really easy to maneuver without pinning and so we're just going to take this and sew right down the middle and I actually just used white thread because I wanted to make sure you guys could see how forgiving this is on the quilt behind me and so you can see it's just got this white Stitch line that runs through the Rick rack if you don't want that obviously just match your thread it's no big deal but I wanted to show you um that it looks great either way so let's Stitch this down we can start with our Rick rack right under our presser foot and if you have the diagonal seam tape on your machine I'm actually going to fold this up CU it's kind of magical the the width of this Rick rack falls right in the center of that diagonal seam tape and since we're using white background fabric I can actually see right through it and so it makes it so simple to make sure that my Rick rack is going in a straight line and that my seam is going to be running right down the middle so that's another great tip if you have that on your machine so we're just going to run down there trim my thread and like I said since I don't want a lot of waist I just lay my scissors right along the edge of that diamond and trim and now we can turn this and go back the other way if you were doing a bunch you could absolutely chain piece these the same way you chain piece your diamonds just slide the same direction in one after the other and then go back and go the other way and so now can lay this just along that Mark that we put in put that under my presser foot to get us going and then just make sure that I'm headed in the right direction just take your time trim your thread all right so there is the the diamond with the Rick rack added and that is what really gives us this awesome Argyle effect and so now the magic of this is in the layout so you're going to take your print diamonds and you're going to alternate with regular background diamonds and so I just used my design wall and started laying this out and I knew I wanted the colors to kind of Chase through so you can see my pinks I started with this light pink and in each row I just moved that over so you know it's a it's a simple staggering method but that's what I did so again here's these pinks and they're just staggering down and it actually makes it really simple when you're assembling the rows because if you look here when we go to assemble these we're going to put them together need another Diamond here we go here's one we're going to put them together like this they're diagonal rows instead of our traditional straight rows and so on these rows you can see it's going to be a solid background and a print and a solid background and a print and all the way through and then the next row it's a print and an Argyle diamond and a print and an Argyle diamond and it's going to continue the whole way and so it makes it really simple to know that you have your pieces in the right place hopefully that makes sense but I think it will so so let's just sew a few of these to show you what I mean we're going to Let's actually add one more to this guy so that we have these that will stagger and so we'll start with an Argyle here and then we can add our print and you just kind of fold this over and because we're working with the wedge it's going to have about a quar of an inch overhang on this bottom side so we're just going to make sure this is lined up all the way along the edge and when you get to where the Rick rack is that is a little bulky but you won't have any trouble if you just take your time while you're stitching over it so we're going to start at the top here and we're going to sew down a/ qu inch seam make sure we're nice and lined up there we go take a few stitches and then realign and zoom right down that side there we go then you can see when we press that back it's not going to look nice so simple so we'll just roll that back then we can go go and add the next bit of argyle do the same thing make sure it's lined up and I've got a little bit of overhang down here on the skinny side that's what you're looking for that's going to hang over just a smidge to give you your quarter inch seam allowance be ble to keep your points there we go just like so and I do like to press to the dark so I am going to roll that to my background since I'm I don't want to push the bulk of that um Rick rack behind the background so you can see how that would just sit right in here just like so and you just continue depending on how many you have um in that particular row because the rows are going to be different lengths so let's talk about um let's add one to this actually and we'll just pretend that this is the piece that goes right here so let's do that we'll add one more Diamond to the top then I can show you how you would start assembling your rows getting it lined up initially is the trickiest part but it is so simple once you convince your brain that it's okay that your rows don't go in straight lines there we go there's that piece and then let's talk about this little half piece that we need to make for the top because we do not have that ready so let me go ahead and cut out another one of our wedges and we'll go ahead and make one of those as well just to show you the whole process so we're going to cut off that side rotate this so I'm not cutting against myself or towards myself there we go and so just like we made the mark for the whole diamonds at the top and bottom of our our rows here when we need those pieces we're going to have a half diamond and we're going to Mark the half on the sides just like we did with the hole but we just only have one piece piece here so we're going to Mark the two sides and then we're going to fold it in half and we're going to Mark here in the middle as well just like that and then we can take our Rick rack just like we did before and we can sew that down and then it's still going to have the same start and stop points as our whole diamonds trim that [Music] one and add this side there we go so you can see how simple that is easy peasy and so then let's add this guy to the top here to finish out that pattern and you can see how it's just going to make it the illusion of having that Rick rack run all the way through top to bottom of that row so we'll add that one in take a few stitches readjust there we go and then we can press that one back and you can see how by adding those half blocks along the top it gives us a straight edge on the top and so we're not going to have to cut the top to give us a straight line we'll just have to cut our two sides so there's that one and then let's just show you how this layout is going to continue if you had this on your design wall and so this one here and here would be your s solid background diamonds and this would be another one of your prints just like that and we're just going to alternate it goes together so quick and easy like I said then you're going to trim off your sides straight so you have a nice rectangle top I've added a great 6in border here so the quilt ends up measuring 51 by 75 it's got this great Boutique on the back isn't that pretty I love that and then I quilted it with a champagne bubbles which is a really fun pattern since this is so linear I like adding that circular design to it so I just think this turned out so great I would love to see this in a variety of colors so remember if you make this in any fabric of your choosing be sure to tag us using # msqc showand tell and we would love to see it I hope you guys enjoyed this easy Argyle quilt from the the Star Quilt Company have a great day [Music]

More Layer Cake tutorials

See all