Skip to content

Free quilting video tutorials from Missouri Star

Quilting Tutorials
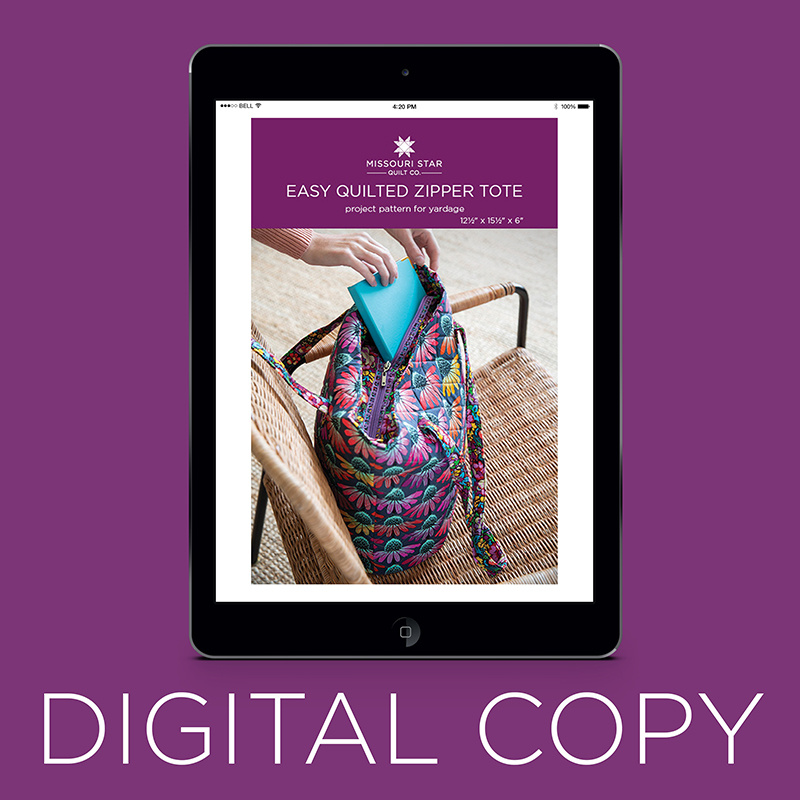
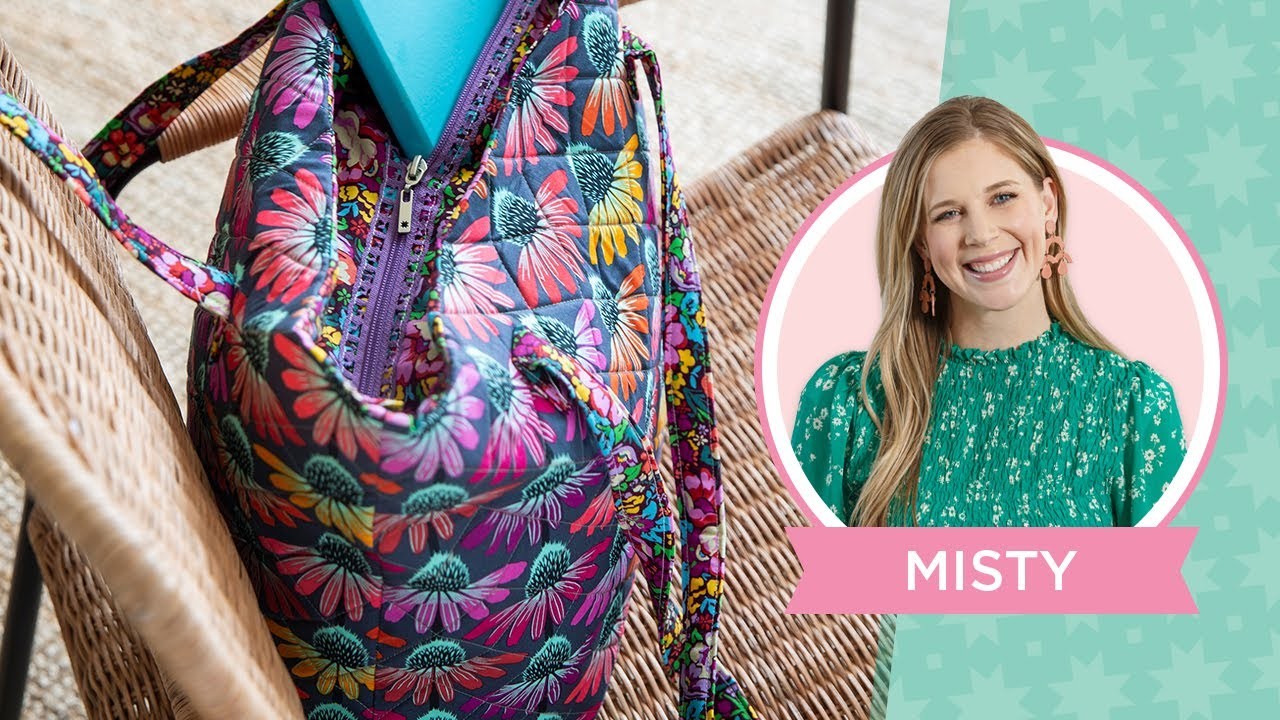
Learn how to make an Easy Quilted Zipper Tote with Misty Doan!

Learn how to make an Easy Quilted Zipper Tote with Misty Doan!

This bag is tote-ally cute! Follow along as Misty teaches you how to create a beautiful and useful quilted tote bag to carry all your essentials around town, complete with a fabulous Missouri Star Fancy Zip. We promise, it's sew easy to make!

Instructor

Misty Doan

Misty Doan grew up surrounded by sewing and quilting. She loves spending time sharing tutorials each week each week, and when she’s not stitching up one of her fun sewing projects for home decor, most likely you’ll find her hanging out with her husband and three awesome kids or working on a house project.

Common Questions

What is covered in Learn how to make an Easy Quilted Zipper Tote with Misty Doan!?

This bag is tote-ally cute! Follow along as Misty teaches you how to create a beautiful and useful quilted tote bag to carry all your essentials around town, complete with a fabulous Missouri Star Fancy Zip. We promise, it's sew easy to make!

How long is the tutorial video?

The tutorial video is 00:49:27.

Are supplies listed for this tutorial?

Yes. The tutorial page includes the supplies and materials connected to this project.

Video Transcript

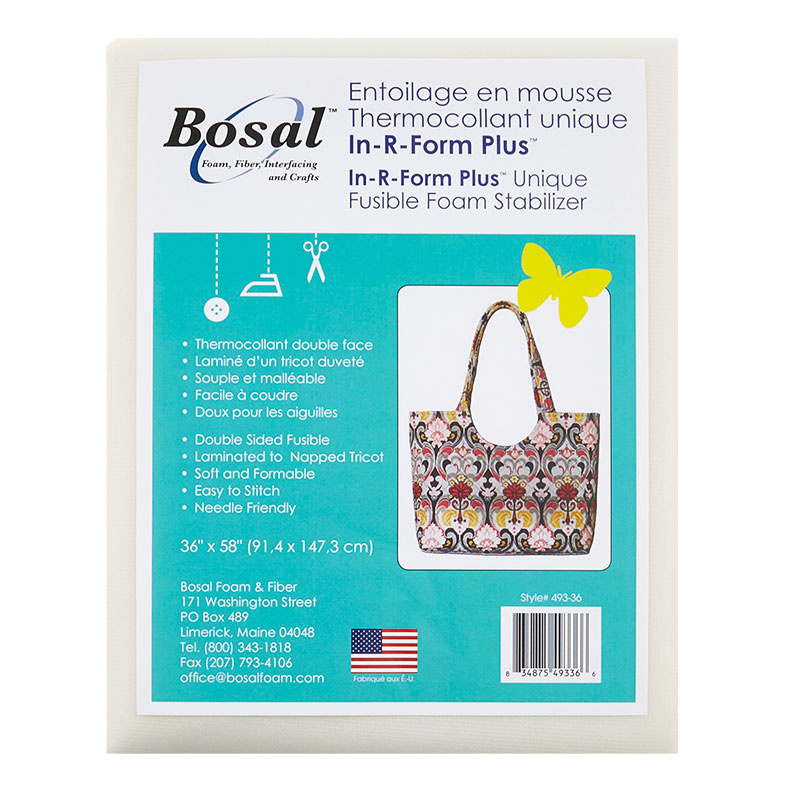
[Music] hello everyone welcome to the show i am your host misty doan and i'm very excited about today's project we're going to be making this easy quilted zipper bag it has a set in zipper here on the top and i'm really excited because we're using our fancy zips that now come in at 24 inch length so they're perfect for bags and larger projects you know even larger project bags we've used these a lot and now they're in longer lengths with lots of different fun colors and patterns so i've got this finished bag here and this is made using hope and bloom by katherine linnias for riley blake designs and it is just a beautiful line to honor breast cancer awareness and you know is perfect for breast cancer survivors or those who are battling it as well and so you're going to need two fabrics one for the outside and then another for the lining and the straps so for the outside you need three quarter yards and you need one and a quarter yards of that complimentary you also need your 24 inch fancy zip and a package of the single sided inner form plus from bozel so this is the package that measures 36 by 58 and so this is going to give you plenty to make your bag so make sure you pick up all of those things and then let me show you how we made this because it's very very easy so um for my step outs i decided to show this in a different fabric so you can see how cute this is going to look no matter what fabric you choose so this is actually this beautiful cone flower print from the love always by anna maria horner sorry for free spirit fabrics and i just love this collection it's beautiful so to begin you're going to cut two 20 inch squares of both your outside print and your inside lining fabric so i've got those here i'm going to do these cone flowers for the outside and this beautiful floral for the inside so i've got those ready to go and then we're going to fuse remember there's a single side fusible and so one side is really smooth and you can see here and then the other side has like a rougher texture and that's where the adhesive is you're going to put that adhesive side to the wrong side of your fabric press it down and then you're going to quilt as desired because it's adhesive you don't even have to quilt but you can see here i did an inch and a half cross hatch just straight line quilting on this whole thing and it looks really really nice i love how it doesn't detract from the print but gives that great quilted texture i did that both on this and on our beautiful hope and bloom version here so then the next step is we're going to go ahead and make the handles so to do that we're going to cut a four inch strip by the width of fabric i've got that here and we're just going to press this in half lengthwise and then press those outer edges into the center so let's begin by doing that just want to run this down i like to press it in half first so i have that point to press the two sides too there we go and now we can open this up and we've got that crease line that we can go back and fold the top edge and then we'll come back and do the bottom edge as well so and this doesn't have to be perfect it's very forgiving we just want it to be close and we are almost done there there we go and then you can fold it in half one more time because we want to enclose all those raw edges on the inside so we'll just give this a nice press to make sure it stays folded in half again there we go all right so now we need to cut a piece of our bosal foam this is that same single sided fusible and you're going to cut it three quarter inches wide by 38 inches and so that's what i have here and we're going to sandwich this inside of the strap that we've made i like to go ahead and lift one of the sides and you can see we've got some extra length here and that's just what i want i'm just going to kind of float it and fold it over so we're going to come over one inch from where the bulk is of the bosal inside of the strap so i've got this lined up here on my mat we'll just take our ruler and measure over about an inch doesn't need to be exact and trim then we'll take that around to the other side and do the same thing and then that way we'll get rid of our selvage edges and we can get this ready to stitch down so again i'm feeling the bulk of that there measuring over one inch and trimming that off so now you have a couple options you can go ahead and press this in again if you'd like but i like to just put a few pins or clips in here i'm going to grab that and i've got a few clips you can see how nicely that's just going to hold all of our layers together you just want to make sure it's not bunching and just take your time to roll this under i'm just going to put a few of these on here so i can take this to the machine and sew this right down just make sure everything is laying nicely that's all the clips i have handy so we'll use pins for the end here so you can see both options in case you don't have clips and i will just pin right through the middle and you can see how easy it is to go through that bosal it's not hard to sew through or pin through at all so now we can take this to the machine let me move this out of the way so you guys can see and we're going to start by stitching down on that open side all the way down the end and then we'll come back around and i'm i'm not using a full quarter inch here this is closer to an eighth inch just that nice top stitch i'm using white thread but if you wanted to match your project closer this would be a great time to do it just make sure you're not tugging or pulling let the machine guide it through there we go just readjust as you go if you need to i'm always so surprised just how easily this disposal sews it's really nice there's our last pin we can trim our threads and now we can come back and go down the other side make sure we have that same line of stitching looking for that same width both directions so i'm just going to go back down this way again be sure not to pull or tug you don't want to distort it there we go and you can see it kind of twists naturally it's not a big deal we are just going to force it to go the way that we want which you can see it it goes back and takes its shape very nicely so let's pin this in place on both of our sides i have the other handle already made and ready to go so what i like to do is measure down so to put these on we're going to find the center of our bag and remember this should be 20 inches wide so i can count over 10 inches 1 2 3 4 5 6 7 8 9 10 there's my middle and i'm just going to go ahead and put a pin there just so i don't have to go back searching for it again later i know that's the center of my bag and then i can measure over from that point i'm going to start on this side and i like to measure over four inches to the inside of my strap and so you can see once this is all finished it it measures right at an inch and so that's going to lay right between the four and five inch mark on my ruler and i'm just going to put the raw edge that we left on the end of our bosal i'm folding that under and then flipping the you know handle upwards and then i'm going to put a pin in there to move this out of the way now and pin this in place and so then we're going to make sure this isn't twisted or doing anything crazy and we can again take our ruler measure over one two three four set this right between the four and the five and now i can take my center pin and pin that in place and we're gonna do this exact same thing i'll show you one more time on the other side of the bag and then we'll stitch these straps in place so we're gonna get some more pins so i have those handy we're gonna find our center one two three four five six seven eight nine ten there's the middle of my bag put a pin in there i lay this ruler right along the edge of my fabric and then measure over oh there it went i lost the strap for a second measure over between the four and the five pin this one make sure that the raw edges aren't poking out i don't know if you guys could see that but there was a little spot poking through there and then same on this side make sure we're not twisted and between the four and the five there we go so now we're just going to do some simple square stitching i'll follow the lines that i already put onto the straps and then i'm going to just make a box over that bulk that we flipped under to just really hold my straps in place so it's basically going to be a one inch square that i'll stitch off across the bottom of these so let's go ahead and do that on all four edges of the strap and you do want to make sure you're not sewing over your pin so now that i have this under the machine i'll go ahead and pull that pin out of my way because we never want to stitch over that i am going to back stitch at the beginning follow that same stitch line leave my needle down and pivot stopping at that other stitch line rotate back up to where i started and come across and i like to kind of back stitch all the way across that top seam and then cut my threads so then we'll do this again on the rest of our straps so [Music] okay this side is done we'll do the same thing with this one slide that pin out of the way you do have to kind of manage the bulk of this project a little bit but it's not too bad at all since it's not big and the last side here okay oops tried to throw my pins on the floor there all right there we go now we have our straps attached to the body of our bag and so now we can put these right sides together oh i forgot to point out earlier but you can see it on here i cut the bosal just a half an inch smaller than the bag fabric so remember this is 20 inches square i cut the bosal at 19 and a half so that i'm not dealing with the bulk in all of my seams when i'm building this bag so be sure to do that and then we're just going to stitch down the sides and across the bottom to enclose this just make sure that your straps are in the middle you do not want to catch those and in your in your seams you can pin them to the middle if you're worried about it but i think you'll be able to tell if it's in your way and so we are just going to line these up and sew down the sides i like to do both sides and then come back and do the bottom just in case i have any shifting that the tops will be nice and straight you can see by doing it this way we don't have any of the bulk of the bosal under the needle we're not stitching through that at all there's that side and we'll come back again make sure our straps are not anywhere close to where we're going to be stitching and then we'll stitch down this other side okay and now we can go back and sew the bottom i could feel my strap peeking through there so i'm just going to push that up to the top [Music] okay there is that so now the outside of our bag is almost done we just need to box the corner now if you're not familiar with that what that means is we're going to pinch the bottom edge of this bag and open it up like this on our mat so let me grab a larger ruler here so you can see what i'm going to do and so you're you're going to make sure your seams are lined up top and bottom going right down the middle of this point that we're forming and then if you have a nice large either square or you know 6 by 24 ruler we're going to use that 45 line we're going to measure down three inches and what that's going to do is give us a six inch box across the bottom here and so i'm actually going to get a marking pin you can use any type of pin because this isn't going to show but we're just going to go ahead and mark all the way across here so you can see this is going to measure over 1 2 3 4 5 6. i can just mark this with my marker and then we're going to take that to the machine and we're going to sew right on that marked line and then we'll do this on the other side you do want to back stitch at the stop and the start let me show you again on the other side remember pinch that so that it will lay nice and flat and your seams are lined up top and bottom and we'll use our ruler measure down three inches there we go i had to find my mark make sure we've got one two three four five six that's a little crooked so i'm just going to straighten that out and we can mark across there there we go and we'll stitch on that line okay so once you've done that you have a couple of options if you want a really sturdy bottom of your bag you can just fold this over and put a couple of hand stitches in there to hold that in place and that's just going to give extra stability to the base of your bag i find with disposal you don't really need that so i'm just going to cut off the bulk of this just measure over at least a quarter of an inch probably closer to a half inch just to make sure we don't lose our seams so i'm just going to trim that off we can throw that away and then do the same on the other side here you can see the bosal is really wanting to stand up and give the bag its shape so it does take a little bit of working with but it cuts through so easily as you can see there so now our bat the outside of our bag is pretty much ready to go so we can quickly follow a lot of these same steps to do the inside the lining measures the same 20 inch squares but what we're going to do is add a pocket inside so let me show you how we do that we've got our two lining squares here and to add the pocket you're going to cut two six by nine rectangles out of the exact same fabric and so i've got those here we're going to place them right sides together and i'm going to sew a quarter inch seam all the way around leaving about a three inch opening on one side so i'm going to start and back stitch and stitch all the way around and stop and backstitch if you want to put a pin in both places you can do that but just you know remember and it won't be a problem so i'm going to start right here all right so we've backstitched there at the beginning i like to just sew off the corner pivot sew all the way down the side i feel like i have more square neat edges more precise corners when i just sew off rather than try to pivot okay so this is our last little bit we have to remember to leave that opening and backstitch there okay so now i like to always go back and cut off a little bit of bulk in those corners just so my corners turn easier but you want to make sure you don't ever stitch or cut through your stitches so we're just going to hang over there and trim you can see it's just a tiny bit we're taking off but we want this to look nice and so now we can open up through our little pocket that we created by leaving that opening and you can either use a chopstick i've got nails that i can use to go and poke out these corners so i just kind of do that as i go whatever you need to do to get in there and make sure your corners are nice and sharp just like so and one more there we go i think that looks pretty good and now we can take this over to the iron and we'll give it a press and you do want to kind of roll back your seams to make sure that they're all laying as neat as possible so you don't have any anything tucked underneath there when you're pressing just take your time and i like to fold in this little bit that is from our opening because we're going to top stitch over that in just a minute so i'm just going to fold that under so it's nice and straight and then press it so i don't have to fight with it at the sewing machine so now remember that's our side with our opening we're going to do that top stitch right along that edge back stitch at the beginning and the end there we go so now that's fully enclosed we don't have to worry about that opening creeping up on us again and we are going to measure down on our bag you can really just eyeball this there is no exact place this has to be but i like to measure down at least five inches so i'm just going to use my mat here and go one two three four five and move that up a little bit and then also find my center and i just kind of eyeball this one two three four five six seven eight nine ten so there's the middle and if i want to you know you can fold a crease in there and i know that's pretty spot on with the middle you can measure down if you want but it's inside my bag so i am happy to just eyeball it and so now we're going to add some stitch lines and attach this onto this lining so we're going to stitch all the way around and then i'm going to measure over an inch and then two and a half to create a couple of pockets within the pocket to hold different things like pins and your cell phone so let's do that so we're going to start by just stitching on the sides and the bottom to attach this to the lining square being sure to back stitch at the beginning and the end and i just keep my needle down and pivot and back to the top here [Applause] finish it with the back stitch all right so then let's make a few marks for our next stitch lines my marker still out here it is all right so we can just measure over one and i think i actually did an inch and a half now that i'm looking at it but you can totally do this to your preference if you have a favorite pin or something you can just lay it on there and test it out to make sure you're going to have plenty of room i'm just going to mark an inch and a half and then i'm going to go right along that line i just made over two and a half from there and then you can see that's going to leave a nice big pocket on this side for my cell phone so we're just going to add those two straight lines again making sure we backstitch at the top and the bottom okay there we go so now our pocket is attached inside of our lining so let's talk about how we're going to add the zipper because that's kind of the magic of this bag so for a second i'm just going to set these to the side and pull out my pieces there's quite a few pieces i know that but we are going to do a couple of things we're going to cut out two two and a half by 18 and a half inch rectangles and we're going to sew those the exact same way we sewed the pocket we're just going to put them right sides together just like this and we're going to stitch all the way around so let's start by doing that again we're going to leave a little opening to turn this right sides out just wanting to make sure we don't have any raw edges peeking through on our final product i'm just using a quarter inch seam here leave a good size opening so that we can turn this out and trim off all of our corners there we go and one more this is one where it's handy to have like a chopstick which i have right here it's hard to get my fingers all the way to the end of that so if you have something that you can use to turn out the points it's going to make it much easier for you just don't want to push through them and we'll turn this side and do the same thing there we go and now let's give this a press again we're going to try and tuck the little pieces that are sticking out from where we're turning it under so that we can enclose those when we stitch this down later just press it nice and flat okay so we have that piece done that's going to be one side of our zipper and i've gone ahead and made the other side they're done the exact same way it's ready to go so let's go ahead and prep our zipper now and put the little ends on it because we're going to cut off the factory ends and cover them with fabric so you're going to need a little two and a half by two inch rectangle and all we're going to do on this is just fold in our sides let me move this out of the way for now so you can see we're just going to fold all four edges under about a quarter of an inch just like so just like so these two as well and then we're going to fold this in half and you're going to make two of these one for each end of your zipper so you can see we're really just folding under those edges to make sure again that our raw edges are enclosed and now we can trim our zipper to 18 inches remember this is 24 inches so you could make a larger bag if you wanted to begin with i'm going to take the zipper head and move it to the middle because i want to make sure that i am not going to cut that off because if i do then my zipper is not going to work anymore so i've got it to the middle and then we can go over here and cut off this metal stop because we're not going to need that anymore so there's that just don't cut through the metal but your rotary cutter will cut through these nylon zippers no problem and then we need this to measure 18 inches so i've got this on the 2 which means i need to come over here to the 20 and just keep it as straight as possible and we're going to trim that off just like so and now we can enclose each end of our zipper in these little pockets that we've made and they should fit right in there we can just fold this over and begin by just top stitching right across the zipper so that we don't have any raw edge of that hanging out or raw edge of our fabric so i'm just going to take this over here you can put a pin in here or again this is a great place to use a clip and we're just going to top stitch over this side and then we're going to go back and do the same thing on the other end of the zipper there's that one you can backstitch over it a bunch if you're worried about it i just did a single line here's our other side sandwiched right in there and you can see if you're worried about the strain that the zipper is going to take it's really easy to backstitch over these nylon zippers and so now our zipper is enclosed in these little ends we can slide it all the way down we don't have to worry about it sliding off either direction it's good to go and now we're just going to lay this on our long pieces that we've made here and we're going to sew a straight side a straight stitch or or decorative stitch whatever you desire straight down either side of this to sandwich our zipper between these two side pieces we've made so i'm going to go ahead and do that and i'll meet you back here all right all righty so now we have our zipper all the way attached to our extensions on the side there and now we can set this into our lining pieces so remember we've got our pocket we want to make sure we orient our pocket to the top and then we're going to measure down two and a half inches so you can use your two and a half inch ruler here makes it really handy and we are going to pin this in place we are going to center it on our bag we're going to pin this and then we're going to top stitch right there i'm going to start with one side we'll sew this one down and then we'll come back and add the other side [Applause] okay now we don't have a pocket or anything on the other side so we can just open this up and again we're going to measure down our two and a half inches center this on here and we're just going to let the right side of the fabric be towards the other right side and center this on here oops and put a couple pins in place and then we'll top stitch this side alrighty so that part is done we are not going to stitch down the sides those are going to remain open and now just like we did on the outside of our bag we're going to sandwich this right sides together and we're going to sew the three sides the only difference is on the lining we want to leave about a six to eight inch opening on one side so i am going to put a couple of pins in here just to remind myself that i don't want to close this all the way up and i also want to make sure my zipper is a little bit open that'll help all of this is going to help with the turning this right sides out so we're just going to line this up just like so i'm going to put one pin here that's going to be the top of my opening and i'm going to put another pin down here for the bottom of my opening want to make sure it's not too close to the bottom because remember we're still going to box these corners to match the outside so i'm just going to start on this opposite side and stitch down [Applause] there's my pin i'm not going to get too close to that so i'll just back stitch and then pull that out of the way and slide all the way up to my other pin [Applause] all right now we're going to go ahead and box those corners in the exact same way we did the outside of the bag so we're going to measure down three inches and a crossed six we're just going to pinch this open just like so i like to use our square ruler here we are going to mark that all the way across i'm just going to go ahead and mark both sides put a pin in there to hold it where it needs to go so that i can make both of these seams at once there we go and we'll stitch across there all right we are getting so close to the end now let's trim off this bulk the other side all right so we've got our box corners done we're going to leave this one inside out and we're going to take the outside of our bag and we're going to turn it right sides out now so you can see you finally get a little glimpse of how this is going to look so cute with these cone flowers and now we're going to stuff this entire thing inside of our lining and this can be a little bit tricky because remember we have that zipper in there but it's just going to go inside the whole thing and you want to make sure the straps are on the sides that they need to be on you don't want to get those twisted and then we're going to line up the side seams of both the lining and the bag exterior and we're going to pin those in place here and on the opposite side because we want all of those to match nicely and then we are just going to top stitch all the way around this edge and this is why it was so important to leave that opening in the lining because we're going to enclose this entire top edge so let's take this to the machine and do that you do have a lot of bulk make sure your straps are completely out of the way that's why we set them down from the top so that they're plenty of inches away from where we're trying to stitch and you do want to make sure you back stitch quite a bit on this top seam just because that is that's the the meat and potatoes of this bag is right there at the top so we just take our time and realign as we go around you can see it just takes a little bit of maneuvering so just take your time i'm going to go ahead and pull out that pin now that i've stitched over that side and the closer you get to the end the more it realizes what you are trying to do and it just kind of flattens out i'm going to pull out that last pin because we're making our final curve here keep everything nice and tidy and back stitch at the end and then from that hole that we left in our lining we can pull all of this through that's why you want to make sure you don't give yourself too small of a hole because the there's you know an entire bag we're gonna turn through that so like i said a nice six to eight inch opening and just take your time and you can easily work that through there and then voila all of that is going to stuff down inside the bag you can press this top edge and give it a nice top stitched finish like we did here and that is that is so easy i love both of these beautiful collections i do want to point out one more time these cute zippers this pink one that we used on the hope and bloom collection even has little hearts and breast cancer ribbons on it and the purple one that's in here has little sewing machines on it it's very very cute i love these fancy zips and i hope you guys enjoyed this easy quilted zipper bag i'll see you next time [Music] [Music] we hope you enjoyed watching this video if you are not already part of the missouri star quilt family you can hit the subscribe button below so you won't miss a thing and if you click that bell it'll notify you every time a new tutorial comes out see you next friday you

More Fabric by Yard tutorials

See all