
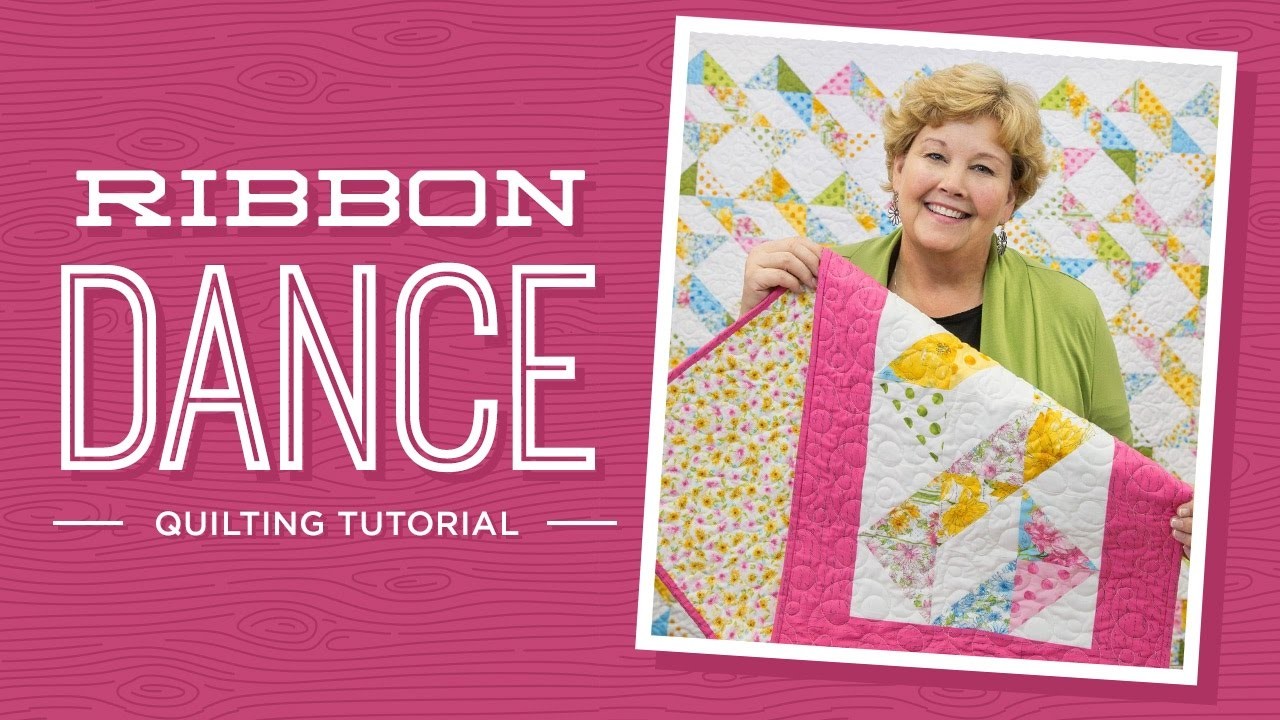
Learn to make the Ribbon Dance Quilt with Jenny!
 Jenny Doan
- Layer Cake
- Modern
- Lap / Throw
- Intermediate
- Quilt size 78" × 86"
Jenny demonstrates how to make a simple ribbon block using 10 inch squares of precut fabric (layer cakes). We used Garden Splendor by Wild Apple for Robert Kaufman. Learn a quick and easy way to make half square triangles.
Instructor
Jenny Doan
Jenny Doan is an American quilter, author, and YouTube personality. Jenny started Missouri Star Quilt Company in 2008 and today it is the largest quilting supply vendor in the United States.
Shop this tutorial
 Oliso Pro Smart Iron - Pink$169.95Shop →
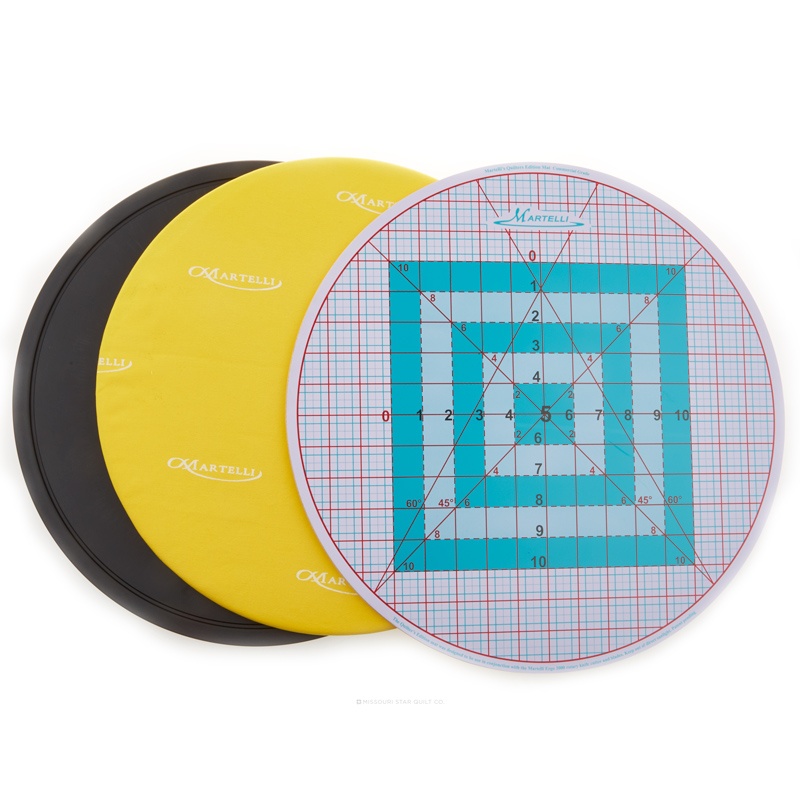 Round-About Turntable Mat & Ironing Board Set$122.95Shop →
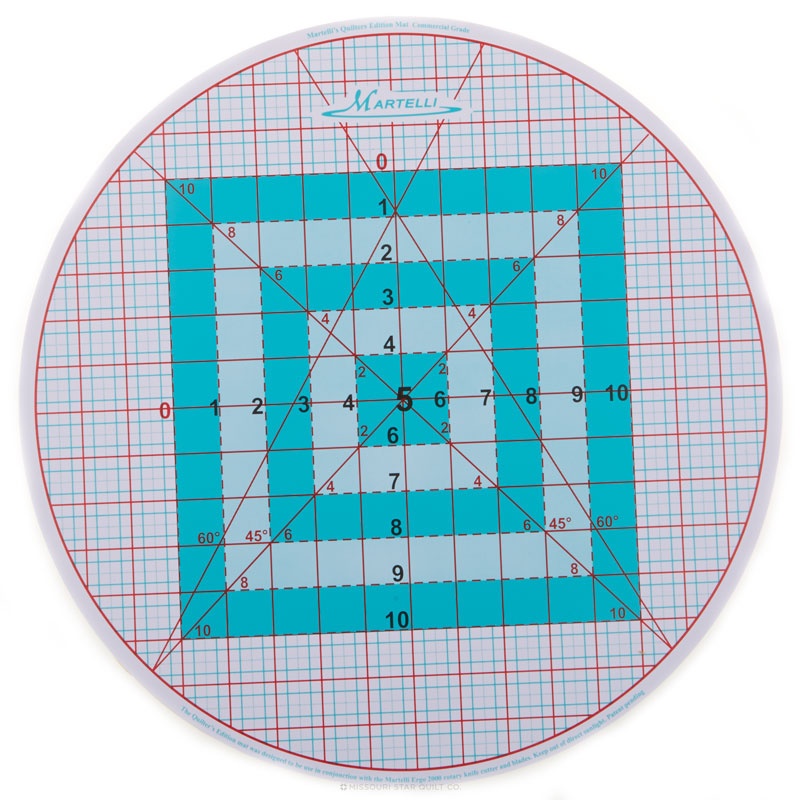 Round 16" Cutting Mat$47.95Shop →
 Round 16" Turntable Base$42.95Shop →
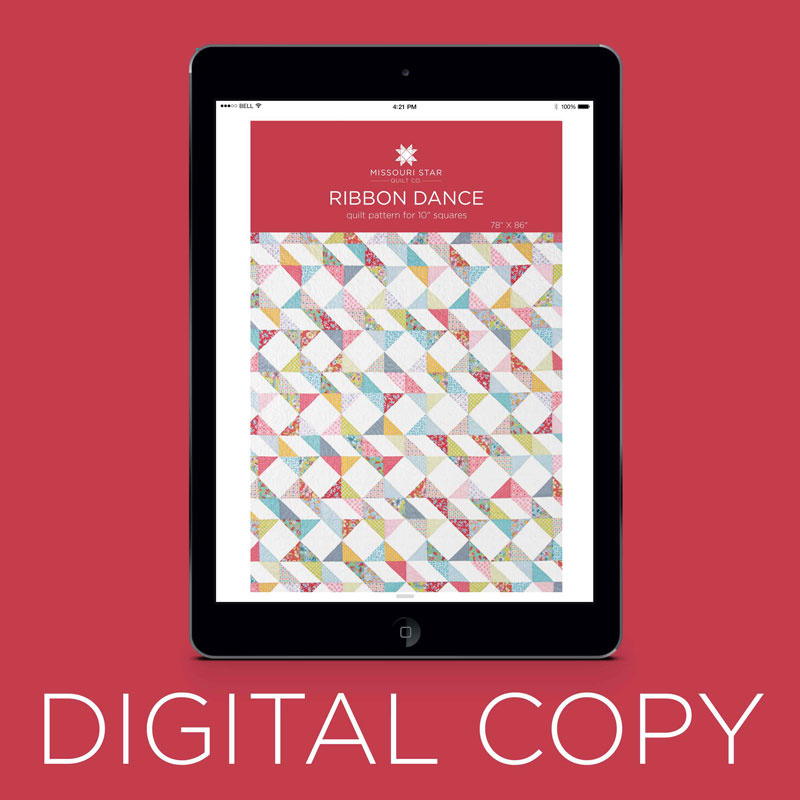 Digital Download - Ribbon Dance Pattern by Missouri Star$4.95Shop →
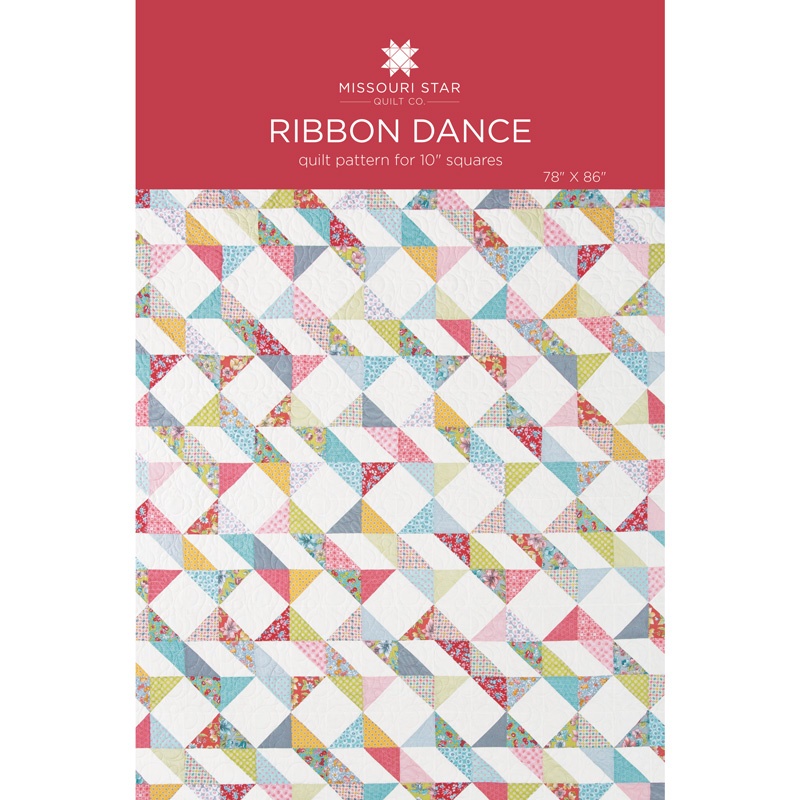 Ribbon Dance Pattern by Missouri Star$6.95Shop →
 Olfa Splash Aqua 45mm Rotary Cutter$18.75Shop →
 Missouri Star 5" x 15" Ruler$15.95Shop →
 Missouri Star 2.5" x 8" Ruler$10.95Shop →
Common Questions
What is covered in Learn to make the Ribbon Dance Quilt with Jenny!?
Jenny demonstrates how to make a simple ribbon block using 10 inch squares of precut fabric (layer cakes). We used Garden Splendor by Wild Apple for Robert Kaufman. Learn a quick and easy way to make half square triangles.
How long is the tutorial video?
The tutorial video is 00:09:16.
Are supplies listed for this tutorial?
Yes. The tutorial page includes the supplies and materials connected to this project.
Is a transcript available?
Yes. A written transcript is available on the tutorial page.
Video Transcript
So to make this quilt what you’re going to do is you’re going to take a ten inch square just like this. And we’re going to draw our lines corner to corner on it. We’re going to couple it with a ten inch square of print. And then we’re going to lay those right on top of each other match up your edges and we’re going to go to the sewing machine and we are going to sew on either side of this line on both sides, a quarter inch away from the line. So you want to set your, your needle so that it’s a quarter of an inch away from the line we’ve drawn corner to corner. So let’s do that. And this is a pretty easy thing to do. I kind of use the edge of my presser foot as my guide and we’re just going to go right along the edge. And make sure you stay lined up. I got a little bit wonky but I can still correct that. When you get down here to the bottom you’re just going to pull it around and go down the other side again. Alrighty.
Now we’re ready to cut our square. I’m going to bring up my rotating mat. That’s going to make it a lot easier and lay my square on here. What we want to do when we cut this now is we are going to cut it in half vertically and horizontally. Then also diagonally on all those lines. Since I have my vertical, or my diagonal lines drawn on I’m going to, I’m going to start by cutting the horizontal and vertical lines because I can just lay my ruler along the side and come in five inches because this is a ten inch square and cut that, just like that. Alright now without moving your blocks we’re going to come over here and we are going to cut on our diagonal lines just like that. On both sides. And with this method we are going to get eight half square triangles. So that’s a pretty, a pretty good use of time and fabric. We’re going to get eight of these. And we’re going to bring these over to the iron and iron them. I’m going to put this back down. And then we’re going to iron it over here. Alrighty. Now I like to lay them dark side up and then just roll them to the back. When I have them dark side up like this I can really just about set all the seams with one fell swoop. Setting the seams just relaxes that thread so that it lays back nicer. And we’re going to go ahead and press these. So once you have all your blocks ironed you’re going to want to make sure that they’re pretty close to 4 ½ and, and if not you’ll need to square those up. I have a little 4 ½ ruler right here and you can see that I am really close. So you may or may not have to square yours depending upon how perfectly accurate your seams are. So mine, mine are really pretty good.
So now we’re ready to lay this out and make this block. Now the cool thing about this block is that it is made in this row of three right here. And they are all made identical. They’re just the same three half square triangles sewn together. Now how you put the color placement on this will determine your pattern greatly because this is a really fun one to play with using different colors. I’ve made it in several different fabrics and it just looks so fun when you see what the different colors do with this ribbon, intertwining ribbon. Alright so we are going to lay these out. And follow your diagram because they’re all made the same and if you’re like me you get a little turned around sometimes and we want to make sure that our, our three triangles are going the same direction. So we have one facing up just like this one. Here this one’s up, this one’s up. This one next to it is going to be down like this. This one’s down, this one’s down. The third one is also going to be up like this.
Alright so now we’re going to sew these together. We’ll go over to the sewing machine. And you want to make sure and keep them in the same places. Start a couple of stitches on your quarter of an inch. Make sure the bottoms match up and sail down the side. And then we get to add this last one, just like that. Alrighty. Now you’re going to do this to all your half square triangles. Just three in a row that lays out just like this. I’m just going to press these back. And you’re just going to have all your rows all stacked up like this. Now you’re ready to put your block together. And this is our block right here. We’re going to turn these so they come together this way. And then we have, look how we have this ribbon that makes that, that ribbon look. So we’re going to put these right sides together and we are going to nest these seams right here so let me clip this thread. So make sure that one of your seams is going one way, one the other. So that this part right in here, it just lines up real nice with each other. Alright so we’ll go to the sewing machine and sew this together to make our block. And I’m going to line these up, make sure they’re set on there. Line them up to my quarter inch line. And stitch a few stitches and then I’m going to come down here to my first seam where my seam comes together and make sure that one seam is going one way, one’s going to the other and that they are nested up tight. So it makes a nice little tight seam. Then that’s our whole block right there. Those three pieces and they’re all done the same. Turn them so they form a block like this. This is so much fun. Alrighty, this is your block right here, right here.
So here’s how it goes in the quilt right here, just like that. So let’s take a look at the quilt and let’s talk about how we did this because really all we did was sew these two together. See how now, this continual line right here that’s happening. And it will happen as we sew each block together. So we have one, two, three, four, five, six, seven, eight blocks in a row. Because we’ve made them long you know we can do, we’re doing six rows down but eight across, long ways like that. So it looks really cute and all we’re doing is sewing the rows together. There’s no sashing, no nothing else, just these rows. And it makes this. When I saw this row right away I thought, you know sometimes, sometimes some quilts lend themselves to a second project. For me that second project was a table runner. I just saw this as a really cute little table runner. And we’ve got this one here. See how that’s going to look on your table for spring. That’s going to be so cute. And these are just four blocks that are sewn together end to end to end. And it makes this darling little table runner. So you can get a little bonus project as well. I actually even did some out of Christmas fabric for my Christmas gifts. And so it just makes a really cool project. So just remember all you’re doing is making all your rows the same, just like this. Lining them up. Watch the diagram. Put two of those together to make this block. Then just sew all your blocks together and you’ve got an awesome quilt. And we hope you enjoyed this tutorial on the Ribbon Quilt from the MSQC.
I almost forgot the backing. Now to back this quilt you’re going to need 7 ¼ yards of 45 inch fabric. And look how cute ours is. Thanks for watching, we’ll see you later.



