Skip to content

Free quilting video tutorials from Missouri Star

Quilting Tutorials
Let's Make a Quilt Block

Let's Make a Quilt Block

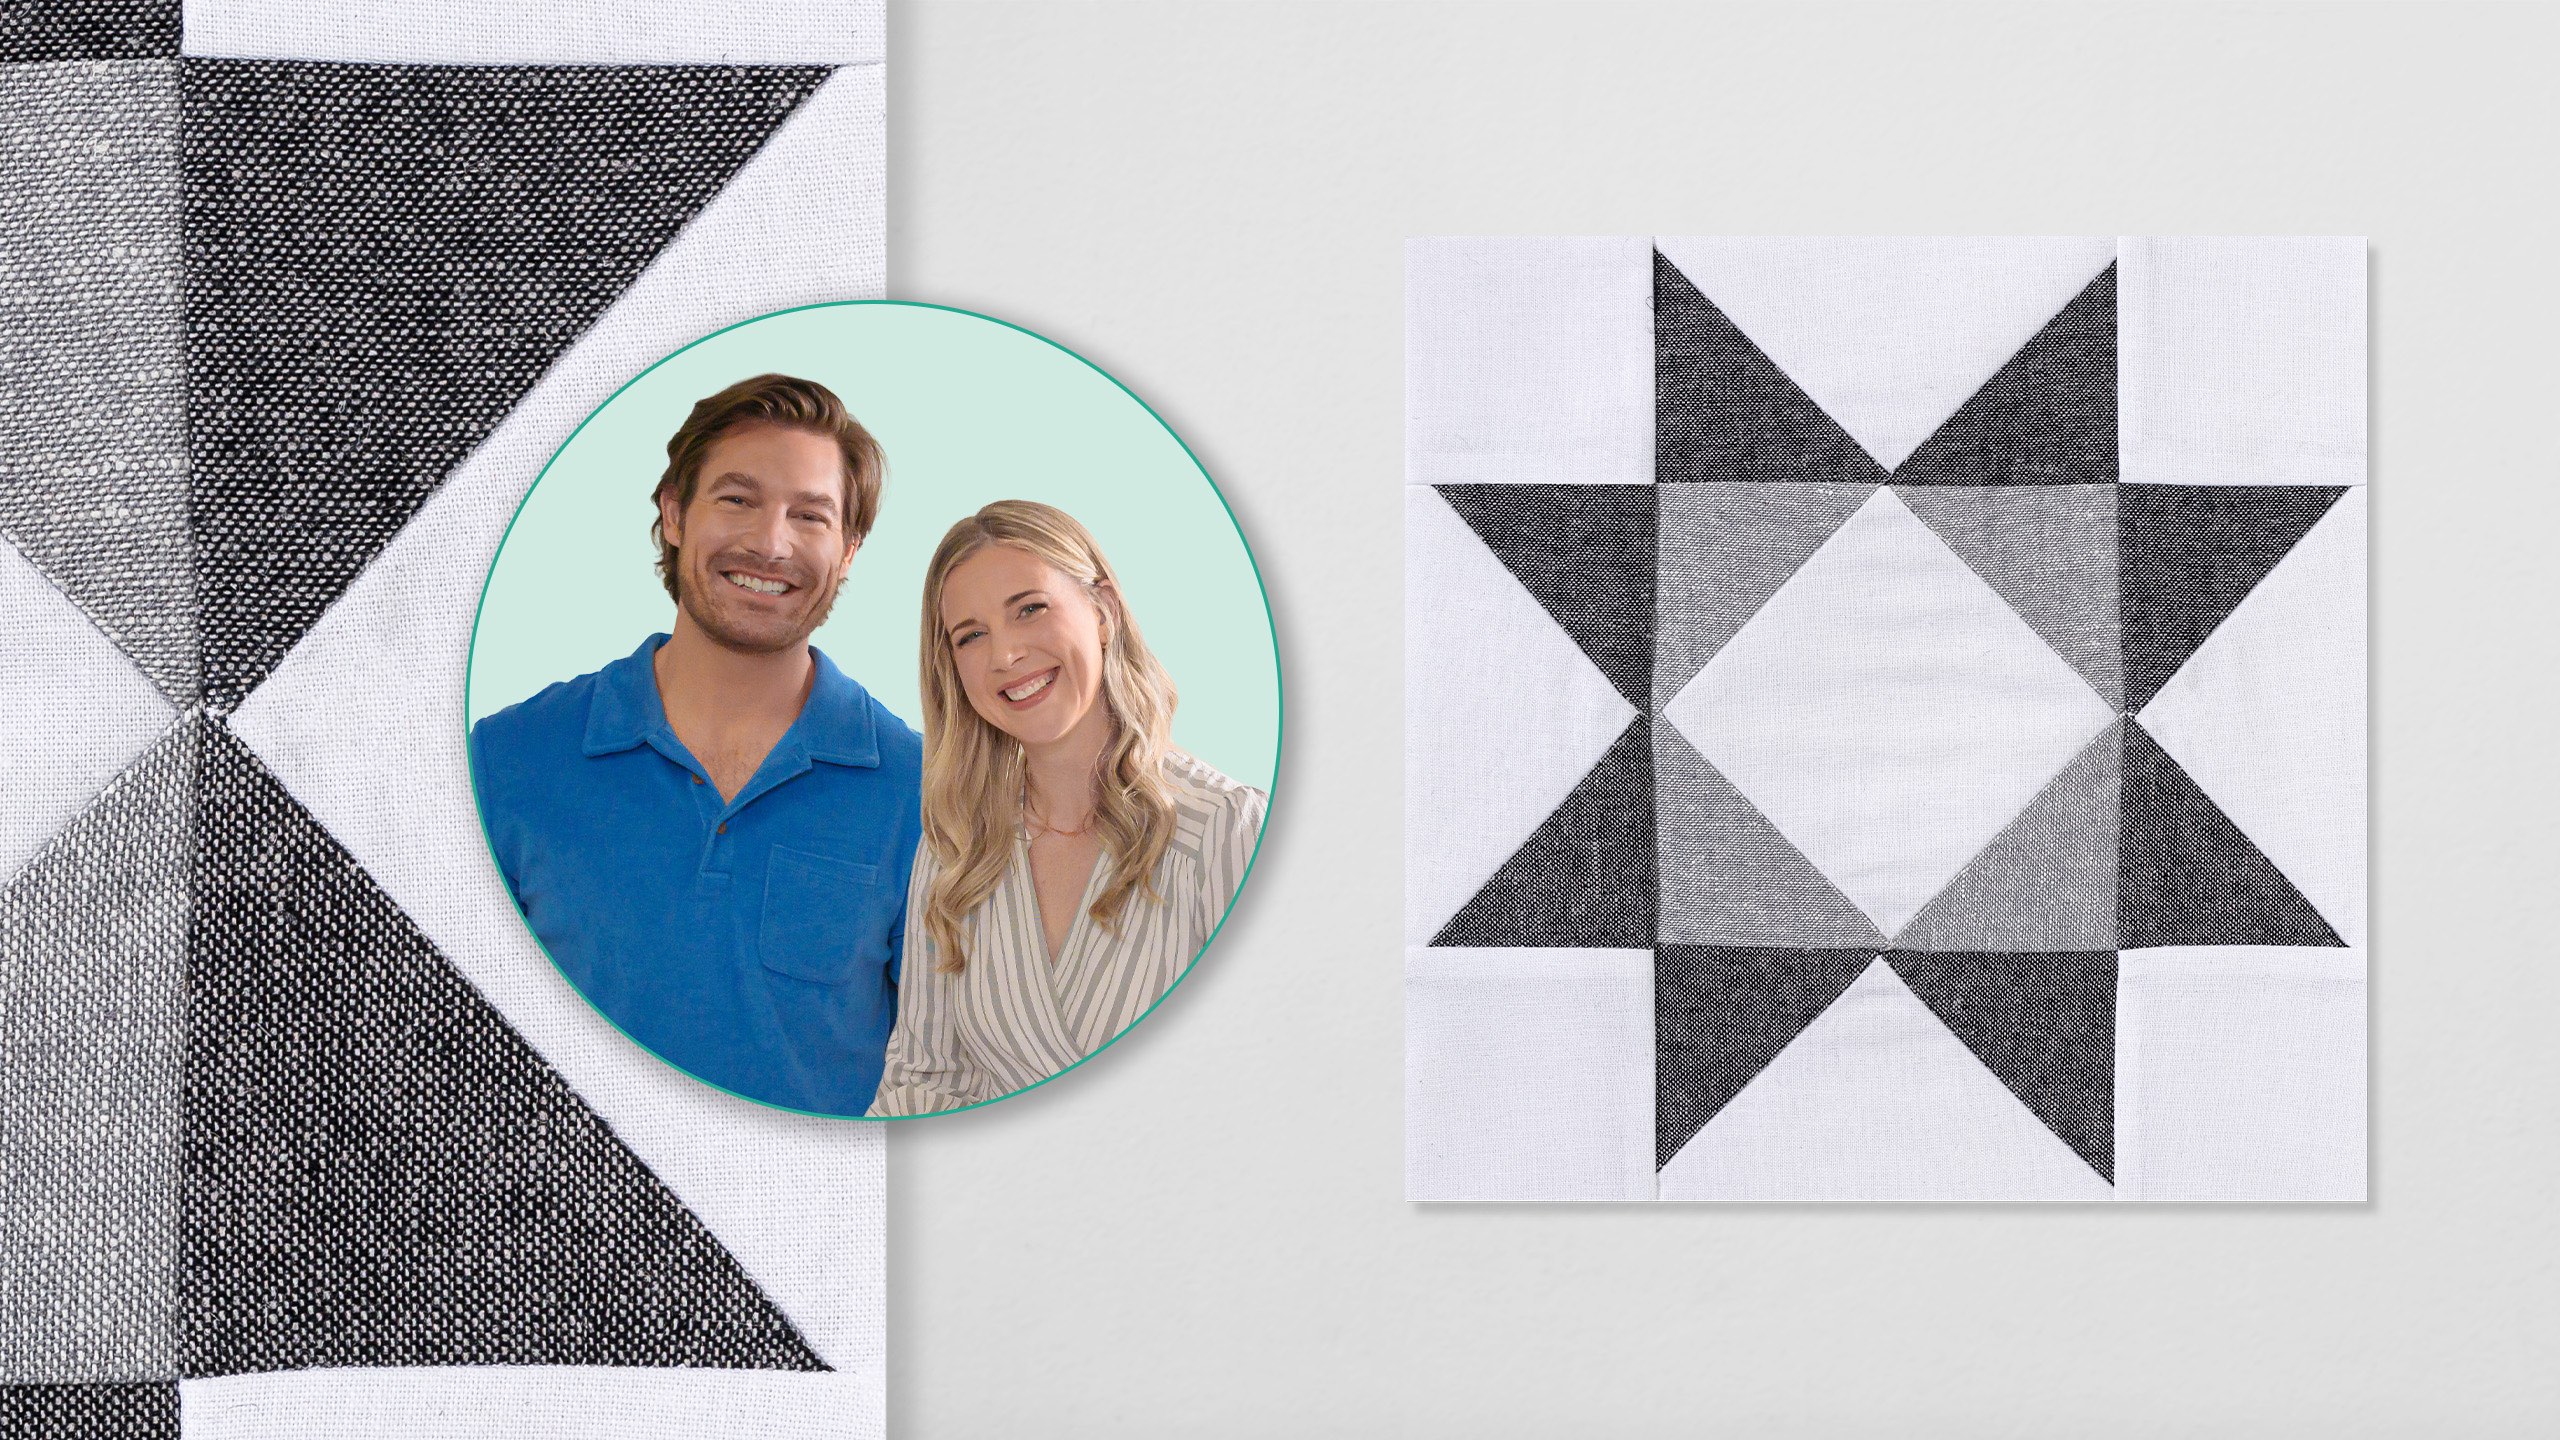
Pop into Sewing Down South in Charleston, where Craig Conover frames a simple sawtooth star block to become a decorative accessory for his sewing room. Watch and be inspired to try it with your favorite block!

Instructor

Misty Doan

Misty Doan grew up surrounded by sewing and quilting. She loves spending time sharing tutorials each week each week, and when she’s not stitching up one of her fun sewing projects for home decor, most likely you’ll find her hanging out with her husband and three awesome kids or working on a house project.

Common Questions

What is covered in Let's Make a Quilt Block?

Pop into Sewing Down South in Charleston, where Craig Conover frames a simple sawtooth star block to become a decorative accessory for his sewing room. Watch and be inspired to try it with your favorite block!

How long is the tutorial video?

The tutorial video is 00:22:13.

Are supplies listed for this tutorial?

Yes. The tutorial page includes the supplies and materials connected to this project.

Video Transcript

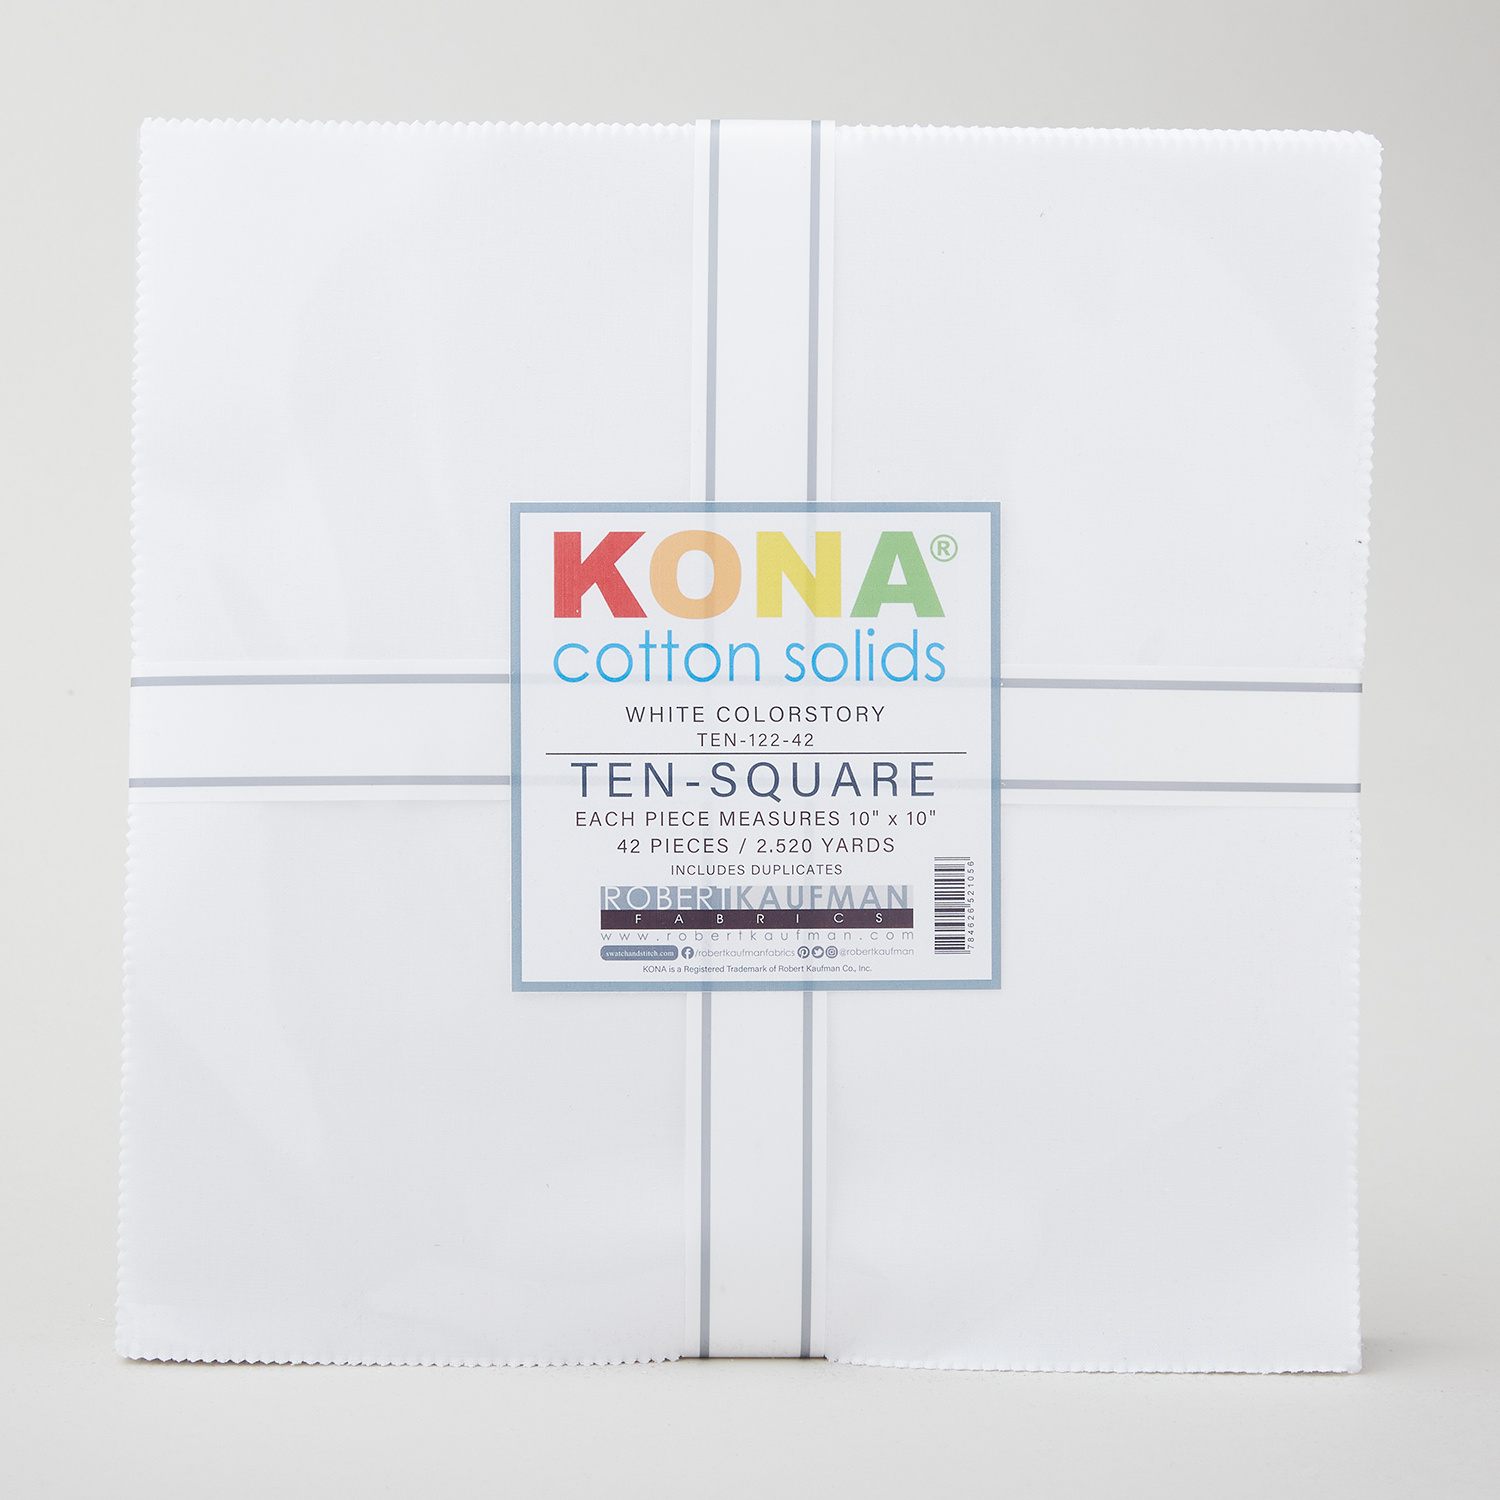
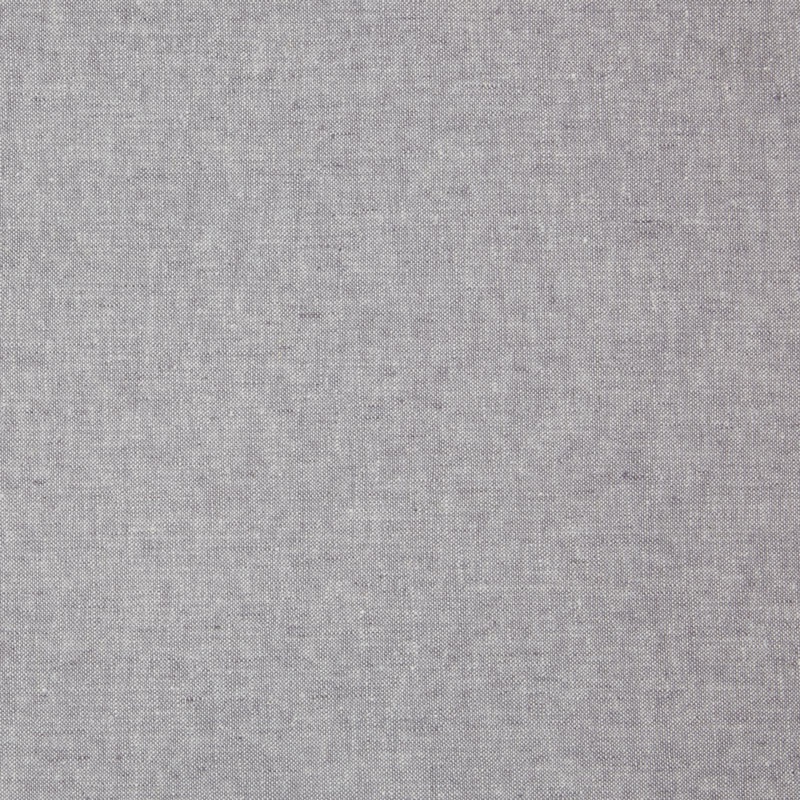
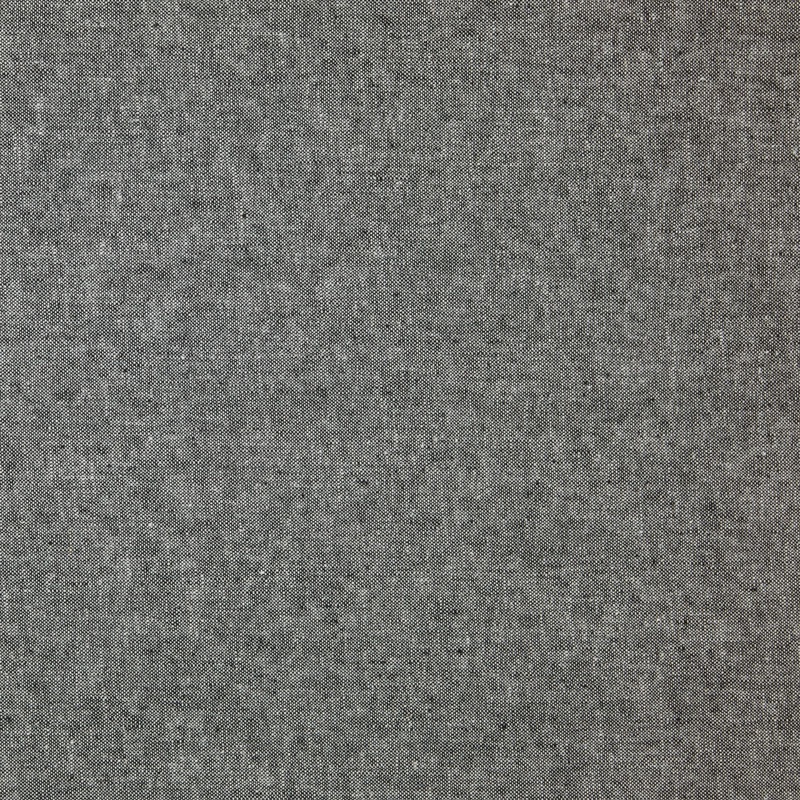
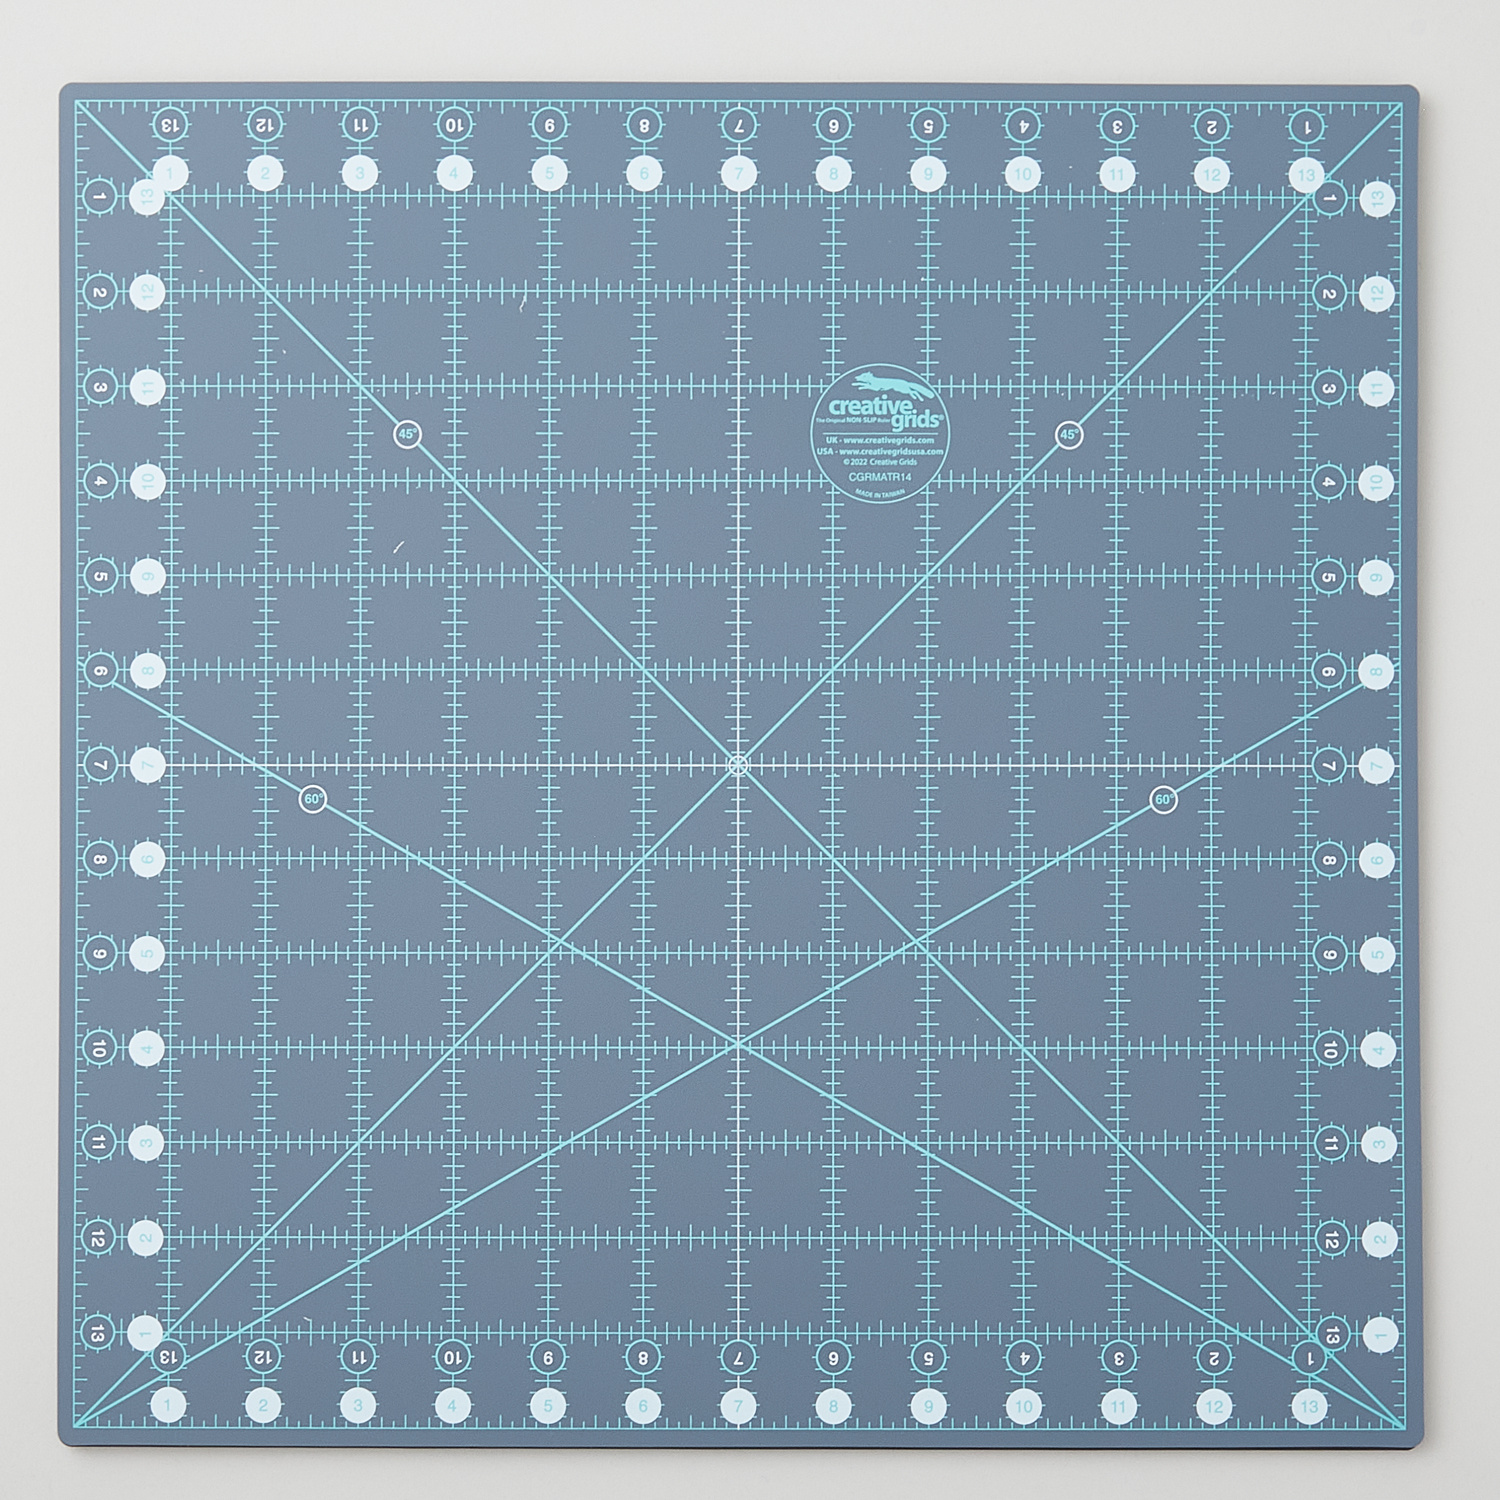
hey everyone it is Misty and welcome back to At Home i am joined by Craig hey y'all and we are in his sewing space here in Charleston he invited me here and we set it all up for you and now we're going to make your very first quilt block yeah i'm a co-founder of Sewing Down South here in Charleston we specialize in throw pillows but I've really wanted to get into quilting for a long time misty thank you for setting up my sewing space of course new and improved and I'm ready to tackle my first quilting project so what are we what are you going to show me how to make today okay we're going to make a simple sawtooth star block it's one of my favorites i know that probably sounds like a dinosaur it means nothing to you but it's it's quick and easy and so now that you have all the supplies you need here uh we're going to tackle it you can put it into a quilt of course or you can make pillows pot holders baby quilts uh table runners gotcha so it's a small building block of all of those projects all the projects yes so with quilting I did learn that you're supposed to pick up this presser foot for Yes you've got a quarter inch foot okay so I'm going to switch that out right now great and yeah this will be my first quilting project well I am excited i hope that you get hooked i think it's uh it's a great one to start with quick and easy and you learn lots of new new little uh techniques that are great for quilting these I actually cut off the bolts that you have on your shelf there so these are two different Essex linens which I love working with they have kind of a nice texture to it and then a pack of just white 10-in squares we call these layer cakes but they're just pre-cut 10in squares i love all the fun names i know and so this is kind of the foundation of our block we're going to begin with this pre-cut square and we'll build from there all right and so we're going to use our 10in square and our 2 and 1/2 by 15 in ruler all right and so let's set this 10in square on our rotating mat you're going to trim off a half inch from two sides first all right that's a half inch correct exactly make a cut perfect slide that little piece out of the way and now just spin that rotating mat once like that yep and then go ahead and make a cut on the other side all right so now that you have your 9 and 1/2 in square you're going to use the width of your ruler the full 2 and 1/2 in lay it right on the edge of your square okay and you're going to make a cut on all four sides and just try not to move your pieces of fabric leave it right there on the mat and just rotate and you're going to cut once on each side i like to stand when I'm I know it it is helpful to have that angle okay so then now you're just going to leave it exactly like it is same thing and you're just going to keep spinning it and making that 2 and 1/2 in cut on all four sides it's going to be because when I started my company I actually my perfectionism got in the way and nothing was good enough i was using my seam ripper constantly and I just thought everything had to be perfect and it wasn't until I brought in my partner where he was like Craig this is great like you don't like it's part of the process small imperfections are part of having homemade goods that's exactly right and I always like to remind people that you know sewing should be fun and if we're taking it too seriously we're doing something wrong yeah and it's not the time to be critical of yourself just like find beauty in the small little mistakes enjoy the process and so then now what you have here you can pull all your pieces apart okay and so you have four 2 and 1 half inch squares y and then you have four 2 and 1/2 by 4 and 1/2 in rectangles okay and so this is the foundation that you need to make this saw to star block okay and so from there you just need to choose your accent fabrics which that's what I got these Essex linens for okay and we are going to cut 2 and 1/2 in strips of these that we're going to subcut into 2 and 1/2 in squares i can do that over here if you like okay now if someone wants to buy this rotating cut cutting mat where can they find that we have that at Missouri Star awesome yep so I'm just going to lay this again like we did before right on the edge i have this folded in half and in half again and as long as your salvage is nice and straight on that fold you shouldn't have any weird little you know angles when you cut so that's what you want to watch for is just keep everything nice and straight so I'm going to make a cut there strong and authoritative very decisive thank you thank you and then we'll cut off our salvage okay and we can just toss that for now and for our centers we are just going to need four of this lighter color and so since I have it stacked that's all we need of course if you're making a whole quilt you'll just keep cutting got and need more and so to begin with we're going to grab that 4 and 12 in square in the middle y the big one and we are going to take these light colors and we are going to put them on opposite sides first like this and we're going to sew point to point and so we will just draw a line here for you and this will be your stitch line and so in quilting this is often referred to as snowballing and so what that means is you're kind of the terms just continue to expand i know you're going to kind of make the block look round that's why they call it that and so I'm just going to lay my ruler here and we're going to mark this point to point on the back of this fabric when you're using solids there's not often a right or wrong side and so you don't have to worry about it but if you're using print fabrics you would put the print side down and you'd be marking the wrong side and so now we're going to sew your needle right on that line that we marked and so I'll let you stitch both of those all right and I'll go ahead and mark these while you work on that so there's no like reverse stitching or double stitching or anything with these no because with quilting that's a great question often your seam lines that you're taking are caught in another seam which locks them in place gotcha okay so if you weren't going to have that you would want to back stitch okay so you really don't have to overthink like the edges and stuff cuz with pillows you know you want to lock in your corners and stuff so they don't burst exactly so in in some ways quilting is so much simpler look at that you did great okay looks wonderful and so now we're going to cut this off and leave our quarter inch seam and so that's the standard seam in quilting is a quarter inch and so I'm going to lay my ruler on your stitch line and make sure I have a quarter inch of overhang and then I'm just going to trim off this extra and this would just go in your scrap bin or the trash and then if you will give this a press we'll just fold those back and then we can add these last seams does it matter where the what side the seams are on i like to just kind of roll them back out of the way so that they don't show on the white i try and press to the dark side first time using my new iron wow that makes it really easy that looks wonderful and so you can see we're going to kind of mimic the same thing that we did before by adding our next two squares and it's going to make a smaller square in the middle by adding these on the outside and so just like before we can take this to the machine and we can stitch it down okay wow and I love that it doesn't have to be perfect it looks fine like you don't have to pin all these small place like No and if it helps you you can always pin but I think when you're working with these small pieces it's a lot more manageable than people think just take your time okay beautiful this is fun so just like before we're going to trim those off leaving that quarter inch seam allowance spin that around and then you can press that back okay it's very therapeutic i I think so too all of the actions involved it's just like and like I can just sit in my little swivel chair just work we're going to add flying geese to make our star legs and so just like before I am going to draw a line you can see that right okay and so our first one you're going to stitch right on that line okay and you'll find in quilting that a lot of these techniques once you learn them just tiny little changes give you a different result so like here same idea as before but you're adding these to a rectangle instead of a square all right and so now we're going to trim off this leaving our quarter inch seam again having the right accessories really it makes all the difference and so if you want to roll that back and press it then we'll add one more square beautiful going to add our 2 and 1/2 in square again and the thing that you're looking for when you're making star blocks is you want it to overlap because this is going to leave us what we call our seam allowance in quilting and so once this folds back you should still have a quarter inch left over that's going to keep your points and you know it's just a good good little tip to watch for and so you're just going to stitch point to point okay straight line Craig straight line all these years have come down Oh and you have your guides on the machine too which is nice exactly all right so we will trim this off and then once you press this back this is what we call a flying geese unit in quilting and we're going to use four of these we're going to make it the exact same way to make our star block so we'll just keep the point comes from right there not exactly fine geese i'm gonna have to learn all the terms it kind of has its own vocabulary for sure so then if you want to just sit that in there we're actually gonna put the dark side in and you can kind of see how your star will start to take shape if we add these all the way around it so we're just going to repeat that three more times all right and so this is actually a great opportunity to do something we call chain piecing okay where you can just start going point to point and you did great without me marking so I'm going to trust that you're good to go okay point to point this way not this way either way as long as consistent okay yep and now don't cut your thread you can feed this one in right behind it oh smart oh that saves time doesn't it it really does neat look at that i feel like a quilter you are a quilter all right it's coming together there you go look at your sawtooth star okay so the flying geese are done wait what was it called yeah flying geese you got it flying geese all right flying geese four flying geese what was this one it's kind of like a square and a square is what it's referred to and these are just your corner blocks you're not going to do anything to them for this particular block okay and so now we're just going to sew this together in rows and so I like to just kind of fold these over just like so and if you want to pin them in place you obviously can but we're just going to sew down this one side oh wow okay and start putting our block together and I would start at the top and then we'll just add one after the other you can chain piece just like you did with your flying geese okay yep all right and this is where that quarterinch foot comes in handy cuz you want the edge of your fabric to line up right with the edge of that fabric gotcha all right oh that's really convenient isn't it yeah like you said having all those tools really does make a difference beautiful sometimes when you snowball they get a little wonky what do you think i think it's a little wonky all right let's let's give it a trim okay so what's the important thing to line up is that the middle the white to the So this these points here in the center are kind of what you're you're looking to have meet and so the white part yeah okay and so we will just trim this up to four and a half inches so if you want to grab the 5 by 15 that's hanging over there oh yes my ruler board yeah thank you all right so I'm just going to lay this on here and make sure that I can get a nice 4 and 1/2 in square so I'm measuring down and over and I'll just trim off this little bit that's hanging over for you and it'll make it way easier and then we can rotate this put it right on that 4 and 1/2 inch line and so if I want to learn more about this stuff I can watch your videos of course we have so many tutorials and so um hopefully once you learn some of these techniques you'll you'll be excited i mean that's how I learned to further my sewing was YouTube videos right and the more like I'm a visual learner so I could read it read it it wouldn't make sense i was like I just want to see someone do it just one time well we have hundreds of them for you to watch now so you will be truly set to like not Okay yep and so so now these are trimmed up and we'll just fold this over if you wanted to put a pin there to line up the middle you could but I am of the belief that it's just all about the journey i do okay i am too but I want to see are you a clip or a pin person so in this case I would probably pin it just because I think it will really hold it in place so I like to kind of fold back and match up those points and just pin that once perfect and then that way as this is under the machine you can just pull this out of the way okay and so you'll start with that lined up all right but it just keeps it until you're really close doing great thank you you're a good teacher thanks hopefully after all these years i would I would hope so how many people do you think you've taught how to quilt oh gosh I have no idea that's a great question it's hard to know with that would make you happy if you will you can leave them together so this we call this kind of like um thread pins so to speak and so this is keeping your block like if you flip it open it's actually keeping it in order and so instead of having to pin it you can just keep it together until the end and so then now we can just lay this over and like that and so you're going to add one to each of those and then you'll have all of all three of your rows for your block together okay and if it's easier to flip it over too I can help you keep it right sometimes having the smaller piece of fabric on top is easier for me okay visually just to keep it okay there's that one and so then that needs to flip and we'll add you just want to make sure that you're matching the points well the the print to the print right and you're going to match that point in the middle so if you wanted to pin you could otherwise just you know match it up with your fingers my whole point is I don't want you to stress too much about it it should be fun right and I think that's good for me to just like not hyperfocus on those small things yeah absolutely okay point to point is like that well I'm excited to join the the quilting world and I mean I know my mom would absolutely love it if I made a quilt for her bed i mean she would keep it forever yeah it would be so special can I do that absolutely easier to manage and so on those I like to roll the seams kind of out and then I always flip it over and check to make sure I don't have any of those little pleats like we got in the center um which it looks great I think but I'm glad I'm just glad to have started again like I said I got so into the business side of things and selling our creations which was really fun and an awesome goal but then you know life gets stressful and you go through stuff and you're like "Hey why not go back to the reason why you started sewing in the first place which was as an escape." And yeah creative therapy creative therapy i like that it's nice to have a hobby that's also productive in the long run you get this this beautiful thing that you've made right there's something to show from it yeah and so now you're just going to fold over one of those smaller pieces onto your middle to assemble your block and we'll add one side and then the other and so when I mentioned nesting seams let me give you just a little tip there first so we press these in opposite directions here and you can kind of see how they're going opposite ways and so you really want those to kind of lock in place and that's going to give you a really clean seam when they meet and so that's another place if you wanted to put a clip or a pin you absolutely could okay and so let's do that so we'll add one there and then same thing on this side we're going to come back and make sure that those are going to nest in place and these are matching up great which means your quarter inch seam is I think you were the seam cutter so the Yeah and so then yeah you can just stitch your Of course the part that you did looks good no you you've sewn all this it looks amazing and so just stitch right down that side no I mean if you make sure to use the tools and measure yeah it really does make a huge difference for you and and having a successful time sewing somehow got turned and went sideways a little bit but it's the first one so it's just got character yeah see I don't know what I did oh yeah it got like punched a little bit let's see how it looks when we open it up i don't know that anybody's even going to be able to tell oh it looks great super forgiving and so now we're just going to add that other side that's the word it is forgiving and watch for those little places where your seams are going to nest and you can put your clips in okay one seam one way you can see if I did it right all right there we go this final seam and press and we'll be all done okay all right let's see how it turned out judgement time hey not bad Greg that looks great not bad at all look at you how much forgiveness do you have to straighten up the seams well so so typically like like you you might want to to fix this one especially if you were going to set it with another block because that quarter inch is kind of your magic um otherwise you might lose this point when you set your blocks together since you're framing it though you can trim it all the way to those points yeah you know what this will help me do is slow down too yes i mean I spend some time living down in the islands and what it did was teach you to slow down we're in such a hurry sometimes here and yeah we can always be in a rush and sometimes it's not for the better no like if the the project requires you to slow down exactly and it's all fun part of learning is is failing and trying again yeah and so giving yourself the grace to do that is that's a great point is a really beautiful thing i hope you're excited you did an incredible job i am and like but this me smiling now is why I love sewing yeah and because you do accomplish something and it's so much today like you're stressing all the time about like am I doing enough am I checking off like the boxes on my list and this is a good way to do something you enjoy but still get this satisfaction of completion absolutely and you know hanging this on your wall one it's a good reminder of where you've come from where you're headed and you know all the possibilities that are still ahead and be proud of yourself like that's what I try to teach people to be kind to themselves and be like "No look like this is something to be proud of." Like doing a project in school when you used to take home to your parents you know i love it it looks so good well thanks i'm going to put it on the wall it up it's really grounding too you know like if you're trying to figure stuff out you're like "Hey at least I'm I've got this figured out." Yeah beautiful look at that well you're a quilter Craig wow my very first quilting block oh you did so good thank you you're a great teacher you're welcome i'm glad you enjoyed it i loved framing my first quilt block but now I really want to jazz up my clothes and say very proudly out in public I know how to sew i know how to quilt yeah I've made this right there there's something special about that so I think we can definitely do it i mean I'm happy to stick around charleston's not a bad place to hang out and so if you want to I'll I'll teach you how yeah i want people to ask me about my clothes and be like "Actually I made that." And I think that the crafting can become addictive and we'll get more people sewing perfect well let's do it all right so tune in next episode and I'm going to take Craig back to his roots and we're going to embellish some sewing down south shirts

More Layer Cake tutorials

See all