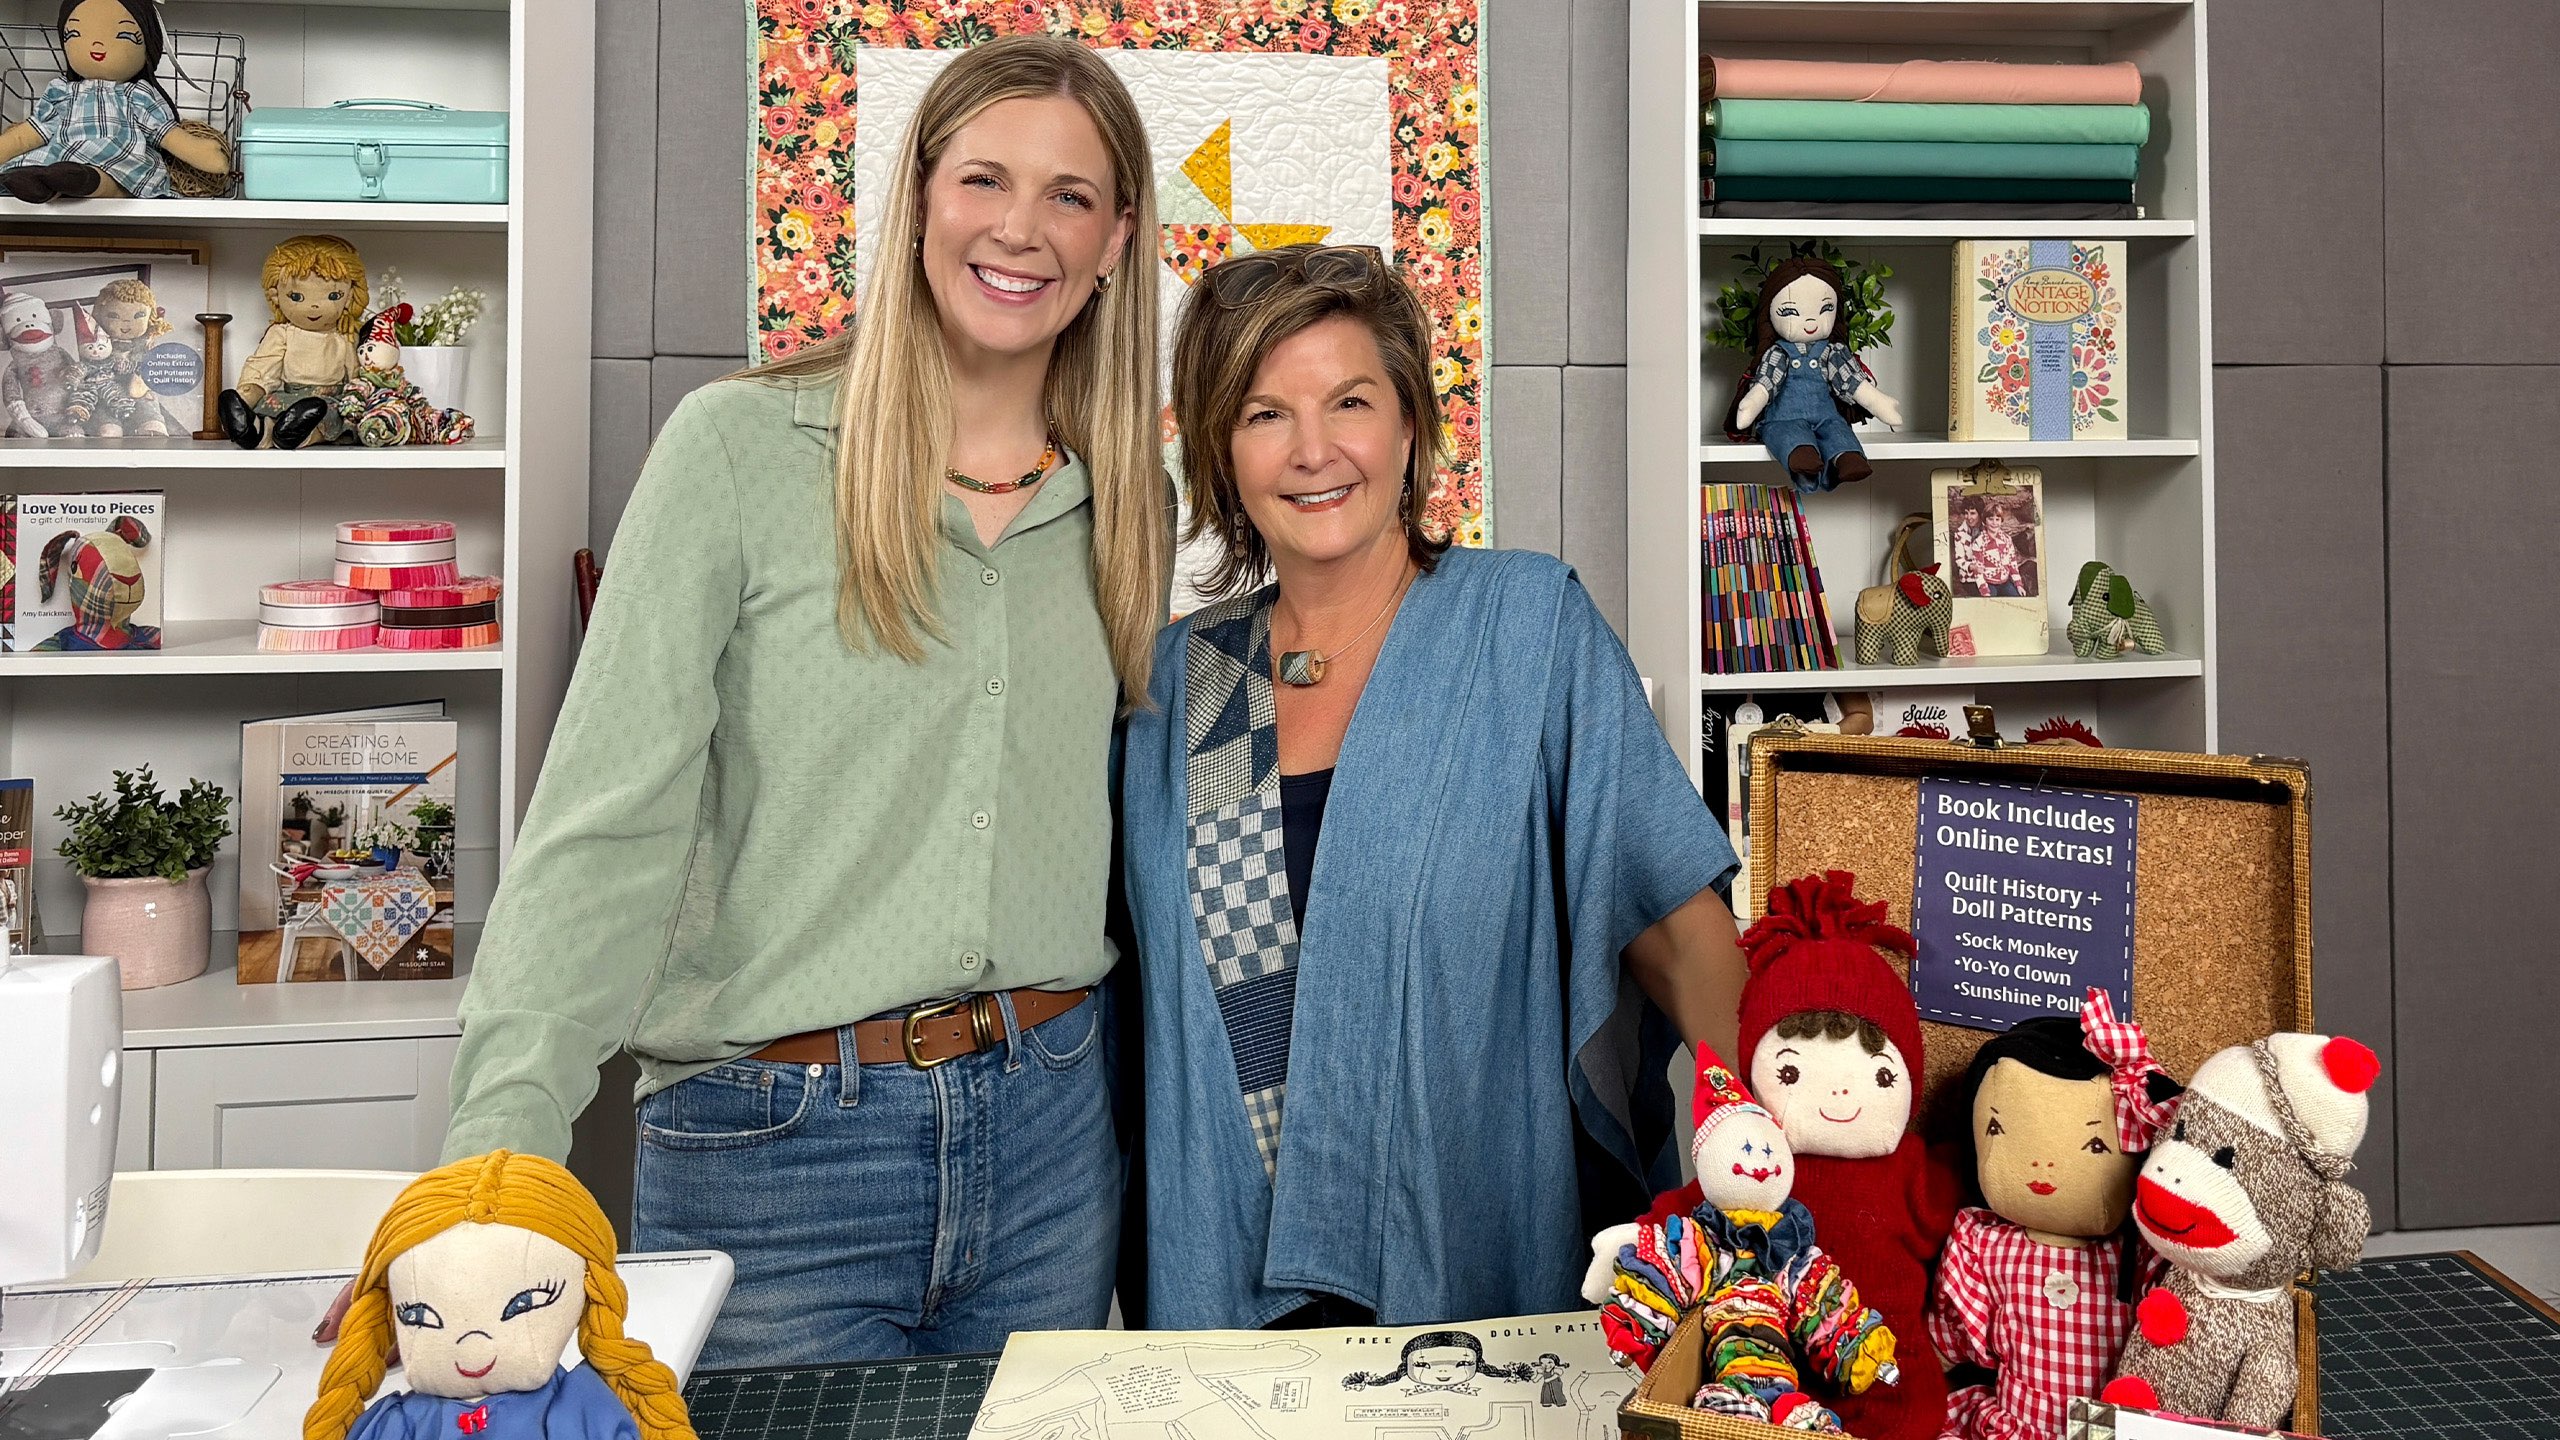
We're getting all dolled up! Guest Amy Barickman joins Misty to show you how to make the vintage Sunshine Polly cloth doll. Amy is the author of Love You to Pieces: A Gift of Friendship. Hear from Amy about the book's theme of friendship, memories, and making, and learn how you can get nostalgic patterns such as the classic sock monkey and yo-yo clown.
Amy is a creative arts entrepreneur, author of Vintage Notions, and founder of the sewing pattern company Indygo Junction. Recently voted one of America's most creative entrepreneurs by Country Living magazine, Amy has made her career publishing books and patterns, and has made numerous television appearances sharing her love of sewing.
What is covered in Love You to Pieces: Create a one-of-a kind doll?
We're getting all dolled up! Guest Amy Barickman joins Misty to show you how to make the vintage Sunshine Polly cloth doll. Amy is the author of Love You to Pieces: A Gift of Friendship. Hear from Amy about the book's theme of friendship, memories, and making, and learn how yo...
How long is the tutorial video?
The tutorial video is 00:28:22.
Are supplies listed for this tutorial?
Yes. The tutorial page includes the supplies and materials connected to this project.
Video Transcript
Hey everyone, it is Misty. Welcome to At Home. I am joined today by Amy Bericman. Amy, thank you for being here. Oh, it's great to be here, Misty. Yes. And you have something fun to share with us. I do. It's a new book, Love You to Pieces, a gift of friendship. So cute. Thank you. And it it comes with some fun little projects as well, right? Yes. We're going to talk about Sunshine Polly the doll pattern and a yo-yo clown and a sock monkey. Perfect. Let's get started. [Music] [Music] Amy, let's talk a little bit more about this adorable book and kind of where it came from. Well, I've been collecting for years and years these wonderful handmade characters and also quilts, vintage quilts. And so this book is a combination of both in all wrapped up in a story of friendship, a little poem. And you can see it's love you to pieces, a gift of friendship. And so you'll walk through the pages and there are different um characters combined with the quilts, fabric dolls. That's um just all sorts of bears. And the fun thing too is we've added some patterns. Yeah. And so I'm really excited to share more about how to make these patterns. Uh so today we're going to do Sunshine Polly. Perfect. And here she is. So in order to make this they of course you'll need the book because that's where the pattern is included. There's a free download. And then what else supplies wise do people need? Well they will want to have uh what I recommend are one of the towels. These are flower sack towels that I've created in the skin tone palette. So, you can grab one of those and they wash it and dry it, of course, before you make the doll. And, um, we'll go through the steps, but it's as simple as, you know, that cut of fabric. It's about 29 by 29. Okay. Um, the other thing we've really had fun with making these dolls is to dress them with my treasured threads fabric. So, that's what we have here. Um you'll see the this is the Missouri Star panel. Uh so there's nice small scale prints to use for the clothing. And this is the postage stamp retro. And you can again can see now many times we use these for embellishing denim, jeans, jackets, even your cute little Anytime topper. Yes, this is the Anytime topper. We did a video about that too. Um yes. So that's what you see here on on what I'm wearing. A great little hack if you want kind of that patchwork look to the clothes which is so fun. Exactly. And then you'd also need some polyfill. Yes. And then a marking tool and some scissors. Anything else? Oh, embroidery floss to do the little face. Right. Yes. And I will show you quick just these pattern. This pattern came from a vintage pattern. So I was able to um I'm going to show it to you right here. This was the original doll that we based this p this project after and I was able to find on the actual original. So that is how the pattern is access through a PDF. Um so it's going to be fun. Super fun. All right, let's do it. All right, so now we have the pattern printed out and you have the original vintage one. This is so cool. Isn't that fun? What a treasure. I just thought you would love to see the original. So, it was a free pattern in the back of a catalog that I had in my vintage collection of sewing books and ephemera. And with this, what you'll do, you'll grab your your version of it that came through with the PDF, and you're going to want to combine the body pieces. So, it was too big to print on the 8 and 1 half by 11. You'll be taping it together. And then you'll go ahead and cut out. Remember I said two cut print two copies of this pattern. And you'll do one that'll be your cutting line template and one that'll be your stitching line template. And you do that for all of the pieces, all the pattern pieces. And then when it comes to the head and the center, um, the side head in the center, you're going to also want to cut out your where your dart goes and where your eyes and mouth are marked. Okay, that makes sense. So that will help you when you're putting that face on and what we'll do there. So then once you've got all those cut out, now you are going to put them onto your flower sack towel. Yep. And we can pull that up. And we have gone ahead and well, I'll show you here and then we'll we have it finished and ready. So, you'll want to trace. You'll need two of your body pieces. Okay. So, you're going to first do your um outline for your cutting. And you would just use a washable wash away marker, right? And just trace around the edge. And then once you have that traced, you're going to go ahead and center the stitching line. So you have your seam allowance there. And always remember to line up at the neck because those line up exactly. Those line up exactly. Yeah. So you can see that. And so you'll, you know, if it's folded, you can cut two, pin it in place, and cut them. And then with when it comes to your head, um you'll want to of course first cut go ahead with your cutting line and then you'll come back in and you'll trace your your stitching line and where your darts and eyes will mark. So these are darts and this is your eye marking. Perfect. And you'll want to do one of those in reverse as well. Correct, right? Yeah. You want to make sure you have each side of your face. Cool. Just wanted to make sure. And so we have already traced all of these on the other side of our tea towel here. And so now you can kind of see really well what Amy was talking about, right? And again, you're going to cut two of the body and singles of the side heads and the center head. Yeah. And then remember the really important thing to remember is we like to mark the right side of the head as what where the eyes are, okay? and the mouth because then when you do turn your head right side out, you'll have the eye marking to go ahead after you stitch the head, stuff the head, you'll be able to stitch it. And it's also really helpful when we're pinning to do that. So, I'll show you that here when we pin it all together. All right, sounds good. All right, so now we have all the pieces cut out on that outer line that Amy mentioned. And so, where do we go from here? Well, first we'll start with our dart. So you want to sew the neck dart that you see here that where it's marked. That's that little orange peel shape. Right. Right. And then you'll also want to start stitch the two darts at the top of the head. And then you'll do that for each of your side heads. Okay. And then we're going to put what I think of as a gusset or the center of the head. And what I want to tell you is it's really important to um pin well. And the other thing you're going to want to watch for is the eye placement because when you um get the eye placement right and matched, then you'll your chin under the chin will finish in the correct spot. And then and you can see this this one we already pinned and sewed because I wanted you to see this ahead of time. Yeah. And then here at the back of the neck um you will have extra fabric. So it just um and that's where you that neck dart is that helps just make the shape that many times people called this the baseball head doll in the day and I honestly Misty have found like hundreds and hundreds of these dolls online and it makes sense especially if it was a free pattern like it it was readily available so of course there's going to be a lot of them. Yeah. So anyway just to get the shape right you'll want to do that. And so why don't I show you how I pin um this little um uh head onto That sounds great. Yes. And so again, you'll want to match up those eyes. So I'm going to do that. Match the eyes. And I like to we like to sew from the side head. um is the best way to get your um the easiest way to So the side facing up. Exactly. Side facing up. Oops. Better get the right I'm going to go with these little So um and really we'll want to use lots of pins as we go along. And again, you're just going to be looking. There's where it finishes at the bottom. And you do have a little give in this um fabric to, you know, get it get your um curve to finish where you need to. Sure. Um and I can just I'm not going to do all the pins. I'll I'll do a few random ones and you'll see just in theory where everything's going to line where it should align. So this is what I was mentioning. Um, you know, ma having the eyes match allows you to have this back neck and those two corners do match up. Okay. Where in the front it's under the chin it's not quite as important tight as a match. Yeah. Yes. So, all right. We'll finish these and then we'll have you stitch. Okay. Perfect. All right. So, now we have pinned and lined up starting with the eyes. Like Amy said, we've got this all pinned in place. And so now I'm going to follow this solid line which is our stitch line and sew right on that and just make my way carefully around. So I will start here and pull the pins as I go and we will just make our way. And for stitch length about a three is what Oh, okay. So, I'm I'm at about two and a half. Three is good. Okay, perfect. So, we will just keep following along and we will meet you back here when this is all sewn. All right, we have made our way all the way around. I think fabulous. Fabulous. Excellent. All right. So, now's the point that we want to actually trim our seams to an eighth inch. Um, so we'll want to do that. I could trim a little just um Well, actually, I don't even have to do that. Look, I already trimmed one side here. Okay. And then here, you can see where we would go ahead and trim this to an eighth inch, of course. Yeah. Um, and then we'll be turning this right side out. And you could then I'll show you where those markings end up on the eyes. So you can see Oh yeah, there we have it. Yeah. And that you can see how that shape that I talked about, that baseball shape comes together. It really does. So there there's there's our little sunshine Polly. She's coming together. There she is. And then in the same way, you're going to stitch the body. Right. Right. Right. And when it and again here I this one we've sewn we've also um I'll show you after before you trim it to the eighth inch. You want to I want to show you where you're going to do your clip. You're going to clip at the armpits. And this is marked on the pattern too. The points where the thumb is. Okay. Um and down here at the crotch so that it you have a smooth finish there and you don't have any puckering once you stuff it. Yeah. those tight corners you'll want to trim. Just be careful not to go through your stitching. Yeah, exactly. Exactly. So, um, and then you've left an opening wear on the body. Oh, yes. You know what? Here it is right here. So, you can, if you remember, you could do that when you're actually drawing your pattern on your fabric. Leave a little Yeah, leave a little opening. So, then I can show you here. We have it turned right side out. Um, and again, this would be right sides together, too. I just was noticing that. Um, and then you have where you have these markings that you made, right? And so what you're going to want to do is in order for the doll, our little sunshine Polly over there to sit nicely and um to be able to move her arms, we're going to go ahead and stitch we're stuff um the legs. Okay. And we'll start with the legs. Stuff those. And then we're going to do two rows of stitching about a quarter inch apart. Um, and those will provide you the joints. And you'll do the same with the arms. And you can see here where I went ahead and stuffed to this point. Um, so if you wanted to, Missy, you could go ahead and sew um a couple lines of stitching there on that body. You bet. Okay. And of course, we back stitch at the start and the stop. There's our first line. And then just come a little bit past. Okay, there we go. Wonderful. Thank you. Thank you. You bet. So now I can show you how to once it's stuffed what we do next. All right, let's do it. All right, here we have the head stuffed and the body stuffed. You can see the little we have a side opening where we can put stuffing in and the head opening. And do you want to explain why you left both openings? Cuz I thought that was a great tip. Yes. So it once you have the head on, if you do want to go ahead and add more stuffing to the body, you'll still be able to. It just gives you the option. Yeah. And then when you are stuffing it initially, like the arms, it's a little easier to get in through the um through the head maybe to get to the arms and through the body to get to the legs of course. Um and then in the instructions actually they tell you to sew the whole body together before you stuff it. Okay. and even to embroider the face before you stuff it. We've learned that that is not the best way to get the best results in your doll. We've made many of these, Misty. Um, and so one other tip we have is to if you want the head to really stay on straight. Yeah. Um, it's an option. You don't have to do this by any means, but you could go ahead and get a dowel rod, cut about 5 in, you know, get your finger in there to give it some um space inside and do the same with the head. And then you're going to put those two together. And there you have there she's coming together. And then Yeah. Well, she'll be she will be cute. I see the potential. Yes. And again, remember this is all washable markers. So, this all washes away. Um, and this is where you'll um actually do like a a ladder stitch or stitch you do for binding. I was going to say the same as you would for your binding so it's invisible, right? And you will you'll have more fabric in the back. So, you will need to like carefully tuck that in. And then we do like to do um two rows of stitching here. Um, now I will tell you, we're jumping ahead a little showing you the body because I do prefer to have the eyes stitched on and the hair on before we combine it with the body. Okay. Um, so we'll jump back and talk about that next. Okay, sounds good. Okay, so now we're going to dive into the adorable hair. So, yes, I'll let you take this away. Well, this was kind of fun. I had looked at the original vintage version and it was like a thick yarn. Very heavy. Very heavy thick yarn. And all of a sudden I thought, "Wait a minute. What about t-shirt yarns? What about upycling t-shirts?" Then we'd have every color we needed. We just run to the thrift store and grab it. So you can see Sunshine Poly here has um I'll turn this around so you can see the part, Misty. Here you can see the part that we created with the t-shirt yarn. I'm going to show you how to do that and then you can style it any way you like. Perfect. Isn't that fun? So fun. I love this. Okay, so you grab your rotary cutter and uh your ruler and you're just going to do like about a 3/4 to inch cut. And I will tell you what we did learn um thanks to my mom, Donna, is that the thicker the t-shirt, the thinner you want to cut your strip. So if you This is a much thinner t-shirt. So I'm going to go ahead and do it at an inch. Um You cut the hem off first, right? Yes, you cut the hem off first and then you you just cut strips. Okay, perfect. Um, and so here we go. This is my favorite part of the Oh, we got we Oh, we didn't a little bit. Let me just cut that off. No worries on that. Uh, and then when you do have this um piece, you'll sometimes find some t-shirts have seams on the sides. So, if you do have the seam on the side, you'll just want to grab those and cut that off. Perfect. Yep. And then the fun part is um where you actually stretch your t-shirt into the yarn. Oh my gosh. Isn't that cool as that? I love that so much. Yes. I know. And you know, it's finding the brown t-shirt, the blonde t-shirt, and then um what you're going to do, I'm going to grab one here and show you what we've done with the head. So, we're, you know, at this point, you could have put on your hair and then put your eyes on. Sure. Um just so you, you know, everything is symmetrical as you like it. Uh what you're gonna do to start is to make a cap for the doll's head. And then once you have this, and we do that just cutting about a 4 inch circle, okay? Um from our t-shirt, you know, maybe the arm or the upper part. And then you're going to when you first thing you're going to do is find the center of the uh piece B, the center gusset of the head, and um stitch down the center center your circle there. And you've just done like a running stitch. Running stitch and maybe a little contrast color. So then when you attach your hair, you'll have that center part marked. Okay. And you'll also have the essentially the scalp covered. So the brown, you know, you don't have the skin color showing through if you have a little um space there. And what you do is you're just take what I did is take two pieces of your t-shirt yarn and just one over the other. Um, and loop them like this. Okay? Even them out at the ends as close as you can. You're going to cut the hair later anyway, so it doesn't have to be perfect. And then what I've already stitched one on here. You can see where I just take that loop, those where they're looped, and I'm just going to I have my See if I have my thread here and needle already on. And you're going to want to stitch down each side of your t-shirt yarn to that brown um cap that we put over the head just to secure it in place. Yeah. this to secure it. And then one by one, you'll stitch down each piece of your t-shirt yarn. I don't know that I got that perfect, but you get the idea. Yeah. And then in the end, you'll have Yeah. You'll have this. And I go to about, you know, uh, let's say 3/4 of the way around the head. And then you'll finish. And you can see here how we just depending on your hairstyle, you can um secure the rest of your t-shirt yarn in place and cover, right? And then you can do if you want to braid it, you can do braids. If you want to do um you know pigtails, you could do pigtails. Uh that's so cute. Just tack it in place to make it stay where you want. Right. Exactly. So, it can be so fun, too, I think, for, you know, a great project to do with a younger member of the family and and they can learn to sew and make a doll. Um, and I do have a variety of hairstyles, too, that that we've done in some of the dolls back here. They're so cute. Uh, so those again are thanks to Donna, her very talented model. Yes. Oh, yes. And she's also helped with the clothing. So, I'm excited to also talk about Yeah, let's go ahead and touch on that. Well, let's start here with um our blonde hair sunshine poly. And what we have here is the pattern for that comes with the PDF that you access through the QR code in the book, Love You to Pieces. You do get a little shirt pattern. And this is the shirt pattern. Okay. Um and this we just used. We got a shirt out of the closet and cut some Yeah. Cut it up. Use what you have. Yes, exactly. And then the skirt is actually the retro postage stamp treasured threads panel. We did a little This is my cheater faux faux patchwork fabric that is so much fun to work with and the scale was perfect for the doll. It's adorable. Um, now the skirt isn't a pattern in the as part of it, but it's a very simple, you know, three times your waist to cut a rectangle and add a waistband. Very simple. Yes. And then um you know we have we've also one doll she did we just extended the shirt and made it into a dress. So really very simple. And the pattern does also come with the overalls. Okay. So um and that I think we had one right here. This little girl in her overalls. Yep. There she is. And she is actually wearing the Missouri Star panel. Oh, so another treasured threads. Exactly. Super cute. And the I think our overalls we just upcycled a chamber shirt. So So fun. And so this is so great, Amy. So everything comes with this book. Yes. Let me explain. So it is in the back of the book is a Well, and I'm going to just take you through a little bit. In the front of the book, there actually is a place to inscribe the book to a um friend or um you know, as a gift. Yes. And then you the book just has some a variety of um little passages whether it be friendship, there's some some humor in it. Um it's so sweet. And in the back of the book is that you'll find here is the QR code. And these are the three patterns that come through the QR code. You have the sunshine poly, the clown, and the sock monkey. People love the clown in the sock monkey, too. So cute. Yes. And um and there's also I wanted to mention a place where you can actually um you know, sh document memories. Maybe you have um a family member that made a sock monkey for you and you want to, you know, document that and um just all those wonderful memories we have from treasure. Yeah. quilts and these these fabric characters that a lot of times give us a lot of comfort over over the over the years. Um, so that's so fun. Yes. Yes. And I would love Can I show you one of the kind of humorous? Of course. Um, so this one I'll get my glasses on here. We may have different views. You can see the side eye. We may not always see eye to eye. This is one of my mother's bears from her collection. That's so sweet. But we see each other for who we are. My world is more colorful because of you. You are beautiful inside and out. You, my dear, are a forever friend. A and I love you to pieces. Oh, it's so cute. I love that, Amy. It's just adorable. Well, thank you. Thank you. Thank you for get allowing me this wonderful chance to share. Oh, I'm so glad you were able to come up. It's such a fun gift and it just keeps on giving because like you said, you've included these great patterns that people can make so that they can pass the love of a handmade treasure on to future generations. So pretty sweet. Thank you so much, Amy. This has been so much fun. Thank you so much for coming and sharing your adorable Love You to Pieces book and these great uh projects that come along with it. So, can you, you know, touch on them one more time and then tell everyone where they can follow along with what you're up to? I would love to. Okay, great. I would love to and thank you for having me. Anytime. So, here we have the three patterns that are included with the book and they're accessed through a QR code in the back of the book. You have your yo-yo clown. So cute. And you have the sunshine poly doll. And what I'm showing here are a couple other examples of dolls. And you can see how we you can change up the eyes, too. That's kind of fun here, what we did on this. And there's also the sock monkey. So, this is a new version of a sock monkey that we we created from the vintage pattern. So, that's the fun thing. You get to see the vintage patterns, plus we give you tips for making it new again. And I also forgot to mention, you do with that QR code receive a little video I did on the history of quilt blocks. Oh, awesome. and it shares some of the stories behind the quilts that are in the book. So, that's kind of a fun um so many fun extras, right? And that's too what I love to share online is the the stories and the history of the quilts and the treasures that I find. And so, the best way to follow along on my adventures is to go ahead and sign up for my newsletter at amyberman.com. And then I also have a YouTube channel and that's just my name, Amy Bericman. Of course, there's Facebook and I have a little VintageMade modern group where people can share maybe the treasure that they make from the patterns in the book, too. So, yes, and Instagram, of course. But I I try to um you know, I try in my newsletter to share some really valuable um information as well as free patterns and other things on a regular basis. So fun. I'd love it if people would follow along. Perfect. Well, thank you Amy. We appreciate it. I hope you guys enjoyed this tutorial. I can't wait to see all of the adorable dolls and projects you make. And we love you to pieces. So, we'll see you next time. Hey everyone, thank you so much for watching at home. We're so excited to be almost a million quilters strong here at Missouri Star. And so, if you haven't already joined our family, be sure to subscribe and hit that notification bell so you can be notified of all of our future tutorials. and we'll see you soon. [Music]


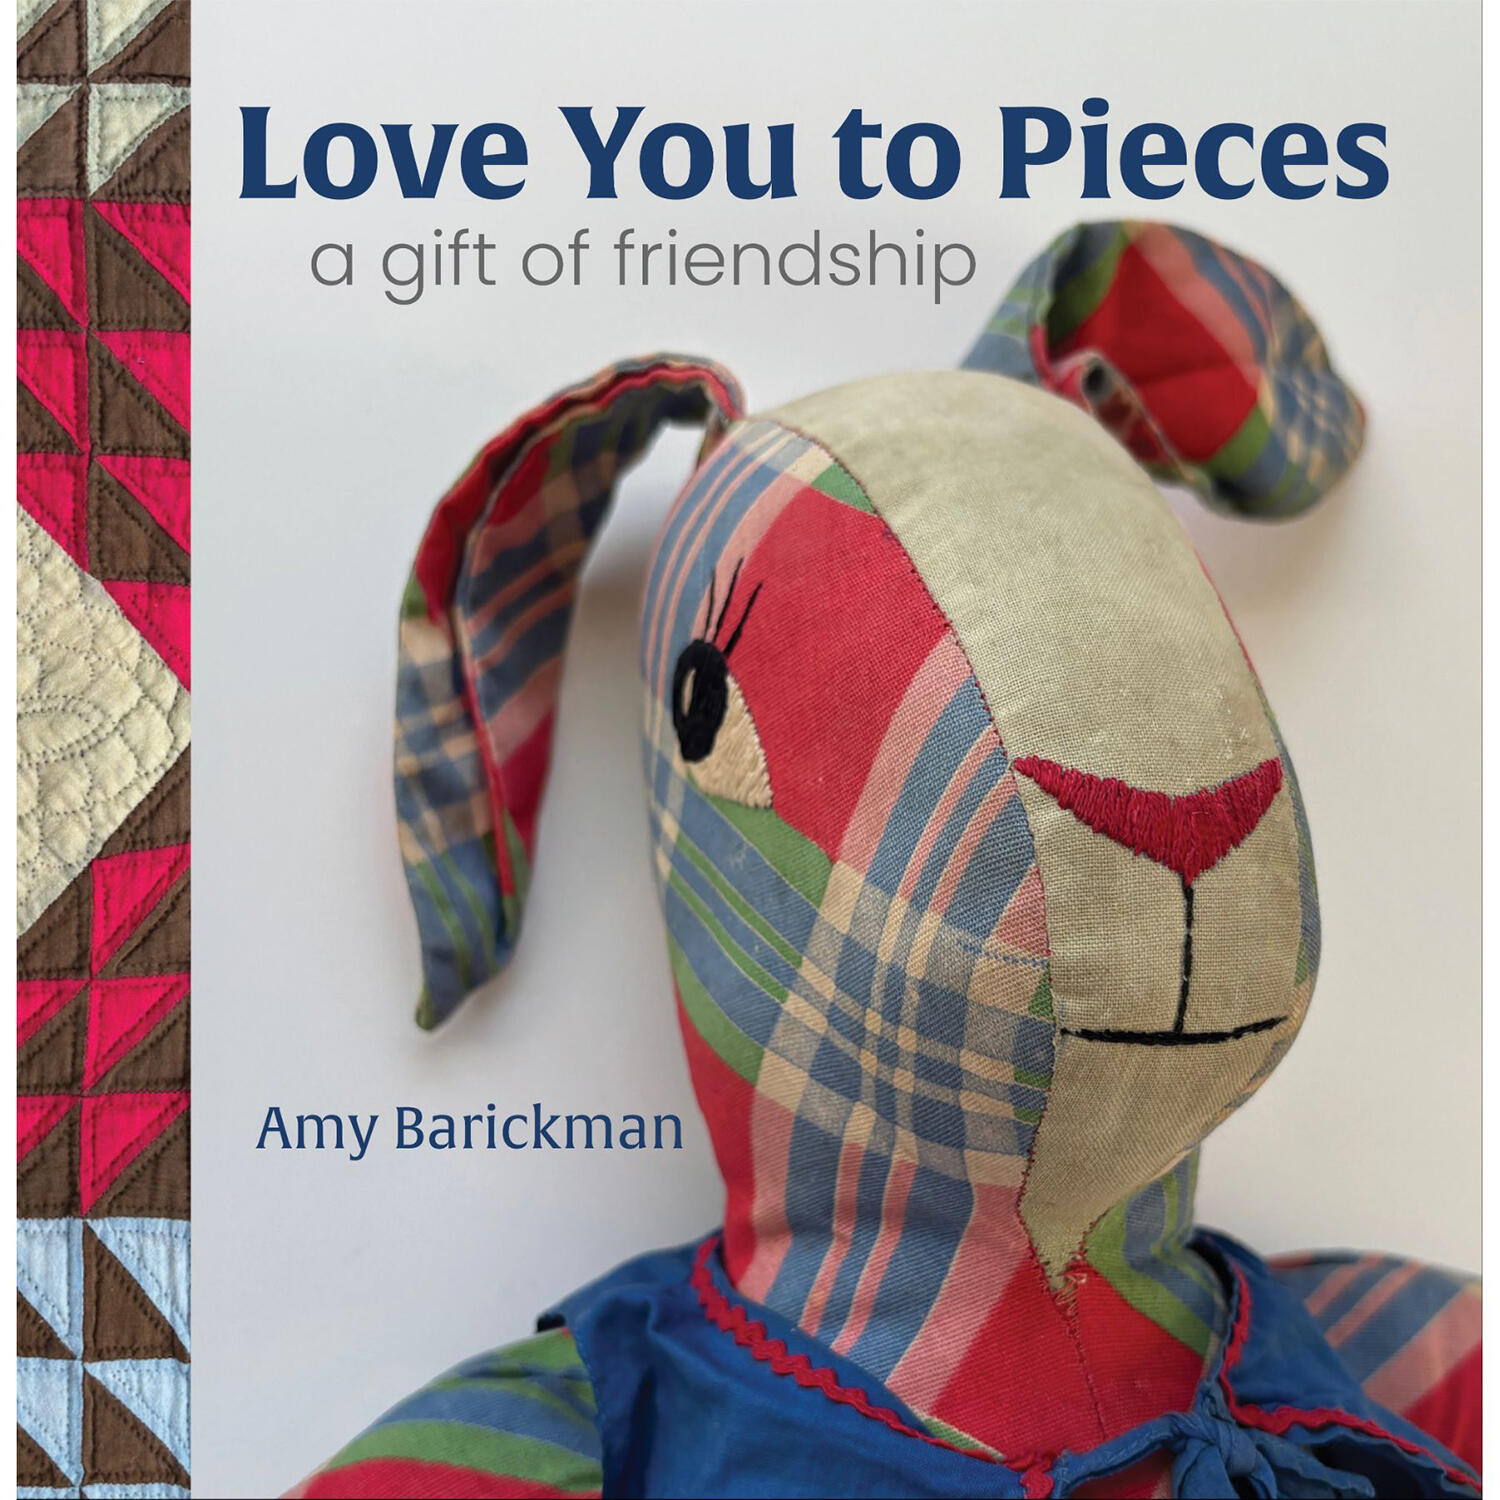 Love You to Pieces: A Gift of Friendship Book$24.99Shop →
 Color Dyed Flour Sack Dishtowel - Natural$5.95Shop →
 Color Dyed Flour Sack Dishtowel - Dune$5.95Shop →
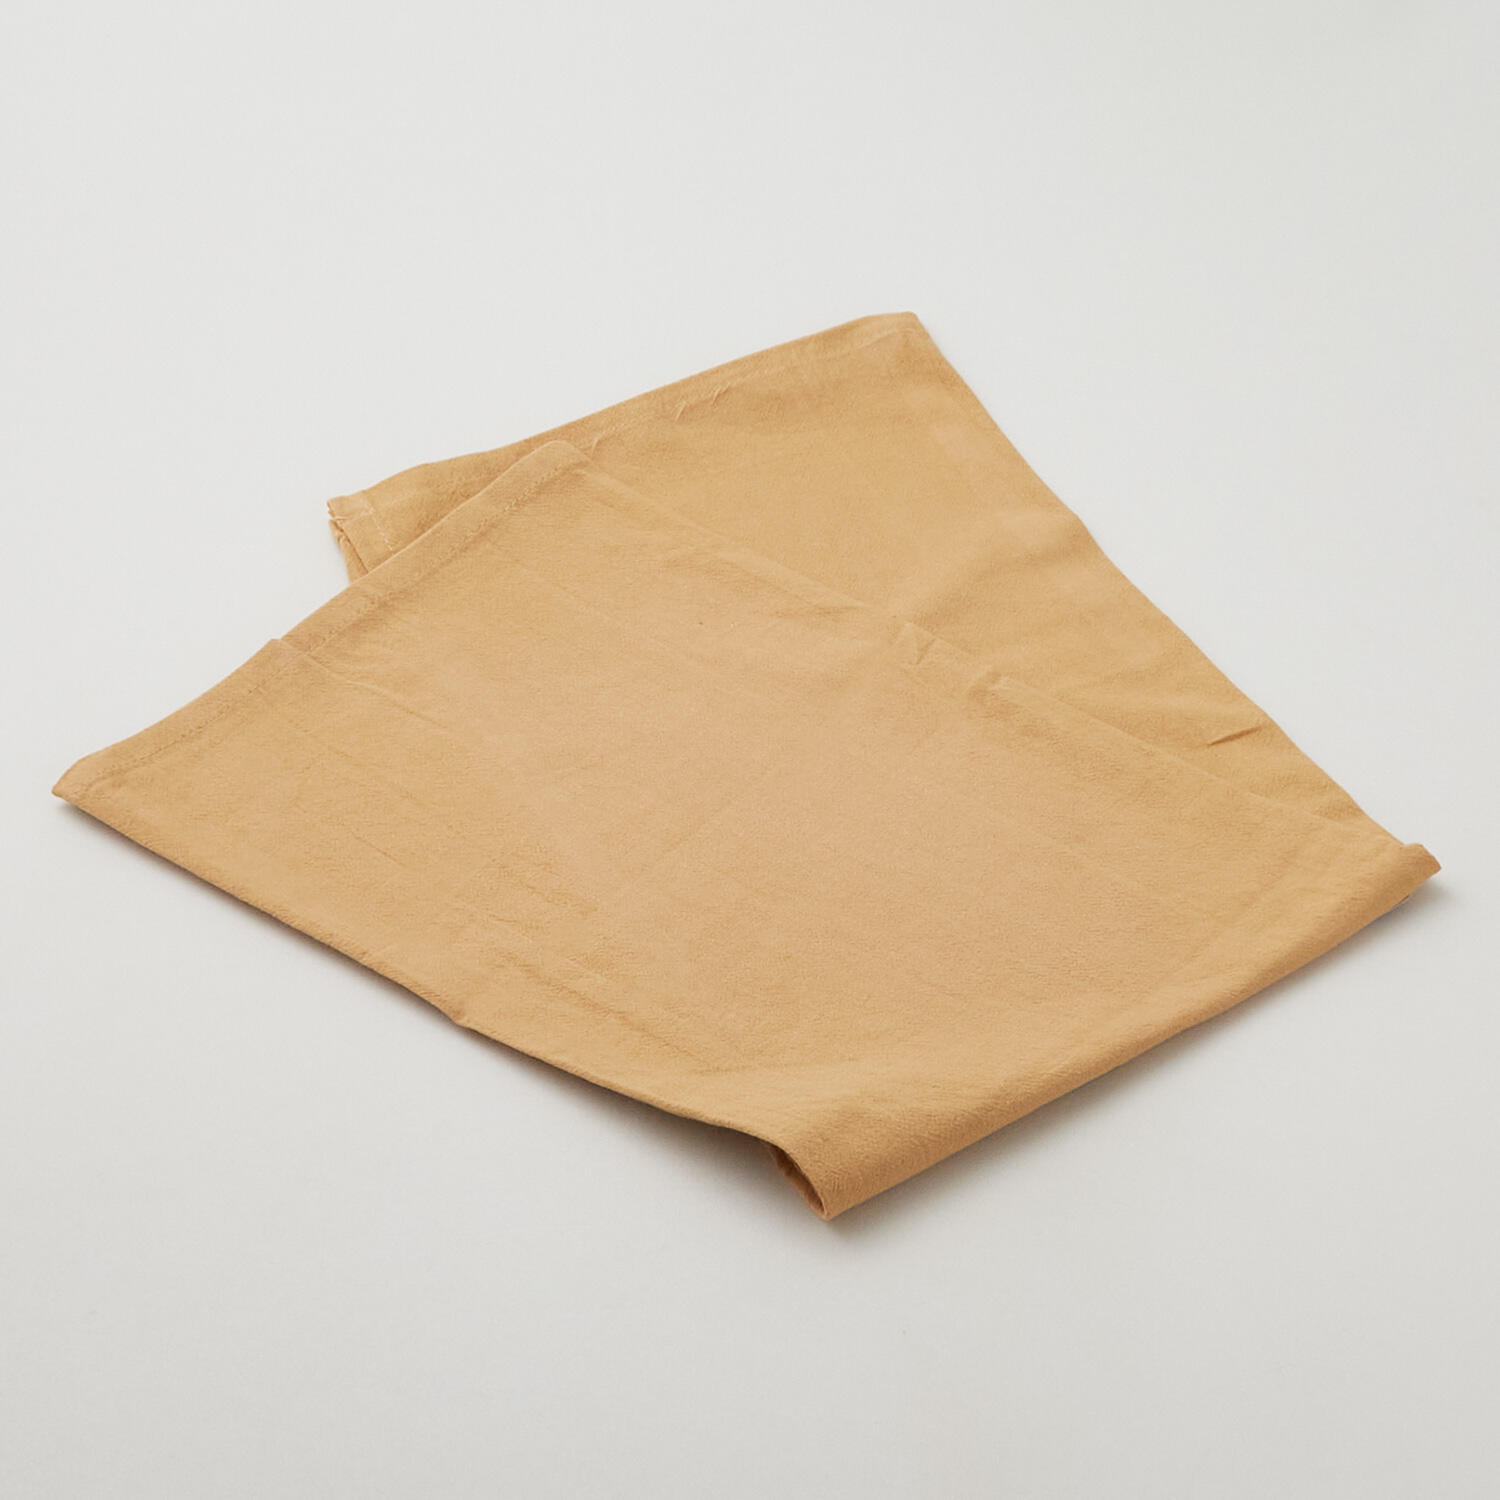 Color Dyed Flour Sack Dishtowel - Caramel$5.95Shop →
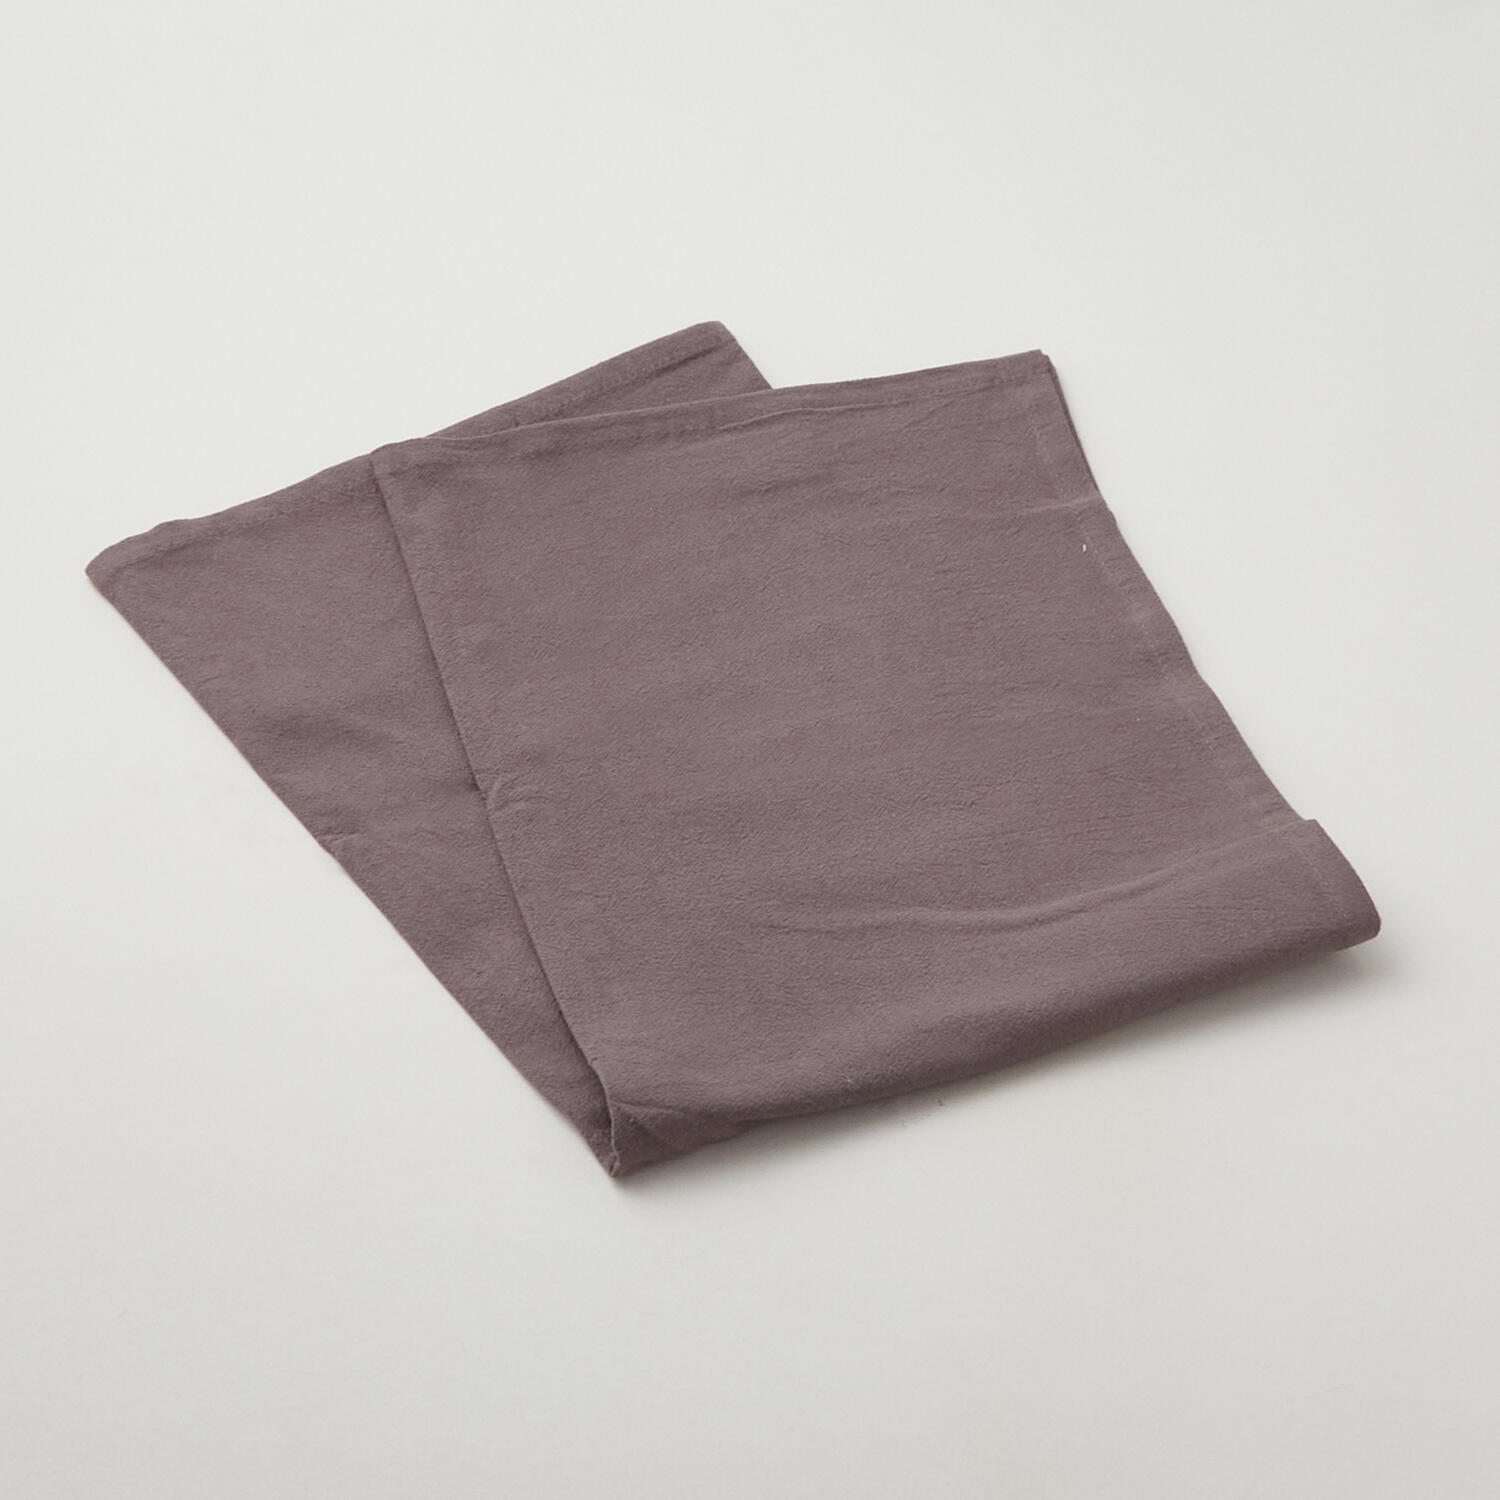 Color Dyed Flour Sack Dishtowel - Stone$5.95Shop →
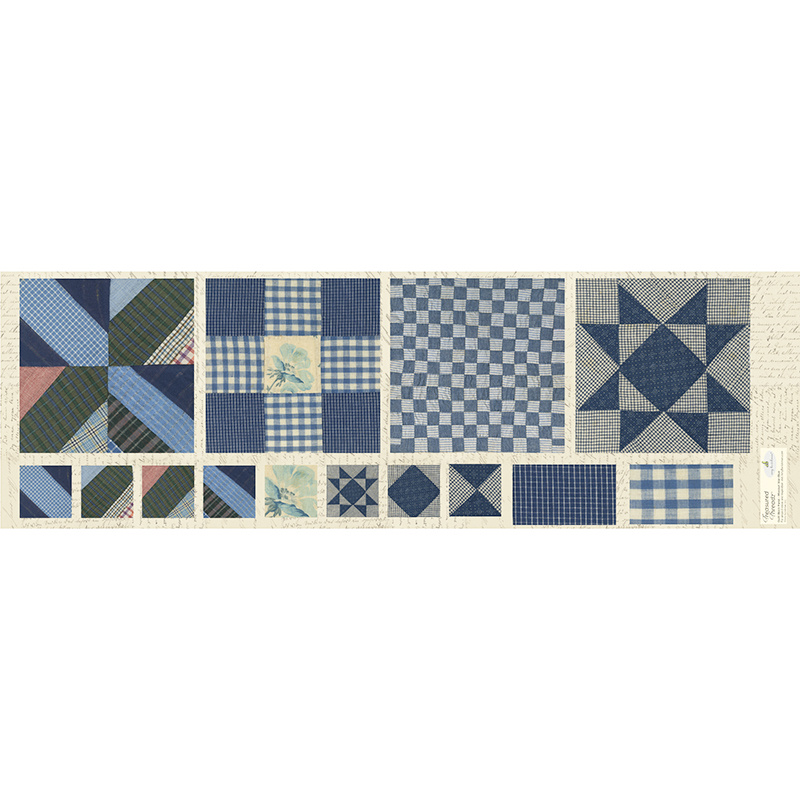 Treasured Threadz™ Missouri Star Blue Quilt Block Panel$24.95Shop →
 Poly-Fil Fiber 12oz$7.95Shop →
 Missouri Star 45mm Rotary Cutter - Olga$19.95Shop →
 Missouri Star 8" Everyday Scissors - Amelia$19.95Shop →
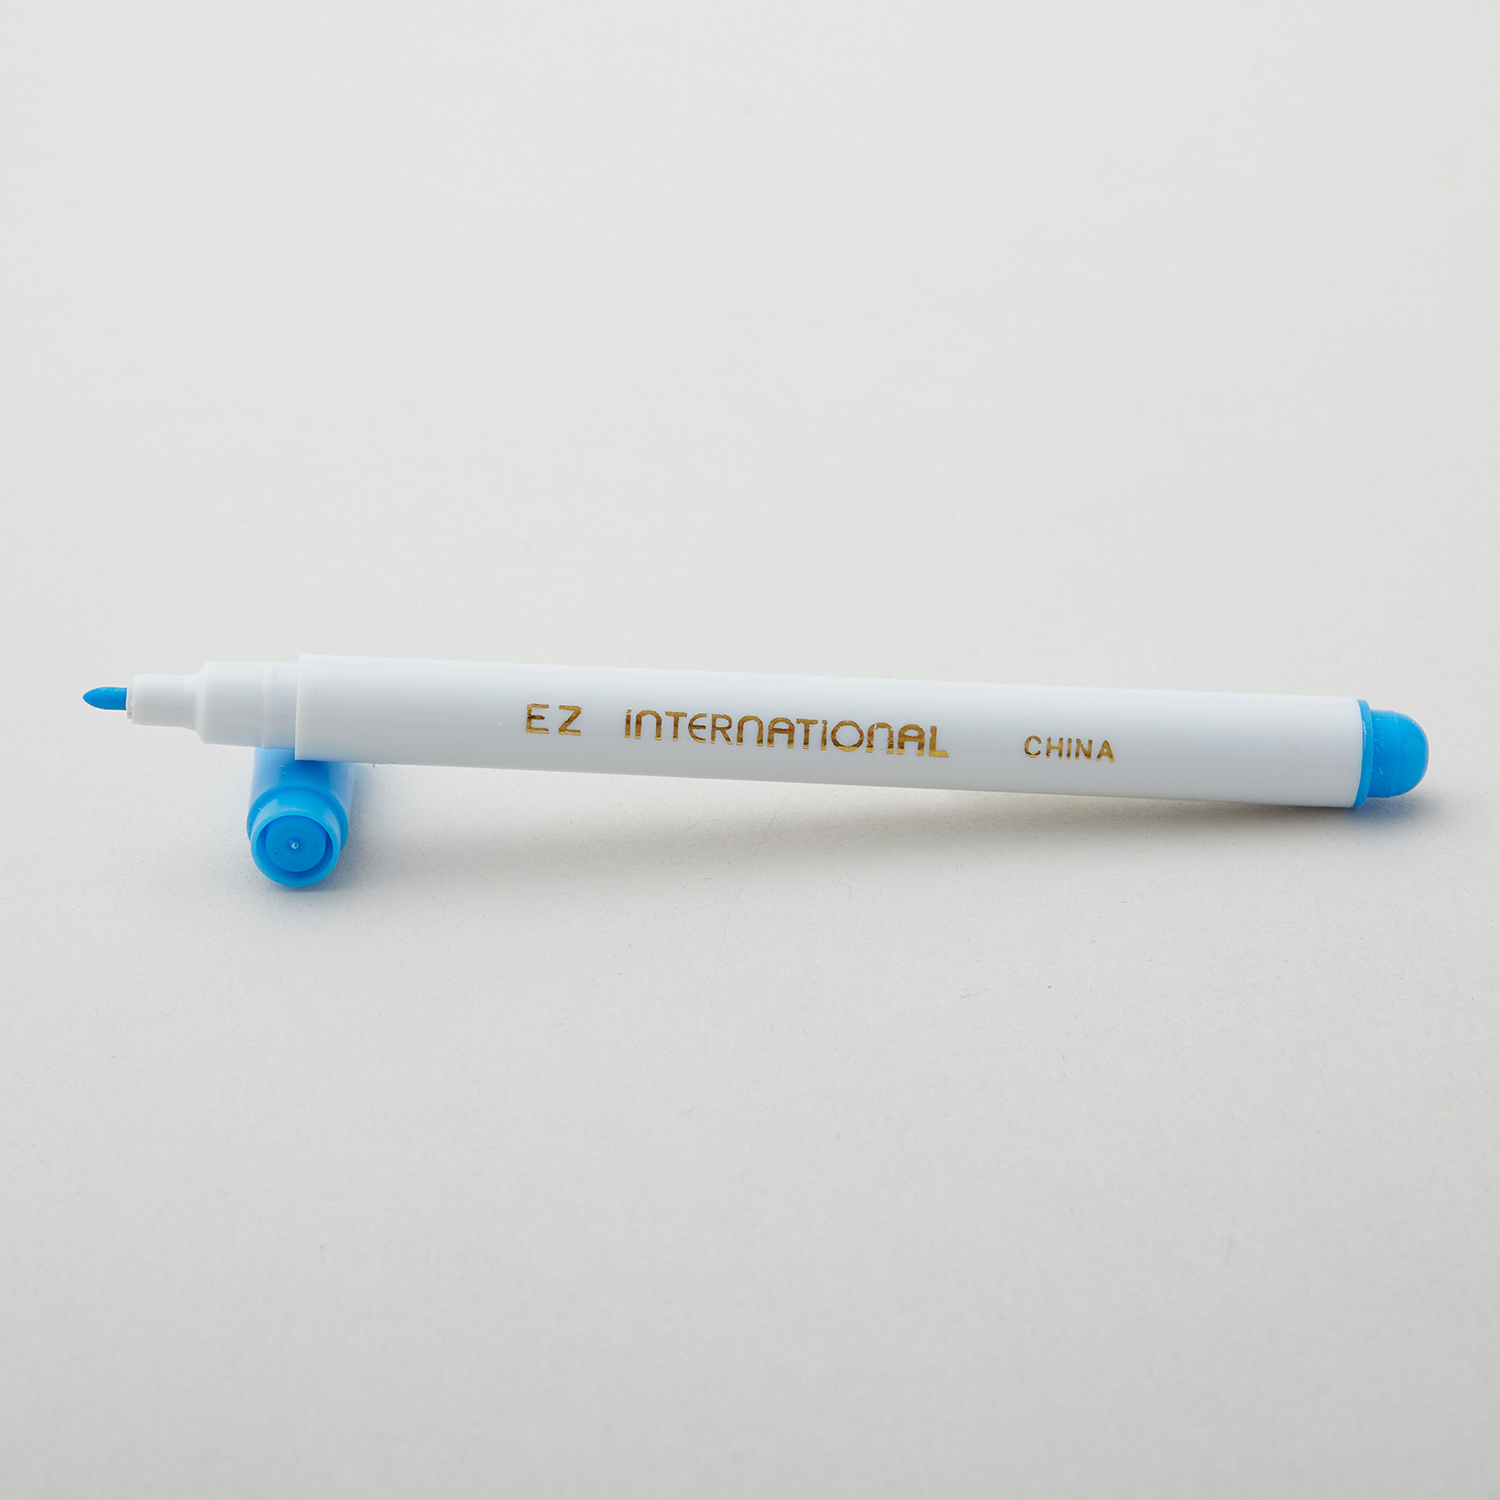 Water Soluble Marking Pen - Blue$2.75Shop →
 Missouri Star 50 WT Cotton Thread White$7.95Shop →
 Missouri Star + Oliso TG1600 ProPlus Iron$209.95Shop →
 Missouri Star Wooly Betty Board - 17.25" x 25.5" Orange Border$99.95Shop →
 Baby Lock Accomplish - 1500 SPM Straight Stitch Machine$1199.00Shop →
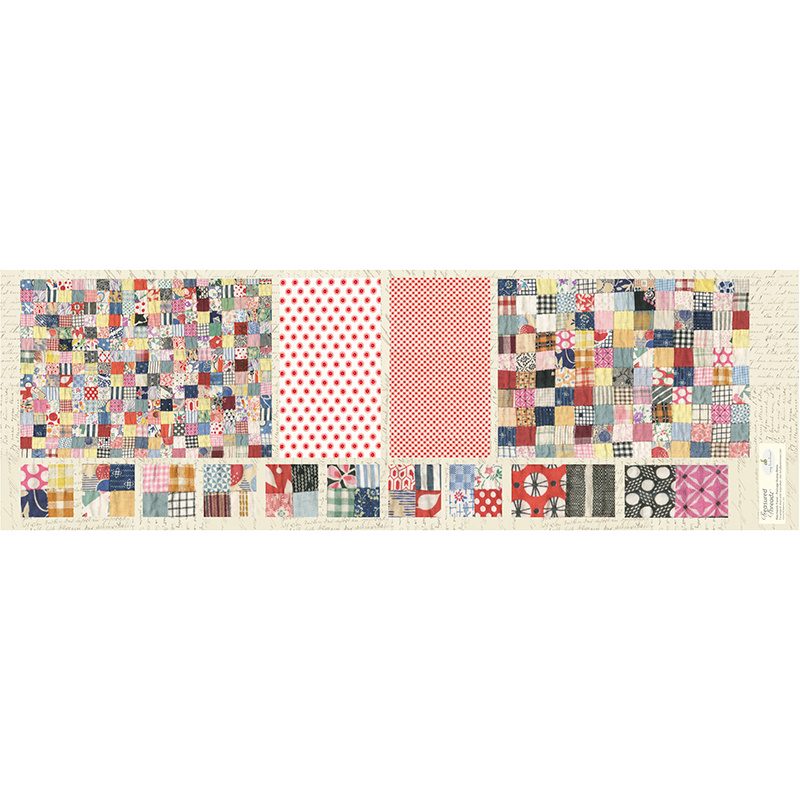 Treasured Threadz™ Postage Stamp Retro Patchwork Panel$24.95Shop →