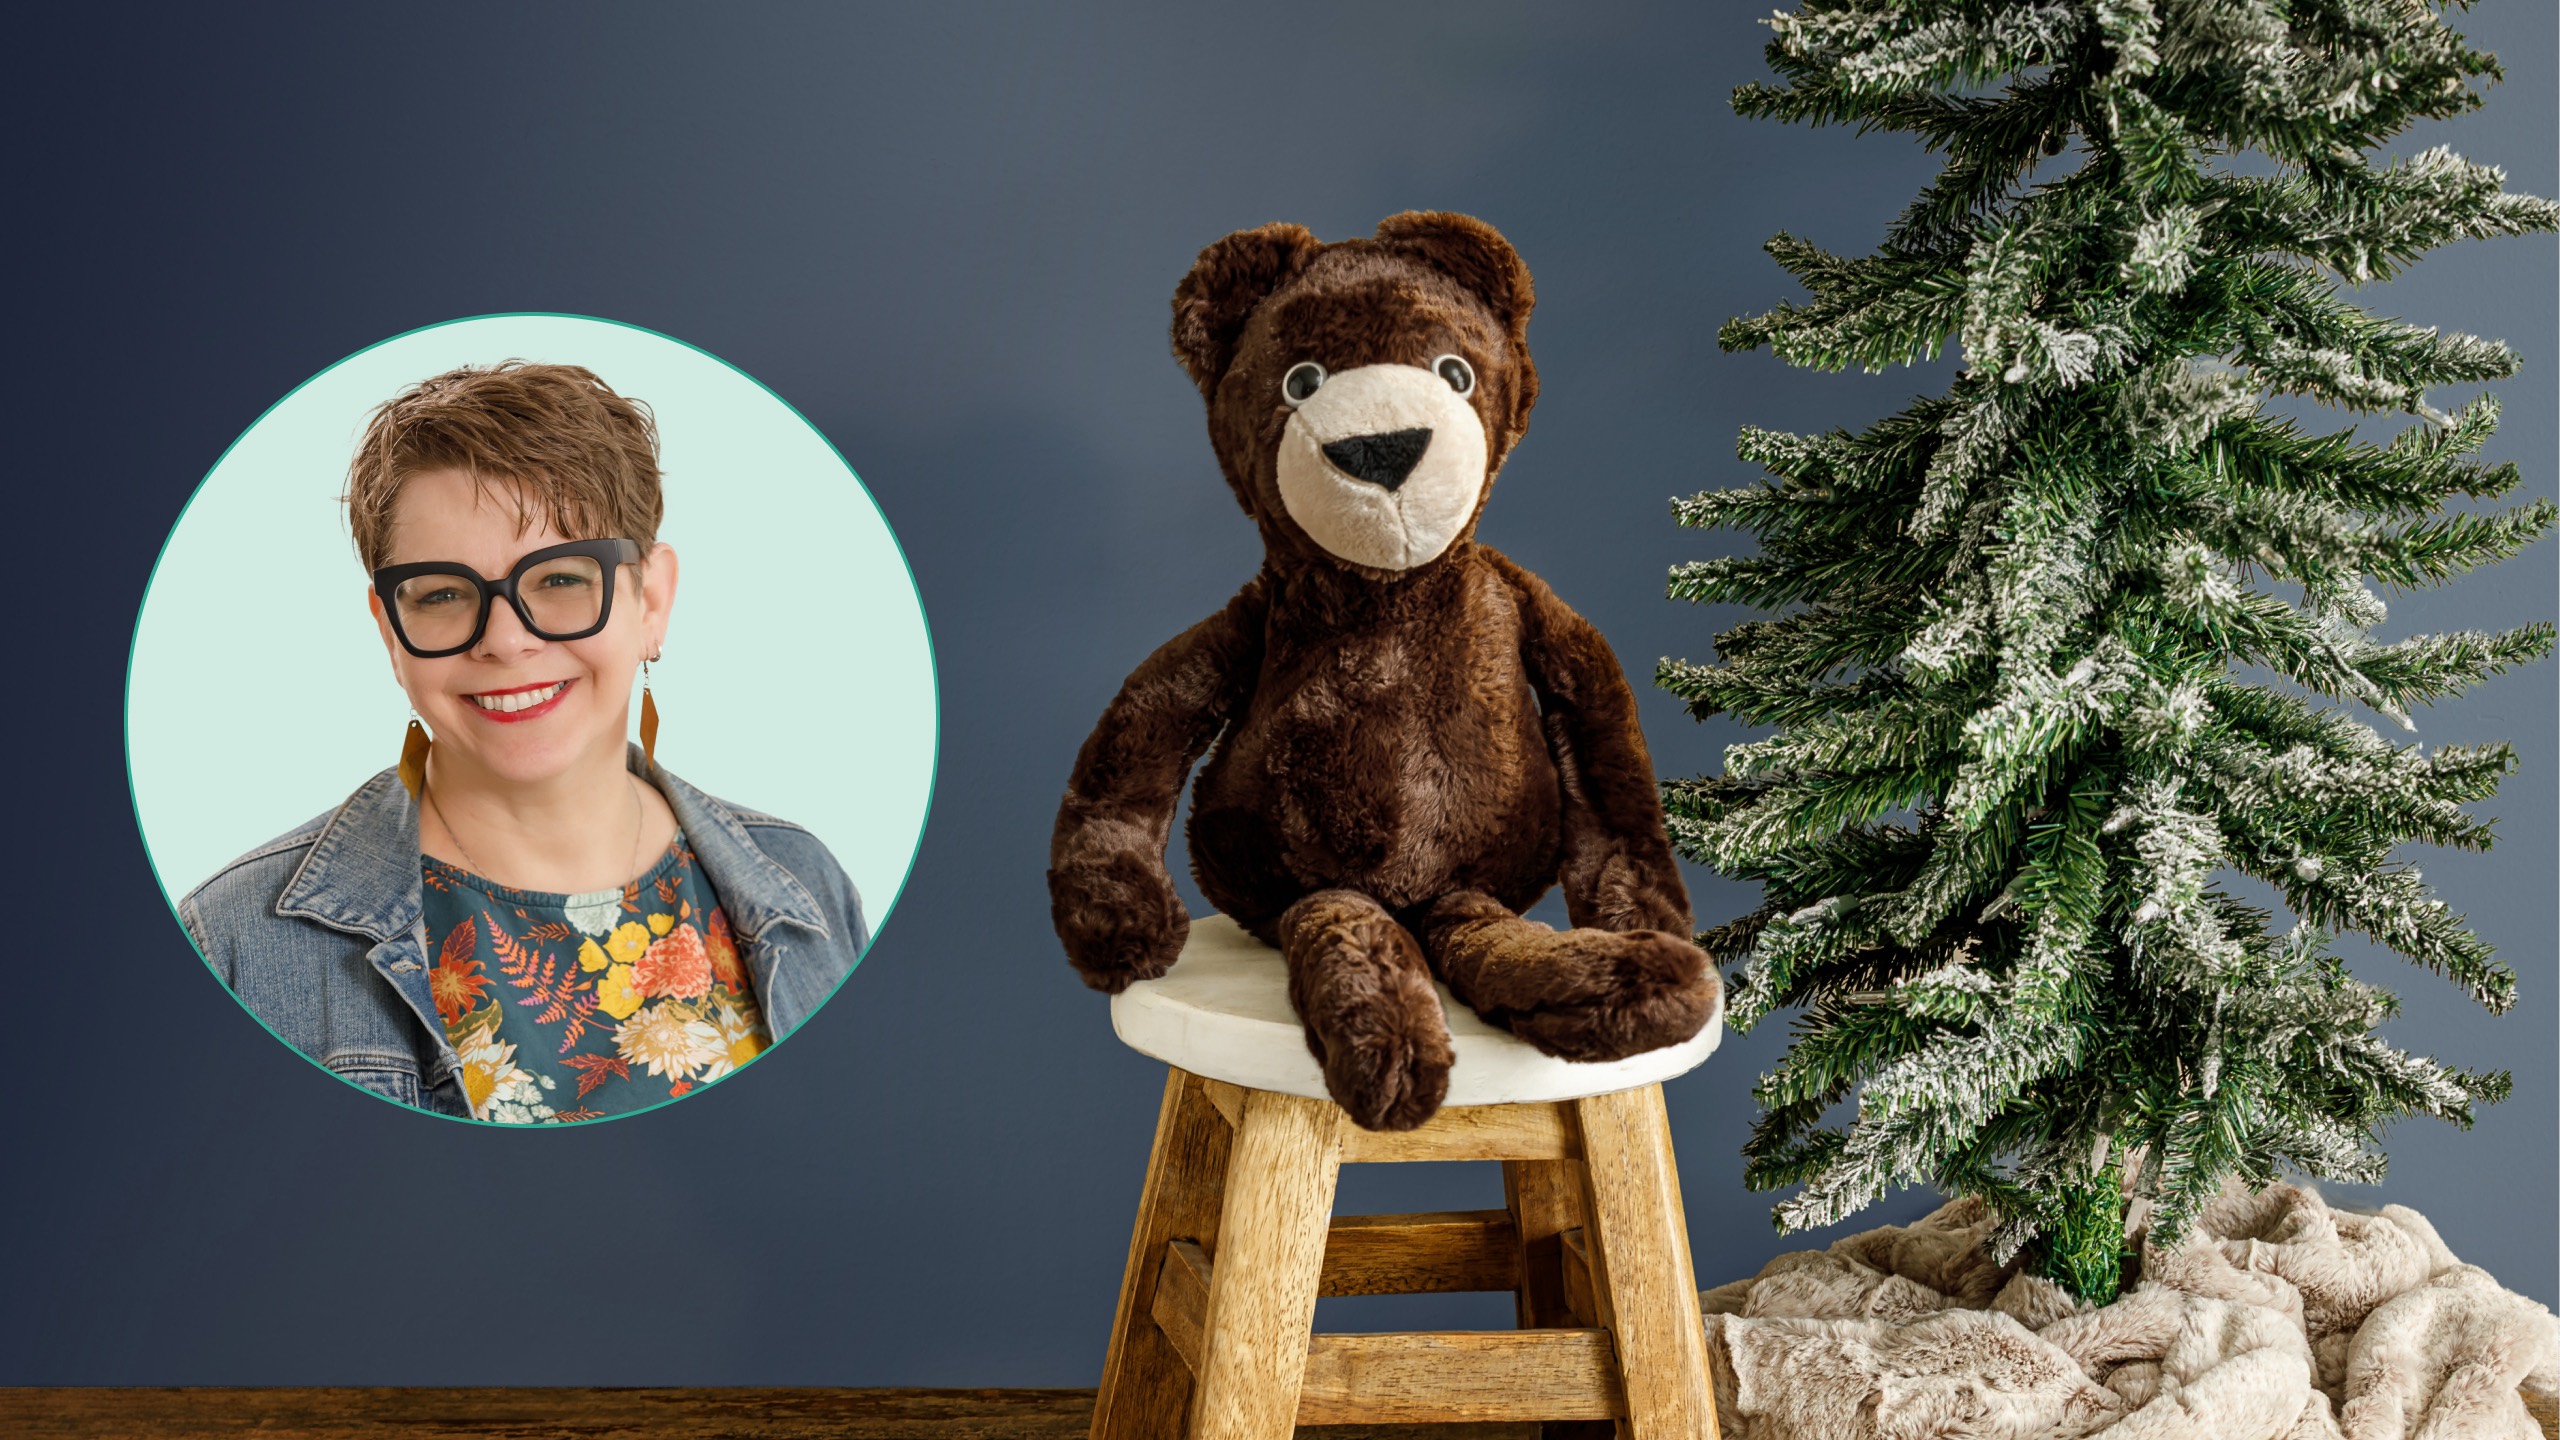
Do you love minky fabric projects? Want to learn how to sew a teddy bear? Here’s a stuffed animal sewing tutorial you won’t want to miss! Teresa Coates is here in studio stitching up the sweetest Raindrop Ragdoll Teddy Bear with Luxe Cuddle®️ and Cuddle®️ Solids yardage from Shannon Fabrics. Learn how to use safety eyes to make this cuddly stuffed animal spring to life. It is perfect for making handmade gifts for kids and babies—snuggly, soft, and irresistibly cute.
Teresa Coates is nationally known sewing educator, accomplished quilt maker, travel writer, pattern designer and relentless adventurer. She wants you to fall in love with sewing. She designs her own line of patterns at Crinkle Dreams, including the Elemental Coat and complementary Quilted Elements patterns.
What is covered in Raindrop Ragdoll Teddy Bear with Teresa Coates?
Do you love minky fabric projects? Want to learn how to sew a teddy bear? Here’s a stuffed animal sewing tutorial you won’t want to miss! Teresa Coates is here in studio stitching up the sweetest Raindrop Ragdoll Teddy Bear with Luxe Cuddle®️ and Cuddle®️ Solids yardage from S...
How long is the tutorial video?
The tutorial video is 00:51:40.
Are supplies listed for this tutorial?
Yes. The tutorial page includes the supplies and materials connected to this project.
Video Transcript
Hi, I'm Trace Coats and today we're going to show you how to make the raindrop ragd doll bear from the rustic horseshoe. You might have always wanted to make a stuffed animal and today I've got the perfect project for you. This is the rustic horseshoe raindrop ragd doll bear and this pattern was designed specifically to get you started on this process of making stuffed animals. It is such a fun thing to do and you will find that the whole world of stuffed animal opens up. This is a great project to get you started on those skills that you're going to need to make as many stuffed animals as you want, which are perfect gifts. So, for this one, we started with a couple of different fabrics. So, we're using a Luxe Cuddle Hide in hot chocolate and we're using Cuddle 3 in latte. And then we have our other tools including this um safety eyes and some polyfill. And we have our pattern. And the pattern is available from us and it is part of a series of patterns that Reena from Rustic Horseshoe designed specifically to teach you how to make a stuffed animal. So, I'm going to cover a bunch of basics for you today, but there's a ton more in the pattern itself to help you get started on this process. So, we've got our fabric cut out. I'll bring those up and we'll get started making this stuffed animal. All right. So, I've got all of my pieces cut out already. These patterns you're going to find in the pattern booklet. What I suggest that you do is that you take these, make a copy of them. And then I like to laminate mine with just some laminating sheets from the office supply store. And that's what makes them a little bit more sturdy. So this works really well to use because we want to trace them all out. So on the back of your fabric, you're going to trace out each one of those patterns however many times it tells you to. on her patterns, you're going to notice that it's going to tell you the stretch grain as well as the nap direction. And when you're working with Cuddle, which is what we're doing today, you want to pay attention to the nap direction, okay? And that will be marked on each one of those pattern pieces that you need to pay attention to. And you'll see it'll all kind of flow together so that the nap runs down the body of the stuffed animal. So, pay attention to those on the pattern. You'll trace out each one and then make all the marks that you need to to transfer all the the letters and all that sort of stuff. So, for instance, on the pattern, it will tell you all of these numbers, letters. These are letters, and you'll transfer them onto the back of your fabric here. Okay. So, these I've transferred. I just use a Sharpie pen and I just write these right in the edges. So, I copy around it with a Sharpie and then I write all these on here. And this totally works. If you're using a darker fabric and you need to make some marks, you can use a chalk pencil or something similar. So, this is our little nose piece and I need to mark the center on that. So, I'm just going to use my pattern. I'm going to put it on here just a little bit below. So, I can mark the center. I'm just going to kind of Oops. mark it a couple times here so it'll kind of show up and when I'm sewing it, it'll be I'll be able to see it without too much trouble. And it's not a super important mark, but it's enough that I need to know where that center is. Okay. So, you can also use things like a silver Sharpie or a sliver of soap or um Taylor's chalk. So, all of those things work on the dark fabrics. You need to make sure and transfer all those marks. The other thing that you can do that helps a lot is to keep the pattern pieces with the cutout pieces. So you can kind of reference back and forth. When the pattern tells you to sew from this letter to that letter, you have something to reference back to. All right. So, we're going to start with doing the nose and the muzzle. So, I'm going to start with the the muzzle gusset and the nose, and we're going to sew these together. So, on here, you can see that I've got the J and the I and a little mark. And on here, I've got the I at the center. So that means these two are going to go together. So I'm going to turn this over. And I can also pet my nap and make sure I know which direction it's going. So it should all kind of go down. I'm going to turn these over and pin them. So I'm going to pin them right together at that center spot. So this makes it easy since I've marked that with the chalk. I can see where that's at. So I'm going to mark the center and I'm going to mark each end. Pin each end. Okay. So, I'm going to pin the important parts first. And one of the things when you're working with Cuddle is that it can be a little bit slippery on you. So, I really suggest that you pin a lot and also pin this way so that you pin from one side and then you come back and you pin from the other side. So, you can see Oops. I want to do it from here. So, if I show you this, you'll be able to see that it will lay a little bit flatter because pins are coming in from this side and that side, and that helps a lot. So, we're going to go ahead and sew this seam right here. Everything is done with a quarter of an inch seam allowance, so easy to remember. We're going to go sew that together. All right. So, I'm going to increase my stitch length just a little bit to a 2.5. If I were sewing with this with cotton, I would want to shrink my stitch length to make sure that it was nice and tight. But this will be a little bit smaller for cuddle than you would normally use, and it will be enough to keep it nice and tight. All right, so I'm going to sew a couple stitches, do a little back stitch, and then go across. Now, at the end here where these want to come apart, just going to push them together and then hold them with my stiletto. Okay. Clip my thread. And now we have the start. So, already it's cute enough. I want to keep going, which I think is the greatest thing about stuffed animals. So you could see these little parts where we've curved where these pieces are curved and they come together. That's what creates this 3D of the stuffed animal. So we'll have a little bit of that. It's really not hard the fabric because it is stretchy. It will definitely kind of work its way in. All right. So now we want to sew on our muzzle. So we have a muzzle side. We have two of them. So we've cut them out. So it says cut two fabric mirrored. So we have one that's mirrored and one that's regular. All right. And then those have markings. So, I'm going to go ahead and I'm going to pin this. And we can see I've got my letters on here. So, it's F and G. So, I know exactly how to pin this on. Again, I'm going to start at the corner. And then I'm going to lay this down. And I'm going to pin it so that it's holding the black fabric toward the nose. Okay. And then I'll pin one right in the middle. All right, we'll sew this. And what I want to do with this one is I'm going to come in and I'm going to back stitch just a little. And then as I stitch up here, I'm going to stitch up to the line where I stopped before. So the seam from last time back stitch and cut my thread. Okay, now that I've done that, I'm going to go ahead and do the same thing on the other side. So, again, I'm going to match my match my letters. Get that nice and even. So, from this side, I'm going to start at that line where we stopped before. I'm going to put my needle right down in there. Take a couple stitches. All right. So, now we've got his muzzle, which is looking a little bit funny, but we're going to give it some 3Dness here by sewing from here to here. So, the bottom point of my nose is the H, which is the letter that's here. So, I need to stop right there. That's what that little mark is is where I'm going to stop because we're going to pivot. But we'll pivot in the next step. So, come back. I'll put a pin where my chalk was. And this time, I'm going to try to shove this open just a little bit. Spread those seam allowances open. And I'm going to start here at the H. And then come back and stop where my stitching is before. Okay, we'll do the same thing to the other side and get those two to come together right at the center. So, the important part is that they're going to basically touch because they should come together right at the center front. So, pin that. Okay. So, I'm going to swish my muzzles out of the way. And I'm going to start right here where I stopped before. Get those to match up. And then come over here and I'm going to make sure to get to where I stopped before. Just right there. All right. Trim some of these threads off. All right. So, now we're starting to get somewhere. Okay. All of a sudden, his little nose pops right up. Okay. So, we're going to put this aside for a second, and we're going to take care of his face. So, the face is this place here. One of the things you need to make sure that you do is put the eye placement. So, I've marked it with a little Sharpie here. We'll come back to that later, but we need to know where that is now before we sew any seams. So, the first thing we're going to do is we're going to pin these together. Now, with this Luxe Cuddle, the hide here, it's a little bit thicker nap. So, this is a I believe it's a 10 mm. It might be 15, but it's a longer nap. And so, when you cut this, make sure that you're cutting it with the little scissors. You can see as you look here that it hasn't chopped off the edge. And that's because I was careful and cut just the backing here and not through all of this. So, this makes it when we're putting these together that I have to kind of push this down so I can see that edge really nicely, but it also makes it so we can fluff up those seams later and it'll be very cute. Okay. So, I'm going to pin this all the way down to the bottom of the front there. Do a little bit of a double check. Make sure I'm catching everything. I found that with the quarter inch seam, it's easy to kind of let the fabric shove and not actually catch it. So, we want to make sure that we're pinning enough that it's going to catch the whole thing. So, now we're going to sew this seam right here. So, there is his face and his muzzle is going to go on here. All right. Before we do that, we're going to make his ears, which are two different fabrics. So, I've used a going to move these pieces that we've already we've already taken care of those. Okay. Okay. So, I've got my ear pieces and I've got two pieces that are lux cuddle and two pieces that are cuddle three. All right. So, you can see the same thing that I've cut these so that the the fur kind of extends beyond that edge. All right. And that helps, like I said, to keep it so it looks nice and also makes it really easy to do. So, we're going to put these right sides together. We have a little mark on here. Okay. So, I'm going to swap these. So, these are going to go right sides together. So, my little line is going to be at the same spot on both pieces. Put these together. And I'm going to pin at a corner and then the other corner just so I can make sure that those important parts match first. Right. And then I'm going to pin up here. And we'll pin a couple more times. All right, lots of pins. Let's go sew it. Okay, so I'm going to start with the cuddle three on top here. I tend to like that a little bit better when I'm sewing the two together. back up. And then I'm just going to work my way slowly around the ear. And you can see I'm just using a normal foot for this because it's just the quarter of an inch and it's such small pieces. We don't need to use a walking foot on this project. If your machine is having a little bit of a struggle to move it, you can absolutely use the walking foot or you can change the presser foot pressure and that tends to help a lot. can also open up your stitch length. Lots of things that will help make things move along. All right, I've got both ears ready here. So, when we flip this, we're just going to turn this inside out. Okay, no big deal. If you are using a cotton fabric or a flannel, something like that that doesn't have as much stretch as the cuddle fabric does, you'll need to clip those curves. So, you'll need to clip some little V's out of here. But with the Cuddle fabric, it just bends and curves and is super pliable for this. So, no need to clip those curves. We're just going to keep them like this. So, we've got two ears. We're going to go ahead and pin them together at that mark. Okay. Okay. So, I'm going to just make sure that the seam is right on the side that it didn't roll on me at all. And I'm going to put a pin through both layers here. Okay. And then where that pin is, I'm going to fold it over nice and tight. And I'm going to put another pin in to hold it there. All right. So, what we're going to do here is we're going to we're going to base this together so it stays. I also want these edges to stay. So, I'm going to go ahead and put a pin in here as well. And this will make it when we sew the ear on that it stays together really easily, which will make the next couple of steps much easier. So, on this one, these are going to be opposites. So, this one, my line should be over here. Yep. So, I'm going to put a pin through there. Again, double check. Make sure my seams are where they're supposed to be. I'll fold this over. I'm going to match up those bottom edges. So, with the the fluff here, I can't see the cut raw edge until I look down here, but I can see that knit backing, and I can make sure it's in the right place. The edges are matching perfectly fine. All right. So now we want to do a little bit of a a double check. Make sure that our ears are going opposite of each other, which they are. So we're just going to base these together. So I am going to open up my stitch length a little bit to about a 3 and 1/2. This doesn't have to hold anything really tightly. So I can just kind of stitch right along this edge. And I'm going to do it just inside the quarter of an inch because I don't want these stitches to show later. Okay. Now, where this wants to push up, I'm just going to lift my foot, put it back down. Okay. I'll go ahead and sew this one at the same time. All right. And now, before I forget, I'm going to switch my stitch length back down. All right. So, now we've got our two ear pier pieces. I'm just going to trim this off right here so that it's even along the edge. So, it's just kind of trimming that little dog ear or bear ear. Um, so [laughter] we're going to put these on. So, these are going to go onto the bear's head here. And there are markings on the back where his ears go. So, his ears go this direction. They're going to go face down starting at that mark, which I saw. There it is. So, with this, I can see where it's supposed to line up. Because the fabric is fluffy, I'm going to use my fingers to kind of just feel where those edges are and feel where they match up. So, it's not super easy to tell in here, but we're going to get it to work. Okay. And I'm just going to kind of bend the fabric so that it all matches. All right. Now, his ear is placed. So, they're right sides together because this is how his ear is going to end up. So, we want to put them right sides together. It looks like there's my mark, but I'm going to go ahead and Yep. So, we want to make sure that those are even. If the ears are kind of lopsided, it looks a little bit funny. And you can kind of notice even though it seems like a small difference. Now we can sew his ears on. So again, I'm going to sew just inside of the quarter inch. So even though this isn't a basting stitch, because we actually want this to secure really well so that if little one pulls it by its ear, the ear doesn't come out. But I do want to catch it so that the seam doesn't show later when I stitch all layers together. Okay. And I'm going to do this on the other side. All right. So, now we've got his little ears on. Seriously, my favorite. I love seeing these things come together. So, we're going to put his nose on first or his muzzle. Okay. And we've got a mark here. And that mark is going to match with this center seam that we have. So again, the nap is really thick, so I can really just feel it and I can't see it so much. So I'm just going to kind of push that until I feel them connect. And then I'll put a little pin in here. And this one has to go. So there's a seam here and it goes to this little bump out here. this little corner matches up with this seam. And this will give his face a little bit of shape. All right. So, once we've got it in here at that seam, then I'm going to pin down here at the very end because these are the parts that are going to match. So, again, we'll always we'll always pin the places that need to match first and then go in between there. So now I can pin up his face here around the muzzle. Okay. And this one I can work it in because the cuddle is a knit. If you are doing this with another fabric, like I said, like a flannel or a cotton, you're using this pattern, you'll want to make sure and clip this. And all of that information about what to do differently depending on which fabric you're using is in the pattern. And she also recommends using minky fabric because it does make it super soft and it's actually really easy to use for stuff like this. Okay, so we've gotten this side done. Now I'm going to pin the other side the same way. So again, I'm going to pin this corner to the seam. So, now that I've got it pinned, it looks kind of crazy, but this is how we're going to sew it. And I'm actually going to sew it from the cuddle three side. So, the flat cuddle side. And I'm going to sew it from this side and kind of just make sure and work this so that it stays nice and even. And then we'll check it and fix it if we need to. But I'm going to sew on this side because I can see that edge a lot better. So, we'll sew from the cuddle three side. All right. All right. So, I'm going to use my stiletto here and make sure that my edges are staying fairly even. So, I can take a pin out and bring it right along here. And I'll just kind of keep double- checking, pulling things out, making them match. Okay. And as I get around here, we're going to get up to this seam that I sewed before. Okay. And I'm going to stop right in the seam. And I'm going to pivot this just the tiniest little bit. All right. And then we'll work the rest of the way around the face to the other side. Gets across his nose. So now we're going to get up to this seam and then we'll pivot again. All right. Okay. So, as I get all the way around, I want to give it a little check from this side, make sure I didn't get any holes. Okay. Sometimes it's a little hard to see if you've missed any. So, you can kind of look back here. As long as we've caught at least a quart or an eighth of an inch, we're okay. Looks like right here we might be a little bit shallow. So, I'm just going to go right back over that spot. and make sure that it's secure so that when we're stuffing this, it doesn't come out. Okay. All right. Check that. That's caught better. All right. So, now we have his little face and he's ready for his eyes. So, his mouth here, the bottom part of his muzzle is going to stay for just a second. We're going to put his eyes on. So, we've got some safety eyes here. These are 21 mm safety eyes, and they come in two parts. So, we've got the eye part here. And then these are the backing and the part that will snap on. Okay. So, you need one of each for both eyes. All right. So, on the back here, I'm going to go back and see if we can find our little marking. So, here's a little marking. And I'm going to go ahead and just clip the fabric. Just the tiniest little snip there. Okay, it's enough I can get my scissor through, but it's not super big. Come over here. And I want to make sure they're even. Okay, so it's pretty close to the seam that we just sewed. And that's because the eye is actually going to overlap a little bit onto the muzzle. So now I've got my hole in there. I've got my eye. And I'm just from the right side I'm going to push it up. where that hole is and it will just kind of stretch around. Okay, we'll put the lid on the little cap here. It kind of looks like a hat. So, it has a little a brim and the top of the hat and that's what we're going to put down onto it. Okay, hold it with your fingers. Push down. Going to snap it a couple times and push it against the board. Okay. So, we want it to be really nice and secure on there. And that means the little eye is going to stay in place. So, we'll do the same thing from this side. Push this through the hole here. Put his little hat on for the back. Okay. So, as I'm doing this, I see back here that I have a little a little bit of a pleat in my in my Lux Cuddle here. I look on this side, it's nice and smooth. If I look on this side, I can't really see that little pleat. So, I'm just going to leave it there. Okay, we're not going to fix it. It's totally fine. The Lux Cuddle absolutely hides all sorts of mistakes, which is kind of my favorite part. All right, so now that we have his little eyes on, now we're going to sew his muzzle shut. So, I'm going to get these nice and even. So, I'm going to push aside the Lux Cuddle. Get that lined up. And again, it's a place where we're going to want it to match. So, we'll pin that first. We're going to want this to match. I'm going to pull his nose up real good so that these points come together. And then we'll sew this whole thing closed from his neck all the way up his muzzle. All right. A little back stitch. And as we get over here, I'm going to try to make sure that that stays matching for as long as I can. So, take the pin out as late as I can to make sure that that stays. And then as we get up here, we're going to stop where we stopped sewing before on the other seams. And there we go. Look at that cute little face coming together. All right, so now that he has a face, we need to make him a body. So the body, the front and the back of the body are exactly the same. So on the pattern marking, there are places for the back only that we're going to mark it for the tail and for where we're going to leave it open. Okay, for the front, we're just going to sew this down the entire front seam here. Okay. All right. So, now we've got his body all sewn together. So, now to make the front of the teddy bear, because we're going to make a front and a back, we're going to sew the bear head onto the body. So, I need to make sure that I've got my corners matching. Okay. Okay, I'm going to get my seams together in the center and then I will make this corner match as well. Okay. And now I can pin in between. Kind of doing that little double check. Make sure I can feel both edges of the fabric. All right. So, let's go sew this across there. Get my stiletto so I can feel that fabric underneath. Make sure it stays. All right. So, again, we're going to do a little double check. Make sure it caught all the edges. And then if I look on this side, it works. So, we don't really care what it looks like on the inside, but does it work on the outside? That's the most important part. All right. So, now there's the front of our bear. All right. And for the back, we've got the back of his head, the back of the body, and the little tail. So, we're going to start with the tail, and we're going to sew these together. So, this long straight edge here is going to stay open and we're going to sew around the curve. All right. Sew that. So, as you work around that corner, you could see I stopped, lifted up my foot, and kind of moved things around. If you struggle and you don't really like the way that this corner has turned out, then you can absolutely come back and restitch this to be a little bit more of a curve. I'm satisfied enough. So, we'll go ahead and stuff that just a little bit. Okay. So, we're going to turn it inside out. Again, because this is cuddle, we don't have to do any trimming. We're just going to just going to turn that inside out. And I'm going to take just a tiny bit of the stuffing. Put it in here. Okay. We'll give this tail just a little bit of shape here. So, I'm going to push that down really far to the very bottom. And then I kind of pinch this so that there's nothing up here. And I'm going to pin it here. So, it's about a little bit more than a half an inch away from the edge here. So, then I can base this shut. But, I'm actually going to keep this pin in here because it'll make it easier when I sew the next steps. So, go ahead and base this shut. All right. Okay. So, the tail here, it's got a little little extra fluff. And so, to make it easier for me to see what's happening, I'm actually just going to trim it. So, you're always welcome to Yeah. Give it a little bit of a haircut. All right. So, there's my little tail. And then we're going to put it into the back. So, the back has a couple of marks. And it has two marks up here. And this is for our opening. So for we for us to stuff it. And this is for our tail. Okay. So the first thing I'm going to do is actually sew these parts. So we're going to do a little bit of a stay stitching line is what it is. So it's going to help us to be able to see where that seam comes together at the end. So it stabilizes the opening for stuffing it, but it also makes it so when we hand sew this close that we have a place to sew it. So we're going to sew both sides between those little lines. Just a little stitch. And now we'll do the same thing on this side. Again, from line to line, mark to mark. Okay, now we can tuck this little tail in here. So, here's his tail, and his tail is going to get put right in here. So, there's a mark for his tail, and that's the top of his tail. Okay, so we want his tail to go this way. Okay. All right. So, now that we've got his tail in place, I'm going to put both backs together. And then we're gonna sew it just this whole back seam. We're going to sew this little part first and then we'll sew this part. So, we're going to leave this part that we just did that stitching. We're gonna leave that open because that's where we're going to stuff it and um close it up by hand. Okay. So, I'm going to pin a couple of places just to keep that the fluff that direction and away from my seam. And now to help me remember because sometimes I get so busy sewing I forget what I'm supposed to do here. So I'm going to stick a pin here. So I have like a little cross and that's where I'm going to start and stop. So I'm going to do the same thing here. And basically just putting two pins in the same spot is a good signifier to me that this is where I want to start and stop. So I'm going to sew from here to here. And I'm actually going to put it put the needle in here. And so sew that direction. And then I'll sew here all the way down to the bottom. So this one I'm going to start from this side. Okay. And the reason I want to do this and start from this side instead of the other side where I pinned it is because I can start it in the fabric rather than starting it at the very edge and maybe having it suck in. Okay. Okay. So, I'm going to take a couple stitches, do some back stitch, stitch up to the end, clip my threads. Okay. And then now from this side, I'm going to start again where I stopped that stay stitching before where I've got my double pins. Put my needle down, take these pins out, and do a little back stitch. Okay. And now I can work my way down the back of the body here. All right. So, let's make sure our tail got caught. Yep. Seems pretty okay. I'm actually going to go over it one more time. And that is primarily because if I were to give this to a kid, they're going to grab it by its tail, I'm sure. So, I am going to stitch that again. Just make sure it's nice and strong. All right. Now, if anybody tugs on that tail, it's gonna stay in place. All right. So, we've got the back here, this cute little tail, and here's the back of the head. So, this one just gets sewn, just like this. And we're going to sew down this seam. So, you can see on the pattern, it says back seam because I think for a lot of us when we look at this, we think this is the back of the head, and it's actually the sides of the head. So, make sure you're following the directions. She'll tell you to sew from C to D down the back here. Let's sew that seam. And now that we've got the back of his head, we can sew those together just like we did the front. We're going to sew these together, matching the center seam with the center back seam. And then matching those corners on both the neck and the top of his body here. Right. So, I'm gonna start in just a little bit and back stitch to the edge instead of starting right at the edge because this is a spot that kind of wants to suck down into your machine a little. Okay. Check out the back. Make sure I caught everything. All looks pretty good. All right. So, now we've got the back and the front of our bear. And so, all we're going to do is we're going to sew these two together. You could pin all the way around and sew it, but I like to do it kind of in little chunks. So, we're going to do it that way. We're going to sew the head together and then arm and the side and then the legs. And we'll we'll kind of work our way around the body. I want to make sure that certain parts are matching. And that would be the top of his head where those seams are. Okay. And then as we come around here at his neck, these two neck seams are going to match as well. So, I'm going to get those to match and pin those there. Okay. And then I'll just work my way around the head, kind of alternating my pins so that they go in from this side and then I'll go in from the other side as well. So I'll do one round from this side and then I'll pin it from the other side. There we go. And now we can sew around the head. All right. So I'm going to start right down here at that neck seam. And I can kind of push things back and see where that's at. And if it's just past that or just before it, it doesn't really matter. Just gives me a good place to start. All right. So, once I've worked my way all around his head, bring my pins back over here because I'm going to need them again. Okay. So, once I've worked all the way around his head, I can kind of do a little double check on both sides. So, one of the things about Cuddle is that we don't really care if the seam allowance is super straight because you won't be able to tell. So, don't panic if it's not perfectly even. All right. So, now we've got his head sewn on. I can give him a little tug. It's not going to pull apart anywhere. And I've got his ears really secured. So, his ears have been sewed twice as well, which is important. So, now we can just lay together the arms. Okay, we have marks on the ends of his arms. So, I'm going to put a pin in this mark. And then I can see this mark here. So, I'll just kind of line those up with each other and then repin it. So, I know that's a place that we need to make match. Right here underneath his arm is another place that we need to make it match. Okay. And then in between there, I can just pin them together. Okay. Okay. So, I'm going to start back up where I stopped before. And I can see those stitches. So, I'm just going to do a little bit of stitching here. Do a little back stitch. And I'm going to come around this corner at his neckline. Okay. So, I'm just going to try to make this smooth. We can come back and fix it if we need to. And then I'll sew all the way around his arm. Okay. Now it has the little underarm area here. I'm going to stitch past just a little. I'm going to stitch backward. And I'm going to pivot. I'm going to do the same thing down the side just a little bit here. Give it a little stitch. some back stitch because we're going to clip in at that point and I want to make sure that it is okay. So now I can stop sewing here and I'll come around and do the same thing on the other arm. All right. So we've got his his head and two arms done. So now we get to do around his body and then down his legs. So that's definitely the squiriest part to do is around his arms and around his head. So, I kind of like to start there just because if I start with the hard part, it gets easier from there. So, when I sew this, I'm going to sew down the side of the body, around the leg, and then back up to the middle of his body. And sew just a little bit onto the next leg. And then we'll stop and repin one more time. All right, let's do this. All right. So, I'm going to slowly sew around at the bottom of his body here. I'm going to put one more pin over here. pull this pin out. And I want to make sure that those two layers are fairly even. And then I'm just going to try to work my way in a curve all the way around it. Okay. So, now that I've done that, I'm going to actually go back and sew it one more time just right around that base. because to get his legs to turn inside outright, we have to um we have to do some trimming. So, I know on this side it's caught. So, I'm going to flip it over and that way I can sew from this side and see how it's doing. All right. So, now I'm going to work my way around this one more time. All right. All right. So, I'm going to go ahead and pin this just like I did before. Sew it and then I'll be right back with you. All right. So, now that I've sewn all the way around it, I'm just going to clip in a couple places so that when we turn it inside out, it will turn turn really smoothly and not have any little puckers. So, I'm going to do that at its neck, at the bottom of its body, and underneath the arms. All right. So, now those are clipped and I can come back and clip any more as I turn this inside out. And if I find any areas that have a little pucker, I'll turn it right back inside out and fix that. So, I'm going to turn it starting with his head. I'm gonna just push his body or his head through his body. Okay. And then we're just going to kind of keep pushing things through. Now, one of the ways that I like to do this is if you have a pencil or you have the stiletto, you can kind of just shove this up here and it will come out the top. So, we'll keep shoving until we find our way out of here. It's here somewhere. There it is. All right. And there we got everything through and kind of make sure things are laying the way that they should. Okay. So cute. All right. So, now we're just going to stuff it. And we're going to start with his face. We want to really stuff his little muzzle very well to give it some shape. And I'm just using the regular polyfill filling. And I'm going to start from the back. Obviously, where the little hole is, I'll push some up. And we're just going to do it at a little bit at a time. And we'll push it up here and push it into his face. Okay. So, we're going to build that out first. I'm just going to push these little bits in until that gets full. Okay. So, as you're filling his head, make sure that you're getting into these little jowls that he's got here. Those are easy to kind of miss. We want to make sure that they're nice and full, as well as his muzzle. All right. His head seems pretty well stuffed. See a little trim that needs to happen. All right. So now I will fill his legs and his arms and then fill the body. All right. So now that we are done stuffing him all the way, I want to go ahead and fluff all of the seams. So when we've sewn it together in those seams, it kind of gets the nap tucked inside. And I can just take my stiletto and kind of rub right across those seam lines and it will make it pop right up. So here's a good example of where this got tucked down. And if I just take my stiletto and kind of rub against it, it will pop up all of those little fibers and they'll come right out and be super soft. So you can kind of do this before you give it to a little kid just so it's extra soft and fluffy. But super easy thing to do on all of your cuddle projects. Once you've fluffed all of the seams with the stiletto, you're just going to go ahead and whip stitch or do a ladder stitch to close up that opening. And then your teddy bear will be ready to gift. If you've loved making this rag doll, bear with me. You can also make the ragd doll bunny, which gives you a few more techniques in stuffed animal making and is a super cute project as well. You can find tutorials and patterns for making little shorts and a shirt on the rustic horseshoe website. I'm Teresa Coats. Thanks for joining me. You can find me on the socials at Crinkledreams or on my website at crinkleddreams.com. Happy sewing.


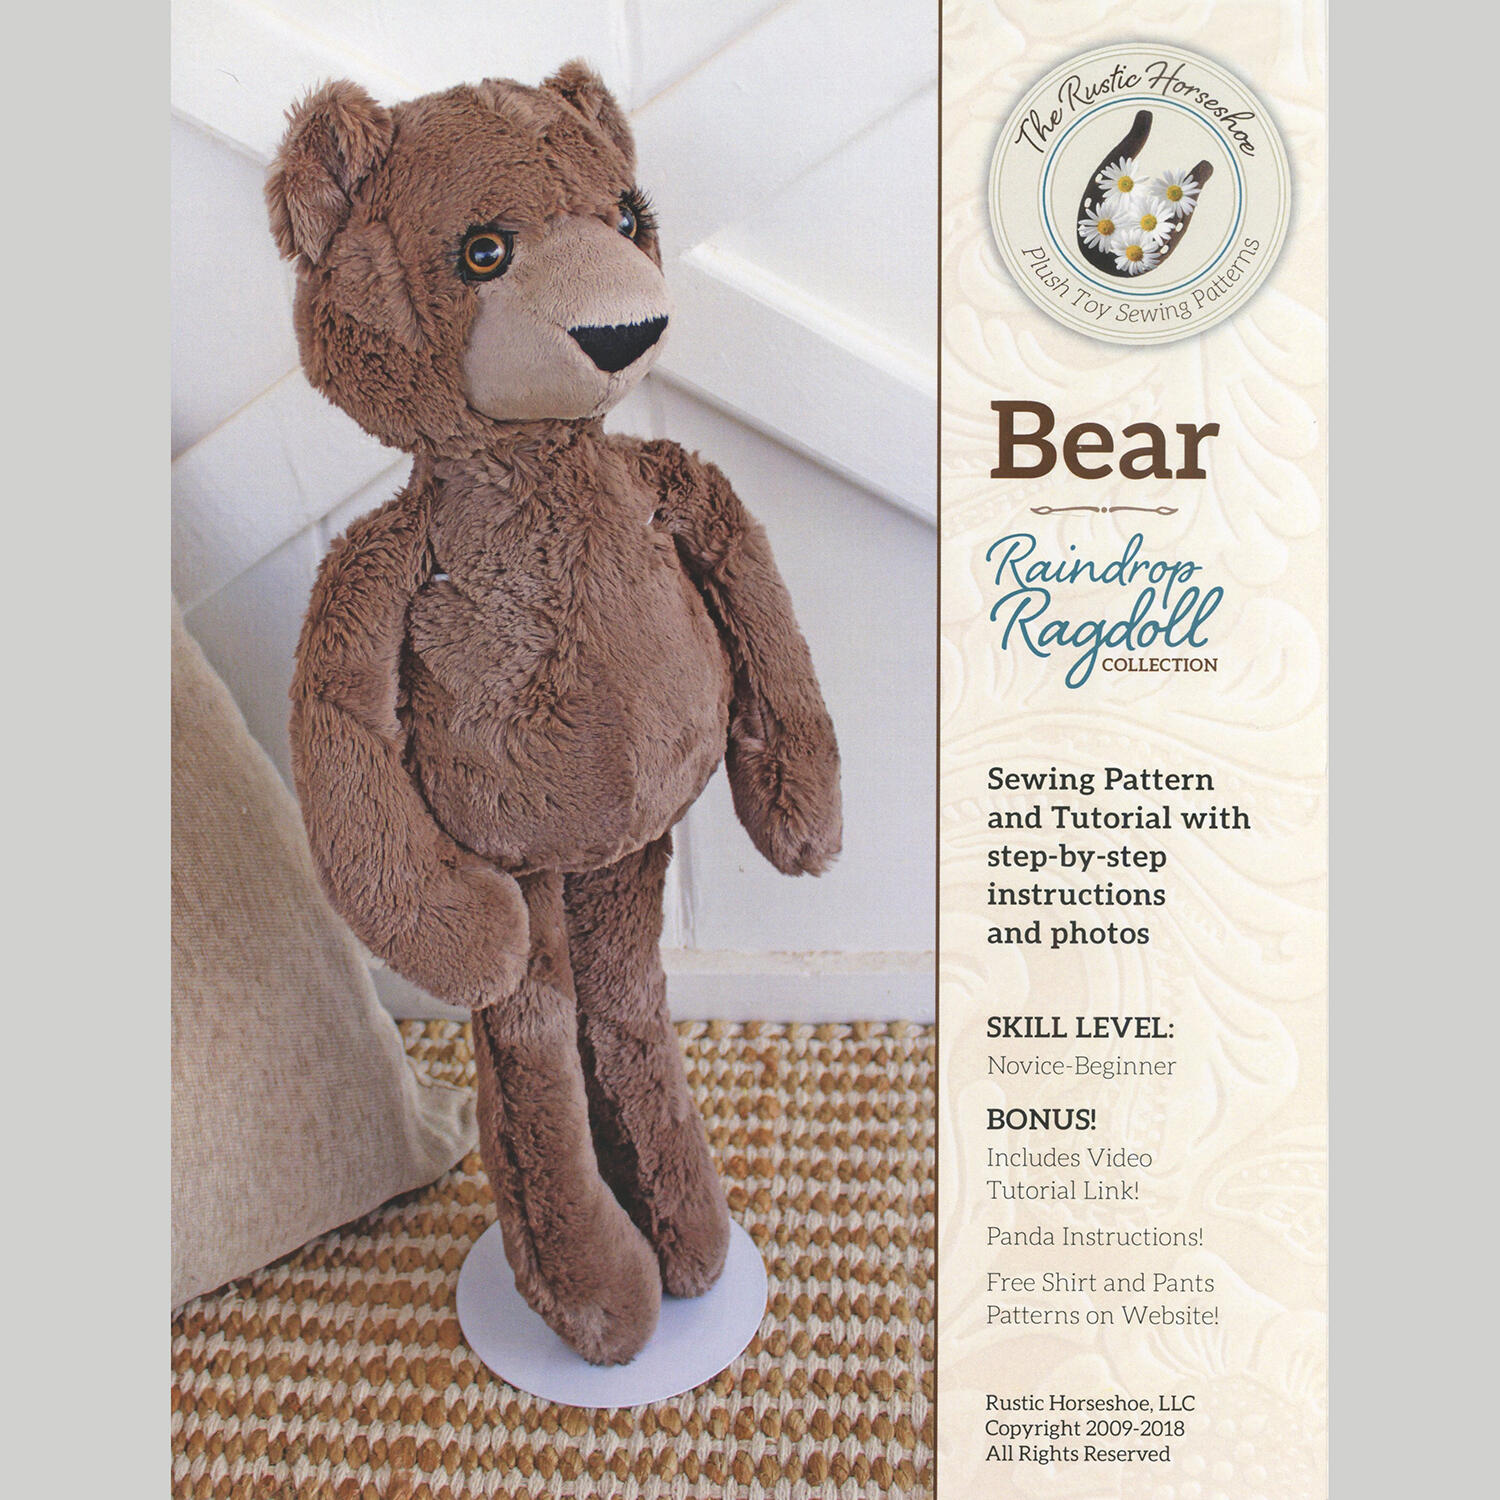 Bear Raindrop Ragdoll Pattern$16.95Shop →
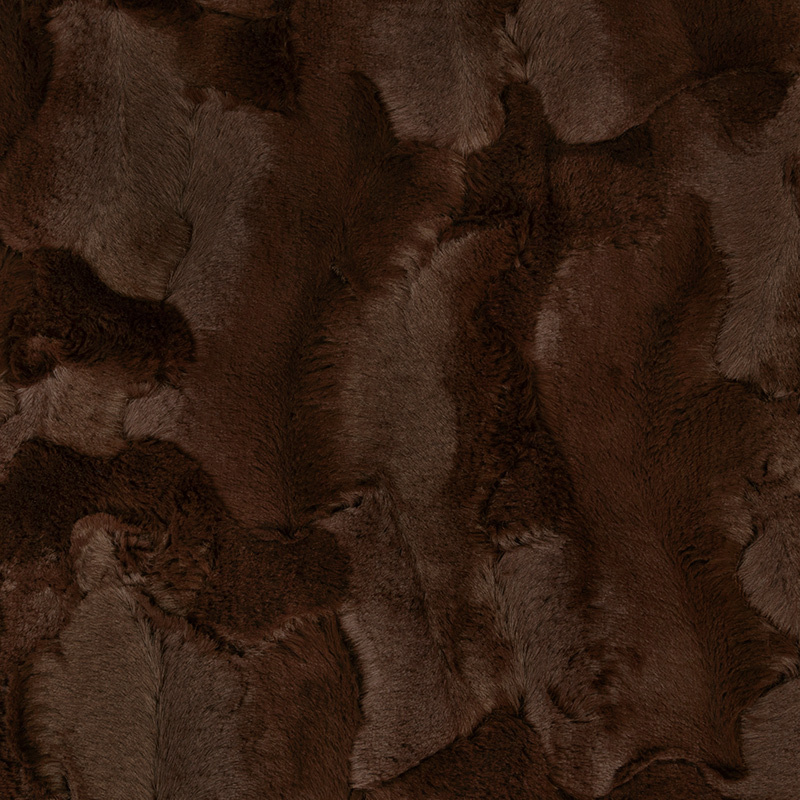 Luxe Cuddle® - Hide Chocolate Minky Yardage$20.40Shop →
 Cuddle® Solids - Latte 60" Minky Yardage$15.35Shop →
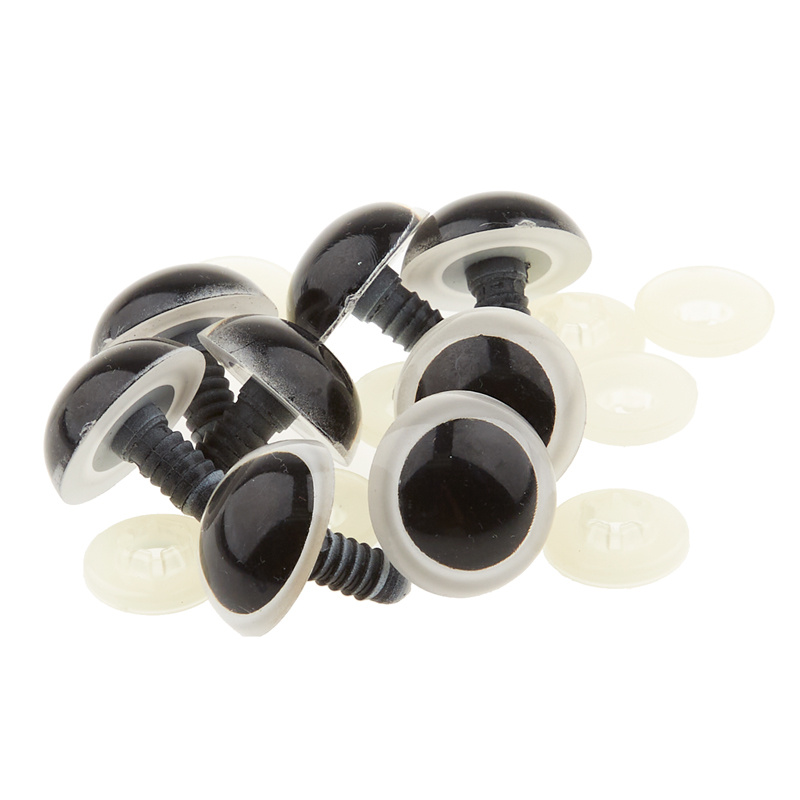 Plastic Safety Eyes - 21mm White - 4 Pairs$2.95Shop →
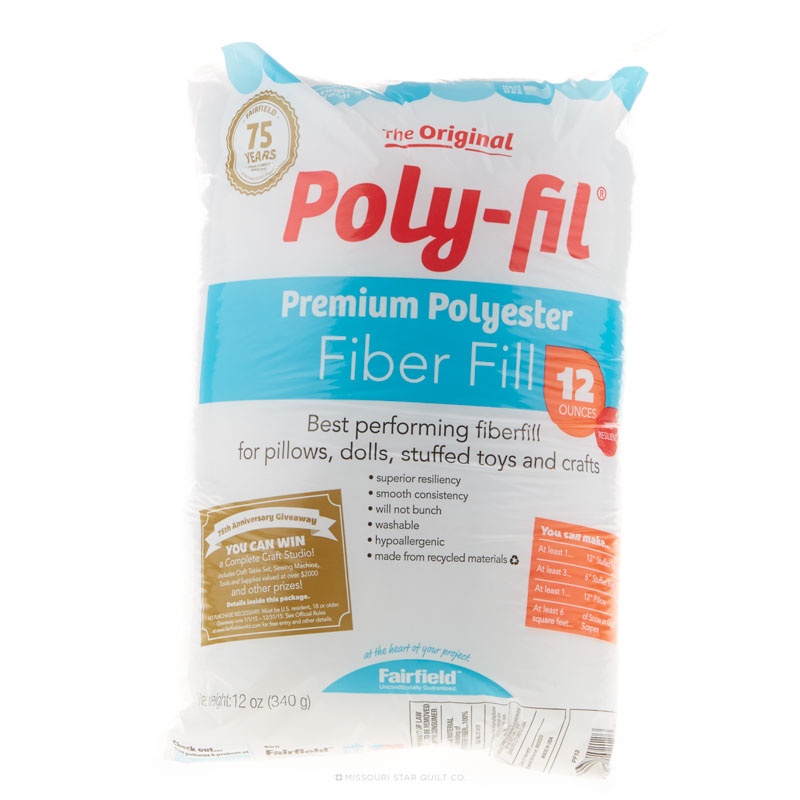 Poly-Fil Fiber 12oz$8.95Shop →
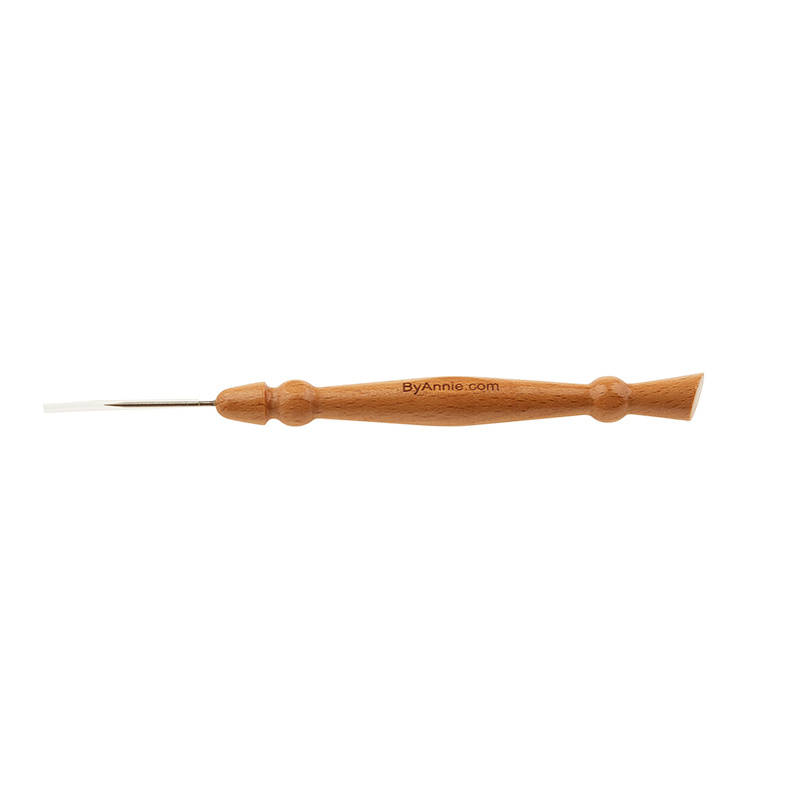 ByAnnie Stiletto & Pressing Tool$22.75Shop →
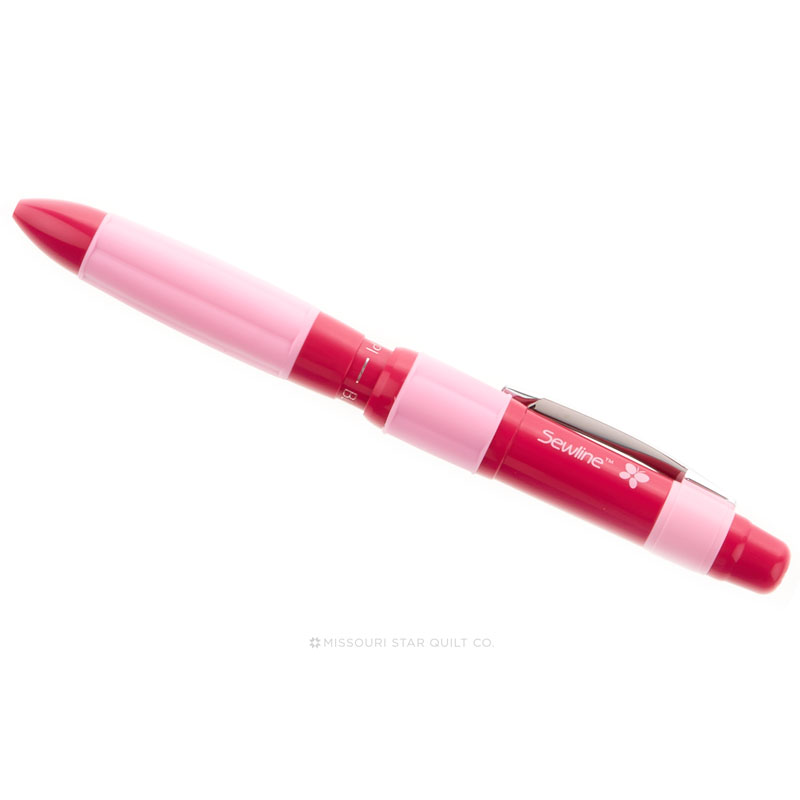 Sewline Pencil Trio$17.75Shop →
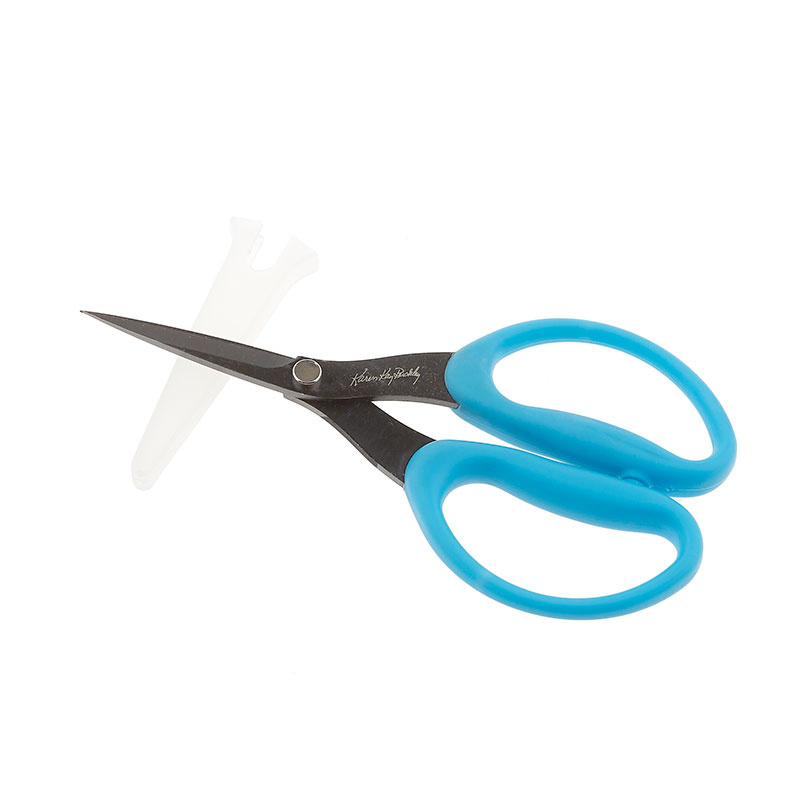 Perfect Scissors 6" Medium$33.50Shop →


