Skip to content

Free quilting video tutorials from Missouri Star

Quilting Tutorials
Lovely Lattice Quilt

Lovely Lattice Quilt

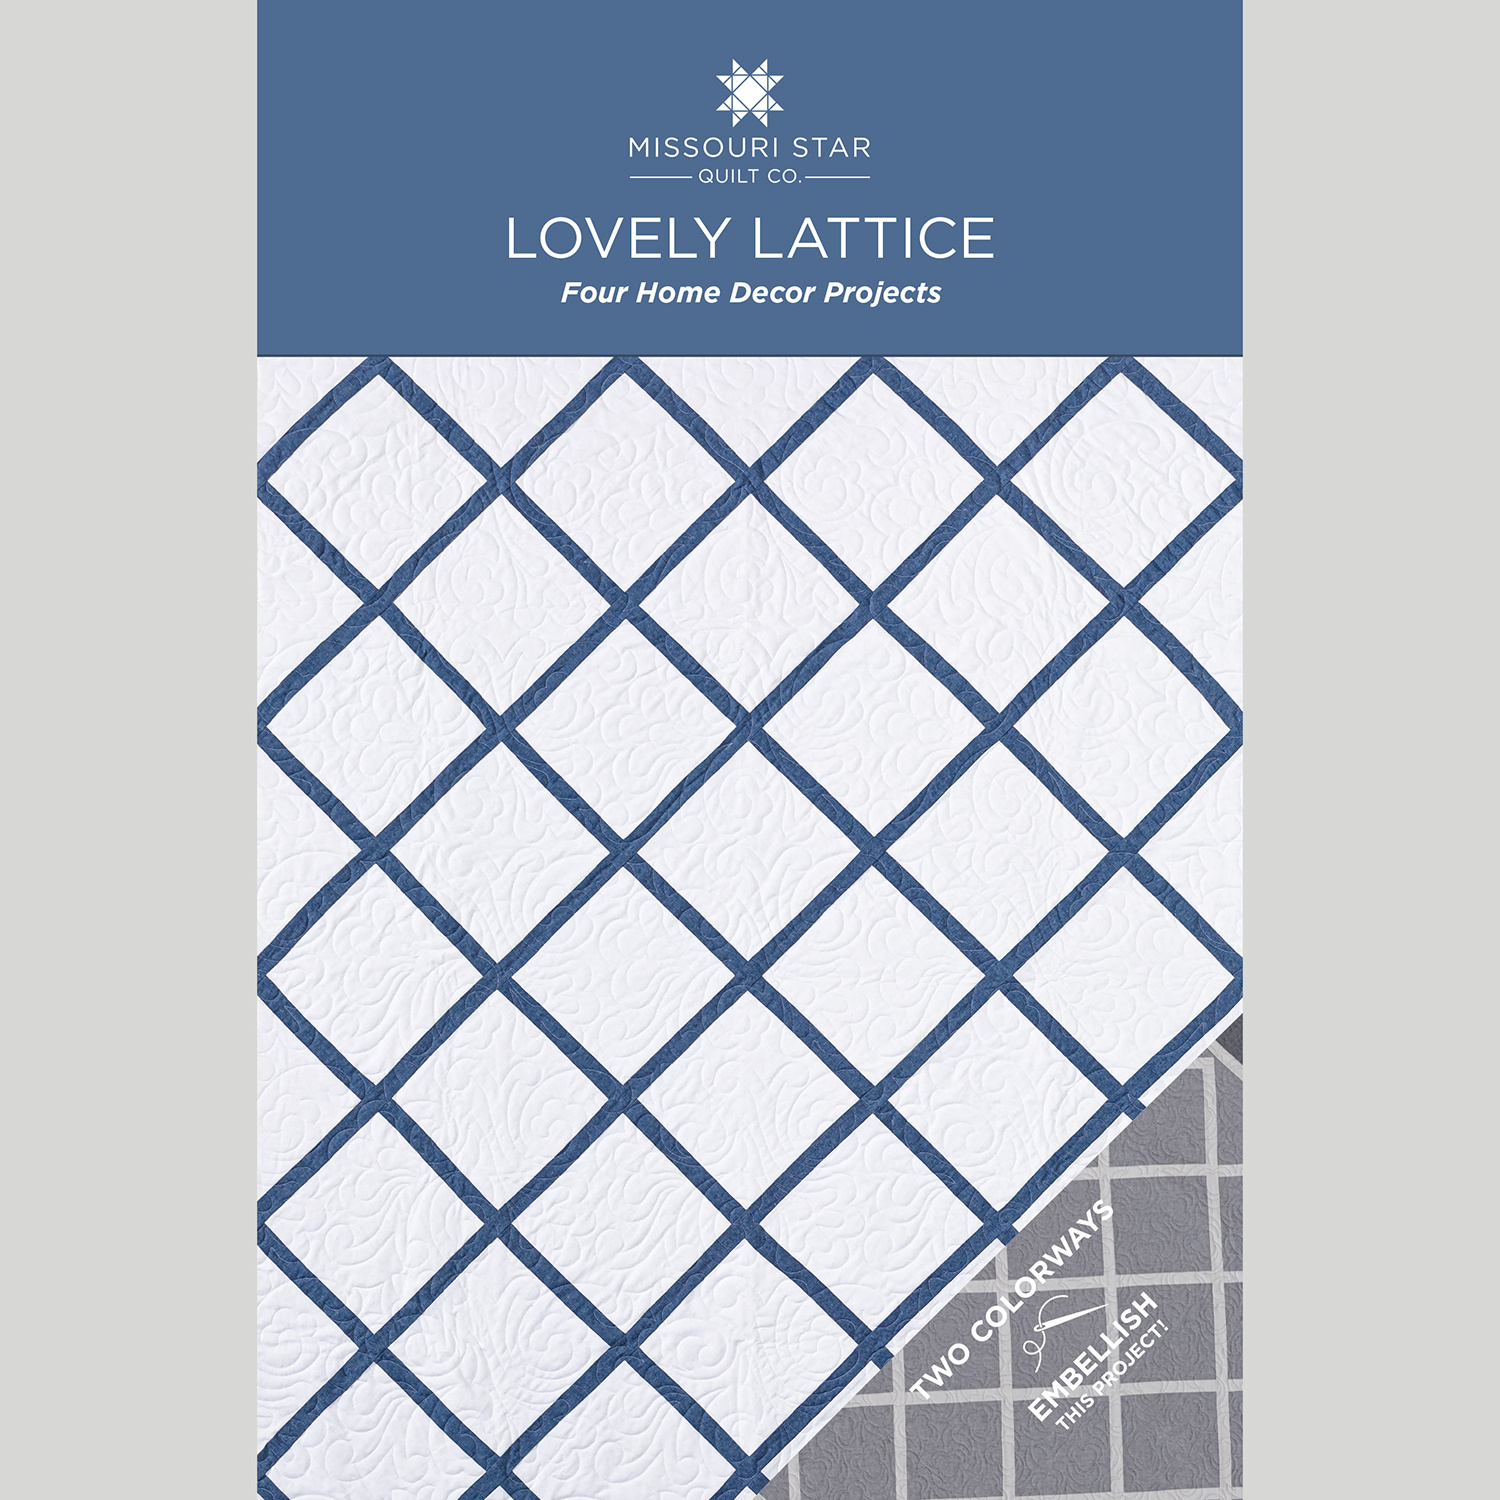
We’ve fully embraced embroidery. (And we are loving every stitch!) Now, let’s display those skills with the Lovely Lattice quilt. This quilt is like a gallery, each block a little frame for embroidered artworks. The kit comes in two timeless colorways, and the blocks are set on-point. Watch to the end to see Lovely Lattice done with pillows, table runners, and a touch of appliqué!

Instructor

Natalie Doan

Natalie is the host of Quilting 101, Embroidery 101 and the Creative Strategist and Editor of Block Magazine at Missouri Star Quilt Company. She was taught how to sew by her mom, of course, and began quilting when she grew up.

Common Questions

What is covered in Lovely Lattice Quilt?

We’ve fully embraced embroidery. (And we are loving every stitch!) Now, let’s display those skills with the Lovely Lattice quilt. This quilt is like a gallery, each block a little frame for embroidered artworks. The kit comes in two timeless colorways, and the blocks are set o...

How long is the tutorial video?

The tutorial video is 00:27:58.

Are supplies listed for this tutorial?

Yes. The tutorial page includes the supplies and materials connected to this project.

Video Transcript

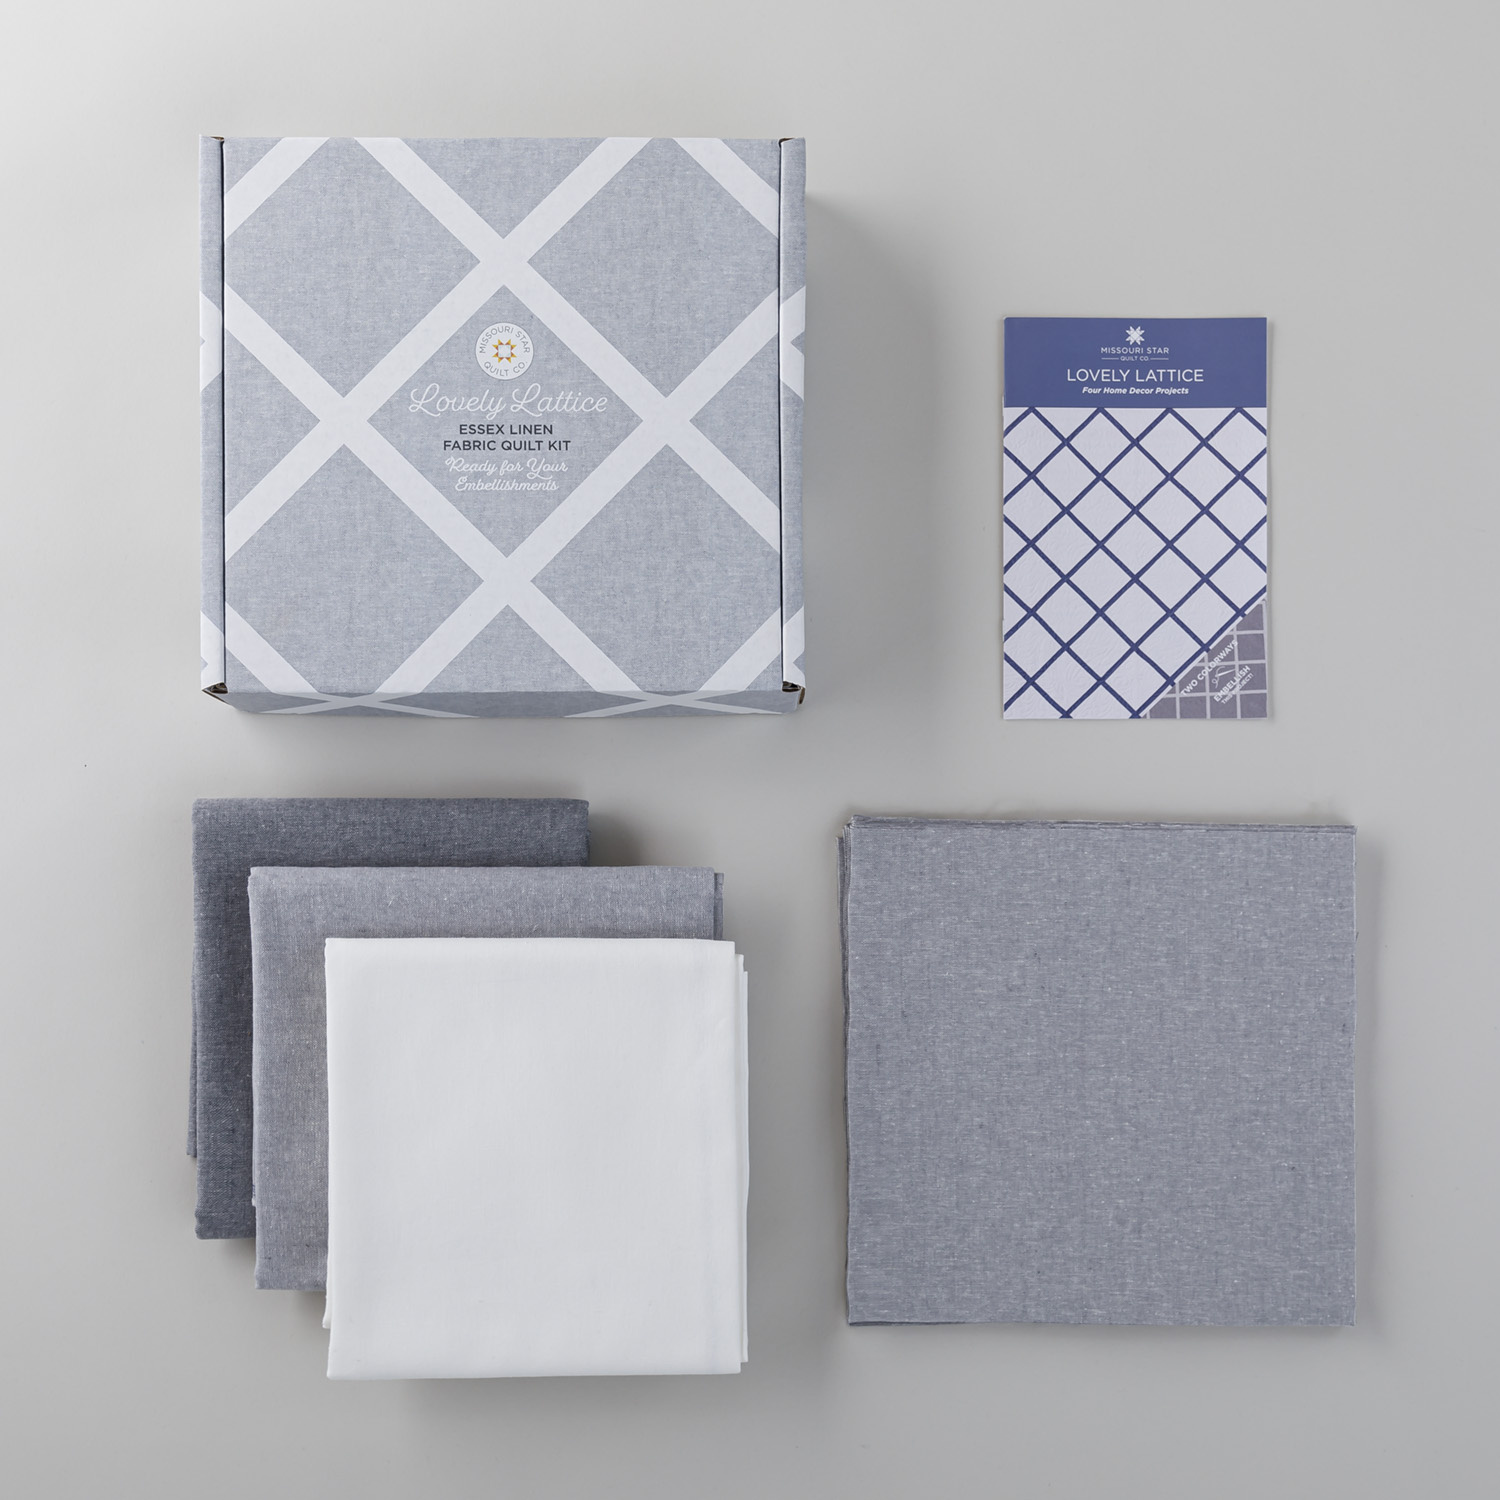
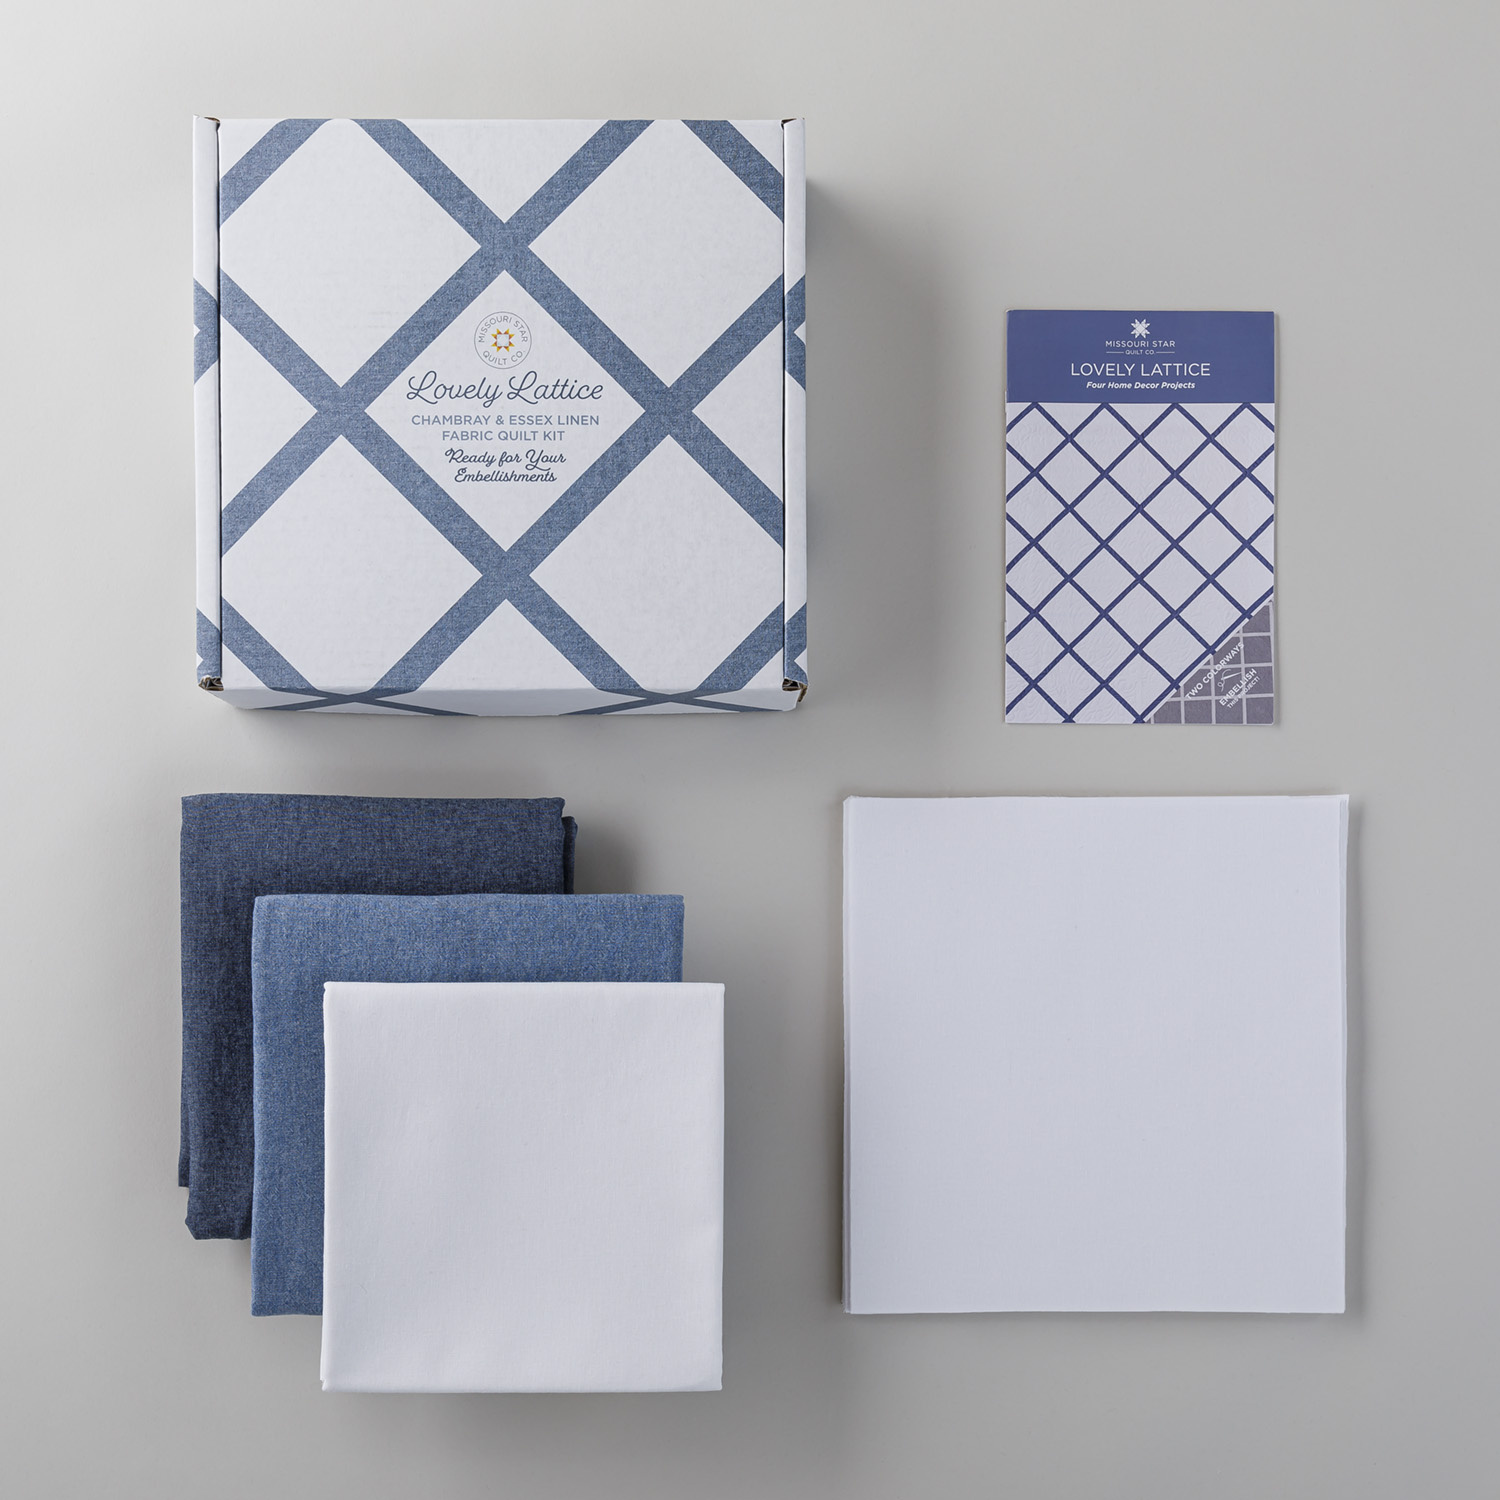
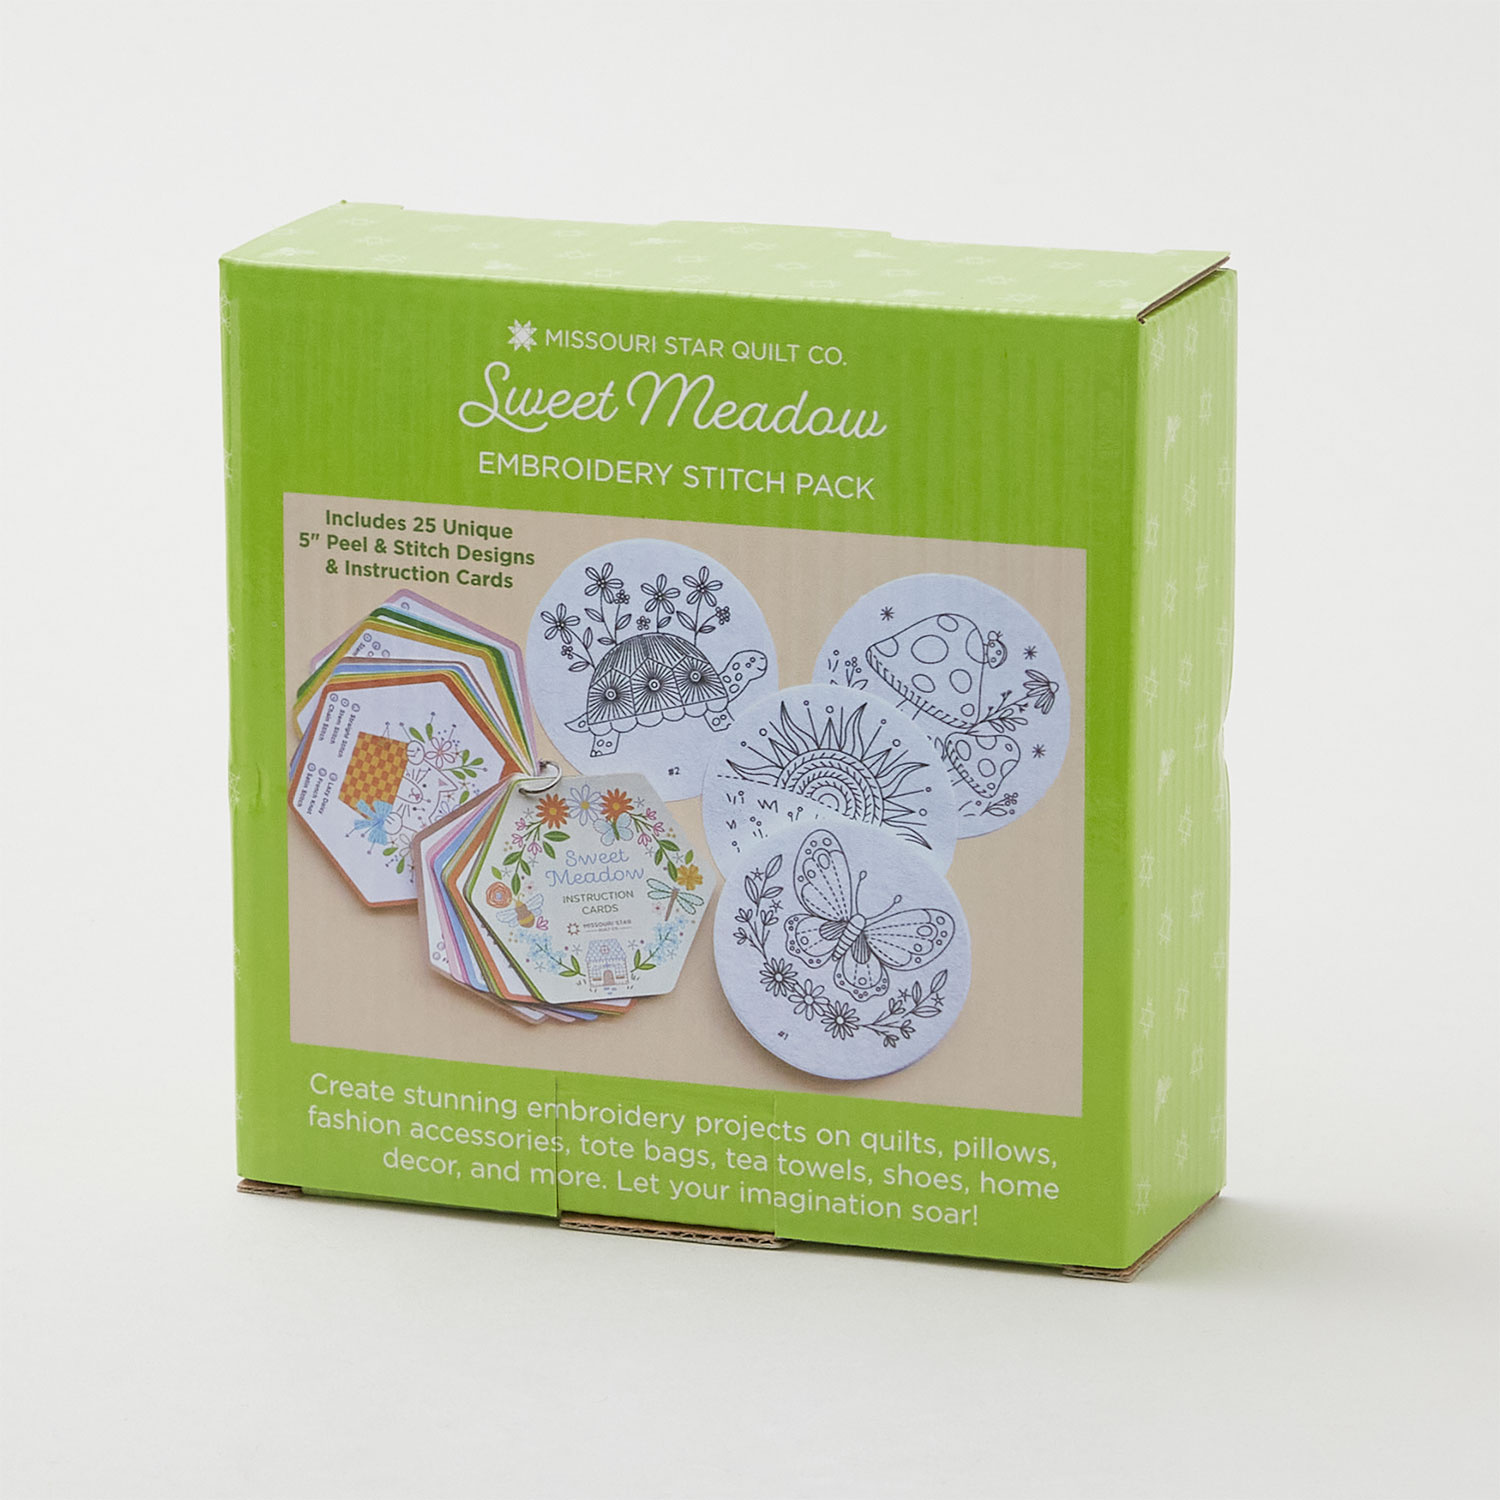
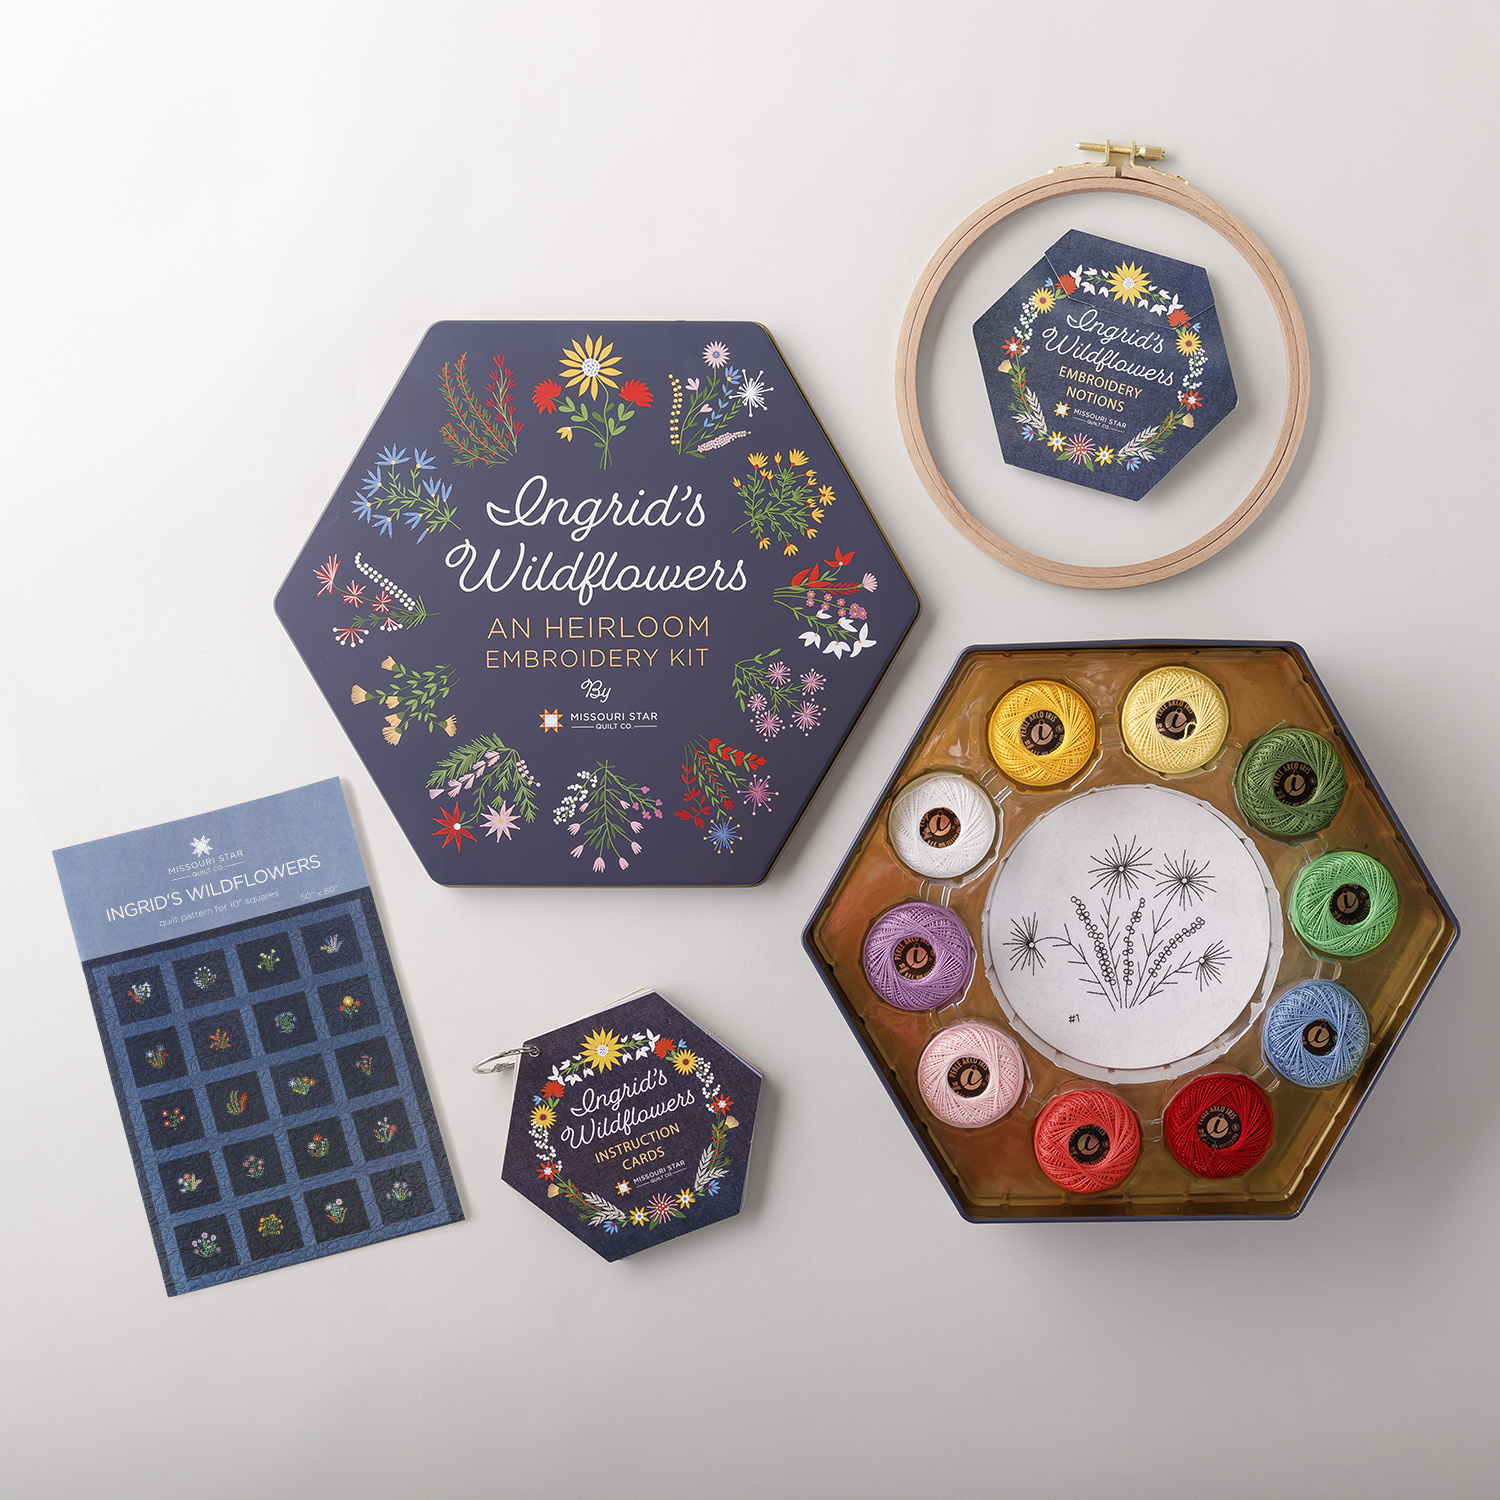
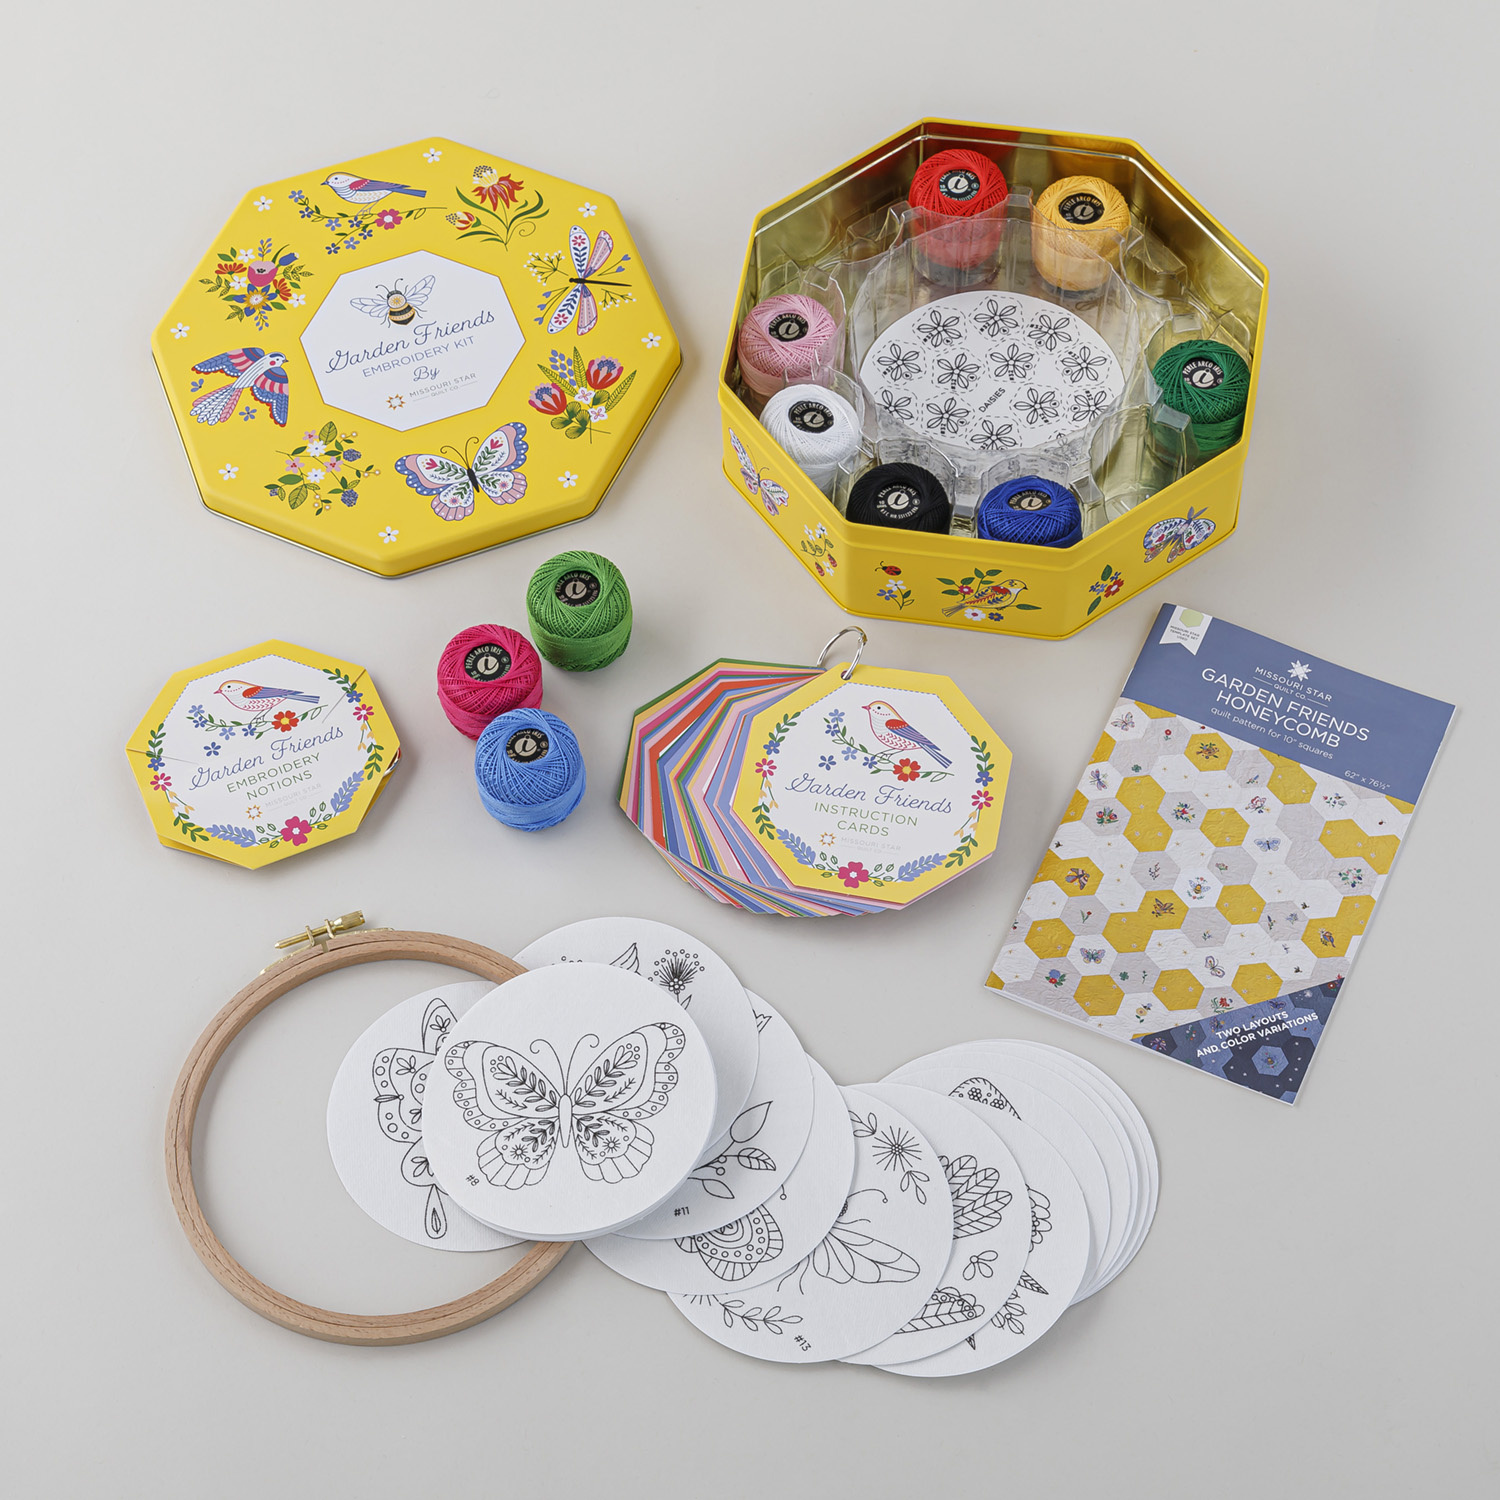
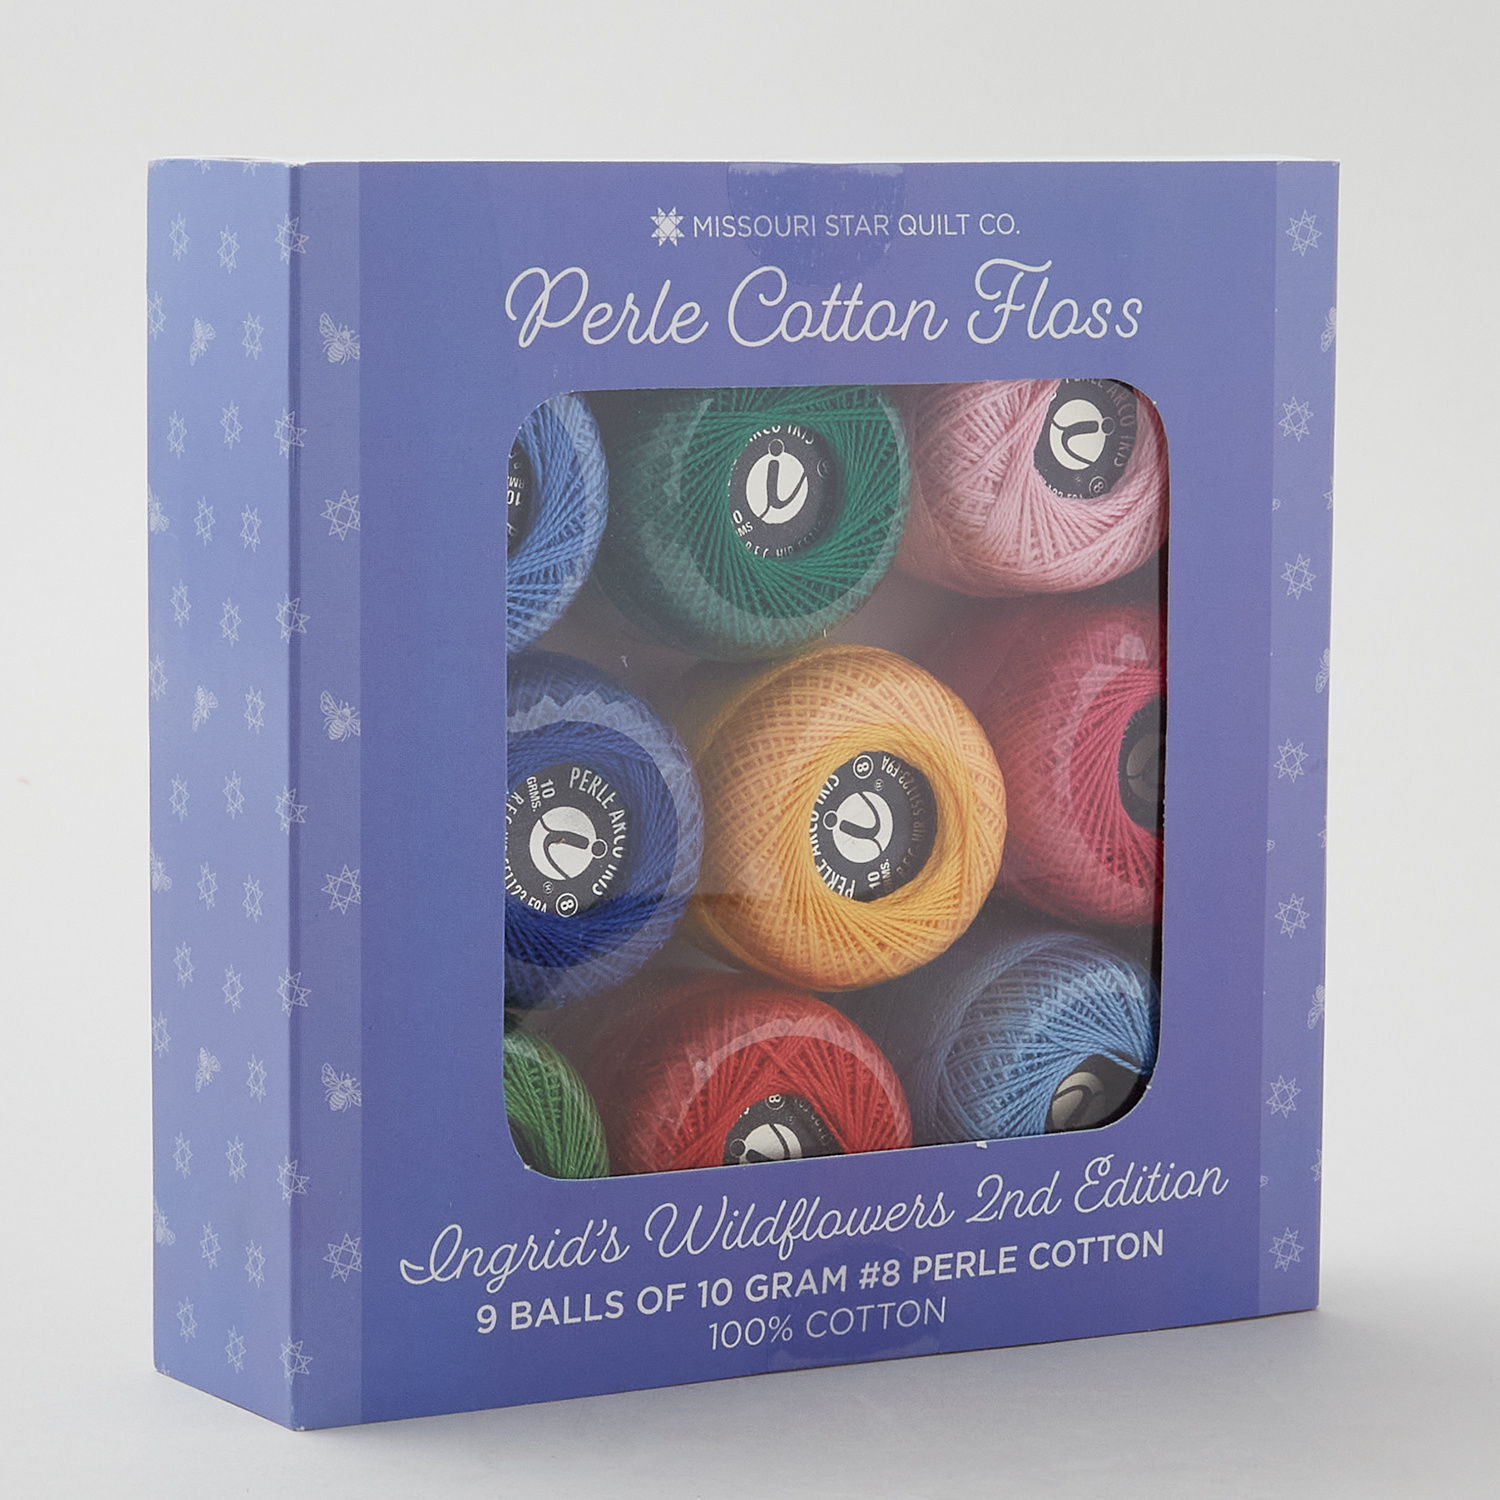
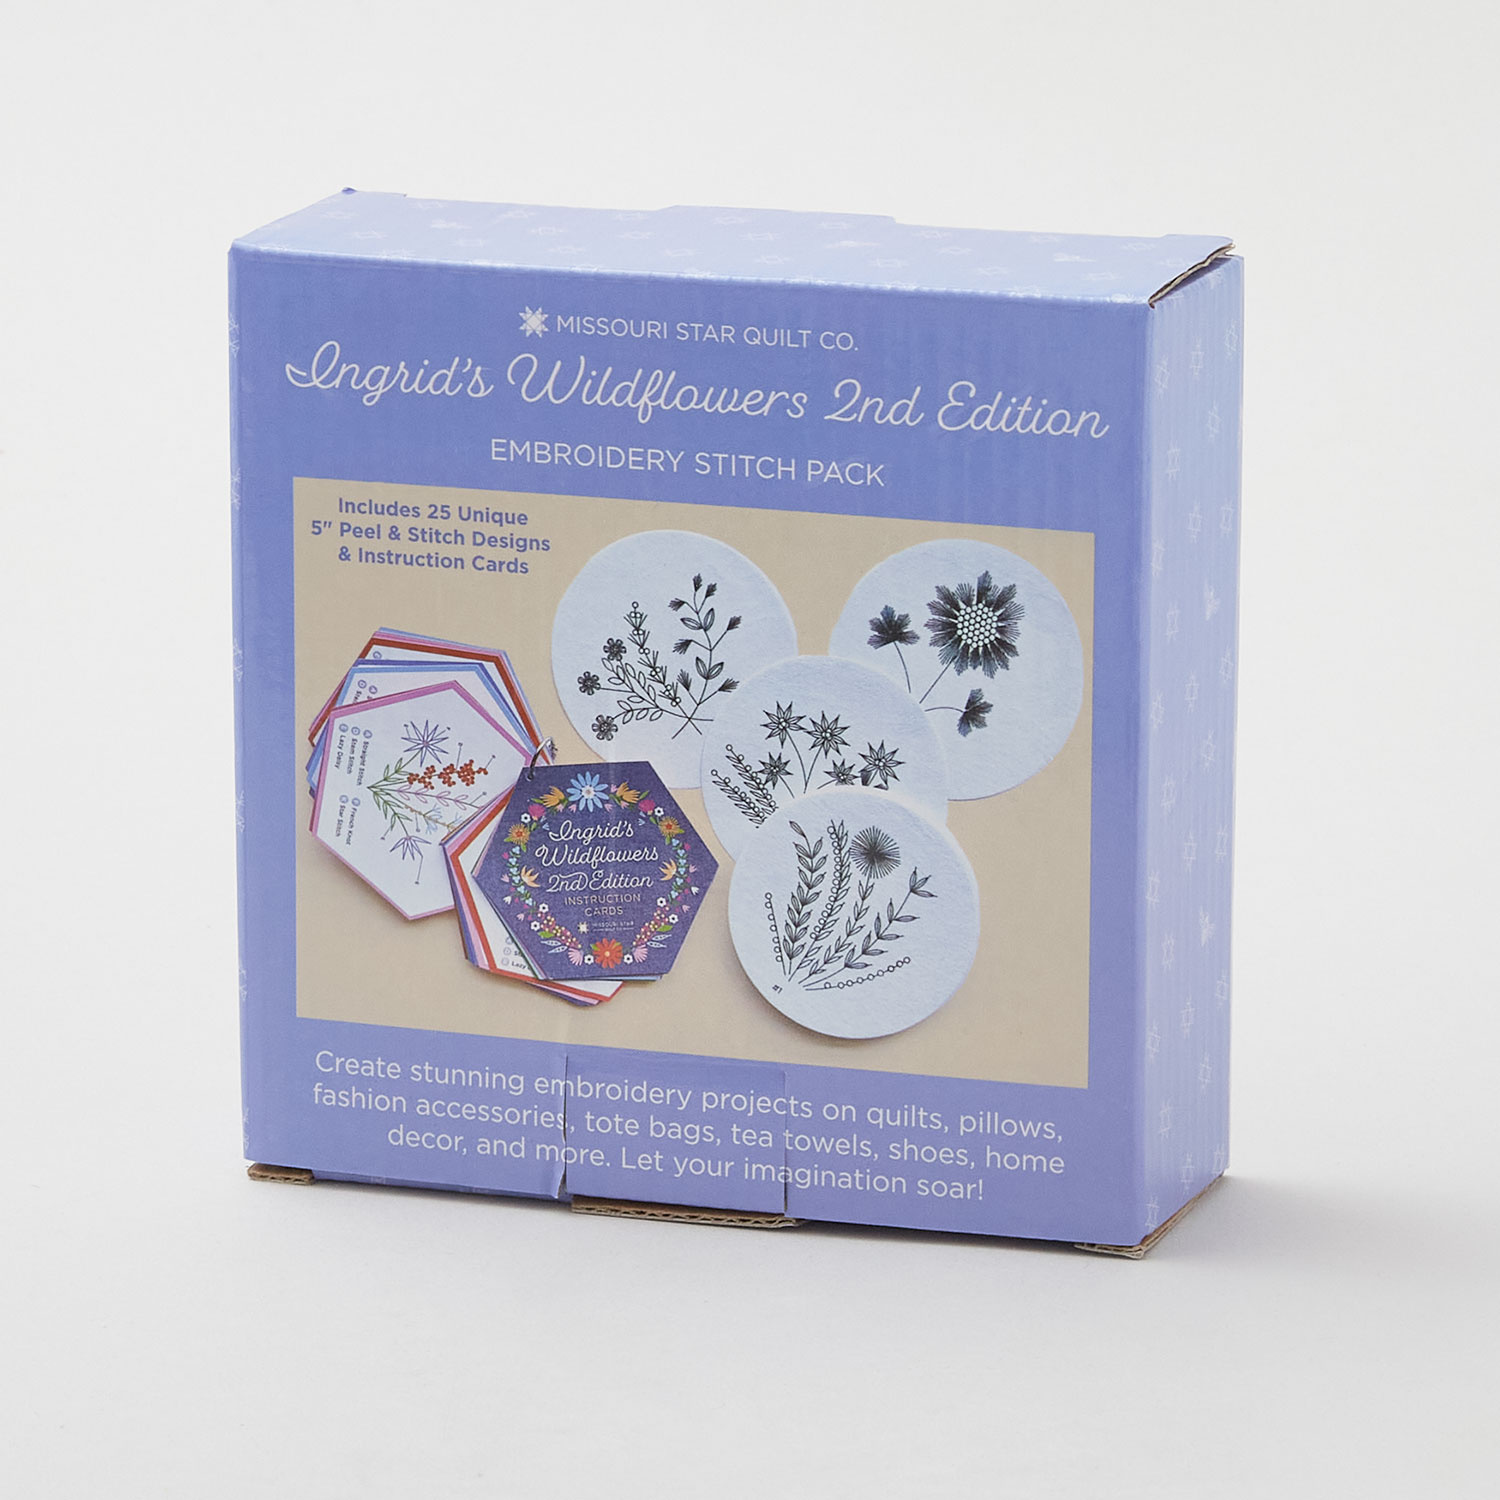
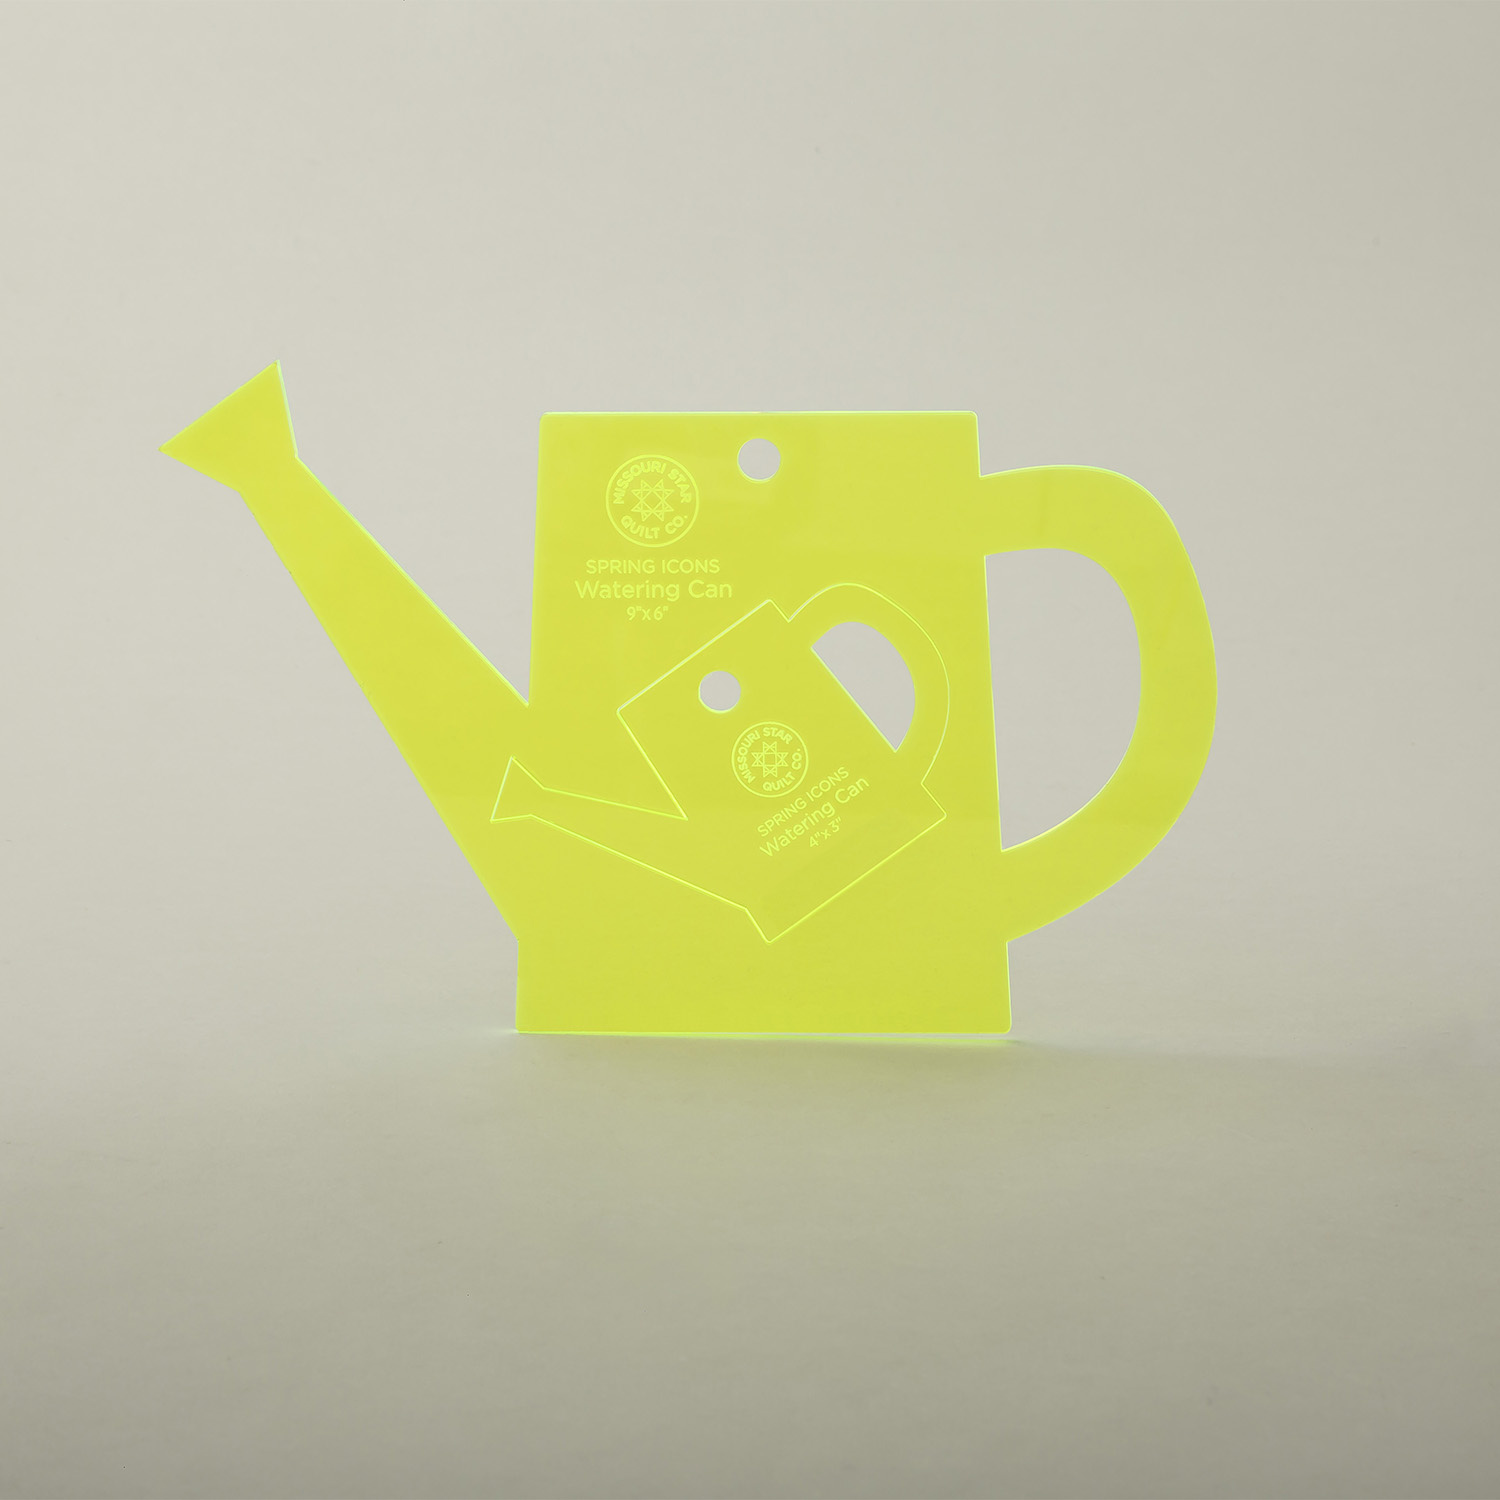
[Music] hi everybody I'm Natalie with Missouri Star Quilt Company and I have a great project to teach you today so we have come up with these beautiful lovely lattice kits we're so excited about our embroidery and all of the fun embellishing ideas that we have that we thought it would be great to put together a kit that helps you take that just a little step farther and set those blocks on point so it looks really amazing so the first thing you'll want to do is choose your embroidery or your embellishment now we have really lovely kits put together for those and we've got a couple of new refill boxes we have this one called sweet Meadow that comes with beautiful little designs for babies lots of little baby animals you've got Turtles and foxes and raccoons and they're just so cute and then we have ing's wild flowers um heirloom second edition so we have more of her flowers we have flowers for years that she just came up with so many original designs and we just want to keep sharing them because they're so fun to make and I mean I love them so once you've decided what you're going to embellish your quilt with you'll want to choose your thread color and then you'll want to choose your base so our our lattice kits we've got one in this light gray and then one with white and you can see the light gray on the wall behind me here and then the white one has this lovely chamber sashing so it's beautiful you could really put anything you want to on these quilts all right let's open up our kit and see what's inside so it comes with this this really lovely pattern it's very detailed gives you all the information you need to make at least four projects you can make your full-size quilt or a baby quilt a table runner or a pillow all the numbers are in there and the numbers are in there for all different types of fabrics as well so whether you have 45s or 60s or layer cakes whatever it is that you're working with okay so not to get too complicated we're going to focus on this quilt behind us and this kit so what it comes with is32 10in squares plus a yard for your background so this includes the fabric that you need to make your setting triangles you'll be cutting 14 and 1/2 in squares and then cutting them twice on the diagonal so that's our background and then our accent fabric which includes this this is all the stashing and the inner border that's a yard and a third and then your outer border is this gray it's a little bit darker than your background Fabric and I think it looks great it makes it have like a really lovely framed effect so that is a yard and an eighth your binding and backing are not included you can use whatever you want for that there may be enough yardage in here to bind your quilt with because you really only need 34s of a yard so binding is always just kind of like H you probably have enough all righty so let's go ahead and take the quilts down and I will start showing you how to make this quilt okay so let's get started so remember in your kit you're going to get 10in squares and if you're going to add any Embellishments now is the time to do that so you'll want to do your embroidery or your applique whatever it is that you are going to put on your blocks and if they're on point remember to line it up with the midline going you know diagonally rather than Square when you're all done with your embroidery and your embellishments then you square them down to 8 and 1/2 so we'll go ahead and do that real quick with one of these just to uh just to show it let's see ah yes the square that comes out from under the table where all of our rulers are stored okay being able to square them down after they're embellished is so great because you can really cut to the area that you need and make it look super nice it it changes everything so you'll need an a few few other sized pieces so we're going to cut a bunch of 1 and 1/2 in strips some of them will cut down to 8 and 1/2 some to 10 and 1 half and then the rest are going to be used as our long sashing so we'll sew those together and then trim them to fit as we go or you can you know follow the exact measurements in the pattern I'm I'm a little bit more of a sew your sashing on and trim it to fit but um but let me show you so the best way once you've got all your stuff cut out which you know it's it's in the p pattern fairly self-explanatory but as I put it up on the wall I'll show you and talk about each piece and where they go you'll need um 14in squares that you'll cut diagonally both directions and those are going to make up all of the little side triangles and then you'll need an 8 and 1/4 inch square that you cut once on the diagonal to make your Corners so I've got um I've got some of those let's go walk through that real quick so this is our let me just double check no it's a little big on the 8 and A4 so I'm going to trim this one down cuz this is our Corner triangles we have Corner setting and side setting triangles so if you ever read that in a pattern this is what they're talking about we're going to go ahead and cut this one once on the diagonal and these make up our four corners so you'll only need to do this to two squares and you'll have all the little Corners that you need cuz they they just go out on the edges and then we'll take our big 14 1/2 in square I'm going to put this away now and this guy gets cut diagonally twice now I realized today as I was prepping this project that you could actually cut a 10in square once if you don't have quite enough to make 14 and 1 half inch squares it works the bias is on a different side so you'll have to be more careful when you're stitching but in a pin inch there's a little trick for you just so you know it comes out the same size all right so now we've got a good selection of triangles so what I'm going to do the way I like to do it is keep my stuff together so I've got my corner triangles and then my side setting triangles I have my 10 and 1/2 or my 8 and 1/2 by 1 and 1/2 sorry and my 10 and half by one and a halfs and I don't need as many of these um these are the ones you'll need the most of and then I've got some long strips that we're going to sew together for our long sashings this comes together a lot easier than than I thought it would on point is one of those ones that's like it's kind of a brain Bender it's not really harder it's just a Twist on how we normally put things together so I'm going to start laying it out always makes it easier for me and then I can sew it together no problem so I'm going to start with my corner setting triangle right here and then I'm going to add my blocks now I have a block that I've sewn um a couple of the sides on and hopefully it's not going to be too confusing so this gu is going to go here and then we're going to have another row here so we will add our side setting triangle and this one goes up [Music] here I need to put one of our 10 and a half inch ones right here to make that sashing fit okay and then I've got a sashing here this one with its sashing this [Music] one and this will have a sashing right out here and then we've got another side setting triangle and then this is where our long sashing strips come into place is right in this section so this is how I would I would start it I'm going to go ahead and um I'm going to add the top here for this piece and then I'll bring it back and show you what we'll do next if we just take it one step at a time I think we'll be able to talk through it pretty easily going to get trim that thread give it a quick little press all right all right what I'm going to do next is fold this in half and put a little finger press in the middle cuz when you're adding these triangles you kind of you kind of want to match middle out so I'm going to finger press both of these then I'll bring them back together and we're going to line up those little press marks and see how your your the corners of your triangles are going to hang off and that is so that when you join it to the next row you have enough for things to overlap and to make that nice Square Edge and remember if something sticks out funky after you're done you can trim it off it's okay it'll be fine all right so we've got this row started so now I'm going to go ahead and add this here to this side and after that I will add this one to the other side and then we'll do our next row one at a time though I don't want to overlap them all right I'm going to flip that back and add this other corner and I always line up my flat edges on these ones and then um let these little triangles kind of hang over and if you want to you can trim these I like to I like to reduce the bulk and make it look a little prettier but that's also something if you wanted to square it up at the end you could do that as well not a terrible idea I find that once you get this these Corners done putting the rest of the quilt together becomes a lot easier it's not quite as tricky and that's when my brain is like ah now I know what we're doing so I'm going to stick this right back up here trying not to stretch anything because we got some bias going on and now for this row so I'm going to I'm going to hold off on doing anything with my sashing strip that's the lengthwise and what I'm going to do is sew my sashings to each of these and join this entire row and after I've made the row then I'm going to add my triangles to the ends and so that's what we're going to do next it's kind of nice having these little sashings all pre-cut then they just go together real quick quick and easy just got a couple more seams all right so you can see how this is going to line up it looks good so now I'm going to add this little s setting triangle right here keeping my my bottom corner lined up with the corner of the row and I'm going to put one on this end as well doing the same thing but it will be going the opposite direction and because I'm a little bit uh angly challenged as they say I just want to make sure I've got this going the right direction so we'll stick this back up here this one's laid out so it's got its nice flat top top and then this one yep it's going to go just like that and now I feel confident that I can I can fold that back and take it to the sewing machine and and uh Stitch that on properly and then I'll show you just a few more rows I think we're going to we're going to get this it's going to come together real nice I kind of enjoy working with solid Fabrics because you don't have to worry about mixing up some of your squares or your getting your BL you know the row upside down they're all the same so it's great it just takes a level of pressure off all right let me get this other end [Music] okay so that is how that goes whoops think I might get some pins and pin this up just so that it stays nice I love having a board with foam that I can stick the pins right into because then everything stays exactly where I want it to okay all right so I've already gone ahead and sewn some of our other rows and I've added some sashing so you can see how this is going to look as it comes together the longest row here has uh five or six squares I believe oh I think that's not the right one hang on here we go this one's shorter and they just continue to line up just like this all right so this next row is nice and long and it's going to Mark the corner this other top corner of our quilt so I'm going to go ahead and stick that on here I've sewn the sashing on this one to both sides uh you can do your sashings kind of in whatever order you feel comfortable with um but make sure you've got your sashing on and then your side triangles so I'm going to go ahead and Stitch my corner triangle to this I'm going to do the same thing where I fold it in half and find my middle so it's going to look just like that and we are almost to the end of this here we just do the same thing in a descending version continue laying it out and stitching it together I'm going to go ahead and line up my Marks here and I think I'll just since I have these right here I'm going to stick a little pin just to keep them together pull that pin out now that I've got it secured all right all right so I've got the corner added here I'm going to pin this up and then I'm going to start assembling rows which means I'm going to go back here and add my sashing first and then put these rows those two rows together and the rest of the quilt is very similar to this you're just going to continue putting rows together so let me do this real quick all right so I I have noticed that I should have put this sashing on before I added the side triangles so I went ahead and did that and I will also suggest when you're adding your long sashing add it to the row on top so that it doesn't get um the feed dogs often pull fa more fabric through the bottom and you don't want your sashing to get all wavy so keep your sashing strips on top of your blocks and make sure and hold them just gently taut not super tight you're not pulling because you don't want to shrink it in that way either but you want to make sure that it stays a little bit um just a little bit taut all right so I've added this sashing I'm going to show how that looks we'll stick it back up here and now I can go along and I'm going to add this piece to this piece and then I'll add this row to this row and so on and so forth down the quilt and it's going to be great it's going to look so good so on this one I'm not going to worry about like finding a center what I'm going to worry about is matching up these sashings so I've got that lined up the the best I can I'm going to stick some pins in here and I'll probably look at it again and adjust when it's down on my lap I take it over to the um cutting table and take a look at it cuz what I like to look for is are they still lined up all the way through because this can be the trickiest part for me really just making sure that everything looks good and matchy the other thing I do sometimes is line it up down here and then slide it forward but honestly you kind of just have to take a breath and go with it and if it really really bothers you you can try to fix it if it's a little bit crooked but otherwise I would say just let it go don't worry about it it's not that big of a thing as long as you're happy with it that is all that matters pull that pin out now hope hope and pray it goes where it's supposed to go you should know this is a struggle for me a big struggle I have a really hard time time lining them up so I think if I was if I was doing this myself I would be very tempted to add cornerstones into my sashings and that would just make uh that would make all my sashing strips eight and a half and then I would just put a little one and A2 inch square at all the Junctions because I might rather have the seams to work with but that's a total totally up to you design decision that you can make if you want to the Cornerstone hack we'll see we'll see how I did oh one's terrible and one's okay but either way I'm fine with it I'm GNA let it go cuz you'll see what you know what I'm being picky over you probably will will look at and say oh that looks just fine your quilt is great no no sense in losing sleep over it so here we go pin this up so you can see I'm not super thrilled with this one but I think once I get this quilt quilted and borders added nobody's going to notice it it'll be all right right all right so just like magic you've got your whole quilt sewn together we're going to go ahead and add an inner border that's an inch and a half and our outer border is 4 and 1/2 in and then we quilted it in this beautiful um cotton seed pattern obviously you can quilt however you like and uh it looks beautiful I quilted right over my embroidery and my applique every time it never bothers me at all it holds it down and looks so great um so let me show you some of our embellished projects because I think they turned out awesome all right so this is the table runner that I made and what I did is I went ahead and used the Ingrid's two pack so I used our little acrylic templates cuz I thought this tiny little one was so cute you um you just do your applique just as normal put your your seight adhesive on the back and then flip it over iron it down and I did a little blanket stitch top stitch on it so that turned out really cute just like that all right and then we made this beautiful pillow um my my friend Rachel worked on it my assistant she added some felt here for these beautiful um the mushroom dots I thought they turned out so cute and the stems so you can mix and match you can add felt or Fabric or whatever and then also your embroidery and I know so these these little corner squ is I think it was a bit of a tricky mind thing for her when she put the embroidery on it because you have to draw a line make sure your stuff's going the right direction and then make sure that it's within the area that's going to show to get it all lined up but I think she did a beautiful job so remember in your pattern you'll get all the instructions to make any variety of these projects and uh it's going to be super fun to see what everybody else creates so I hope you enjoyed this tutorial on the lovely lattice quilt kit from Missouri Star Quilt Company thank you so much for joining me for this video today I hope that you enjoyed it and that it inspired your creativity and guys we're at almost a million quilter strong in our community so if you know of anybody that you think might like to join us and learn quilting with us bring them on in put your arm around them and tell them to subscribe to our channel so that we can all learn and and grow together [Music]

More Fabric by Yard tutorials

See all