Step into the studio with guest designer Teresa Coates as she walks you through the stunning Lucid Quilt, a pattern she designed for Crinkle Dreams. Inspired by the faceted beauty of crystals, this project plays with color value and contrast to create a dramatic, dimensional angles. In this video tutorial, Teresa shows you how to take your foundation paper piecing skills further with easy-to-use tools and even combines them with traditional piecing techniques!
Teresa Coates is nationally known sewing educator, accomplished quilt maker, travel writer, pattern designer and relentless adventurer. She wants you to fall in love with sewing. She designs her own line of patterns at Crinkle Dreams, including the Elemental Coat and complementary Quilted Elements patterns.
What is covered in Lucid Quilt with Teresa Coates?
Step into the studio with guest designer Teresa Coates as she walks you through the stunning Lucid Quilt, a pattern she designed for Crinkle Dreams. Inspired by the faceted beauty of crystals, this project plays with color value and contrast to create a dramatic, dimensional a...
How long is the tutorial video?
The tutorial video is 00:24:28.
Are supplies listed for this tutorial?
Yes. The tutorial page includes the supplies and materials connected to this project.
Video Transcript
Hi, I'm Teresa Coats with Crinkle Dreams and I'm here today to show you how to make the Lucid Quilt. The Lucid Quilt is a quilt that I designed that is specifically for beginner paper piecers and it also uses color value to really kind of play with things. So, this is the Lucid Quilt. This is the throw size which is 54x 66 in. So, this quilt is really plays off of the shades of color. So, the values. So, we have a dark fabric and then it gets lighter, lighter, and then we actually have three very light fabrics that kind of play and create this dimension to the quilt that I think is really interesting and gives it some movement. So, what you're going to need to make this quilt are six different fabrics. I use fabrics from Northcod Gradations. And I chose a medium fabric and then two darker ones and three lighter ones. This middle one here is the most important to start with and it's the one that is the one that'll kind of be a focal point for you. So this is a fabric which in the quilt is this one here. Okay. And then you can see they get darker as they go out and then they'll get lighter. So choosing those fabric colors really makes a big difference in how the how the quilt will play out and what it looks like and it gives it a lot of movement and depth which I think is really fun. Otherwise for supplies we're going to use the add a quarter ruler. So, we have a shorter one, the 6-in one, and we've got the 12in add a quarter. [snorts] And these are actually the add a quarter plus, which I really like because they are beveled. All right. We've also got a little glue stick pen, a seam roller. I really, really suggest that you use a starch alternative or starch if you'd like to make your fabrics a little bit stiffer as you're working with them. It'll make a big difference in how that fabric folds over and how well it stays in place while you're doing the paper piecing. And then of course, we've got a rotary cutter and our mat. So, when you buy a copy of the Lucid pattern, you're going to have a template sheet in there that you'll need to make copies of. You'll need to make as many copies as required for each size. So, for the throw size, we made 72 copies. And I make those on newsprint or foundation paper piecing paper. And then trim those down to about a quarter of an inch outside of the solid line. And then you're going to need your fabrics. And so we've got our fabrics A, B, C. And then because these are so close, I've labeled them as D, E, and F. Okay. So we want to keep track of which one is which. All right. So let's make our first block. So we're going to start with our templates and my rulers. And I'm going to start with the 6 in and push these out of the way just a little bit here. So I've got my ruler, my add a quarter plus the 6 in ruler. And the first thing I want to do is go ahead and fold on these lines so that I can see where I'm going to be stitching later. So this is twofold in that it helps me see where the fabric is going to go and it will help the paper tear out when I'm done. So, I'm just going to use my add a quarter ruler, line it up right against that line, and I'm going to fold the paper back. Okay. And then I just use this ruler to kind of push it down. I'm going to do the same thing over on this side. Line it up. Fold it back. Press it. Right. We'll do this for all of these stitching lines that are on the template. So, it doesn't have to be perfect because we'll still stitch from the side that we can see. We're not going to rely on these for the actual stitching line, but it will give us a little bit of guidance. It'll show us where we want to put our fabrics. Okay. So, now I've got all of my pieces marked on here. You might be able to see the fold here, and this is where our piece A goes. So, to get started, we're going to we're going to start with the fabric A here. I'm going to turn this over. Here's where my fabric needs to go. And I'm just going to use my little glue stick here to get some fabric to stick right there. So, you don't have to use the glue, but it does really help to kind of keep things in place, especially if you are new to this technique. So, now once we've gotten our A in place, I'm going to turn this over, fold it back against the line between A and B, and I'm going to trim it off. So the add a quarter plus it has a little beveled edge which makes it kind of flip a little bit so I can fold it better and it also has a little lip back here that will just bump right up to the paper and help me cut a nice quarter inch seam allowance. So, trim that. And then I'll come around to the other side. I'm going to trim that one. All right. So, now we've got our piece A exactly where we need it. We've got the seam allowances. So, then I'm going to attach it to piece B. So, one of the things to remember when you're paper piecing is that the wrong side of the paper and the wrong side of the fabric need to go together. and the right side of the fa the fabrics need to go together. Okay, so we've got the wrong side of our fabric against the wrong side of our paper. And now we're going to put our right sides together. So I'm going to take my piece here and it needs to get sewn onto here. So it'll go over here. So I'm going to put it right sides together with my A. Fold this back and I'm going to place this on here so that those edges are even because I've already got my quarter inch cut. So I know where my seam is going to be. I've got a seam allowance, so I know this is going to be in the right place. I'm going to turn this over and put a little pin in here so it doesn't move on me. All right, then we'll go over and we're going to sew this seam. Now, it's really important that we shrink our stitch length to a 1.4, 1.6, 1.8, whatever your machine does. Just shrink it down a lot because that will help to be able to tear out the fabrics later. It also secures the seam really well. So, because we're sewing through paper, it adds a little bit of dimension to each stitch. And so, doing out that tight little stitch will help a lot to keep all your stitches really tight even after you've ripped out the paper. Okay. So, I'm going to start with my needle up past this outside, the dark line. So, the dark solid line is the outside that we're going to trim later. But, I'm going to start outside of that now. Put my foot down and I'm going to aim for this line. line. And I'm going to stitch all the way across this line and then about a/4 of an inch past it. Now, as I get to about here, I'm going to take my pin out because the pin can kind of distort things and make the fabric not lay as flat as I want it to. So, now I can keep going. Cut my thread. And there we go. And now we've got our first piece sewn on. So now once we've got that done, we can take our little seam roller here. And I'm just going to push this up. Okay. And the reason we want to do this is because it's a little bit easier than taking it to the iron for right now. So we're going to use the seam roller and then we'll take it to the iron later and give it a good press. But this gives us a press that will kind of last for right now. Okay. So then I'm going to put the other piece on which is going to be on this side. So I'm going to fold it back again along that line. You can see that the paper has gotten sewn on. So I'm just going to tear the paper off here. Okay. Totally fine. And now I'm going to line another B up. And again I'm going to look at this where the seam allowance ends here and match that up with this end. Okay. I'll put a pin in. And then we'll sew that next seam. All right, flip it over. Press it out with my seam roller. Right. So, now we've got the first two blocks sewn on here. I'm going to go ahead and give it a little bit of a press just to make sure these are nice and flat. And then we can add on the next row, which is going to be the C fabric. So again, I'm going to turn it over. I'm going to turn it back on the stitching line that we folded there. Pulling back my paper, put it right along there. And then I'm going to use my add a quarter and just cut off those those seams again. Okay. Okay. So, on this side here, this is where we're going to be sewing the fabric on. This one here, we're going to trim this more later. So, don't panic about how that is. We're really worried about this piece of B that we just sewed. So, I'm going to take another piece of C or a piece of C here. And I'm going to put it on here so that it extends past past this seam allowance right here. So, where all those seams come together, need it to go past that just a little bit. When I lay this on here, I often try to just keep a little bit of an eye on that fabric underneath so it doesn't get away from me at all. And then I'll pin that in place as well. Okay. Now, again, we're going to sew it starting from outside of that line and then just following the stitching line. Okay. So, again, press it up. You can see it's starting to come together in the look that we want. Fold it back over here. Tear it just a little. We'll put this one on here. Get that ready. Okay. And now I'm actually going to use the longer ruler at this point because we've got a long stretch here. All right. So, I'm just going to bump that right up to the paper and trim it off. Okay. So, now I'll put this one on here the same way. Okay. So, I'm going to overlap that center here to make sure I've got it. Keep a little bit of an eye on it and pin it in place. All right. And let's sew that one. We'll press that over. Okay. And the thing about paper piecing that is often a little hard to kind of grasp is just how crazy it can kind of look before you trim it. So you just kind of have to go with the flow following the instructions. It'll get there. I promise this looks weird, but it's going to be beautiful little diamond. So at this point, we've got the entire top piece, and now we're going to put on our piece D that goes down here. So again, we've already pressed this up. So I'm just going to tear up that paper just a little bit. And using a specialty paper really does help to tear it easily. So a lot of times people want to use just their regular printer paper, but this newsprint will tear really easily. Okay, so I'm going to go ahead and trim this again. [snorts] Slide my ruler down. cut the rest of that. Okay. Now, I want my fabric D triangle and I'm going to put that face up again. So, my fabrics are right sides together. And then I want to make sure that the point here is going to match with the point here. So, I can kind of tell because of how I cut it. I trimmed the paper. All right. But I can kind of do a little bit of a double check here. Scoot that over just the tiniest bit. Okay. Do a little double check again. Perfect. All right. So now I want to make sure that these edges are pretty close to matching. They don't have to be perfect, but I at least want to see some of that fabric D kind of popping up behind there so I know it's going to catch. One of the things that can be frustrating with foundation paper piecing is when it doesn't catch. So, we're going to do a little double check. Make sure that it's all going to work. Now, we'll sew this whole seam right here. Okay. Good. Now that I've got both sides sewn together, I can press this up a little. Okay. And I've got all my points coming together really nicely in the middle. I'm going to give this a press and then we'll trim it. All right. Now that it is all pieced together, I can go ahead and trim it all around these edges. So, I can trim it with my add a quarter, but you need to make sure and always do it from the thicker side. Okay? And I can just line this up right along here with the add a quarter ruler. You can see a little line in there that should line up with the stitching line that the dotted line here. Okay? So, we can do that or we can use a regular ruler and we can line it up with the we can line it up with the quarter inch marks along that dotted line. So, this is a great way of being able to keep track and make sure that your pattern is actually printed out and you're cutting it to the right size to make sure that we're keeping those quarter inch seam allowances. I'm just going to trim these off right along those lines. Okay. So, the thing that I'm paying the most attention to is that quarter inch and not as much the outside line. They should absolutely be the same place, but just to make sure, that's what I like to keep keep my eye on. Okay. All right. And then once we've gotten that trimmed, we do have some little trim marks here at the corners that we're going to take off. That'll help with the alignment when we're putting this all together. All right. And there we've got our first little diamond. So now we're going to make a whole lot more of them. Because we're making so many to make this quilt, this is a great opportunity to chain piece your blocks together and then you can actually put them together pretty darn quickly and it makes it an easy kind of brainless task to just sew them together. All right, so now that we've got our diamonds made, we're going to construct the columns for the quilt. So the Lucid Quilt is put together with four different column layouts. So you can kind of see here that here's a column. So this is column one, two, three, and four. And then this repeats throughout the quilt. So you'll make four different columns. And then however many of those columns that you need to to make the size that you want to do. All right. So let me show you how to lay out the columns. If they're noses are touching, they're the same fabric. If the backs are touching, they're different. So this is the way it'll go. So opposites and then sames and then opposites. All right. So, in the in the map that's in the in the pattern, it'll show you exactly how those go. You're just going to create each column like that. So, I know that here I'm going to have this one. Okay? Because those are going to be the same and they're going to be touching. I'll lay my diamond out. Okay? I'll verify on here which one is going to be next because they do switch around. Okay. So then there we'll put another one here. And we'll just keep going with this. The first thing we want to do is sew this little half triangle up onto here. This is the setting triangle. So I'm going to fold these together right sides together just like we always do. But the one thing I want to do is make sure that this point of my pattern is aligned on both sides. [snorts] The point for this fabric will extend beyond it. So I just want to make sure that it's in the right position and then we'll we'll sew it. So we're going to do this just like we did before. We're sewing right on the line and starting before and after that dotted line. Okay, I am going to make sure and keep that in place because it's really hard to see that underside. So, we want to make sure that this edge stays nice and even. All right. So, put this in. Start back here at the very edge. Get my needle down. Take a little stitch. Make sure it's in the fabric. We'll stitch right along that line. All right. Okay. So now that's how that first one will work. What I suggest when you're putting this together is it's really helpful to do all of the tops of the columns just so you can kind of keep them in order easily. So, now that we've gotten that one sewn, we're going to sew the next one on. So, I'll flip it like this. And then what I want to do is make sure that this edge here is matching with the end of the fabric. So, going to get these two match up there. Match up along that raw edge. Okay. And I'm going to sew right along there again. All right. So, now you can see how this is going to start going back and forth and back and forth. Before we do this next one, I actually need to take the paper out of the seam here. So, I'm not going to take it out of the whole block quite yet. I just want to take it out of the seam allowance because then I'm going to press this seam open before I sew on the next piece. Okay. So, let's do that. One of the tricks with this is that I will press it one way and then press it the other. Press it back a little bit and then open up that seam. Okay. And we'll repress these after the paper comes out. But tearing the paper out of the seam allowance will make it pretty easy. I'm going to go ahead and do that up here with this one as well. Just get it right out of the seam allowance. Now go ahead and press that seam. All right. And that'll make our our seams nice and flat from both sides. So, give it another another little press. Bring that over. And now we can see we're going to sew on the next one. This one is going to be the same sort of thing, but we want to make sure that these points are going to match up there. So, the overlap should happen so that there is a a point right here together. We're going to hope for the best and see what happens. So, I'm just going to line up that point so that it ends right at the edge of my fabric. If I stick a pin through here, it should end at the end of this point here. Okay? So, I'm not going to get too picky with each of them. I'm just going to make sure that the ends match. And then we'll pin this and sew this one down. All right. And you're going to just continue this entire way to make each column. So once you've got all of your columns together. Here's our column one, column 2, column 3, column four. You're going to sew these together in pairs just with a straight stitch. And then you're going to sew those pairs together so that you have four columns put together. Then you sew those columns together. And in this one, this is the throw size, which is 54 x 66. And we have three of those four sections. So we've got 12 columns all together. And it just kind of repeats as it goes. For this one, we used a beautiful North Cot ombre backing that coordinates just just beautifully. I absolutely love that. It works so well with all of these colors. And I feel like that whole collection is just perfect for the lucid quilt. So I hope you enjoyed making the lucid quilt with me today. I'm Teresa Coats from Crinkle Dreams and you can find me on the socials at crinkledreams or on my website at crinkledreams.com. Happy sewing.


 Teresa Coates
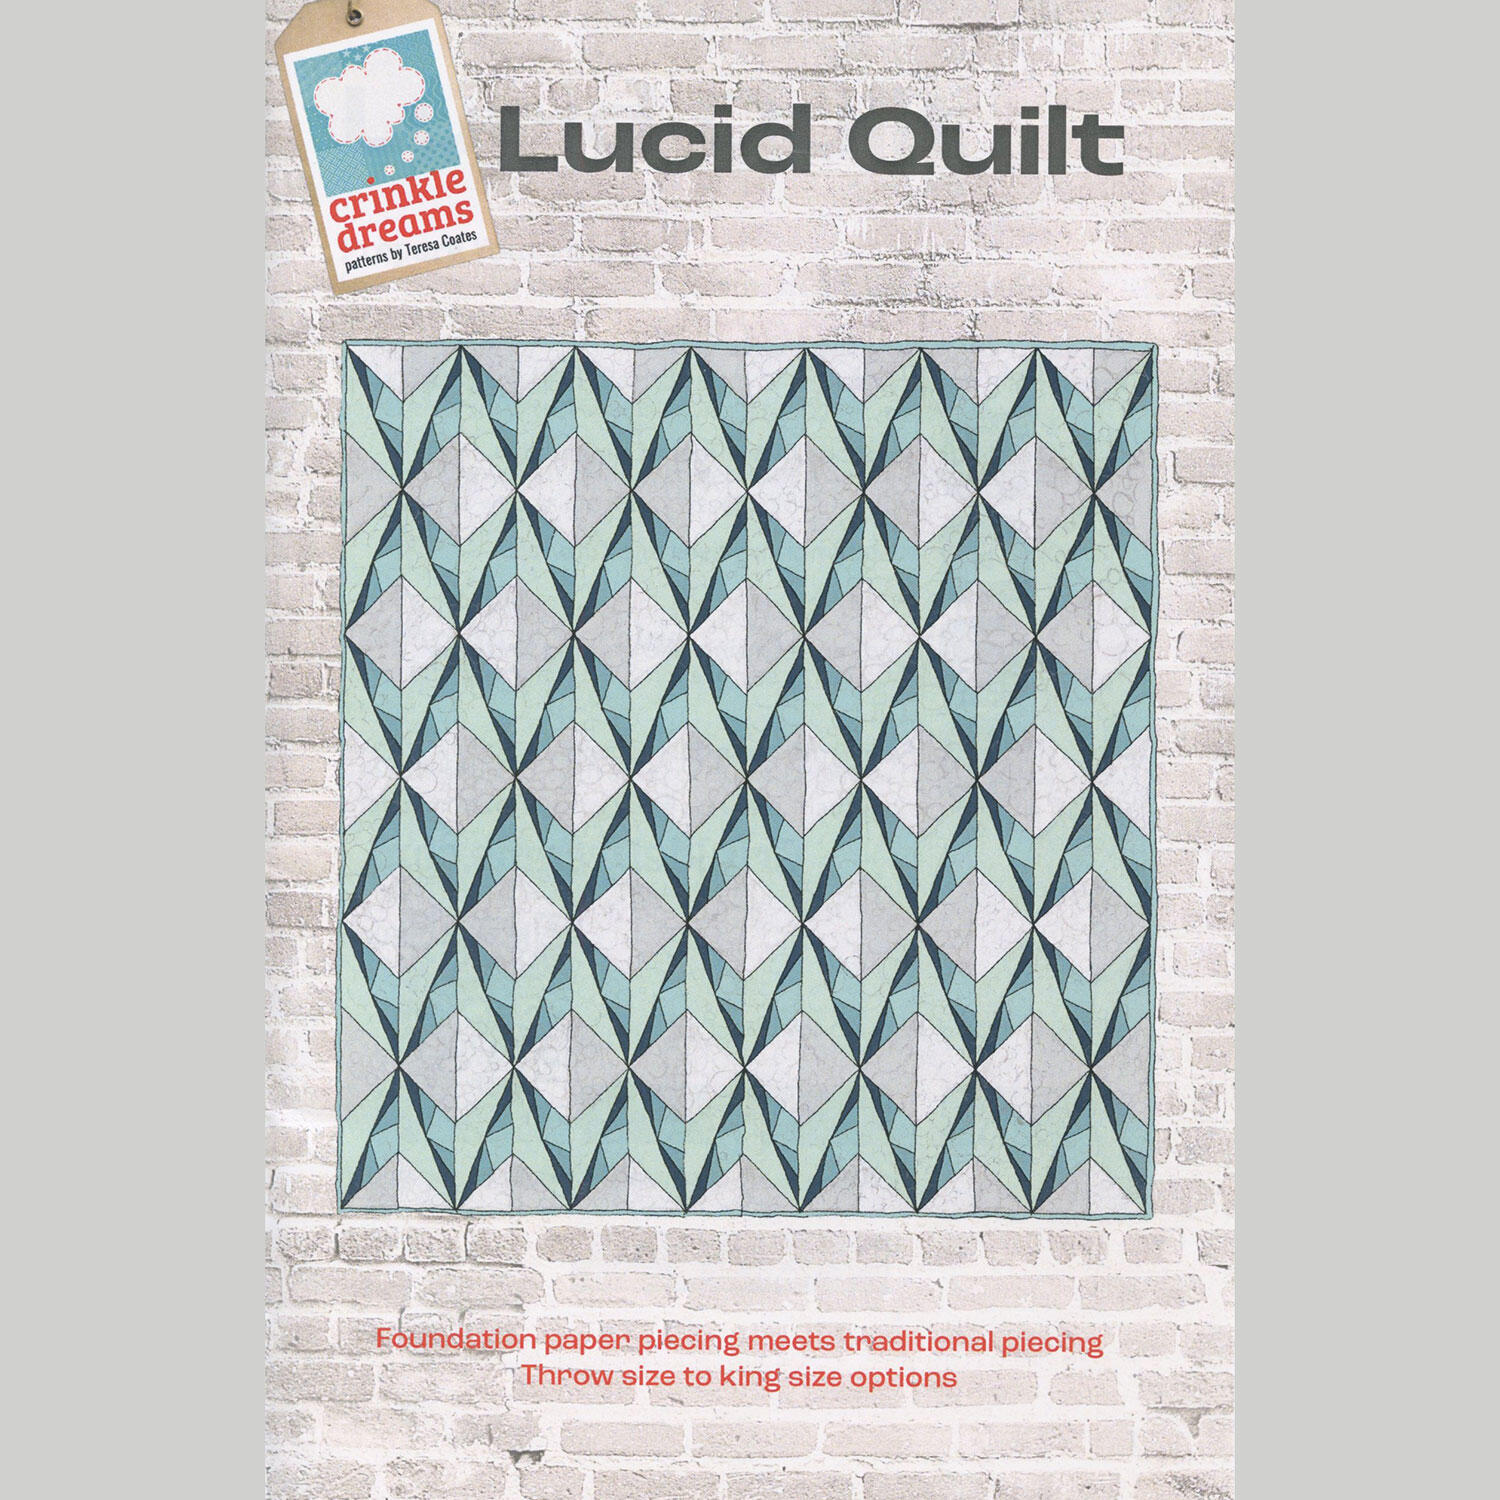 Lucid Quilt Pattern$12.75Shop →
 Stonehenge Gradations II - Slate Blue Planet Yardage$12.44Shop →
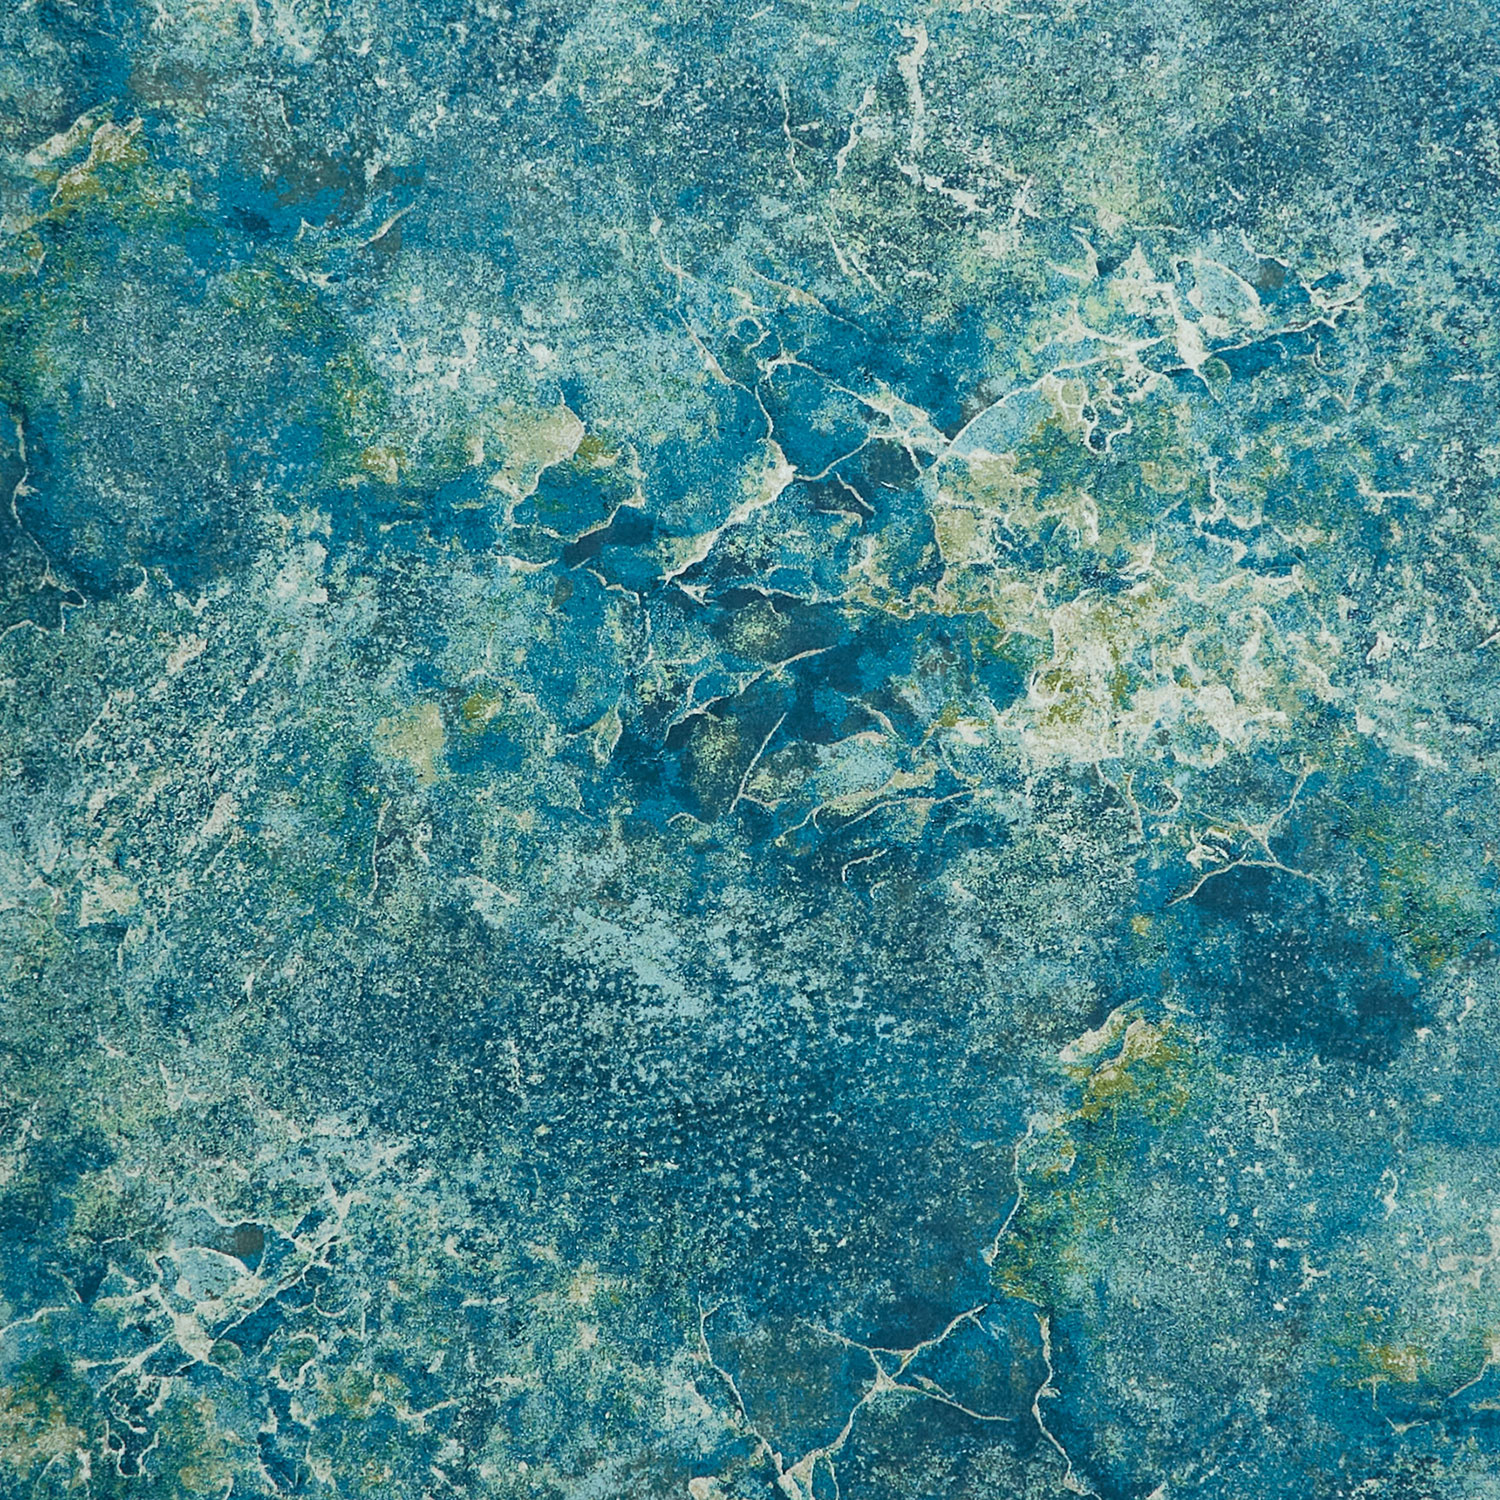 Stonehenge Gradations II - Quartz Blue Planet Yardage$12.44Shop →
 Stonehenge Gradations II - Sienna Marble Blue Planet Yardage$12.44Shop →
 Stonehenge Gradations II - Sandstone Blue Planet Yardage$12.44Shop →
 Stonehenge Gradations II - Sandstone Pine Ridge Yardage$12.44Shop →
 Stonehenge Gradations Ombre - Stone Blue Planet Digitally Printed Yardage$13.28Shop →
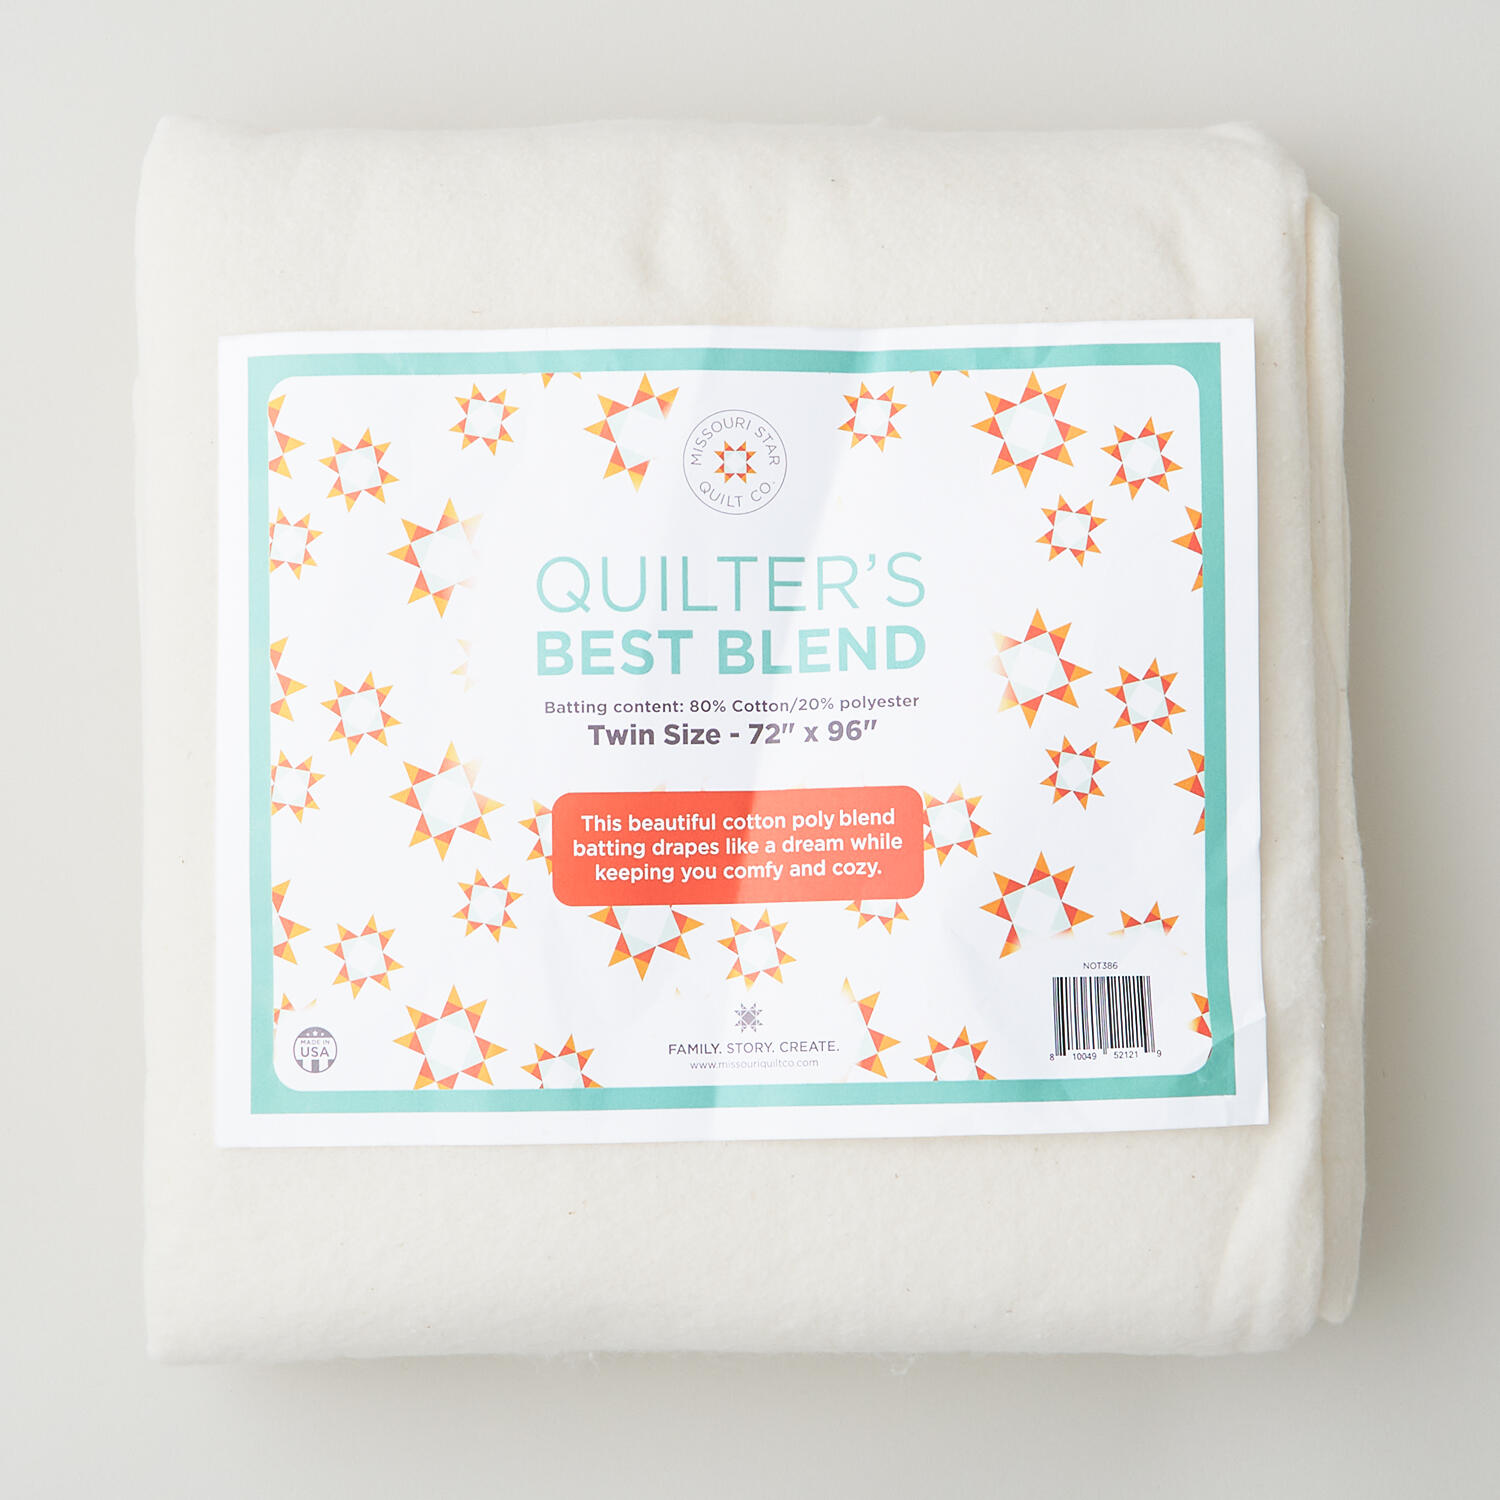 Missouri Star Quilter’s Best Blend Twin Batting$26.95Shop →
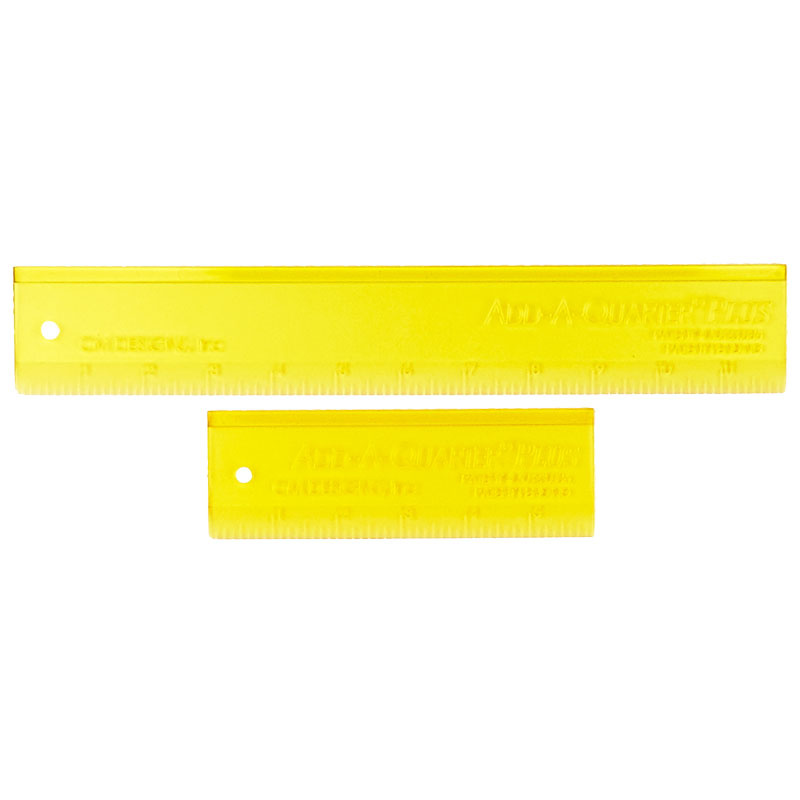 Add A-Quarter Plus Ruler Combo Pack$23.75Shop →
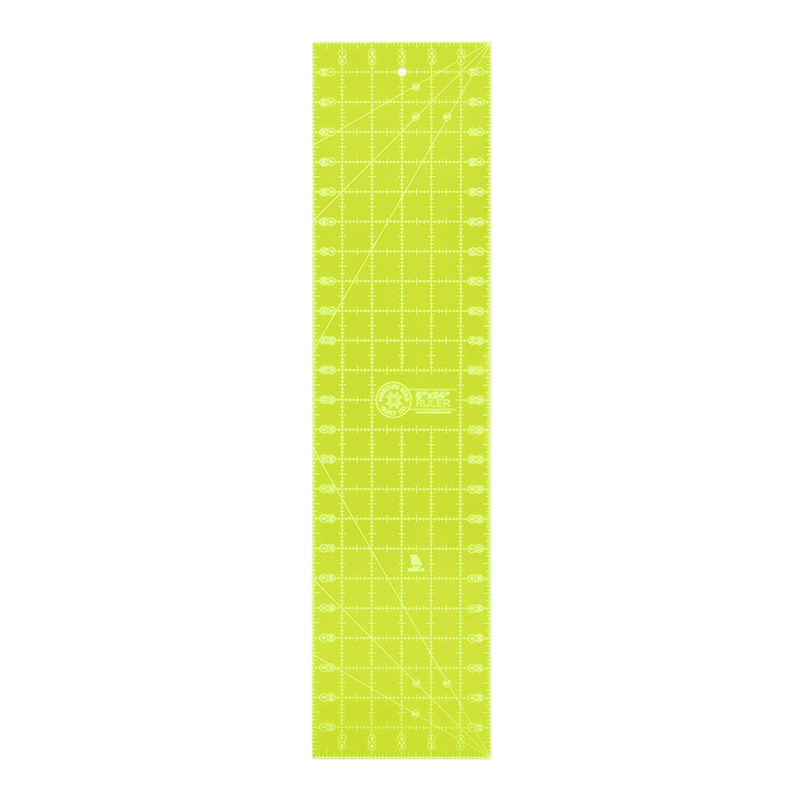 Missouri Star 6" X 24" Ruler$29.95Shop →
 Missouri Star 2.5" X 15" Ruler$14.95Shop →
 Missouri Star 50 WT Cotton Thread White$7.95Shop →
 Missouri Star 45mm Rotary Cutter - Olga$19.95Shop →
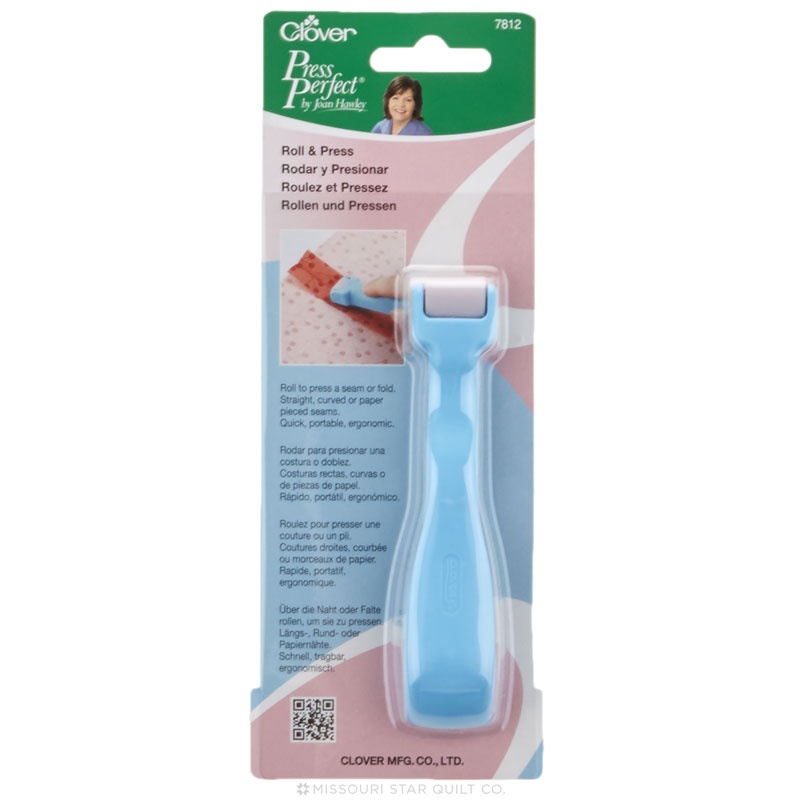 Clover Roll & Press$18.95Shop →
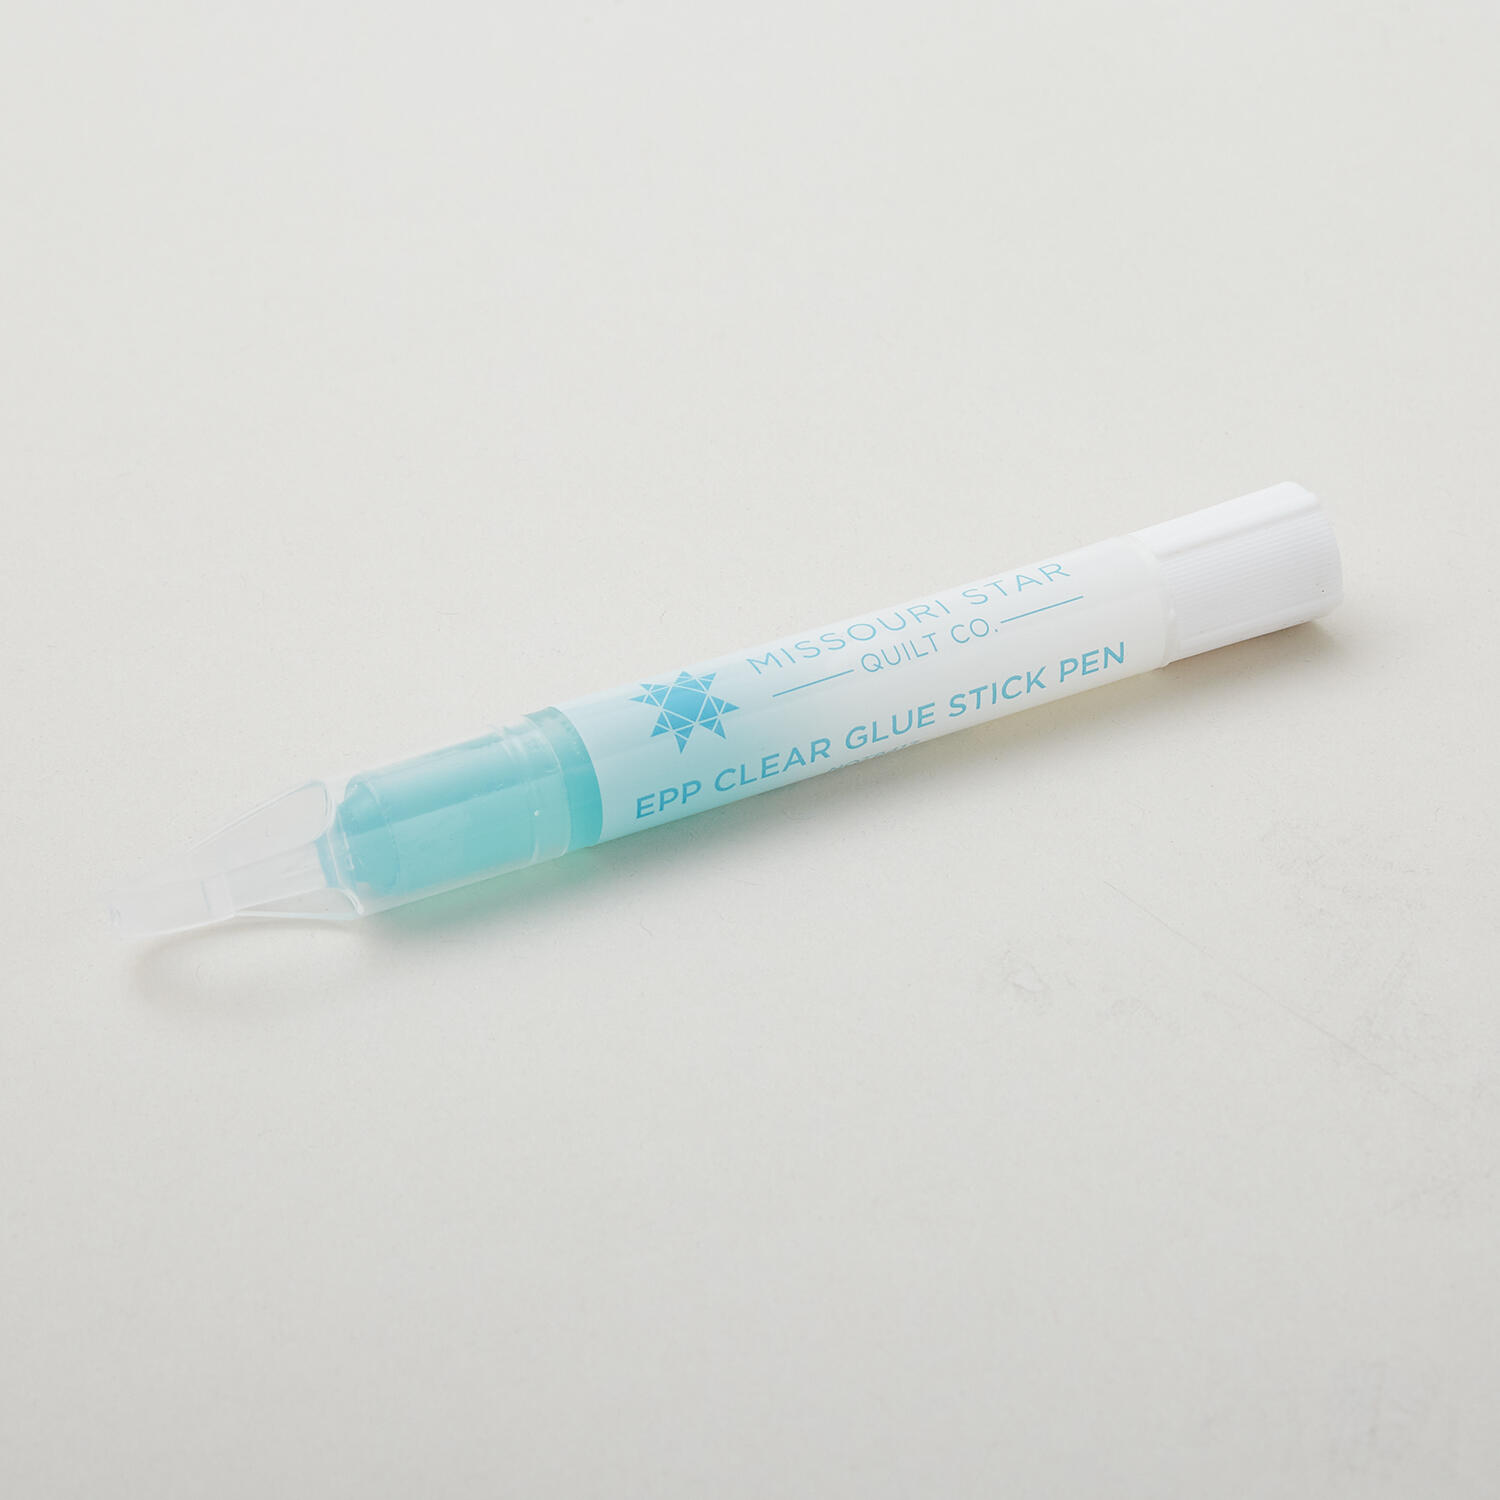 Missouri Star Glue Pen - Aqua$2.45Shop →
 Best Press Spray Starch Scent Free 16 oz$9.95Shop →
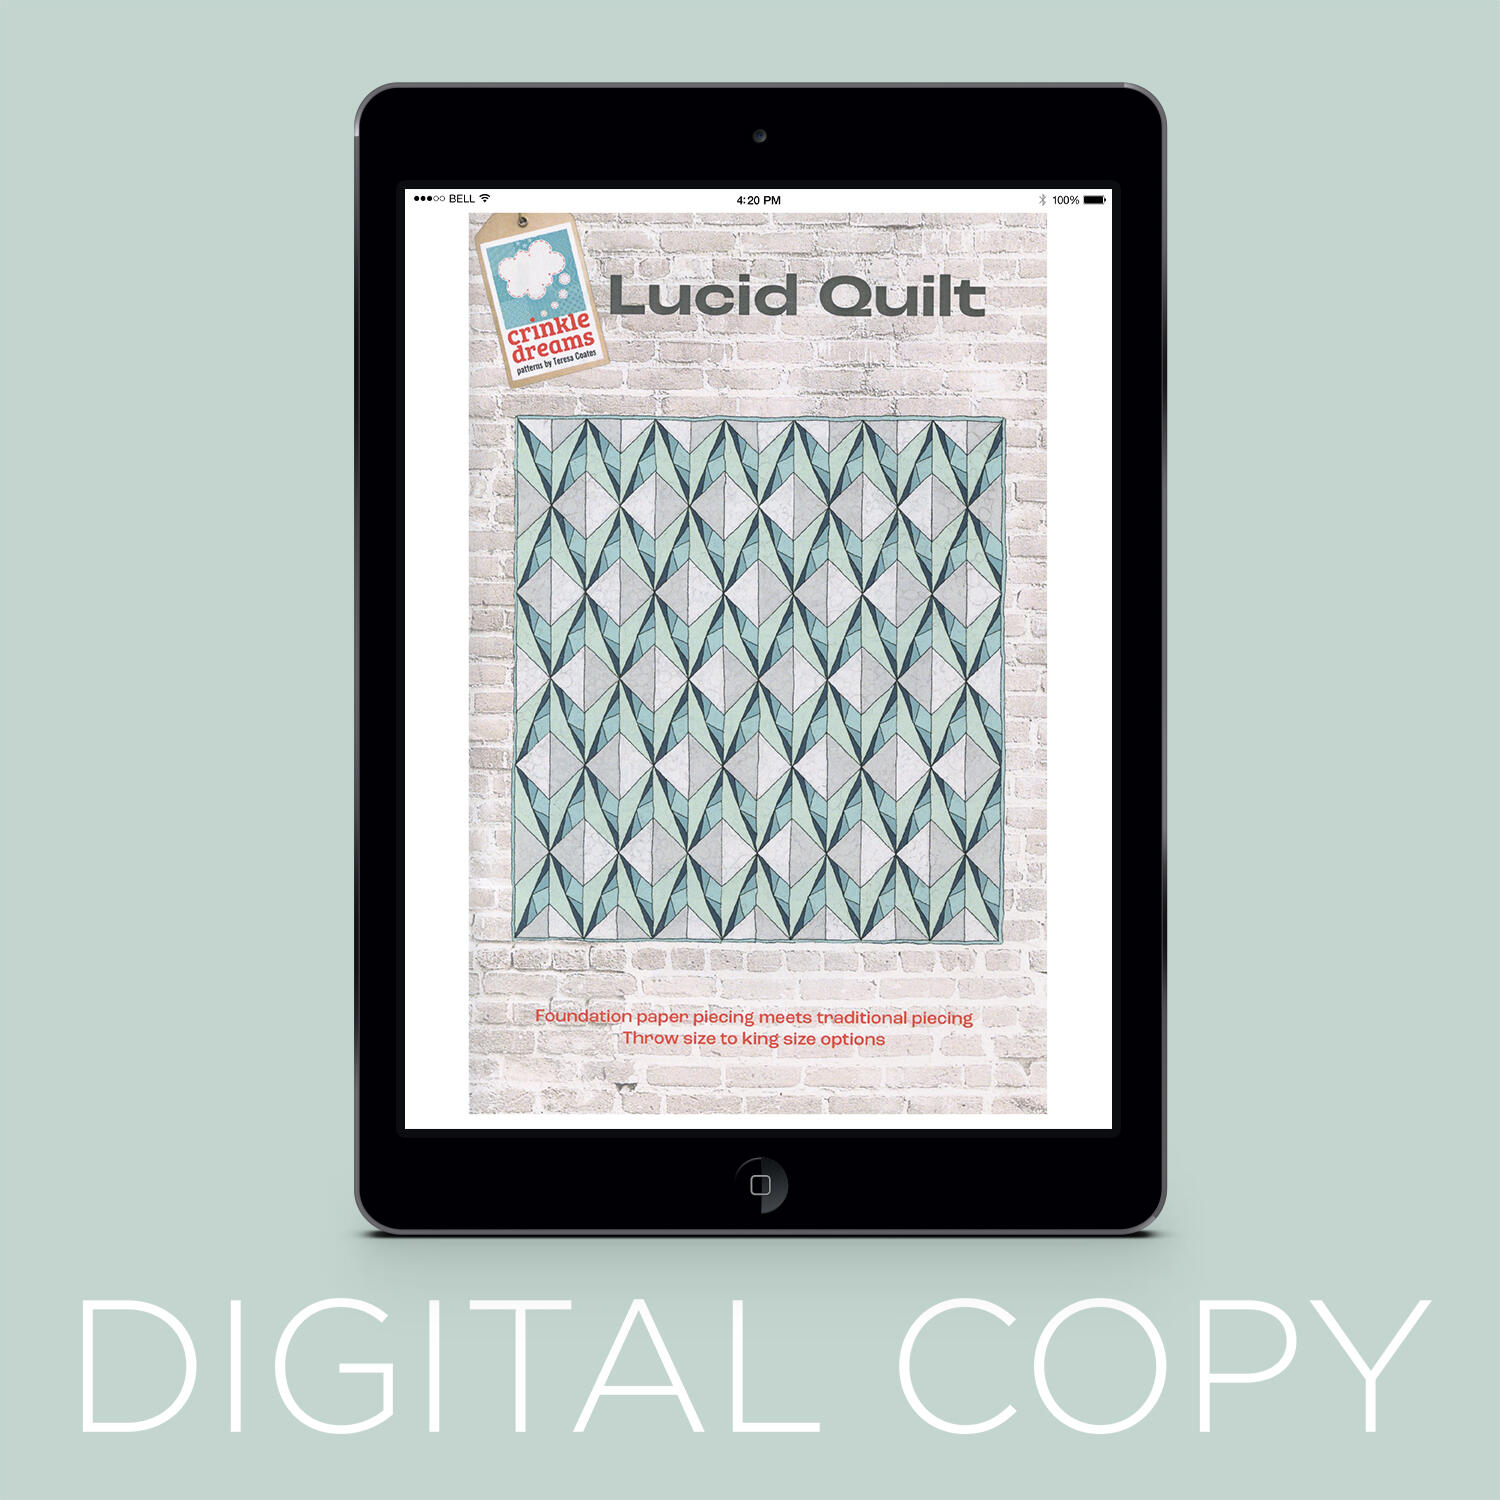 Digital Download - Lucid Quilt Pattern$12.99Shop →
 Stonehenge Gradations II - Quartz Blue Planet Light Yardage$12.44Shop →


