

Make a "Big Spools" Quilt with Jenny Doan of Missouri Star
 Jenny Doan
- Layer Cake
- Queen
- Beginner
- Quilt size 89" × 98"
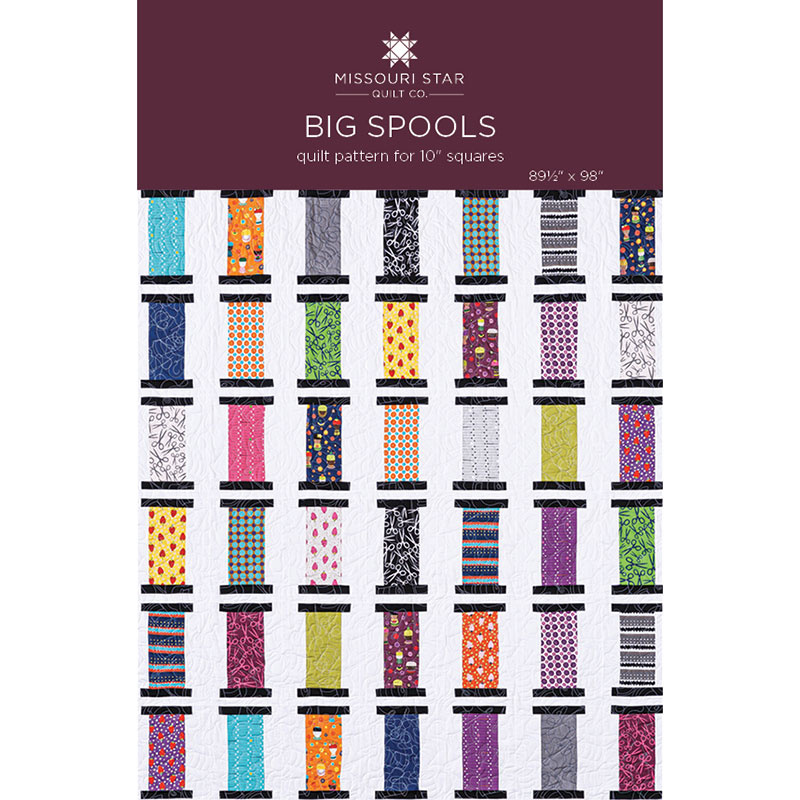
Jenny demonstrates how to make an adorable Big Spools quilt using 10 inch squares of precut fabric. This pretty layer cake spool quilt was designed last year during our Birthday Bash sew-off, and we're "sew" excited to finally offer the Big Spools quilt pattern! (Don't miss the Spools of Thread machine quilting pattern. It's the perfect addition to this sewing-themed quilt!)
Instructor
Jenny Doan
Jenny Doan is an American quilter, author, and YouTube personality. Jenny started Missouri Star Quilt Company in 2008 and today it is the largest quilting supply vendor in the United States.
Shop this tutorial
 Big Spools Quilt Pattern by Missouri Star$5.95Shop →
 Digital Download - Big Spools Quilt Pattern by Missouri Star$4.95Shop →
 Sew Good 10" Squares$37.95Shop →
 Kona Cotton - White Yardage$7.28Shop →
 Kona Cotton - White Skinny Strips$24.95Shop →
 Kona Cotton - Black Yardage$7.28Shop →
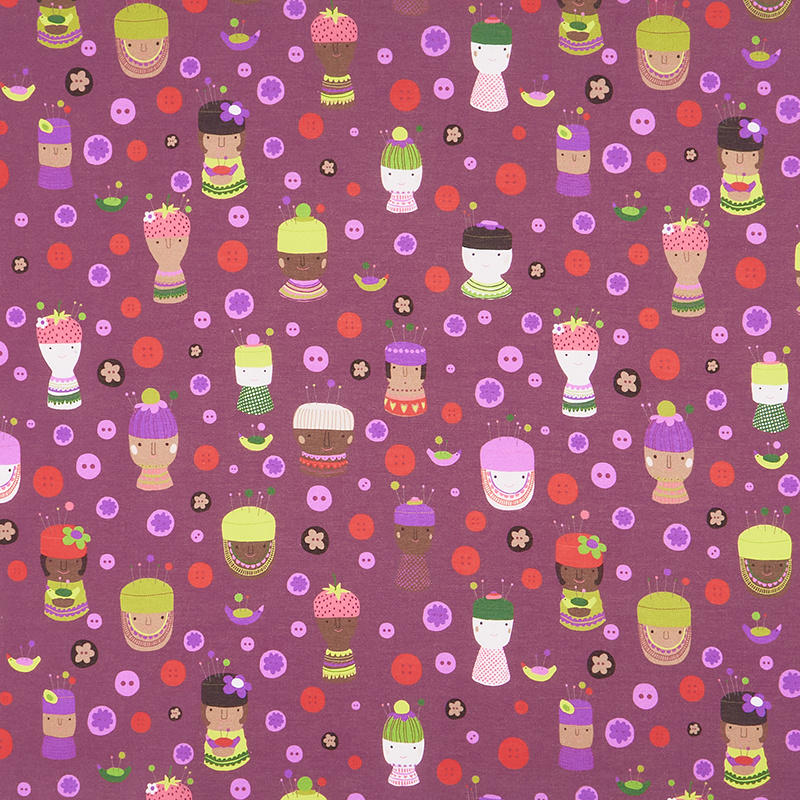 Sew Good - Pincushions Eggplant Yardage$11.24Shop →
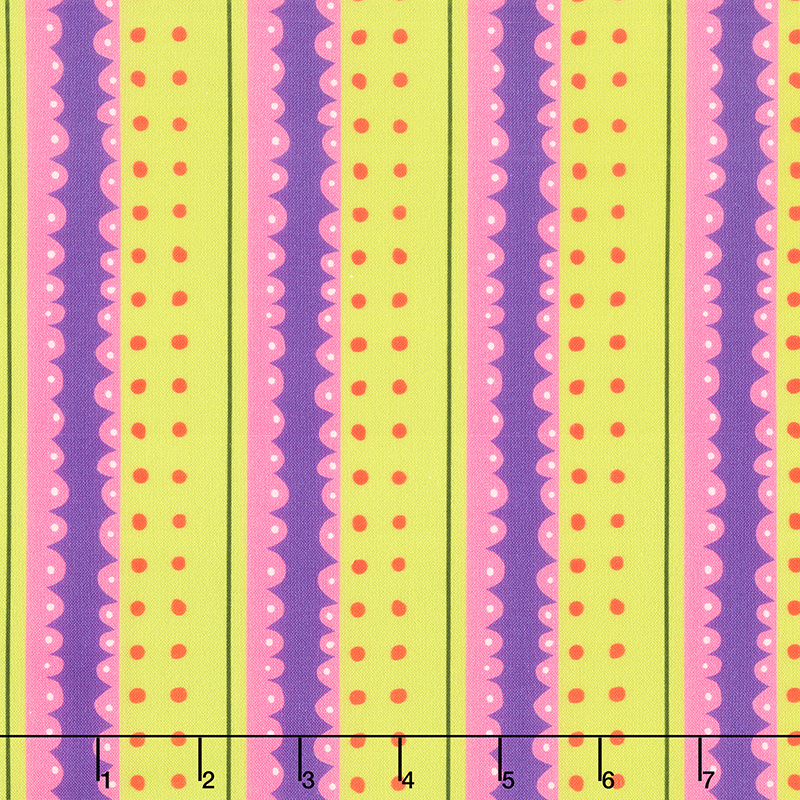 Sew Good - Binding Stripe Apple Green Yardage$11.24Shop →
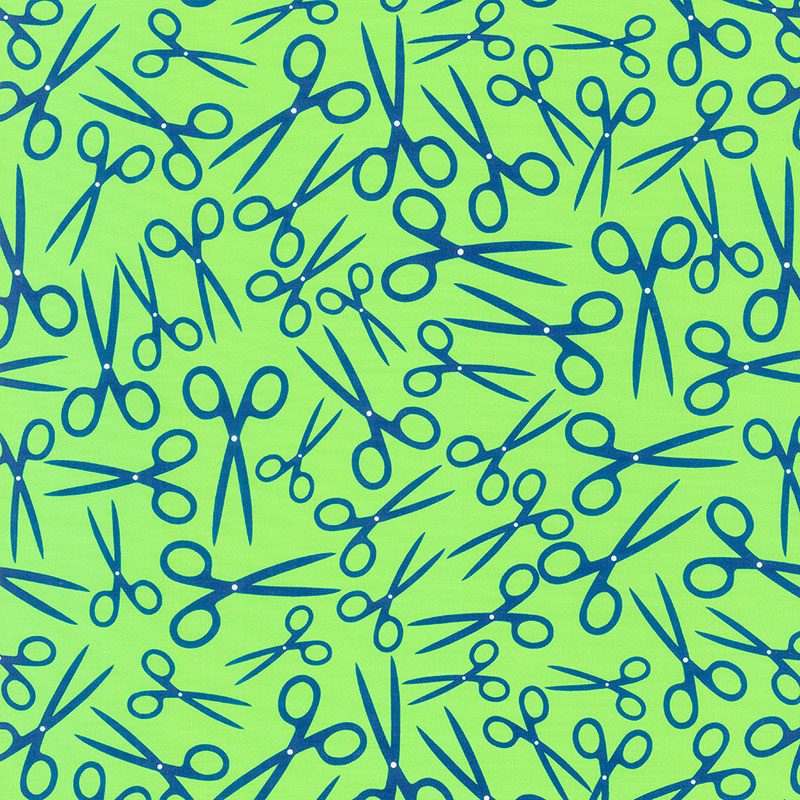 Sew Good - Scissors Green Yardage$11.24Shop →
Common Questions
What is covered in Make a "Big Spools" Quilt with Jenny Doan of Missouri Star?
Jenny demonstrates how to make an adorable Big Spools quilt using 10 inch squares of precut fabric. This pretty layer cake spool quilt was designed last year during our Birthday Bash sew-off, and we're "sew" excited to finally offer the Big Spools quilt pattern! (Don't miss th...
How long is the tutorial video?
The tutorial video is 00:12:55.
Are supplies listed for this tutorial?
Yes. The tutorial page includes the supplies and materials connected to this project.
Is a transcript available?
Yes. A written transcript is available on the tutorial page.
Video Transcript
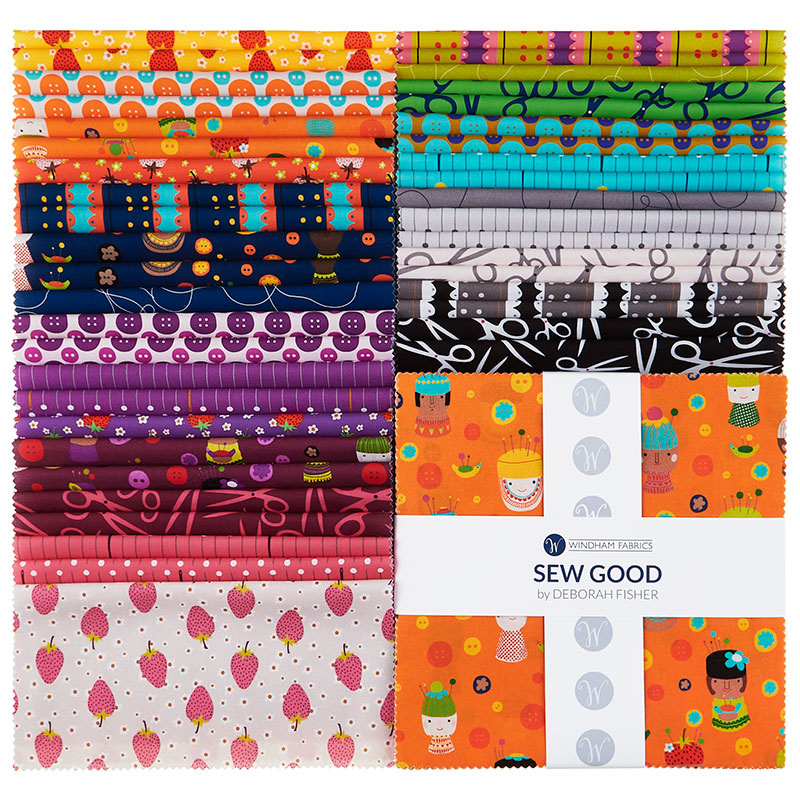
Hi everybody, it’s Jenny from the Missouri Star Quilt Company. And I have a really fun project for you today. I’ve been a fan of Deborah Fisher’s for years. And she has Fish Museum and Circus. And she makes all these cute little thing-amals and little dolls and pincushions and amazing ceramics. And finally, I am so excited to share with you that she came out with her first line of fabric. Take a look at this quilt behind me. The fabric is called Sew Good. And because it’s called Sew Good, of course I had to do something sewing with it. So I decided to do the large spools. This was a quilt we made for our sew off or during our birthday bash last year. And I decided it needed a pattern. So we have these great quilting, sewing fabrics to use in this wonderful quilt. So let me show you how to make this. So to make this quilt you’re going to need one packet of ten inch squares. And we have used Sew Good Fabric by Deborah Fisher for Windham Fabrics. You’re going to need some background fabric and I’ve used a 2 ½ inch roll and a 1 ½ inch roll and that takes care of all your sashing and your inner border and all these side pieces on the spools. You’re going to need some accent fabric. And that accent fabric you’re going to need a yard and that’s for the tops and bottoms of your spools right here. Our border is a nice big six inch border and you’re going to need 1 ¾ yards for that. And for your binding you’re going to need ¾ of a yard. And she made this awesome binding that goes either direction. So for your backing you’re going to need nine yards. I know that sounds like a lot but this is a really big quilt. Now if you use a 108 fabric you’re only going to need three yards. And this makes a quilt that is 89 by 98.
So this is the block we’re talking about right here. It’s a really simple spool quilt. It’s based off of Misty’s tiny spool quilt. When we did the Triple Play on spools. But last year at our birthday bash we needed a quick and easy quilt to make so we could, you know, win the sew off. And so we actually made the large spools out of it and I thought it deserved a pattern. And when this line of fabric came out I was like, yes, this is the one. So I actually love Deborah Fisher. She’s a great gal and she has a wonderful business making ceramics. And she calls them Thing-amals. So she has these little pin cushions. Her instagram is fishmuseumandcircus and she does these cute little creatures. This little girl she made for me. And she literally sits on my shelf behind me and sews with me everyday.She’s absolutely adorable. And these are all pins. These little things in her head. She makes these cute little pins to put in here. So you’ll want to check her out. But when I saw this fabric I was just smitten and I knew that we had to use it in a quilt. So it has all kinds of fun things in it. It’s got scissors. It’s got the strawberries from the little strawberry pincushion. And it’s got buttons. It’s got her thing-amuls in it and a little girl. The whole fabric line was basically designed around this one print right here with her little dolls in them with the little hats. And they’re just so cute. This is pins. And then she made this great idea for a binding strip. And it’s this right here. And this comes in several colors. And actually she made it so you can cut it this way or you can cut it this way, you know, however you want to cut it. And if you want to focus on this strip you can cut it in here. If you want to focus out here, you cut it out here. So lots of options for this quilt and this is a super easy quilt to make but really stunning as you can see from the quilt behind me.
The first thing we’re going to do is we’re going to take one of these squares just like this, one of these ten inch squares and we are going to cut it directly in half just like this. And you are going to do this to your whole packet of ten inch squares. And this is your spool. You’re done, made. So put this in one pile and put this in one pile. You want them separate. We’re going to do something else with these out here so these are your spools here. And then what we’re going to do is we’re going to make the top and the bottom to the spools. So to do that you’re going to cut a seven inch piece of your accent fabric. Your accent fabric is this part right here that makes the spool top and bottom. And it’s seven inches across. And then you’re going to sew a 1 ½ inch strip to both sides, just like this. I mean just as easy as sewing that on there and we’re going to press that back. So I have one here that is done because it’s just super easy to do that. And this one is pressed back and ready to go. And then what I’m going to do is I’m just going to open this up like this. And I’ve been cutting on this one so you may find this is something you want to do as you go along and you cut things. So I’ve been cutting on this one and I see now that it doesn’t line up exactly on the thing because it’s very easy for our rulers to slip a little bit. So I’m going to clean up this edge right here and just make sure it’s straight. And you’ll just want to check that every, you know, maybe every so many cuts, just to make sure that your edge is still lining up straight. And then we’re going to cut these at 1 ½. And we’ll need one for the top and one for the bottom. So we’re just going to cut the whole little strip sets into these 1 ½ inch pieces like this. And then we’re going to make a pile of them over here. And this is how I rote sew. I get a lot of things done because I do a little bit at a time.
So then once we have our pieces cut in half for our spools we’re ready to put the sides on the spools. And those are those pieces right here. And we’re going to do that first. So these are ten inch pieces so you can cut all of your strips into ten inch pieces or you can just chain piece them down the side. And that’s what I do. So I’m going to take my long strip like this and I’m just going to put my pieces right along the side and I’m going to sew them down and add another and add another and add another. So let me show you how I do that. So we’re going to go to the sewing machine over here. So we’re just going to line these up along the edge and sew them down the side like this. And then I’m going to add another piece in, just like this. And we’ll keep sewing down the side. And you can fill up your whole strip or like I said if you like to accurately piece, really accurately you’ll cut them into ten inch segments. Now for each strip you’re going to get four spools sewn on. And we’re going to sew a strip now to the other side as well. So I’m going to flip these around and take one more strip here. And I’m just going to lay it on here and start sewing down the other side because I need one of these pieces on both sides of my spool fabric. Now I didn’t worry at all about whether these line up exactly because I’m going to cut them separately. So we’re at our second one, here comes our third. And one more. Alright so now we’re going to cut these apart. And I’m just going to lay my little ruler on here and cut across. And if they’re not exact, it doesn’t matter because we can move the ruler from side to side. And what I mean by exact is lined up exactly on the same place on the strip. Oops, this one has a little thread caught. There we go. Going to trim this. And trim it right to the edge of your spool so that your trimming is done when you open it up. So right here, see how there’s a little space in between. I’m going to put my ruler on this side and cut this one and then I’m going to put my ruler over here and cut this one. And so this is just little extra waste right in here. Our strips are generally going to be about 42 or so long. And so generally it takes four squares, ten inch squares to do it.
Alright so now what we’re going to do is we’re going to come over here and we are going to press these back, just roll them back to the outside like this. We’re going to do this to all of our spools. So you’ll have 42 of these when you’re done. And we’re just going to keep pressing them. And see even this little light one is going to make a cute little spool.
Alright so now we’re ready to add the tops and bottoms of our spool. And so we’re going to come over here to our little strip pile right here and this makes our top and bottom. And so we’re just going to put one of these on the top and one of these on the bottom. Now if your quarter inch seams are just perfect, these will line up perfectly. If they’re not quite perfect then what you want to do is, if one is a little bit bigger, you’re going to put that bigger piece on the bottom. So mine looks like the top of my spool is just a little bit bigger so I’m going to put that on the bottom because there’s no seam to nest it up to so we’re just sewing it across the top. So I’m going to lay it on here and I’m going to sew it. Now the reason I put it on the bottom is because the feed dogs take in a little bit more fabric so if it’s just a little bigger, it will just kind of ease that in as we sew along. And it will just fit perfectly. So we’re going to sew this across. We’re going to come down here and sew this one on. And I’m going to do the same thing, I’m going to move my little piece on the bottom but it’s just a hair bigger. Alright so there’s our spool. We’re going to press this back. And you’re going to do that to all your little spool blocks. And I like to just roll them back and then the darker fabric stays underneath the darker fabric and so it won’t show through. Alright so then this is our little spool right here. Wasn’t that quick and easy?
So to put these together we are going to put a little 1 ½ inch sashing in here. So this is this right here. It’s what I used my 1 ½ inch for. It’s going to go right here in the middle and it’s going to go right across the bottom, just to give them a little bit of separation. So we’re going to sew these together in rows of seven, one, two, three, four, five, six, seven, six rows. So this is a little backwards, usually it’s six by seven this is seven by six because our spools are longer than they are wide. And so it just makes a great quilt. Now all these other pieces that we have leftover out here, oh I just couldn’t bear not to use those. So I put a little tiny 1 ½ inch border in here and then I literally sewed them around as a second border, all the way around the quilt. I think it looks so darling. Then I added another 1 ½ inch border out here and finally my big border which is this darling little fabric that’s based on the little girl that sews with me. And I love the quilting pattern that we used. So you can probably see it best on white but it’s called spools of thread and that’s what it is. It has this little spool right here and a little needle and the thread winds around. It’s just really a cute pattern. And take a look at the back. Look at these scissors. I just love this. I think that this is just a darling, darling fabric. I just love the scissors. I think it’s so fun. And it just makes a great quilt. Again it’s 89 by 98. It’s a big quilt for one layer cake. So we hope you enjoyed this tutorial on the Big Spools quilt from the Missouri Star Quilt Company.
Hi everybody, it’s Jenny from the Missouri Star Quilt Company. We hope you enjoyed watching this video. If you aren’t already part of the Missouri Star Quilt Company family be sure to subscribe so you won’t miss a thing. And if you click that bell it will notify you every time a new tutorial comes out. See you next Friday.



