

Make a "Clear Vinyl Tote Bag" with Misty Doan on At Home With Misty
 Misty Doan
- Fabric by Yard
- Totes, Bag, Purses
- Intermediate
- Quilt size 10" × 15"
Make plans for warmer weather with a fun and trendy tote bag! Join Misty in making a fun clear vinyl tote bag in two different tropical colorways from Kona Cotton, Tula Pink, and more. These totes are perfect for a day at the beach or a quilting retreat!
Instructor
Misty Doan
Misty Doan grew up surrounded by sewing and quilting. She loves spending time sharing tutorials each week each week, and when she’s not stitching up one of her fun sewing projects for home decor, most likely you’ll find her hanging out with her husband and three awesome kids or working on a house project.
Shop this tutorial
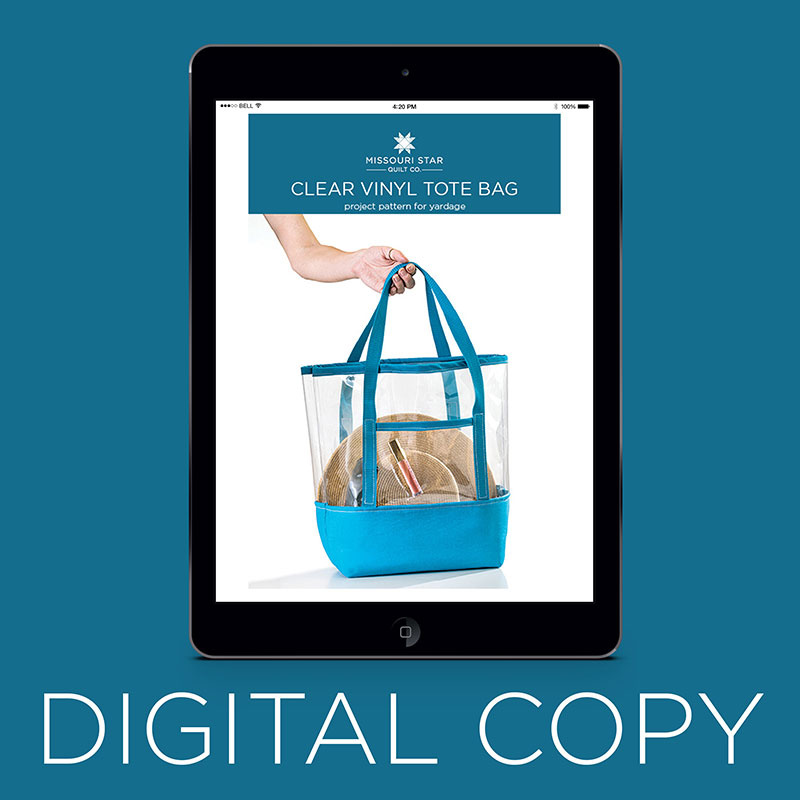 Digital Download - Clear Vinyl Tote Bag Pattern by Missouri Star$4.95Shop →
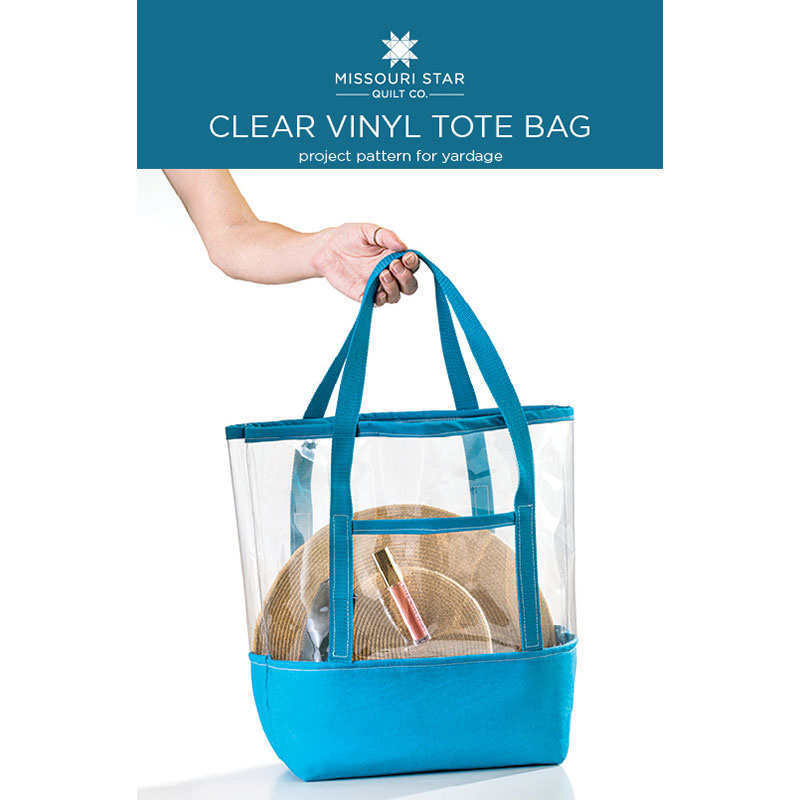 Clear Vinyl Tote Bag Pattern by Missouri Star$6.95Shop →
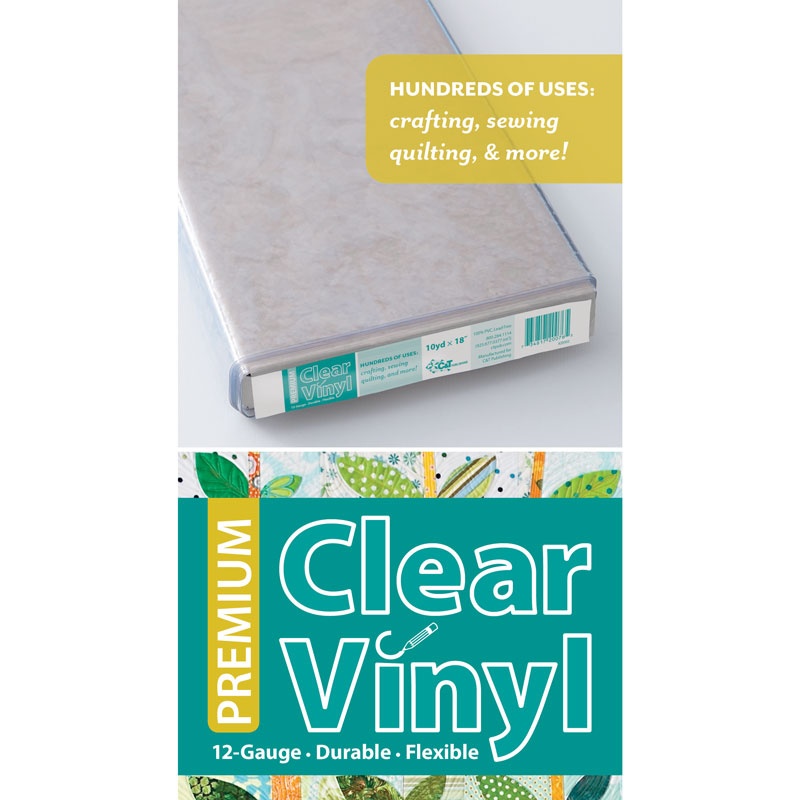 Premium Clear Quilter's Vinyl 18" Wide$6.25Shop →
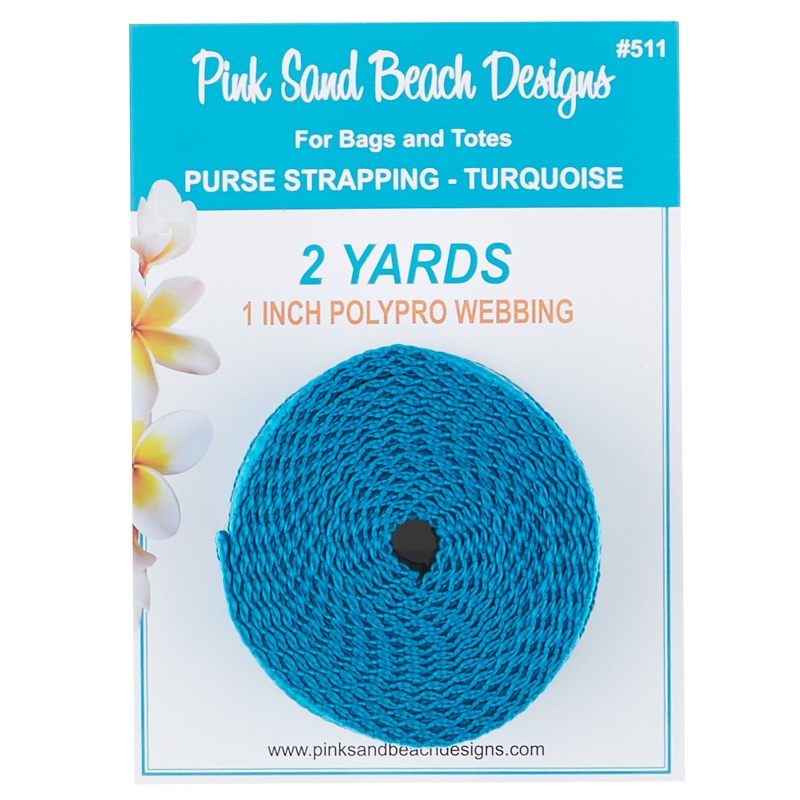 Purse Strapping - Turquoise$4.45Shop →
 Kona Cotton - Caribbean Yardage$7.28Shop →
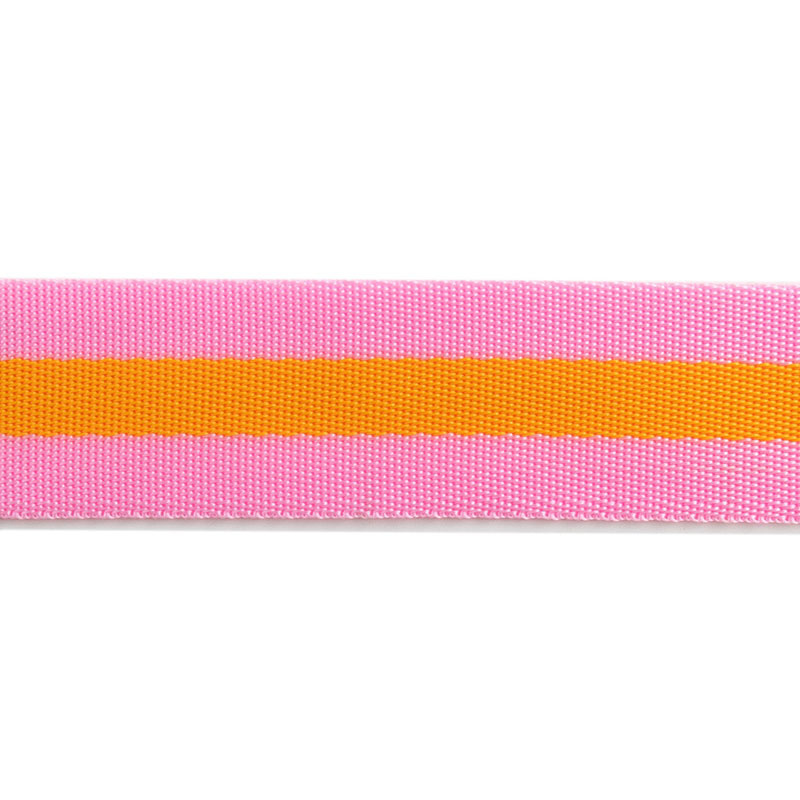 Tula Pink 1 1/2" Webbing - Soft Pink and Orange$19.45Shop →
 Heat N Bond Fusible Fleece 20" x 1yd$6.25Shop →
 Missouri Star Colorful Quilting Clips - Pack of 12$5.95Shop →
 Missouri Star 2.5" x 8" Ruler$10.95Shop →
 Missouri Star 5" x 15" Ruler$15.95Shop →
 Sew Slip Multi Purpose Sheet$31.45Shop →
 Diagonal Seam Tape$7.25Shop →
 Missouri Star 50 WT Cotton Thread White$6.95Shop →
 Olfa Splash Aqua 45mm Rotary Cutter$18.75Shop →
 Olfa Splash 24" x 36" Cutting Mat Navy$68.95Shop →
 Elan 8" Dressmaker Scissors$20.95Shop →
 Exclusive Missouri Star Jenny TG1600 ProPlus Oliso Smart Iron$199.99Shop →
 Missouri Star Wooly Betty Board - 17.25" x 25.5" Orange Border$98.95Shop →
Common Questions
What is covered in Make a "Clear Vinyl Tote Bag" with Misty Doan on At Home With Misty (Video Tutorial)?
Make plans for warmer weather with a fun and trendy tote bag! Join Misty in making a fun clear vinyl tote bag in two different tropical colorways from Kona Cotton, Tula Pink, and more. These totes are perfect for a day at the beach or a quilting retreat!
How long is the tutorial video?
The tutorial video is 00:23:04.
Are supplies listed for this tutorial?
Yes. The tutorial page includes the supplies and materials connected to this project.
Is a transcript available?
Yes. A written transcript is available on the tutorial page.
Video Transcript
To begin, Misty cuts her purse strapping (a 2 yard length) in half so she has two equal straps.
Next she'll cut her materials as follows:
Four 9" x 18" rectangles of fabric
Two 2.5" x width of fabric strips
Two 10" x 18" rectangles from vinyl
One 6" x 8" pocket rectangle from vinyl
Two 9" x 18" rectangles of fusible fleece
Start by making your pocket. Add binding to the top edge of the pocket, just like you would traditional binding. Finger press your seams - you can't iron vinyl or it will melt. Adjust your stitch length to be a little longer so you don't accidentally tear your vinyl. Trim the excess fabric away.
Misty's tips: Put the fabric side down so it will move through the feed dogs easy. Use clips if you want to hold in place, avoid pins because you don't want to poke holes in your vinyl. Choose a coordinating thread for fun!
Next fuse your fabric rectangles to the fusible fleece - hold the wrong side to the adhesive side of the fusible fleece and iron gently to hold in place. This just gives this piece a bit more structure. You could quilt this or embroider a name, but Misty keeps it simple.
Now match one of your rectangles of vinyl to the top of your fabric, adding the pocket piece in where the seam joins so the bottom of the pocket will be enclosed in this seam. Also add your purse straps under the edges of the pockets. Add the top piece of vinyl, and the last piece of lining fabric. Use lots wonder clips to hold everything in place. This is going to enclose all your raw edges at one time and keep everything neat and tidy. Sew together with a generous 1/4" seam.
Carefully finger press and pull the fabric so it lines up correctly. Trim up any edges to keep things neat and tidy. Now top stitch that sandwich to keep everything laying flat.
Next you'll stitch down your handles using a rectangle, ensuring that you catch the edge of your pockets. Your first side is done.
You'll make the opposite side of the bag the same way, except without the pocket.
Now place your bag right sides together and sew the sides and bottom together using a 3/8" seam, backstitching and sewing slowly. Use clips where necessary to hold things aligned together.
Next it's time to box the corners of the bag. Misty marks 3" from the points, and sews her 6" seams across her fabric.
Finally, Misty adds binding to the top of her bag, just like she bound the top edge of the pocket.


