

Make a Daisy & Grace Quilt-As-You-Go Throw Pillow w/ Nicola Walton of Daisy & Grace
Sew along with Nicola Walton of Daisy & Grace as she demonstrates how to create this cute throw pillow with her brand new Bigs Quilt As You Go templates. This intricate-looking star-shaped design is easier to create than you might imagine. And when you're finished sewing, that's it! No need to quilt or bind. Be sure to download the free PDF pattern and you can make your very own version!

Instructor
Nicola Walton
Nicola Walton is the founder of <a href="https://www.daisyandgrace.co.uk/">Daisy & Grace</a>. After a lifetime of sewing and a traditional education from the London College of Fashion, Nicola found patchwork and realized her pattern cutting skills could greatly improve the world of quilting. She loves patterns that use up leftover scraps!
Shop this tutorial
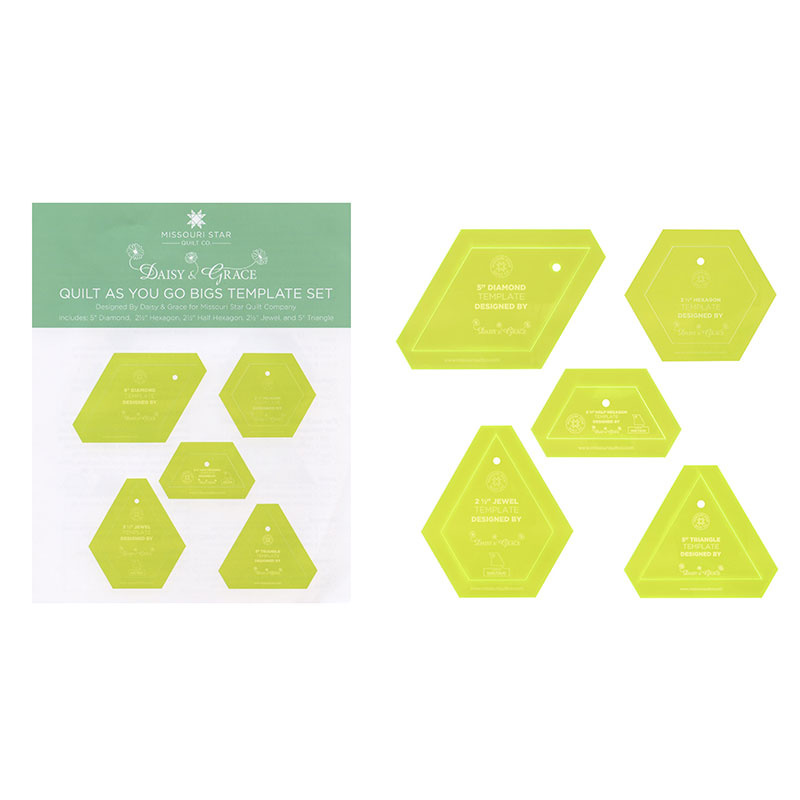 Quilt As You Go Big's Set by Daisy & Grace for Missouri Star$69.95Shop →
 Kona Cotton - Navy Yardage$7.28Shop →
 Poly-Fil Fiber 12oz$9.45Shop →
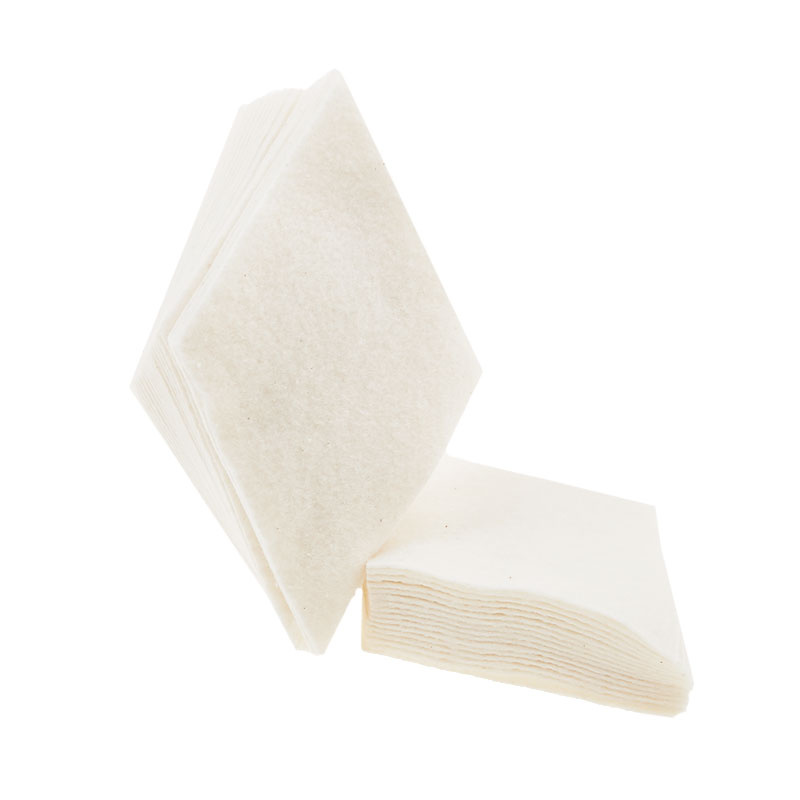 Missouri Star Quilt As You Go 5" Diamond Precut Batting Shapes$26.95Shop →
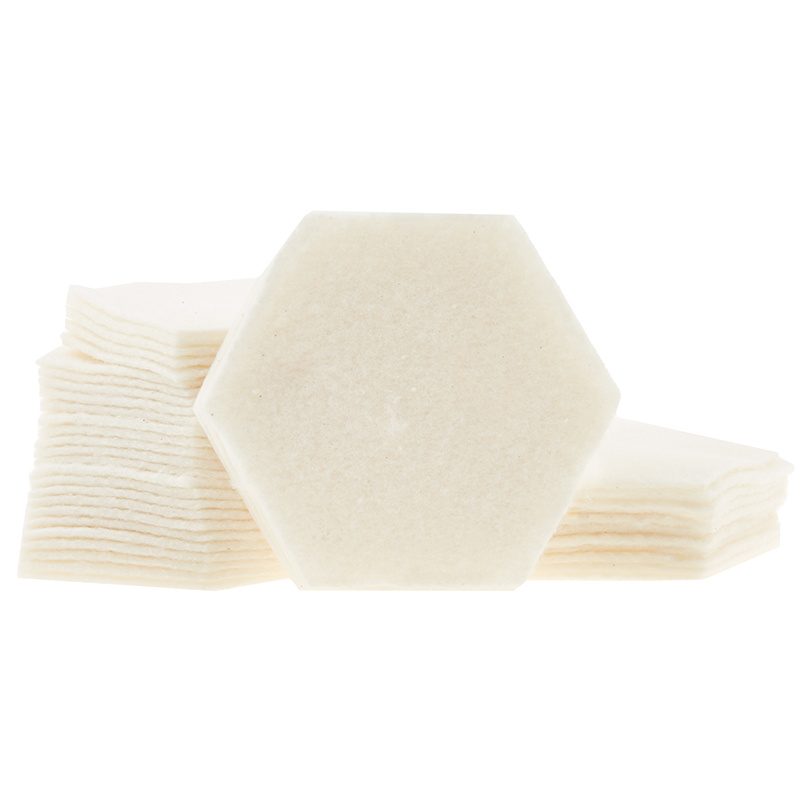 Missouri Star Quilt As You Go 2 1/2" Hexagon Precut Batting Shapes$10.95Shop →
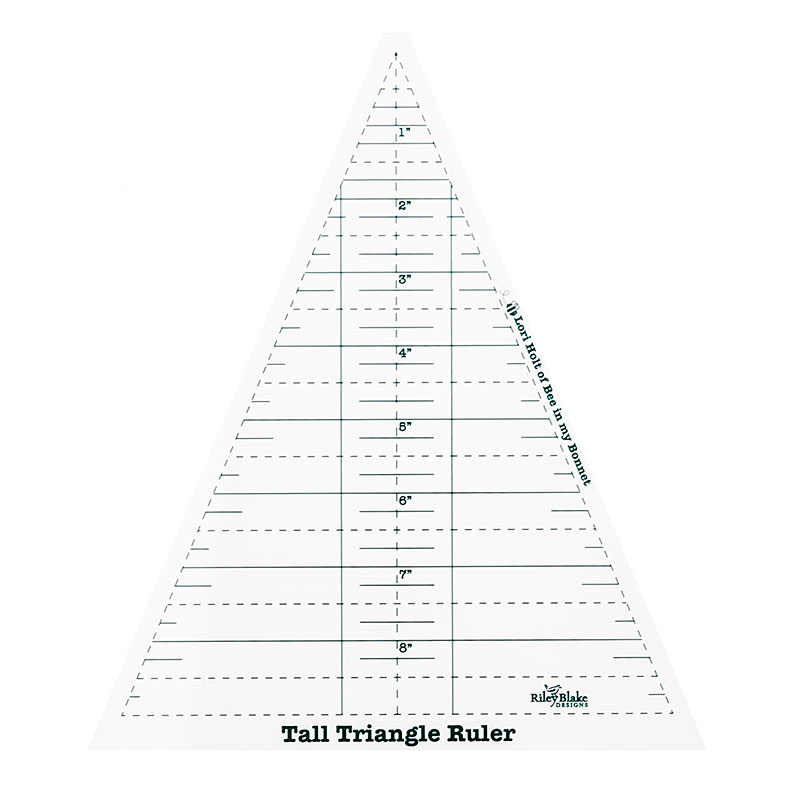 Lori Holt Tall Triangle Ruler$10.25Shop →
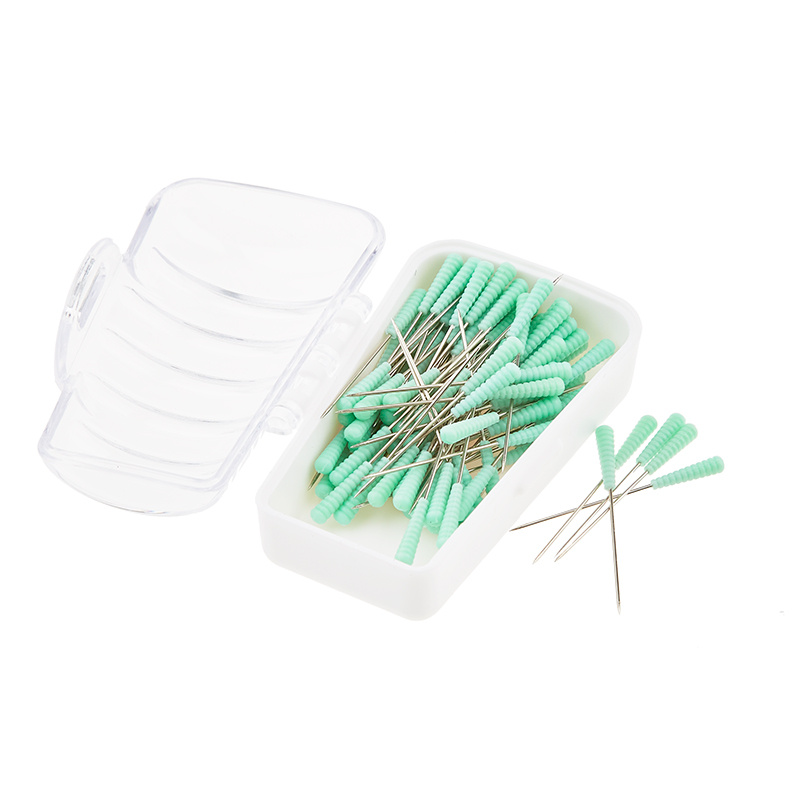 Magic Pins™ Patchwork Regular Pins - 100 count$18.75Shop →
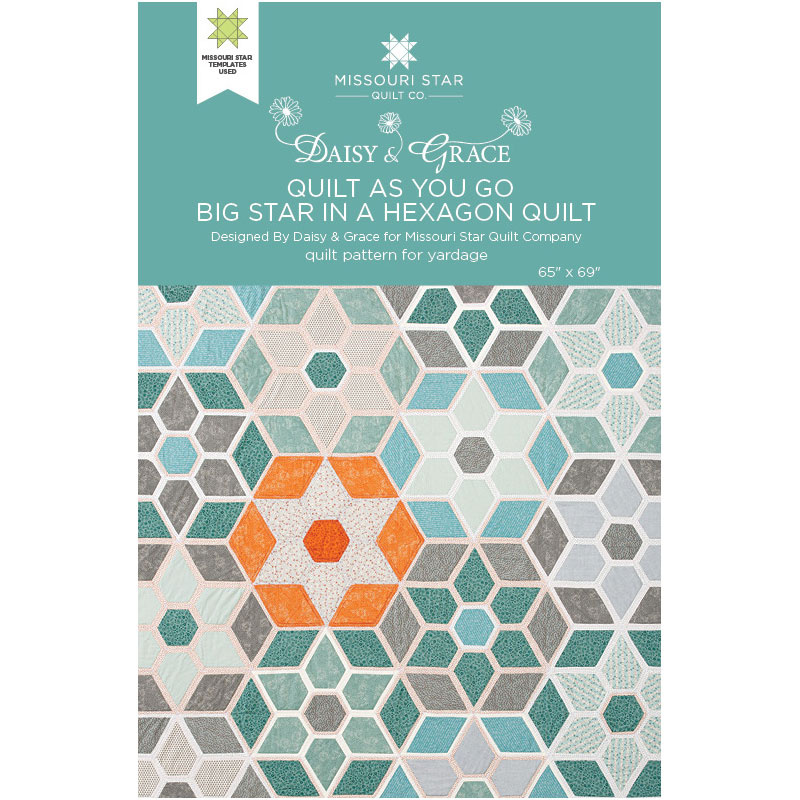 Quilt As You Go Big Star in a Hexagon Quilt Pattern by Missouri Star$6.95Shop →
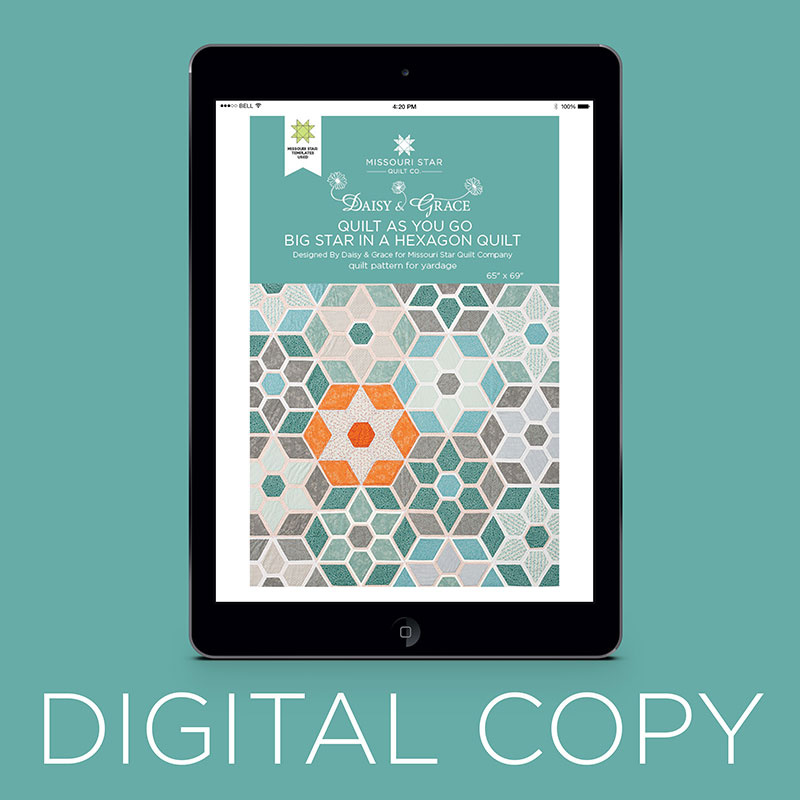 Digital Download - Quilt As You Go Big Star in a Hexagon Quilt Pattern by Missouri Star$4.95Shop →
 Olfa Splash Aqua 45mm Rotary Cutter$18.75Shop →
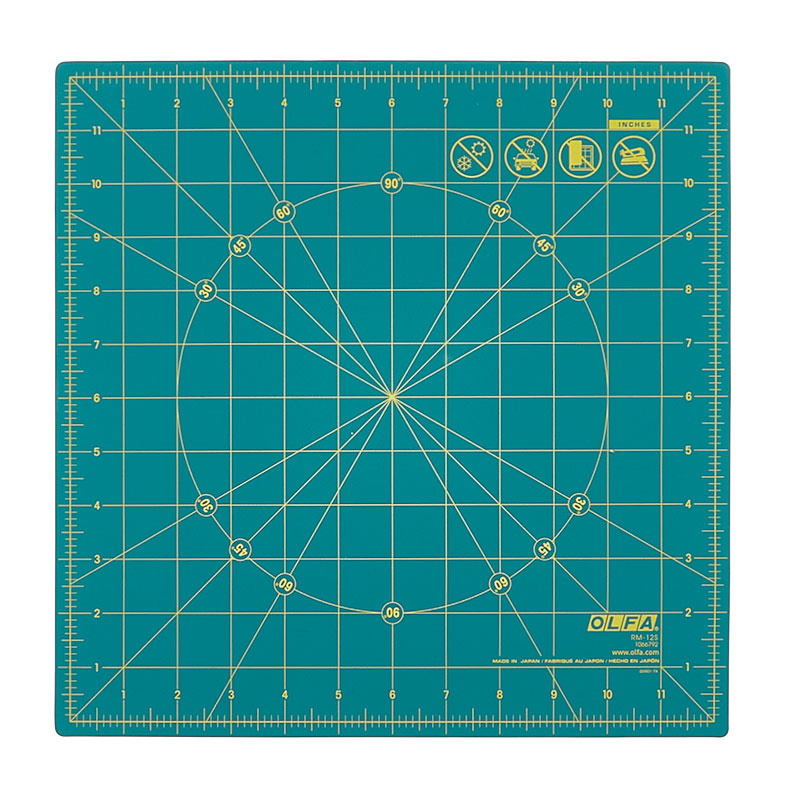 Spinning 12" Rotary Mat$48.95Shop →
 Exclusive Missouri Star Jenny TG1600 ProPlus Oliso Smart Iron$199.99Shop →
 Missouri Star Wooly Betty Board - 17.5" x 17.5" Aqua Border$88.95Shop →
Common Questions
What is covered in Make a Daisy & Grace Quilt-As-You-Go Throw Pillow w/ Nicola Walton of Daisy & Grace (Video Tutorial)?
Sew along with Nicola Walton of Daisy & Grace as she demonstrates how to create this cute throw pillow with her brand new Bigs Quilt As You Go templates. This intricate-looking star-shaped design is easier to create than you might imagine. And when you're finished sewing, that...
How long is the tutorial video?
The tutorial video is 00:29:23.
Are supplies listed for this tutorial?
Yes. The tutorial page includes the supplies and materials connected to this project.
Is a transcript available?
Yes. A written transcript is available on the tutorial page.
Video Transcript
First up, you'll want to fussy cut your center hexagon with the aid of Nicola's clear hexagon template. Remember that you will be adding fabric to the edging, so center what you'd like to feature accordingly. A rotating board is also helpful for cutting these!
Next you'll be cutting your petals from your jewel pattern. Make sure that you're cutting along with your directional fabric. Nicola will show you how to get three jewel shapes from each layer cake square, minimizing waste. (she likes to keep her scraps for crumb quilting!)
Finally you'll cut your diamonds using the template.
Next cut the backing fabric using the outer template. Lay the fabric down so the wrong side is facing you. Lay the template over the piece of backing. Next lay your batting piece down, and place your petal on top. Pin in place so that the layers remain secure. Then fold the edges with a finger press, enclosing your raw edge, and then fold again up over the front piece, pinning in place (a little like you would add your binding to each piece). Give the whole piece a quick press, and then you'll top stitch sewing very close to the edge of the fabric. Use extra pins as stilettos and pivot at the corners.
Repeat for the hexagons and diamonds.
Now it's time to sew the pieces together. Arrange them as you wish, and then sew together using decorative or zigzag stitching to attach the pieces together. First attach your first three petals to the center hexagon, and then sew the seams in between them.
Add your diamonds to the edges and you can sew them in one long seam, just pivoting at the corners. Clip your diamonds where you want them, and head to the sewing machine.
Once you have finished the front and back of your pillow, pin them right sides together and sew around the edges, leaving an opening to turn the pillow right side out and add stuffing.
Once the pillow is turned right side out, and stuffed, Nicola closes it using a hand sewn ladder stitch.



