
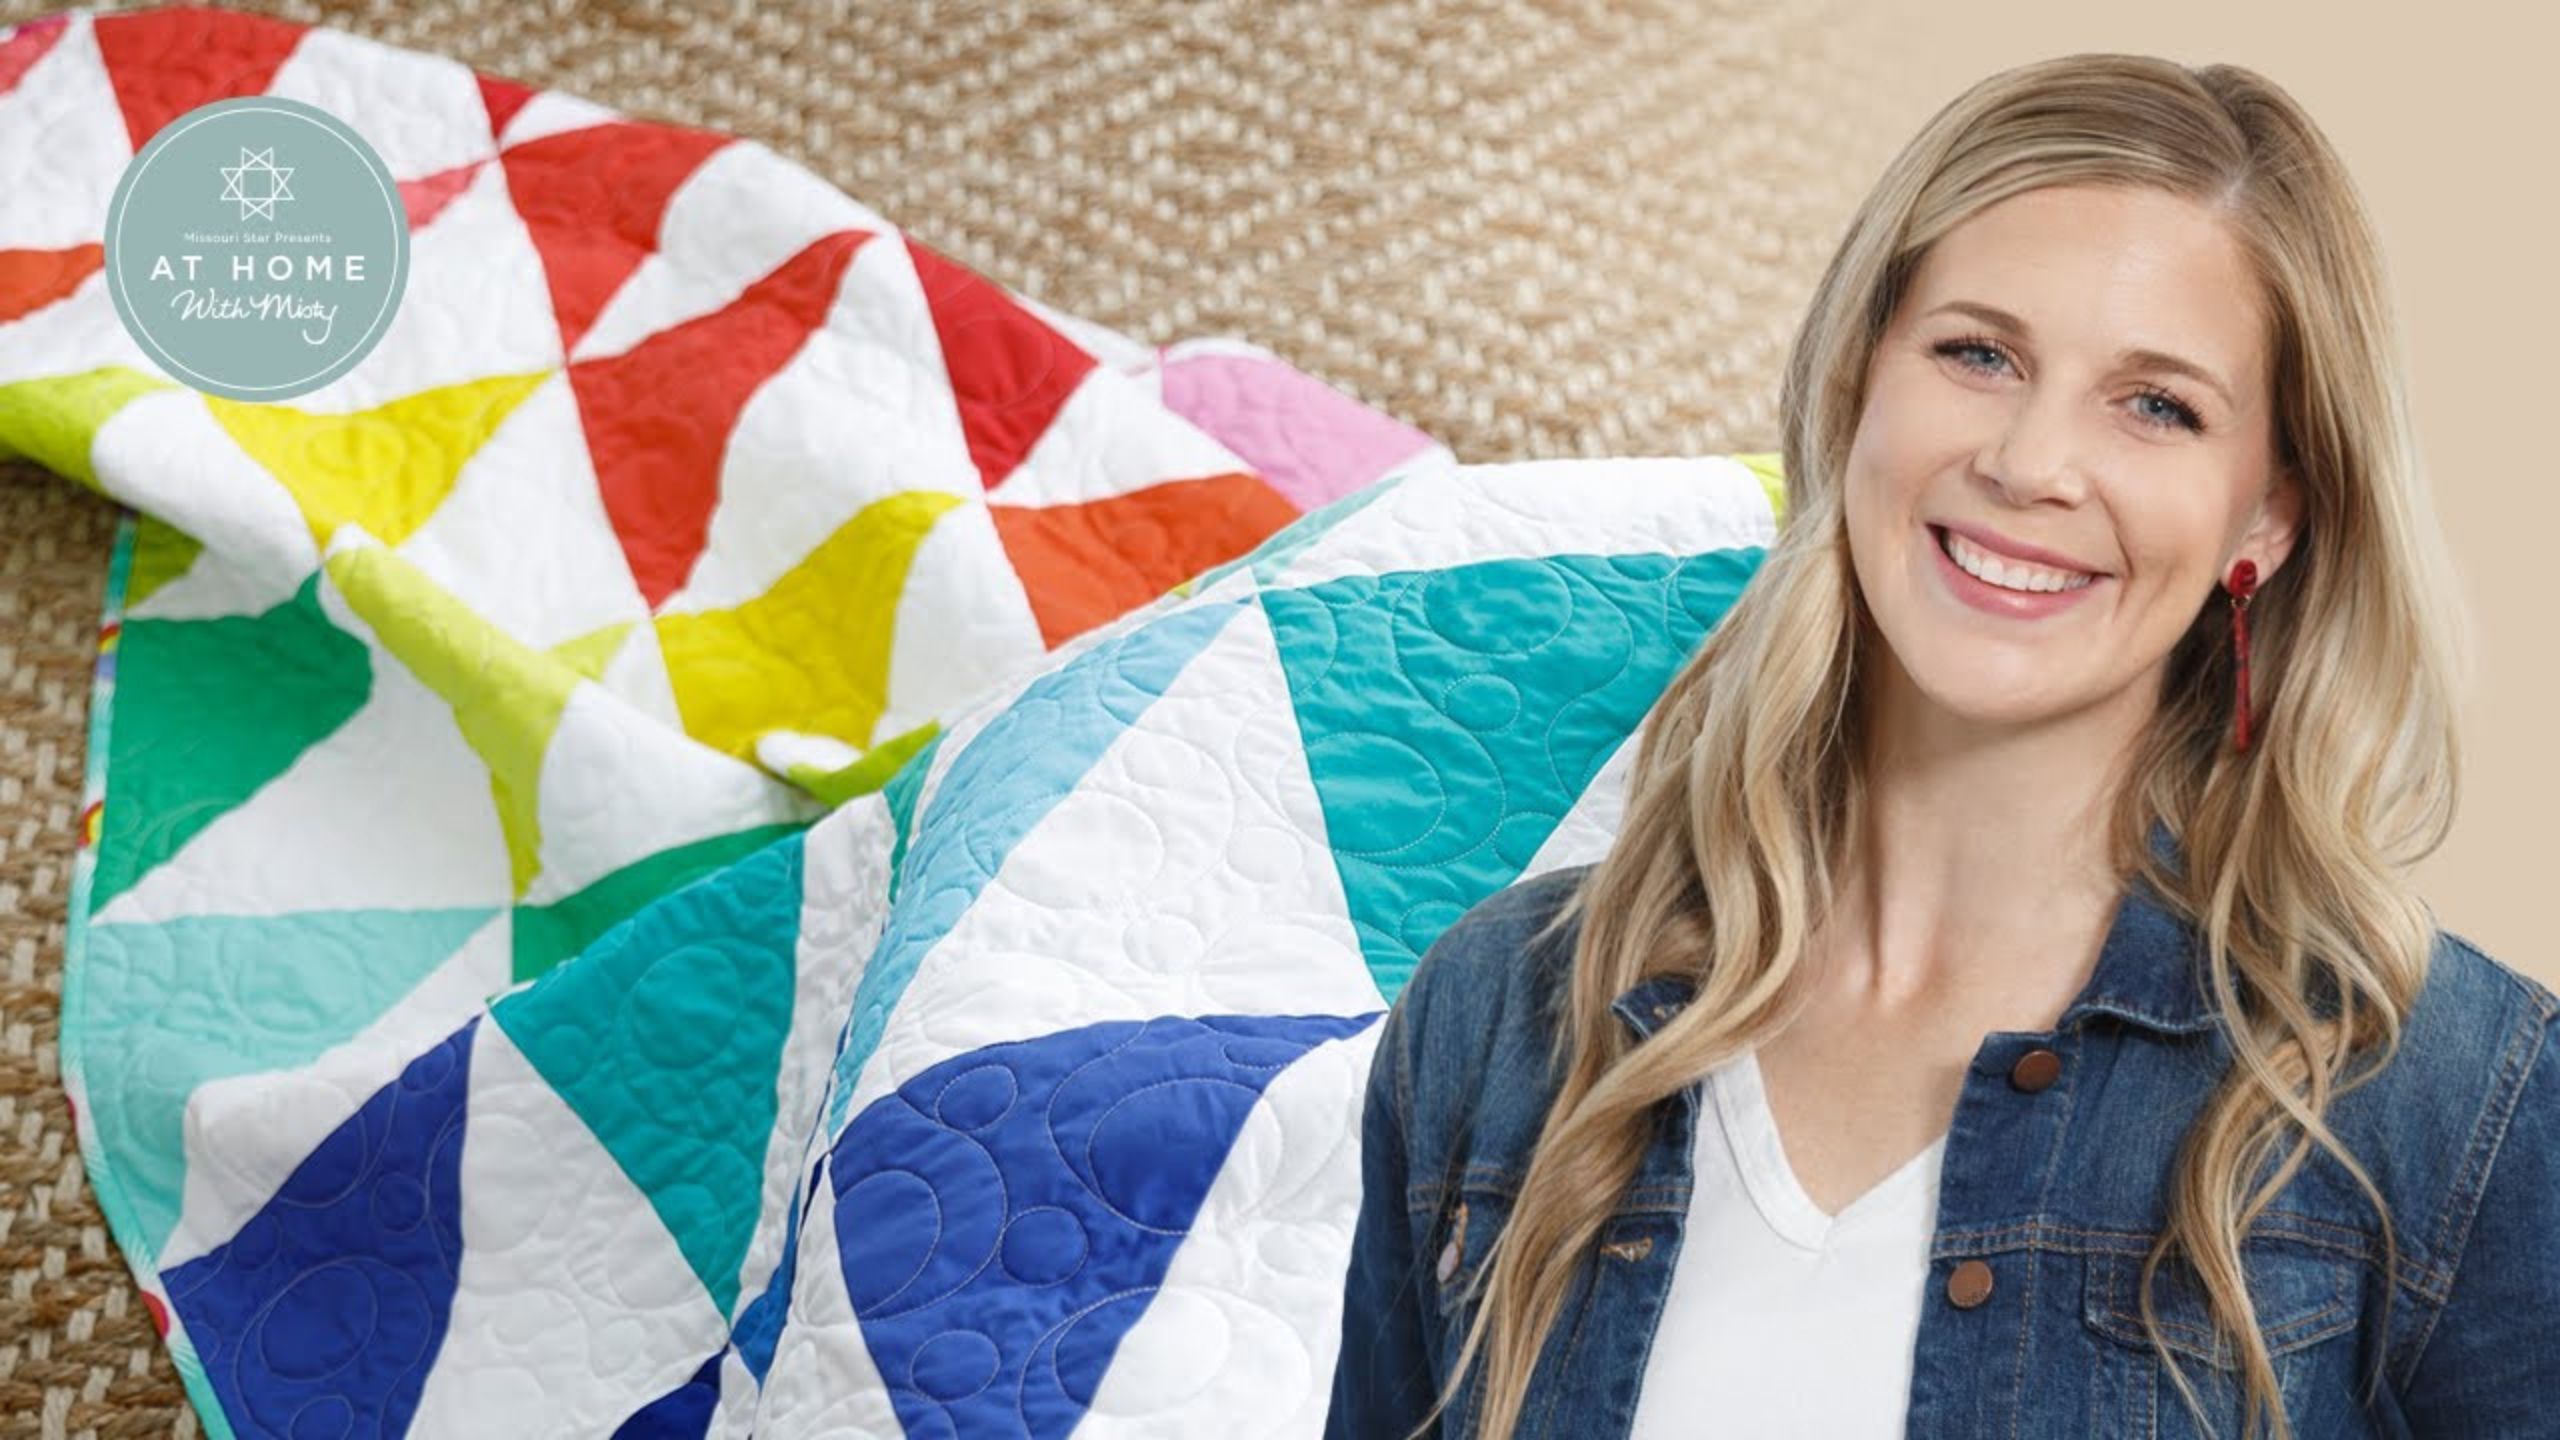
Make a "Daybreak" Quilt with Misty Doan on At Home with Misty
 Misty Doan
- Layer Cake
- Modern
- Lap / Throw
- Beginner
- Quilt size 72" × 81"
Misty helps you break away from ordinary been-there-done-that projects in this tutorial! Follow along as she shows you how to make an extraordinary quilt with half-square triangles, using a pack of Tula Pink 10" solid squares and a pack of Kona Cotton 10" solid white squares. This is a quilt pattern that proves beautiful begins with the basics, and it allows you to mix and match!
Instructor
Misty Doan
Misty Doan grew up surrounded by sewing and quilting. She loves spending time sharing tutorials each week each week, and when she’s not stitching up one of her fun sewing projects for home decor, most likely you’ll find her hanging out with her husband and three awesome kids or working on a house project.
Shop this tutorial
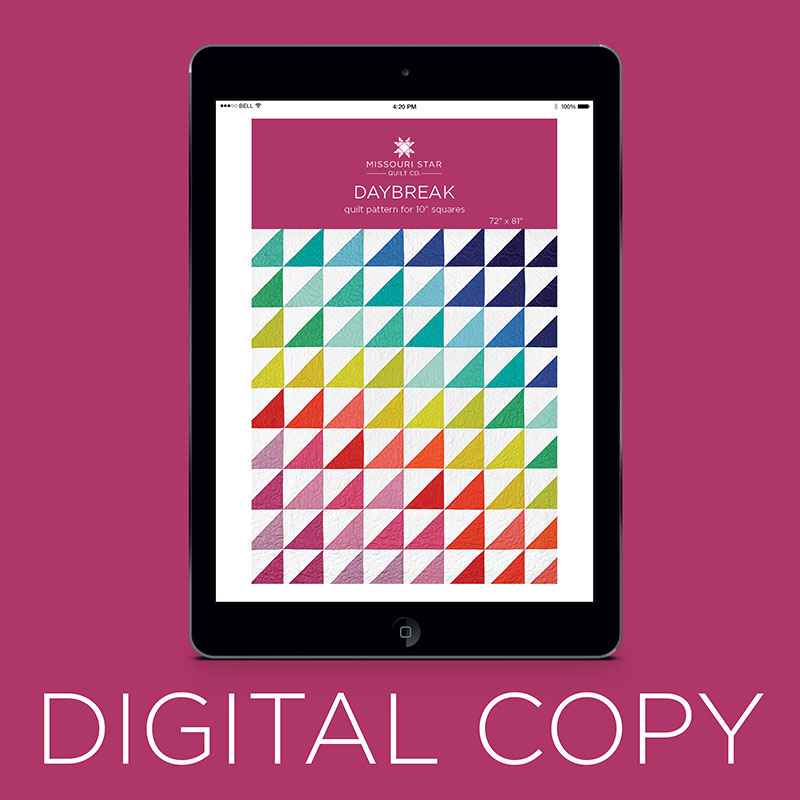 Digital Download - Daybreak Quilt Pattern by Missouri Star$4.95Shop →
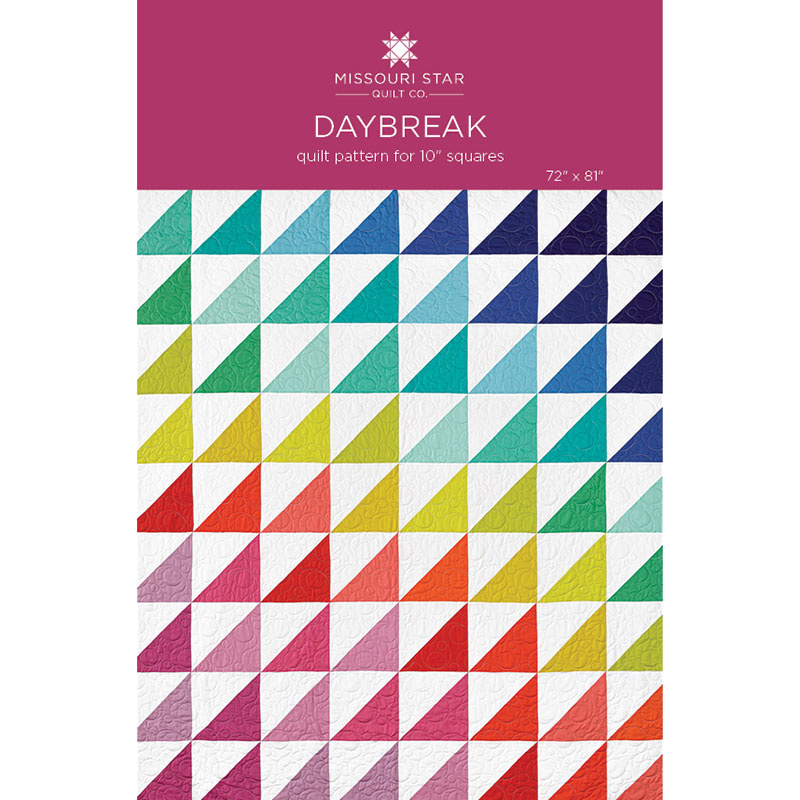 Daybreak Quilt Pattern by Missouri Star$6.95Shop →
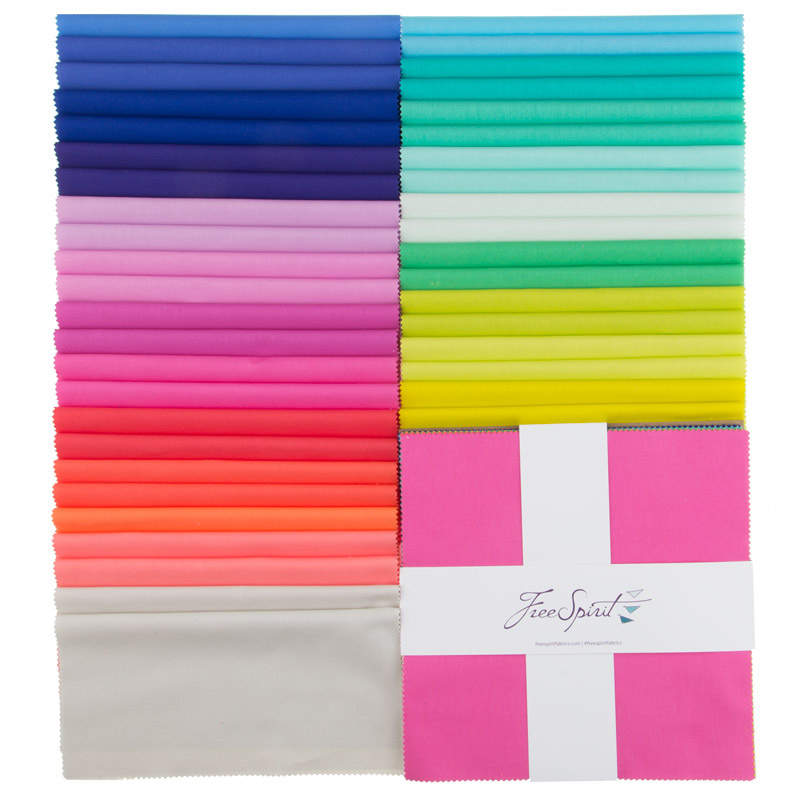 Designer Essential Solids 10" Squares$44.95Shop →
 Kona Cotton - White Ten Squares$30.95Shop →
 Missouri Star Quilter’s Best Blend Full Batting$32.45Shop →
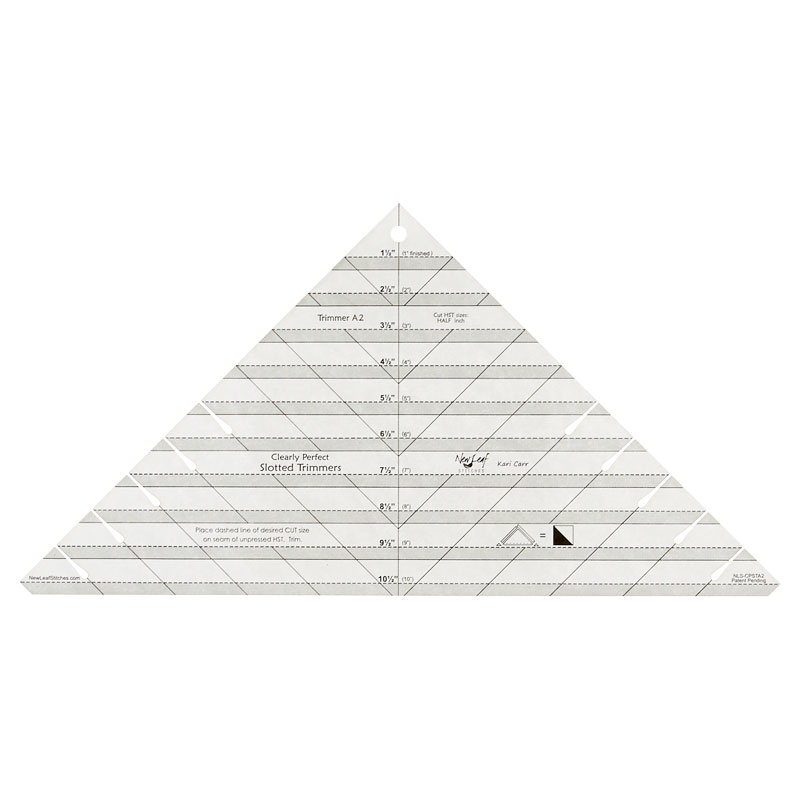 Clearly Perfect Slotted Trimmer A2$26.95Shop →
 Missouri Star 2.5" x 8" Ruler$10.95Shop →
 Missouri Star 5" x 15" Ruler$15.95Shop →
 Olfa Splash Aqua 45mm Rotary Cutter$18.75Shop →
 Olfa Splash 24" x 36" Cutting Mat Navy$68.95Shop →
 Exclusive Missouri Star Jenny TG1600 ProPlus Oliso Smart Iron$199.99Shop →
 Missouri Star Wooly Betty Board - 17.25" x 25.5" Orange Border$98.95Shop →
 Missouri Star 50 WT Cotton Thread White$6.95Shop →
 Elan 8" Dressmaker Scissors$20.95Shop →
 Diagonal Seam Tape$7.25Shop →
Common Questions
What is covered in Make a "Daybreak" Quilt with Misty Doan on At Home with Misty (Video Tutorial)?
Misty helps you break away from ordinary been-there-done-that projects in this tutorial! Follow along as she shows you how to make an extraordinary quilt with half-square triangles, using a pack of Tula Pink 10" solid squares and a pack of Kona Cotton 10" solid white squares....
How long is the tutorial video?
The tutorial video is 00:14:09.
Are supplies listed for this tutorial?
Yes. The tutorial page includes the supplies and materials connected to this project.
Is a transcript available?
Yes. A written transcript is available on the tutorial page.
Video Transcript
Today we're going to talk all about half square triangles and I've made this
quilt that you can see here using one of the many layouts you can use with half square triangles. I wanted to tell you just a little bit of what I used to make this.
You're going to need one layer cake of print or in this case solids - I use the Tula Pink Designer Solids for Free Spirit and just a Kona white background. You're also going to need one layer cake of that. Then I want to show you this great print on the back. This is from Tula's Daydreamer Line. I just love this - sunshine, rainbows, it's so happy and vibrant. I used the same fabric on the binding of that. That's a 108 backing and so this measures 73” by 80”.
We're going to start by the method I used for this quilt behind me, which is
the two at a time half square triangle method. To do that we're going to grab a 10 inch square of our background, which in this case is white, and a 10 inch square of our print.
You can see here I have drawn a line corner to corner. To do that you're just going to lay your ruler corner to corner, just like so, and use any marking tool to draw that line because you're not going to see those markings. They're going to be completely in your seam, so you don't have to worry about using any type of special writing tool. You just want to make sure that it's not going to bleed.
So now that i've drawn that line, we're going to sew a quarter inch on
either side. I'm going to put my line that I drew right on the quarter inch mark and we're going to sew down one side. Then we can flip this around and we're going to go back down the other side. Perfect! Now we can cut right on that same line that we drew with our rotary cutter and that gives us two half square triangles, just like that! Now we can go ahead and press these to the dark side. You can use whatever squaring method you'd like, but this particular style of half square triangle is going to square up to 9.5,” so I'm just going to press these back.
For the quilt that you see behind me that is the entirety of these blocks. This quilt is eight by nine. I did leave a few of my print squares out, just
because I didn't get enough contrast with the white and I wanted all of these half square triangles to really pop and give you that contrast of the lights and the darks. So I left a few out.
If you had a a pack that was really medium tones and dark, so you knew you were gonna get the contrast with your background, you could easily make this quilt eight across by ten. This is just eight by nine, but all I did was take these squares and lay them out in the same direction. I did kind of try to ombre it up the quilt, so I went from one color to the next. But they're all oriented the same direction. You can see you're just gonna sit one in after the other, just like so and you're just gonna kind of build out your quilt with all of them pointing the same direction.
You can see how quickly that's going to come together because the block is so fast to make now you've learned how to make two at a time.
Let's talk about how we can do more blocks, because really when you see
different size half square triangles in patterns, depending on what fabric you're starting with and what size you're trying to get is what's going to dictate which method of constructing half square triangles you're going to go with.
So this one up next is the four at a time method and to do that you don't have to draw any lines at all. You're just going to take your same print and background and you're going to lay those right sides together. Then you're going to sew on all four sides with a quarter inch seam. I've gone ahead
and done that here and now we can just go ahead and cut these corner to corner. I just want to make sure that my ruler is running right in between where my seams intersect. I can make a cut this way, and then I can turn
and make a cut this way. Now instead of getting just two, by using this method we get four smaller half square triangles.
The reason that I wanted to show you all of these ways is you can make this exact same quilt behind me using different sizes. Again we're just going to press all of these to the dark side and from two ten inch squares
you then get these four half square triangle blocks. Let me measure them and I'll tell you what these would probably square up to best.
Of course, it's always going to depend a little bit on your personal seam
Allowance. So these would square up to 6 ½” or 6 ¾”. Anytime you know any size in there that you're looking for, you can square these up. If you need 6”, you can square them down to that and it's a really fast way to construct four at a time and make it easier for you.
So then let's say you want even smaller half square triangles, we can do eight at a time. I've got another set here of our print and our background. In this instance, I have drawn a line in both directions. Remember that first
one, we just drew a line in one direction. On this one we've drawn a line in both directions and we are going to sew a quarter inch on either side of both of those drawn lines.
Let's go ahead and take that and I'll show you what I mean. Remember the first time when we made our big two at a time, we went down one side
and then we're gonna go down the other side. Then we're going to then go
intersect that and do the same thing on that other line that we drew.
I went ahead and did one here, where it has a darker thread so you can really see the stitching. You can see that center line that's going both
directions is the one that I drew and the outside line is with gray thread because I wanted you guys to see I'm just sewing a quarter inch away in both directions.
Now the magic is usually in the cutting, so let's do that here. To start with,
I like to cut on those lines just like before. We'll make a cut that way
and then this way. Now that we've done that, we're also going to lay our ruler straight across here and we're going to make a cut both vertically and horizontally to make this into eight half square triangles. Because I'm using my 5” by 15” ruler, it's exactly 5 inches wide. So I know that I can center it up here on my ten inch square and it's going to be exactly right from the edge. I can make a cut this way and then do the same thing across this way and that gives us eight half square triangles, just like that! Isn't that amazing?
So quick and so same thing, you're going to open these up and press them to the dark side. Now we got eight at a time! Let me go ahead and press this back and these I would probably square up to 4.5”. So again this kind of shows you the staggering in sizes that you get from these different methods.
So say you need that first one I squared up to 9.5”. Say you need a 9” half square triangle, it would be totally reasonable to go ahead and use that method and square it down to the size you need. And same with each
of these. You know we've got 4.5”. We've got 6 ¾” here. So we've got a lot of room in between.
When you see us teaching the quilts that we design, you're going to see all these different methods of making the half square triangles because there's always a size that we're looking for. Whichever method is going to get us closest to the size that we need, that's the one that we're going to go with.
Now you kind of know the back story and why we do things the way that we do. I have one more method for you and this is the easy 16 half square triangle. You're going to get a lot of small half square triangles this way.
Here's my my background and my print right sides together, but in this case I've drawn a line horizontally and vertically down the middle of my 10 inch square. What we're going to do is we're going to sew on either side of these lines and also all the way around the outside. You can see I've done that with this one. Here's my marks that I drew initially, and then I used gray thread so that you could see.
Now I have a quarter inch seam on either side of those center lines and then also all the way around the outside. Now we're going to cut this apart
much in the same way we had the others. It's just the number of cuts that we're doing. Let's make sure it stays lined up and I like to go ahead and cut them apart like this.
To begin, because now I can cut these squares individually. Then we are just going to cut these, each one of our squares, corner to corner in both directions. There we go. You can see each one is going to give us four half square triangles. If you did the four at a time method on a five inch square - that's what we're getting here! But by using a ten inch square we're getting 16 at a time which is pretty awesome. So let's go ahead and cut one more of these. You can see we're just cutting corner to corner in both directions and we get all of these great little blocks.
Let's go ahead and press these. That gives us a block that should be right around 3”. You can see how quickly and easily all of these half square triangles come together. Depending on what size you're looking for, you now know which method will get you closer to the size that you want. Hopefully that gives you a little background into why you see us teach things a certain way when we are designing and teaching a quilt.
Also as I was playing with this, I'm pretty sure I could do an easy 32, but the half square triangles would be so so small. But it might be worth it if you're working on a tiny project because, if you're like me, I really like small pieces. I'm going to try that and maybe I'll show you that another time.
I hope you guys enjoyed this deep dive into half square triangles. Now you can see no matter what size you make, you can have a beautiful impact. I want to finish this up by just showing you some of the mini blocks that can be made with half square triangles.



