
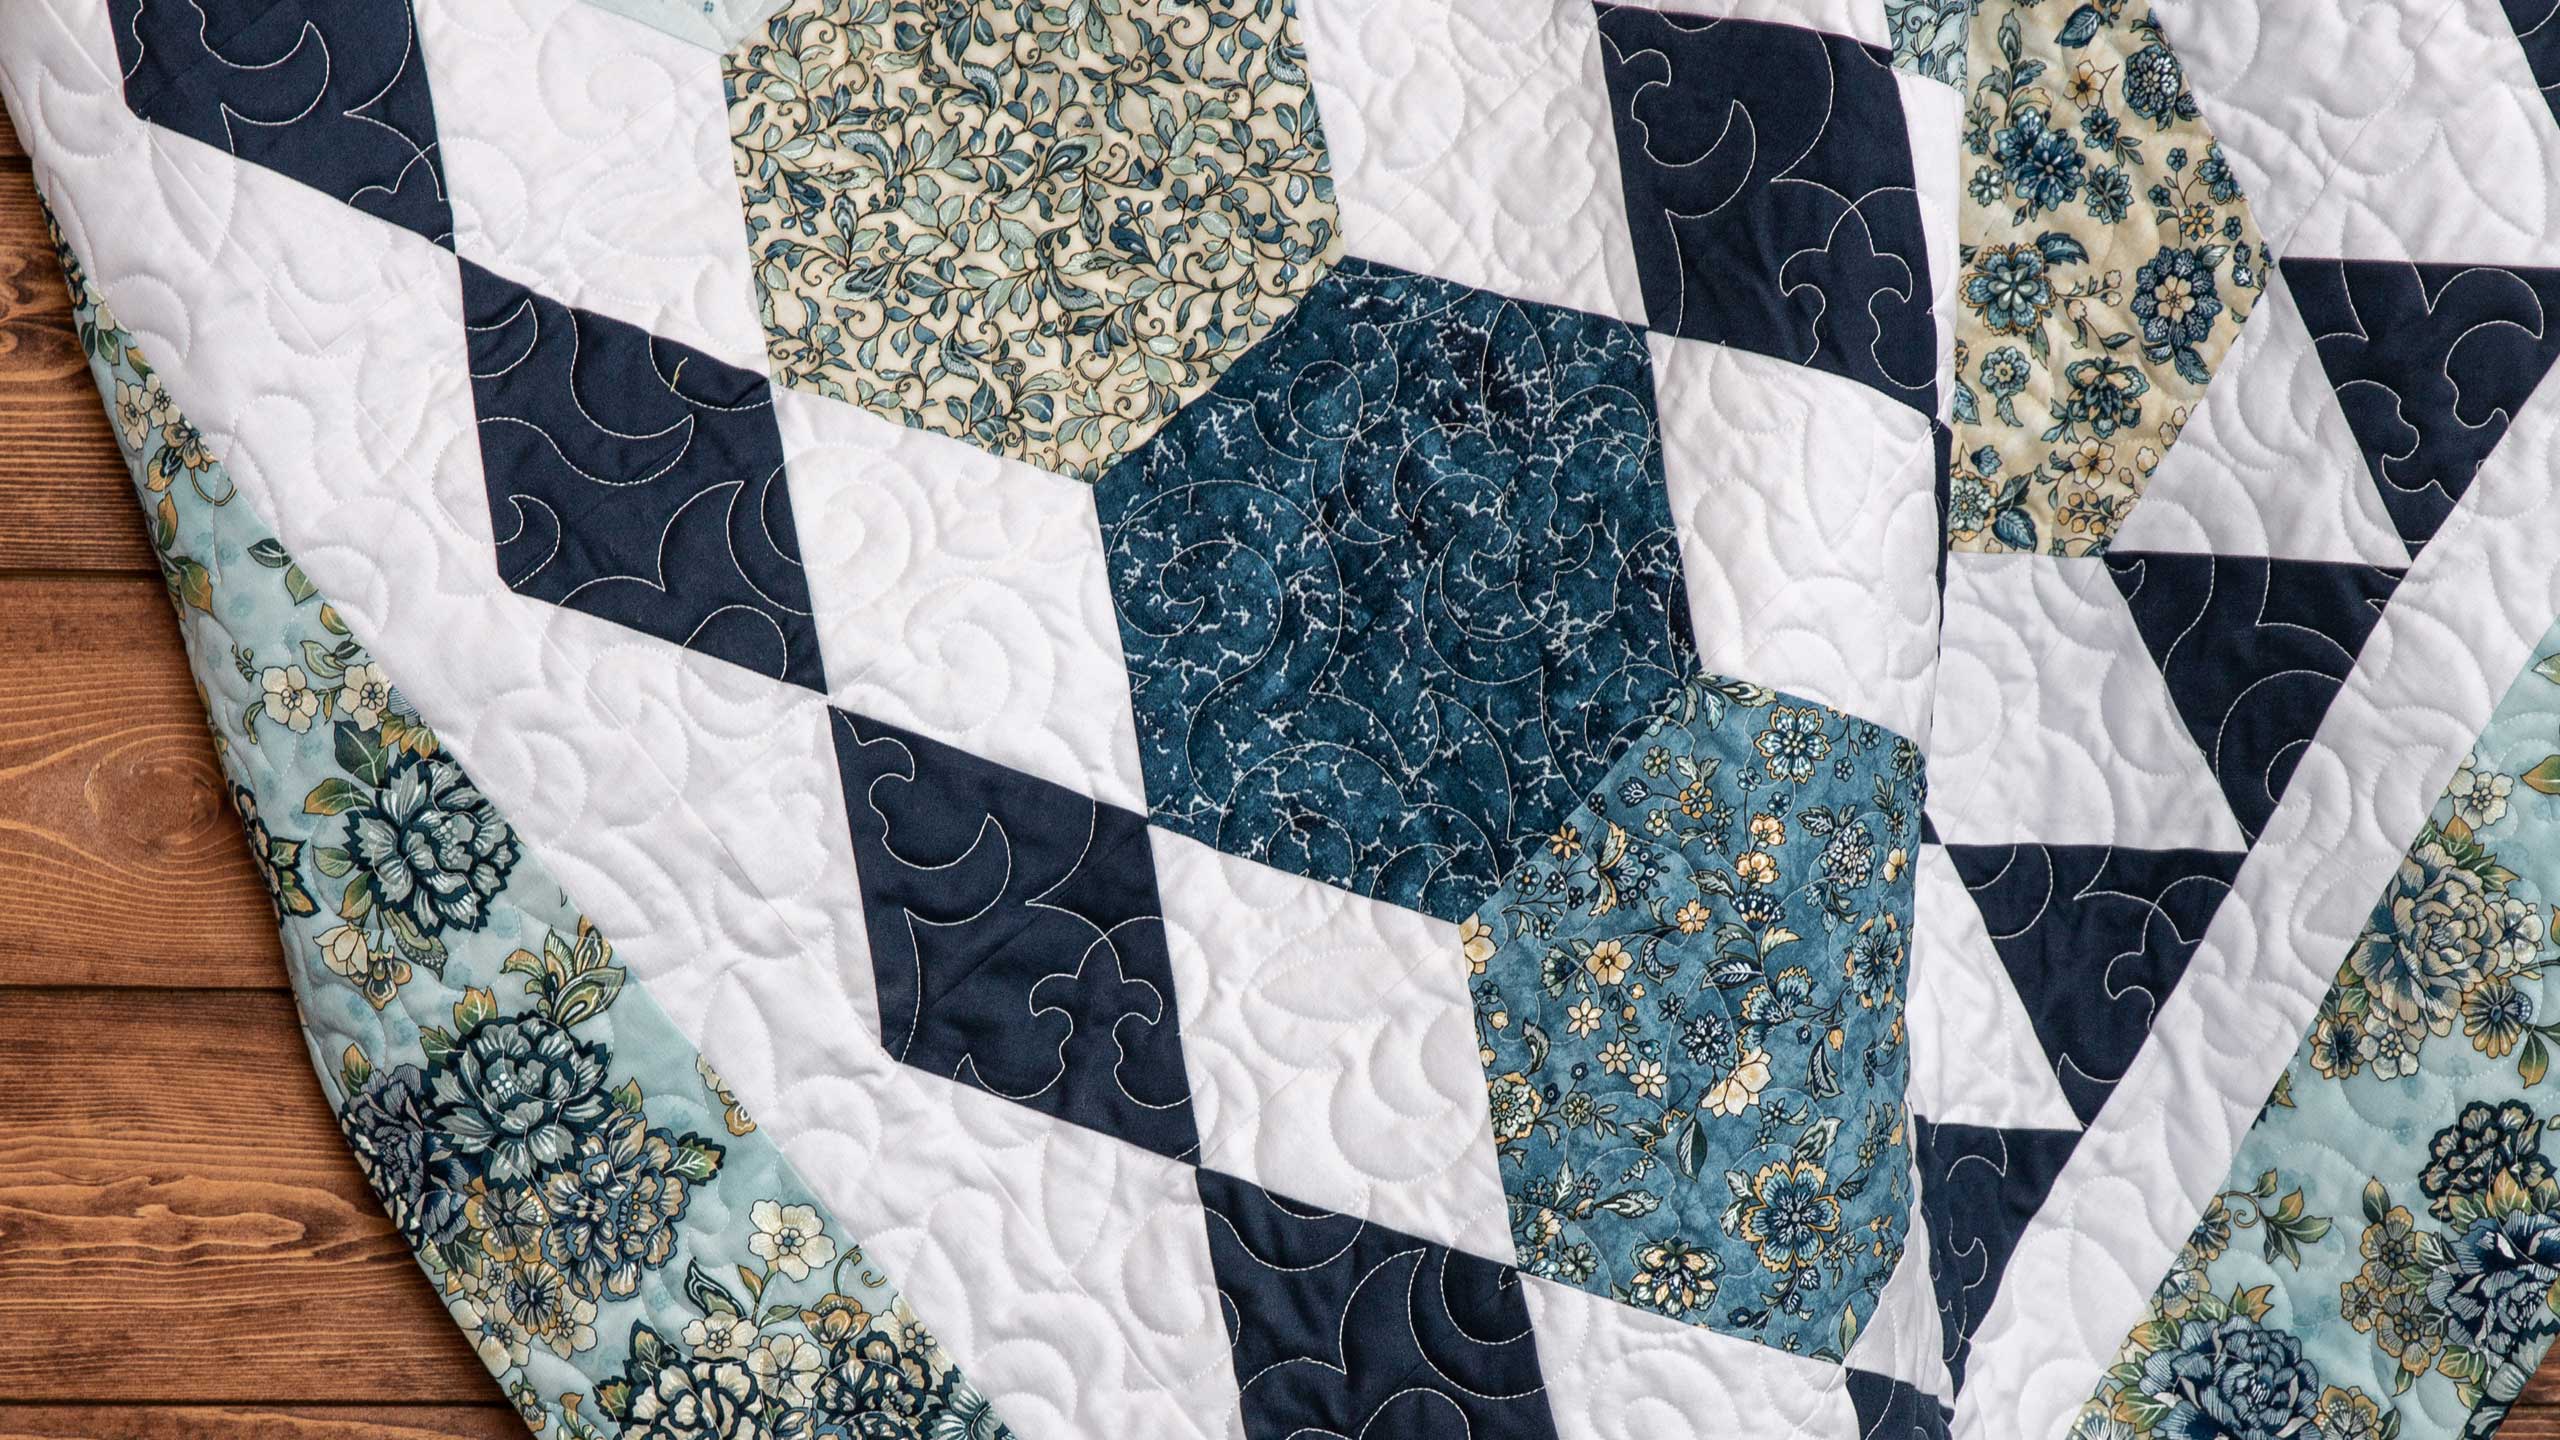
Make a "Diamond Dance" Quilt with Jenny!
 Jenny Doan
- Layer Cake
- Modern
- Queen
- Beginner
- Quilt size 90" × 88"
Jenny Doan demonstrates how to make a gorgeous diamond and hexagon quilt using 10 inch squares of precut fabric (layer cakes). For this project, she chose Calista 10" Squares Studio RK for Robert Kaufman Fabrics, the Missouri Star Large Half Hexagon Template for 10" Squares, and the Missouri Star Large Rhombus Template.
Instructor
Jenny Doan
Jenny Doan is an American quilter, author, and YouTube personality. Jenny started Missouri Star Quilt Company in 2008 and today it is the largest quilting supply vendor in the United States.
Shop this tutorial
 Missouri Star Large Half Hexagon Template for 10" Squares$11.95Shop →
 Missouri Star Large Rhombus Template$11.95Shop →
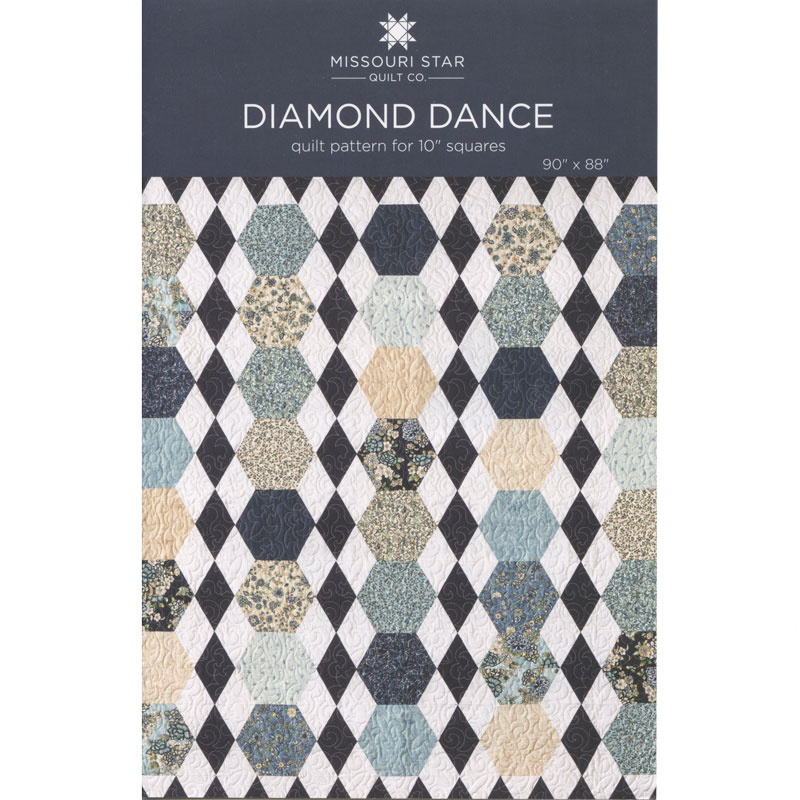 Diamond Dance Quilt Pattern by Missouri Star$6.95Shop →
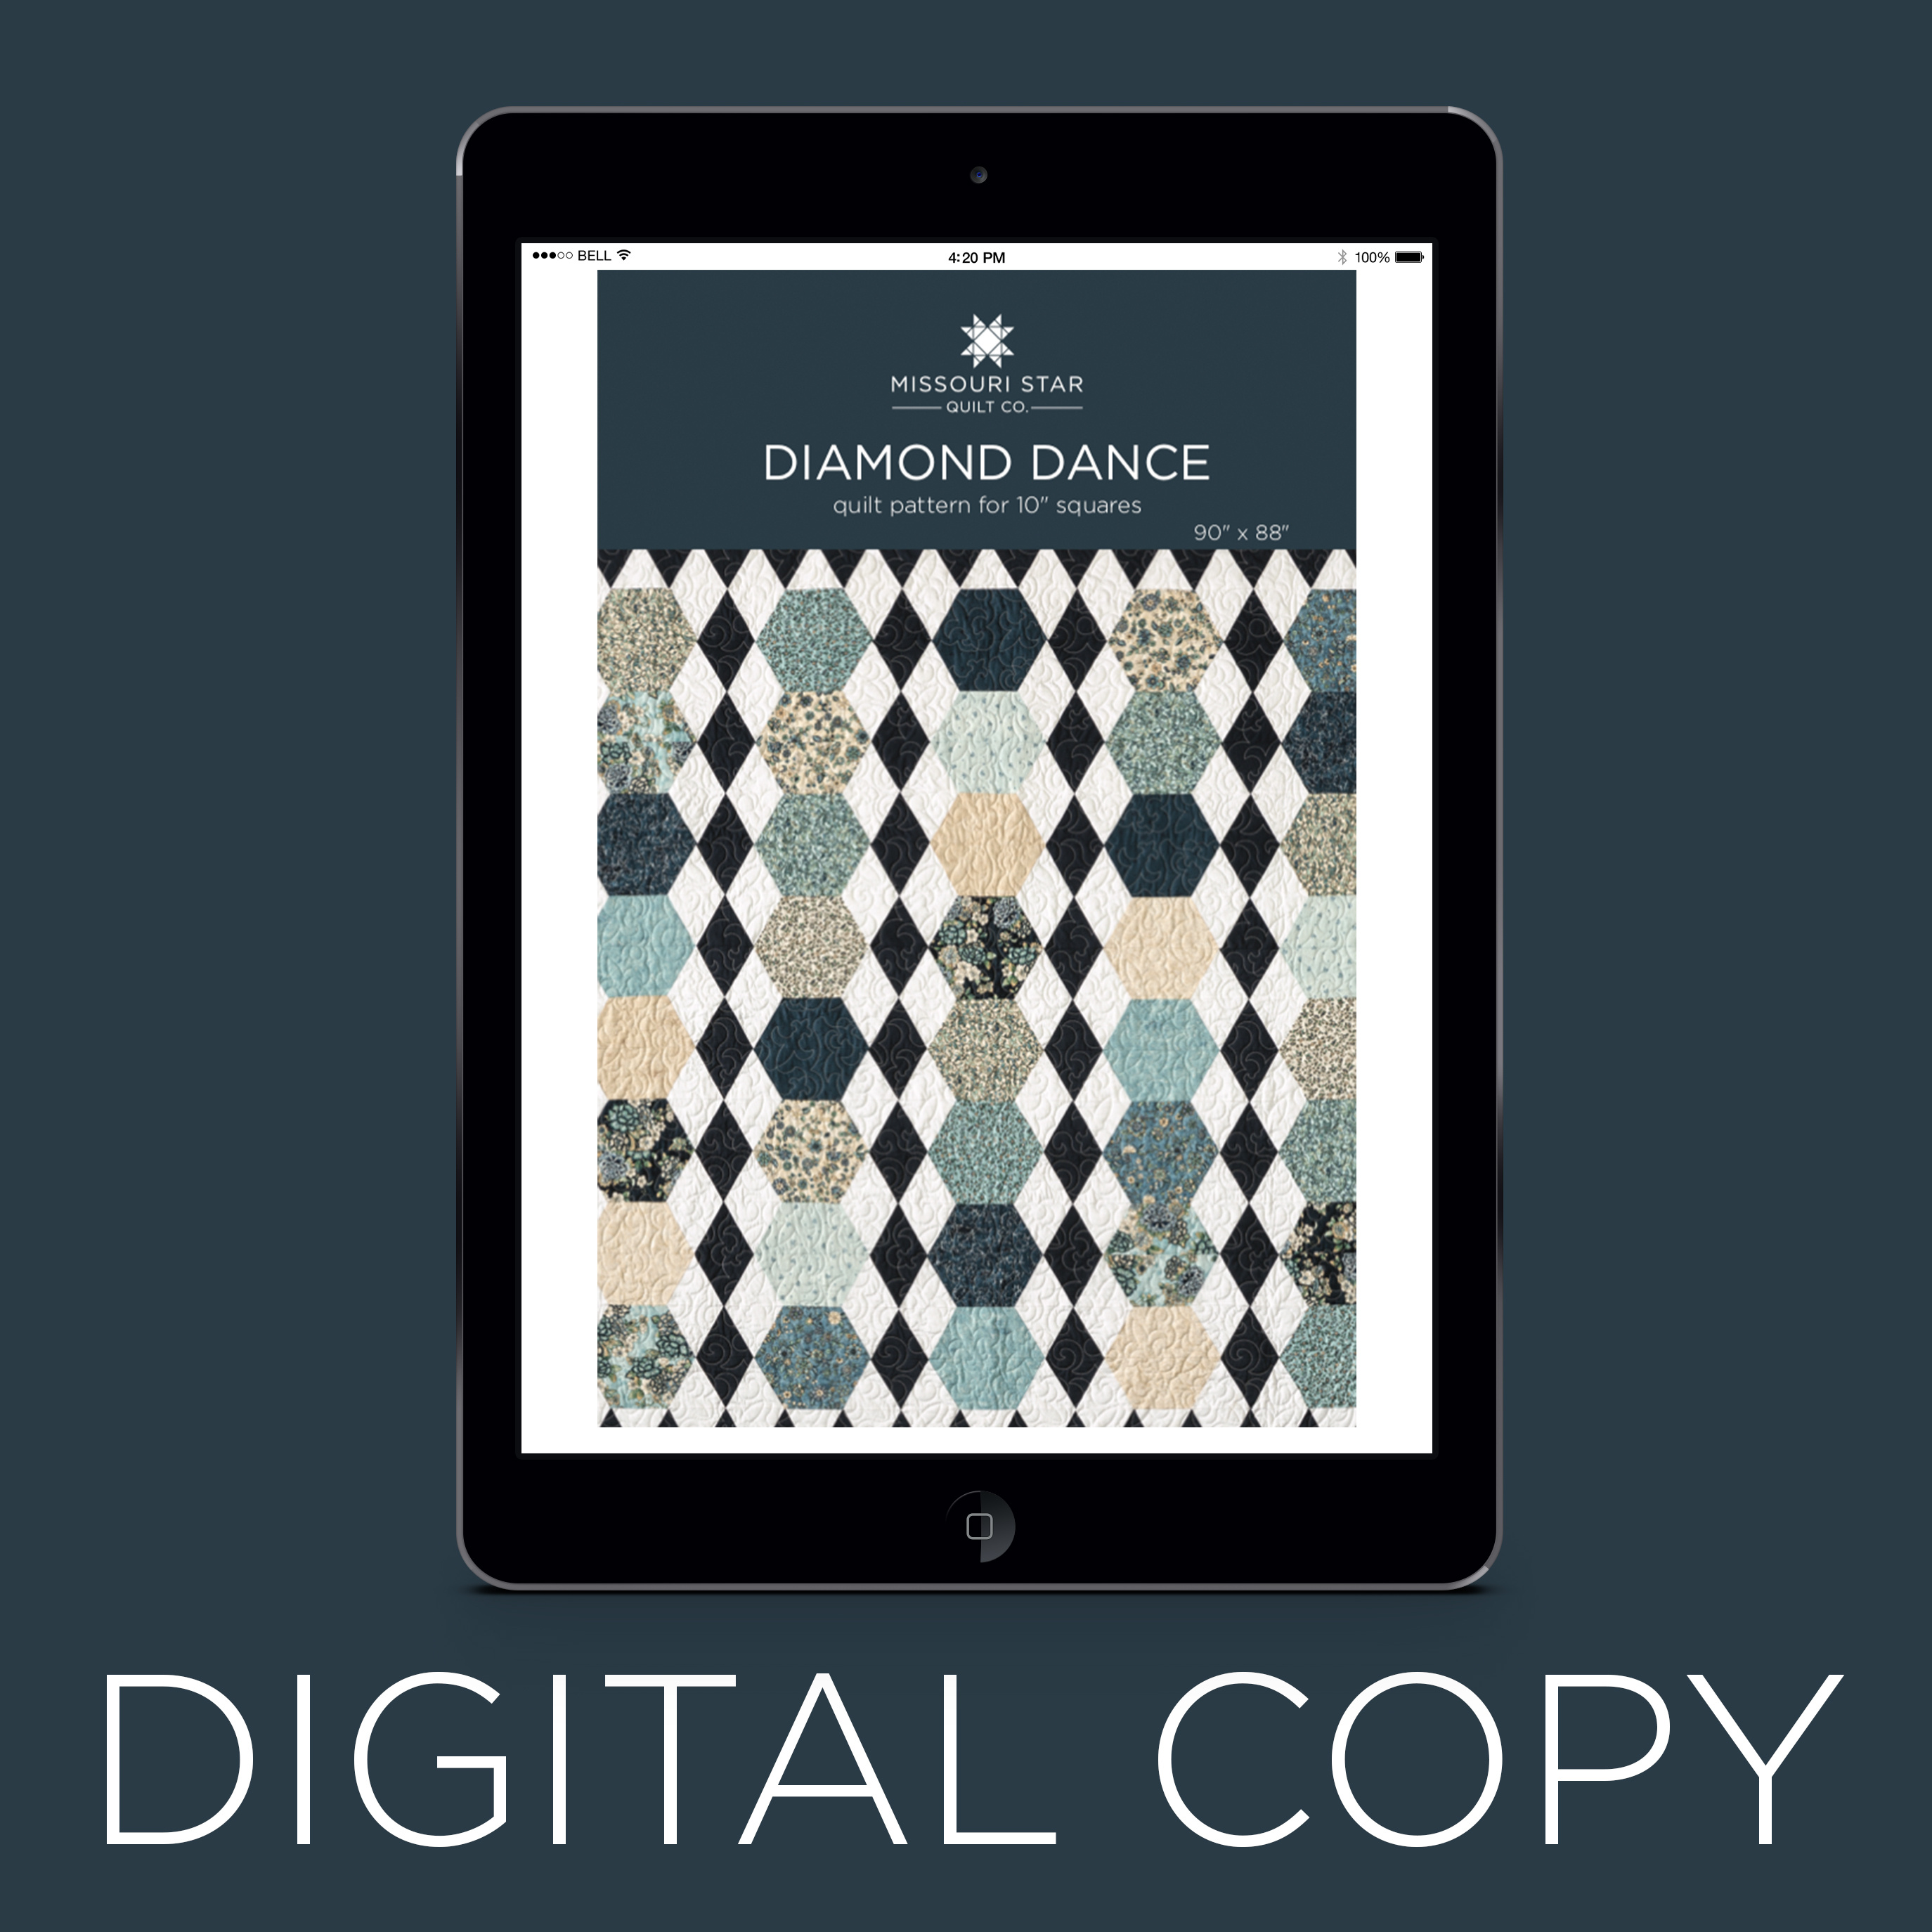 Digital Download - Diamond Dance Quilt Pattern by Missouri Star$4.95Shop →
 Olfa Splash Aqua 45mm Rotary Cutter$18.75Shop →
 Olfa Splash 24" x 36" Cutting Mat Navy$68.95Shop →
 Missouri Star 2.5" x 8" Ruler$10.95Shop →
 Missouri Star 5" x 15" Ruler$15.95Shop →
 Exclusive Missouri Star Jenny TG1600 ProPlus Oliso Smart Iron$199.99Shop →
Common Questions
What is covered in Make a "Diamond Dance" Quilt with Jenny!?
Jenny Doan demonstrates how to make a gorgeous diamond and hexagon quilt using 10 inch squares of precut fabric (layer cakes). For this project, she chose Calista 10" Squares Studio RK for Robert Kaufman Fabrics, the Missouri Star Large Half Hexagon Template for 10" Squares, a...
How long is the tutorial video?
The tutorial video is 00:08:30.
Are supplies listed for this tutorial?
Yes. The tutorial page includes the supplies and materials connected to this project.
Is a transcript available?
Yes. A written transcript is available on the tutorial page.
Video Transcript
Alright, so the first thing you’re going to do is you’re going to cut your ten-inch squares. You’re going to cut with your half hexi. So what we’re going to do is we’re going to lay our half hexi tool on here like this. And you can do it either way. But you’re going to cut all the way around it. And I kind of like to line mine up with the bottom and, and just come back and cut like this. And so I’m going to cut all the way across here. And then I’m going to flip it around and cut the other side as well. So I folded my ten-inch square in half. I guess I forgot to show you that. I folded my ten-inch square in half so I’m cutting two at a time. So now you can see I have two of those. And we’re just going to stack those over here. Now our filler squares are made up of three diamonds right here. Just three diamonds, that’s all it is. And so to cut those you’re going to cut your background in your complimentary fabric, you’re going to cut those into 4 ⅝ inches. Now I know that’s kind of a weird measurement but 4/8 is the half mark and so ⅝ is just ⅛ beyond the half mark. So when you’re looking at a ruler and here’s your half, the next tiny little line is just the ⅝. So don’t let that throw you. So this is going to be 4 ⅝ right here. And the reason we did that, you can do yours 4 ½ but this actually matches up just perfectly with the half hexi and it will be a lot less stress. So the other way you can make it work. This way it’s a little bit easier.
So what we’re going to do now is we are going to lay our ruler which again is exactly the same as a 60 inch, a 60 degree ruler. And I’m going to line these up right here because I cut one already. Actually, I’m just going to have to re-cut that side. So what we’re going to do is we’re always going to make with our rhombus tool, make sure that the flat point just nestles right at the top. You should be about an eighth of an inch over your line here. If you flip it this way, you know, you’re going to be a little more. It doesn’t matter which way. I always just line the little point at the top. So let me show you as long as your pieces are straight and you line this up right on the top. Hang on, I want to make sure these are lined up exactly. So we’re going to set this right at the top like this. And then I’m just going to cut and cut. And then what you can do is just move that out and then again this flat piece just goes right along the edge. And so just line that up right there. And from after that first cut, you’re always just cutting one side. So just like this and just like this. Let’s cut one more. Make sure your point is lined up along the edge.
Alright so now you’ve got to sew these together. And you’re going to sew these together just like this in little groups of three like this. And it makes the exact same size as our hexagon. And so to do that what we’re going to do is we’re going to take two of our whites and one of the navys. And we’re going to put these on either side. Now you’re just going to lay this on here just like this. You’re going to watch those tiny little ears stick out on either side and you’re going to sew a quarter of an inch right down the side. So let’s do that. Alright so now what I’m going to do is I’m going to finger press this back and then I’m going to add my other triangle on the other side. And again I’m just going to make sure it’s going the right direction and line them up as close as I can get them. There we go. Alrighty. Now what we’re going to do is we’re going to press these open just like that. Oh when I opened that I had a little moment of panic. I was like, oh did I do that right? And I did. Alright so then you’re going to make a stack of those and a stack of these and all that’s left now is the layout. So let me show you how we laid these out.
First, you are going to want to lay this out ahead of time because you want to make sure that your hexagons match up to form hexagons. Because we are, we are, we put this as a row quilt. So let me show you right here. So see this is a row. And this row then has to match up with the other side of that hexagon to make it a real hexi. So what we’re going to do is we’re going to lay these in between like this. So we’re going to put, you know, one of these and a hexi. And one of these. And then for our next row we’ll start with another hexi down, no I’m sorry, the diamond. This makes the diamond. And then we’ve got our hexi and our diamond and it forms those diamonds just like that. And you’re going to go along and sew the rows. But just make sure you lay it out ahead of time and so you can see this. Ok so this is what our first, you know, little row is going to look like. Of course you’re going to keep going along it. And remember the hexagons are just lined up right underneath each other so let me, oh here’s the other half of that one. So let me show you how this goes because the hexagons go in a row and our diamonds also go in a row. So as you put the next row in it’s going to go like this and like this. See how that’s all going to work and it just keeps going together in those fun, fun rows. It’s just straight down like that. Now let’s take a look at the quilt and look how we put these together.
Alright so right here we’ve got one, two, three, four, five, diamonds, I mean five hexagons. And then we’ve got one, two, three, four, five, six, diamonds across here. And remember this makes two rows because this goes together as a row and this goes together as a row. Now our border, we put one of these on the top and one on the bottom. And it’s all just triangles. So you’re just sewing a blue and a white and a blue and a white together to make this long border up here on the top. And then we put our 2 ½ inch border on the outside. Now on the side you’ll notice, see our side over here, it’s all going in, out, in, out, in, out like this. So what you want to do is you just want to trim these off. So you’re just going to line these up on the edge of your square and you’re just going to trim those off and give yourself a nice straight edge for the sides. It goes together really quickly and really easily and it’s a lot of fun to make. And we hope you enjoyed this tutorial on the Diamond Dance quilt from the MSQC.



