

Make a "Disappearing Hourglass Medallion" Quilt with Jenny Doan of Missouri Star
 Jenny Doan
- Layer Cake
- Modern
- Double
- Beginner
- Quilt size 68" × 68"
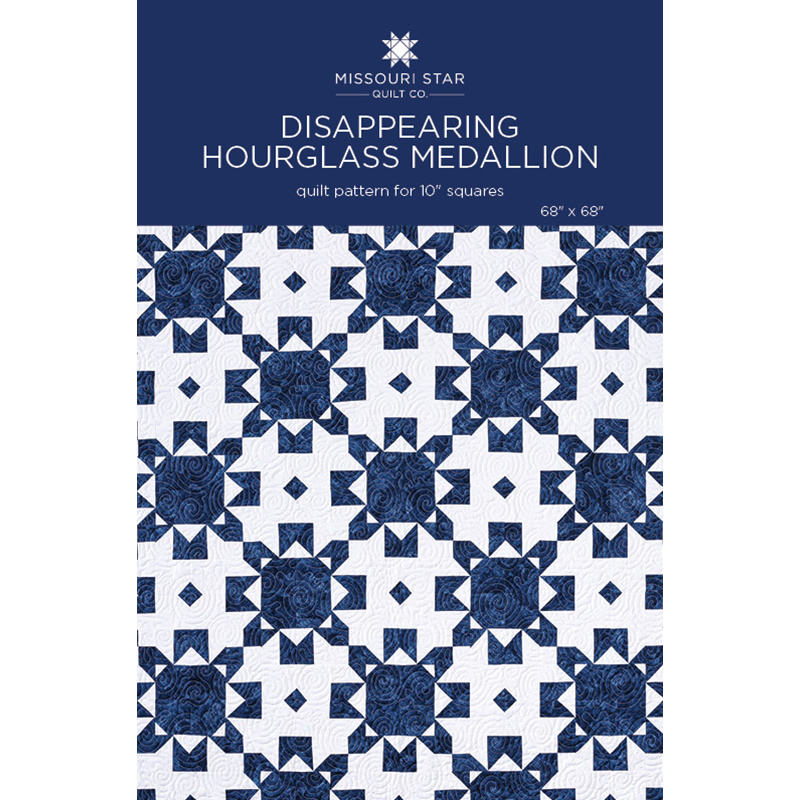
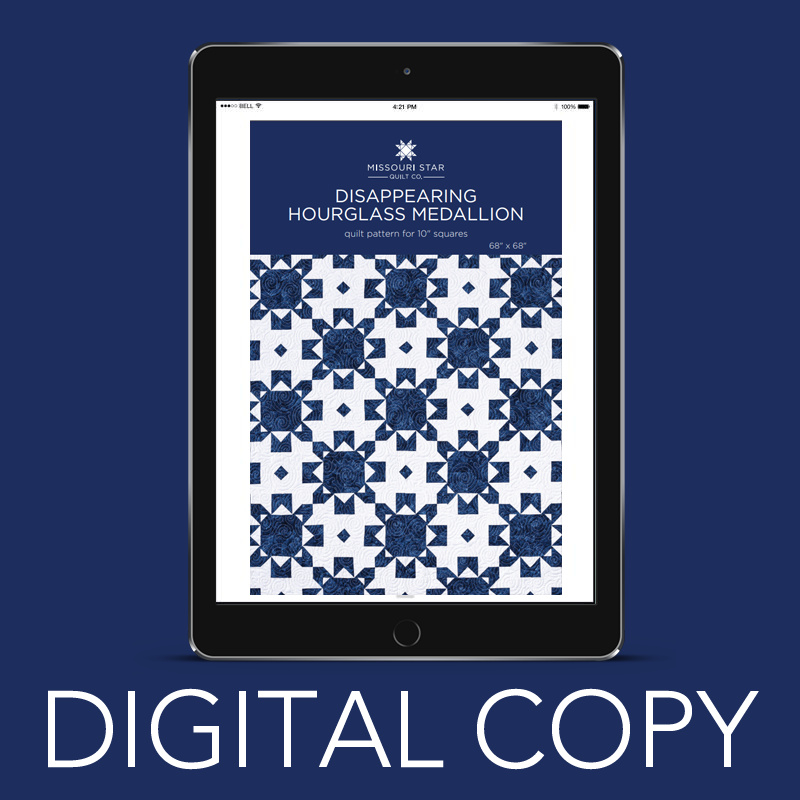
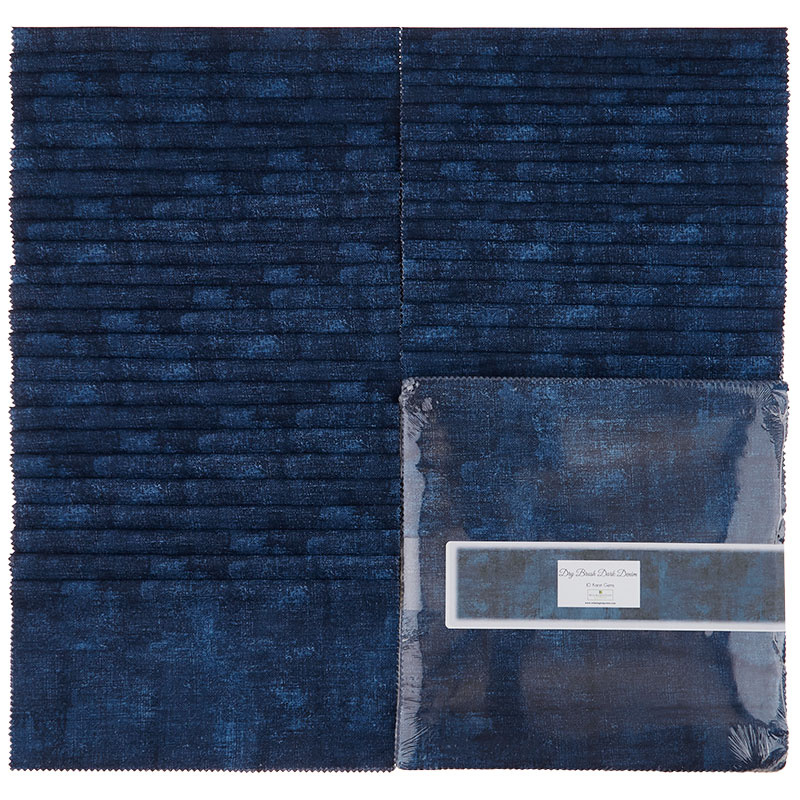
Jenny demonstrates how to make a new disappearing hourglass quilt using 10 inch squares of precut fabric. This striking 2-color layer cake quilt looks sweet in blue and white. Jenny's navy fabric is Wilmington Essentials - Dry Brush Dark Denim 10 Karat Gems by Danhui Nai for Wilmington Prints.
Instructor
Jenny Doan
Jenny Doan is an American quilter, author, and YouTube personality. Jenny started Missouri Star Quilt Company in 2008 and today it is the largest quilting supply vendor in the United States.
Shop this tutorial
 Disappearing Hourglass Medallion Pattern by Missouri Star$6.95Shop →
 Digital Download - Disappearing Hourglass Medallion Pattern by Missouri Star$4.95Shop →
 Wilmington Essentials - Dry Brush Dark Denim 10 Karat Gems$40.95Shop →
 Kona Cotton - White Ten Squares$30.95Shop →
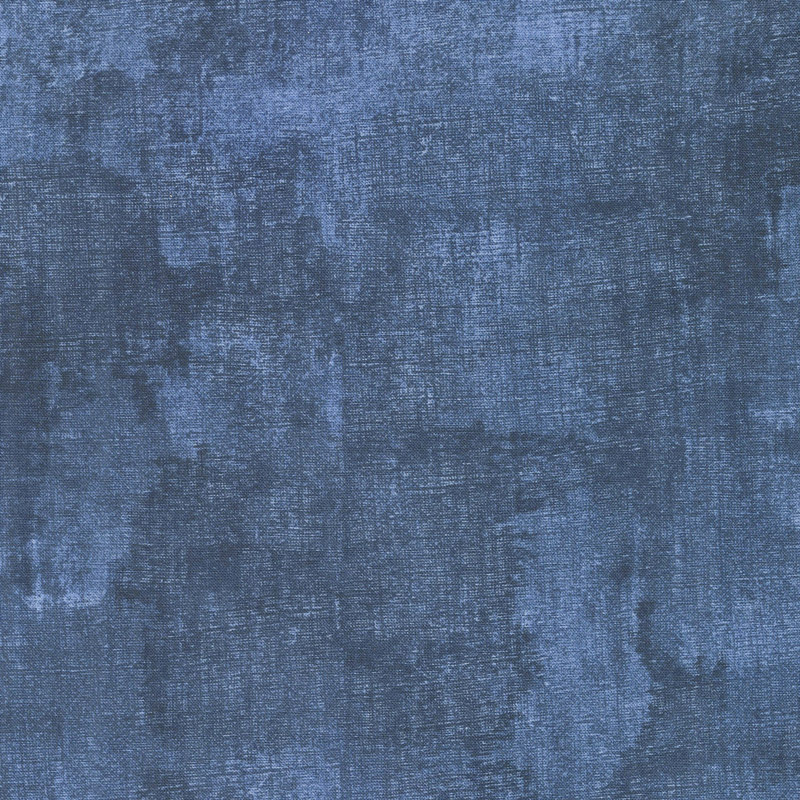 Wilmington Essentials - Dry Brush Dark Denim Yardage$10.96Shop →
Common Questions
What is covered in Make a "Disappearing Hourglass Medallion" Quilt with Jenny Doan of Missouri Star?
Jenny demonstrates how to make a new disappearing hourglass quilt using 10 inch squares of precut fabric. This striking 2-color layer cake quilt looks sweet in blue and white. Jenny's navy fabric is Wilmington Essentials - Dry Brush Dark Denim 10 Karat Gems by Danhui Nai for W...
How long is the tutorial video?
The tutorial video is 00:12:40.
Are supplies listed for this tutorial?
Yes. The tutorial page includes the supplies and materials connected to this project.
Is a transcript available?
Yes. A written transcript is available on the tutorial page.
Video Transcript
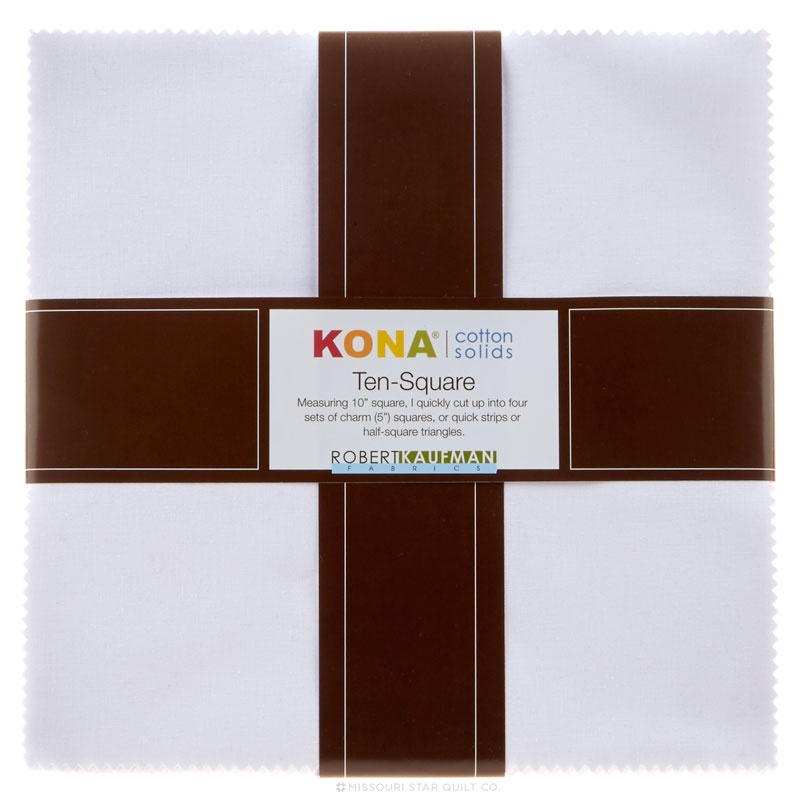
It also looks great in scrappy, but this is a beautiful dry brush denim by [inaudible 00:01:00] for Wilmington. And you're also going to need some background. We're working with 10-inch squares here. So 10-inch squares of your background, 10-inch squares of your color. We're going to be using 36 of them. So if you want to use yardage, one layer cake is equal to about three yards of fabric, and we're going to use 36 10-inch squares of color and 36 10-inch squares of background. Our border and our back are the same fabric. We've continued to use this same beautiful dry brush denim, and you're going to need four and a quarter yards for your backing and for your border, we just have a little three-inch border out here, and it's just three quarters of a yard. So if you want a bigger quilt, add a bigger border, and which you can do very easily. The quilting pattern on this is called Sticky Buns. It's a very nice swirly pattern that just holds everything together and it's one of my favorites.
So again, here's the back. So this makes a quilt that is 68 by 68. Again, we're using 36 squares. The reason we did that, because if you do a square quilt, so six blocks across by six blocks down, it's going to finish up all these medallions, which just makes it look really cool. So let me show you how to make this. What we're going to do is we're going to start with a 10-inch square of color and a 10-inch square of background. We're going to put them right sides together. And just like we do with our disappearing blocks, we're going to sew all the way around the outside. So this block, you can see I've done that. I've sewn all the way around the outside, and I'm going to cut it corner to corner like this. So we will also cut this the other way as well. So you will get four of these like this, and then we're going to press these open and we're going to square these two, six and a quarter. So let's go ahead and press these open. And for your squaring tool, you can use any squaring tool.
I have a block lock here, but any squaring tool will work. Now my block lock ruler is six and a half, and we are squaring these to six and a quarter. So you just want to keep that in mind when you square. So what we're going to do is we're going to come out here and I'm going to sit on this edge right here and trim this and get one clean edge. So these two edges make a clean edge, and what I'm going to do is, I'm going to put this on over here. If you iron to the dark side, the words always go on the background side. And so what we're going to do is, I'm going to slide this down so it hits a quarter of an inch just like this. And then I can trim off the other side because I know this side is a straight edge. All right, so let me do that again in case that didn't make sense to you.
All right, so what I'm doing, put my words on the background side. We're going to slide this into the corner right here. And we are going to trim off this extra side right here. So I've got as far into the corner as I can get it, and this side right here now is a straight clean edge. So we're going to turn this and we're going to turn our ruler so that the words again are on our background side. And we are going to slide this down a quarter of an inch. And it has these little square marks in the corners. And because we know this one is the straight edge, we can trim off the other side just like this.
All right, so now that we have all of our blocks squared up, we're going to put them together in an hourglass block. That means two colors in and two backgrounds in, just like this. This is a traditional hourglass block. So now we're going to sew these together and we just want to make sure that these seams nest up. You'll see if you put these back, you can see that those seams come right together like that. And so as we go down the side, we want to nest up these seams right here. Just make sure they're all lined up real nice. And I'm just going to go ahead and pull that over, just a hair, there we go. And this one too. And then this one we will also sew down and this one, we start with the middle and work our way out just like this. Okay. Alrighty. Now we're going to open this up, make sure everything's right, and it is, fold this over and we're going to sew right down the side here.
All righty, there we go. Down the side, my middle seam is nested, my edge seam is nested, and we're just doing great. So far, so good everyone. All right, we've got this right here. We're going to iron it. Now because these blocks are six and a quarter, this block should finish out at 12. So let's look at that and see if they did. And yes, we are at 12. So what that means is this, from the center block, we can take our ruler and we're going to cut two inches from the center seam line on all four sides. So we're going to go here like this, two inches from that center seam line. And then this is a great place for a rotating mat. So we're going to go on this side two inches from that center seam. Again, two inches.
Now, when I started doing these blocks, I never squared them up. So my measurements were always kind of ish, but if you square your block to six and a quarter, when you sew it together, it will become 12. And then everything works so much better. But it's where I was in my journey. We're all in different places. All right, so now all these blocks can work independently of each other. This is the way a disappearing hourglass works. So we made an hourglass and we've made it disappear. So then we're going to set it together and we are going to set it together like this. So what we're going to do is we're going to turn this guy out and leave this guy in. And this piece right here, we're going to turn sideways. Okay, so now second row, we're going to turn this one sideways.
And you'll notice on all these, the blue, the bigger piece goes to the outside. This one we're going to turn so that the blues line up. And then this one we're going to turn again. So the larger blue piece is on the outside. This one we're going to leave in. So we've left our big blue with the white squares in and our white with the tiny blue triangle we're turning out. And then this turns this way. So this makes this cool medallion block. So we're going to go ahead and sew this together, and I'm going to sew it by row. So I'm going to sew these three together right here and just quarter inch right down the side because this is an easy one to get lost on. So when you do this quilt, make sure that you cut a block and sew a block. Don't cut all your blocks and think that you're going to remember where all these pieces go. You'll want to kill me at the end of the day. So cut a block and sew a block.
All right, so row one is done. Now here's our second row, and I'm just going to pick these up as I go along to make sure they stay in the right place on this one. My little mantra is that the blue goes with the blue. So I happen to love two color quilts. I think they're great for kids who are at college because their school colors are so easy to replicate with a two color quilt. But also sometimes you just want this peaceful little quilt. But to be fair, I have made a million of these in lots of scrappy fabrics and they just look great, scrappy or two color, but I just think a two color quilt is such a statement, quilt. All right, so this one and this one goes up to the inside. Now, before I sew these together, I'm going to look again and make sure that my pieces are in the right place. So I'm going to go this one, this one, this one, this one, this one out. So up and out, side and side, squares lining up and topping down.
All right, so now we're going to sew these three rows together. And this will give us a quarter of our medallion block. Now, I will bet I've done at least, I don't know, six if not more patterns using the disappearing hourglass. I love what happens when you turn the block and something new appears. And so don't be afraid to mess with this and play with it. So if you're laying these out and you do find something really cool, just contact me here at Missouri Star. You could have just made the next tutorial. And you know what? Those are my happy mistakes when you discover something different. And I'm like, "Yes, it's not a mistake", it's a new tutorial. So for me, I love seeing those, and that's what happened with this. Somebody was trying to put my blocks together at a retreat, and they were like, "This does not look right. I can't make it look like yours." And I'm like, "Wait a minute, you just made the next tutorial." And so I love it when that happens. All right, so let's see how this goes together.
So we're going to start by putting our large blue blocks in the center, and you're going to need four of these, like this. So see what's happening here? Just like that. And this gives you the nice big medallion right here. Now, the way the blocks go together, you can do it in big medallions like this, or you can put your blocks together, and this one will go this way and then this one will go this way, then this one will go this way, and this one will go this way. So we have six blocks across here and six blocks down, and it makes this nice sized quilt. So if you sew them together as a medallion, this is how you do it. But if you sew them together in rows, what you're going to do again is you're going to do this blue one in, your blues come together. So on the next row, your blues are going to come together up here on the top.
And then this row, they're going to come together down here on the bottom. And that gives you all your medallions. So that's row one, six blocks across, six blocks down makes such a darling quilt. So I hope you enjoyed the disappearing hourglass medallion quilt from the Missouri Stark Quilt Company. See you later. Hi everybody, it's Jenny from the Missouri Stark Quilt Company. We hope you enjoyed watching this video. If you aren't already part of the Missouri Stark Quilt Company family, be sure to subscribe so you won't miss a thing. And if you click that bell, it'll notify you every time a new tutorial comes out. See you next Friday.



