

Make a "Disappearing Shoofly" Quilt with Jenny Doan of Missouri Star
 Jenny Doan
- Layer Cake
- Traditional
- Lap / Throw
- Beginner
- Quilt size 76" × 89"
Jenny Doan demonstrates how to make a quick and easy Disappearing Shoofly quilt using 10 inch squares of precut fabric. For this project, Jenny chose "Summertime" 10 Karat Crystals by Lisa Audit for Wilmington Prints.
Instructor
Jenny Doan
Jenny Doan is an American quilter, author, and YouTube personality. Jenny started Missouri Star Quilt Company in 2008 and today it is the largest quilting supply vendor in the United States.
Shop this tutorial
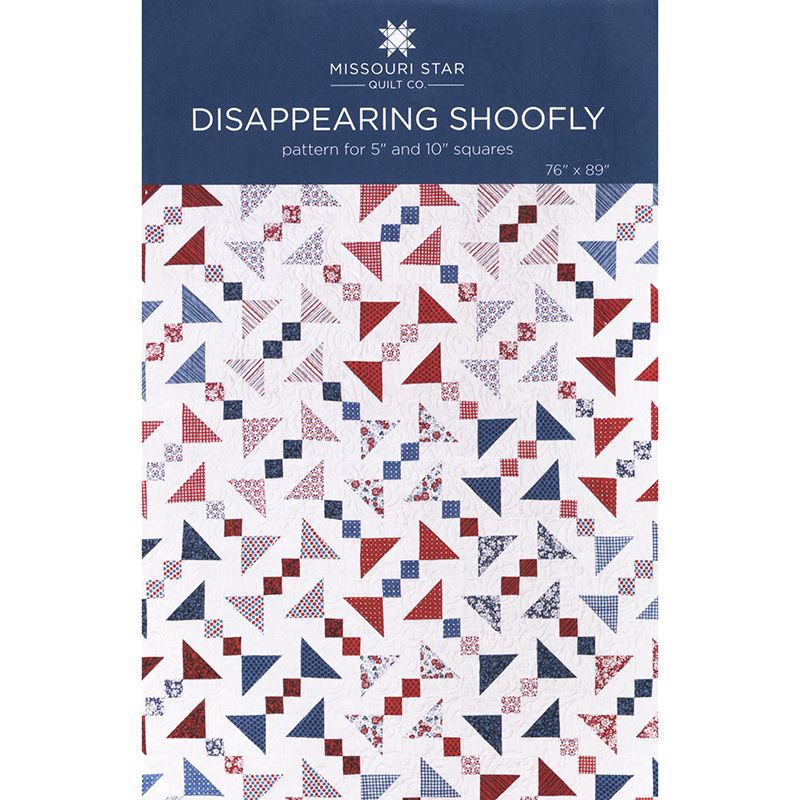 Disappearing Shoofly Quilt Pattern by Missouri Star$4.95Shop →
 Digital Download - Disappearing Shoofly Quilt Pattern by Missouri Star$3.95Shop →
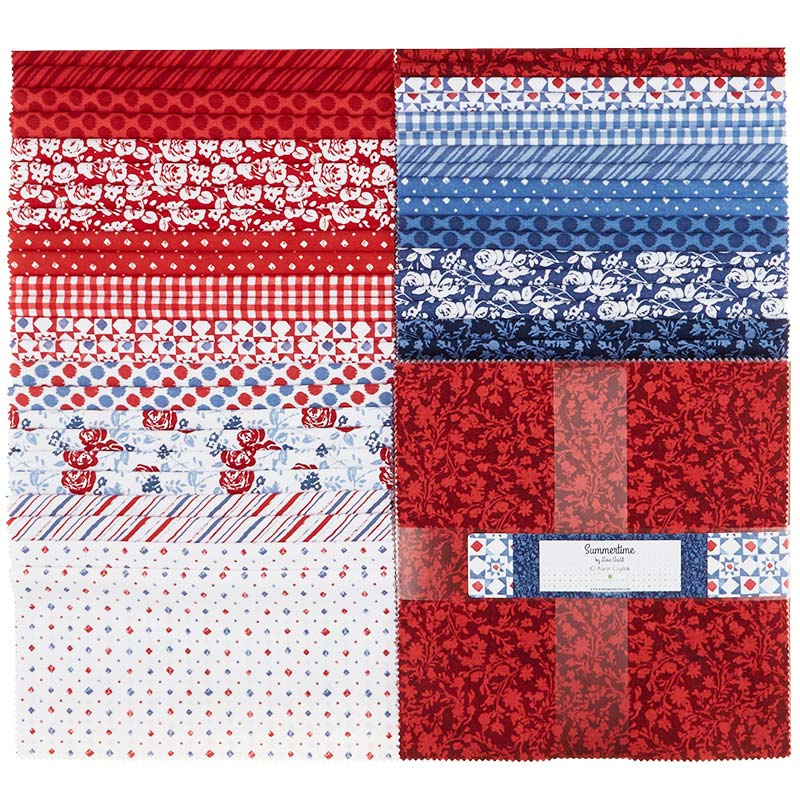 Summertime 10 Karat Crystals$36.95Shop →
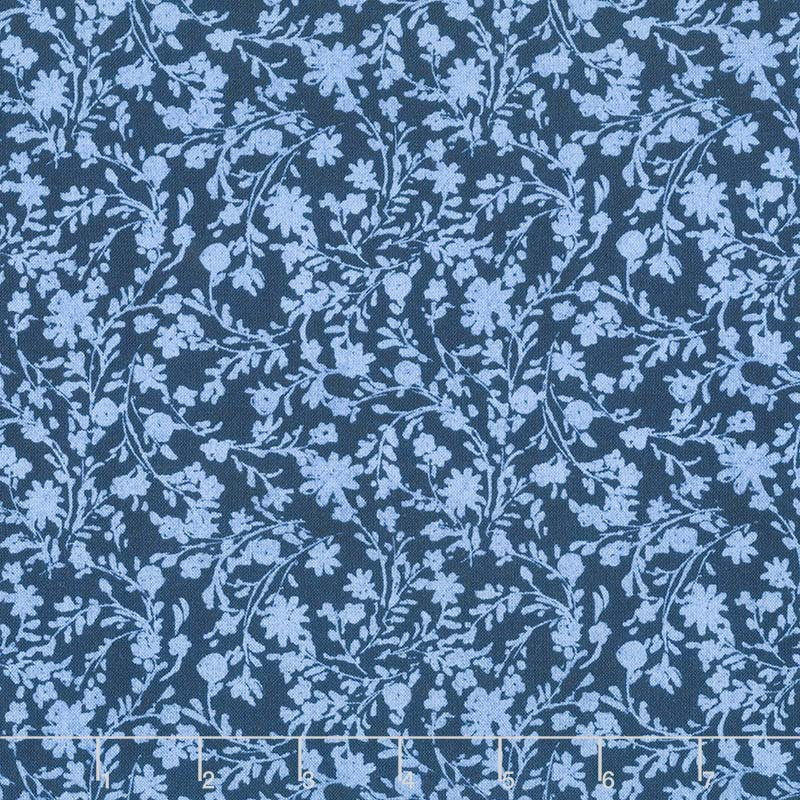 Summertime - Twined Floral Blue Yardage$10.45Shop →
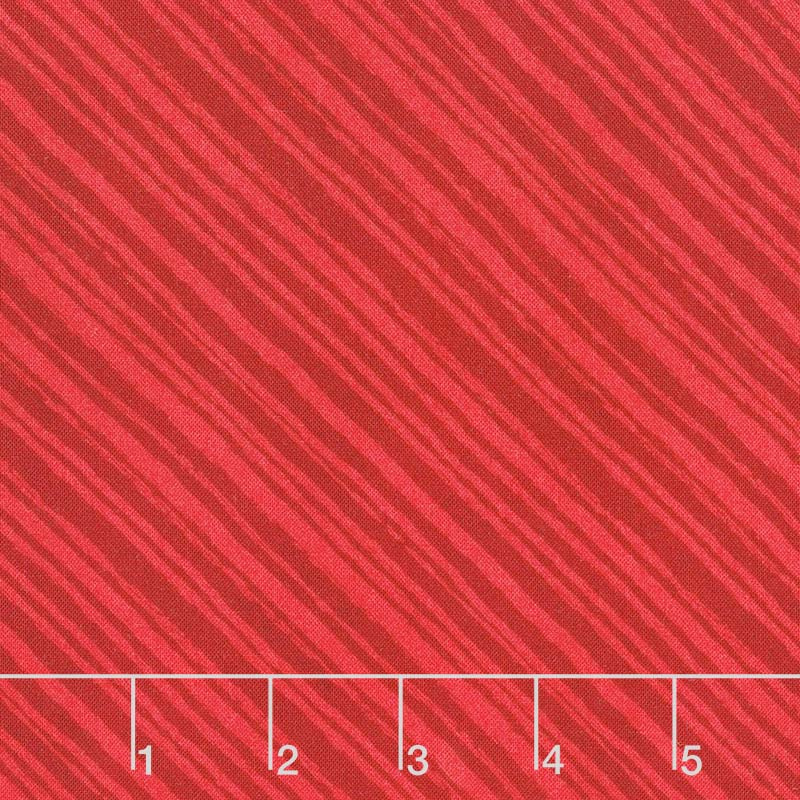 Summertime - Diagonal Stripes Red Yardage$10.45Shop →
 Bella Solids White Charm Pack$8.95Shop →
Common Questions
What is covered in Make a "Disappearing Shoofly" Quilt with Jenny Doan of Missouri Star?
Jenny Doan demonstrates how to make a quick and easy Disappearing Shoofly quilt using 10 inch squares of precut fabric. For this project, Jenny chose "Summertime" 10 Karat Crystals by Lisa Audit for Wilmington Prints.
How long is the tutorial video?
The tutorial video is 00:14:17.
Are supplies listed for this tutorial?
Yes. The tutorial page includes the supplies and materials connected to this project.
Is a transcript available?
Yes. A written transcript is available on the tutorial page.
Video Transcript
So since I had layer cakes to work with, I have ten inch squares to work with, I cut those into fourths because I was looking for four five inch squares which means you can actually use four five inch charms if you choose, you know, you can do that as well because I cut these right down to five inch squares. So what we’re going to do is we are going to put this together and we are going to put white in between our squares. So we’ll have, we’ll have four whites right here. I’m just going to set them out and show you how this is going to go together. And right here on the side like this, our middle square is going to be a color. And I have this fun print right here. Our corner blocks are going to be half square triangles. That’s what makes it a shoofly. So we are going to turn these five inch squares into a half square triangle block. And because I want to keep them five inches I’m drawing the line on my fabric and I’m sewing right on that line. So come with me to the sewing machine and we will do that with these two pieces right here. And so what I’m going to do now is I’m going to put these right sides together and I’ve drawn my line. You can see right here, I drew the line right down corner to corner, edge to edge. And I’m going to sew on that line. So what we’re going to do now is we’re going to sew right on this line and I’m going to sew straight down on it. And you’ll see on my table right here, you can see I have this diagonal seam tape. It’s super great to use because you can see your point corner to corner so when I lay my block on top of my block like this and I’m ready to sew on that line. Right here on that line, when I line it up, watch where this point is. This point stays on the red line, you know it’s right in the center of your block. And so that’s actually a great tip, it you use this tape, you don’t even need to really draw the line because you can just keep your point on that line. Alright now because I have sewn on these lines and I’m doing this to four of these, I know I don’t want to throw this whole other side, I’m going to be cutting a whole side off. And I don’t want to throw that apart. So I’m going to bring these back around and I’m going to sew about a half an inch away, maybe just kind of a fat quarter. I’m not real worried about where it is or how close. I’m just going to go ahead and sew on that. And even, I just want enough room to cut between them. So I have four of these done right now. And you can see I have two seam lines right here. And I’m going to cut right in between those right here. And I’m going to do this to all four of mine. Now this smaller piece, you have to kind of watch it because it is not the same size but it’s not that much different that you can tell. So keep those two far away piles. I say this because of experience. So we’re going to do ahead and cut these apart. And you’ll see right here, this is not quite a quarter. I mean I’m really skimping on these seams on the seam allowance but I think that’s ok. It’s just got to be enough so that it doesn’t come apart. And those we’re going to square up anyway. So your little blocks, make sure you get those in a separate pile and just set those aside because that’s what we’re going to use for our bonus project. We’re going to put those over there.
Alright so now we have four of these. We’re going to press them open. And they should have stayed exactly the same size. I’m going to put my dark side to the top like this. And I’m just going to set my seam. That just relaxes the thread and then I’m just going to open these up right here and roll them back. So I keep my seam to the dark side. There we go. And one more like this. Alrighty. Now I have these four corners and what I’m going to do is I’m going to set up my block now. And so I’m going to put these with the color facing into the center like this. And this sets up our shoofly block. Alright, so now what we have to do is we have to sew this block together. Now in and of itself this is a darling block. But we’re going to sew this together like a big nine patch. So I’m going to sew, what I’m going to do is I”m going to take these two all the way down and chain piece them together. So I’m just going to lay these on here like this, like this and like this. And I’m going to do this whole row.
So we’re going to come along to our sewing machine. And you see because I sewed on that line I didn’t even have to square these up. I know they’re going to be right. Here’s my middle one. Make sure they stay lined up. This one slid a little bit. Get it right on the right edge there. And this last one right here. And now what I’m going to do is you can take these out and lay them back out if you want but I flipped my row over and I am just going to add this other row. I know that this color is going into the middle so I know that this one has to go into the middle like this. And just remember your colors always go in to the, they point into the middle square. This center one I don’t have to worry about because it just has a white on both sides of the color. And by not worrying about it means that I don’t have to, it’s not brain work for me. It’s like, ok I know this one just has a white on both sides. But you have to make sure that you think about this one because see how this one is pointing in and up? This one also has to point in and up. So we’re going to make sure that we get that and sew a quarter of an inch right down the side of that. Now what we’re going to do is we are going to leave these together. These work like pins for us and we are going to sew our rows together. So now I can just fold this row up here. I don’t even have to clip those threads. I can just fold it like that. And then right here I’m going to make sure one seam goes one way and one seam goes the other so they’re nested. And this one as well. And then I’m going to do the top one. And this block goes together so quickly. So let’s just line this one up here. And then I’m going to nest these two seams up right here. And now we’ve sewn our block together. Let me press this so it’s nice and flat.
So now we have this nice flat block like that and I know, we’re going to cut it in half again. So our middle block right here, this is five inches. But we have a quarter inch in our seam line. So we are going to measure 2 ¼ from our seam and cut this directly in half. So we are going to line this up right here, 2 ¼ and make a cut. And then we’re going to turn these and cut them again. So let’s just flip this. And we can cut these half and half because it’s still going to be 2 ¼ just like this. So here’s our 2 ¼ and up here this is 2 ¼ as well. Alright. Now just like we do a disappearing nine patch, we’re going to take one of these and turn it in and leave the small square to the middle and the other one and turn the other one and leave the small square to the middle. So this is the block we’re getting right here. It makes this little design right here and it’s going to come out and make these. So you have these fun things going this way and going this way and going this way. And I chose to keep my same colors in the same block but you could scrap this whole thing up if you wanted to.
So let’s go ahead and sew this together. This now sews together like a big four patch and there’s nothing to match up. So there’s no seams that have to match up on this on the sides. When you put the two sides together you’ll want to match up that center seam but other than that, these are just going to, you’re just going to sew a quarter of an inch right down the side. And there’s nothing on this that has to line up which is one of my favorites, one of my favorite things to do because it’s no stress, no stress. If ever there was a time we needed no stress, it’s during this time, right? Alright so now we have these two blocks. We’re going to fold them over and this is the center seam you want to worry about. So I’m going to line these up right here. I’m going to take a few stitches. And then this middle one I’m just going to make sure it matches, feel it with my fingers that they’re nesting both ways. Make sure that there’s no room in between there. And just sew these together. Alrighty, so now let’s press this again. Now if you want to flip this over and make sure your seams go the right direction you can do that. I’m just going to make that happen. Ooo that one even opened up. You know it really doesn’t matter if you want to open your seams or not. It just matters that the block lays nice and flat.
And so this is your block. And when we go to put these together we’re just going to match them so that they do the same thing as the original pattern. So you see I have two of them right here and we’re just going to sew them right together. But if this block is up in the corner, your next block you want to be up in the corner. So let’s take a look at this quilt right here. So we’ve got, see how these are all the top of the blocks, they’re all up in the corner. This is up in the corner, up in the corner, up in the corner. They’re all laid exactly the same way. And we have one, two, three, four, five, across and one, two, three, four, five, six, down. So this is 30 blocks and it just makes a great little quilt.
Now these little leftovers right here. Depending on, one of the reasons I didn’t worry about my seam size and what size they end up is that I’m going to square these. I’m going to square all of these. And you’re going to square them to whatever size, choose the biggest size you can. But you have to cut from your smallest square. So if your smallest square is only going to square up to four, then you’ve got to square them all to four. So just choose your size. Well let me show you what I got here because this is really fun. So I got this quilt. Look how cute this is. Isn’t that darling? It’s a great size. And I just set all the triangles going exactly the same direction. They’re all pointing up, pointing up, pointing up. Well unless you turn it and then they’re pointing down, pointing down. Just kidding. Anyway think about all the things that we’ve done at Missouri Star with half square triangles. You could go to our app. We have a free app. You could go there and you could just put in half square triangle quilts and you could make so many projects with all these little half square triangles. So I love the idea of a bonus project. I set this very simply, very easily. But remember anything that you can do with one half square triangle you know you can do, all those different patterns, you can do with half square triangles. So it’s just a fun, quick idea, bonus project. Love the idea of cutting up the shoofly block and seeing what happens if. And we hope you enjoyed this tutorial from the MSQC.



