
Dot to Dot Quilt
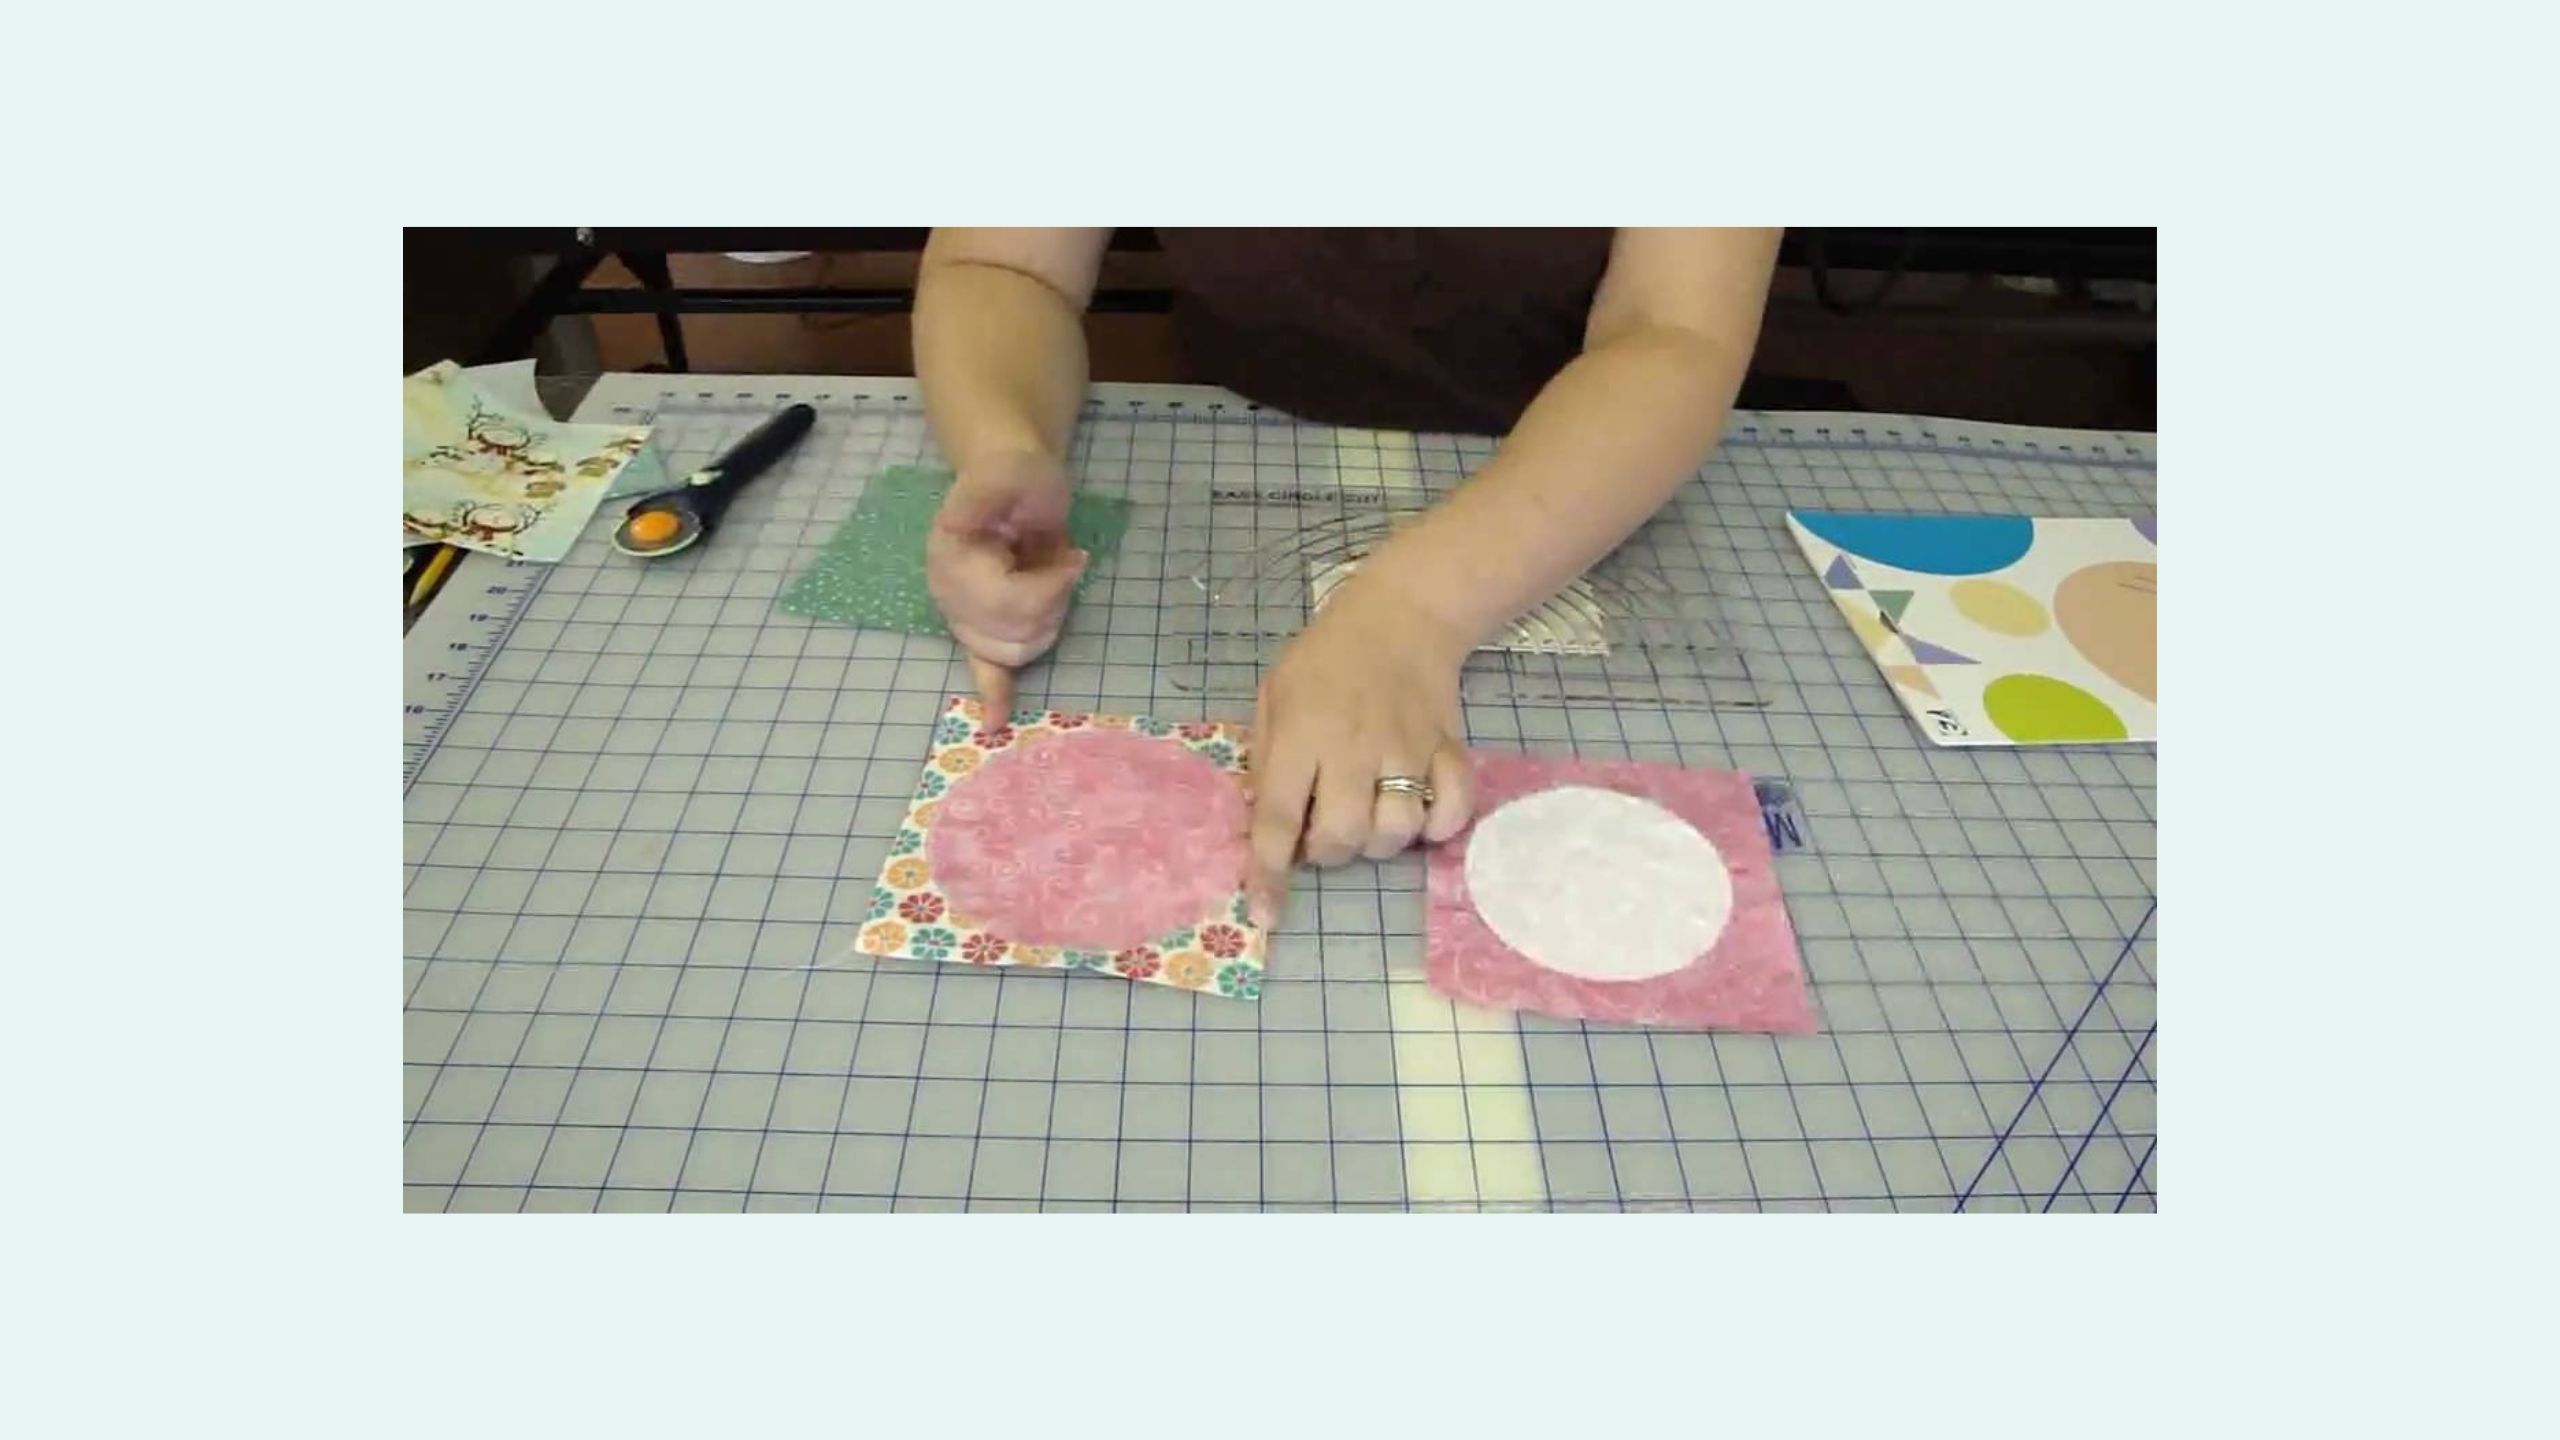
Natalie from Missouri Star Quilt Company shows us how to make an adorable "Dot to Dot" quilt.

Instructor
Natalie Doan
Natalie is the host of Quilting 101, Embroidery 101 and the Creative Strategist and Editor of Block Magazine at Missouri Star Quilt Company. She was taught how to sew by her mom, of course, and began quilting when she grew up.
Shop this tutorial



Common Questions
What is covered in Dot to Dot Quilt?
Natalie from Missouri Star Quilt Company shows us how to make an adorable "Dot to Dot" quilt.
How long is the tutorial video?
The tutorial video is 00:04:31.
Are supplies listed for this tutorial?
Yes. The tutorial page includes the supplies and materials connected to this project.
Is a transcript available?
Yes. A written transcript is available on the tutorial page.
Video Transcript
Hi, I’m Natalie, from the Missouri Star Quilt Company. Welcome to the intermediate quilt series. I wanted to show you how to make this circles quilt that I found in American Patchwork and quilting. It’s the August 2009 edition and the quilt is called Dot to Dot. It’s very cute, and it can be made using six yards of variety of fabrics. We used mainly Riley Blake, and some Sweet, and a few other coordinating fabrics that we enjoyed, and it’s very easy to do! So, I will show you how it’s done.
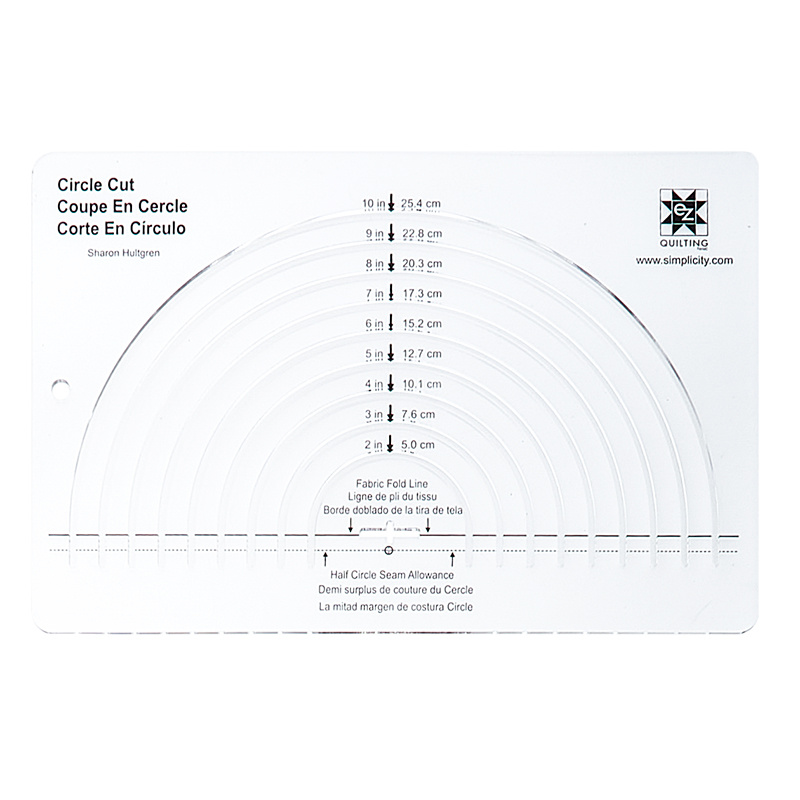
For our quilt we used 12 ½” and 6 ½” squares, but we think this would be very easy to adapt this to layer cakes and charm packs as they are 10” and 5”. We’re going to show you how to use this Easy Circle Cut Ruler by Sharon Hultgren to make our circles. But first we need to prep our fabric by putting a piece of fusible webbing ironed on to the back side of your fabric. So, I’m going to go over to the ironing board now and iron that on. OK we’re using Pellon’s Wonder Under iron-on stabilizer and it comes by the yard. And we just cut a little piece about 6” square to iron on the back of our fabric. You just set your iron on it and hold it for about ten seconds or so. And then you’re done! I want to explain the ruler, it has a fabric fold line here, which is this dark line. So, when you take your fabric and fold it in half, that is the line that you place on the fabric. Just like that. Now when you’re doing a circle, to go in the middle of a square, I learned the hard way that you need to make sure it’s about 2” smaller than your square. Because if you’ll notice here on these ones, this one is 2” smaller and this circle is only 1” smaller which doesn’t leave you enough seam allowance. So, 2” smaller than your square. So for our 6” circle or for our 6” square we’re going to make a 4” circle and you can do this two ways. The instructions on the back say that you can use your rotary cutter to cut the circle, and they recommend using a much smaller one than the one we have. So, I’m going to use a pencil and just trace the line and cut it out with a pair of scissors. I’m cutting out the circle, for our circle square. And there you have a perfect little circle. It can go however you like it, you can turn them or twist them. So, what we’re going to do is peel this backing off, and then we’ll iron it on, and do a nice little blanket stitch around the edge, so, it’ll look just like that when we’re done.
OK, so you take your paper of the back and then you place your circle. You can measure this, or you can just eyeball it. And then you iron it on, it sticks nice and tight. Then we take it over to our sewing machine to do our blanket stitch. To finish off the edges we chose to do the blanket stitch because it’s nice and a pretty edge. But you can choose which ever stitch you like. So, here we go. We’re going to go ahead and do this on the machine.
We’re all done. See that there how it looks nice and finished around the edges. We’ll clip the strings, and give it a good press, and now you know the basic construction of the block. Now that you’ve seen how to make the basic construction of the block, you can make this block in a variety of sizes. You can make your large 12” squares, your smaller 5” or 6” squares. If you do make any of these projects we’d love to see them in our forums and watch for us to make a quilt in this same pattern out of a layer cake and charm pack that will be coming soon! Hope you enjoyed our tutorial from the Missouri Star Quilt Company.
For our quilt we used 12 ½” and 6 ½” squares, but we think this would be very easy to adapt this to layer cakes and charm packs as they are 10” and 5”. We’re going to show you how to use this Easy Circle Cut Ruler by Sharon Hultgren to make our circles. But first we need to prep our fabric by putting a piece of fusible webbing ironed on to the back side of your fabric. So, I’m going to go over to the ironing board now and iron that on. OK we’re using Pellon’s Wonder Under iron-on stabilizer and it comes by the yard. And we just cut a little piece about 6” square to iron on the back of our fabric. You just set your iron on it and hold it for about ten seconds or so. And then you’re done! I want to explain the ruler, it has a fabric fold line here, which is this dark line. So, when you take your fabric and fold it in half, that is the line that you place on the fabric. Just like that. Now when you’re doing a circle, to go in the middle of a square, I learned the hard way that you need to make sure it’s about 2” smaller than your square. Because if you’ll notice here on these ones, this one is 2” smaller and this circle is only 1” smaller which doesn’t leave you enough seam allowance. So, 2” smaller than your square. So for our 6” circle or for our 6” square we’re going to make a 4” circle and you can do this two ways. The instructions on the back say that you can use your rotary cutter to cut the circle, and they recommend using a much smaller one than the one we have. So, I’m going to use a pencil and just trace the line and cut it out with a pair of scissors. I’m cutting out the circle, for our circle square. And there you have a perfect little circle. It can go however you like it, you can turn them or twist them. So, what we’re going to do is peel this backing off, and then we’ll iron it on, and do a nice little blanket stitch around the edge, so, it’ll look just like that when we’re done.
OK, so you take your paper of the back and then you place your circle. You can measure this, or you can just eyeball it. And then you iron it on, it sticks nice and tight. Then we take it over to our sewing machine to do our blanket stitch. To finish off the edges we chose to do the blanket stitch because it’s nice and a pretty edge. But you can choose which ever stitch you like. So, here we go. We’re going to go ahead and do this on the machine.
We’re all done. See that there how it looks nice and finished around the edges. We’ll clip the strings, and give it a good press, and now you know the basic construction of the block. Now that you’ve seen how to make the basic construction of the block, you can make this block in a variety of sizes. You can make your large 12” squares, your smaller 5” or 6” squares. If you do make any of these projects we’d love to see them in our forums and watch for us to make a quilt in this same pattern out of a layer cake and charm pack that will be coming soon! Hope you enjoyed our tutorial from the Missouri Star Quilt Company.



