A Christmas tree isn't dressed until it's wearing a skirt! Join Courtenay Hughes as she shows you how to make a beautiful Dresden tree skirt. By changing up the fabrics used, you can make this tree skirt complement any décor, from primitive charm to refined elegance.
Courtenay Hughes is a talented instructor of quilting, embroidery, and appliqué classes. She teaches at Missouri Star Academy, in both online and in-person classes.
What is covered in Make a Dresden Christmas Tree Skirt with Courtenay Hughes?
A Christmas tree isn't dressed until it's wearing a skirt! Join Courtenay Hughes as she shows you how to make a beautiful Dresden tree skirt. By changing up the fabrics used, you can make this tree skirt complement any décor, from primitive charm to refined elegance.
How long is the tutorial video?
The tutorial video is 00:20:03.
Are supplies listed for this tutorial?
Yes. The tutorial page includes the supplies and materials connected to this project.
Video Transcript
Hi everybody. It's Courtney with Missouri Star Quilt Company. Welcome to another Christmas in July video. Today I'm going to show you how to make this awesome Dresden Tree Skirt. [Music] You can find the pattern in Block Magazine. It's the most recent Block magazine. It's volume 12, issue three. There is another colorway in there. And I used in the tree skirt in block. I actually used some velvetine for some of the blades and that was kind of fun. It was a little slippy but it was fun and it all worked out. So there is a link in the pattern in block to go and download your pattern paper pieces. Okay, so this size is the small size if you can believe it. To me it looked large but it's actually the small. There's a size one size smaller and there's also a larger size. So you can pick any that you like. The pattern for all three is in there in the in block, but we're going to do the small. So, when you cut your pieces apart, they're gonna going to look like this. Okay? And I love this because it says where to overlap your pieces. So, you cannot go wrong when you tape them together. So, I'm just going to overlap that one right there. If I can get them. Let's get that lined up again. this one. I'm just going to do this one and show you. It's right there. And then if you were to use the large one, there's the top for that. And just tape that there. Okay. But we're only going to need that. So, I'm not going to tape this on. I liked printing out, too. And I'm going to show you why in a moment. This you can cut. I just cut mine out with the rotary cutter. And I cut the um sides with a ruler to get them nice and straight. And then I'm just going to cut this. Oops. Let's see. And around. Okay. Get rid of that. You don't need it. So now I have two blades. What we use to make this is a layer cake, okay? Or 10in squares, whichever you have on hand. And you're going to sew three together. I went ahead and used a smaller stitch on my machine because you're going to be cutting these apart and I don't want them to fall apart on you. So, I went down a little less than a 2.0. And I also pressed my seams open. That makes it a little flatter when you're laying your pattern piece on to cut it. It just puts the pattern paper closer to the fabric. So, you're going to lay this out. And you're going to lay one this way. Your one pattern piece this way. And if I can pick up the other one. And you're going to lay the other one the opposite direction. Now, does it matter where exactly you have these as far as where your seam is? Absolutely not. If I have a fabric that I like better than the other, I just make sure I have most of that showing. Like I really like this print fabric in the middle. So I might come pretty far down so I can get the most of that fabric that I can. Sometimes I have a favorite at the top, sometimes the bottom. It absolutely does not matter. And why I like to have two is I know now when I lay these on there, they're going to fit. If I only had one, I might tend to come over in the middle too much and then I go to put the other pattern piece on and there's not enough room. So, I liked it. It what didn't take much ink to make a second pattern piece in much time. So, that's how that's why I did two. Okay. But you do you do whatever you like. Now, I went ahead and cut out pieces from this. I pinned it. Um, a lot of people have the pattern weights. You can put the pattern weights on there. You can use your rotary cutter to cut it out or scissors. Do whatever. Do whatever is easiest for you. I went ahead and used the rotary cutter just because it was faster. I've already got some blades here that are cut out. I also cut some blades out of just one fabric. So, I picked some of my favorite fabrics and cut a blade, just one blade out instead of doing pieced. So, there's kind of, if you can see here, there's a solid red blade and there's a solid green. And I went every other. So, I have a solid blade, a pieced blade, a solid blade, a piece blade, but you can do whatever you like. All righty. You just need a total of 36 blades. So, let's sew these together. Sew right sides together just like just like everything else that we do almost. Now, I like starting at the skinny end. That way, we're going to have a nice circle when we're done. So, I'll just start there with and I'm going to just keep my smaller seam allowance. It doesn't matter at this point. And I'm going to go ahead and back stitch because we're going to have to bind that edge and I want it to be nice and secure later. So, using a quarter inch seam allowance, I'm just going to sew up. And then when I get to the top, I'll show you how I deal with the top when it gets rounded. Now, when I get up to the top, I'm just going to sew right off of that blade. So, right when I'm getting to the top, I'm going to go straight up and I'm going to back stitch right there. So, you can see here where I just went off the top. I also have a little bit smaller of a seam allowance here by accident. And there's my V. And you're going to do that. You're going to start on one end, go all the way around. Do not join them to make a circle. You want it to stay open. Okay. And then I can um you can press your seam to one side or the other. It doesn't matter. Okay. After you get your circle done, you're going to quilt it. So, you're going to want to be careful. Baste it all nice and flat. Make sure that when your other end comes around to meet this one that I just made sure there was a little bit of room in there, just a little bit of space. Okay, then you're ready to bind it. So, let's bind this thing. Now, my machine quilter was very kind when she was done quilting, and she actually did this before quilting, I guess. She went around and top stitched or basted right around all my curves. And that's good. I went ahead and trimmed my batting out from and backing from these curves. I would probably, if I were to do this again, I would leave that batting and backing in there because then you have something good to hold on to when you're going around the curves and when you're going around all of the binding. It's just nice to have something else to hold on to. Not necessary, but keep that in mind. If this is kind of becoming fiddly for you, you might want to wait until you top stitch your binding on before you trim it. trim the batting and the backing away. So, we are going to make it shows you in the directions how to make little ties. You're cutting strips, folding them in half and half again. And I top stitched on both sides. It says you just top stitch on the one side. I went ahead and top stitch on the other. And it also says in the directions to fold over both ends. I only folded over one end because the other end's going to be under your binding. You're not going to see it. So, I didn't waste the time to um fold that edge in under. I also It also tells you where to place your ties on the on the directions. And I did place my ties on the top. You can put them on the top or the bottom. It doesn't matter, but you want to put them in place before you sew the binding on because you're going to catch it in the binding. Now, let's talk about binding a little bit. When I do curves, I tend to make a singlefold binding. What a single fold binding is, it's basically half or a little more of a regular doublefold binding. I cut my double fold binding at 2 and 1/2. I like to cut my single fold at an inch and a half, which is a little more than half of the two and 1/2 because I want a little bit of room when I'm going around the back. Gives me a little bit more room. So, I will show you how this comes around the back side when we sew some. I also cut it on the bias because you're going to want that stretch that goes around when we go around the curves. So, make sure you cut your binding on the bias and make sure you just cut it. All you need is an inch and a half width. Okay? And I'm going to show you a little bit why that's important. So, and we join it a little differently at the ends, which is way slick. Wait till you see that. So, I'm just going to leave myself some room. I usually leave myself a good 6, eight inches when I start my binding just so I have enough room. And then let's go over to the machine and I'm going to show you how to deal with going around the curve. And then I'm going to show you how to deal with that inset curve there or the inset point. I'm sewing on the top and I'm going to bring it around to the back and sew it down. I'm going to use a quarter of an inch seam allowance. And I usually just use my quarter inch foot. I don't find that I need my walking foot for binding most of the time. And you can lengthen your stitch length a little bit. I wouldn't lengthen it too much. And I back stitch when I start. And you always want to start on a straight side. You don't want to have to start and stop on those curves. That would be a nightmare. So, this is one of my other favorite tools. It's a um All by Annie, and I just love it. This really grips the fabric well. The point really does grip it well, and it puts it where I want it. So, you don't want to pull on this when you're going around the curve. You just want to move it into position. So, I don't really want to pull on it, but I'm going to use this all, this nice pointy all to put this binding where I want it. And I go slower, which I'm usually not known for my slowness, but in this case, I will go slow. If you have a needle down position um capability on your machine, now's the time to use it. It'll just hold that in place. So, I'm just moving this along. I'm not pulling on it. Keeping that quarter inch nice going around that curve. Okay, I'm coming down on to the seam where these two blades meet. So, in a stitch or three, I'm going to stop right there. What I'm going to do is I'm going to fold this binding back so it folds right on the seam of where the two blades meet. Right on it. And I'm going to crease it with either a tool. This also has a nice little creaser on the end. Okay. And then you can pin that if you want to make sure it stays on that seam. Then what you're going to do is you're going to sew right up to that crease and stop with the needle down. Okay. When I first started doing this, I was trying just to eyeball and figure out where that crease was. and I wasn't very accurate, so I came up with them with that. Then you're going to turn it and then you're going to use your little stiletto and you're going to move all that fabric out of the way and you're going to put your needle back down and then you're going to start coming up the other side. That's all there is to it. It's not hard. It's just a little more timeconuming than flying on a straight binding. Okay, here we are going around the edge. Okay, we're coming on down to the next one. Going to fold this back. Now, if you don't have a needle down position on your machine, just use your flywheel and move that needle and just move it down. So, it's down in that fabric because you don't really want it to move at this point. We're going to turn. We're going to get under there. And I'm going to use this point to get that fabric out of the way so there's nothing in front of that needle. Remember, you're the boss of the fabric. Okay. And then you're going to start sewing. Just go around um the whole tree skirt until you're done. And then I'm going to show you the slick way to finish this binding. All right. So, we're coming up. We're coming up around the edge here. Now, I am going to take this and fold it up flat. And using my flat end of my stiletto, I'm going to make a crease. Then I'm going to end back stitch. I will back stitch here. Let me go ahead and throw some back stitches in or some stitches in there real fast so you get a better idea. Okay. So you're going to fold these so they're almost meeting, not quite because that gives that a little bit of slack in there. We're going to fold that over. Give it a nice crease. Now we're going to bring these up right sides together. We're going to match those folds. You can pin them. You can also mark these if you if you'd rather. Okay. And now I'm going to sew on that fold. And I'm going to back stitch so it's nice and secure. And I'm going to open this up. Voila. Okay. And then all we need to do is cut this off. press that open. Use our little presser tool again. And you might find too with the bias it might um you might need to put a little bit more room in between your folds. It kind of depends on you. And then you can just go back start here. [Applause] And look at that. No creases. You're all done. And the reason you can use the straight stitch is because this is only an inch and a half thick. So there's not any bulk there. So this is this is the beauty of a one and a half inch bias binding. And then you'll just fold it over. I make the first fold up to the item that I'm stitching on. And then I fold it over again. And you'll just hand stitch all that down. Okay. Now, when you get up to these curves, I was having a time of it with getting the front side of my curves. If you can see here, now I have very nice mitered mitered corners or insets, I guess, there. At first when I started doing this, I did not. So I was trying to figure out what the best way what I was doing wrong. And I wasn't really doing anything wrong. I just wasn't doing something I should have been doing. So what I did is I went back and I cut. It might be easier to see on this side. I cut right down to the stitching. So, I'm I'm not catching the good part of the binding, but I'm going to cut down right to where my binding is sewed on. And that gives this a little bit of room to work, which is magic. On um some of the other scallops that you see, they're not quite as I want to say severe with the indent. So, you can when you're sewing it, you can kind of pull it apart. These are too deep. You can't really do that with these. So that's why we have to pivot. But there we go again. I'm just going to snip right down to the curve. So then when I go back around, I would probably what I normally do too before I start going around, I'll press this so it's all nice and flat on the front side. So that gives me a nice So now when I'm going back around and pulling that to the back, I'm going to have a nice a nice miter. And this will come around this. I don't know if I pulled tight. Hang on. It's not playing. But you'll end up with a real pretty little miter there. And you can maneuver that miter a little bit when you're hand sewing it down. And then on the back side, most of the time on my back, I have something that looks more like this. It's more rounded on the back than it is pointy. So, you'll get a little bit of of roundedness there. It's round, but on the front, look how pretty it is. It's got that real nice miter. And then the back is a little bit rounded. But that's that's great. That's how it should look. So, that is it on the Dresden tree skirt. You can make any size you want. I think it's really fun. It's a really quick project. I hope to see some of you make these and post them on MSQC show and tell. Love to see them. And I hope this gives you a good idea of what to do for some more gifts or even for yourself for the holidays this year. Have a great day.

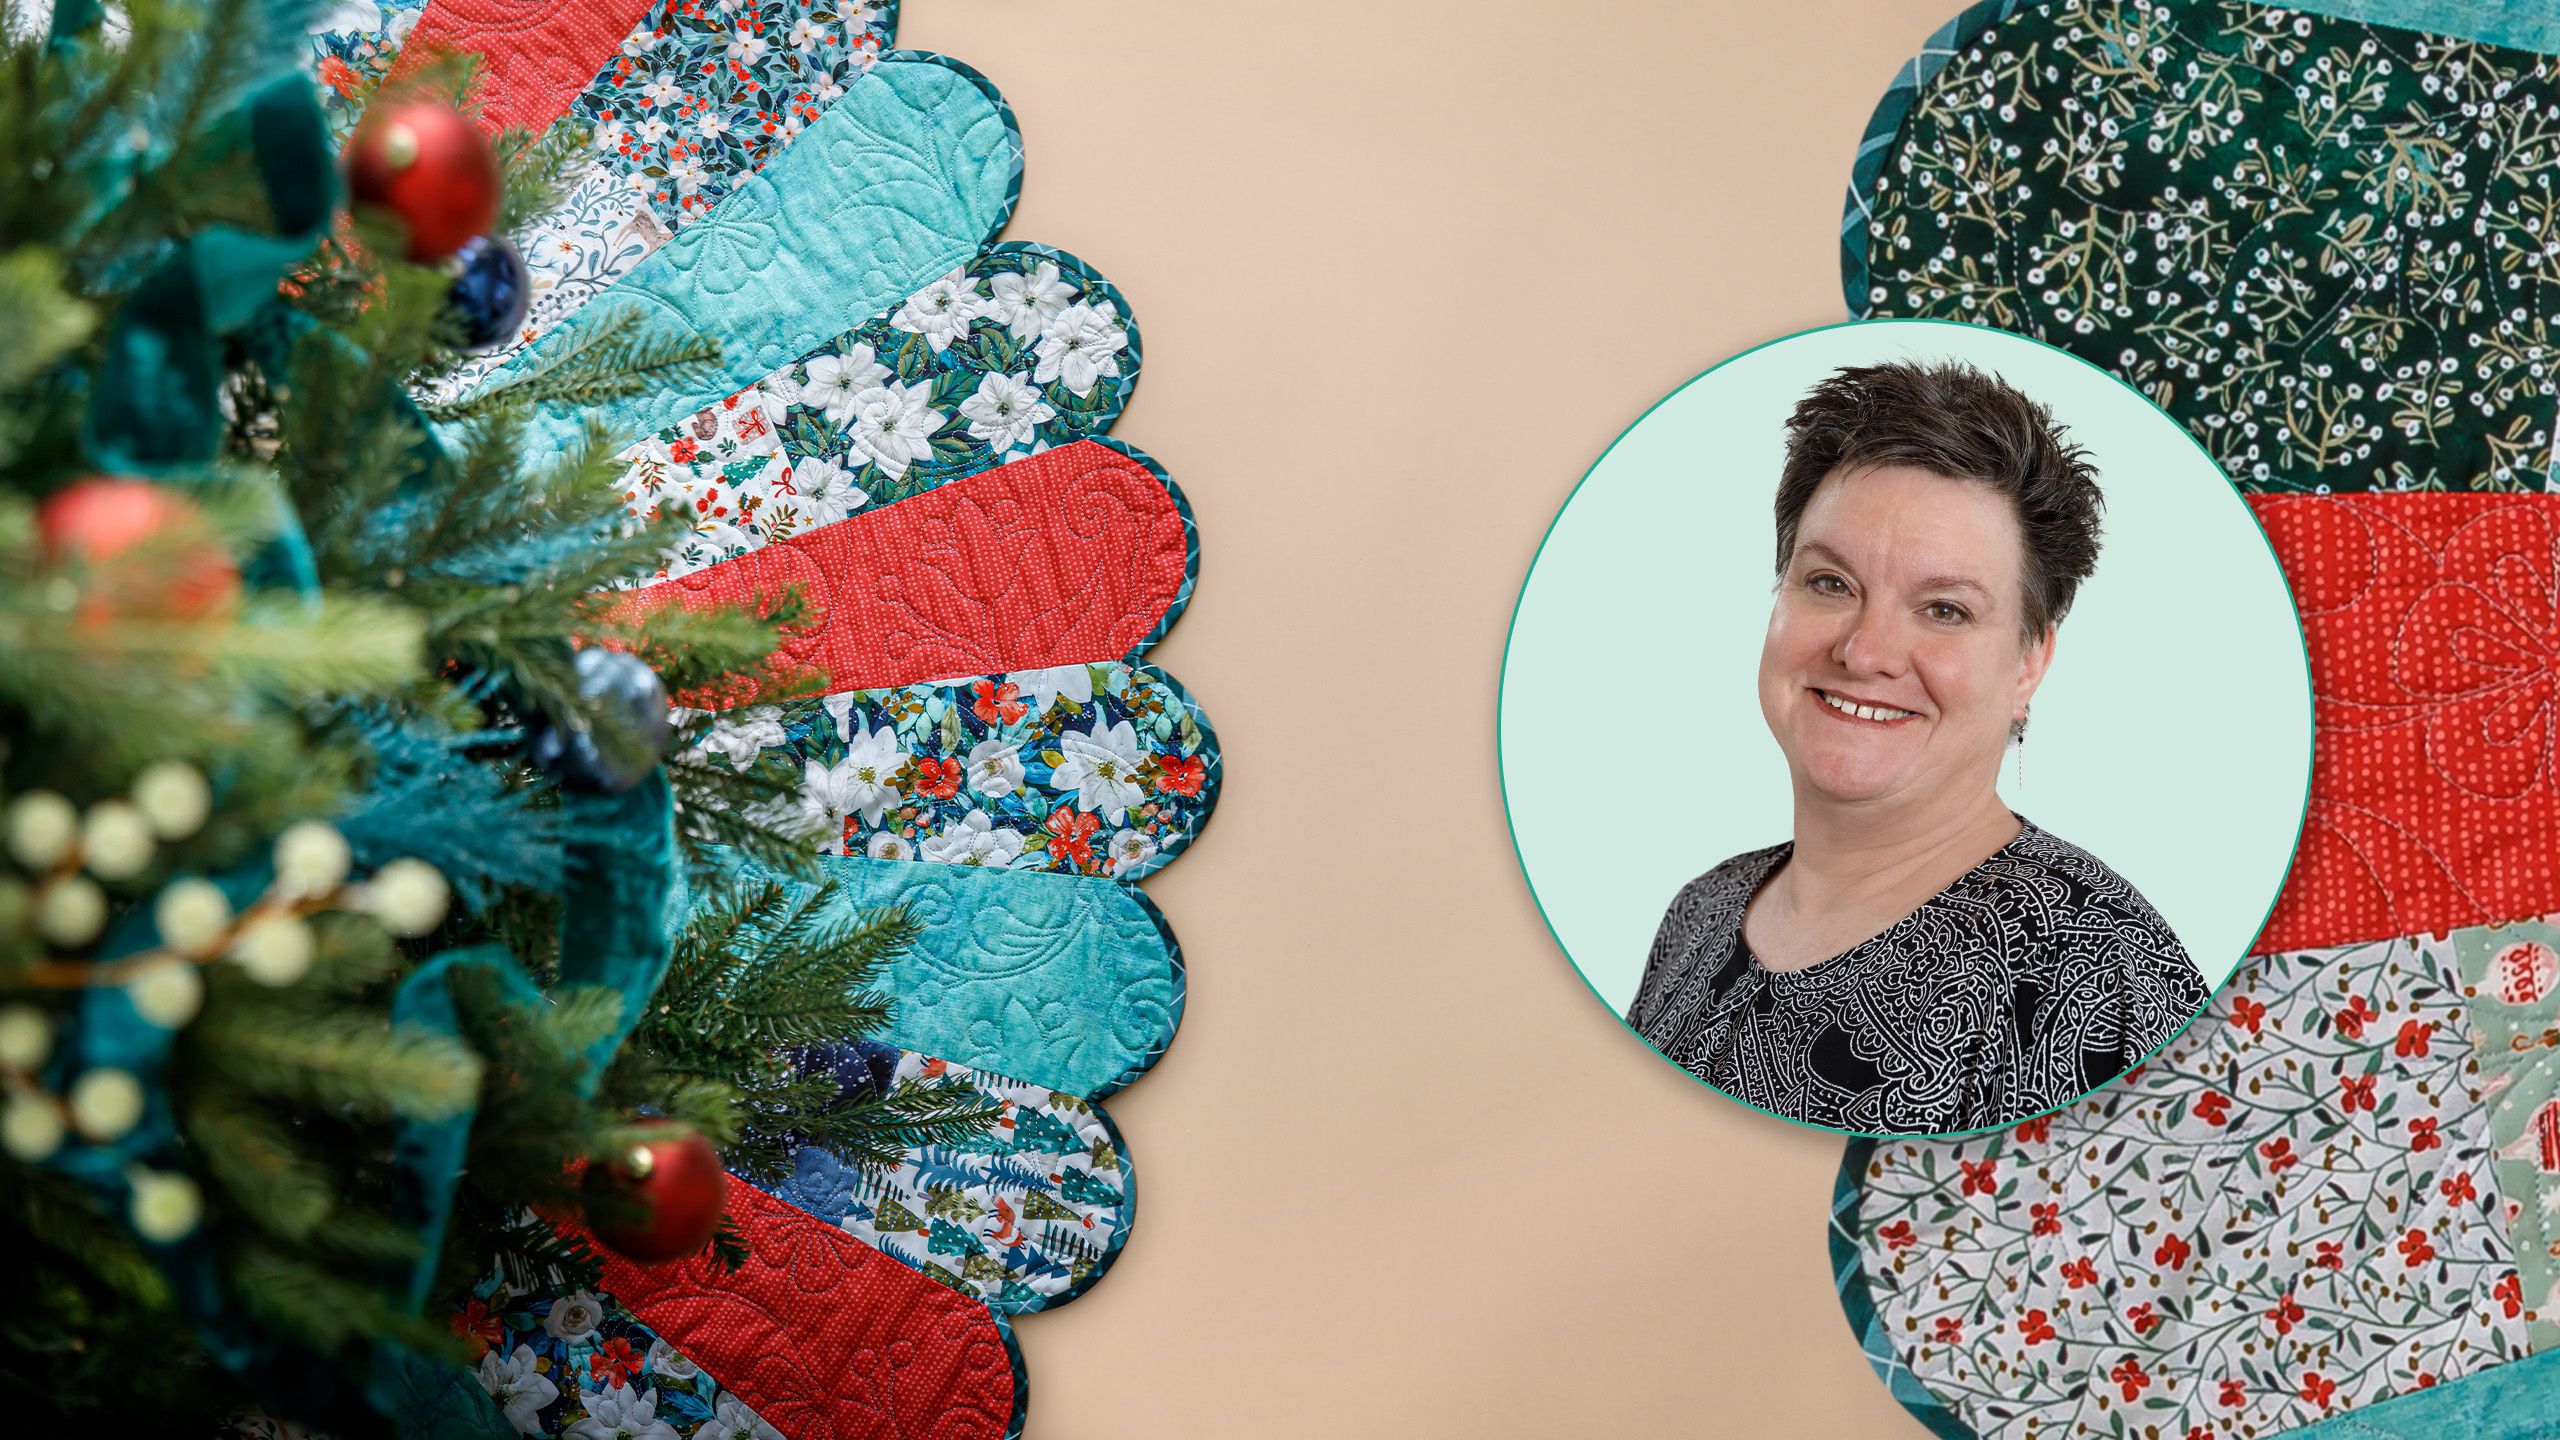
 Courtenay Hughes
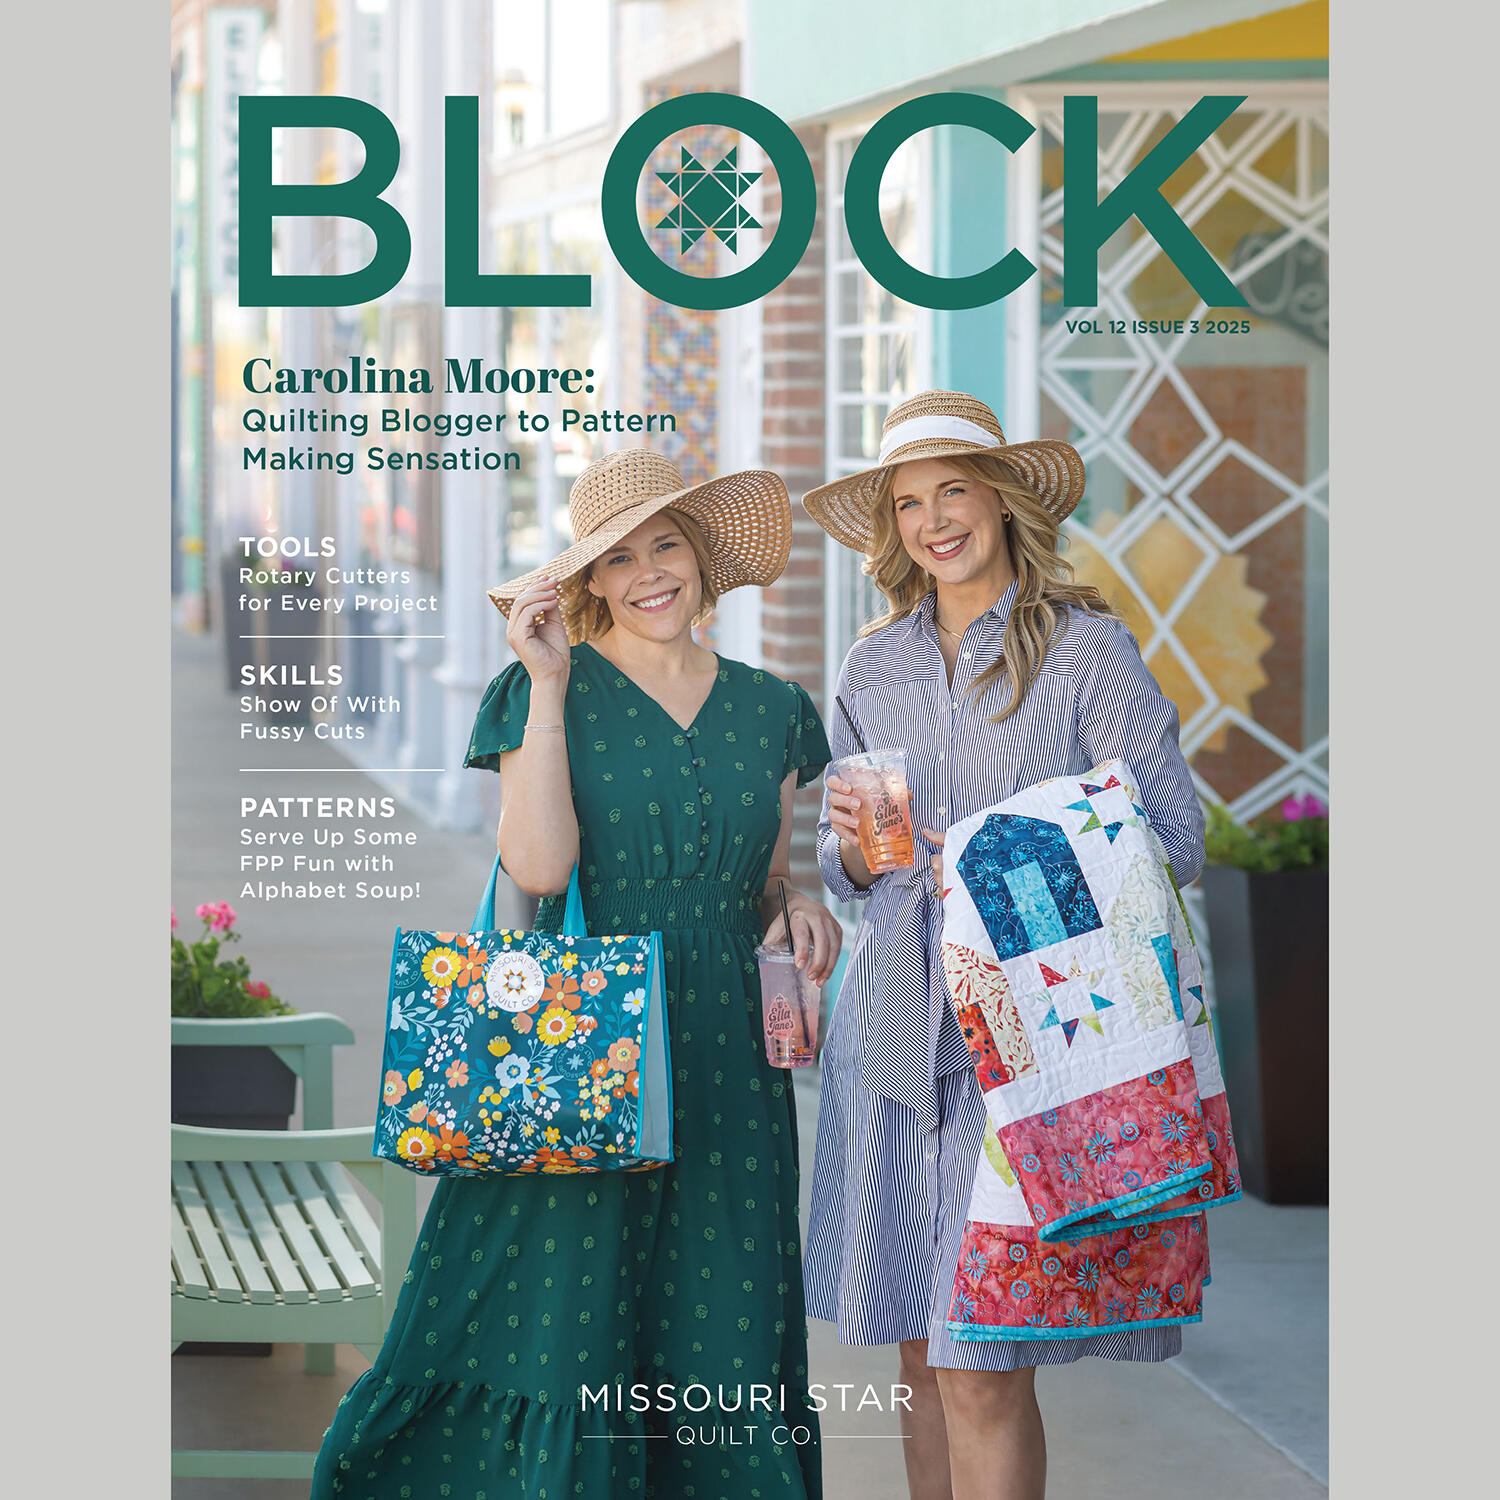 BLOCK Magazine 2025 Volume 12 Issue 3$7.99Shop →
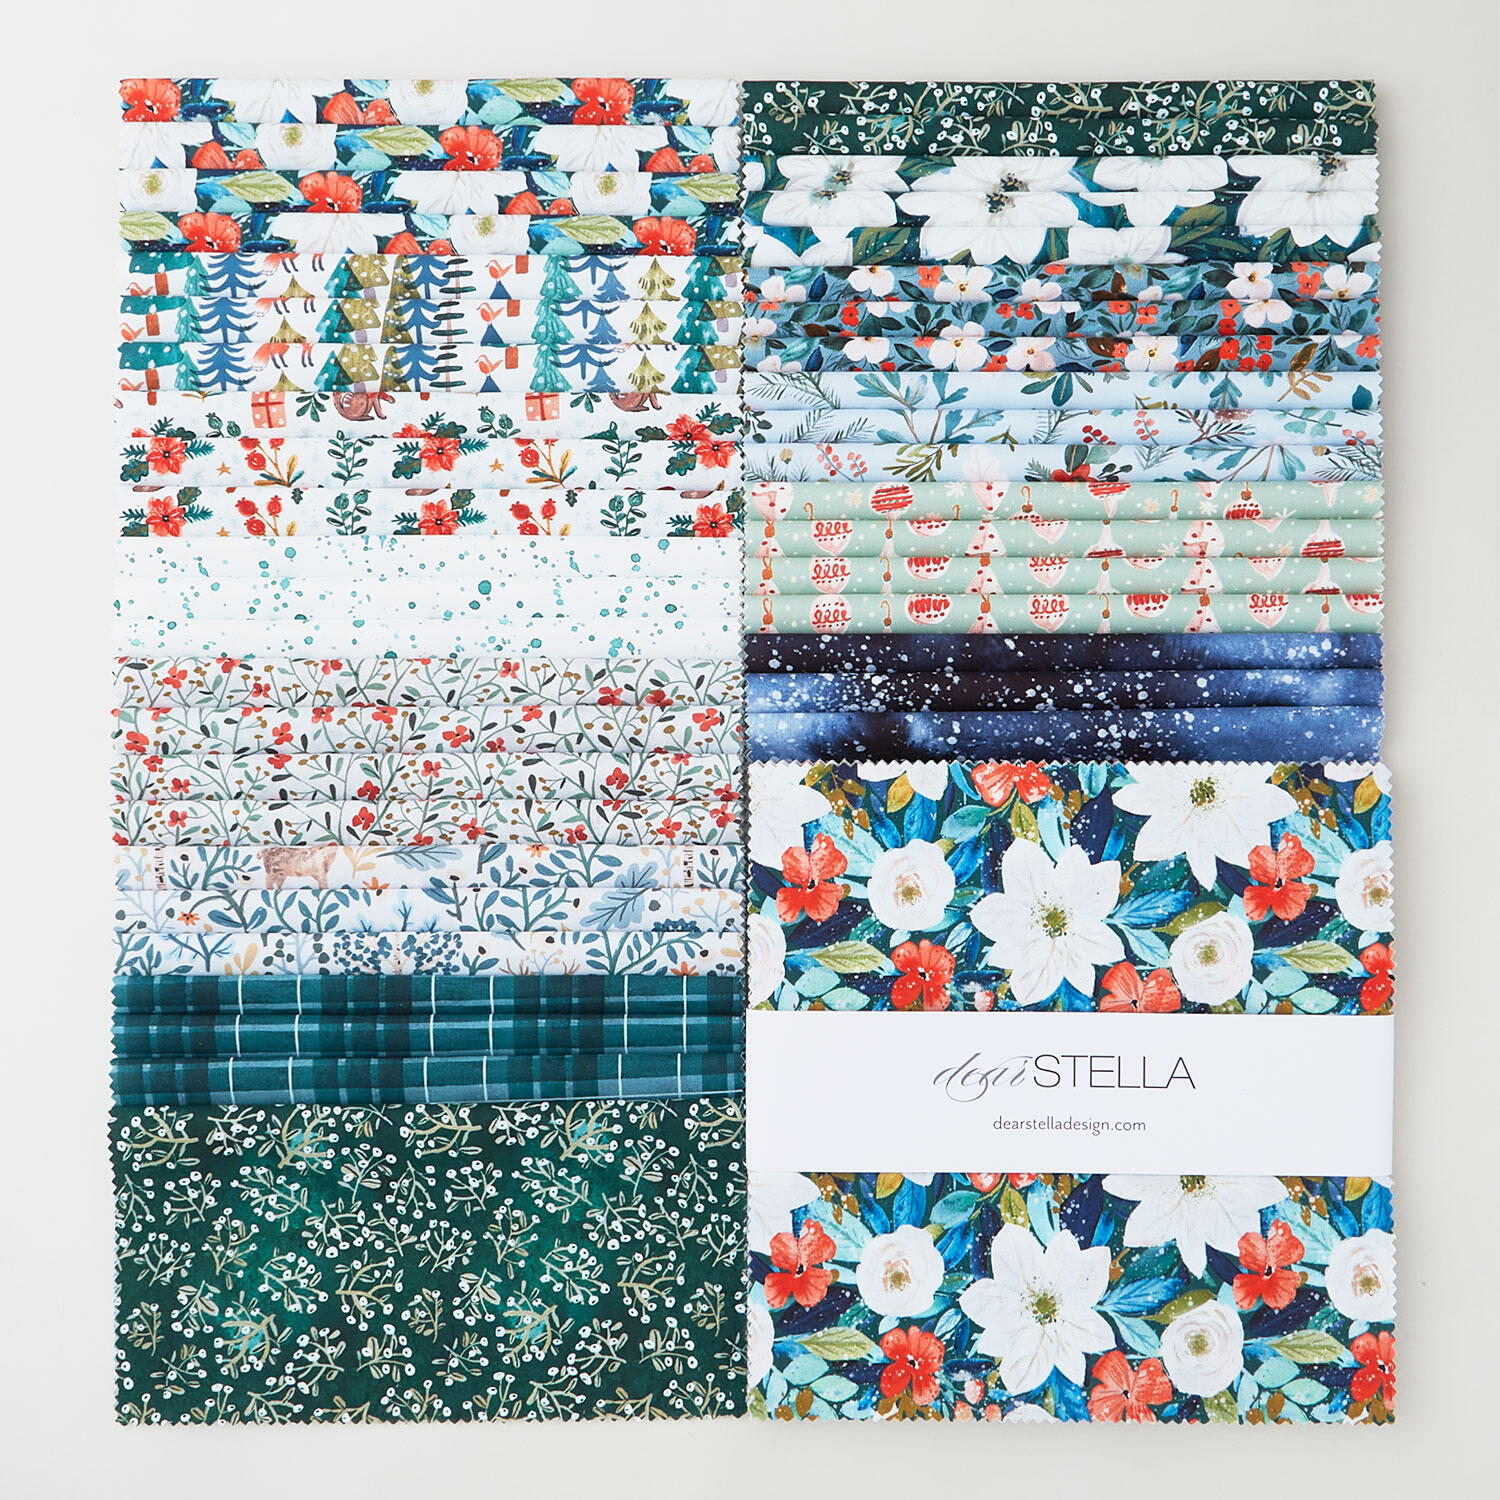 Baby It's Cold Outside 10" Squares$41.95Shop →
 Canvas Basic - Bermuda Yardage$10.05Shop →
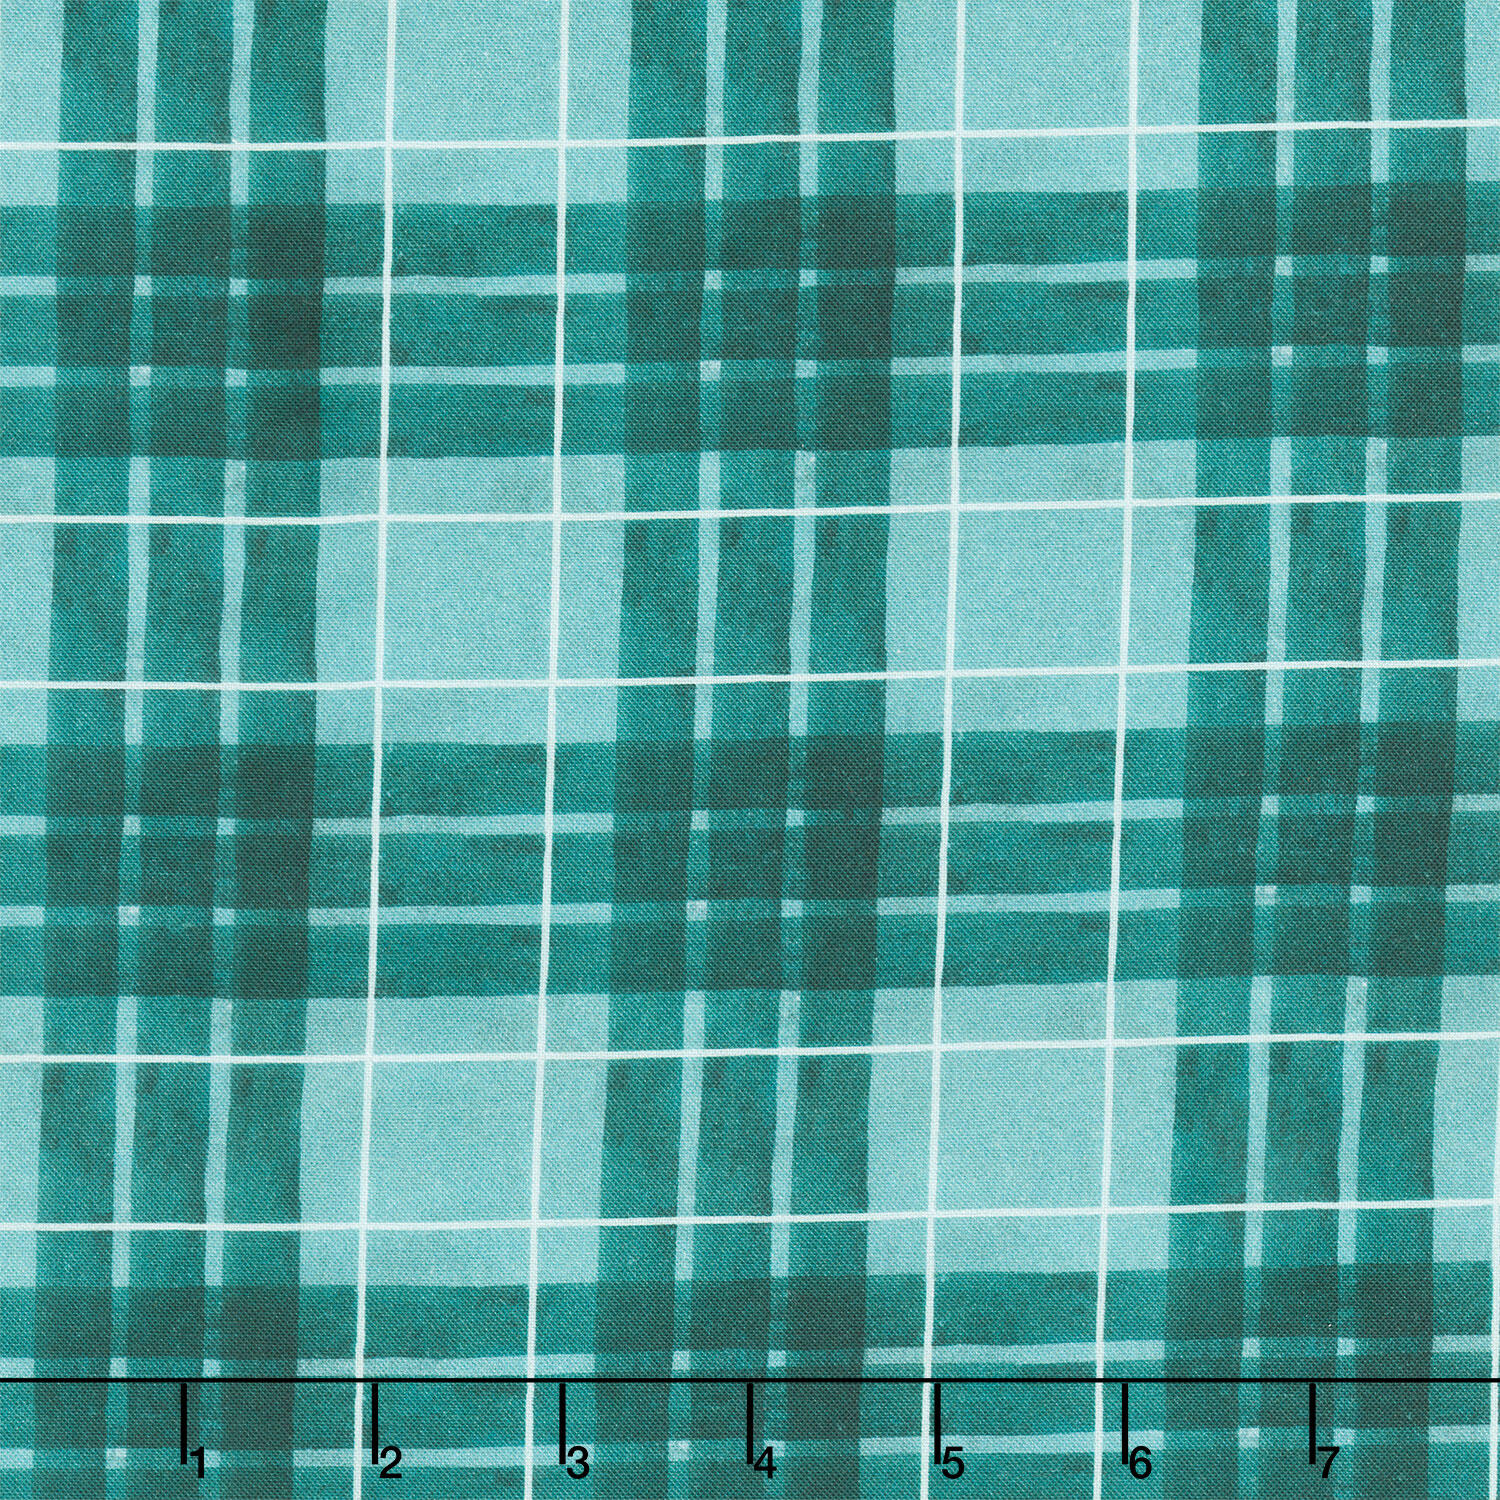 Baby It's Cold Outside - Tartan Spruce Yardage$12.25Shop →
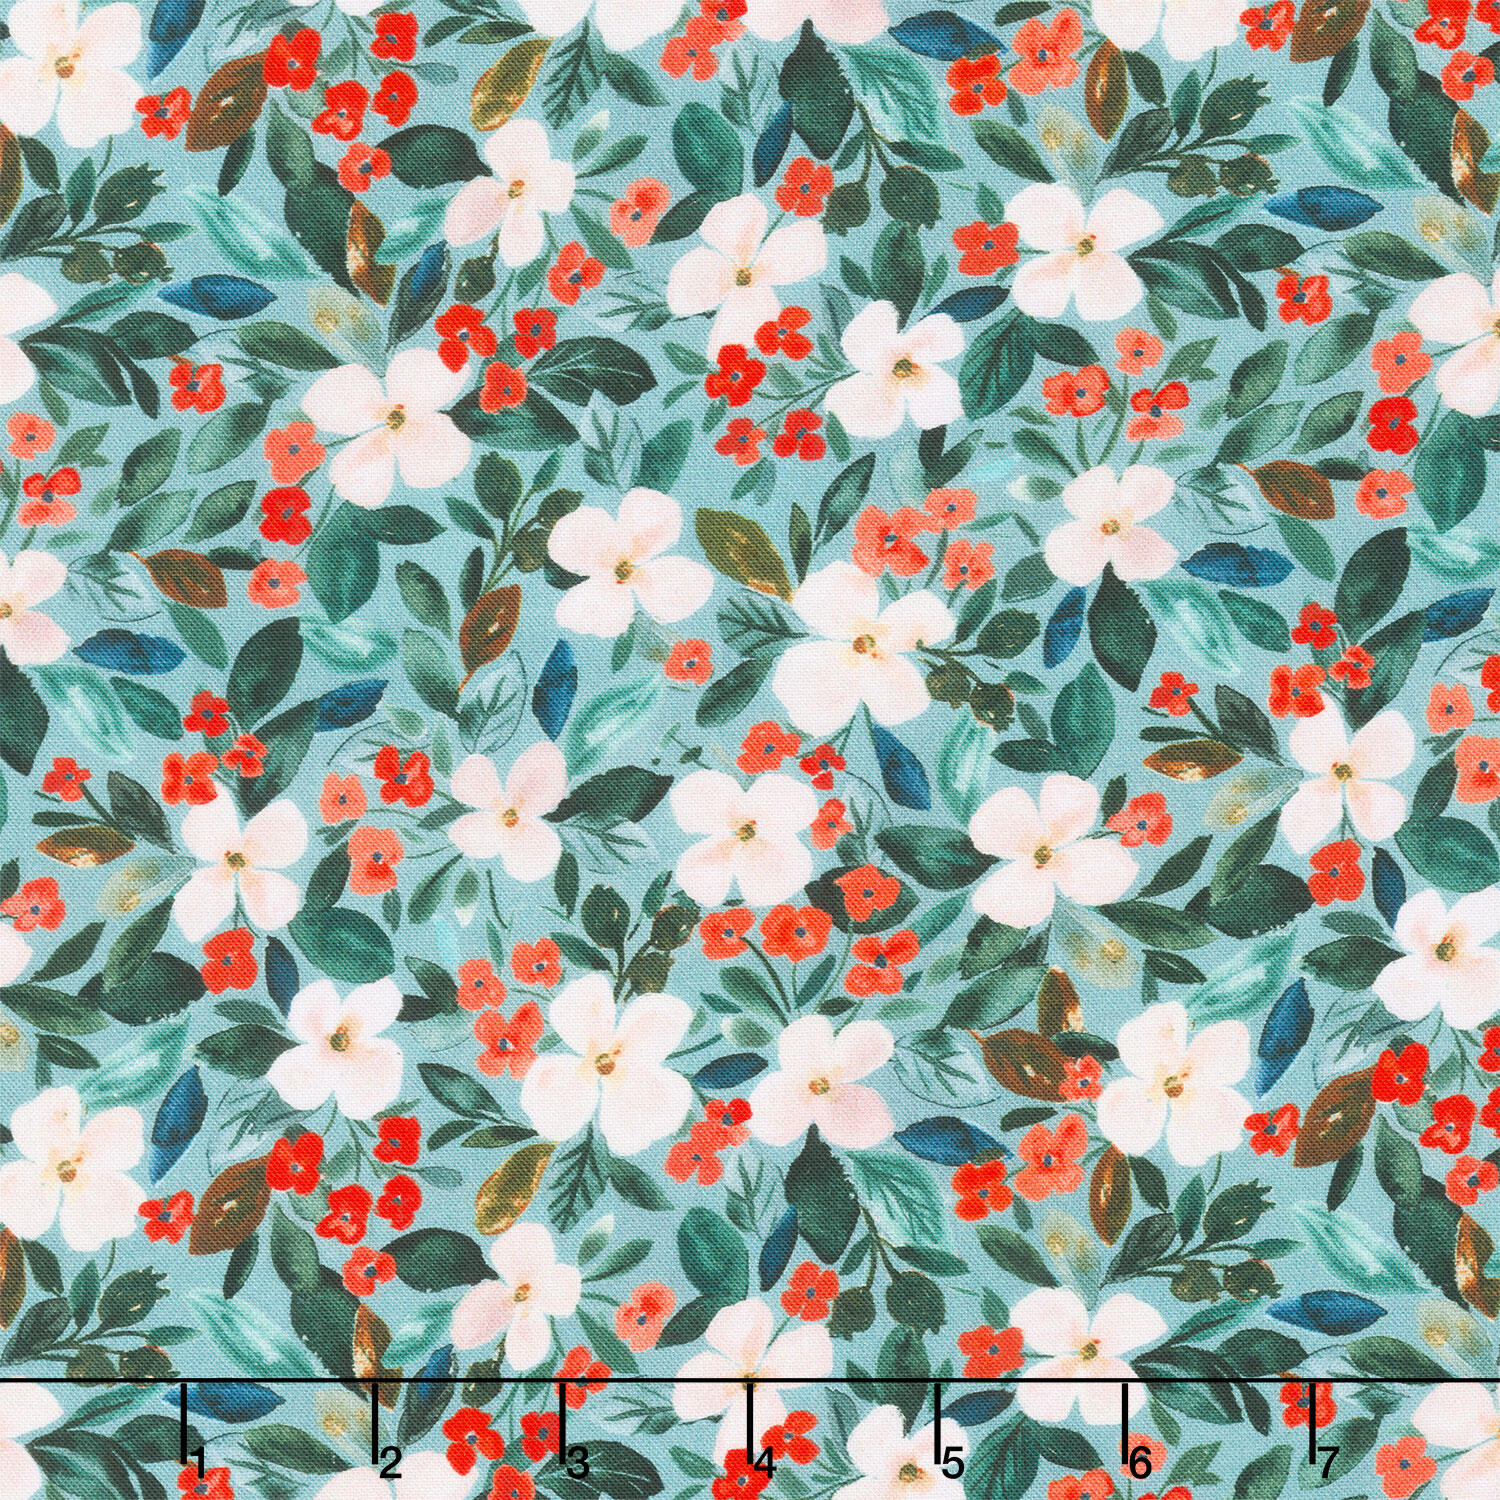 Baby It's Cold Outside - Holiday Blossoms Multi Yardage$12.25Shop →
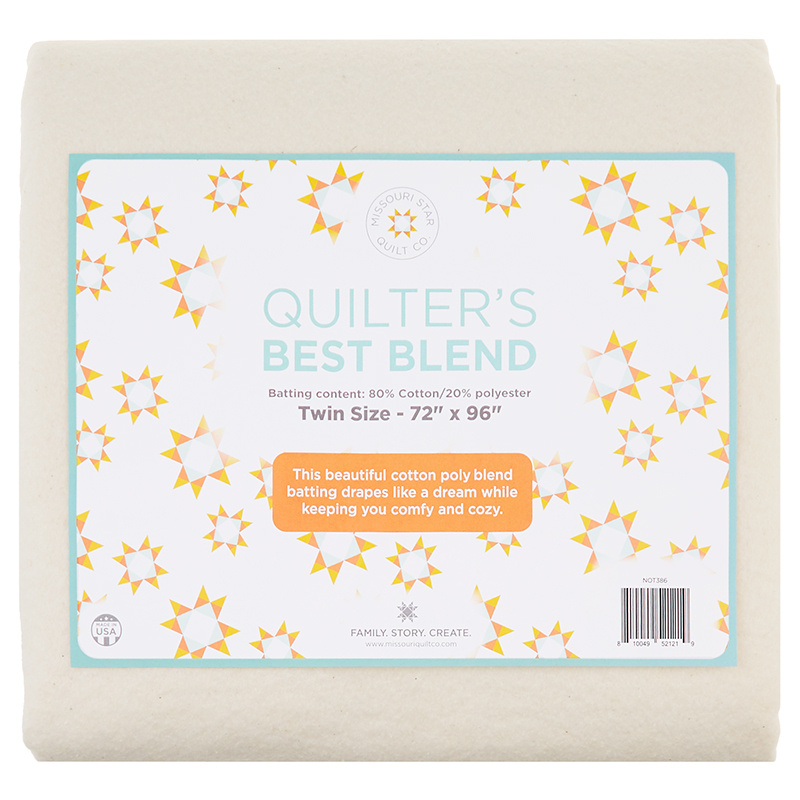 Missouri Star Quilter’s Best Blend Twin Batting$26.95Shop →
 Missouri Star 50 WT Cotton Thread White$7.95Shop →
 Missouri Star 45mm Rotary Cutter - Olga$19.95Shop →
 Missouri Star 6" Everyday Scissors - Lulla$12.95Shop →
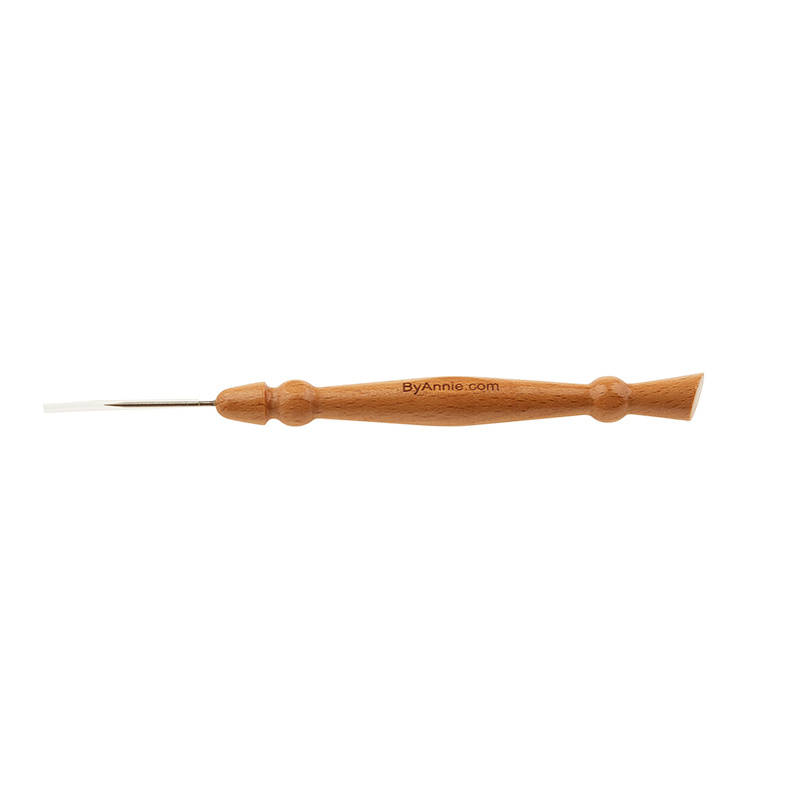 ByAnnie Stiletto & Pressing Tool$19.45Shop →
 Baby Lock Accomplish - 1500 SPM Straight Stitch Machine$1199.00Shop →
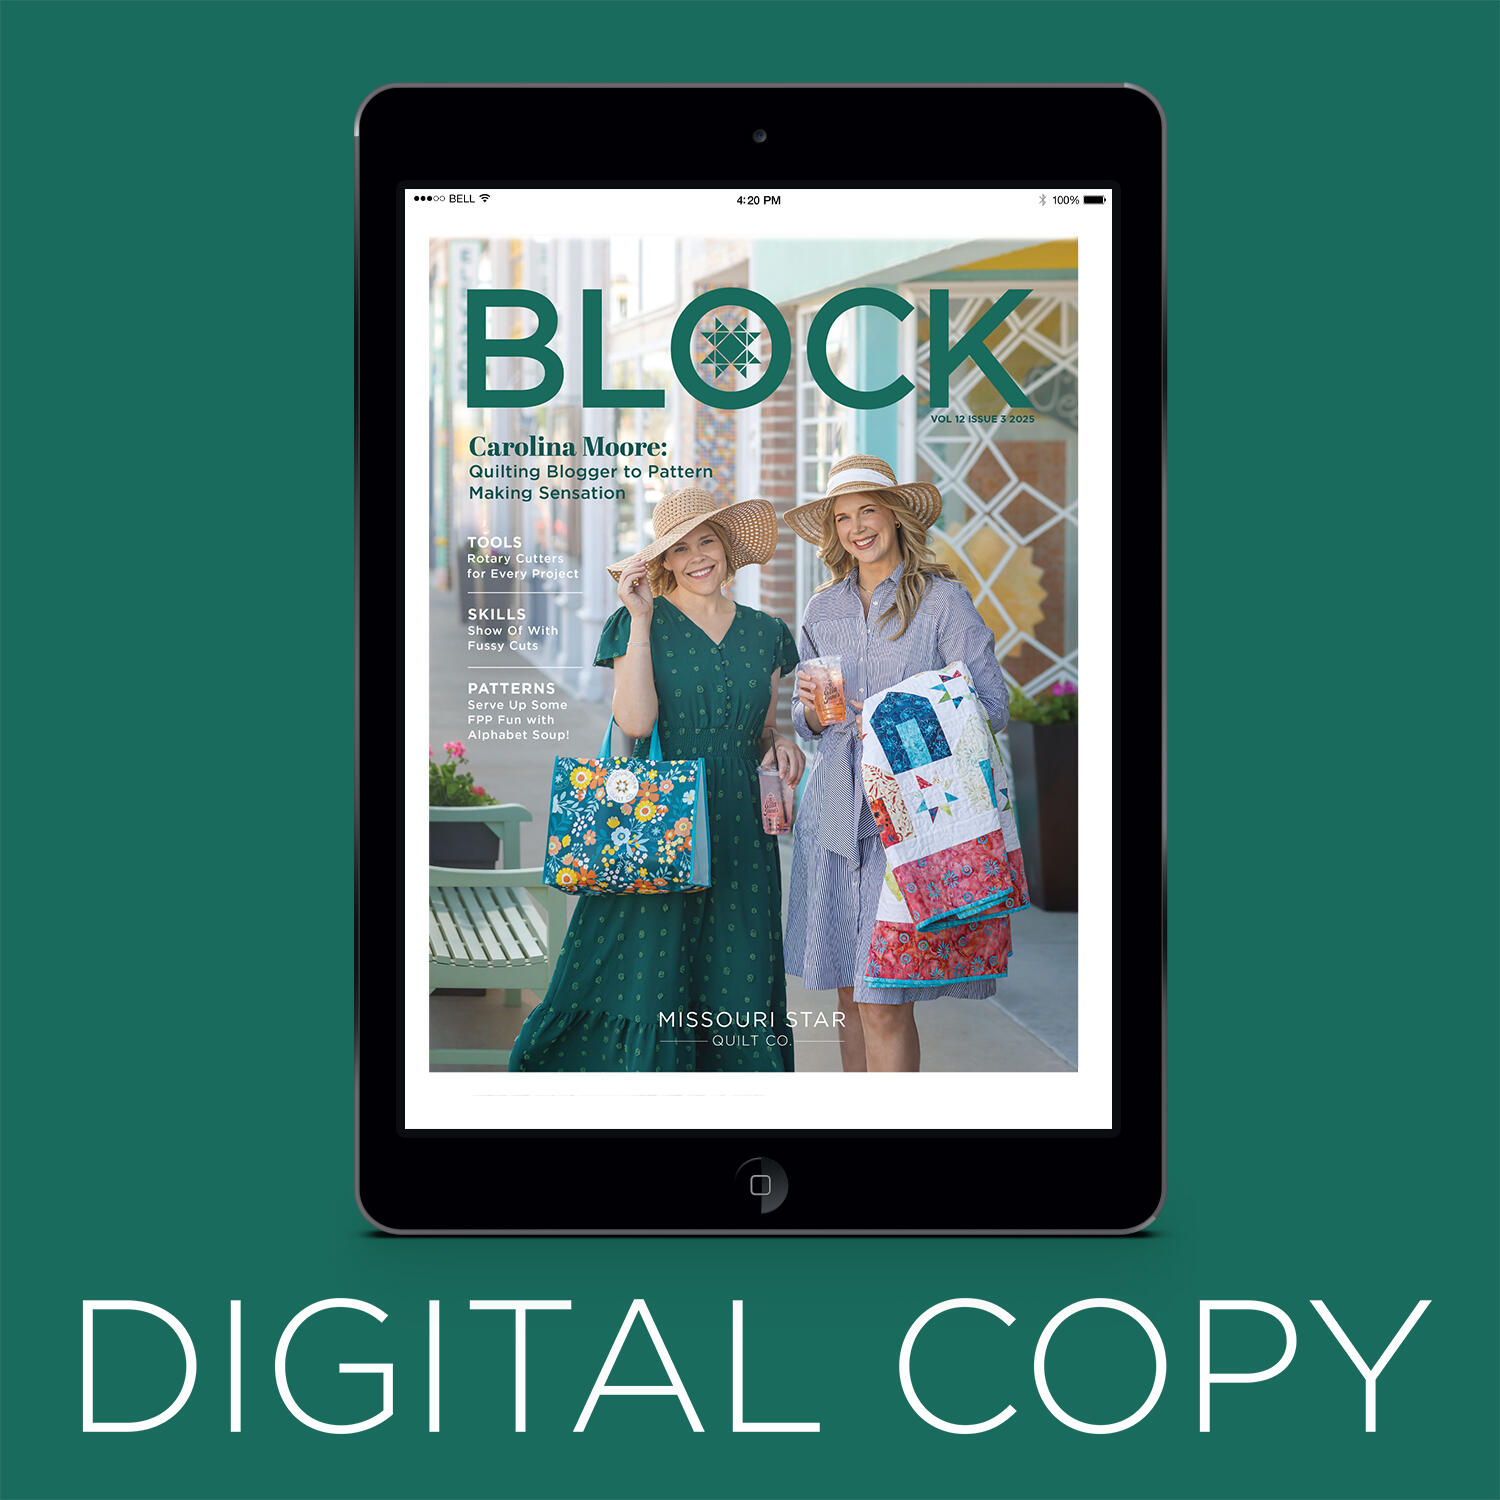 Digital Download - BLOCK Magazine 2025 Volume 12 Issue 3$6.99Shop →



