

Make a "Forest Lights" Quilt with Jenny Doan of Missouri Star
 Jenny Doan
- Layer Cake
- Double
- Beginner
- Quilt size 79" × 95"
Jenny uses the "easy eight" technique to whip up half-square triangles eight at a time. She squares up each block with the Bloc Loc square up ruler, but the Clearly Perfect Slotted Trimmer works great, too! (Watch to the end to see a beautiful bonus quilt—a panel with a border made of mini star blocks chopped in half!)
Instructor
Jenny Doan
Jenny Doan is an American quilter, author, and YouTube personality. Jenny started Missouri Star Quilt Company in 2008 and today it is the largest quilting supply vendor in the United States.
Shop this tutorial
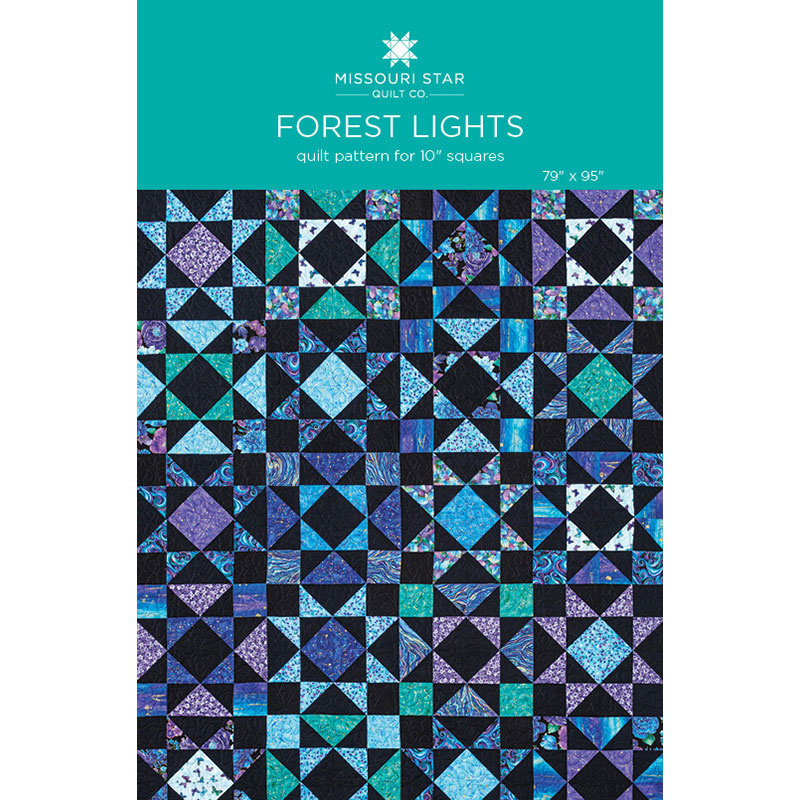 Forest Lights Quilt Pattern by Missouri Star$5.95Shop →
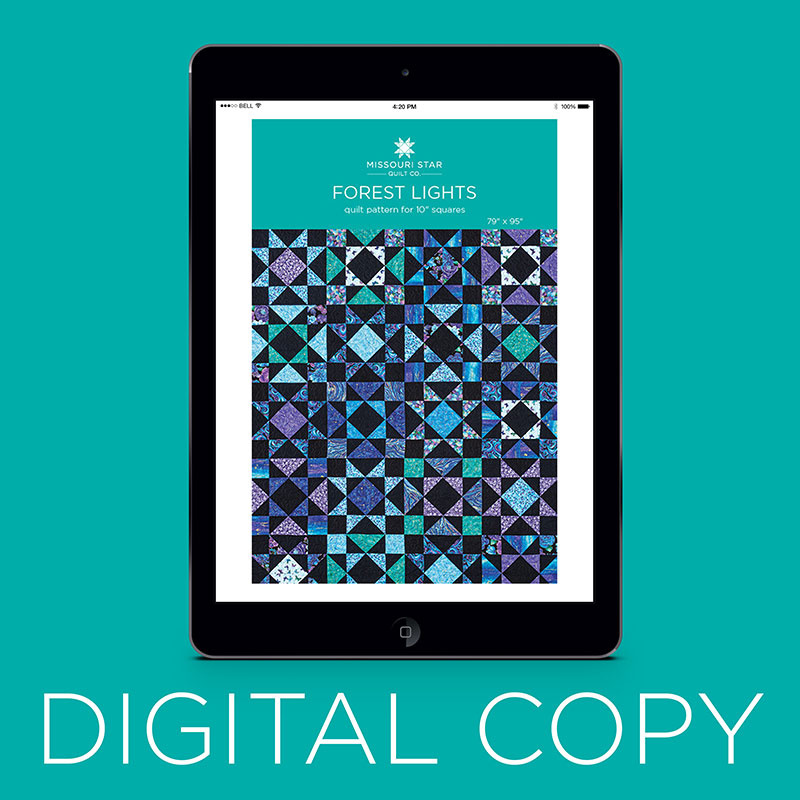 Digital Download - Forest Lights Quilt Pattern by Missouri Star$4.95Shop →
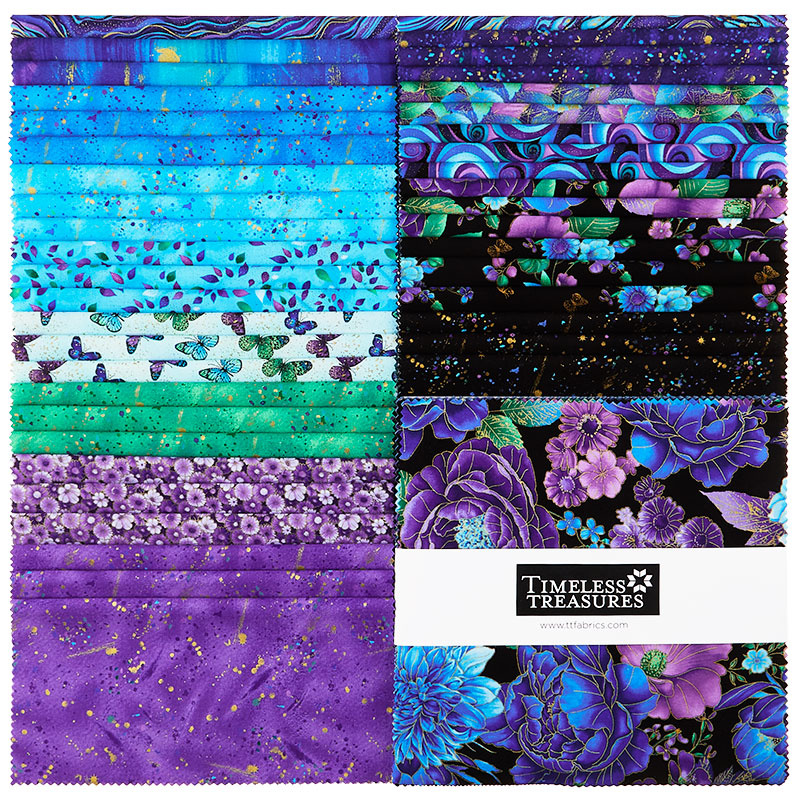 Utopia Metallic 10" Squares$37.95Shop →
 Kona Cotton - Black Yardage$7.28Shop →
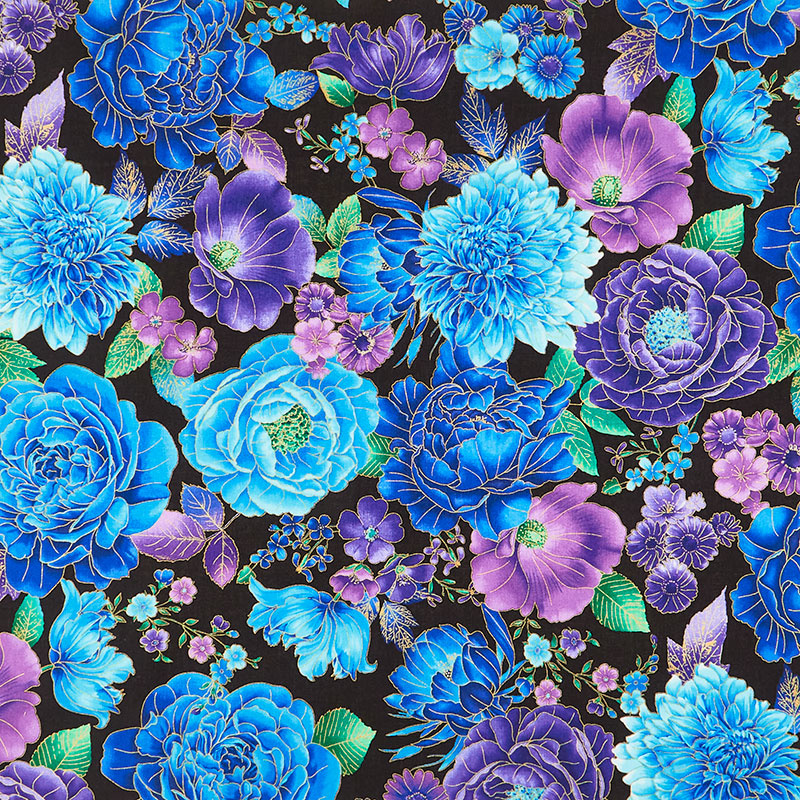 Utopia - Florals Black Metallic Yardage$11.76Shop →
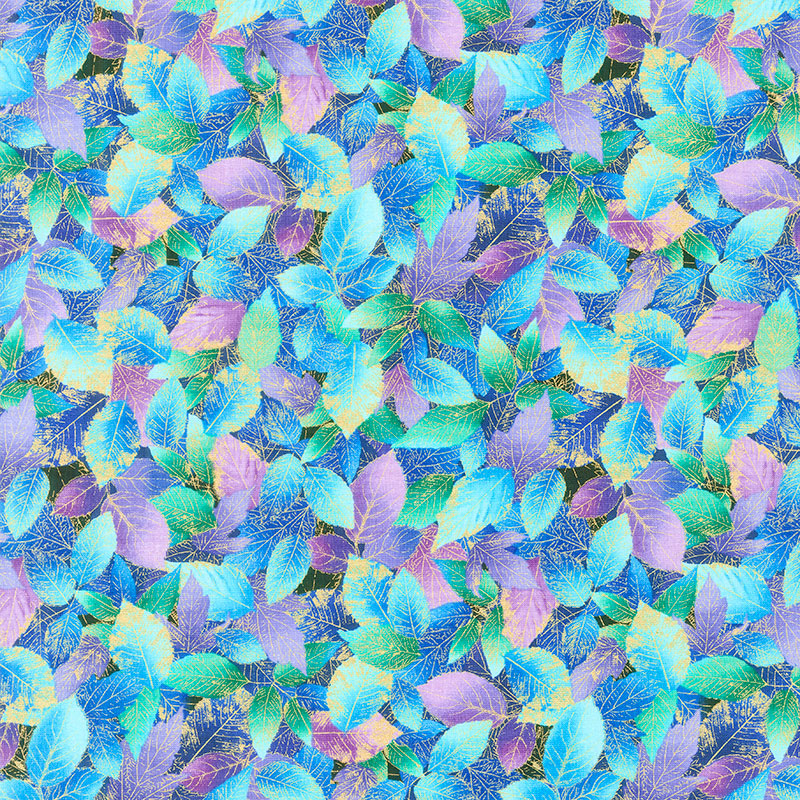 Utopia - Leaves Packed Blue Metallic Yardage$11.76Shop →
 Forest Lights Panel Quilt Pattern by Missouri Star$5.95Shop →
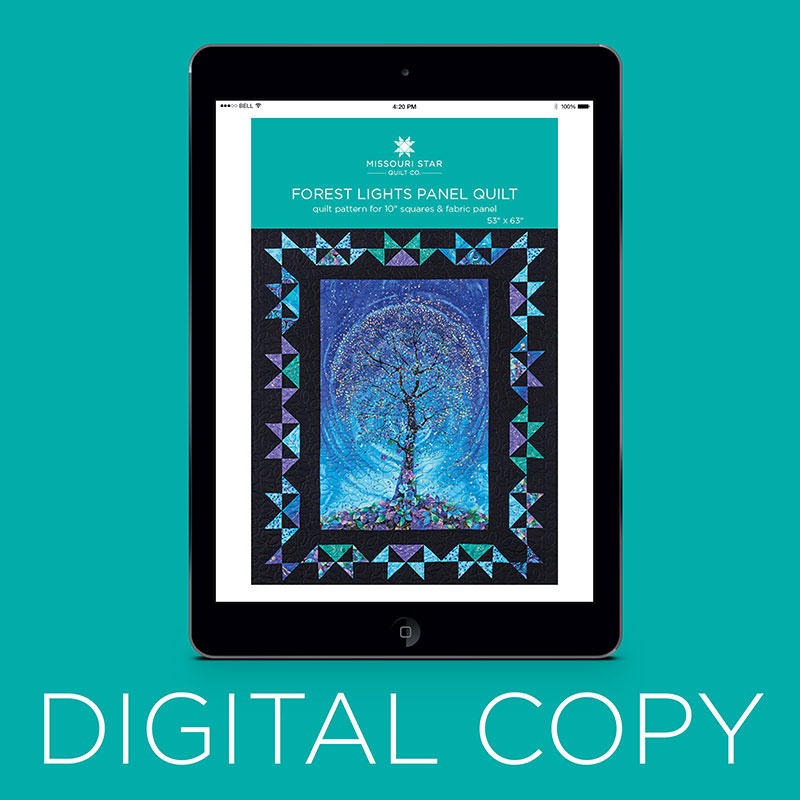 Digital Download - Forest Lights Panel Quilt Pattern by Missouri Star$4.95Shop →
 Utopia - Tree Blue Metallic Panel$8.40Shop →
- Utopia Metallic 10" Squares$37.95Shop →
Common Questions
What is covered in Make a "Forest Lights" Quilt with Jenny Doan of Missouri Star?
Jenny uses the "easy eight" technique to whip up half-square triangles eight at a time. She squares up each block with the Bloc Loc square up ruler, but the Clearly Perfect Slotted Trimmer works great, too! (Watch to the end to see a beautiful bonus quilt—a panel with a border...
How long is the tutorial video?
The tutorial video is 00:24:49.
Are supplies listed for this tutorial?
Yes. The tutorial page includes the supplies and materials connected to this project.
Is a transcript available?
Yes. A written transcript is available on the tutorial page.
Video Transcript
Take a look at this quilt behind me. This fabric is called Utopia and it just is beautiful. It just has like a glowy essence about it and I just really like it. And basically what we're doing is we're making half square triangle stars and then every other block we're
flipping the direction and so it's super
easy to make and let me show you how to
do that
So to make this quilt you're going to need one packet of 10 inch squares and I have used Utopia by Chong Huang for Timeless Treasures. You're going to need some background squares, about three and a half yards or I used one packet of ten inch squares and three quarters of a yard for my inner border. You're going to need a yard and a half for your outer border, that's a nice big six inch border, and for your backing you're going to need five and three quarter yards or 3 yards of a 108. It's also going to be helpful to have a squaring tool and I use the Bloc Loc tool for this.
Okay so let me show you how to make this really fun quilt. This is basically a half square triangle star quilt. There are two blocks: This is the a block and this means that the color is in the center and the background is in the outer corners. The B block is made exactly the same way except the background is in the center and the color is in these outer corners.
We make them both using the eight, easy eight method which means we're going to take one
square of print and one square of background we're going to draw a line both directions and we're going to sew on both sides of that line make a big X. Then what we're going to do is we're
going to cut this and we're going to cut it in half like this and this is going to give us eight
triangles. You need eight matching triangles to make these blocks and we're going to cut it in half both directions like this. And this ruler is nice because it's five inches. This is ten inches. You just lay it along the edge, you don't even have to measure and so then what we're going to do is we're going to do it diagonally on the lines we've drawn as well. I almost did that like a right-hander and I am a left-hander!
All right so now what we're going to do is we're going to take all these little
half square triangles– oops I didn't make my cut right here. Another little thread holding,
there we go those and oh this one has a little snippet, too. There we go!
All right we're going to go ahead and square all these to four and a half. So if you're going to use the Clearly Perfect Slotted Trimmer you don't iron them open but I'm going to use the Bloc Loc today. And just you just need a little four and a half inch squaring tool and what we're
going to do is we're going to iron to the to the dark side. So we are going to open these up
with the dark on top like this so that our seam lays up into that darker fabric and we're just going to press all these open. You can set your seam if you want. I always forget to do that, and then we're going to keep pressing and you'll need eight of these for each star. Eight of one color and then four of another color– oh I pressed this one just backwards. i was talking and forgot what I was doing! Oh here we go one more time, black on the top. That's why I actually do things in mantras. I'll have the you know my fabric and I do the same thing over and over again so I either get it perfect every time or I get it wrong every time. So just you know just be aware so you're
going to do one of these and this is going to make the legs of our star and then we need four more for the center so you'll do the same thing to another one and you'll set the four blocks aside because those four blocks will become the center of two stars.
And so I have some right here. We're squared to four and a half. Let me show you how I square.
So anytime you square with a Bloc Loc, I always remember that the the logo is actually on my lighter fabric because I pressed to the dark and you can lay this a little four and a
half inch squaring tool and it's handy when you have a tool that's the same size as the block you're looking for because you can see right away if it's perfect or if it's too big or too small
or whatever. And so this one is just a hair off and let's just look through these as we go along
and see I see they're really really close and if you can work it so that you only have to square two sides, that's a that's a win moment right there.
So I'll slide this down and see if it– yep can do two sides on this one. So you're going to go ahead and do this to all your squares and then even your corner squares are going to be squared to four and a half and you'll just want it. You can cut those out of your layer cake square and just go ahead and cut, you know, cut four and a half inch squares. But I'll show you that when I get to it– got a little ahead of myself right there.
All right couple more. Nope. Here's our last guy. I'm going to trim him.
All right, so because I know these are my legs and I want to remember that they're my legs, right now I'm going to go ahead and I'm going to sew these together and I'm going to sew them together with my dark fabric, my background fabric to the middle and I'm just going to sew four
pairs of those because these are our legs right here that we're talking about. And so I'm going to go ahead and sew these right together and whenever you sew two half square triangles that are actually pressed the same way I start from the side hat isn't that doesn't have any folds
on it and so this is the bottom of my block. And I'm just going to sew right up here to the top
and I on this I would use black thread. Normally I'm using white thread so you can see that but normally I would use black thread. And so I'm going to do this to all four of mine. I'm going to put mine together like this. Again the dark to the middle.
So we're making these star legs like this and then this will just be a unit that I set aside and here's my last pair and it takes eight of these to make all four legs on the outside of your star. All right so now I'm just going to press these open and then I'm just going to set them aside over here and you can see my little bits of white thread through the seam. I would definitely use black thread on this. All right so now what we're going to do is we're going to do the middle so you're going to choose what color squares you want from the middle and we're going to do the easy eight for the middle. So we'll have one star that has this purple and another star that has the purple and so what we're going to do is we're going to put these together like this. And so this makes our center right here and we'll go ahead and lay out this star so you can see what's happening here. So here's our legs. We're going to put two of these on each side
or one unit on each side and then out in our corners again. That is a four and a half inch square and here's our background on this one and we're going to do one-
two-
three-
and four.
So it's just that easy and then we're just going to sew these rows together. I actually sew my middle together all in one which I'm going to do right now. I would lay it like this and sew that together and then sew these two together make that square. Then I will sew my two pieces on and I'll have this big middle unit so let's do that so I can show you how this works, but that's really personal preference. That's entirely up to you as to how you want to do that. So don't feel
don't feel pressured by my crazy ways, you know, it's just how my brain works.
All right now I could have put those so that I actually didn't have to take them apart to put them together but I didn't so now what I'm going to do is I'm going to come over here and I'm going to sew these together andI'll take a few anchoring stitches and then I'm going to feel this middle seam and make sure that it's nested up.
All right now I'm going to add my two legs to the either side. So I'll add this section of legs over here and again because these are all squared to four and a half they're just going to go
together so nicely make sure your center seam lines up and then your outer edges too. Now I'll add the other two legs over here. All right so now we have this whole middle section and I'm just going to press it so that my legs lay to the outside and it lays nice and flat. And this is my middle section. Then what I'm going to do is I'm going to sew my two little squares to the outsides of
both sets of legs and just cap it. Add one to the top and one to the bottom and then it'll just go together so quick. So I'm actually putting my square on this set of legs and sewing down the side and then I'll slide this next set of legs in and sew this square on this side, too. So chain piece your legs, your star legs, not your actual legs.
Alright, and turn them around and just sew this other square on the other side. One more here, then we will clip these apart and we can sew these to the top and the bottom now. These I'm not going to press yet and the reason is is that I want to make my seams go the way I want them to. So in reality I could press these seams in because my middle seam my middle section is pressed out but I'm just going to go ahead and do that and then I'll press the whole star as we finish up.
So pressing is one of those things that's really personal preference. It's how you like to do it and a lot of times I put off pressing because I have to go somewhere to press and so I'll actually
sit and do all the things. But it is a good idea to press every seam when you sew. It makes for a much neater block. i mean, my way is definitely not the only way!
All right, so then we're sewing this on the top and the bottom and I'm going to lay this on here and my, my center section seam is pressed to the outside so these little star legs are going to go to the inside. And then my center seam I match up my center seam and then I'm on to the last little seam out here and just like that we have this darling little star! Look at this, isn't that cute
and so this is block A. Block B is made exactly the same way except we turn our blocks a little bit. So let me get this one set right here and I'll show you where this goes in the quilt.
So this goes right here. See how that fits right in there real nice?
All right so for our block B star, we're going to need four printed squares for the corners and I have those right here. We're going to need eight star legs that are made with the background and the top square just exactly the same way like this with our, our drawn lines and sewn on both sides of those lines draw an x on our fabric, like this. Cut it in half vertically and
horizontally, cut it diagonally both directions you're going to get eight of these legs right here and we're going to cut this in half and do that. That's going to be our star legs and then we need four of these blocks for the middle that are half square triangles so I'm going to go ahead and cut this one because I need four of those half square triangles here in the middle.
So we're going to go this way just like we did before. It's exactly the same method and this way and then we're going to cut the diagonals, one here and this makes eight half
square triangles. I love this method and this way.
All right, now four of these are going to be the center of my block and so I'm going to– I'm going to press these open and square them to four and a half and I just need four. So I have one there. Keep my dark fabric on top to remind me to press to the dark side and I have all my legs already sewn, I mean already squared. So I'm just going to square these four right here. Make sure they're four and a half so they lay together really nice.
There's one.
Here's two.
There's three.
Here's four.
All right, whoop, got a little tail right there. All right so now let me show you how this goes together because it's just the opposite of this right here. See we have the color in the middle. Now the one we're making over here is the background in the middle so we're going to turn to our background. We're going to turn them in like this so now we have our dark to the middle
and our legs are going to be just the opposite too. So the dark legs become the star so our color actually goes to the middle because last time, remember, we put our background to
the middle so now we're putting our color to the middle on all four sides.
So it's just turning the block which for me– actually when I get a block done I literally put it on my board and I make all of them just like that I make one test block first because I'm so angly
challenged. I get things turned around so fast and, um, and it has to make sense to my brain so
I have to sometimes pay real close attention when I turn something around.
All right so color to the middle just like that. All right, so there's now our black. Now our black
background makes the star and our corner blocks are going to be our four and a half print like this and then this one is going to get sewn together just the same. I'll go ahead and sew all my leg units sew my center. Sew these two outside legs to that. Put my corners in and I make a star that's just opposite and you'll notice I put the other star here. This is right next to the other one. This is how it fits in the quilt.
And so basically when we put this quilt together, what we did was we put, you know, a block A and a block B and block A and a block B. So four across and one two three four five down. This quilt is 75 by 95. We've got a little two and a half inch border out here for our inner border. Our big border out here is a six inch border and I loved this big floral on it. And then for the back we used those beautiful gorgeous leaves with a little bit of gold in them and it just makes just a gorgeous quilt. So let me clear the table and I'll come back and show you how to make this
awesome quilt with a panel.
So let me show you how to make this quilt because it's super easy and fun. So to make this little panel quilt you're going to need a panel, of course. You're going to need six ten inch squares. You're going to need some background and that's one and three quarter yards. For your border, you're going to need one yard and for your backing you're going to need three and a half yards. This makes a quilt that is 53 by 63 and the quilting pattern we've used on this one is meandering leaves.
When you're dealing with a panel it can be a little tricky because panels come in certain sizes
and I like to match my blocks to the size of the panel. It's way easier to cut down a panel than it is to figure out the different math on the blocks and lucky for you I've done that all for you. So this is our panel right here and I want to show you how it fits in here, like this. And then I want to show you what I cut off. So this was actually the top part that I cut off, You can't just fold it in
half and cut the bottom off because you'll lose the trunk and so you want to measure it and make sure it fits for our quilt. This panel is going to be 24 by 36 and a half so once you get your panel cut which is pretty easy especially if you have a big table. I tend to want to fold mine in half like this so that I make sure that my measurements– so I make sure that my pattern is the same on both sides that I have both sides going on so just do what works for you but remember
it's easier to adjust your panel to your sewn blocks than it is to try to make your blocks fit your panel.
So once you get your panel done the first thing I did and again this is because it has
to match the block size was that I added a three and a half inch border on the sides of both of my panel like this and then a two and a half across the top. Once I had this done now I know because i've already made this outer block I know that these are going to match up to it. So that was my math and it worked for me. You know if your seams are different or whatever just adjust it accordingly. Don't be too worried about it but it goes together really cool.
Now this outer border is really what I want to teach you. This makes a great framing border and it is actually only half of the star block, just one half. So the block we just made for the big quilt you put that in half and you've got a star border of course you may have noticed those were much bigger legs. These are much smaller so for the big quilt we use the easy eight. For the little quilt we are going to use the easy 16. So it's the same square, you're going to need 10 squares– I'm sorry you're going to need six squares of print and six squares of background to make this. And to get 16 little squares out of this we're going to draw a line vertically and horizontally sew on both sides of these lines and then sew all the way around it as well. And when we do that we're going to cut, you'll see how this works, we're going to cut diagonally
like this and diagonally like this then we're going to cut top and bottom like this right on our pencil lines right in half both ways. And if we stop right there we have the easy eight but what we're going to do is we're going to go ahead and cut all these diagonally one more time and so
this little block here like this and this one out here like this. Put a corner to corner. Make sure your blocks don't move. Make sure this is corner to corner like that and then over here and you can actually slide these out if you want and cut it this way. And this gives you 16 half square
triangles and so it's a great way if you need a lot of blocks really fast, and- and all of a sudden we have 4 8 12 16 blocks. So I made the little star block just like star block A in our big quilt but of course they're smaller. So your little squares are all squared to three and I'm just going to show you how this works because it's it's the exact same thing as the big star.
So we have two legs here and we've got two legs here. My poor angle challenged brain! There we go. And two legs here, uh yet this way and then two more over here with the color to the middle. That's my little mantra. I mean, the background to the middle background to the middle.
All right so we've got that then with our center square. Our color is going to go to the middle like this. So all color to the middle like this and then our corner squares are just going to be the same size your other squares. So we squared these to 3. These are going to be three out here. So here's our little star and what we're going to do now is we're going to do this. We're just going to pull this half out like this and we are just going to use a half of this star lined up with another half of this star to make this border which makes it look a little scalloped out here. Very very cute so in this corner again I have to make things fit and so I just use two of the half square
triangles and two three inch blocks so we made a little block that looks like like this. Let me move this one over here.
So again it's our half of our star block. We're going to sew this together, sew it to another half but then our little corner block is just going to be like this, two three inch blocks like this and a piece that comes in like this so this is our little corner block. So you're going to make four of those. They're right in here in the corners, one two three and four, and then it makes this darling border. I capped our border around the edges with another two and a half inch strip of our background fabric and then did this nice big four inch border on the outside. The backing on this is really fun. Look how beautiful that is with its great big cabbage roses and oh just all kinds of
flowers on that back! I just love how that came out! We use meandering leaves as our quilt pattern on this. You can see them on here, they're just little tiny leaves all over the place because that's how this looks as it flows to the ground and so it just makes a darling quilt. It's a great use of a panel and it's a really fun idea to use those half stars to make that cute little framing border.
So we hope you enjoyed watching this tutorial on the forest lights quilt and the forest light panel from the Missouri Star Quilt Company.



