

Make a "Four Patch Burst" Quilt with Misty Doan on At Home With Misty
 Misty Doan
- Layer Cake
- Holiday
- Table Runner
- Beginner
- Quilt size 69" × 82"
Bursts of color! Simple and fun! This quilt has it all! Grab some 10” squares and follow along with Misty as she shows you how to create the beautiful Four Patch Burst quilt. Using the Holly Jolly collection from Urban Chiks, Misty makes this cute quilt with bursts of fabric similar to 12-pointed stars. This is the perfect project for clearing out your stash of 10” squares, so find some fabrics and get sewing!
Instructor
Misty Doan
Misty Doan grew up surrounded by sewing and quilting. She loves spending time sharing tutorials each week each week, and when she’s not stitching up one of her fun sewing projects for home decor, most likely you’ll find her hanging out with her husband and three awesome kids or working on a house project.
Shop this tutorial
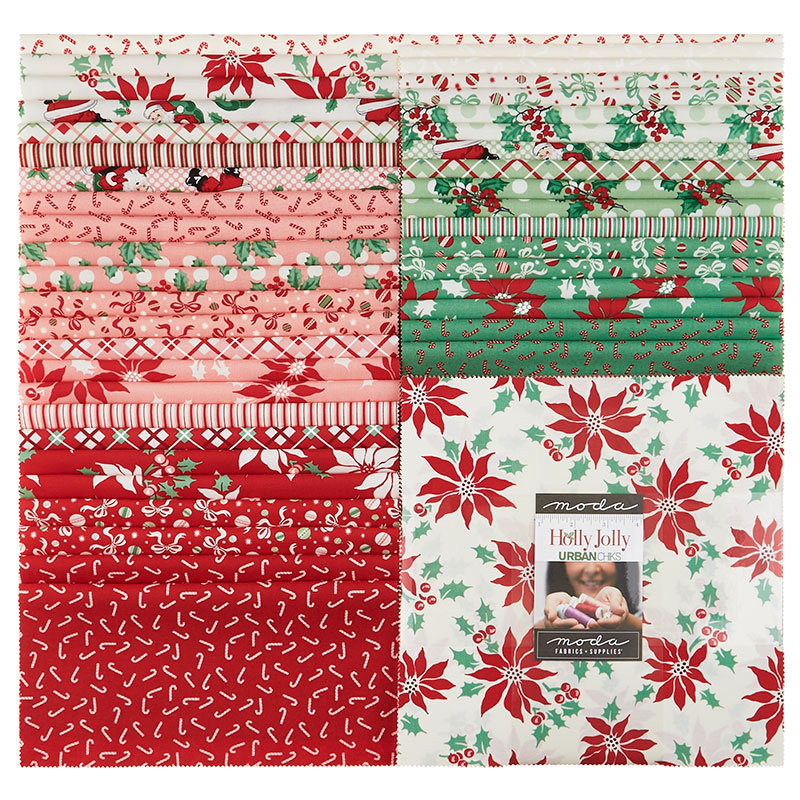 Holly Jolly Layer Cake$45.95Shop →
 Bella Solids - White Bleached Yardage$8.24Shop →
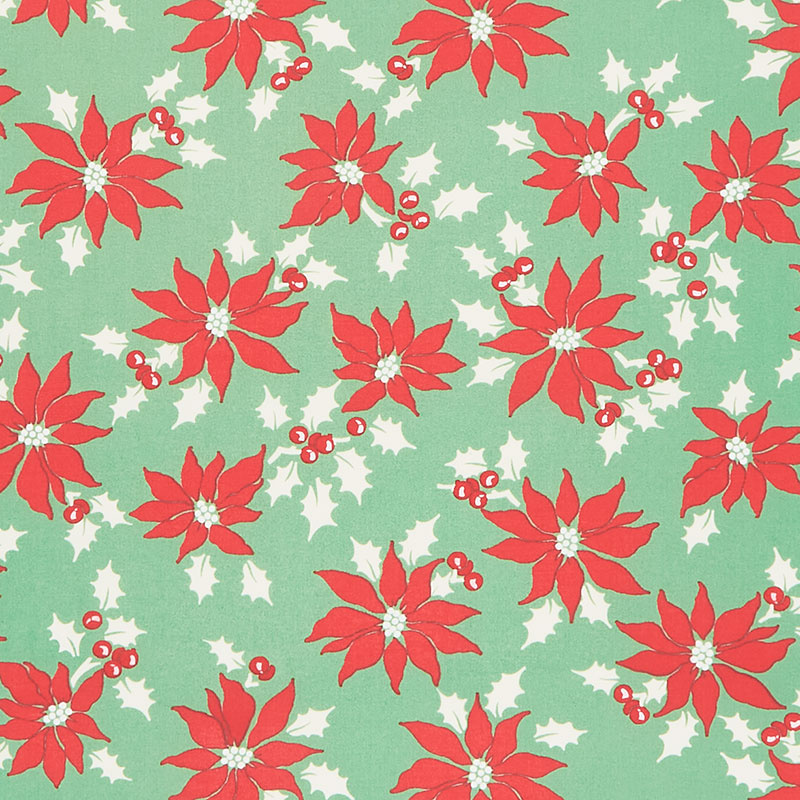 Holly Jolly - Poinsettia Holly Yardage$11.24Shop →
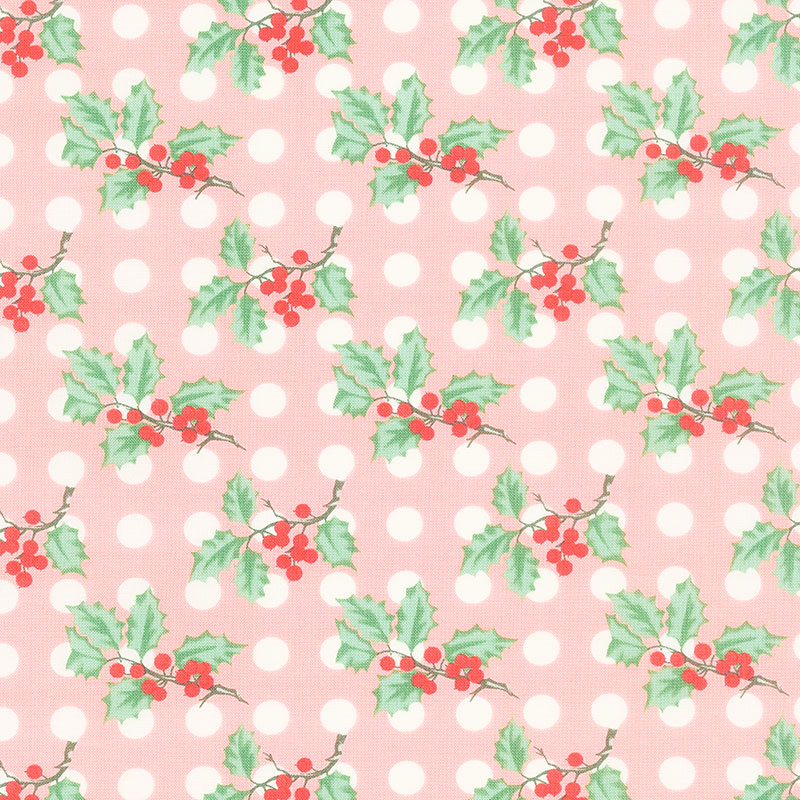 Holly Jolly - Holly Dot Cheeky Yardage$11.24Shop →
 Missouri Star Quilter’s Best Blend Full Batting$32.45Shop →
 Missouri Star 2.5" x 8" Ruler$10.95Shop →
 Missouri Star 2.5" X 15" Ruler$13.95Shop →
 Olfa Splash Aqua 45mm Rotary Cutter$18.75Shop →
 Olfa Splash 24" x 36" Cutting Mat Navy$68.95Shop →
 Exclusive Missouri Star Jenny TG1600 ProPlus Oliso Smart Iron$199.99Shop →
 Missouri Star Wooly Betty Board - 17.5" x 17.5" Aqua Border$88.95Shop →
 Elan 8" Dressmaker Scissors$20.95Shop →
 Missouri Star Colorful Quilting Clips - Pack of 12$5.95Shop →
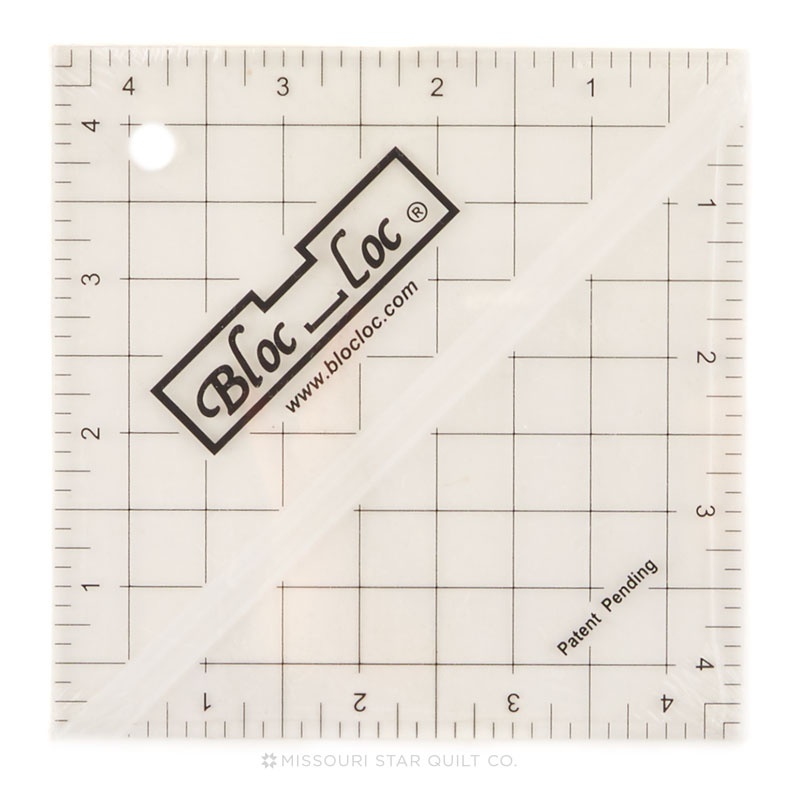 Bloc Loc 4 1/2" Square Up Ruler$23.60Shop →
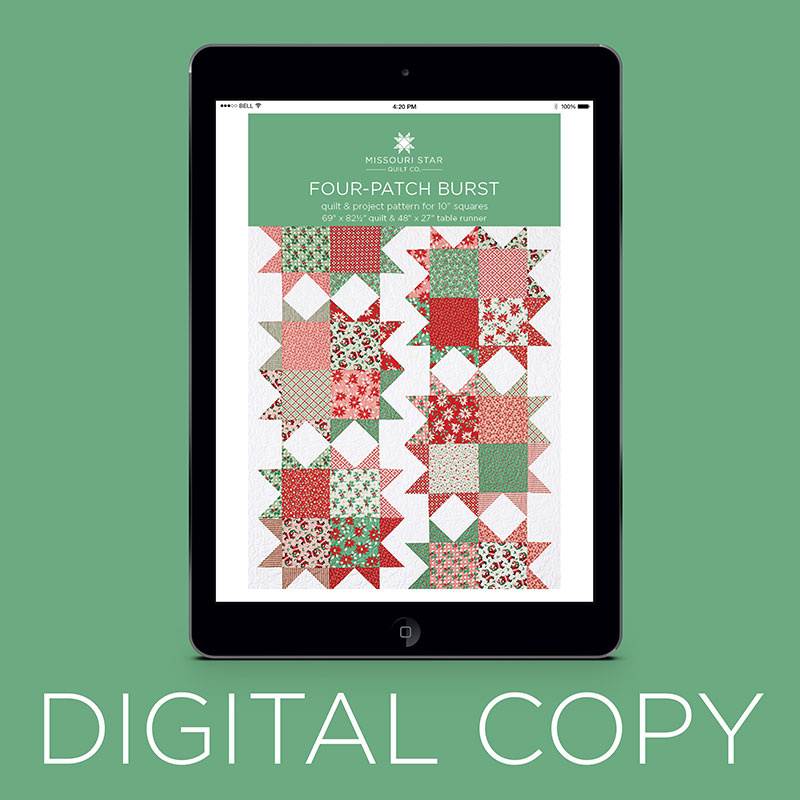 Digital Download - Four-Patch Burst Quilt Pattern by Missouri Star$4.95Shop →
Common Questions
What is covered in Make a "Four Patch Burst" Quilt with Misty Doan on At Home With Misty (Video Tutorial)?
Bursts of color! Simple and fun! This quilt has it all! Grab some 10” squares and follow along with Misty as she shows you how to create the beautiful Four Patch Burst quilt. Using the Holly Jolly collection from Urban Chiks, Misty makes this cute quilt with bursts of fabric s...
How long is the tutorial video?
The tutorial video is 00:18:52.
Are supplies listed for this tutorial?
Yes. The tutorial page includes the supplies and materials connected to this project.
Is a transcript available?
Yes. A written transcript is available on the tutorial page.
Video Transcript
For this quilt I'm using this beautiful Christmas layer cake called Holly Jolly
by Urban Chicks for Moda. It just has such fun whimsical Christmasy prints and I think it's great, but this quilt would also look beautiful in any collection.
So to make this you're going to need one layer cake of prints, two and a half yards of background fabric (that's all the white that you see which includes that first inner border). You're also going to need one and a half yards for your outer border, and then five and a quarter yards for your backing fabric. This quilt finishes up at 69” by 82”. It's a great size and just perfect to snuggle up with for Christmas, if that's what you're planning it for. So let me show you how to make this. It's super quick and easy!
To begin we are going to take our package of 10 inch squares and we're
going to divide it in half. We're going to pick 20 of those squares that are going to make the big four patch bursts that you see in the middle. So
pick the prints that you like the best! I'm just going to go through here.
I love this poinsettia print here, and these cute little Santas, so I'm going to grab them and all of the ones that we're going to use for the centers of our block. We're going to trim these squares down to nine and a half inches.
I would stack up probably four or five, whatever you're comfortable with, just to save you some time. When you go to trim these, I'm just going to
line these up here make sure they're all nice and straight and then I am going to trim a half inch off of two sides. So there's one…oops missed that little edge. And then again across here. So now my center squares measure nine and a half inches so I'm going to go ahead and set those aside.
Okay so then once we have all 20 of those blocks cut down to nine and a half inches, the other half of our layer cake we are going to use to make our star points or the bursts of our block. You can see them here.
That's what we're going for, so let's pick something that'll look cute with
these Santas. Let me see… I think I will go with maybe this holly one on top is the best one. It'll be cute. So we're going to cut this in half both directions so that we have matching five inch squares. I'll make a cut here. I want to make sure that stays nice and straight. Now you could stack multiples again to save yourself time, but you do want to keep them together in their matching sets so just stack them back up together because that's what we're going to use.
I decided to keep all of the same prints together. You could totally make this completely scrappy and mix all those star legs up. It would still be really cute, that's just not what I did for mine. So then for our background fabric we need to cut some nine and a half by five inch rectangles and some five inch squares. We are going to use two of our nine and a half by five inch rectangles with our four five inch squares and we're going
to make some flying geese.
So the first thing I'm going to do is I'm going to turn these over and I'm going to grab a pin or any type of marking tool and we are going to draw a line corner to corner, because that is going to be our sew line. So I'm just going to go ahead and mark all of these so that I have that ready. This is just a chalk pencil I'm using to mark mine but, like I said, this is the back side of the fabric and it is going to be in the seam so you can pretty much use anything to mark.
All right I have those ready to go and I have my two rectangles. Now I'm going to start by lining these up along one side and I am just going to sew right on that line that I drew, not next to it, just right on. I'm going to line my needle up with that and sew straight down. All right and so one of the things I like to do here is chain piece. So I'm going to grab my other rectangle and one more of our squares that we marked. We're going to line that up and we're going to put this right behind, and again sew right on that line. There we go.
Now I can trim these apart - oh I almost forgot I do have a bonus
project! We talk about how when you're making units like this. you can
save your half square triangles a lot. What I'm actually going to do before I
cut this is I'm going to move over a half an inch from that sew line - I'm just
going to eyeball it, if you wanted to when you were marking you could measure over a half inch and draw another line. But I am just going to flip this around so I have this half inch line on my machine. I'm just going to line this up here and I'm just going to eyeball and go ahead and sew a half inch away from that line and do the same thing on the other one. There we go.
Now you can see I have those two lines of stitching. You can see the line right on the one that we marked and then the line about a half inch away. Now I'm going to take my ruler and we're going to cut right between those
lines so that we have a quarter inch seam allowance on both sides. Let's go ahead and trim this one and this one just like so. Now you see instead
of just having two loose triangles left over we've got these great half square triangles that are ready and can be saved for this bonus project that I'm going to show you how to make in just a little bit.
So I'll just stack those up and now we can take these to the ironing board. I'm going to go ahead and press these back - just roll them back, just like so. And the other. And so now that we have that done we can use our other squares and we're going to put these on the opposite side. The goal here is our line is going to intersect with this other triangle that we've added essentially making a big flying geese unit. That's all we're doing here. So
we're going to do the same thing that we did before. We'll sew right on that line for both of these and then move over a half an inch and I'll meet you back here when it's done.
Okay so I went all the way through that step. We sewed right on that line, went ahead and saved our other half square triangle, and I trimmed and pressed these back so our two flying geese, or star leg units, are ready. So now we're going to pair this up with one of our background squares that we cut down to nine and a half inches. So let me just lay this over here so you guys can see how this works. We've got these cute little Santas - they're so jolly! And we are going to take our two star legs and set them on either side just like this. And we are going to add a five inch square to the corner here. So now I'll start by sewing the five inch square to this, just like so. And then the star leg to this and then we can attach these together.
So let's go ahead and take this to the machine and put our block together. This quilt is so quick and easy. Which I feel like if you're making a quilt for you know the holidays or to give to someone at the holidays, sometimes you just need one that's quick but still full of love. So we've got that one. Let's add this to our nine and a half inch square, make sure it's all lined up
and sew down to the bottom. There we go.
Now we can open that up. If you want to take time to press in between here you could. I am just going to trim these apart and put my star legs on the top where they go. I somehow flipped that, so you always want to double check. Now we can just line this up and put our block all together. I'll take a few stitches there and then I do want to make sure that this corner nests really nicely. I'm going to line that up before I get down there, and then now I can cruise the rest of the way down the side of the block.
Look at that! Now we can just press this so it lays nice and flat. I always press from the top to make sure I don't have any pleats or anything in the way. Then we can flip it over and see how our seams are behaving. Not too bad under there. There we go. And our block is done - isn't that so fun?
Now let's talk about the layout on this quilt. This quilt that I designed is four across by five down. These are nice big 14 inch blocks, so it comes together really quick. So let's just do a little layout here for you. So to begin, we just put two blocks with the starbursts kind of pointing down and together so they match up like that. And then the two next to it would be with the starburst pointing up. And then the rows just alternate, so down here it would be starburst up, like so. And then as you put it together you'll see in the quilt behind me that all of the bursts come together to create this four patch in the middle with our big ten inch squares and then they just kind of burst outside around it. So like I said you'll see the two pointing down kind of gives you a half burst at the top of this column and a half burst at the bottom of this one. All that that does is it gives it a lot of movement which I really like in a quilt.
I think it turned out really nice. Then you'll notice I put a little two and a half inch inner border and a six inch outer border and I quilted this whole thing with jingle bells. I just think it turned out adorable, but you might notice on my quilt ladder back here. I have a little bonus project hanging, so let me show you how to make a matching table runner!
So this is that bonus runner. Isn't it so fun? It's such a great size - it measures 27” by 48”, so it fills your table and you can just see some candles in the middle. It just makes it feel very festive and fun. I really, really love this. Like I said earlier, we're going to use those half square triangles that we have left over to make this smaller version of our block.
You guys always say in the comments “You tell us to save those half square triangles! Please give us something to do with it!” So now I have done that. You have a smaller version of this block that we made our four patch burst. So let me show you how we did it.
First we're going to take our half square triangles and we're going to square them to four inches. I like a Bloc Loc so I've gone ahead and pressed these open. If you like a Clearly Perfect Slotted Trimmer, you would just leave them folded in half. So I am going to just slide this down to my four inch mark. If you're not familiar with the Bloc Loc, the lettering of the Bloc Loc is typically on your background fabric or the light side of your block and this is not…oh it's actually pretty darn close. So I'm looking down here on my four inch line to make sure that this is looking nice and square. If it's too wonky I'll slide it up so I have room to trim on both sides. But I'm going to go ahead and slide this down because that looks good enough for me. I'm going to trim this, and this, and then I'm just going to turn this really quick and trim off this little overhang, just because it gets rid of some of that bulk and it will make it easier to nest up that seam.
So let me show you one more time how I'm going to trim this down. These are the leftovers from our last block…oh and this one is really wonky. You can see this side is right on the 4, but this one is off so I am just going to
give myself some extra room. We'll square up this side, slide that out of the way. I think this is an important reminder of why squaring is really helpful here. Because even though we think we're taking the same seam every time, they just get a little bit off. By squaring it down to four inches, we know all of these are going to match up and we won't be frustrated with the project.
So now instead of adding our squares to either side to create our star legs like we did in the large quilt, we are just going to match up our half square triangles together and sew these together to make our flying geese unit. So I'm going to go ahead and take this to the machine and make sure it's all lined up. There we go - that looks great! Now we can press this.
Now remember you're going to have four matching half square triangles left over because you made four star legs in the large quilt, so I've gone ahead and already made the other one of these that matches the exact same steps. The difference for this is you're going to need an additional three-quarter yards of your border fabric and one and three-quarter yards
of your backing fabric and that will do your little border here the backing, as well as the centers of our bursts. You'll notice that I'm only using those two prints so I have those here already. We're going to cut them down to seven and a half inches, so I have these trimmed up to seven and a half inches. That just came from that yardage amount that I gave you. We're just going to assemble our block just like before. We'll put our star legs on one side and the top. Now our square in the corner is just four inches. So you can see how quickly that came together. I just did two rows of four across. I made one burst in the middle and then the half burst on either side with a one and a half inch inner border and a two and a half inch outer border. It just turned out so cute!
So this is such a fun, fun collection! I think you'll notice how much I enjoy the fabric, but I also want to point out they have these great panels that make these adorable stockings and some cute gift tags and ornaments like I have here. Aren't these so fun? So I've just backed these on some felt to make the ornaments. And I used a little bit of Bosal and some extra fabric and flipped these to make some gift tags - aren't those great? The panels are so cute. And then they also have just their Santa printed big in a panel so you could make a giant wall hanging if you wanted. Aren't those so fun? I love it!
Again this collection is called Holly Jolly by Urban Chicks for Moda. I really hope you guys enjoyed this quilt with our bonus runner and I will see you next time!



