
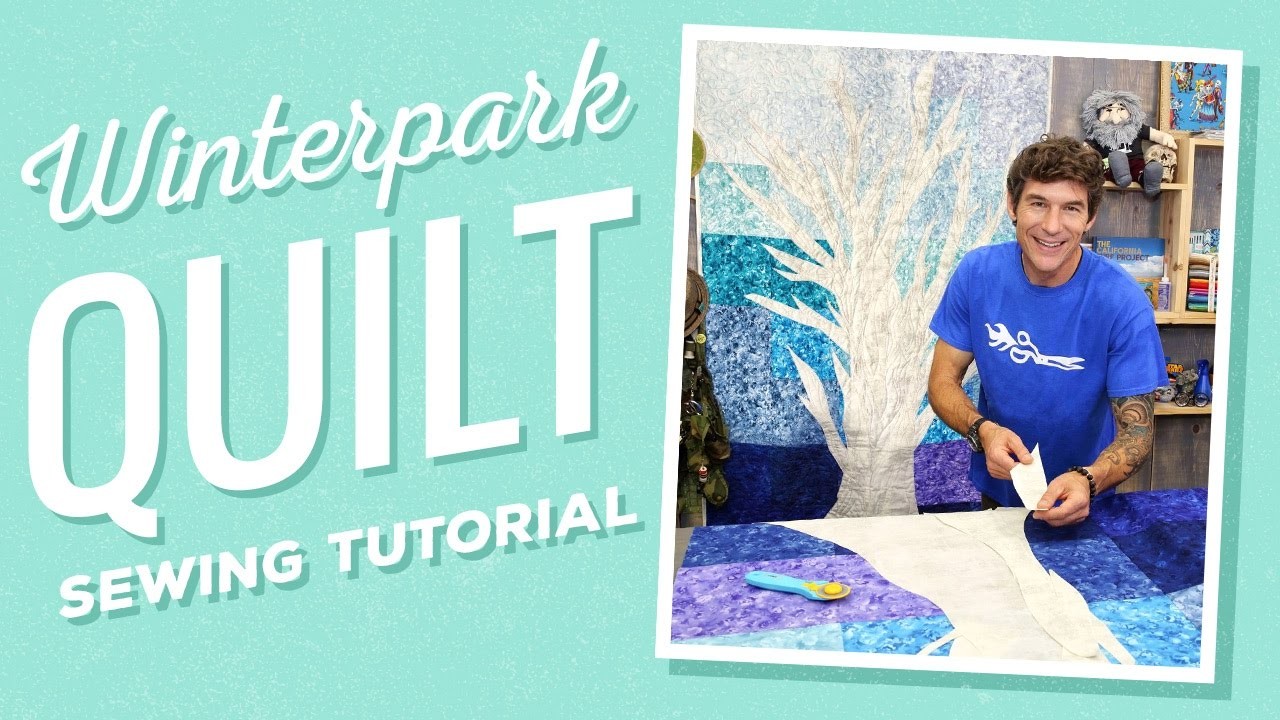
Freestyle Applique Winter Park Quilt
Rob demonstrates how to make a freestyle art tree quilt using Heat N Bond Feather Lite Fusible Web, Concrete Texture Yardage by Sentimental Studios for Moda Fabrics, and Fusions Bloom Clear Skies Ten Squares by Studio RK for Robert Kaufman.

Instructor
Rob Appell
Rob Appell is a creative force to be reckoned with. When he is not behind a sewing machine, you might find him catching some waves on his surfboard or playing the guitar. Rob's quilting journey began while he was working at his mother's quilt shop, the Cotton Ball. Rob has designed fabrics for Free Spirit and quilts for Michael Miller, and spent several years as host of Man Sewing for Missouri Star Quilt Company. He travels across the globe, teaching his unique quilt designs, and sharing his expertise. Find out more on his website!
Shop this tutorial





Common Questions
What is covered in Freestyle Applique Winter Park Quilt?
Rob demonstrates how to make a freestyle art tree quilt using Heat N Bond Feather Lite Fusible Web, Concrete Texture Yardage by Sentimental Studios for Moda Fabrics, and Fusions Bloom Clear Skies Ten Squares by Studio RK for Robert Kaufman.
How long is the tutorial video?
The tutorial video is 00:17:31.
Are supplies listed for this tutorial?
Yes. The tutorial page includes the supplies and materials connected to this project.
Is a transcript available?
Yes. A written transcript is available on the tutorial page.
Video Transcript
Take a deep breath. The quilt behind me is much easier than it looks. It was so simple to create but was so fun and long on the creative process. I can’t wait to show you how I’ve done it. Now you’re going to need a few things. Before we get into the supplies bounce down into the description. We have a printable for you. These are always free. And I’ve tried to give you a base layout and shaded version so you can kind of see how I put the background together. And then just a rough layout of my tree. But because we’re making our tree as an art quilt we’re doing it on the fly kind of freestyle. Our trees will look different in the next project, right? But that’s just kind of an idea of what you’re doing. I’ve got the wonderful concrete texture from Moda that the tree is made from itself, right? And then I’ve got this wonderful fusions something from Robert Kaufman that is a ten by ten square pack. And funny enough it came with 42 pieces. I needed 40 for my five by eight layout behind me. And there was a couple of pieces of fabric in the stack that were kind of multi colored. You’ll notice these are not in my layout so I omitted two and had my perfect 40 and we were ready to build our background. Quarter inch seam allowances nice and simple. Got it pressed out and then I was ready to start building the parts for the tree. So let’s get right into that.
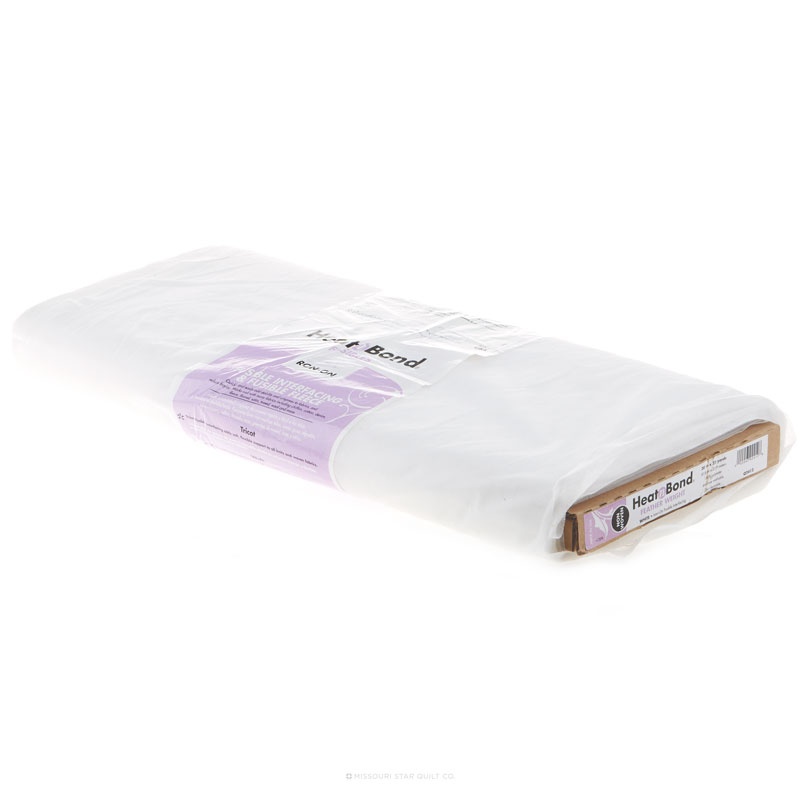
You’re going to need some Heat N Bond Featherlite. It’s a lightweight paper backed fusible web. Now when you look at this, if you haven’t used it before, there’s a shiny side and that’s the glue. And there’s a paper side so that’s where you can do any kind of tracing and/or drawing and that’s where you’re going to put your iron on this. When you’re using a large piece of fabric and I think I’ve got about a yard and a half worth here or a yard and a quarter. And you can see I’ve started to pre fuse the paper on the back. But we still need to finish this off, ok? So what happens is you want a nice hot iron. You want to make sure that your fusible web is not going to touch your ironing board at all. And you’re going to take that hot iron. And it takes about three seconds or so in each location to bond. When you’re doing these really big runs on fusible web you want to go slow enough to really anchor it down. And if you find after you pre cut some of your pieces out that the paper is not going absolutely bonded you can tack it like I’m doing now. I’m re-tacking all of this. But because it is such a lightweight glue which makes it awesome for machine quilting through later on I don’t want to over iron it because we can start to cook the glue a little bit too much. And a lapel stick or some sort of glue stick handy is always a nice option. I just wanted to talk you through this a little bit as I’m getting this pressed down. You can see I’m just giving this a nice little extra heating second fresh out of my suitcase and ready to be introduced to a rotary cutter.
Now you can see I’m all but finished with the pressing, the rebonding of my fusible here. But I also want to point out I absolutely love my Panisonic iron here. It’s a cordless iron so I do return it to the base quite often. I want to make sure it’s really really hot. If you’re using a corded iron if you ever see or hear it kind of kick back on you know the thermostat is trying to reheat in your iron. That would be another time to return your iron to its base or seat area or whatever and let it recharge and get nice and hot so it is ready to rock and roll. But look at that, perfect. I’m going to clear out a little bit more space here because we are going to literally free cut all of these parts and pieces from the tree.
Make sure you don’t have your fabric folded at all because you want to be able to use each piece. And I’m going to tell you, I experimented and I experimented, and I experimented with the design. The first time I cut my fabric I cut big shapes and put it together. And the tree was roughly this size but didn’t have nearly as much character. The key to working with art quilts is leaving the paper on your fusible web pieces until you’re all the way done. As a matter of fact once we do our design and our layout I’m going to let this percolate for awhile. So the very last thing we do basically is take the paper off so that we can continually cut and reshape our applique pieces. So it can be as easy as this.
I’m going to come down here and first remove my selvedge. I don’t want that to accidentally end up on any of my pieces because like I said we’re just going to completely freestyle this. I’m not using a ruler at all. But I am using my large 45 millimeter cutter for this because I want to be able to make big clean long sharp cuts as needed. I want to kind of curve off of the bottom on my first cut. So I literally just started coming up and moving my cutter, let me slide this out of the way a little bit so you can start to see the lines that are forming, right? So these first cuts I made were these big long running cuts up the fabric. Maybe I want this to be part of that base. So I did this big chunk. Something like this, ok? And then I just started whittling. But you can whittle from both sides. So make sure if you have any markings of a selvedge on the other side you would remove those also. What I found after working and working through this though the skinnier pieces I still got the same square footage of the tree but with a lot more character. So I’m going to encourage you to work in about a 1 ½ to three inch size and make skinnier sections like that, ok? So I did, I came through and I made a bunch of chunks cutting from all different locations within my piece of fabric. And then we’re just going to keep these and we’re going to set them aside. We want this big one. I’ll show you how this goes in but we’ll whittle it back down later most likely. Of course like I said we’re just doing this on the fly. I also found I make these thick shapes like this or these branches. But then later on if you look behind me I found the need for some of these small little pieces which was really fun. So then what I could do, so let’s say I had a piece that was just odd. Let’s call this one odd, right? That doesn’t look much like a tree shape. But what you could do, watch this, you could do the little cuts like that and those all become these wonderful little branches that you need as well. So we’re going to save a pile of those. So what really happened as I was building my stacks is I started finding myself in piles of small, medium and large pieces. So that when I needed something while I was laying out my tree I could simply go back to those size piles and find what I was after. Try to make sure you’re cutting in both directions as well so that you’re not just making right handed wedges. You want left handed wedges as well for the other side of the tree. So you could see that this alone could be all the fun, right? But I’m going to whittle this through a little bit further. And then I’m going to put my quilt top onto my design surface.
Now like I said I don’t peel the paper off until I”m sold on my design. Therefore I’m going to design in completely flat because the paper doesn’t allow this to completely stick to a design wall, right? So I”m going to take a piece of backing maybe two layers that are bigger than my quilt and then lay it underneath my background so that when I’m all sold on my design. I can simply go ahead and press all of the pieces down on location once the paper has been peeled off. I’ll show you that here in a second. Oops, there you go. And I’m cutting that little sliver I made away so that it doesn’t pop up later. We don’t need that. Almost done whittling through here. The cutting alone is half the fun I think if all your fingers are still here when we’re done. And I don’t know if you can tell on the camera but there’s a little edge that didn’t have any fusible on it and that edge is going to go right there in my storage facility for later as well so that I make sure that I don’t put that into my project. So I’m going to slide these out of the way. They’re perfectly organized as you can see. And I’m going to put some batting down. I’ll be right back.
Welcome back. Check out my new set up here. Look at this. I have my rotary mat and cutter over here so that I can do any trimming necessary. I’ve added in a very cool padded and batted design board that I like to use. But I’m still working flat. Here you can see the back side of the background. It’s the same background you see on the wall all behind me of those ten squares, right? A quarter inch seam allowance very simple to construct. I am standing down here at the bottom of the quilt. This is where the roots of the quilt start, right? So as I mentioned earlier in my very first approach to the quilt I took these giant pieces like this that would kind of represent the base of the tree, the roots, the trunk of the tree coming up. And I started by placing them basically in the middle. As I was trying to explain while cutting like a madman over there I also like to kind of have, come in here and put in these skinny pieces and just see what’s going to develop. So I kind of look for some of my flatter edge pieces so I can use this for my fill in. And then I just start working my way up the trunk. I want to go maybe two, 2 ½ squares wide and come up several squares before I start my branching. So I just keep looking for these bigger pieces like this. And I can lay them in. Now here you’re going to see that straight edge come across here. So I just want to point that out. Maybe I going to take it and lay it like this to make some of those straight lines go away. Or if you didn’t like that, again this will probably be moved or adjusted. I just want to give you that tip. If you didn’t something and you knew it was going to be a problem that’s when you bring it back over to your cutting area and you just fix it so it’s not a straight line anymore. Then you can bring it right back into your project and it won’t show up at all. Very easy. You see that way. So I generically and randomly make those big fast cuts and then I come back here and I start to build our quilt. And I make adjustments per piece as necessary. We saw how nicely that one fit in didn’t you, ok? So we’re coming through here continually building the trunk of the tree.
But I also started to want to look for some of our branches so about three or four squares up I started to build off of my branches, ok? So start looking for that. And you can most certainly use a couple of strips in the branches as well. That’s how you get some of the neat V work in the branches, ok? So my goal for all of us is to use up all of our cool concrete texture fabric here right as we go through. But we’ll all have different looking trees. We should all have a cool forest gallery or something on Man Sewing when we’re all done. We could all put pictures of our cool trees in there and we could morph them all together to make one giant forest quilt. Wouldn’t that be cool? I’m just going to bring this down a little bit so I can reach what I’m after. Now let’s talk about a piece like this. This piece obviously has some threads I don’t care for. Very very straight. Again this is going to be we’re going to bring over to our cutting area and we’re just going to fix that. So anything that you see when you’re playing with your strips that you don’t like to begin with just fix it now. That way you don’t have to hunt for it later, right? I’m going to keep building. We’re going to keep building. And of course this goes on for quite awhile like this.
Let me show you how to do a few of those branches that I like so much, pretty intricate right so here I’m going to take a bigger thicker piece. And I’m going to bring it over. And I’m going to look at it. And I’m going to fit it looking at a couple of things. I’m looking at where it meets into the tree and I’m looking at the angle it’s going to provide. And then remember some of those small little pieces, the pieces we were kind of thinking what are we going to need for next. It was these little pieces that I loved so much that I came back in here and I started to add them in to look more like smaller branches as well. One of the things I found in building my layout is at first everything kind of looked very symmetrical but join me over at the quilt because it was something I had to work for a little bit. One of the tricks I did is I brought this V down here in deeper. And then I started to kind of duplicate them. Originally that was all kind of coming across right here like you saw me doing on my layout table. So once you get all of your pieces in place you can go back and shift them and shift them and get more character out of your tree. You’re looking for lots and lots of these little spots that make it look like a tree would really look like if it was out in winter and all the leaves had blown off, right?
So let’s pretend, fast forward, it’s tomorrow. You were in love with your design. Of course I’ve got more pieces that I’m going to use up. But let’s say you were in love with your design. You’ve let it marinate overnight, you’ve taken photographs of it so you see it in the two dimension. You’ve done everything you can to audition your design and you’re in love with it, right? Then all you have to simply do is come back to your pieces and I did it by starting at the bottom. The biggest piece I possibly could I would slide out like this leaving everything else in place. Then you have the fusible web paper still on the back, right? Now this one’s a really easy one to show you because this is where I spliced the two layers of fusible web. So therefore I can peel the paper off. And make sure you’ve done it correctly you’ll see the shininess or the glue of the fusible web is now on your fabric back, right? So I”m going to peel this easy edge off. Then I’m going to go to this edge. And sometimes it peels wonderful like this one did. But let’s say it did not. One of the tricks you can do is you can use a little straight pin from your pin cushion and you can make a scoring line like that all the way across. And that will often help you take that and fold it and then as you start to get in here with your fingers or fingernail then you can see, and you see the sheen that’s on there, right? So the glue is right where it belongs. I’ve probably mentioned it earlier if you find that you start to peel the paper off and the glue is sticking kind of to the paper and kind of your fabric and you’re getting these weird blisters and bubbles you can take that piece back over to the ironing board. Make sure that you are protected though. And then you go ahead and you hit that again for a second. Let it cool and the paper will peel off nice and easy. This is why I’m dealing with the big pieces first so I can get back in here. And it would be probably wise for me to mention at this point I love to work with either a stiletto or a nice pair of tweezers so that I can come through and I can manipulate as we go.
Now join me at the quilt, I want to show you a little bit about the quilting. And I want to show you a little bit more what happened with my texture, right? Remember when I said it was ok if your piece overlapped you actually want that. So as you come through some of these I’m hoping you can see it in the camera where it looks like there’s more saturation of the fabric, deeper coloring. It actually allows us when we stack up layers and layers of these lighter colored fabrics to get more depth from behind which makes it look like a tree really wood as the wood is actually twisted over the years, right? So having lots of layers is actually a good thing. Then when it’s time to free motion machine quilt it your job will be to free motion machine quilt on the edge of all of your applique pieces. And so when I said earlier it gave me an area to actually quilt to, if I was finishing a piece I would come up here, finish that piece, come back down, come up here, I’m catching this piece. Come back up. And so as you go through your machine quilting not only are you stitching the edges but you’re bringing kind of a tree bark texture through. You don’t have to overdo it. I actually recommend you keep it pretty simple. Because that way you can really focus on the background. If you over quilt the background and under quilt your tree the quilt of the tree is going to actually kind of lift off a little bit giving it even more dimension. So in the background I used another variegated thread. And I wanted to do like those windmill swirls. I really wanted the whole quilt to have a chilly cool feeling that made it look like a tree that was out there in the mountains of Colorado like we used to snowboard in that wonderful town of Winterpark.
So I hope today’s project has got you very inspired to go and make your own awesome art quilts. Like I said it is so much easier to do than it really looks. So I’m going to encourage you to slow it down and really, really enjoy the process. Take a couple of different approaches to your layout and make sure it’s just the way you want your tree. And then remember to post those down in the comments so we can build a really cool gallery of all of our winter tree quilts. And I will see you all next time after I get done with my snowboarding project out in Winterpark here at Man Sewing.



