

Make a "Gifts of Love" Table Runner with Liz of Missouri Star
 Liz Gubernatis
- Layer Cake
- Holiday
- Table Runner
- Beginner
- Quilt size 16" × 43"
Liz shows us how to make a super cute table runner and pot holder that's wrapped up and tied with a bow! Add the Bosal batting, and there won't be a holiday dish that you can't place on these awesome projects. They make a wonderful way to #GiveLove this holiday season!
Instructor
Liz Gubernatis
Liz Gubernatis is the Senior Manager of Education at Missouri Star Quilt Co. and loves teaching people how to quilt! She is a creative idea generator and champion. Colleagues, family, and friends know her for my creativity, can-do attitude, and common sense.
Shop this tutorial
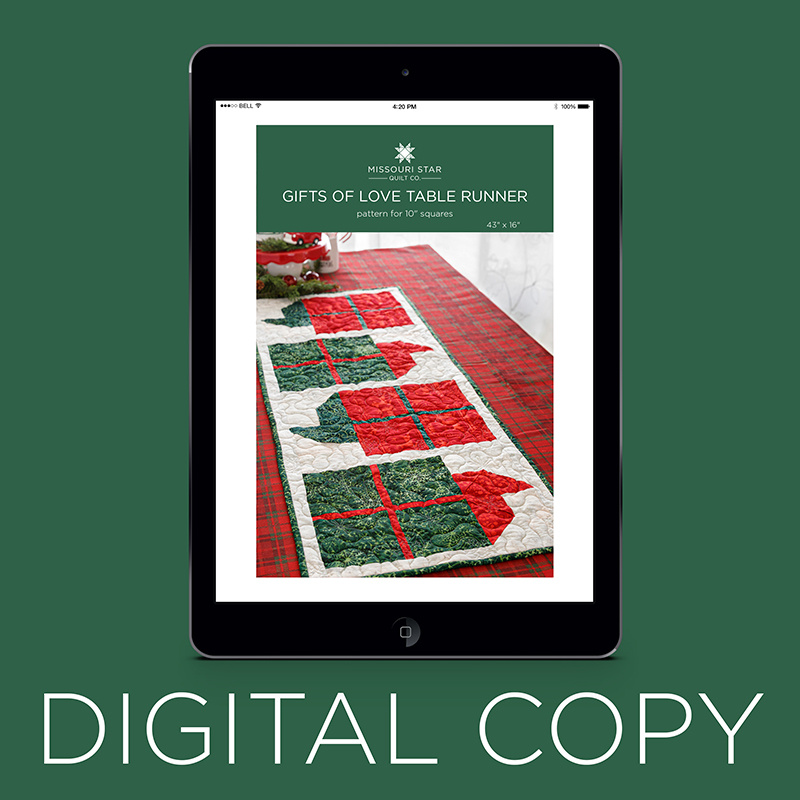 Digital Download - Gifts of Love Table Runner Quilt Pattern by Missouri Star$4.95Shop →
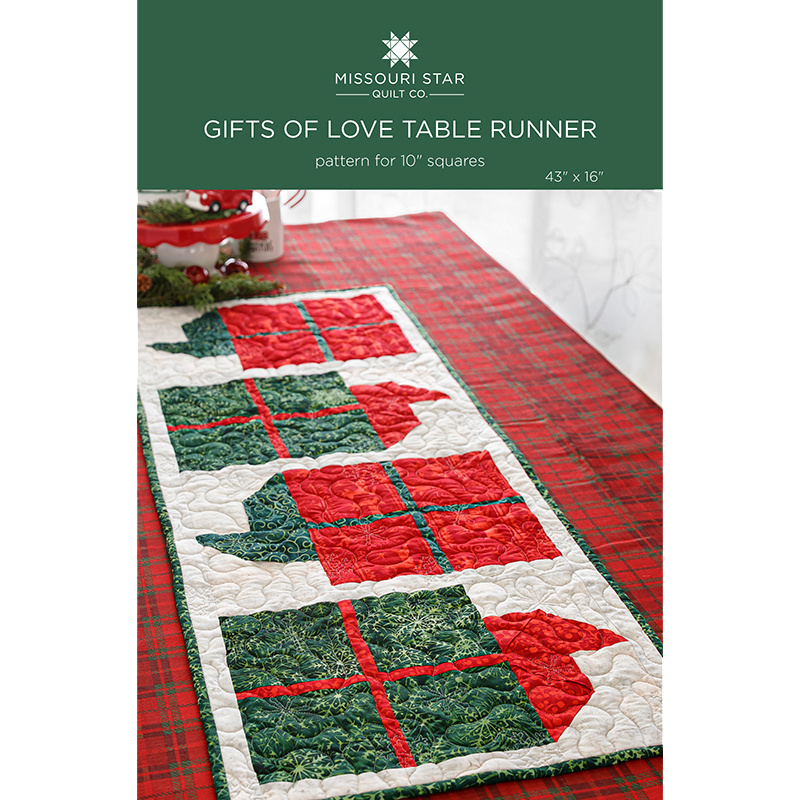 Gifts of Love Table Runner Quilt Pattern by Missouri Star$6.95Shop →
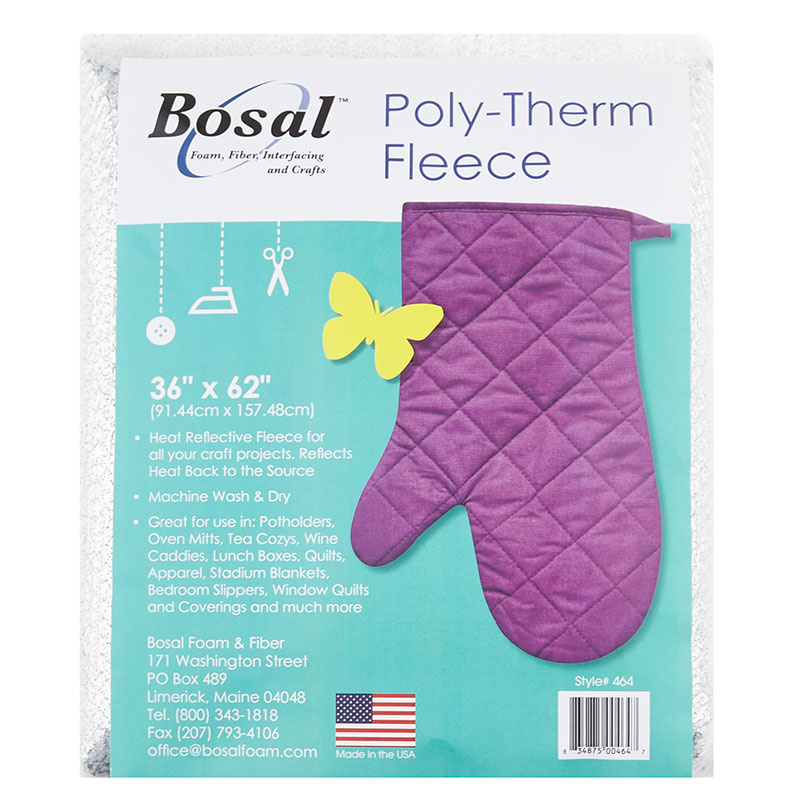 Bosal Poly-Therm Heat Reflective Fleece (36" x 62")$13.45Shop →
 Missouri Star 5" x 15" Ruler$15.95Shop →
 Olfa Splash 24" x 36" Cutting Mat Navy$68.95Shop →
 Olfa Splash 45mm Rotary Cutter Navy$18.75Shop →
 Diagonal Seam Tape$7.25Shop →
Common Questions
What is covered in Make a "Gifts of Love" Table Runner with Liz of Missouri Star (Video Tutorial)?
Liz shows us how to make a super cute table runner and pot holder that's wrapped up and tied with a bow! Add the Bosal batting, and there won't be a holiday dish that you can't place on these awesome projects. They make a wonderful way to #GiveLove this holiday season!
How long is the tutorial video?
The tutorial video is 00:20:21.
Are supplies listed for this tutorial?
Yes. The tutorial page includes the supplies and materials connected to this project.
Is a transcript available?
Yes. A written transcript is available on the tutorial page.
Video Transcript
Liz: That’s right.
Misty: So we’re going to turn the time over to Liz to teach you her great project that she designed.
Liz: Thanks guys. Hi I’m Liz from Missouri Star Quilt Company. And I’m going to show you this project. It’s called Gifts of Love and it’s a table runner. It can be a potholder if you do one single square and this makes a nine by 13 pan potholder. You can go as long as you like. We’ve done four and I’m going to show you how to do this today with our festive batiks from Island Batiks. So I have just chosen two colors at a time but you can mix and match these as you like. Also in order to make it into something that is heat safe, we’re going to use this Bosal poly therm fleece, two layers of this. I’ll show you how to make this project.
Ok, so we will start with two of our squares in two colors. And I’m going to add to this blue and white. So we’re going to make a blue gift with a white bow. So you’re going to cut these two squares a little bit differently. For the gift we’re going to start by just cutting it in half to get two five by ten rectangles. So I can use my five inch ruler. I’m going to lay my ruler just on the side and slice that in half. So the first step in the pattern is to wrap our gifts. We need a bow to do that. So we’re going to cut some bow and ribbon. And you may have seen the bow before. It is half of a 3-D pinwheel. So we’re going to do something a little bit different with that. So we’re going to cut one side of this. Again just laying my five inch ruler on the side. And then we’ll turn that and cut that into two five inch squares. And that will make up the half pinwheel that will be our bow.
So set that aside for a minute. And then out of these remaining
five inches I’m going to cut three one inch ribbons. I know one inch is really skinny but I’m going to show you why that works really well for this project. So we’re going to show one. And again I’m just laying this on the side. One of the things that’s been interesting for me is I also learned to quilt from Jenny. But as a right hander I have been cutting from the more difficult side for a long time. So I have now started cutting from this side which is easier for me as a right hander. So try what works best for your brain as always. Then these three ribbons and this is all you’re going to have leftover as scrap for your project. So I’m going to set that aside. I can use that in something else or you could add a border or something fun. One of these strips I’m going to cut in half. So again I can just set my five inch ruler on here like this. And I’ve got all the pieces I need.
So I’m going to set the bow aside for a second and we’re going to
start just by wrapping the gift. So we’re going to do this section first. So we’re going to stitch once and then we’ll slice it and we’ll add the second ribbon. So I’m going to come to the machine. And the one inch you’re going to be careful about setting this on the edge. It’s not going to be the end of the world if your ribbon is a little wonky. If your ribbon is a little
wonky that’s how presents get wrapped sometimes too and no one is going to come up here with a ruler and just make sure that ribbon is perfect. But you want to try to make it pretty even. I’m just going to sew right down the edge. And you can see I’m also using the diagonal seam tape. And I’m just holding that right on the edge to keep it straight which helps especially for skinny seams, it really helps a lot. And then the other thing I love about batiks is they are super, super easy to finger press. So I can press this back. I use my nail or my finger and it actually presses really well and I can put the second side on without having to hop over to the iron yet. So we are going to lay this on top and then go down the edge again. And I’m just using the edge of my presser foot and the quarter of an inch seam tape and our present will be half wrapped in just a minute. Ok.
So press this back. And again I’m just going to use my finger. Make sure that’s about even. And you can see it’s pretty close. And then we’ll press this with the iron.
And the present is half wrapped. So I can take it back. The reason we use that one inch is because this now is about a half an inch which means if we press this in, you haven’t lost very much here at all. So you can see that your square is still pretty much a ten inch square. So it stays a pretty square gift. And see we’ll lay this out here, it’s still pretty much a ten inch square. And again not 1000% perfect. There’s going to be like a 1/16th of an inch or something. Nobody is going to die over it. So now we’re going to turn it. And we’re going to cut in in half again. And what I’m doing is lining up this line on my ruler with the ribbon so that it stays square. And then
we will sew another ribbon here just like we did the first. So we’ll start, line up on the edge. And you can see, it’s pretty close. Batiks are not always exact. They’re sometimes a little tiny bit off because of the way it’s woven and the way it’s cut. And so it doesn’t have the pinked edge though which can be kind of fabulous. But this works just as well with any ten inch
squares. We just really love the festive batiks for this project. Alright, so down one edge. And then we will fingerpress that open. And then this
is going to go on the other side. This is another place where it can get off a little bit. And so what you can do, and I’ll do this right here. So to line these up you can take your seams, you can see the thread line here and here. And I’m going to lay them along the seam there. And then I’m just going to pull it forward pretty close until I get to the edge and lay that there. And you can put a pin in there to hold that seam right there in the center. And then we just come down the edge again. So I’m just going to line up the edge and we’ll just swing down the edge. So I’m going to take the pin out because you don’t want to ever sew over your pin. And I can feel where the extra layers are so I’m just going to hold that down. Go slow. So that’s one thing that I do a little differently is I am not the awesome speed demon that Jenny is. I go really slow when I sew. But to each their own.
So what we’re going to do now is instead of just regularly finger pressing that, I want both of these to come to the center because it’s going to give it a little bit of a 3-D look on these and also it’s going to make it easier to line up to our bow when we get that far. So just kind of gently press that. And now I’m going to press that with the hot iron. And there we have our present all wrapped. Now we just need the bow. So this we’ll set aside.
And now we’re going to make the bow. So the bow comes from like I said, the 3-D pinwheel. So we’re going to do two pieces and then we’ll have a ribbon down the center. So there’s a couple of things we need to do to get ready for that. One, is that we’re going to have the two pieces that we cut. And we’re going to press these into their triangles. So first I’m going to press them nice and flat. And then what I’m going to do is pull the top corner down towards me. And I’m going to press that into a triangle.
And then I’m going to pull this down towards me again. I”m going to press that little crease and I have half of my bow. And that will fit right like that.
So we’ll do the second one. So I’m going to pull that down towards me. And you will be pressing the wrong side to the inside. Batiks don’t have a right or a wrong side so it doesn’t actually matter. You can do it as you like. So press that and then pull this down. And you do both sides of the bow the exact same way so you don’t have to mirror them or anything like
that. Alright. So the other thing that we’re going to need is a piece of our background.
So I’ve used this really cute snowflake on the dark, dark background. And I’ve cut some squares that I’ve used for these background pieces. So I’m going to take a pair of those. And I’ve done that from yardage, just cut a five inch strip and then sub cut that into five inch squares. Also from that yardage we’ll have cut 1 ½ inch strips that we’ll use for the sashing. So I’m going to set that aside for now.
I’m going to take just two of these. And again I’m going to make sure they’re nice and flat. Batiks like to wrinkle just a little bit. And now we have all the pieces we need. So the way this will work is that we’re going to set one of these pieces here. We’re going to line up the corner and line up on all these sides and in the corner. And then we’re going to layer this little five inch by one inch strip here. And we’re going to sew down this edge and then we’ll come back and add the second piece. So we’re going to sew down this edge and this will give us that middle ribbon. But also encloses
all the pieces in a seam. So again I’m just doing a quarter of an inch right down the side. And you might wonder about all the bulk of all those layers. I’ve not actually ever needed a walking foot but if you like to use one this is a good time because there are a lot of layers. If that’s your jam. But I’m just holding the corner here where it’s the most layers with my finger until I get right up to the presser foot. And there we have it. There’s one side. So I’m going to cut this thread. And so now we’ll finger press this back. And you can see that one side of the bow is already enclosed.
So we’re going to take the other side. It’s going to go like this. So we’re going to flip it so that your fold side is down. And the fold side again is going to line up in the corner. Now it’s the new corner that we’ve pressed over. And then line up along the bottom and line up along the side. And you’re going to see this kind of layer of the fold. So that’s how you know you’ve got it facing the right direction. Ok, because you want it fold down. Then the last thing is, your last piece of background. You’re going to line up in the corner here. And you can put a couple pins in this or use a clip.
Again I just hold this corner that has the most bulk. And I hold that with my fingers and I find it doesn’t move around on me. But you could pin in here if you needed to because you’re not going to be sewing over here so you won’t sew over that pin. And I’ll just go down the side at a quarter inch. Ok. Alright. So then I’ll open this up. So instead of just the one side folding back, you’re going to fold the whole bow back. And just like we did in the center we’re going to make sure that that is folded towards
the inside ribbon. And then we’ll press that nice and flat. And I’m not pulling, I’m just gently holding it to let it work so that it doesn’t get caught on, the iron doesn’t get caught on the 3-D pieces. And see they lined up pretty well. And that will get caught in the quarter of an inch seam that we add now. So I’m not going to redo it for that. That’s plenty of room for me to catch that in the quarter inch seam but I will take off some of these threads. Ok.
So we’ve got our bow and we’ve got our gift. And what I’ve done too is turned this to the side so that our long way goes across instead of up and down. That’s personal preference. It really doesn’t matter how you put this together. It’s just easier for me to pick one and stick with it because I’m a little OCD that way. So you’re going to flip this here. And then again you have this center seam to line up. So you can pull this back and line up your stitch lines here and here. And that’s the part that matters the most. So that’s where I will put a pin to hold that. And I also want you to see putting
the pin between all the seams on both sides. So there’s only two layers of fabric the pin is actually holding together which also makes it a lot easier than trying to stab through all the seam fabric. And it holds it nice and neat. So now I’m just going to make sure that’s pretty even. And I’m off just a tiny bit here. It’s not going to matter. So we’re just going to sew another quarter inch along this side and then we’ll have the whole gift done. Ok. And as I get close to here I’ll take this pin out and just hold that with my fingers. And our block is done. So press this back. There’s so much here that I want to press it that way. So even though there are also seams here there are more seams here. So I’m going to very gently press my fingers and then we’ll come back and press with the iron to make that seam go towards the gift wrap. And flip over and press from the front. And there you have your gift. Your little gift of love.
So you can do just one and turn that into a pot holder. Or add as many as you like. So I started with these three and I am flipping them back and forth because I think that’s fun. And you just add a piece of sashing between them and you can add as many as you like. And then I added a similar 1 ½ inch to the top and bottom of the runner and then you
can quilt it. The last thing that we did with the pot holder and the runner is to make them both pot holders. So this runner actually is a giant pot holder because we used the poly therm fleece. And that comes in this package. You can see it’s very shiny on the one side and then it’s just a regular fleece on the other. The way the manufacturer recommends using this is to have two pieces of the batting and have the shiny side out on both sides so that it reflects the heat away from the center. So for our project we needed to go the long ways. And then we could fold and cut two pieces at once. And then place our top and back.
And then quilt it just like usual. In this one we’ve quilted it down but it still has a little bit of a 3-D texture and it definitely has the cute bow look. In this one we left the 3-D open and actually quilted with two colors of thread, white on the background and green on the foreground. And you can’t see either very well on the back because we used that cute snowflake. And this one measures at, finishes at about 14 by 9 ½. So it’s
perfect for your 9 by 13 casserole dish will sit right on there. And this 3-D isn’t enough that it’s going to make it catty wampus or wobble.
So that is how easy it is to make our Gifts of Love. We hope you enjoyed this tutorial from the Missouri Star Quilt Company!



